
 So I was visiting with father in law the other weekend and I mentioned that I was looking for a table saw. He said, and I quote, “well, your prayers have been answered.” If by prayers he meant nightmares then I think he was spot on.
He was willing to part with his old table saw, a Craftsman model, probably from the Reagan administration. It had been around the block more than a few times, ridden hard, hung up wet, and thrown from the back of a moving vehicle at a busy intersection (true story). But like all things craftsman, it is a workhorse.
I was torn. I really wanted to save up for a nice cabinet saw with tolerances that have a lot of zeroes in them. But of course, they have price tags that also have a few zeroes, so after much deliberation I figured I’d do my best to restore this Craftsman and see what I could do with it.
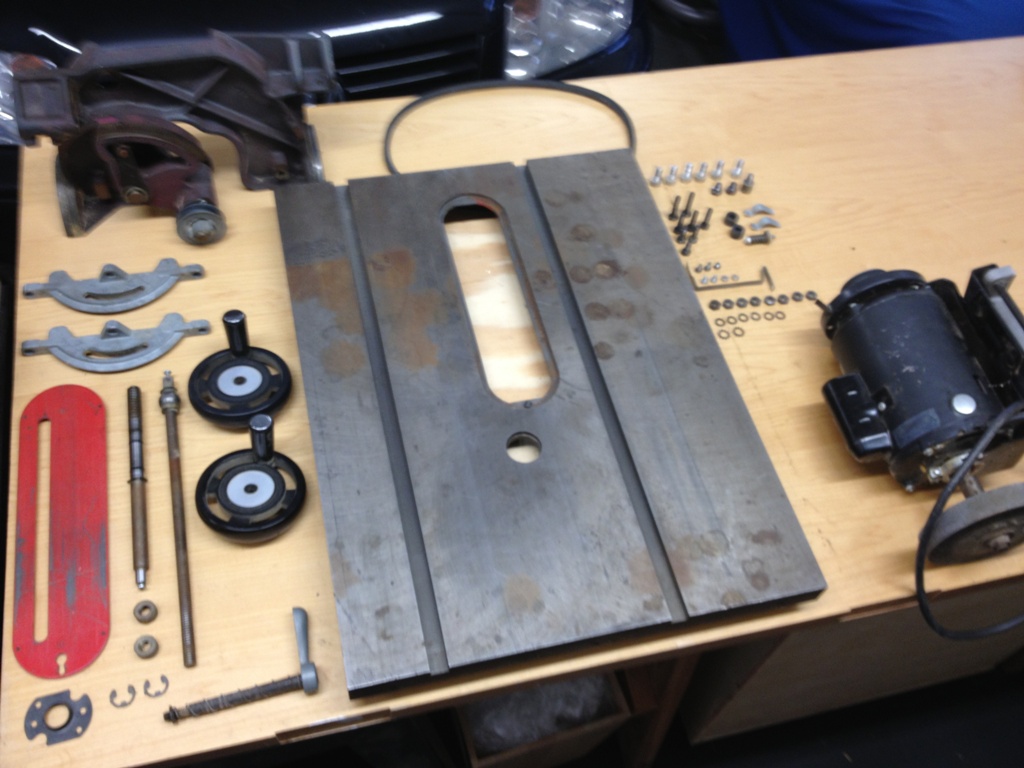
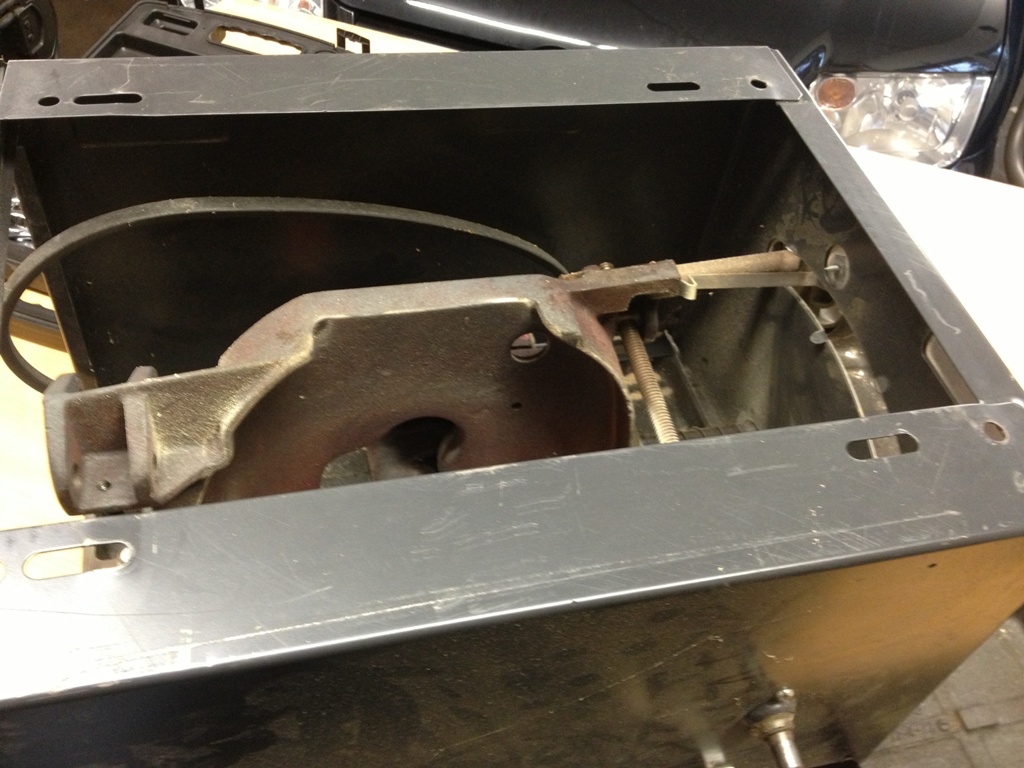 This thing was a mess and it needed help. It was rusted, dented, gouged and beat up. I started making a list of the parts it would need, then crossing off the things they no longer sold. This started to turn into something like restoring an antique. It’s the kind of thing I better enjoy doing, because it’s a lot more cost effective to just go and buy a new one. Still, like many things, they don’t make them like they used to. When I started taking this thing apart (and believe me, I dismantled it down to the last rusted lock washer), I saw that the parts were a little more solid than what you find in many new saws. They cut corners these days. The metal is a little thinner, the bolts are a little softer.
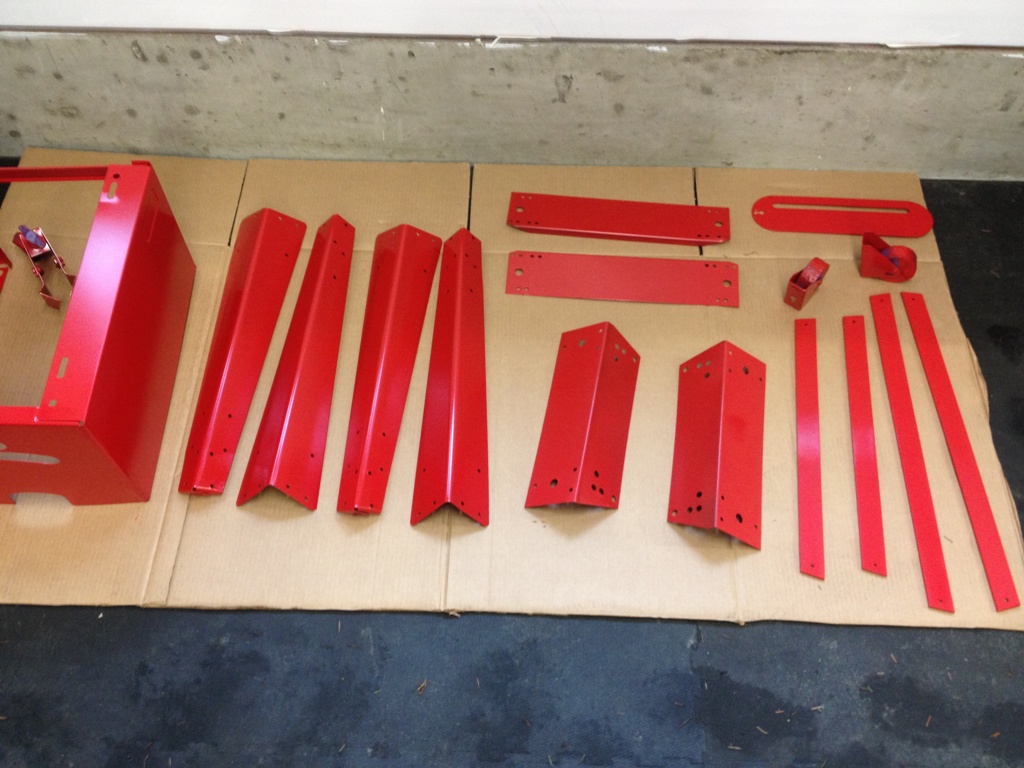 First thing I did was give it all a fresh coat of paint. Several coats, in fact, of rust resistant enamel. It came with what looked like after-market wheels on the base that I wasn’t sure would make it to the final build but I painted them just in case. Father in law had mentioned those wheels were kind of crappy anyway.
 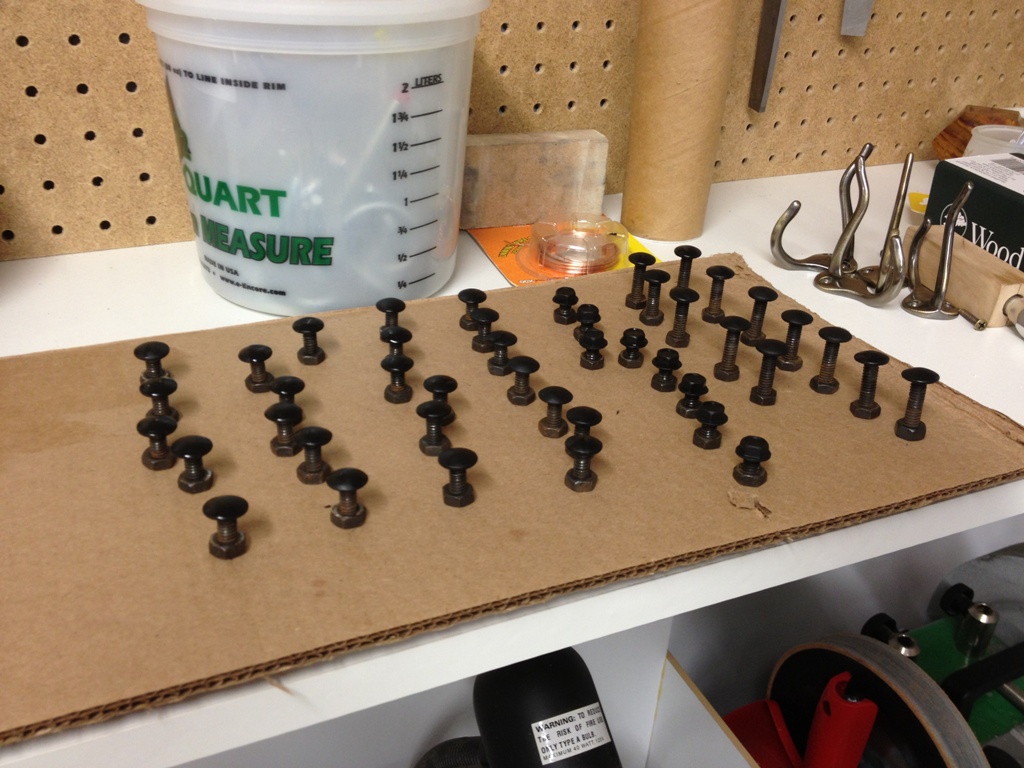 I even sanded, cleaned and hand painted the bolts that came with it. Why would anyone waste time on such a ridiculous endeavor when you can buy perfectly good bolts at the hardware store for 10 cents each? Well, these were pretty good bolts, all made out of hardened steel that you don’t always find at the hardware store. And more importantly, they were the right size. So it took two hours of my life to clean them and paint them, but the saw will fit together correctly.
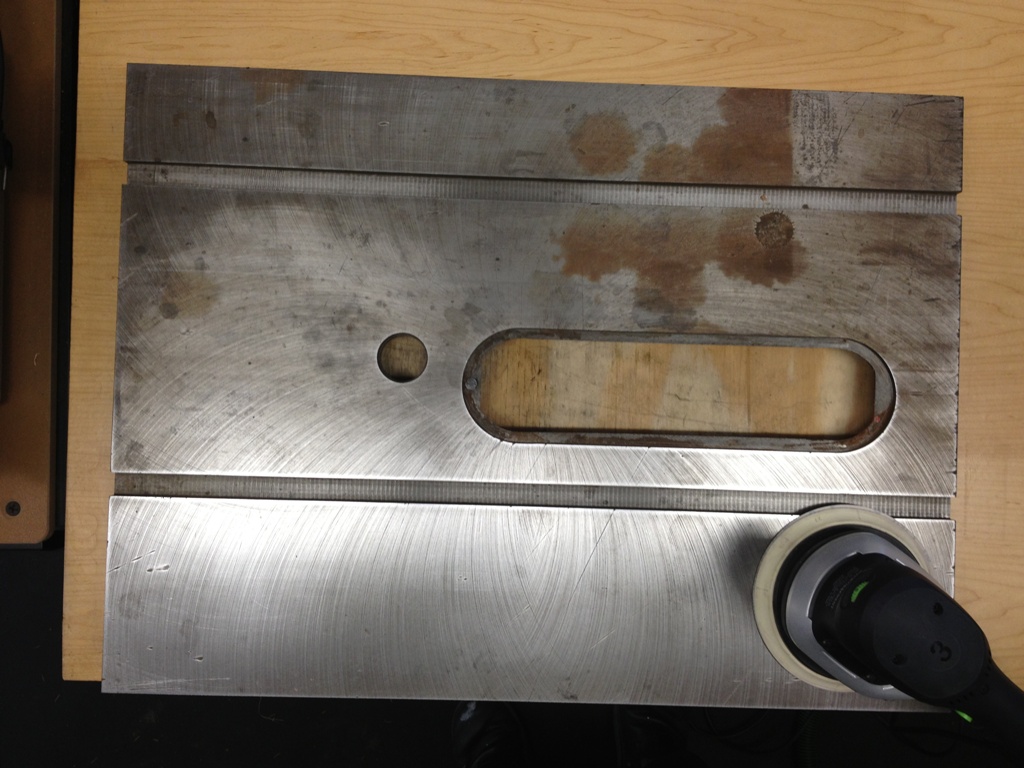 Now the base and frame were a little dented but nothing a sledgehammer couldn’t smooth out. The table top, though, was in really bad shape. Rusted, dented, gouged, pitted – it looked like it had been dragged behind a car for a few miles and left for dead behind a liquor store. I started in with the 80 grit sandpaper and quickly realized that sanding it smooth was going to take forever. And you don’t want to sand to much because you don’t want to destroy the flatness of it. At least not too much. At the end of the day, I burned through about 40 discs of sandpaper just to get the rust spots off.
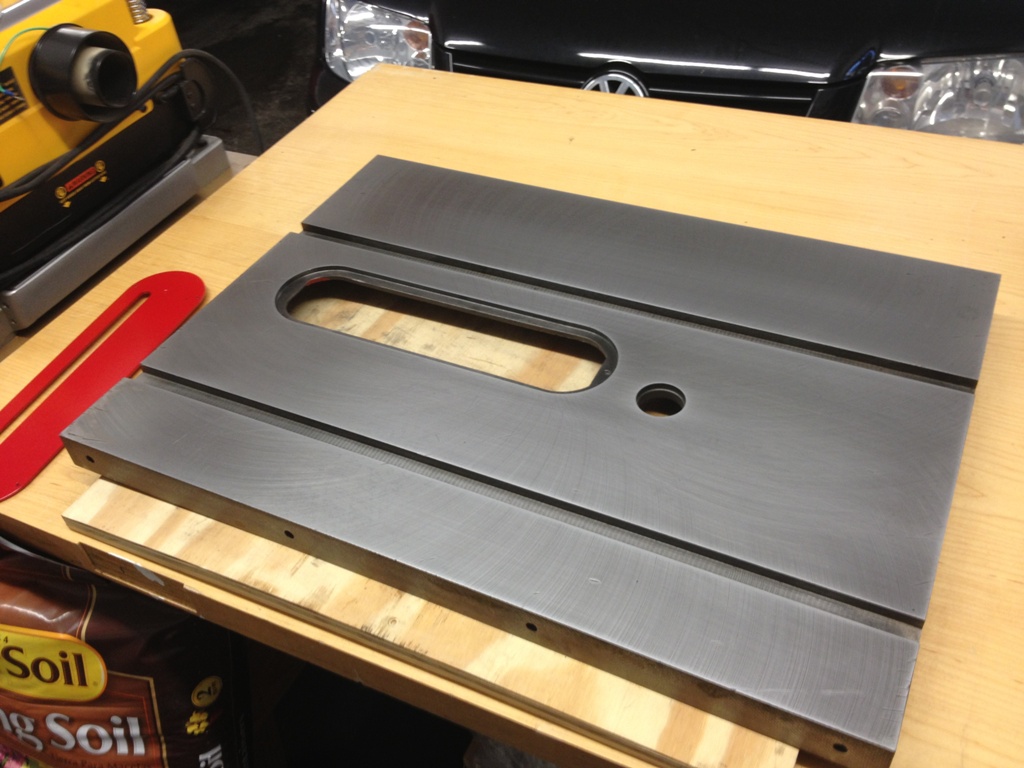 At last, after sanding it so much I blew a fuse, I deemed the surface to be adequate and ready for service. Some of those deeper gouges I’ll never get out but at least wood will glide smoothly over it now.
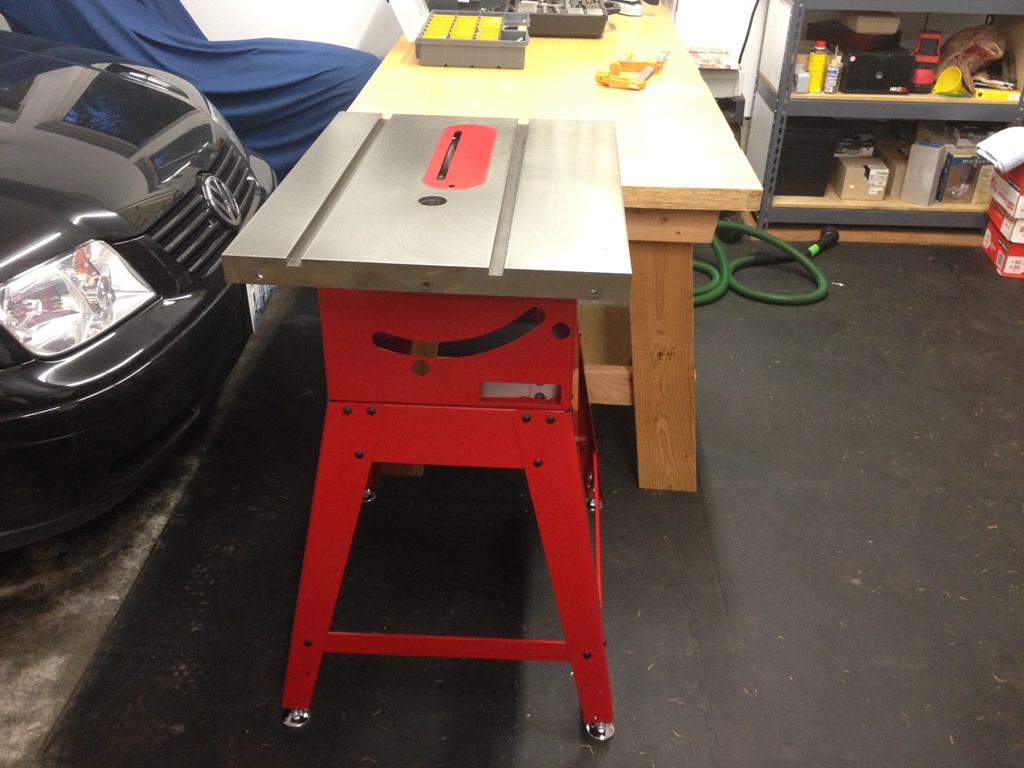
It’s far from done. I got the stand assembled and the top generally put together (I just got the bolts hand tight as I’ll want to calibrate it when I get a new saw blade) just so it’s not in two dozen pieces strewn about the shop. Got enough going on in that shop to have to contend with that.
It still needs so many things. I’d like some extension wings to make the surface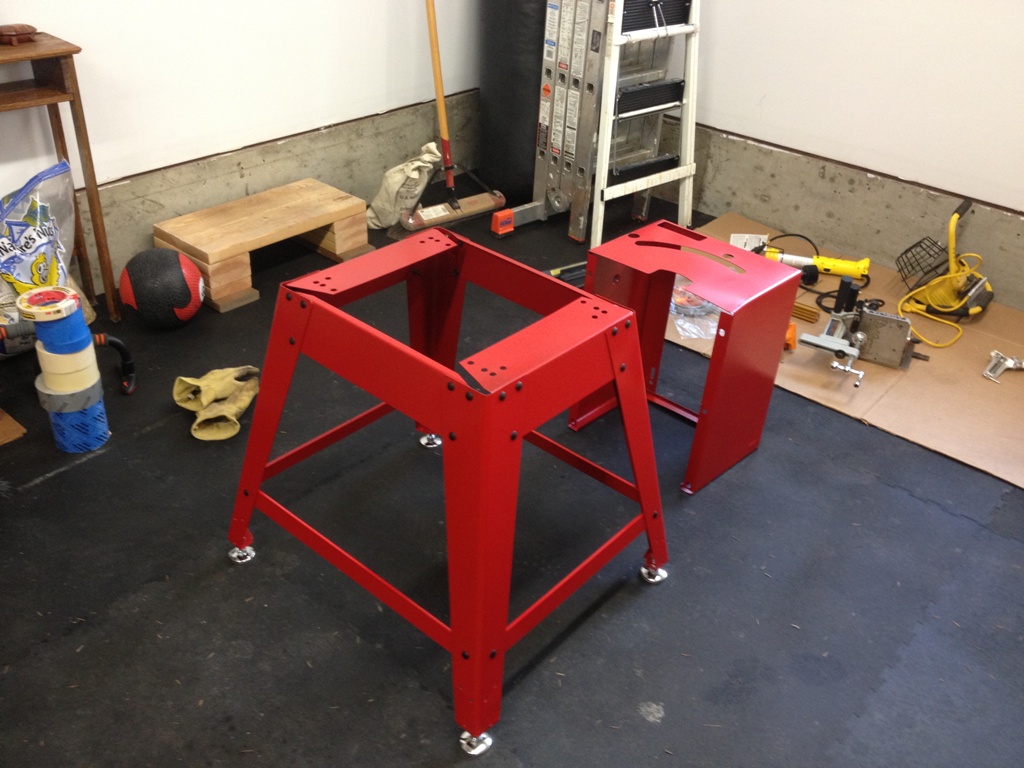 a little bigger but so far I can’t find the right size. Not even on the internet. I think this thing is so old they stopped making parts for it. I may have to make my own. It needs a riving knife, a good fence, one of those fancy zero-clearance things for the blade, some kind of dust collection set up, and the motor needs a little electrical help (just gotta replace the melted power cable, nothing major). But it’s almost there. Just a few more hundred dollar bills and it’ll be a good little saw for the shop.
Looks good, Jeff. A labor of love, for sure. Hopefully once assembled it’ll provide years of use.
As usual, patience makes perfect, and you have the patience of a saint for these projects.