
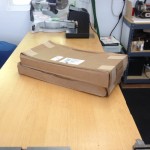
 Figured I’d start off with a photograph that represents the pace at which this project is going. I am happy to say, though, that the list of parts I still need is down to one sheet of paper, and I now know where to find most of them. Just need to spend some time on the internet with my credit card in front of me and everything will be on its way.
The table extensions came in. These were really hard to find on the Sears website because they don’t actually go with my model of saw. According to them, they don’t fit and won’t work with my model and if I attempt to install them on my saw it will shred the warranty, condemn me to a lake of fire in my afterlife and every cut I make on the saw will be unsafe and inaccurate. But in reality, these are the best table extensions out there, and they fit like a charm.
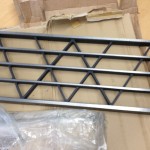
I didn’t even need to use shims along the sides. It’s dead flat.
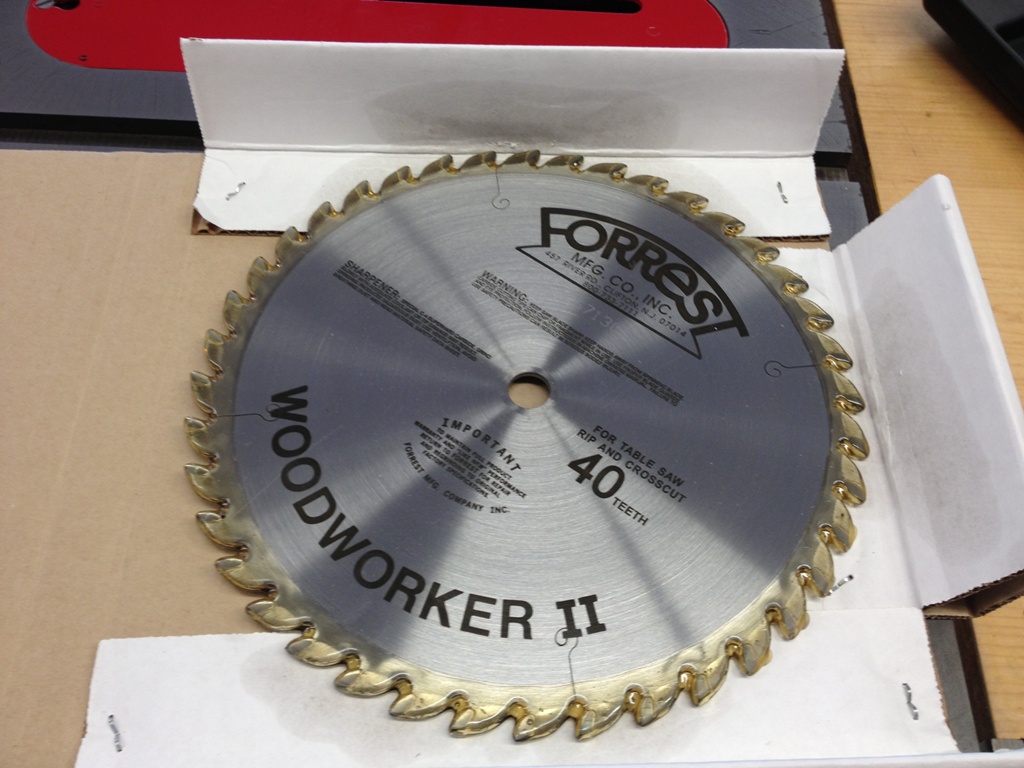 My new sawblade came in also, and it’s a beauty. Those of you who are woodworkers know how much those things cost. Those of you who are not, you don’t want to know. This is certainly not the most expensive blade out there but Forrest makes great saw blades and this model is excellent for both cross cuts and rip cuts. I am far too lazy a woodworker to change out my saw blades for each cut. I like to have one blade for everything.
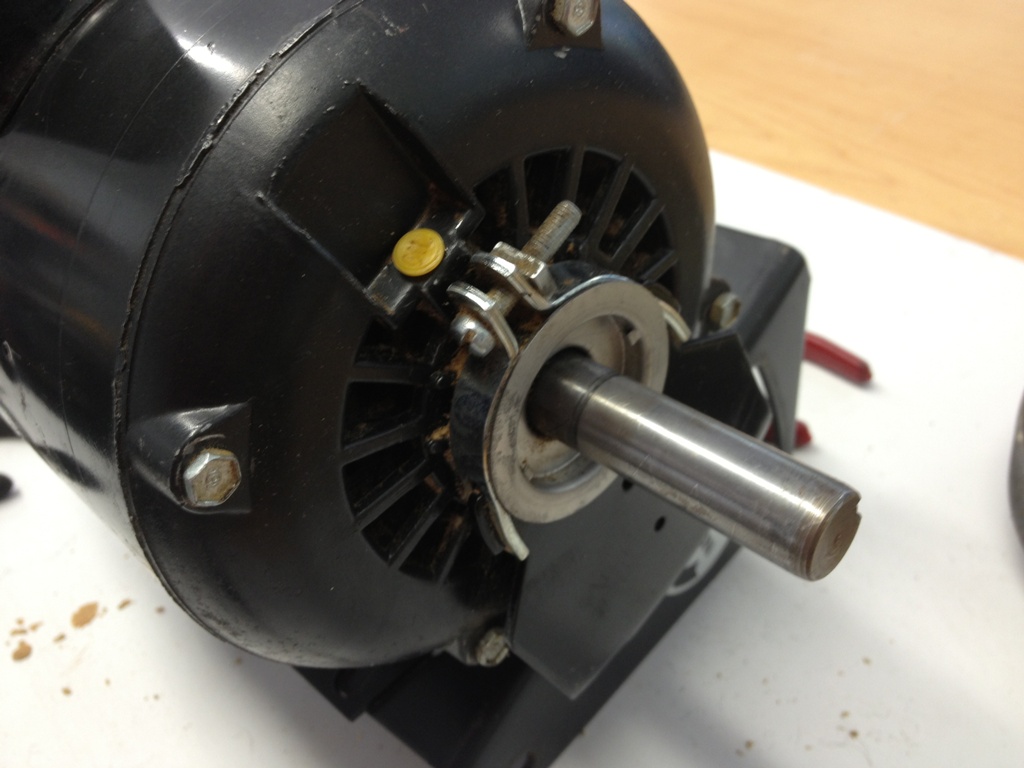 I also started dismantling the motor today. All I was going to do was put a new power cord on it but the further along I got the more I wanted to keep taking it apart and cleaning it. I found the two oil plugs underneath about a centimeter of sawdustdirtgrease, a paste like mixture of sawdust, dirt and oil. I’m sure the motor was happy to get some fresh oil on it in there.
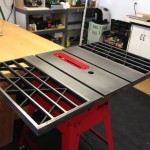
Then I started painting it. I figured, what the heck. I got nothing better to do and I have a third of a can of red spray paint that I may as well use. Make that motor housing shine and gleam in the light of my overhead fluorescent shop lights. It would not have been wise to spray paint the motor itself so I painted it by hand. 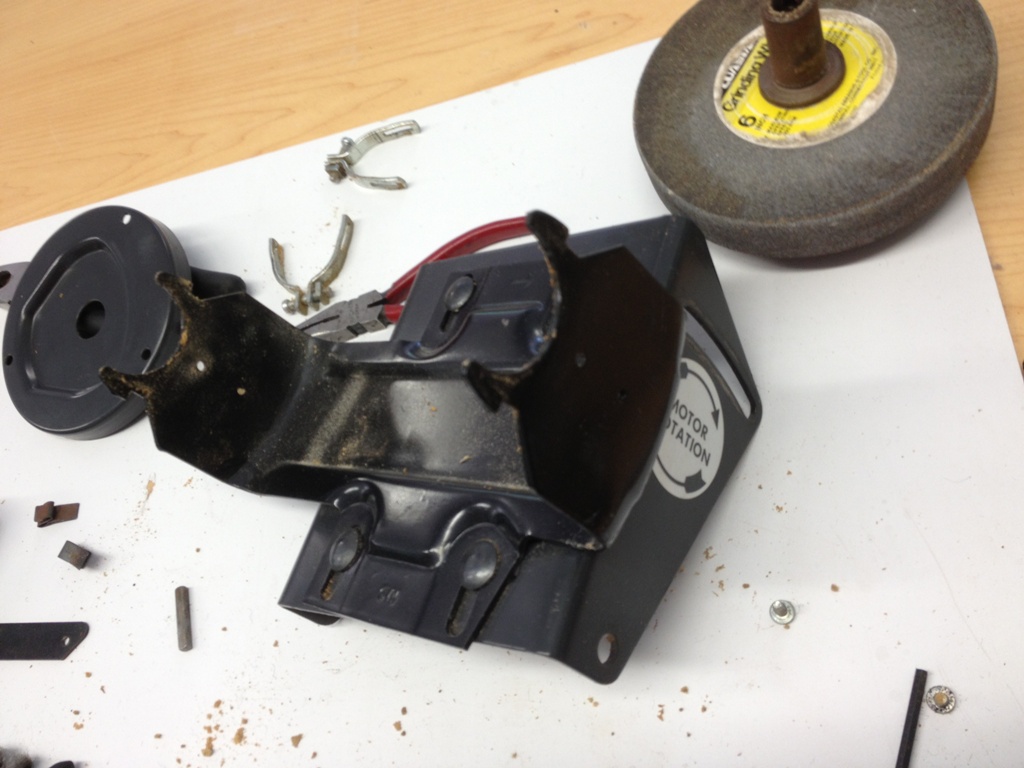
I have an illness. I know. I’m well aware that no normal person would clean and paint an old motor that’s just going to get covered in sawdustdirtgrease. It’s madness. This is a lot like restoring an old antique. Or getting it ready for a museum. This isn’t necessarily the table saw I wanted to have, but by golly it’s going to be the best dang table saw I can make it into.
Besides, the paint may keep it from rusting.
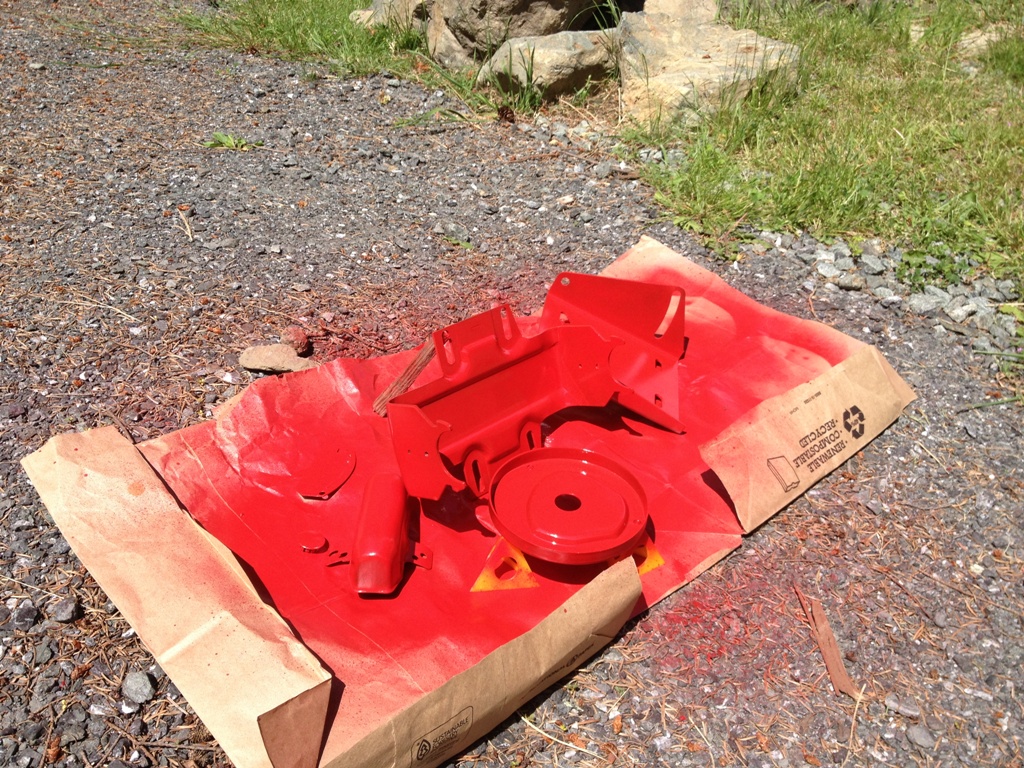
I had more paint in that can than I thought I did so everything got about ten coats.

The motor I painted black, to kind of go with the red.
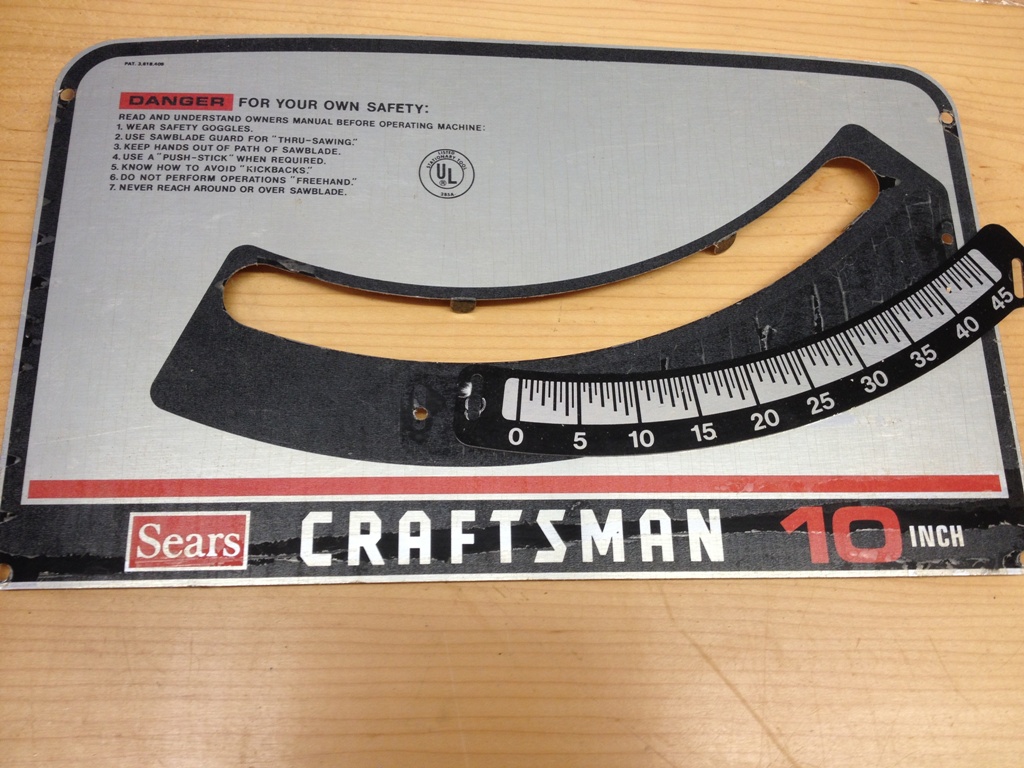 The last thing I tried to tackle today was the faceplate. The existing one is a little cheesy looking and I wanted to make something with a smaller aperture where the tilt indicator comes out. A lot of sawdust leaks through that big slot and I want to kind of close that up on the final make. Also, you can’t really see it in the picture but it’s coated with this layer of crackling plastic that is simultaneously peeling off and difficult to remove. I thought I would just make a new faceplate out of 1/4″ laminate paneling, but once I got it cut and in place ….
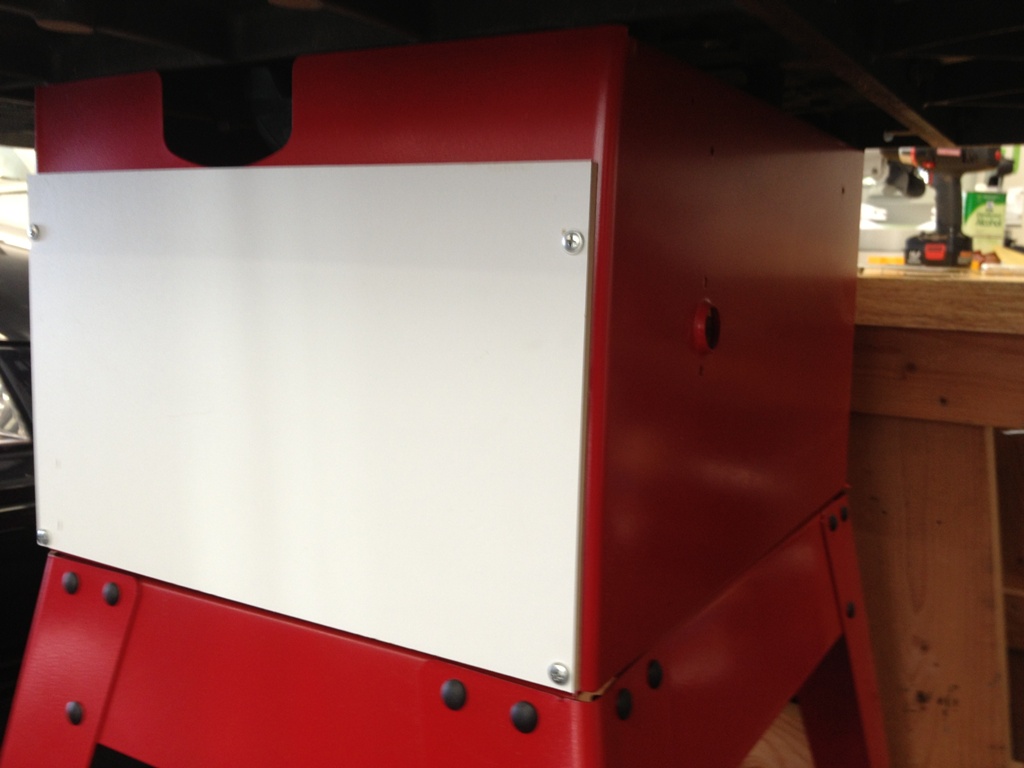 I hate it. I absolutely hate the way it looks. I know Hate is a strong word, and that’s why I chose it. It looks really tacky and I don’t think it will hold up well. I’m going to seek out a small sheet of metal that I can work with. Maybe brass or copper. Heck, how about gold foil? Platinum sheeting. Apparently no effort is too great and no expense is too much for my table saw so I may as well go all out.
Hoping to have this thing up and running in about two weeks but it really depends on how fast things gets shipped out here. It’s tourist season and I am in no mood to brave the lines at the ferry landing just for a trip to sears and home depot.