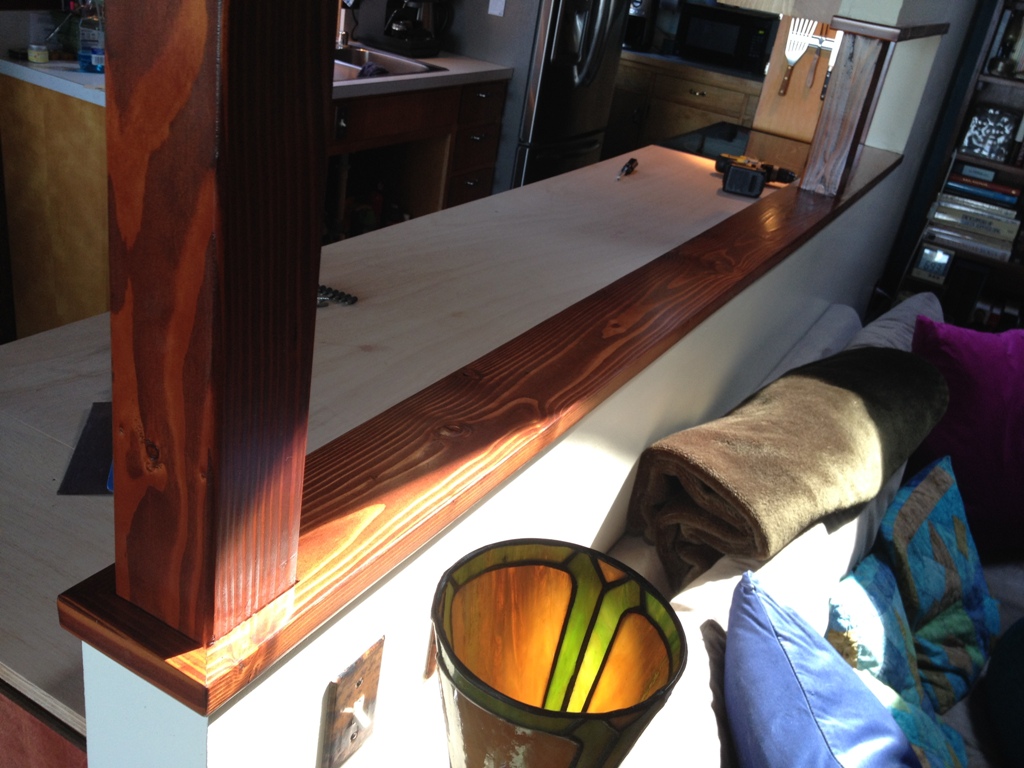
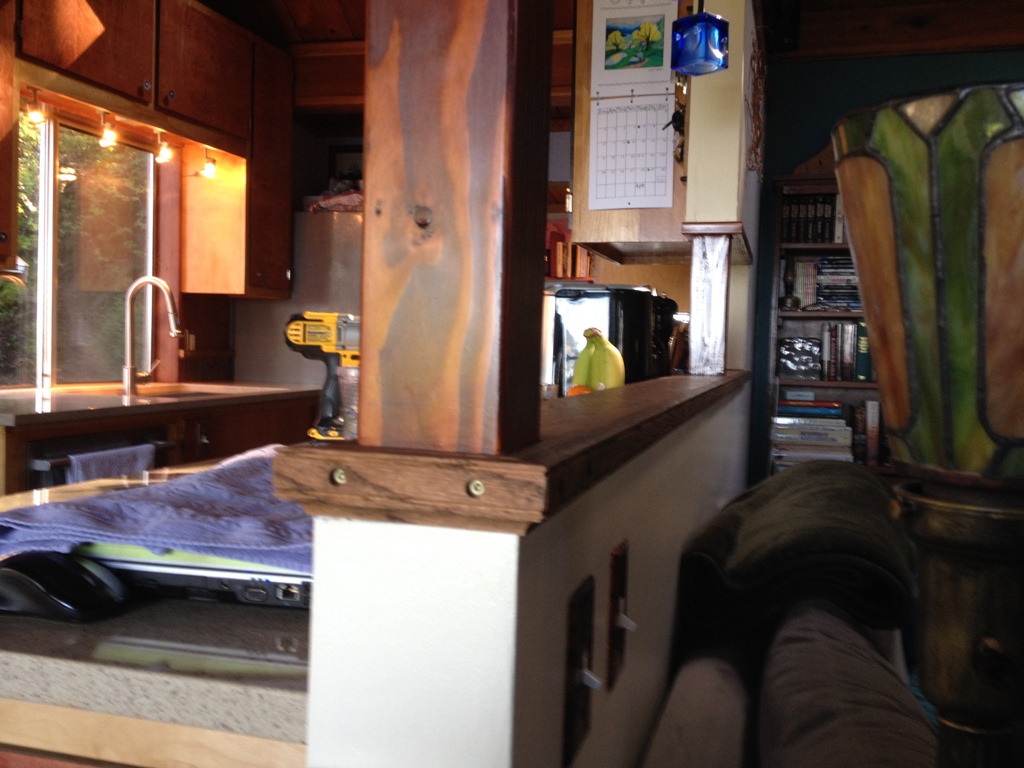
When I opened up the kitchen wall, I made this little half-wall between the kitchen and living room. I capped the half-wall with this 2×6 that I planed down and smoothed out and stained until it was passable. Nothing fancy, as you can see, which fits in well with this “nothing fancy” house. But now that the kitchen is getting a little fancier, I thought this piece might need to go.
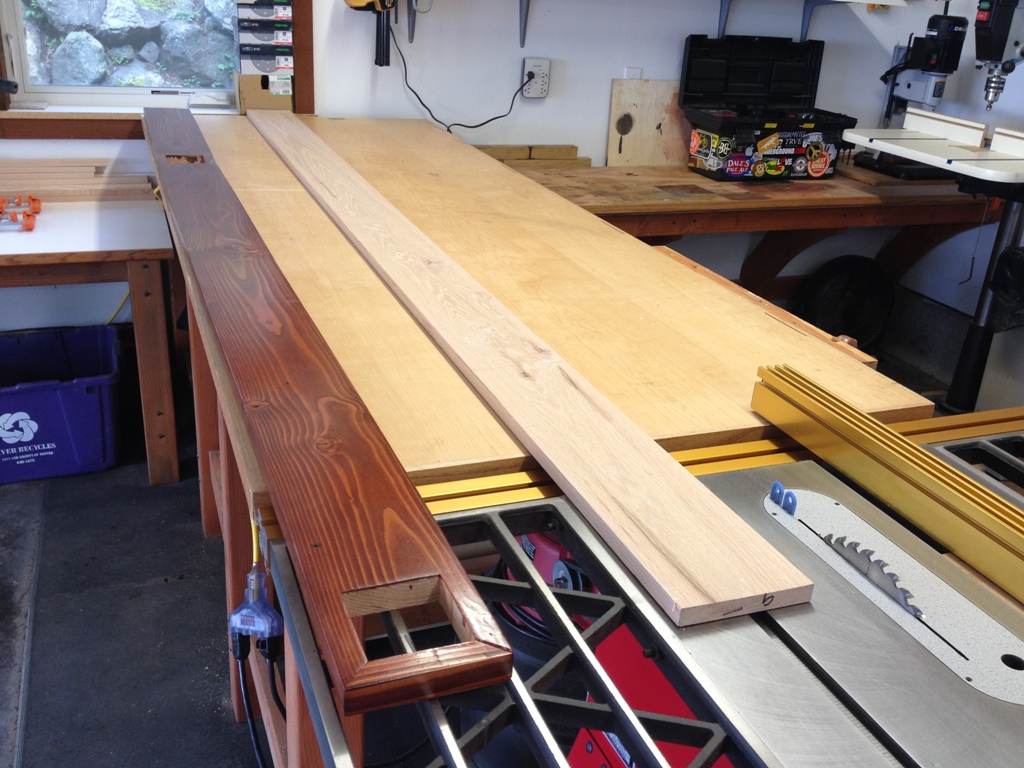
The backsplash over the new countertop will be something pretty cool, so to replace this cap I wanted to use something nice. Hardwoods can be hard to find on this island, but I did find this piece of milled oak that was just long enough (seriously, within one inch) to do what I needed it to do.
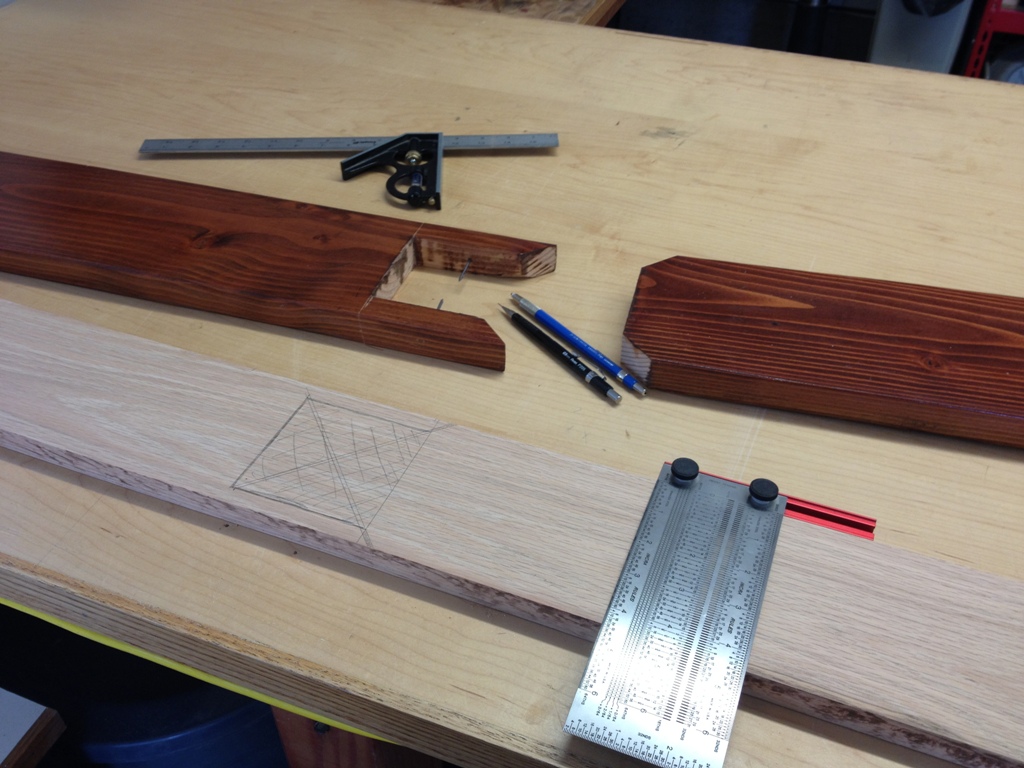
Measurements are very carefully marked out before I start making sawdust out of it.
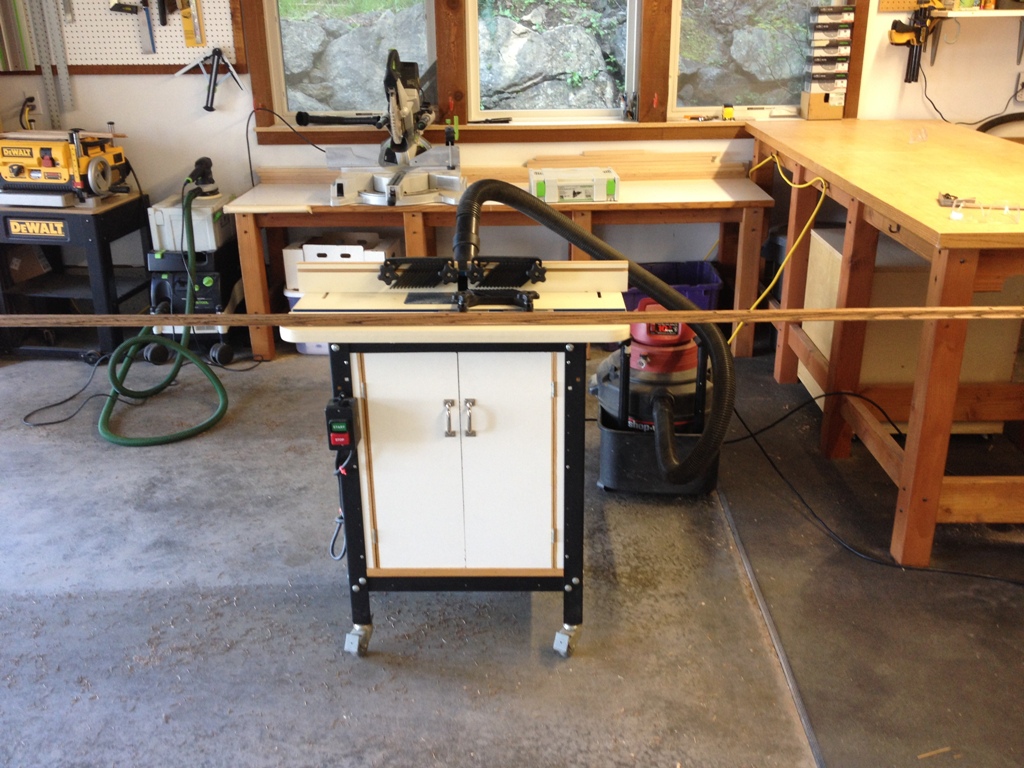
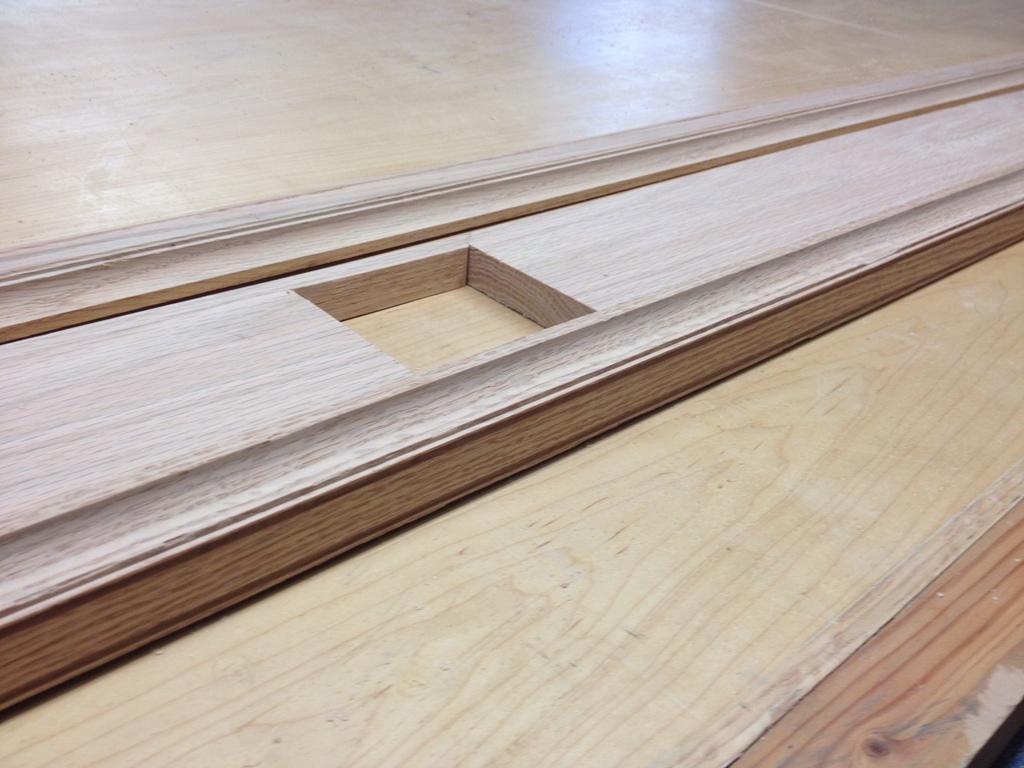
Making the band that goes around the edge is a little tricky, as the kind of banding I use in this house takes at least four passes over the router, and some of those oak 1×2’s were 12 feet long. My shop isn’t set up to rout lengths of wood that big, so I had to move the router table out into the middle of the garage, and carefully feed each piece through featherboards to clamp it down against the fence and the router bit securely. That length of wood tends to get a little springy and unwieldy unless it’s adequately supported, and I don’t have the bench length to do that… anyway, enough boring woodworker talk.
Too Long; Didn’t Read: It was a really tricky cut.
The successfully routed bands fit well against the cut cap.
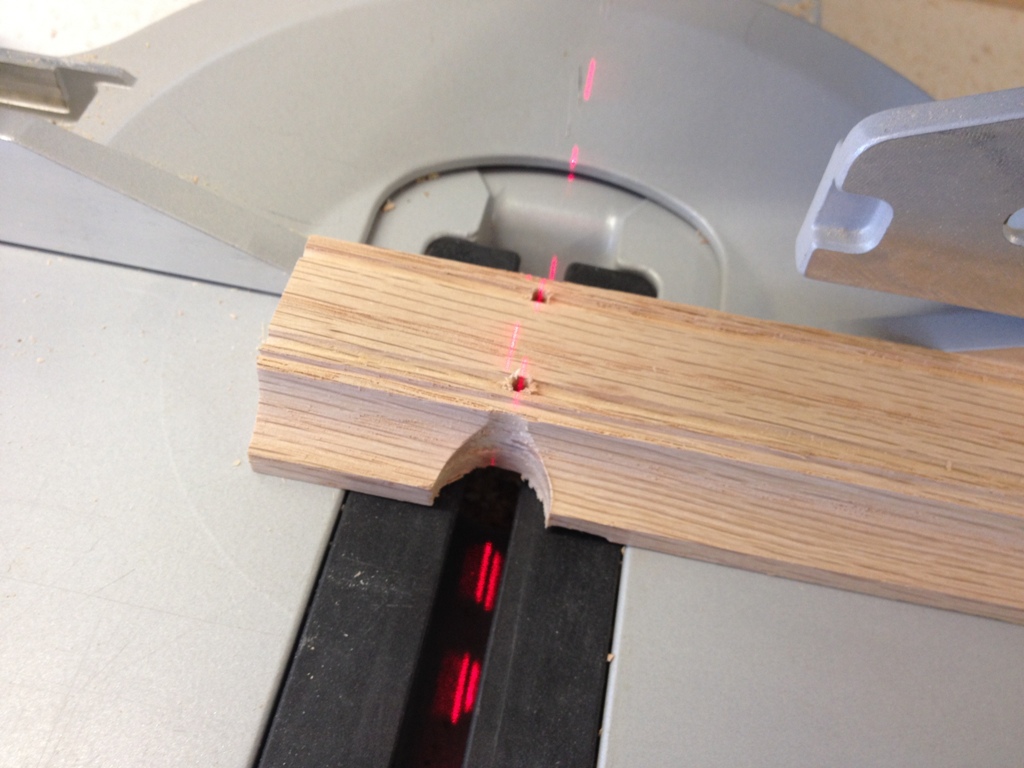
Shaping the edge is a little tricky too. You can shape the length of it on the router, but against the grain it needs to be sawn by hand. However, since most of the routs are circular, I could use a drill to make those circular cuts against the grain, and then just cut it on the miter saw.
TL; DR: Another tricky cut.
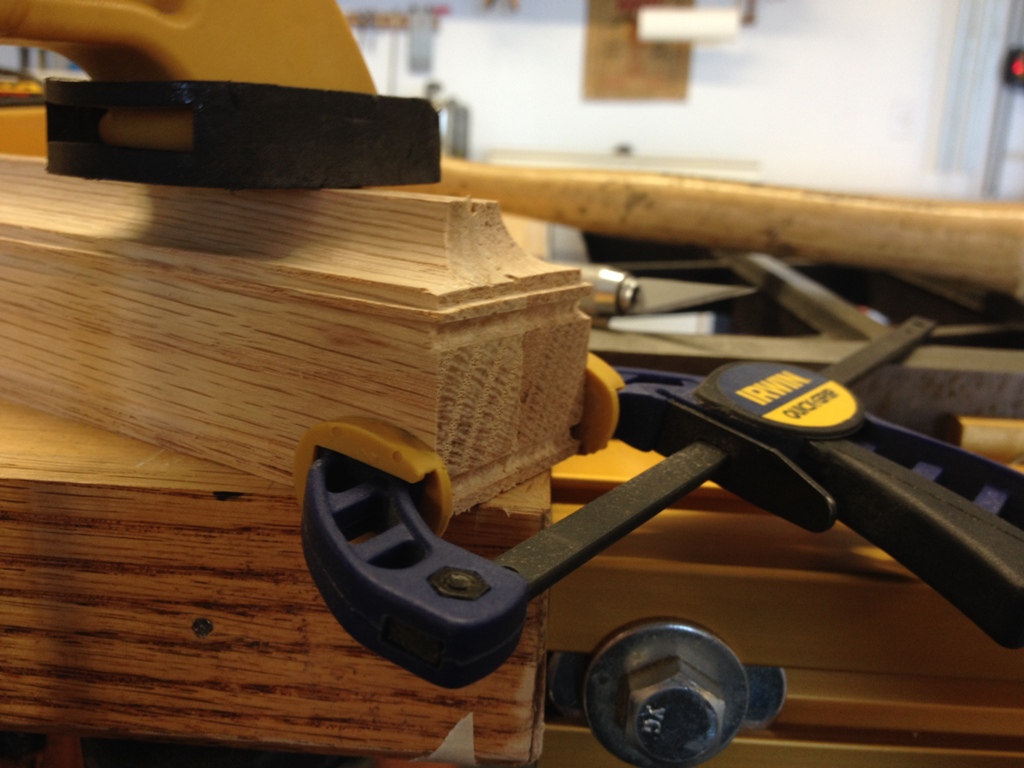
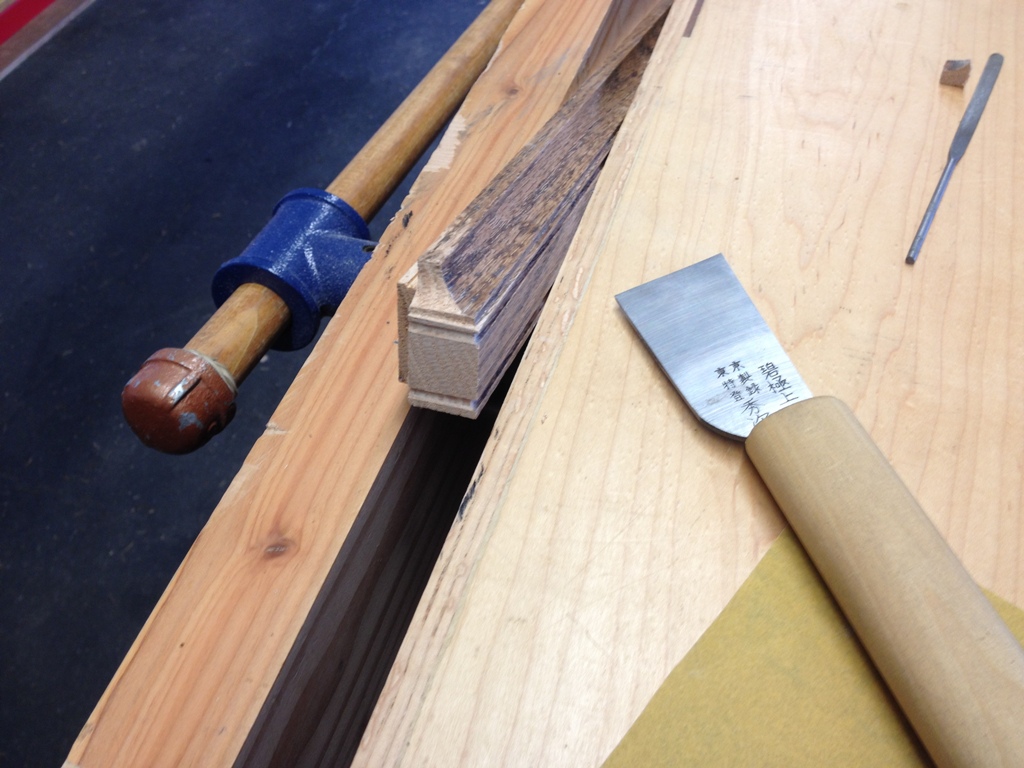
I then clean up the edges by clamping two sides together to ensure symmetry. I use sharp scrapers, files, x-acto knives and a little bit of sandpaper wrapped around a wine bottle cork. Got plenty of them laying around the shop.
TL; DR: Just stop reading and look at the pretty pictures.
Even after shaping the edge, each piece had to be further cut and fitted very precisely to fit along the wall nice and flush. The devil was in the details on this one, and she was one really mean devil.
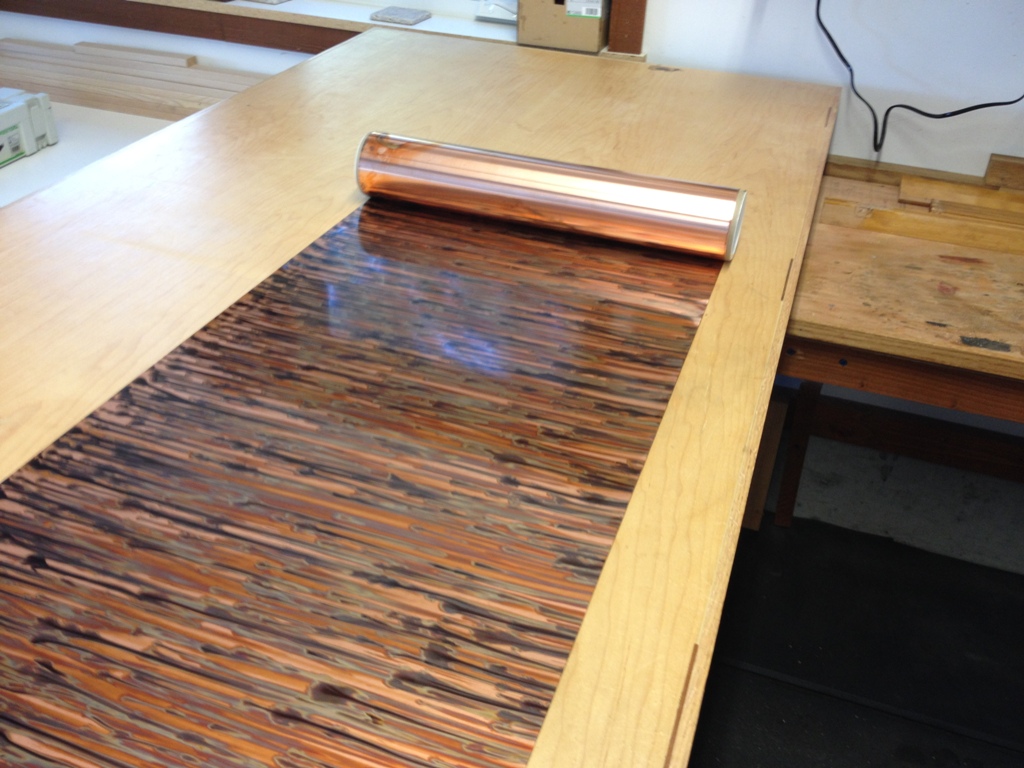
This is a roll of 36 gauge copper. One side has been specially pigmented with an interesting pattern along its length. We’re going to use it for the backsplash. I told you we were doing something cool in here!
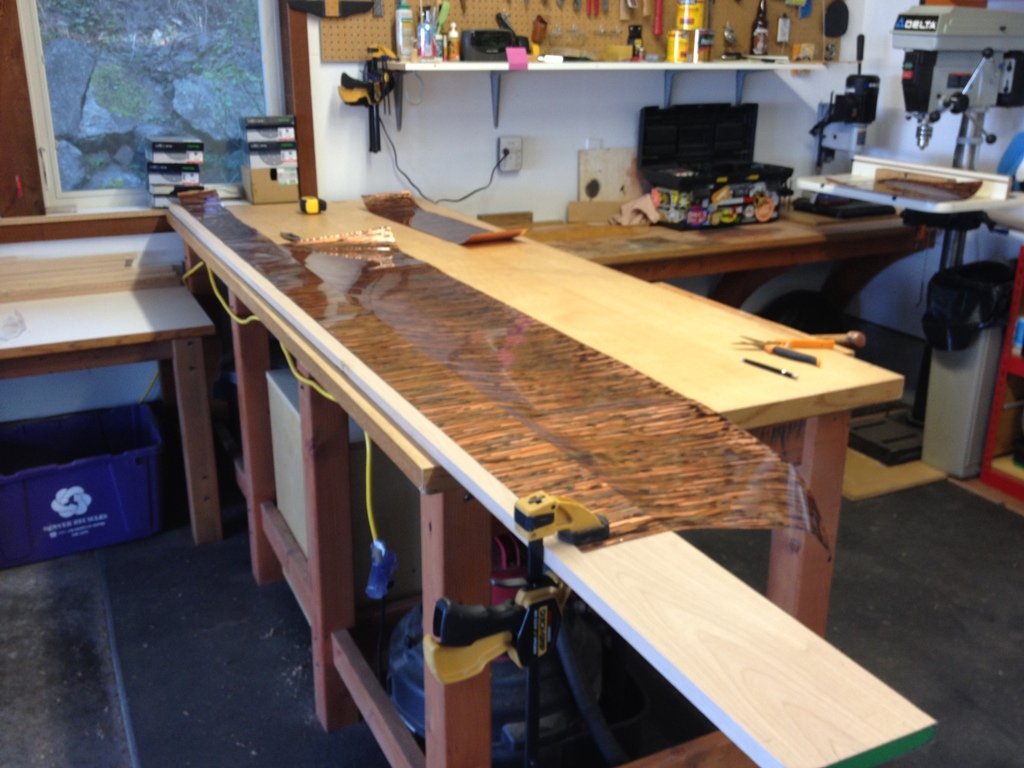
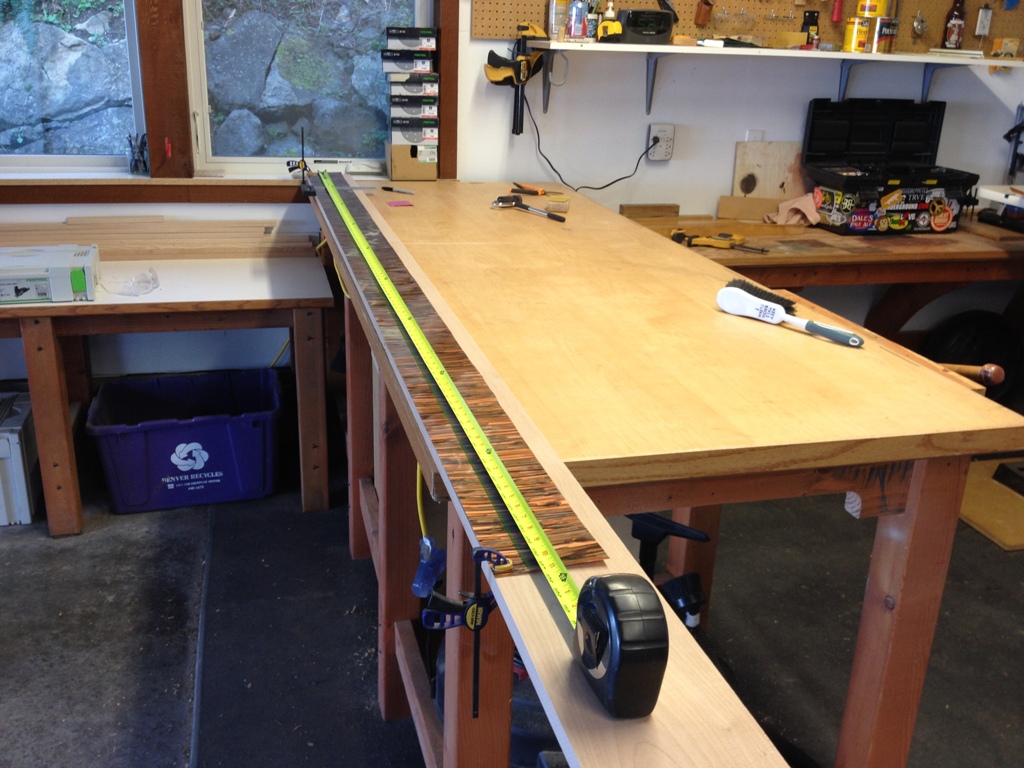
I had to lay this thing out on a nice flat board, some of the leftover birch from the cabinet extension project.
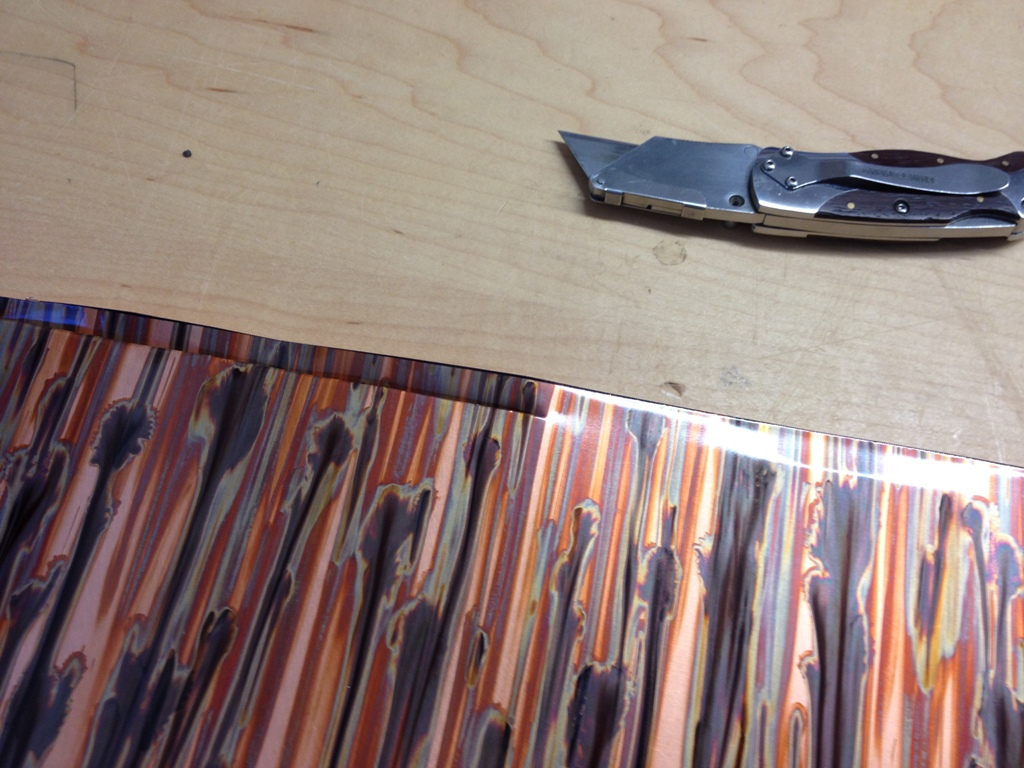
It cuts pretty easily. Once you get the cut going you can just pull a utility knife across it and slice it in a straight line.
Cutting the holes for the electrical outlets was also tricky.
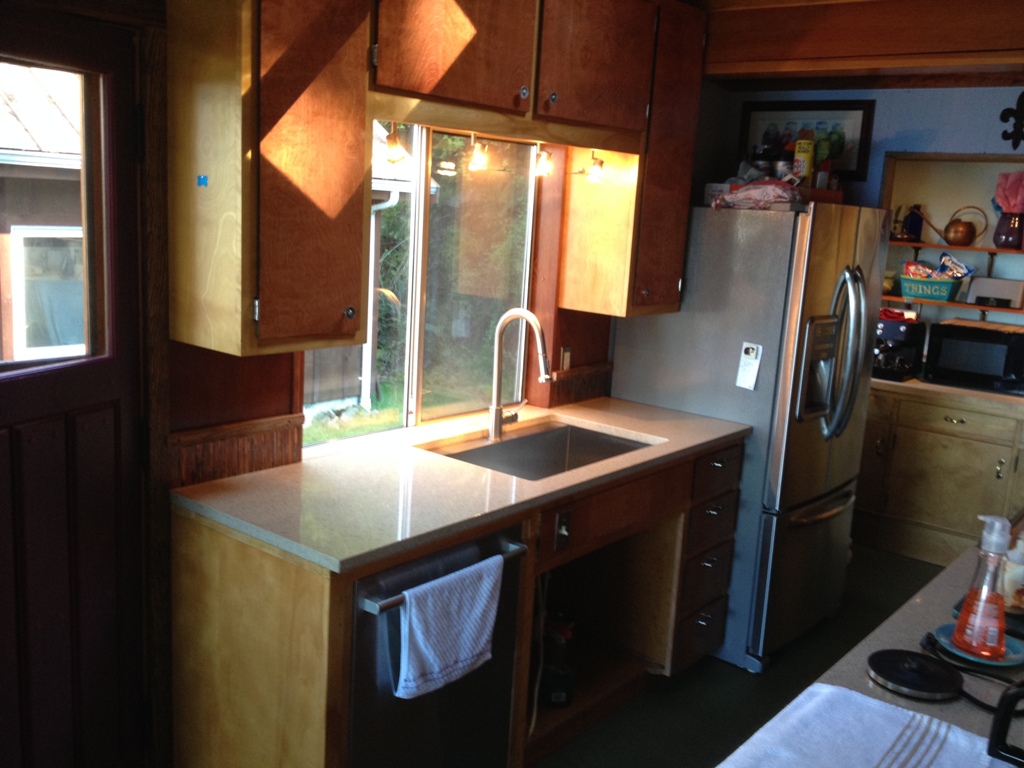
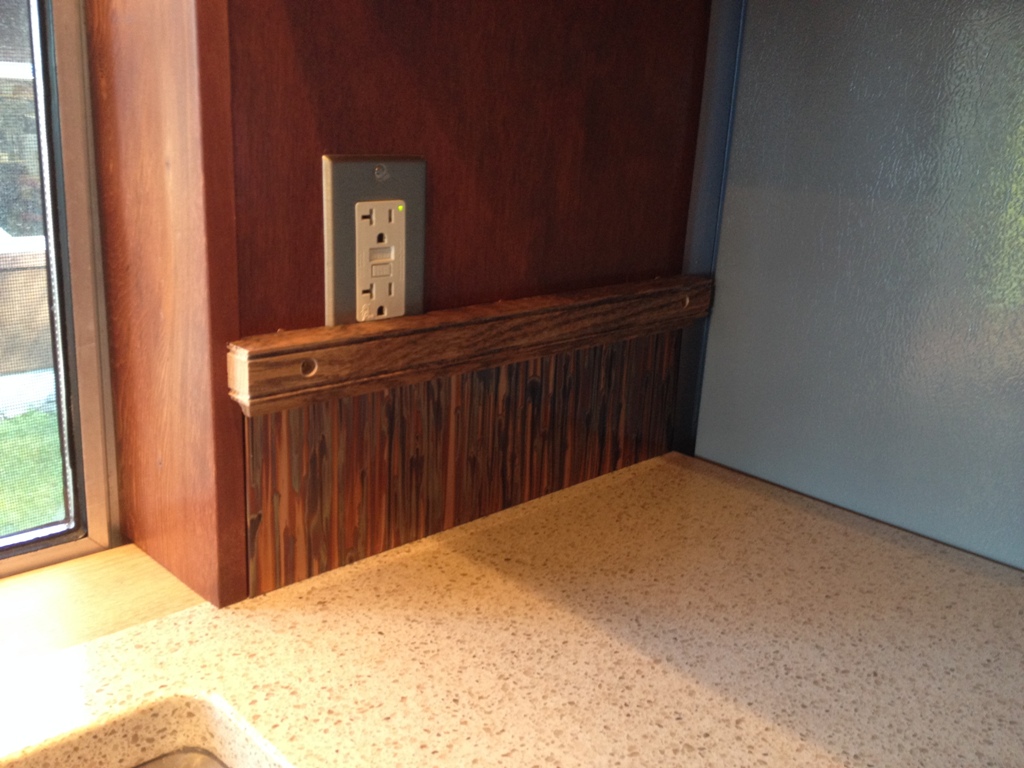
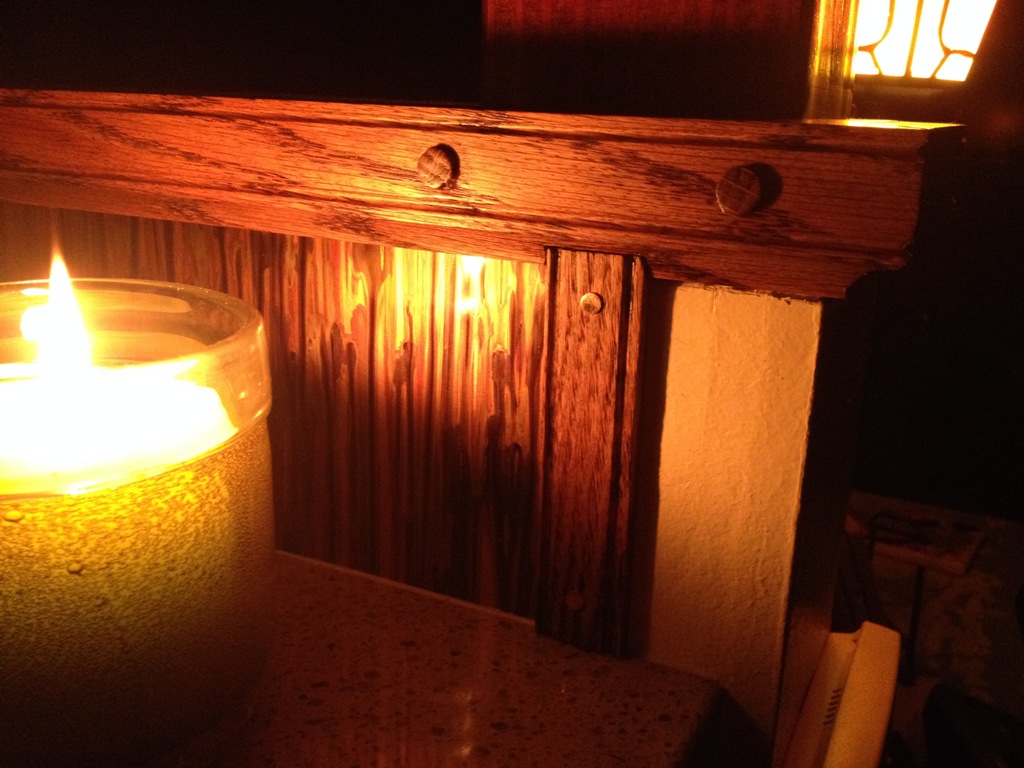
So, a little contact cement, a lot of work with a roller, and some carefully cut trim pieces, and the copper backsplash is now installed! The copper is adding some very unique character to our kitchen and everything is coming together very nicely, even if we’re over budget and it’s taking several weeks longer than I wanted it to. Hey, this is our kitchen. We cook in here every day. I want it to be nice.
The new cap is installed and looks great.
I did take one shortcut in this whole kitchen. I didn’t move this electrical outlet, and just installed the trim banding over it. Call it laziness, call it what you will, but I took a quick look at that box in there and it was in such a tight space that I didn’t want to mess with it. So, I apologize to the future owners of this house, this kind of stuff drives me crazy too. But I’ve been busting my ass in this kitchen for weeks now and I have attained the point at which I just don’t care anymore. Be glad you can still plug two things into it, for I’ve seen worse in this house by whoever did the prior work.
And if you don’t think it looks cool, well, you’re in the wrong house. Go away.
Inky went to the beach, of all places.


It looks cool!