I use brackets a lot in my projects. I like the look of little brackets spaced at intervals along a band of wood, like you see in old craftsman houses. They add structure as well as charm. As I’m re-doing all the trim pieces in the house, the new trim is going to have plenty of these little curved brackets for added support, as well as architectural style.
Here’s an example of ones I did in a past project:
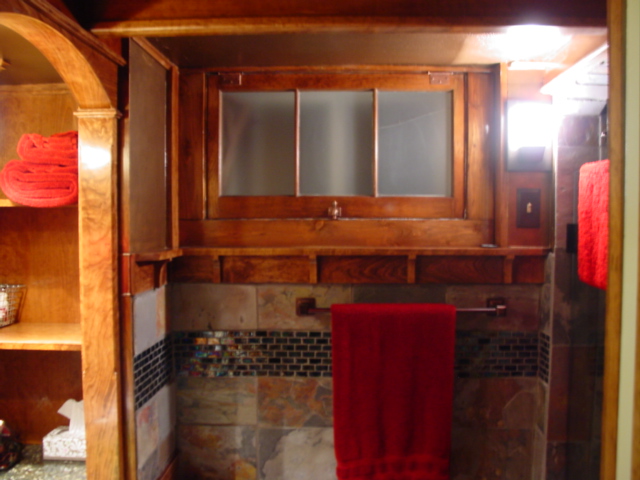
So they run along a band of wood with a little shelf on top, which makes for a convenent place to put your beer, collect D&D lead figures, or simply accumulate dust. But I think it adds some character. Anyway, in this house, I’ll probably need about 100 to 200 of these brackets. When you need that many, you need to find a way to make lots of them and all the same size and shape.
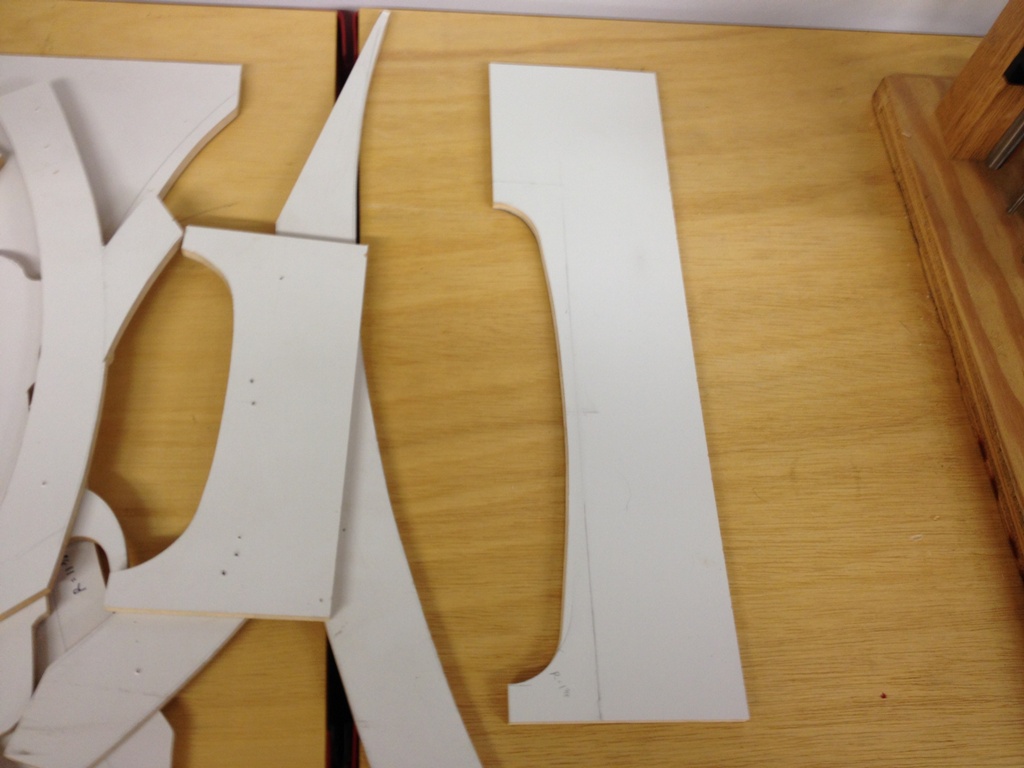
I start by making a template. I use 1/4″ laminated MDF. It’s very easy to work with and retains its shape well as long as it’s not abused. I’ve got a growing collection of templates for various brackets and curves that I’ve done. I first make a rough cut with a coping saw, then file it smooth, then sand it even smoother, checking the final shape for symmetry and correct geometry. The one on the right is the one I’ll be using.
 Using the template, I scribe out the line I need to cut on the wood. I make a fine line right along the edge, then use a bolder pencil to line out where I’m going to cut with the jigsaw. The idea is that the rough cut is not going to go all the way to the line, it’ll leave about 1 or 2 mm of wood left to shave off. See, I’m so freaking close to Canada that I’m starting to use metric units.
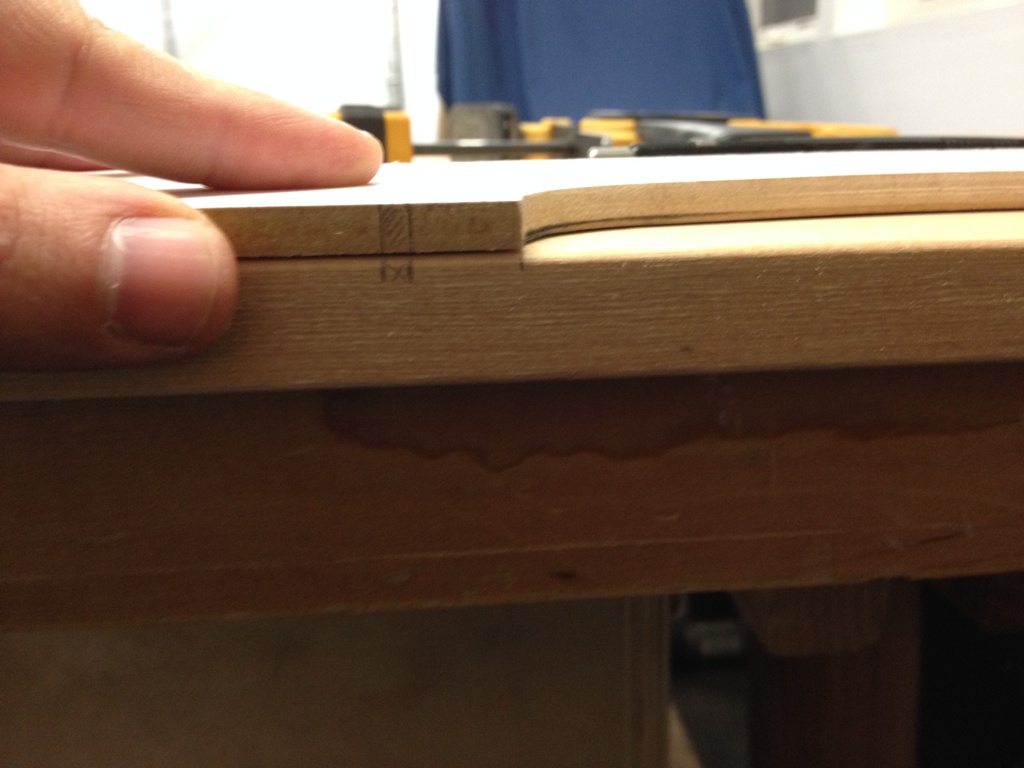
Each piece is very carefully marked. That little hatched area is the area the saw will cut away.
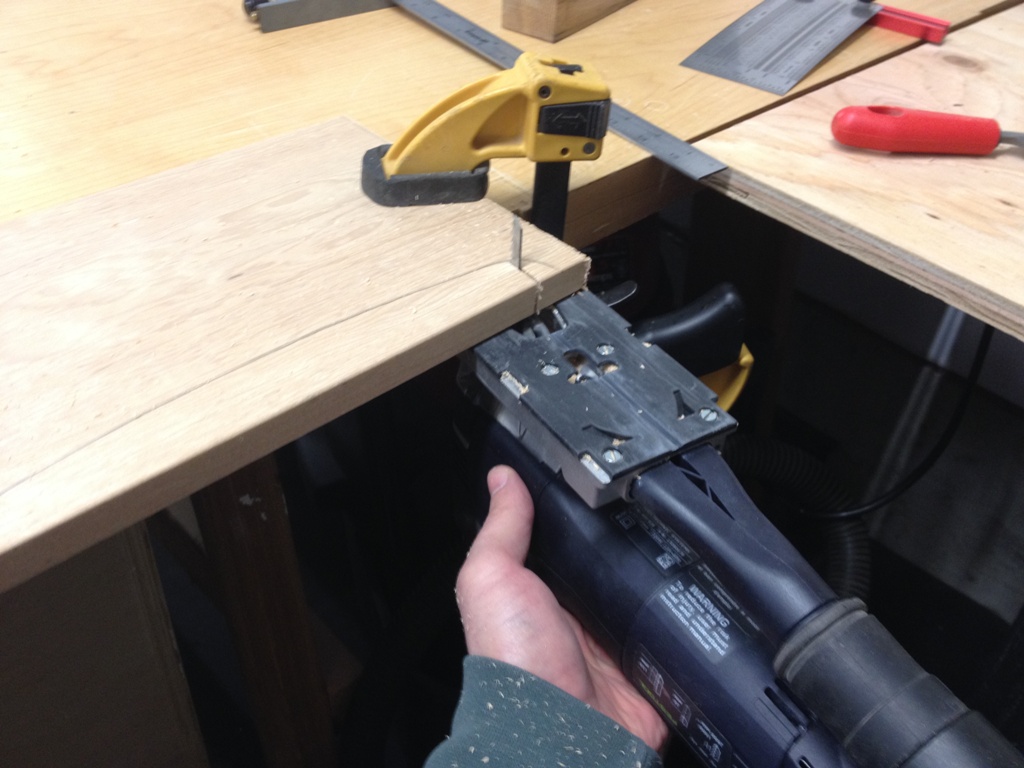
With this jigsaw, I like to cut from underneath the piece. This way you see exactly where the blade is cutting. The trick is to keep the jigsaw plate square to the wood. If it’s not square, or if there’s some movement or vibration in the wood, you run into trouble. Press firm. Watch the blade carefully. Cutting freehand along a scribed line is not something I’m particularly good at, so I need to take my time with this step.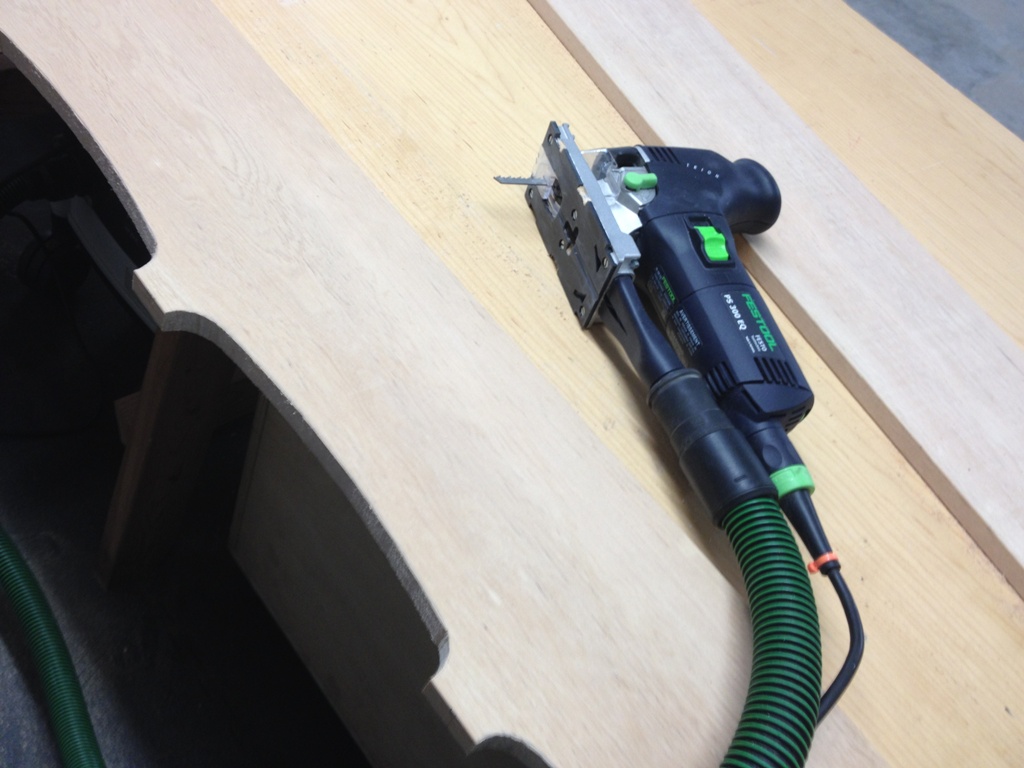
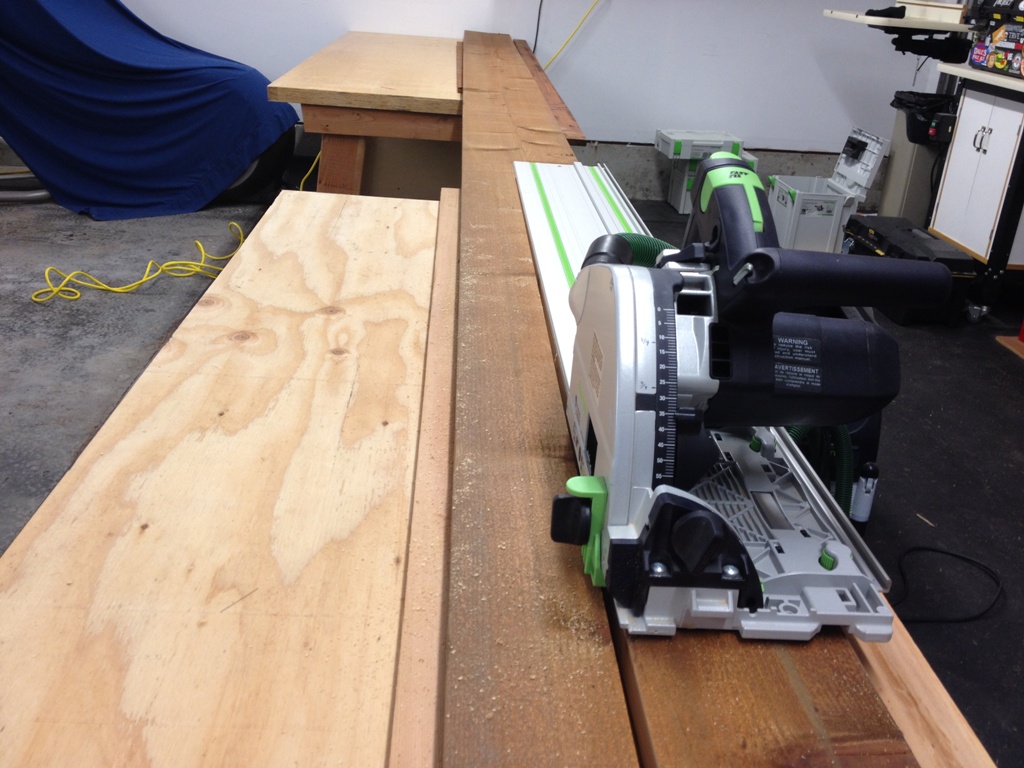
Again, Festool makes short work of the project.
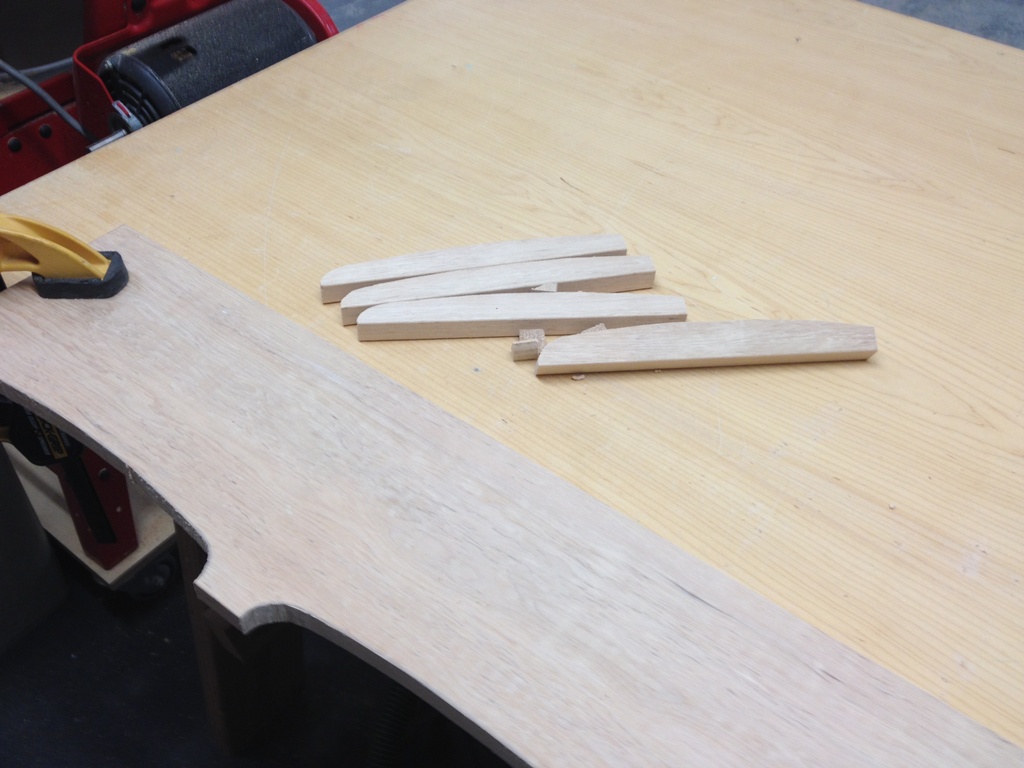
The nice thing about being a woodworker and owning a wood burning stove is that every project I work on makes my house warmer. As I type this blog post, those little pieces of wood are on fire and heating my home. We don’t let much go to waste out here.
Next thing I do is affix that template to the work piece and give it a few passes on the router. Using a nice smoothing bit, it cuts right along the template edge, and gives me an exact cut that’s going to be the same shape every time and typically I don’t even need to sand it.
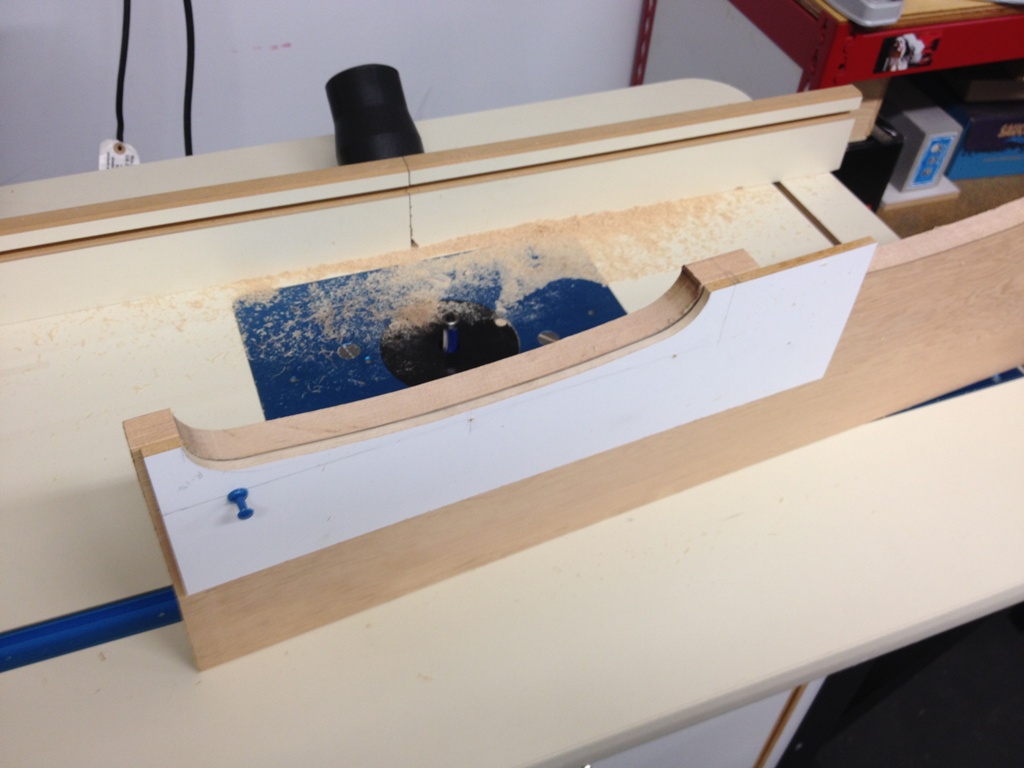
I attach the template to the board using push pins. Yes, push pins. I used to have push pins made entirely of steel but they are now lost and I have no idea where they are. They went to push pin heaven or something. Now all I have is a dwindling number of plastic push pins that tend to break when I push them into the wood.
Now if you plan this appropriately, you can drive the pin through a section of the wood that’s going to get sawn off. Therefore there’s no need to fill or repair the hole it made. But I’ll be honest here. I’ve made a lot of brackets and the vast majority of them have little pin holes in them where the template attached, and I made no attempt to repair them. And no one ever notices. Anyway, these particular brackets will have the hole marks sawn off.
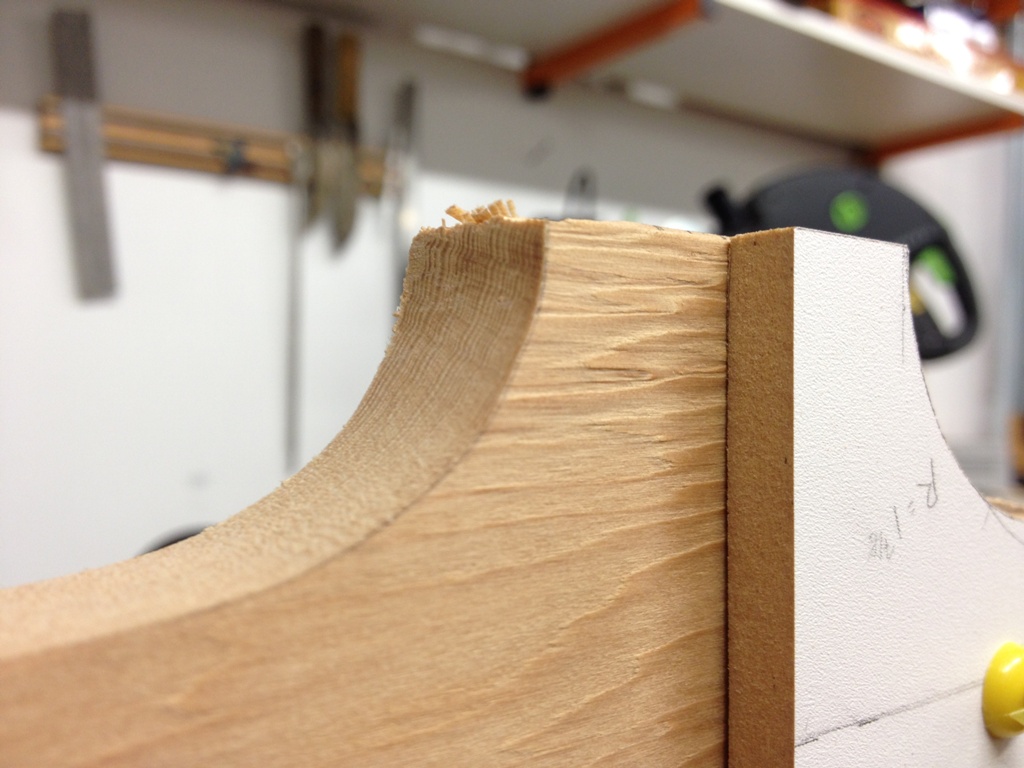
Now there is a problem with tear out when you do it this way. That’s when the router bit tears the wood at the corner, like in the pic above. Sometimes it’s pretty minor, sometimes it ruins the piece. There’s a few ways to avoid tearout but the method I prefer is to cut the wood with a chisel right where the router bit is going to tear.
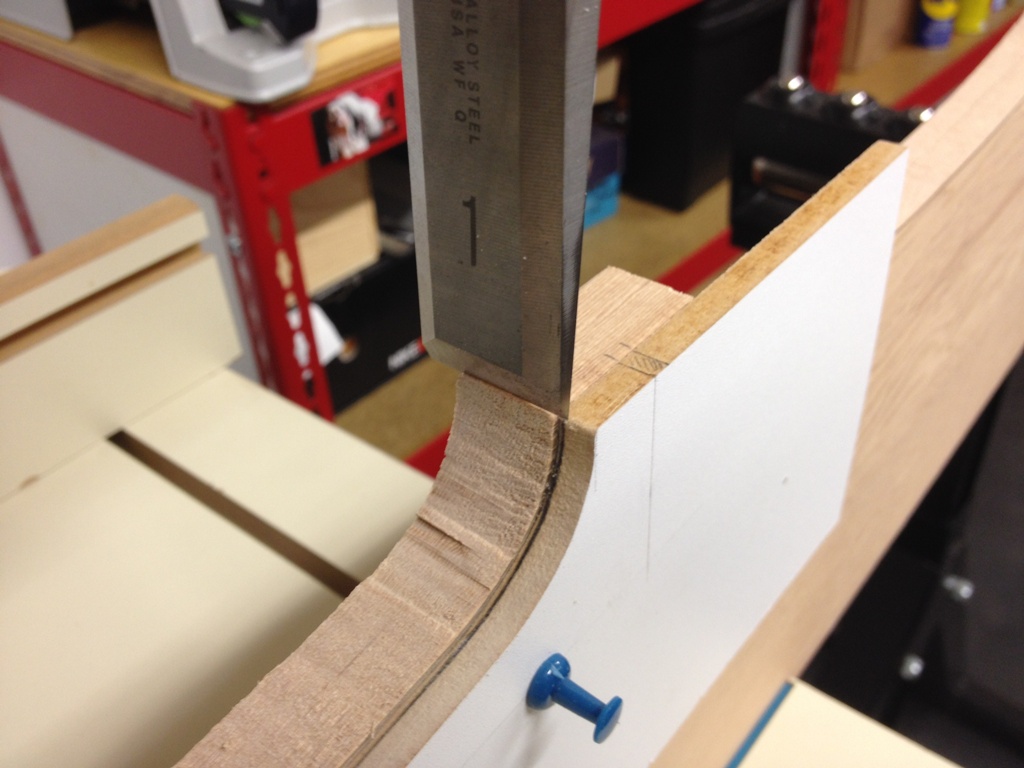
It’s a pain in the butt to do it for every single bracket, but you really want that point to look neat and clean. It’s going to be the most prominent point on the bracket, very visible. So I take the time to do it right and ensure a clean look.
Once each bracket is hollowed out, it’s time to rip it down to the correct width.
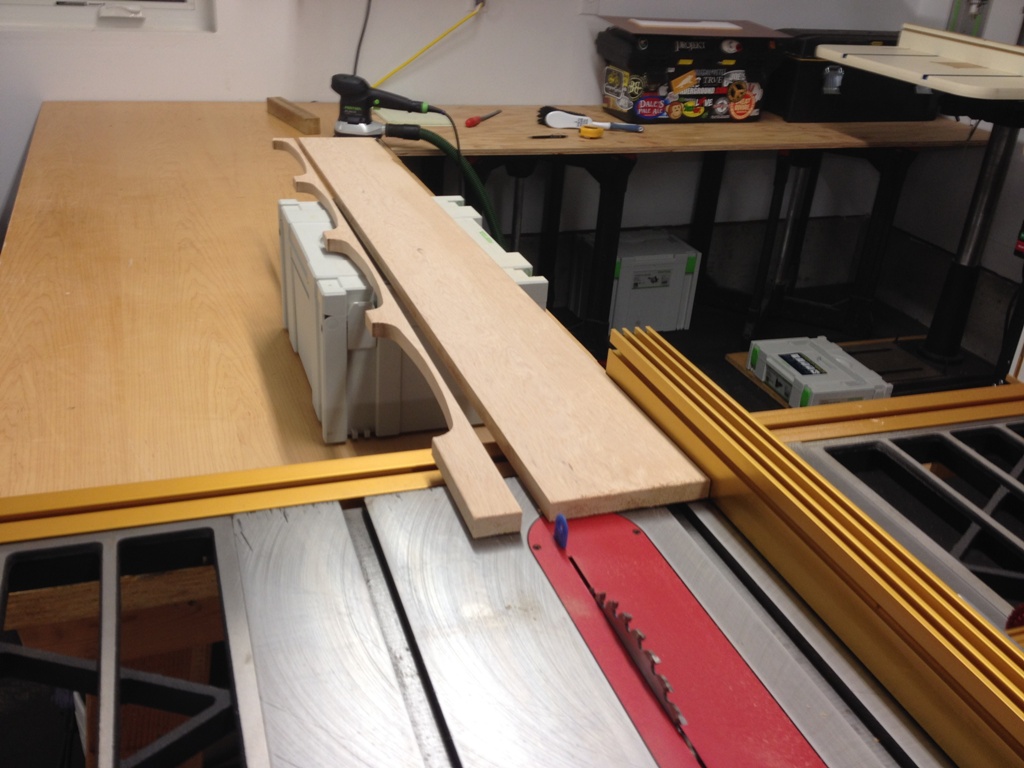
The table saw made this cut flawlessly and effortlessly. Which is pretty much the only thing that has gone flawless and effortless since I moved to this island and started working on projects. So immediately my guard was up, waiting for the next thing to go wrong.
I cut out the individual brackets on the chop saw. I don’t like cutting small pieces on the table saw, as small things have a tendency to want to go flying and poke someone’s eye out.
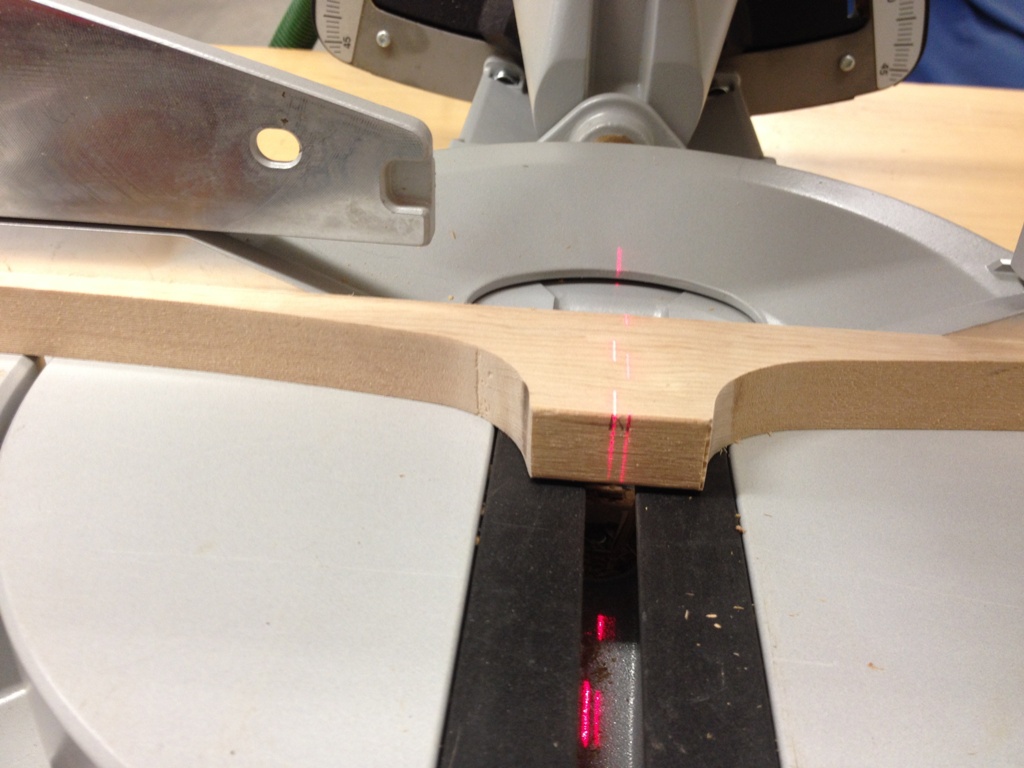
My template pre-marked where the saw needs to cut to make each bracket symmetrical. After cutting this way, it looks like I have a stack of ribs, ready to make a boat or something.

Ha ha! A boat. That would imply I have time for recreational activities. Ha ha ha. I’m so funny.
Back to reality. One more cut and they finally look like brackets.
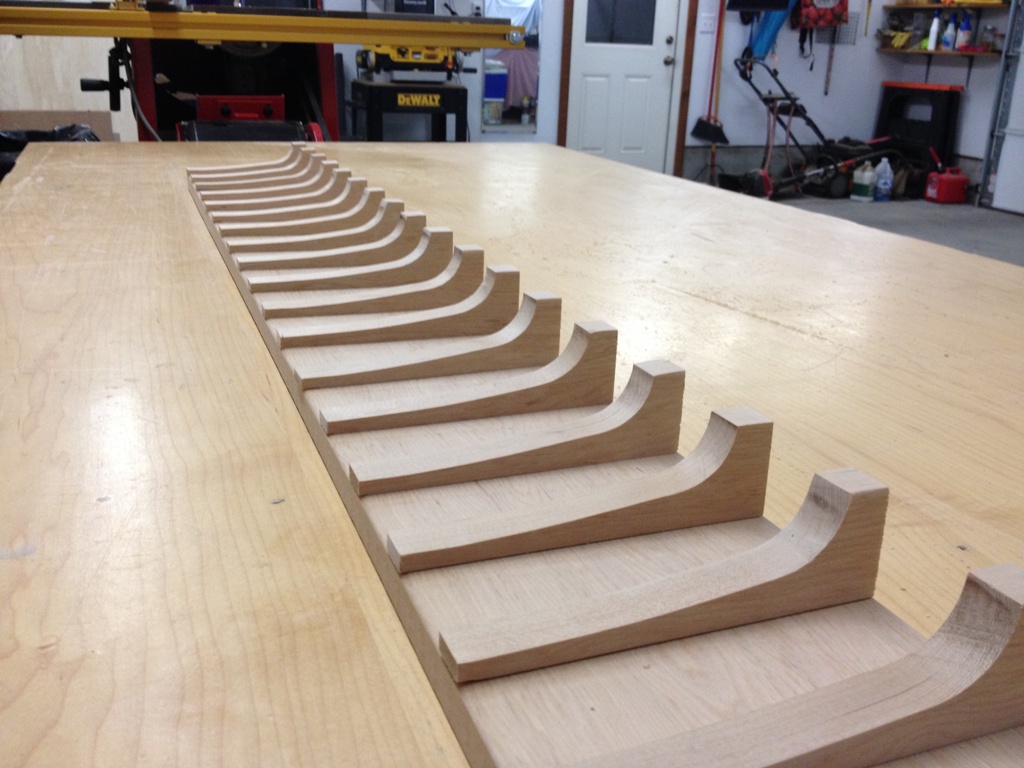
Just some final sanding needed now to get rid of those stubborn burn marks. A nice drum or spindle sander should get rid of those marks pretty easily (problem: I don’t own a drum or spindle sander).
This is a good technique to make any number of curved pieces with repeatable accuracy. These brackets are going to be along a band and shelf that goes around most of the interior of the house so it’s important they all look uniform. They don’t need to be down to the tenth of a millimeter or anything, but they have to look the same when viewed with the eye.