A Small House Abhors a Vacuum

IMG_2960

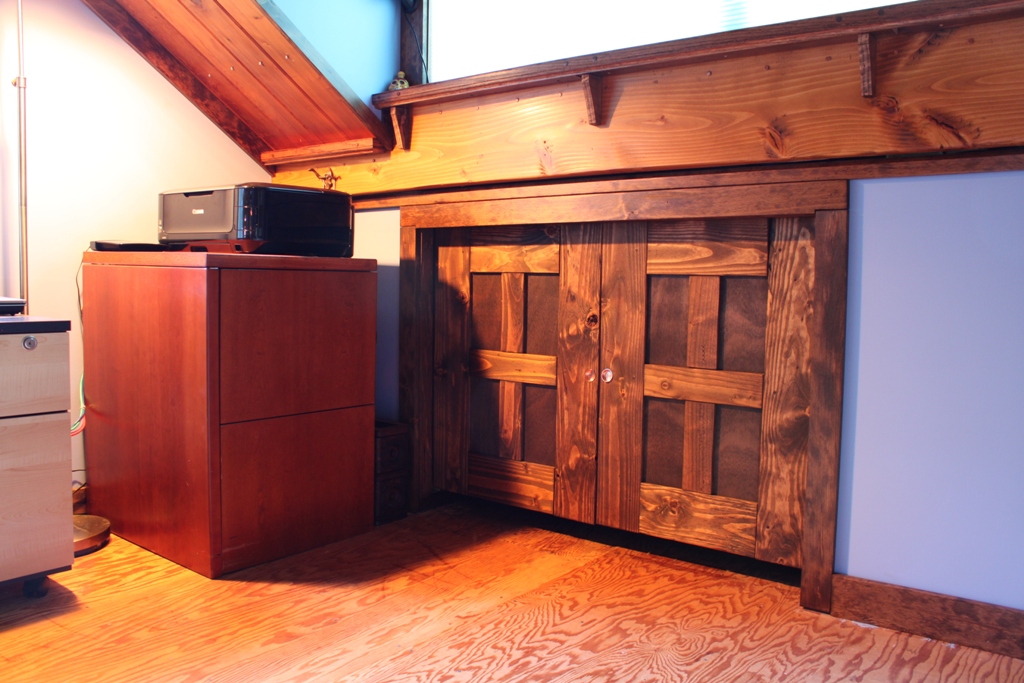
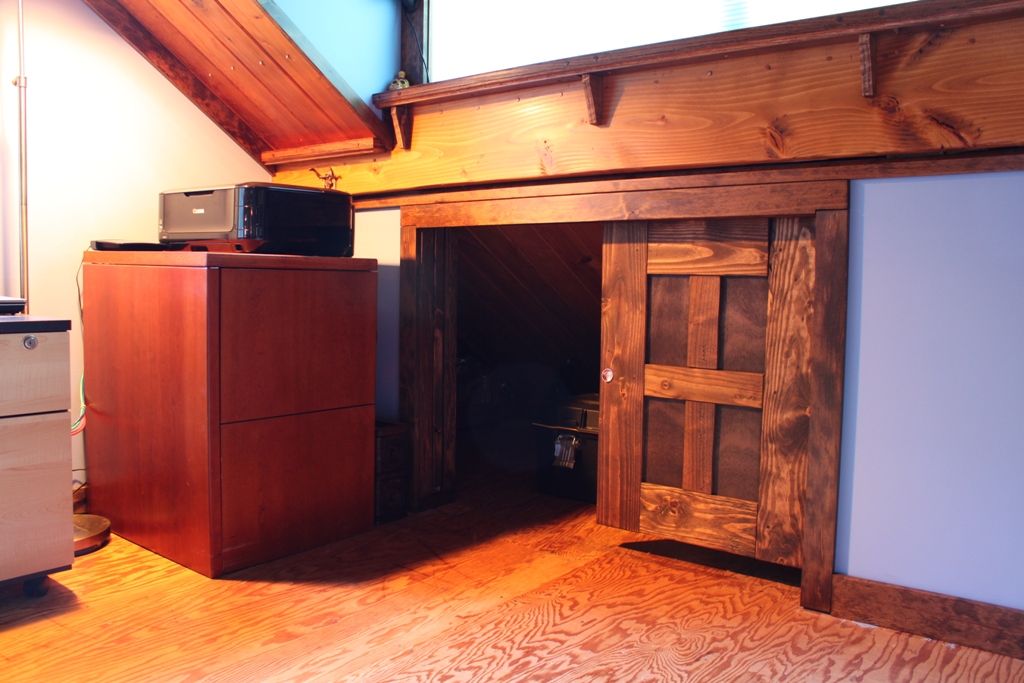
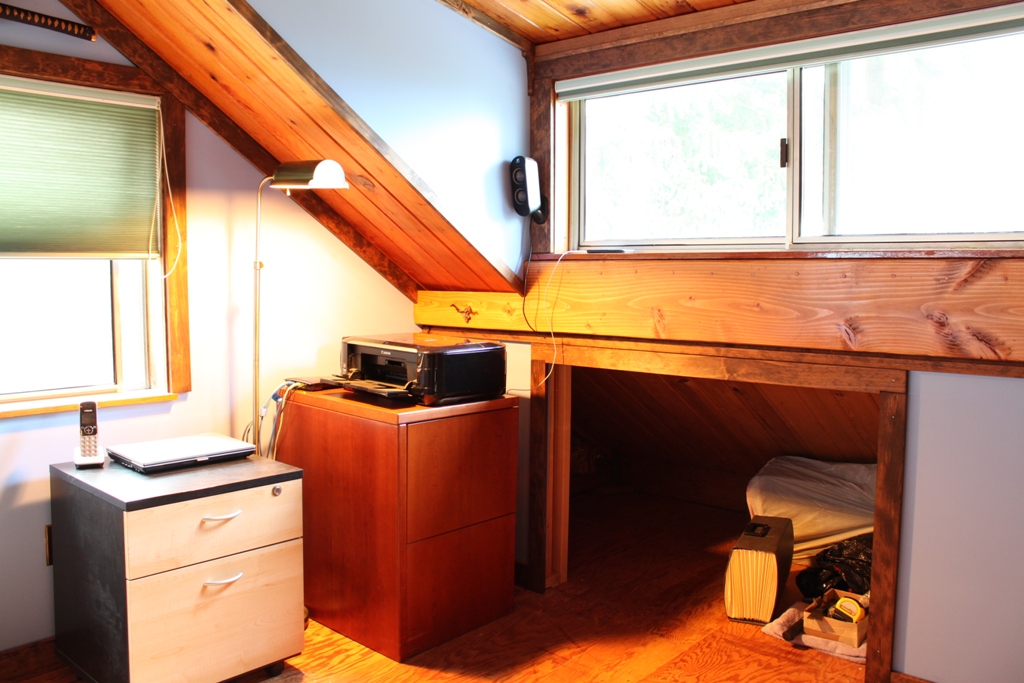
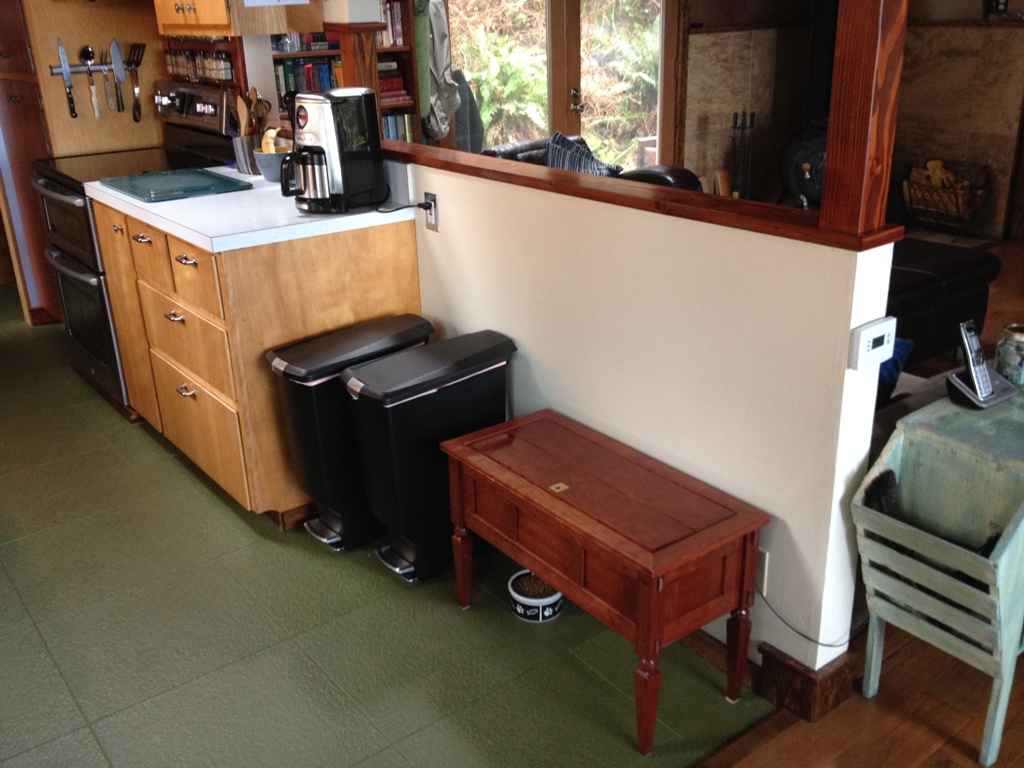
Small houses have to make good use of their spaces.  The space in the pic up above just looks like it’s missing something.  It’s a void, dead space, and small houses abhor a vacuum.  You can fill the void with trash cans and cat food and old woodworking projects but is that really the best use of that space?  Why don’t the kitchen countertops extend all the way down that wall?  I don’t know why they didn’t just do it that way, but I also don’t know what used to be there when they originally built those cabinets.  Maybe that’s where they put the washer and drier.  Maybe they kept dead bodies there in boxes.  I don’t know, but for some reason they didn’t see fit to build out the kitchen cabinets for more countertop space and more storage.

IMG_2959

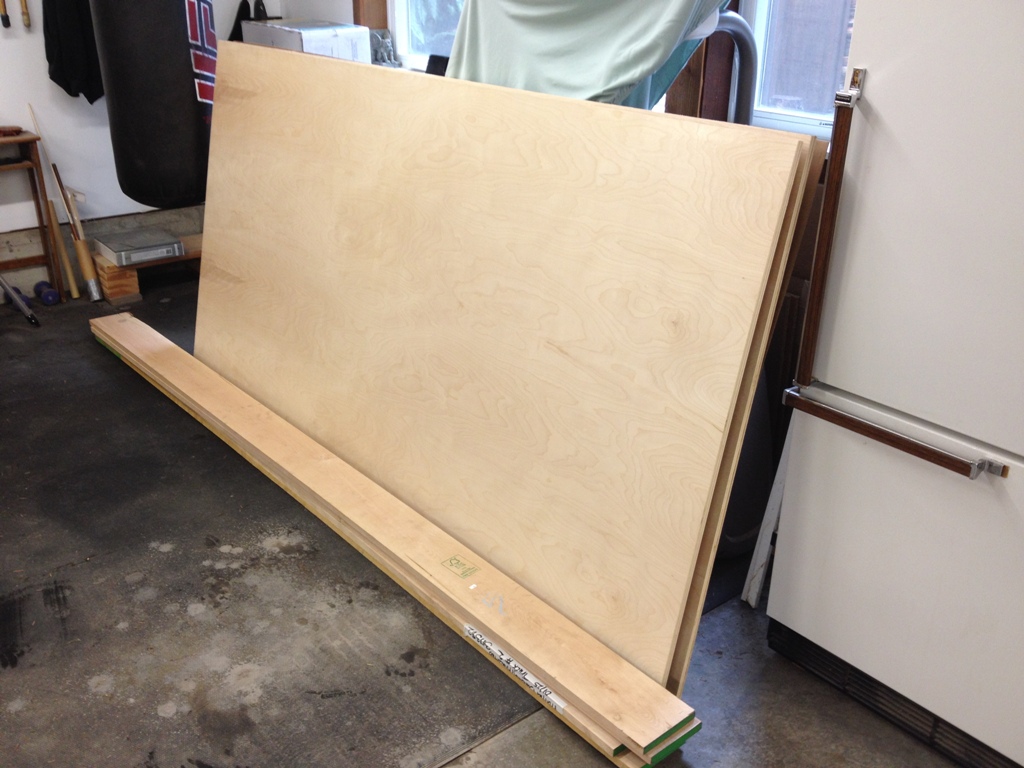
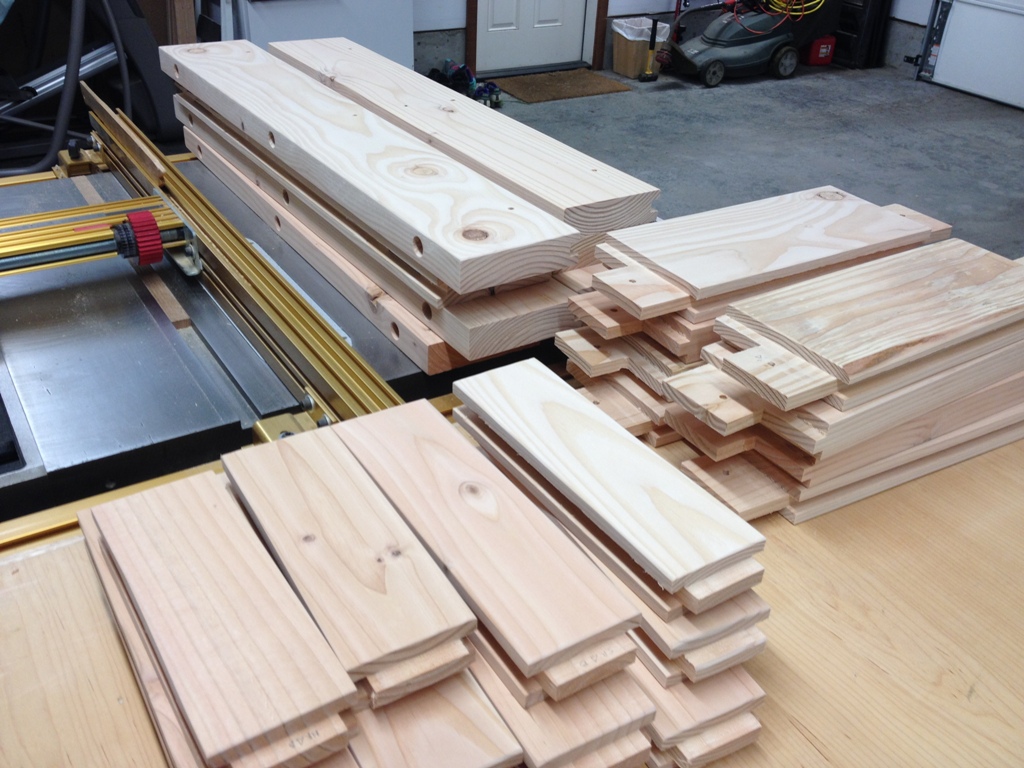
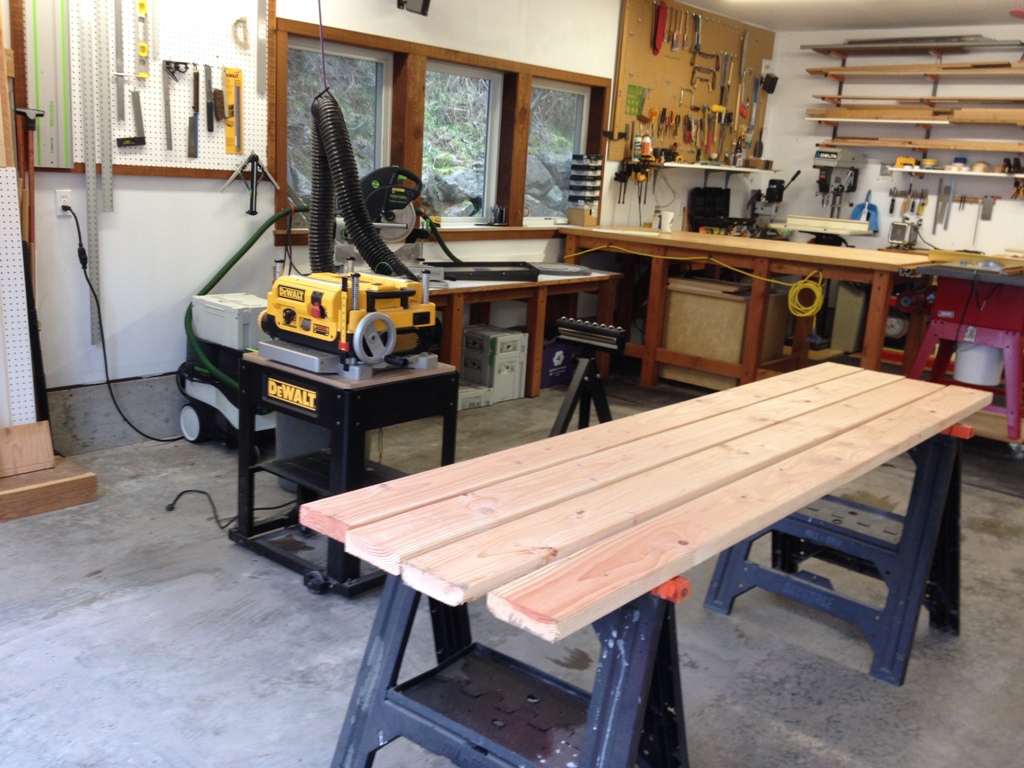
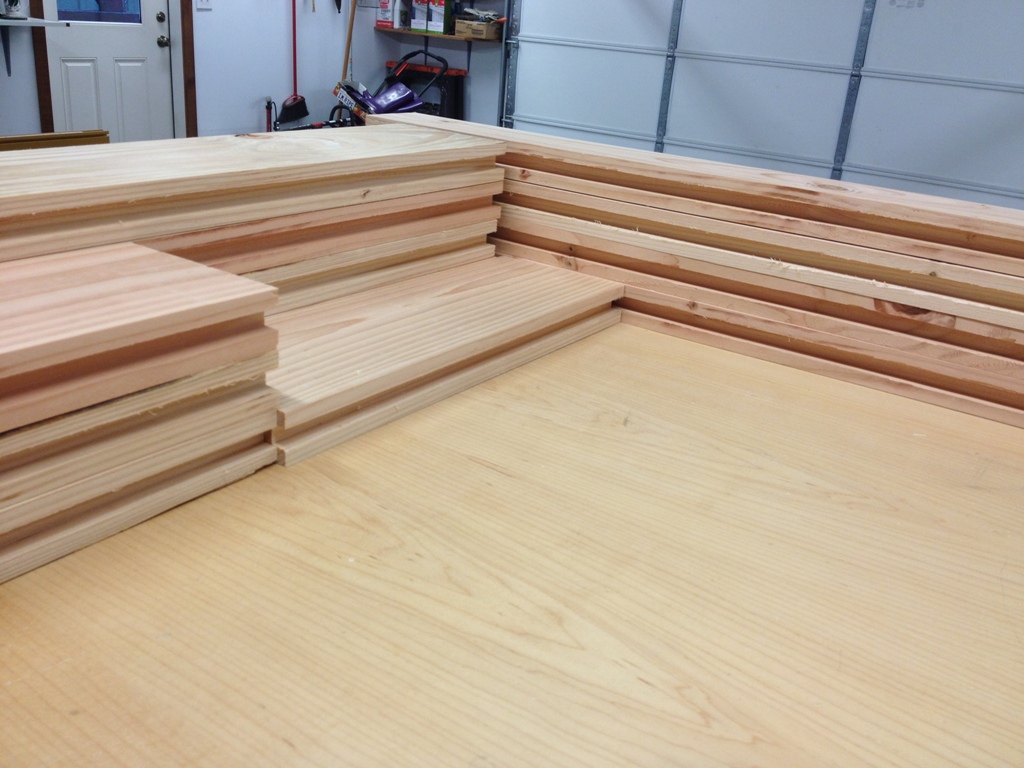
That’s where all this lumber comes in.  I can use this to make more cabinetry in that space and then we can extend the kitchen countertop so it runs the full length of the wall.  I got some solid planks of birch and a couple sheets of high grade birch plywood.  Birch is the most boring wood on the planet.  It is bereft of character, does not like to be stained, and as hardwoods go it is one of the softer ones.  But the existing cabinets are birch and if I want to match them (part of me does, and part of me doesn’t) then I have to use boring ol’ birch.

IMG_2963

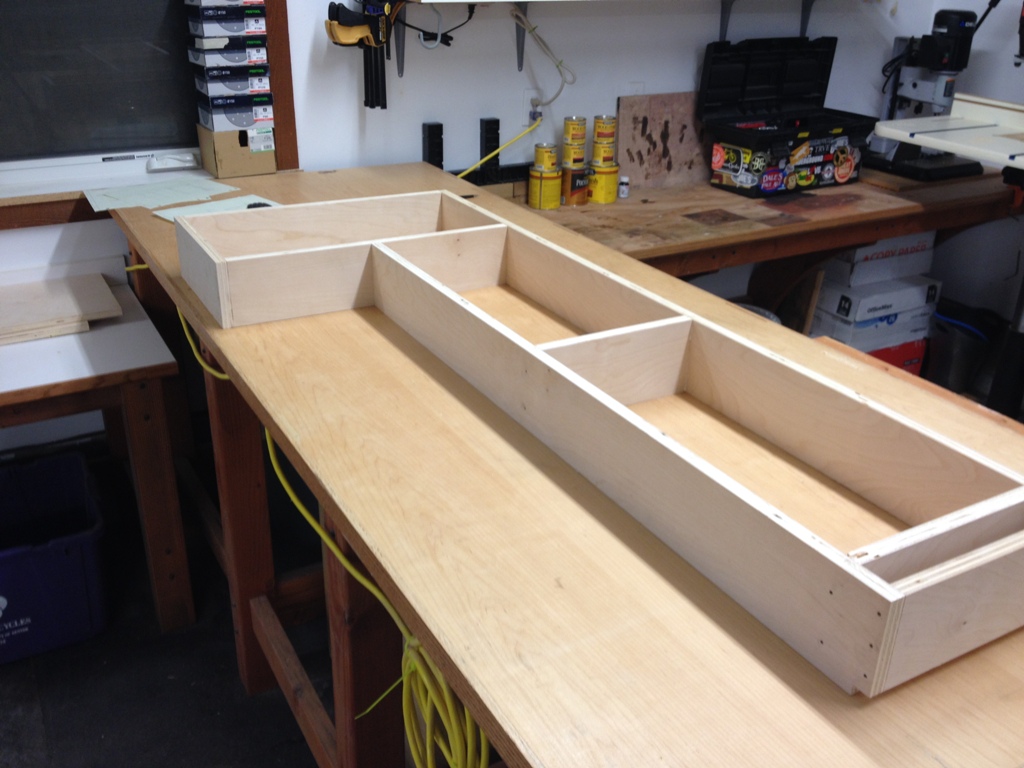
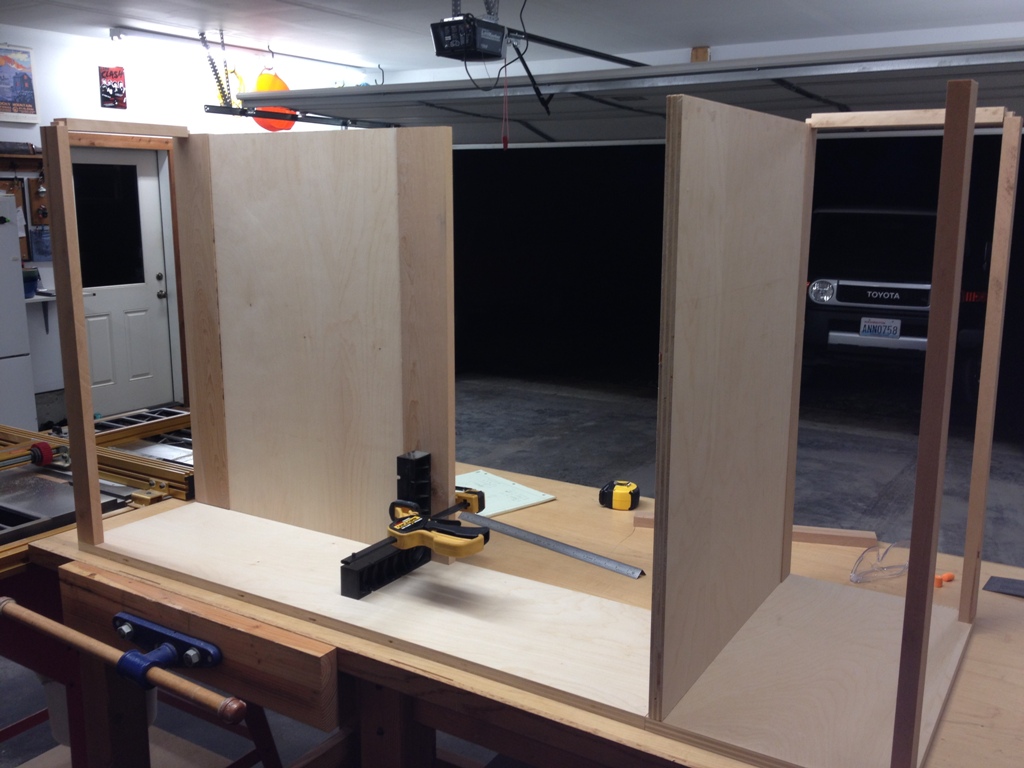
I started with the base, so I have a nice foundation to set everything on.  There will be three cabinet areas, two of which will house the garbage and recycling containers and one will be New Storage which we can put New Things into.  That’s very exciting to me.  And I’ve made these with room to sit at the countertop like a bar.  It faces the tv, so you can grab some snacks and a cold beer and watch hockey all in one place.  Life doesn’t get much better than that.

IMG_2964

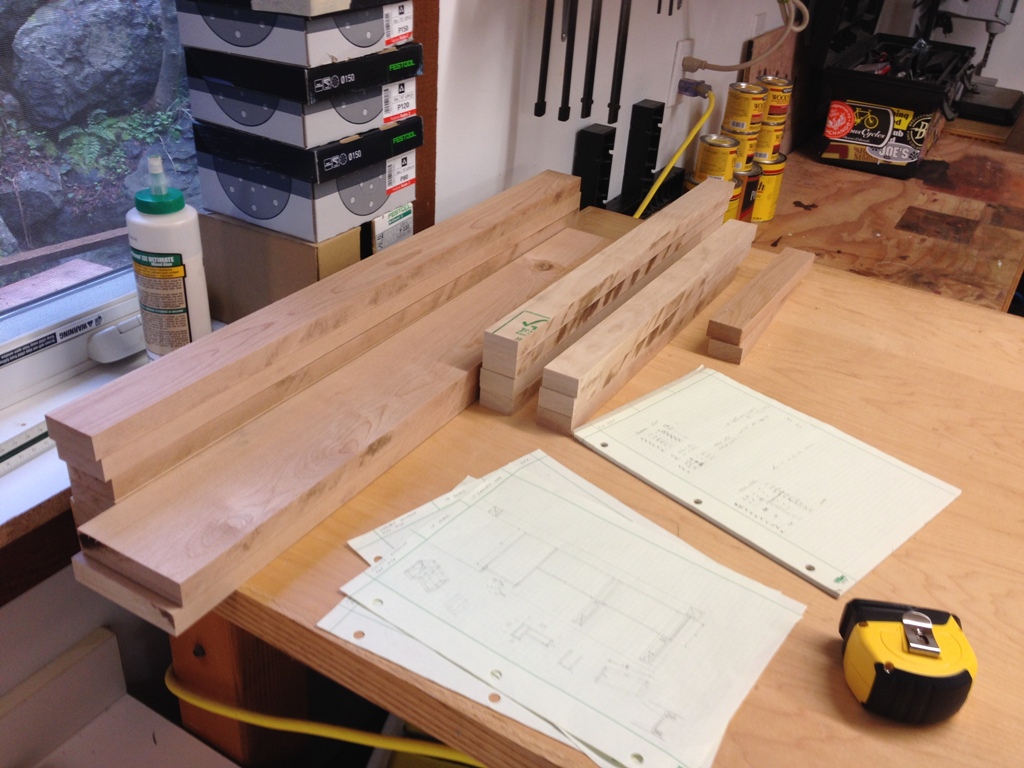
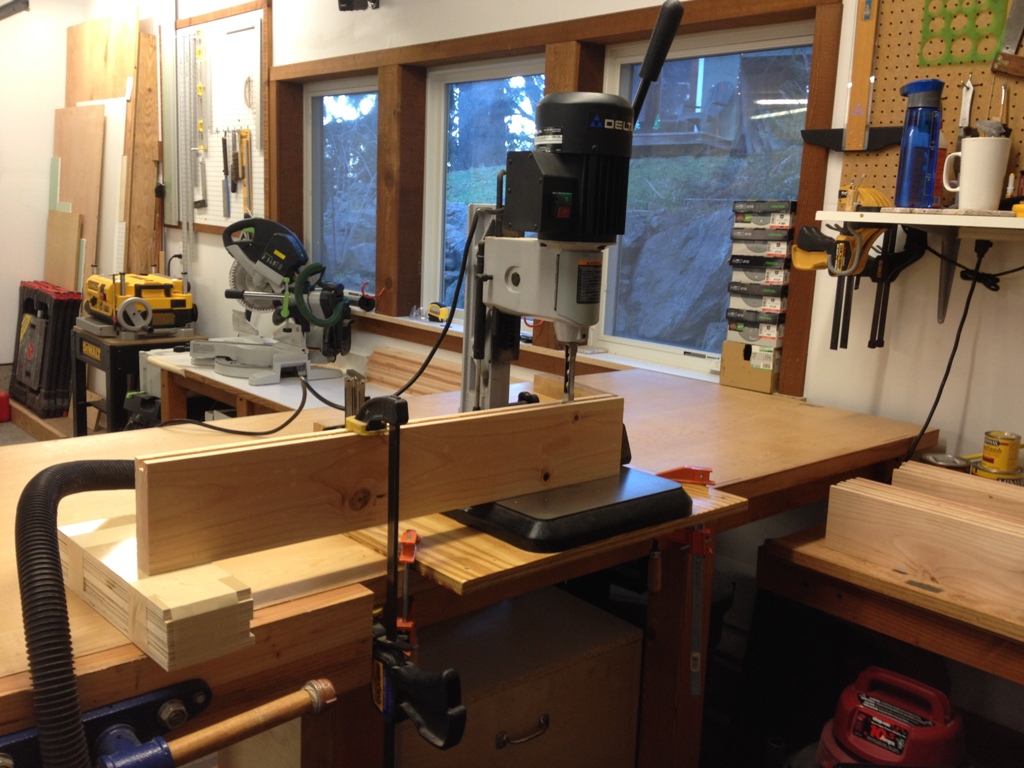
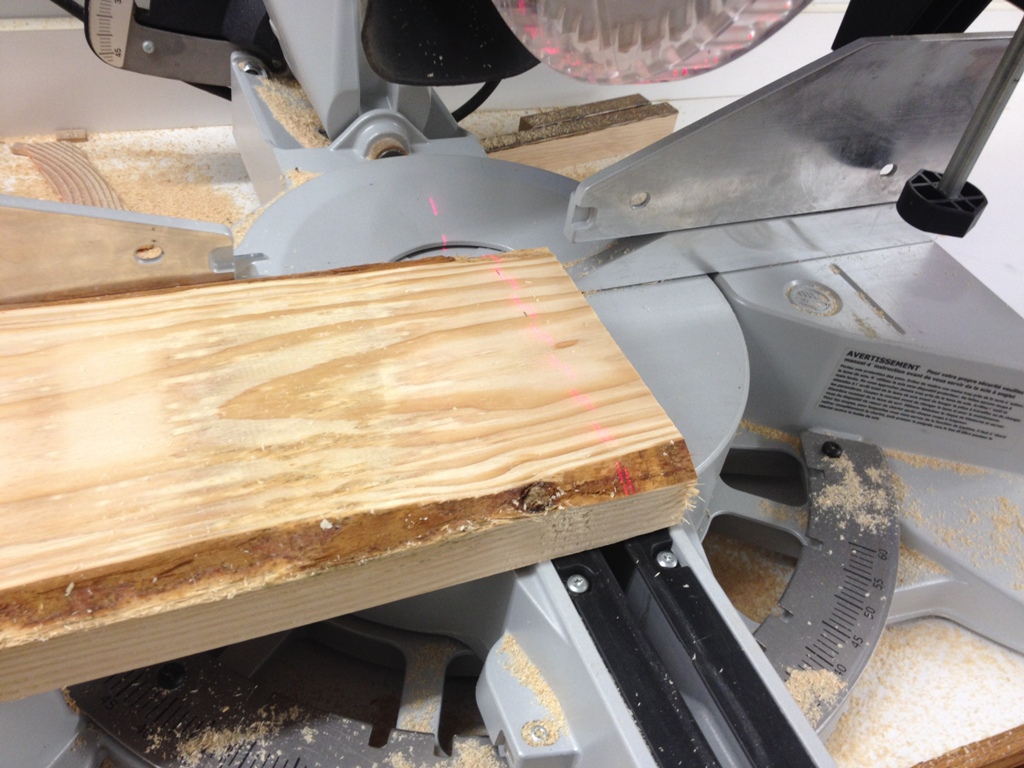
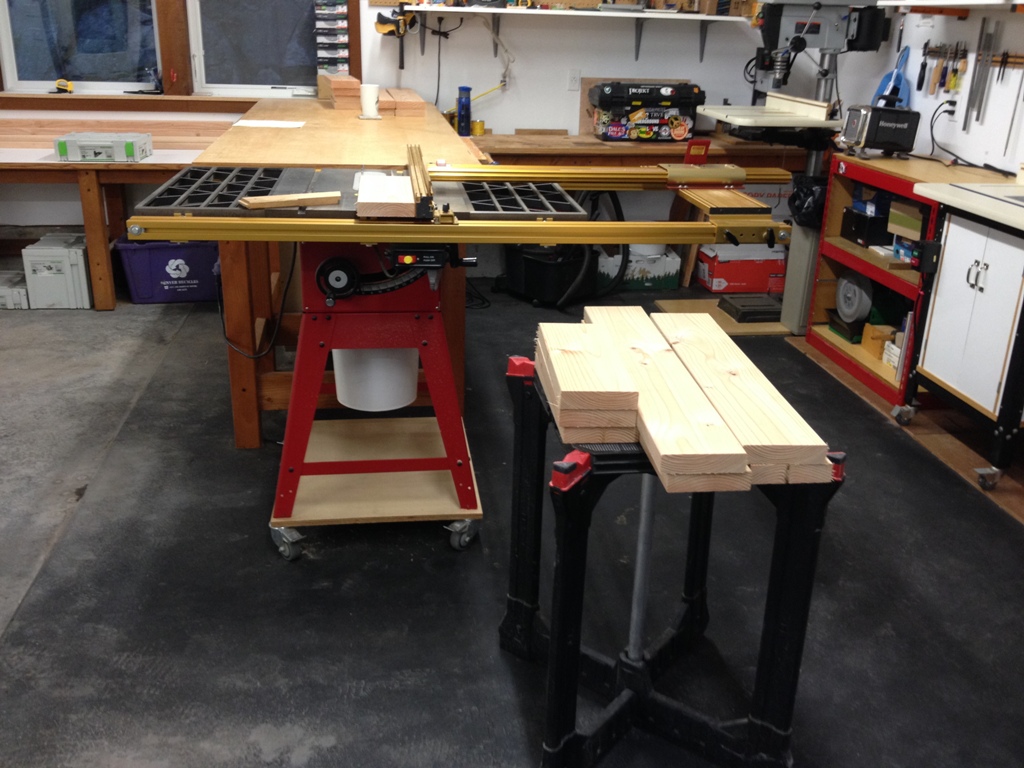
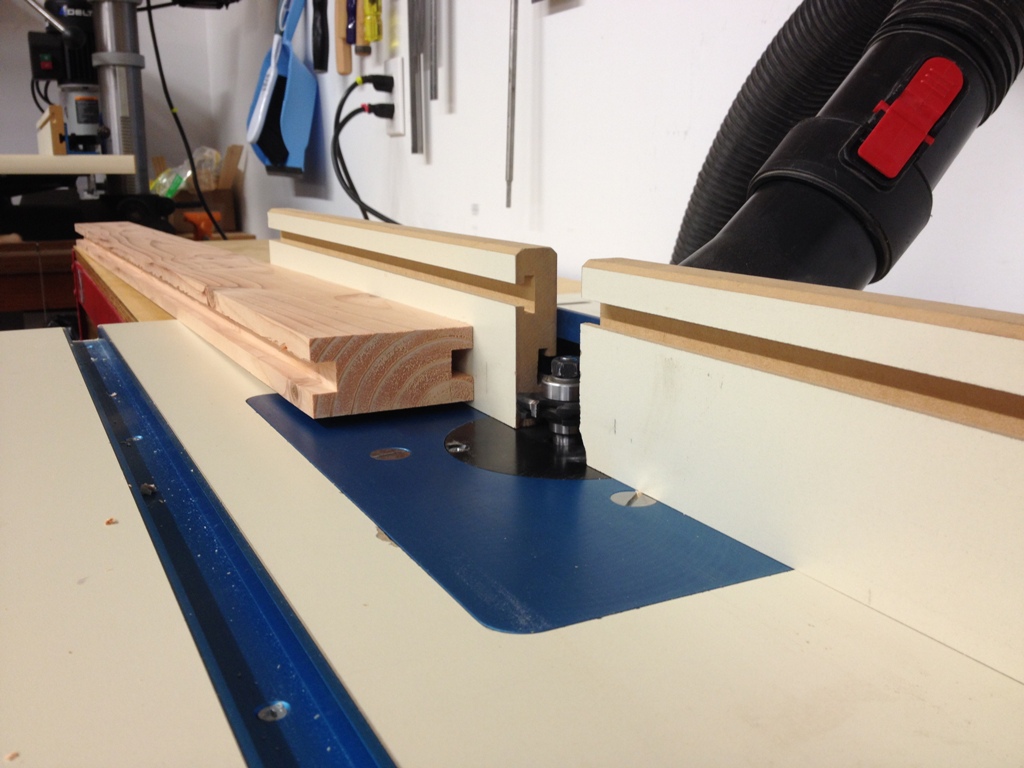
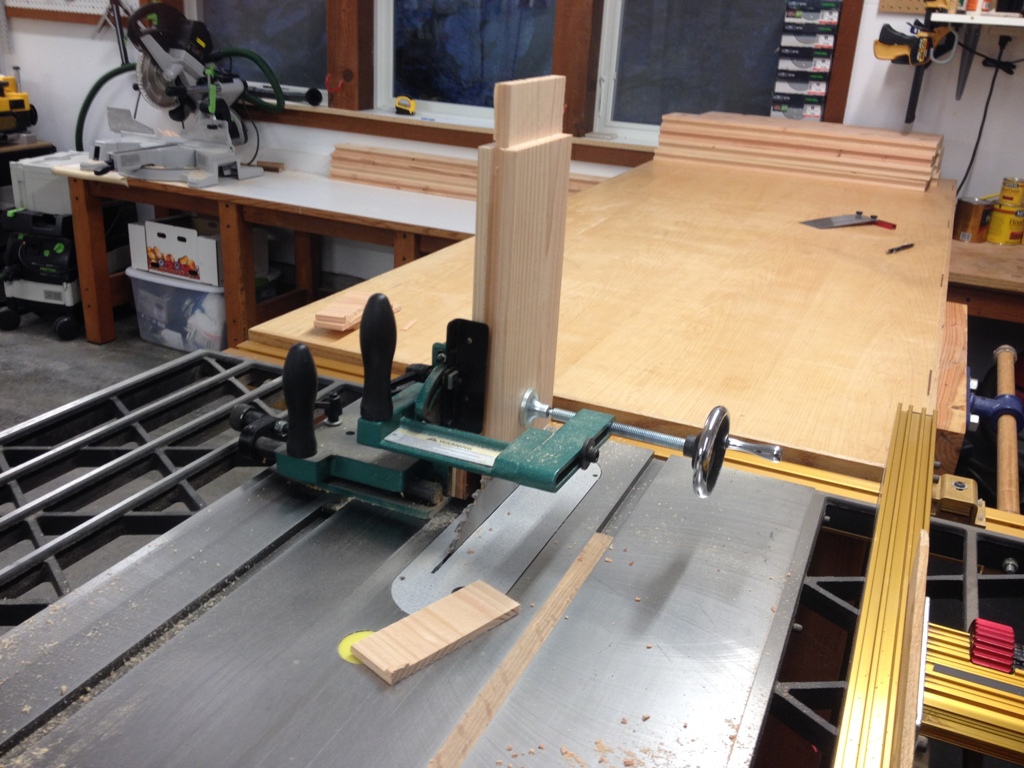
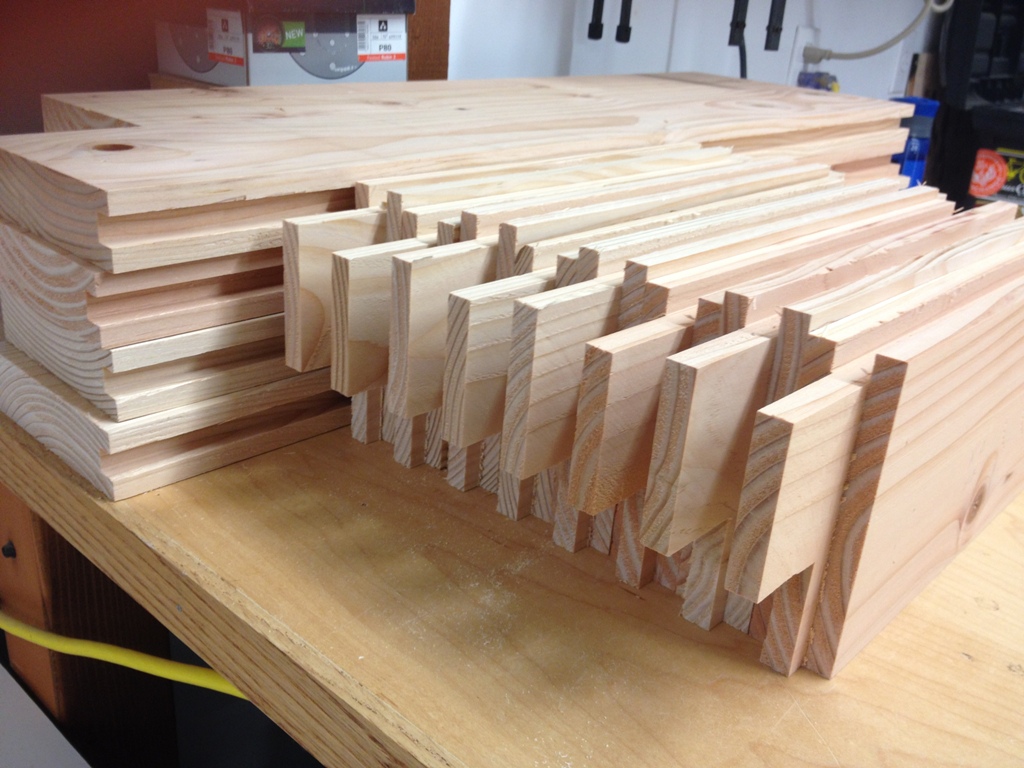
The wood chopped up readily enough.  A little burning but I kind of have a crappy saw so that’s to be expected.  My last project was made with 2×6 beams so it is nice to work with a wood that’s flat and square and doesn’t have a bunch of knots in it.

IMG_2965

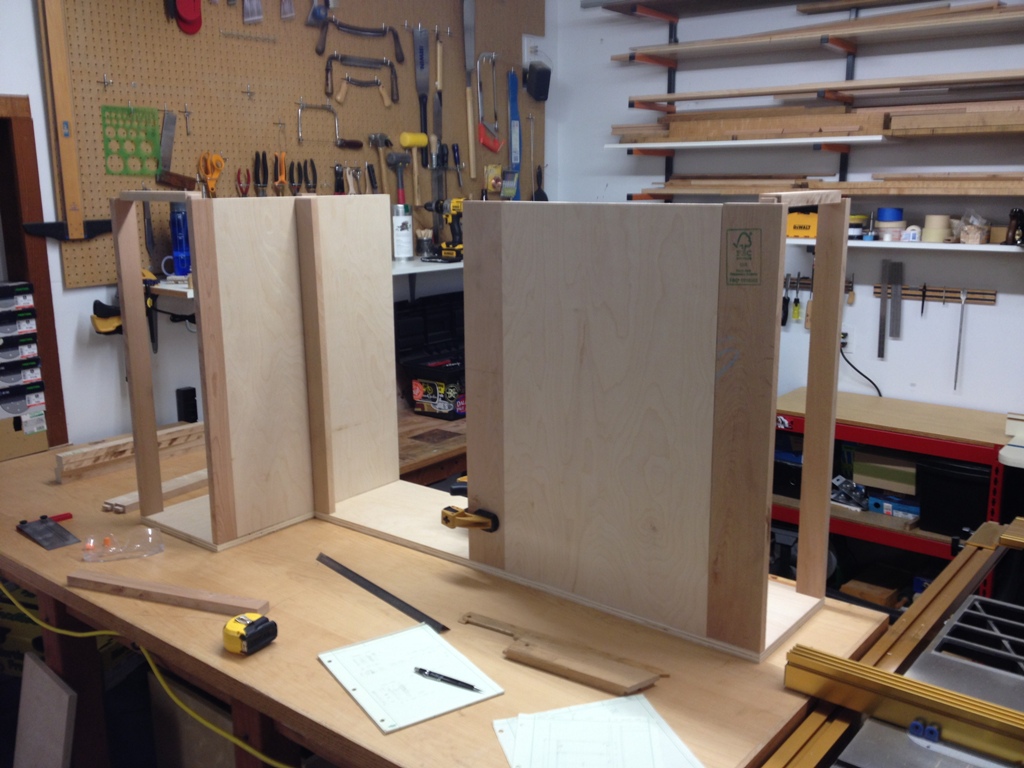
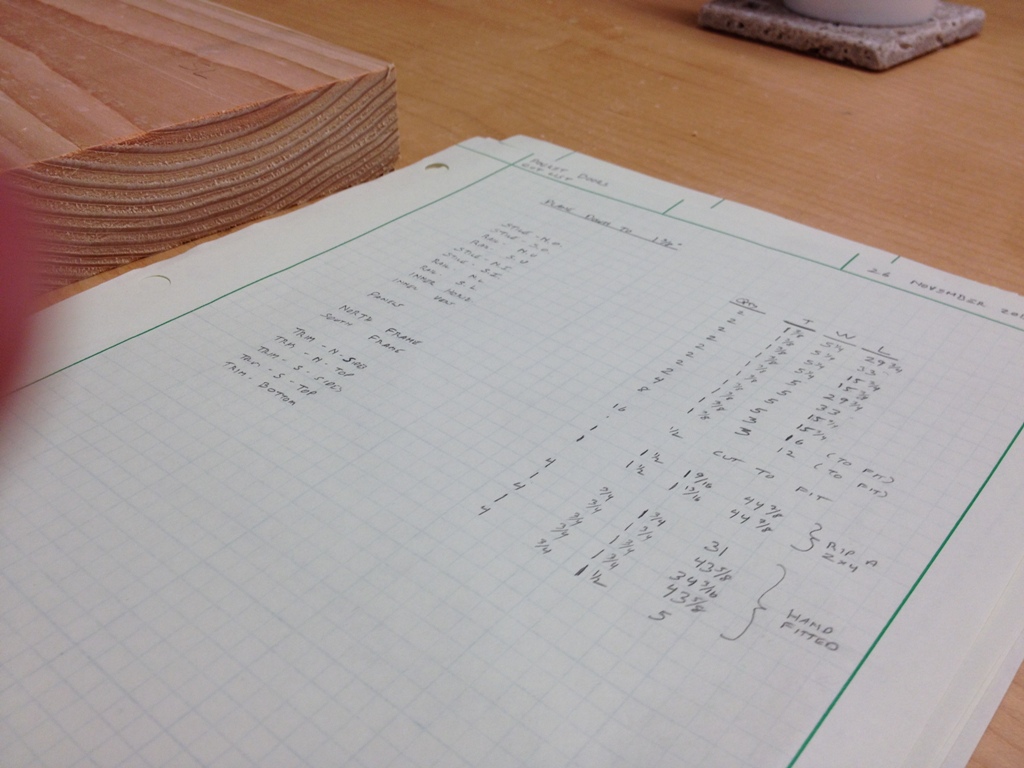
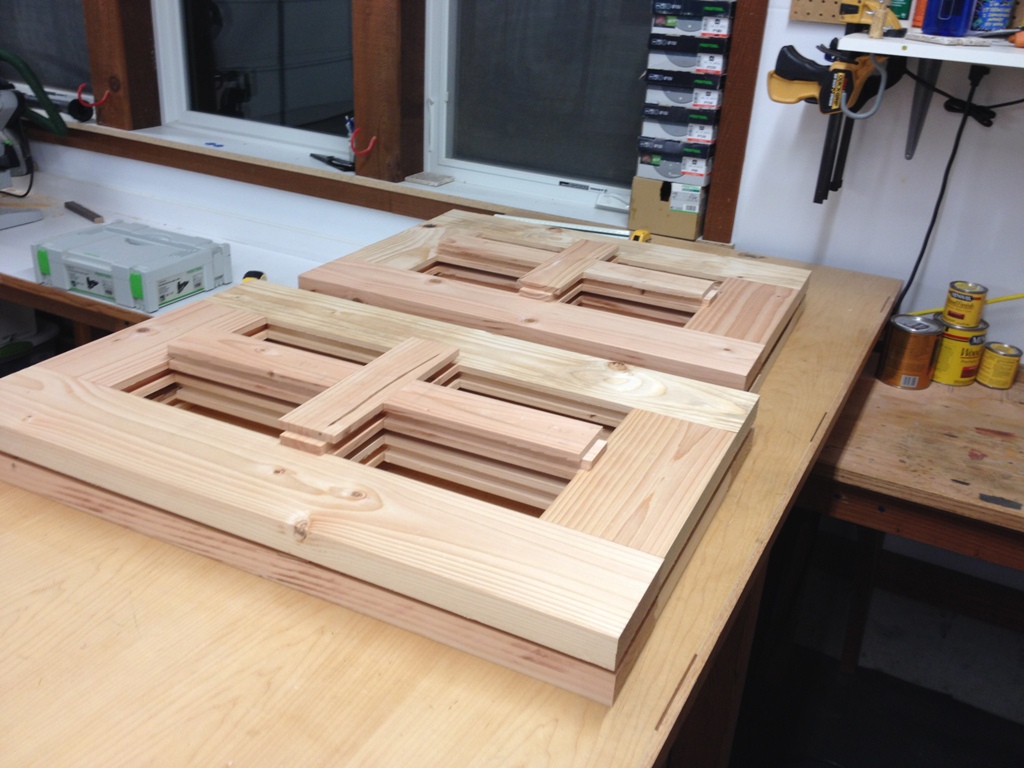
And here’s a really preliminary dry fit of all the pieces I’ve cut so far.  It’s so important to me to fit everything together as soon as possible just so I can see the scale of it.  Sometimes when you look at something in a live, 3 dimensional scale, you miss things that you didn’t see when you drew it on paper, and it really helps me figure out exactly how all this needs to come together and how the pieces need to be joined.  I consider where the force goes, what holds weight, and what joints need to be stronger than others.

IMG_2968

The existing cabinets were plywood boxes nailed together with solid wood frames pinned to the fronts and plywood doors.  These will be similar, except that the joinery will be mortise and tenon on the solid frames and good fasteners instead of nails.  I fully expect it to last longer than the house.

Pocket Doors, Part 2

There are few things on this dirty, gray planet Earth that I love more than a finished project.  The pocket doors are now done and installed and they will remain there until the End of Days.

closed

They shut.

open

And they open too.  Yay.  All done.  Okay, so I still have to do some little things like polyurethane and setting stops and making some adjustments so they close squarely and levelly, but hey, for all practical purposes they’re done and I can move on to the next thing.

under the desk

The other pair of doors, depicted above, is on the opposite side of the room and can only be accessed by crawling under the desk.  It may seem like a pain in the ass, and it is, and so was the install for that matter, but these eave storage areas are a pain in the ass no matter where the desk is.  It’s just a good thing my desk is huge enough that you could park a volkswagen under it.

set up

This project was pretty fun but it still takes a lot of time, and there were a lot of cuts to make and grooves to rout and holes to drill.  Working with imperfect wood has its ups and downs.  On the plus side, you get a raw and rustic look, which can fit in well in a little house on a small, remote island.  And you can cheat a little, things don’t need to be dead flat and dead square and perfectly level.  On the downside, it takes a bit more of an effort just to make sure it’s square enough and flat enough to work.

hole

I was at first going to leave these holes open.  They’re just storage area doors, I figured the ventilation would be beneficent.  And then I had the horrific thought that someone could get their finger stuck in that hole, and if someone were to slam the door shut the result would be catastrophic (though on the bright side, the detached finger would fill the hole).  Anyway, I decided to use wine bottle corks, just for safety reasons.

cork

Cork can fill irregular holes really well because they’ll conform to its shape.  All it takes is a mallet and some wood glue and maybe a little swearing.  The ends can be sawn flush and sanded and they blend in very well.  Not to mention that cork is very resilient and stronger than most people realize.

stain

The panels I stained separately.  The grain texture of the plywood panels is very different than the frame, so I deliberately made them a bit darker to give them some contrast.  So it’s an ebony stain on the panels, and a different stain on the frame pieces.

sanded

It took hours to sand all those.  I felt like I had sanded a tree.

Pocket Doors, Part 1

Happy New Year.  Let’s celebrate by making some sawdust.

Hole in the Wall

There are still a lot of things I need to do for the loft renovation.  One of them is to make pocket doors to access the little storage area in the eaves, since right now it’s just a hole in the wall that I’m getting sick of looking at.  The doors are not going to be very big but they are in a highly visible part of the room, so I want them to look nice.

Boards

Remember the Hobbit Door I made a couple months ago?  These are going to be made the same way:  2×6 frames, traditional joinery, and inset panels.

Cuts

The lumber itself has been sitting out in the weather for a few weeks.  Wish I could let it sit out there longer but these will have to do.  I made sure to beat them up a bit too, to give them a real distressed look.

Sawdust

I made about 30 gallons of sawdust planing them down.

Lists

There are two storage areas and each one will have double pocket doors to maximize the size of the opening.  Makes it a little easier to get things in and out or to go looking for something.  The cut list for this project is pretty simple, as the doors are almost identical.

Rips

Once planed down they just need to be ripped to size.

Grooving

Now that the boards are square, the router cuts a nice groove into it.

Grooved

Groovy!

Tenoning

The tenoning jig is great when you need to cut the exact same tenon 48 times.

Tenoned

Construction lumber is rough and a little soft, but if you don’t want that Perfect look (which for this project, I do not) then it’s fairly forgiving.

Fitted

It’s weird.  Everything fit together very well on the first try.  Usually I screw something up by now but so far so good.

Assembled

Here they are, all assembled.  There’s a little hardware that needs to be installed but other than that they just need to be sanded and glued and stained and finished.  And installed.