Skinny Dipping

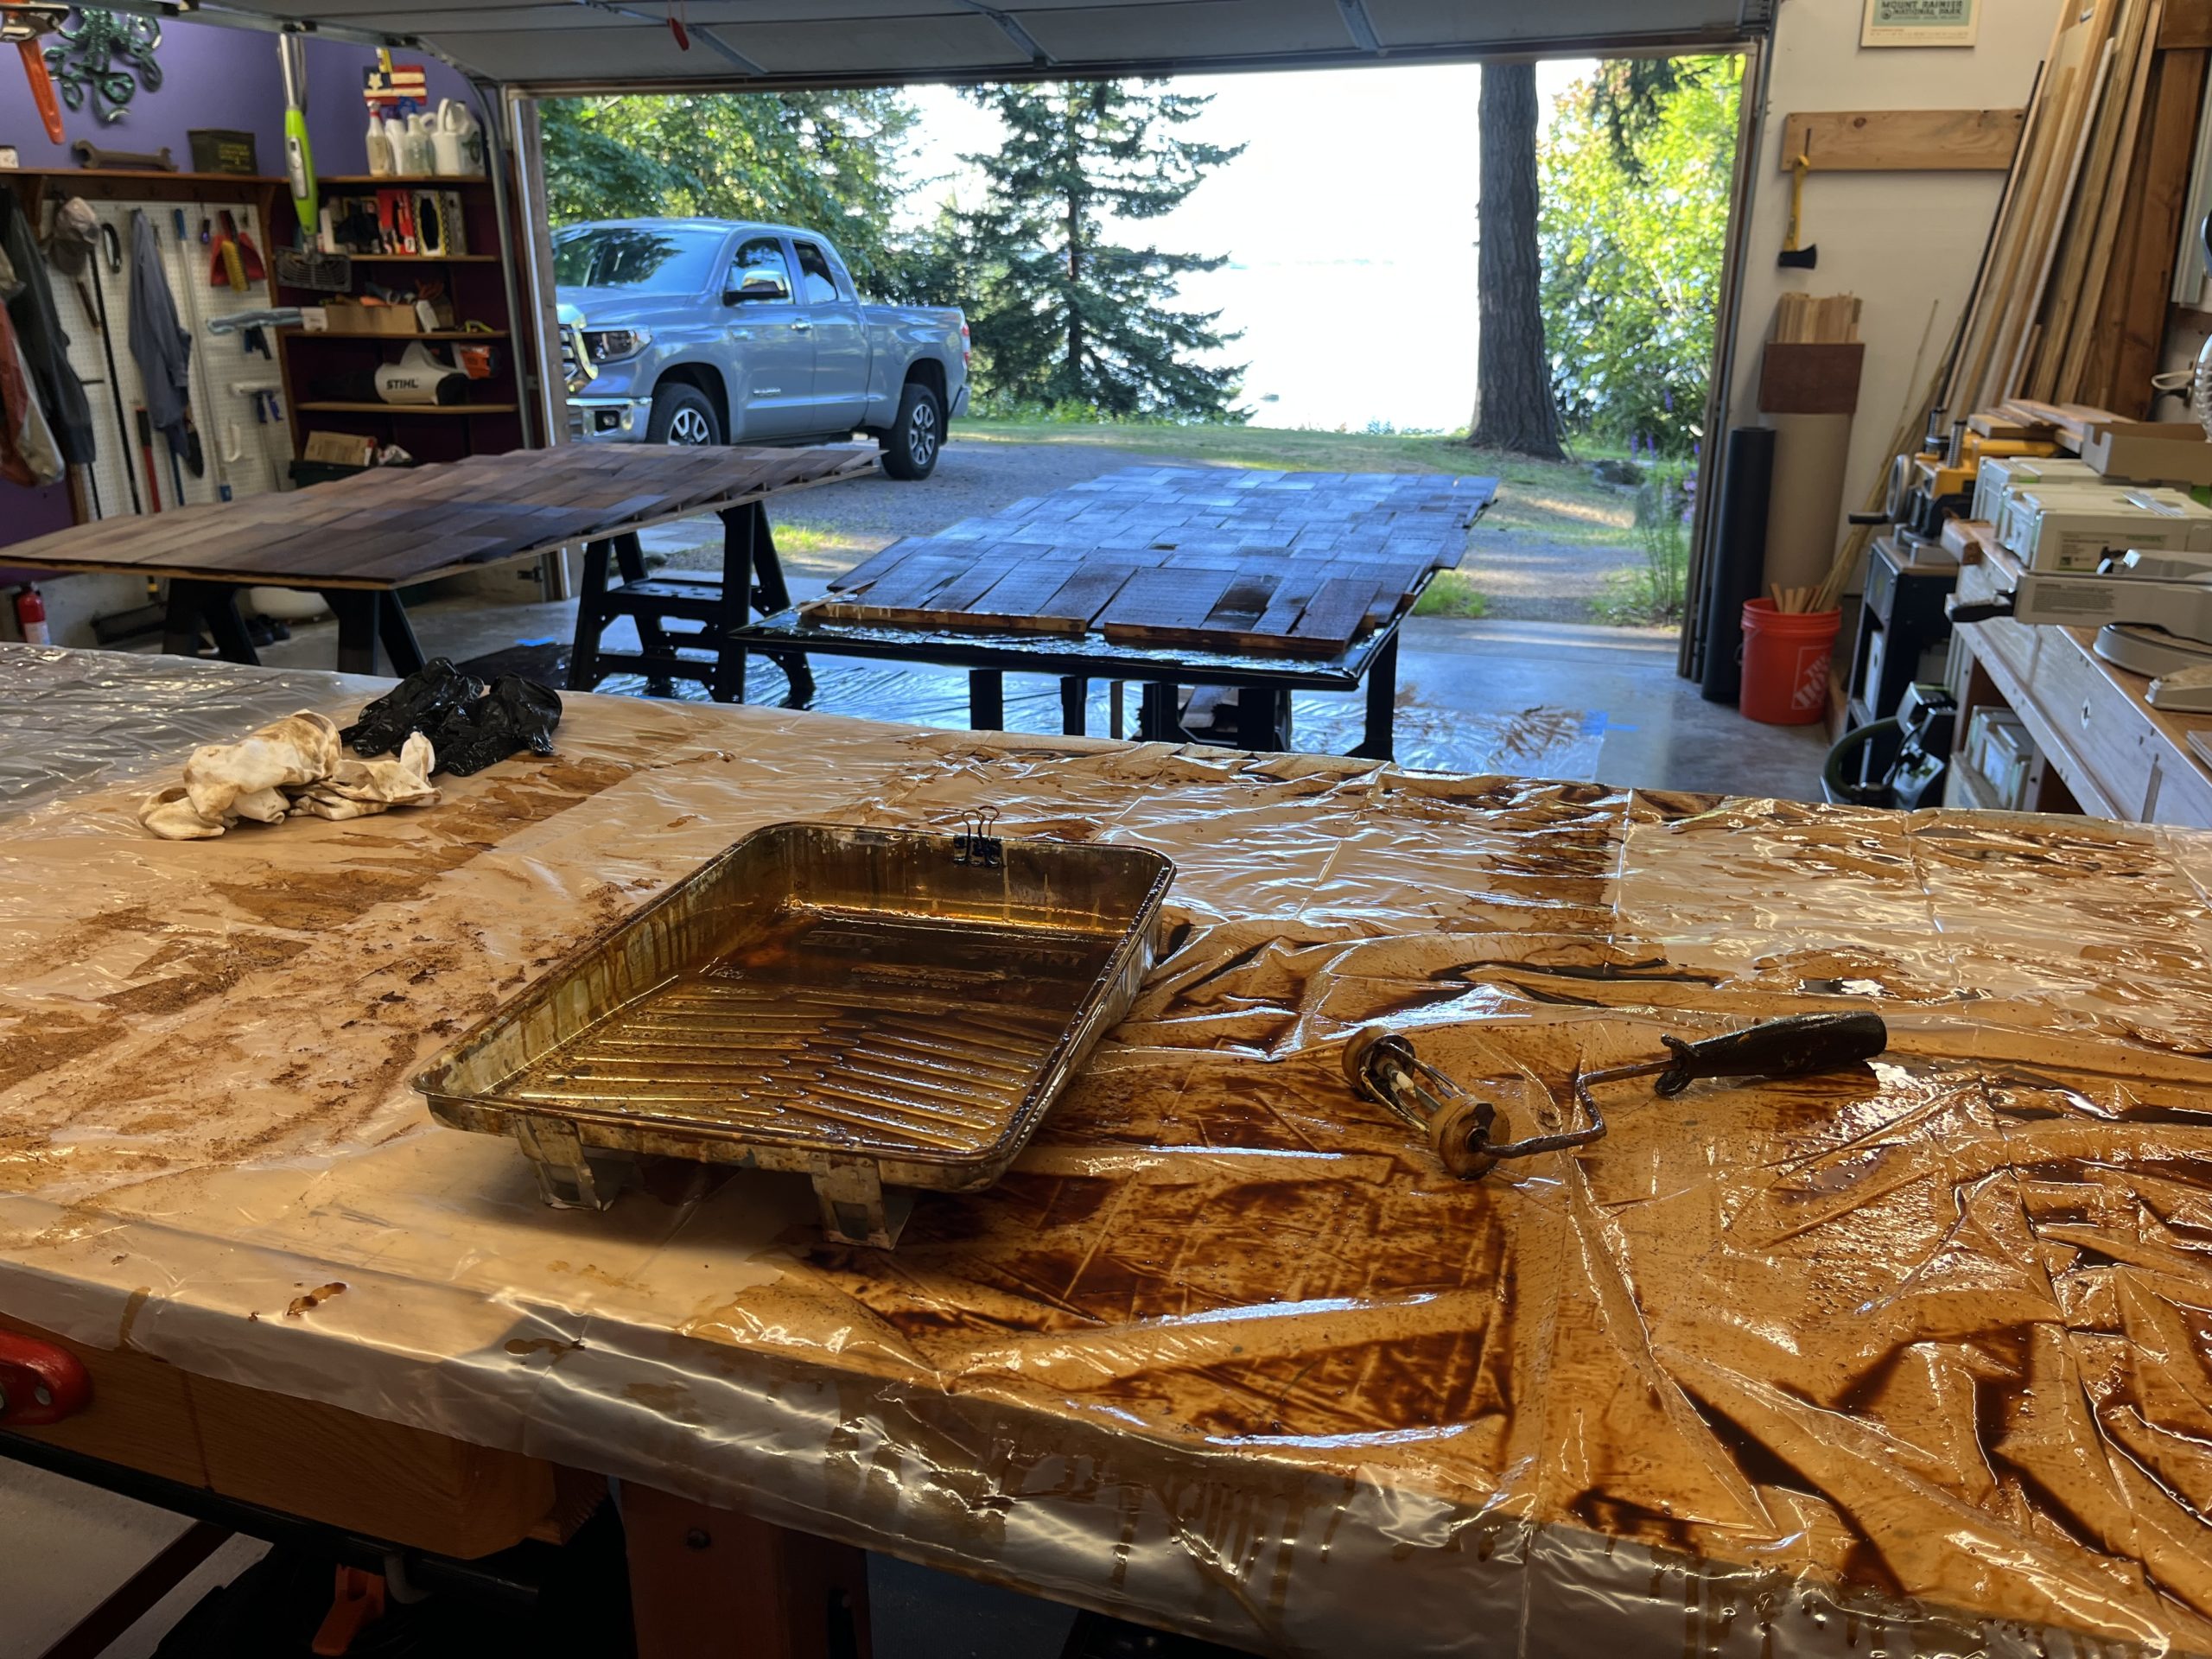
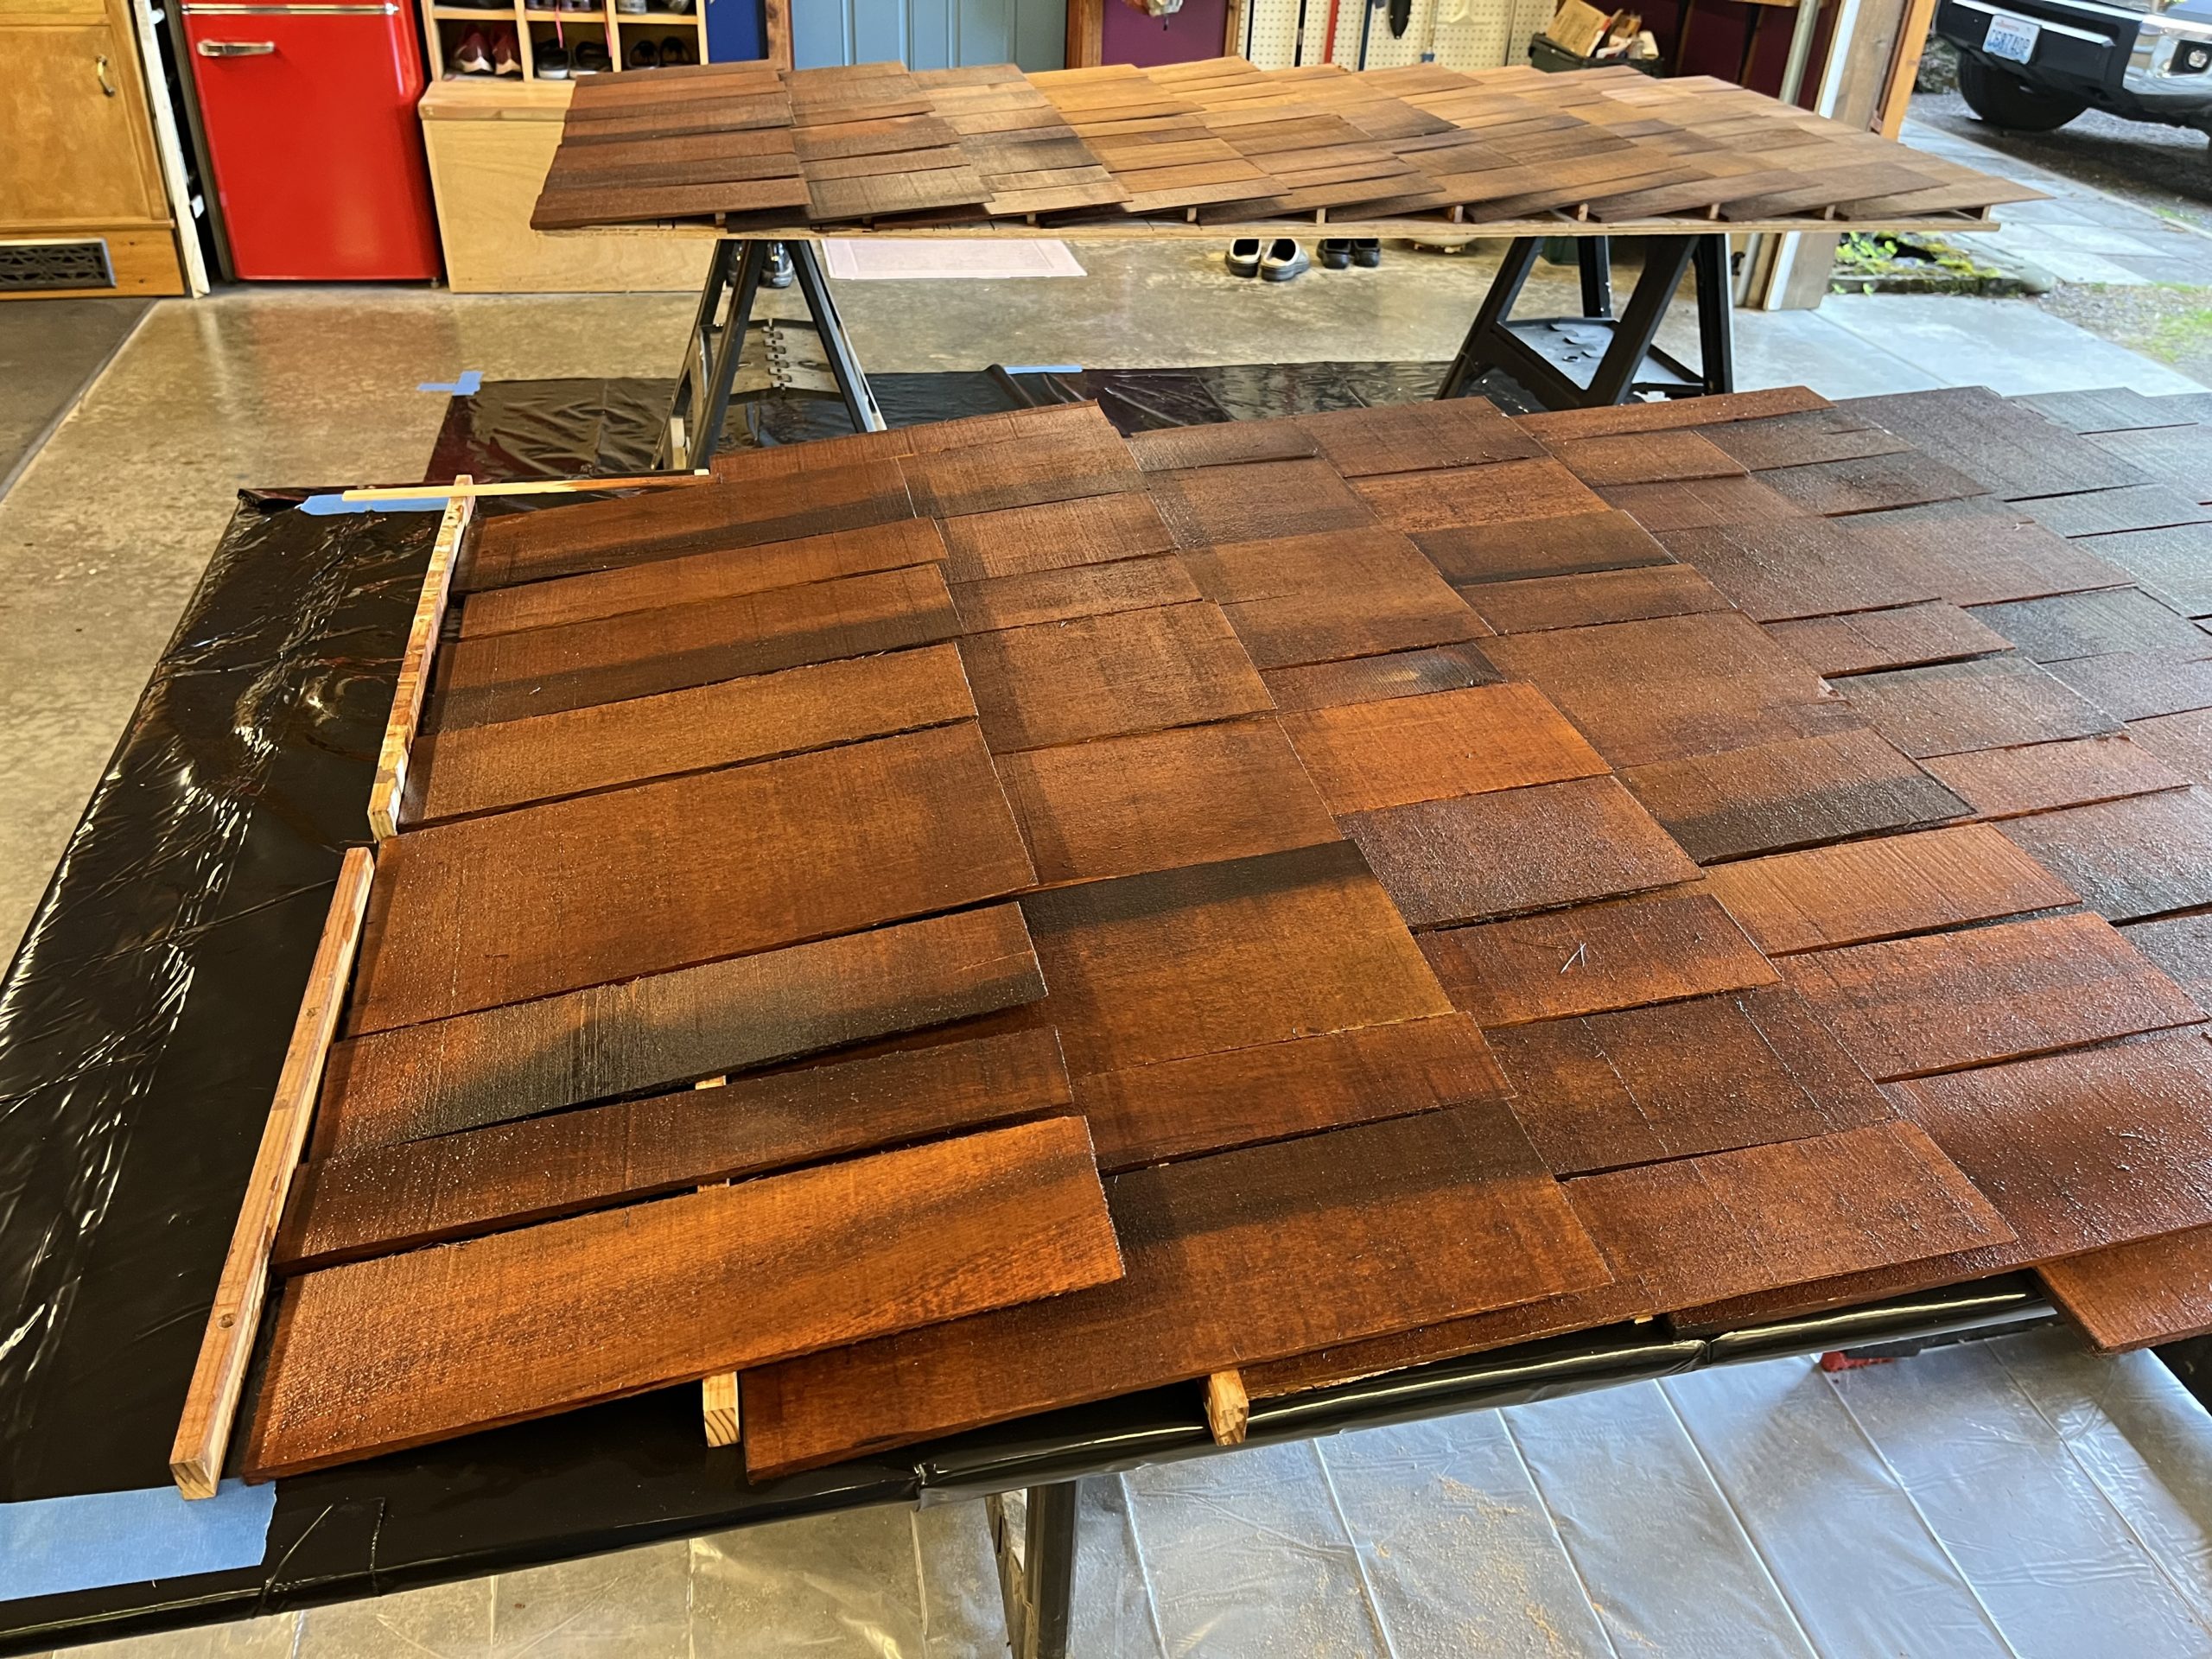
Next up, all the cedar shingles need to be dipped in Sikkens and set out on tables to dry. They need to be nice and dry before they’re installed, which takes a few days. I’ve installed them wet, which is just a big mess. It’s a big enough mess just dipping them.

Watch for spiders when unpacking shingles. I was lucky this time, but when I’ve done this before, there’s usually one big spider per six shingles. A pack of shingles has lots of little voids where spiders can make a living.

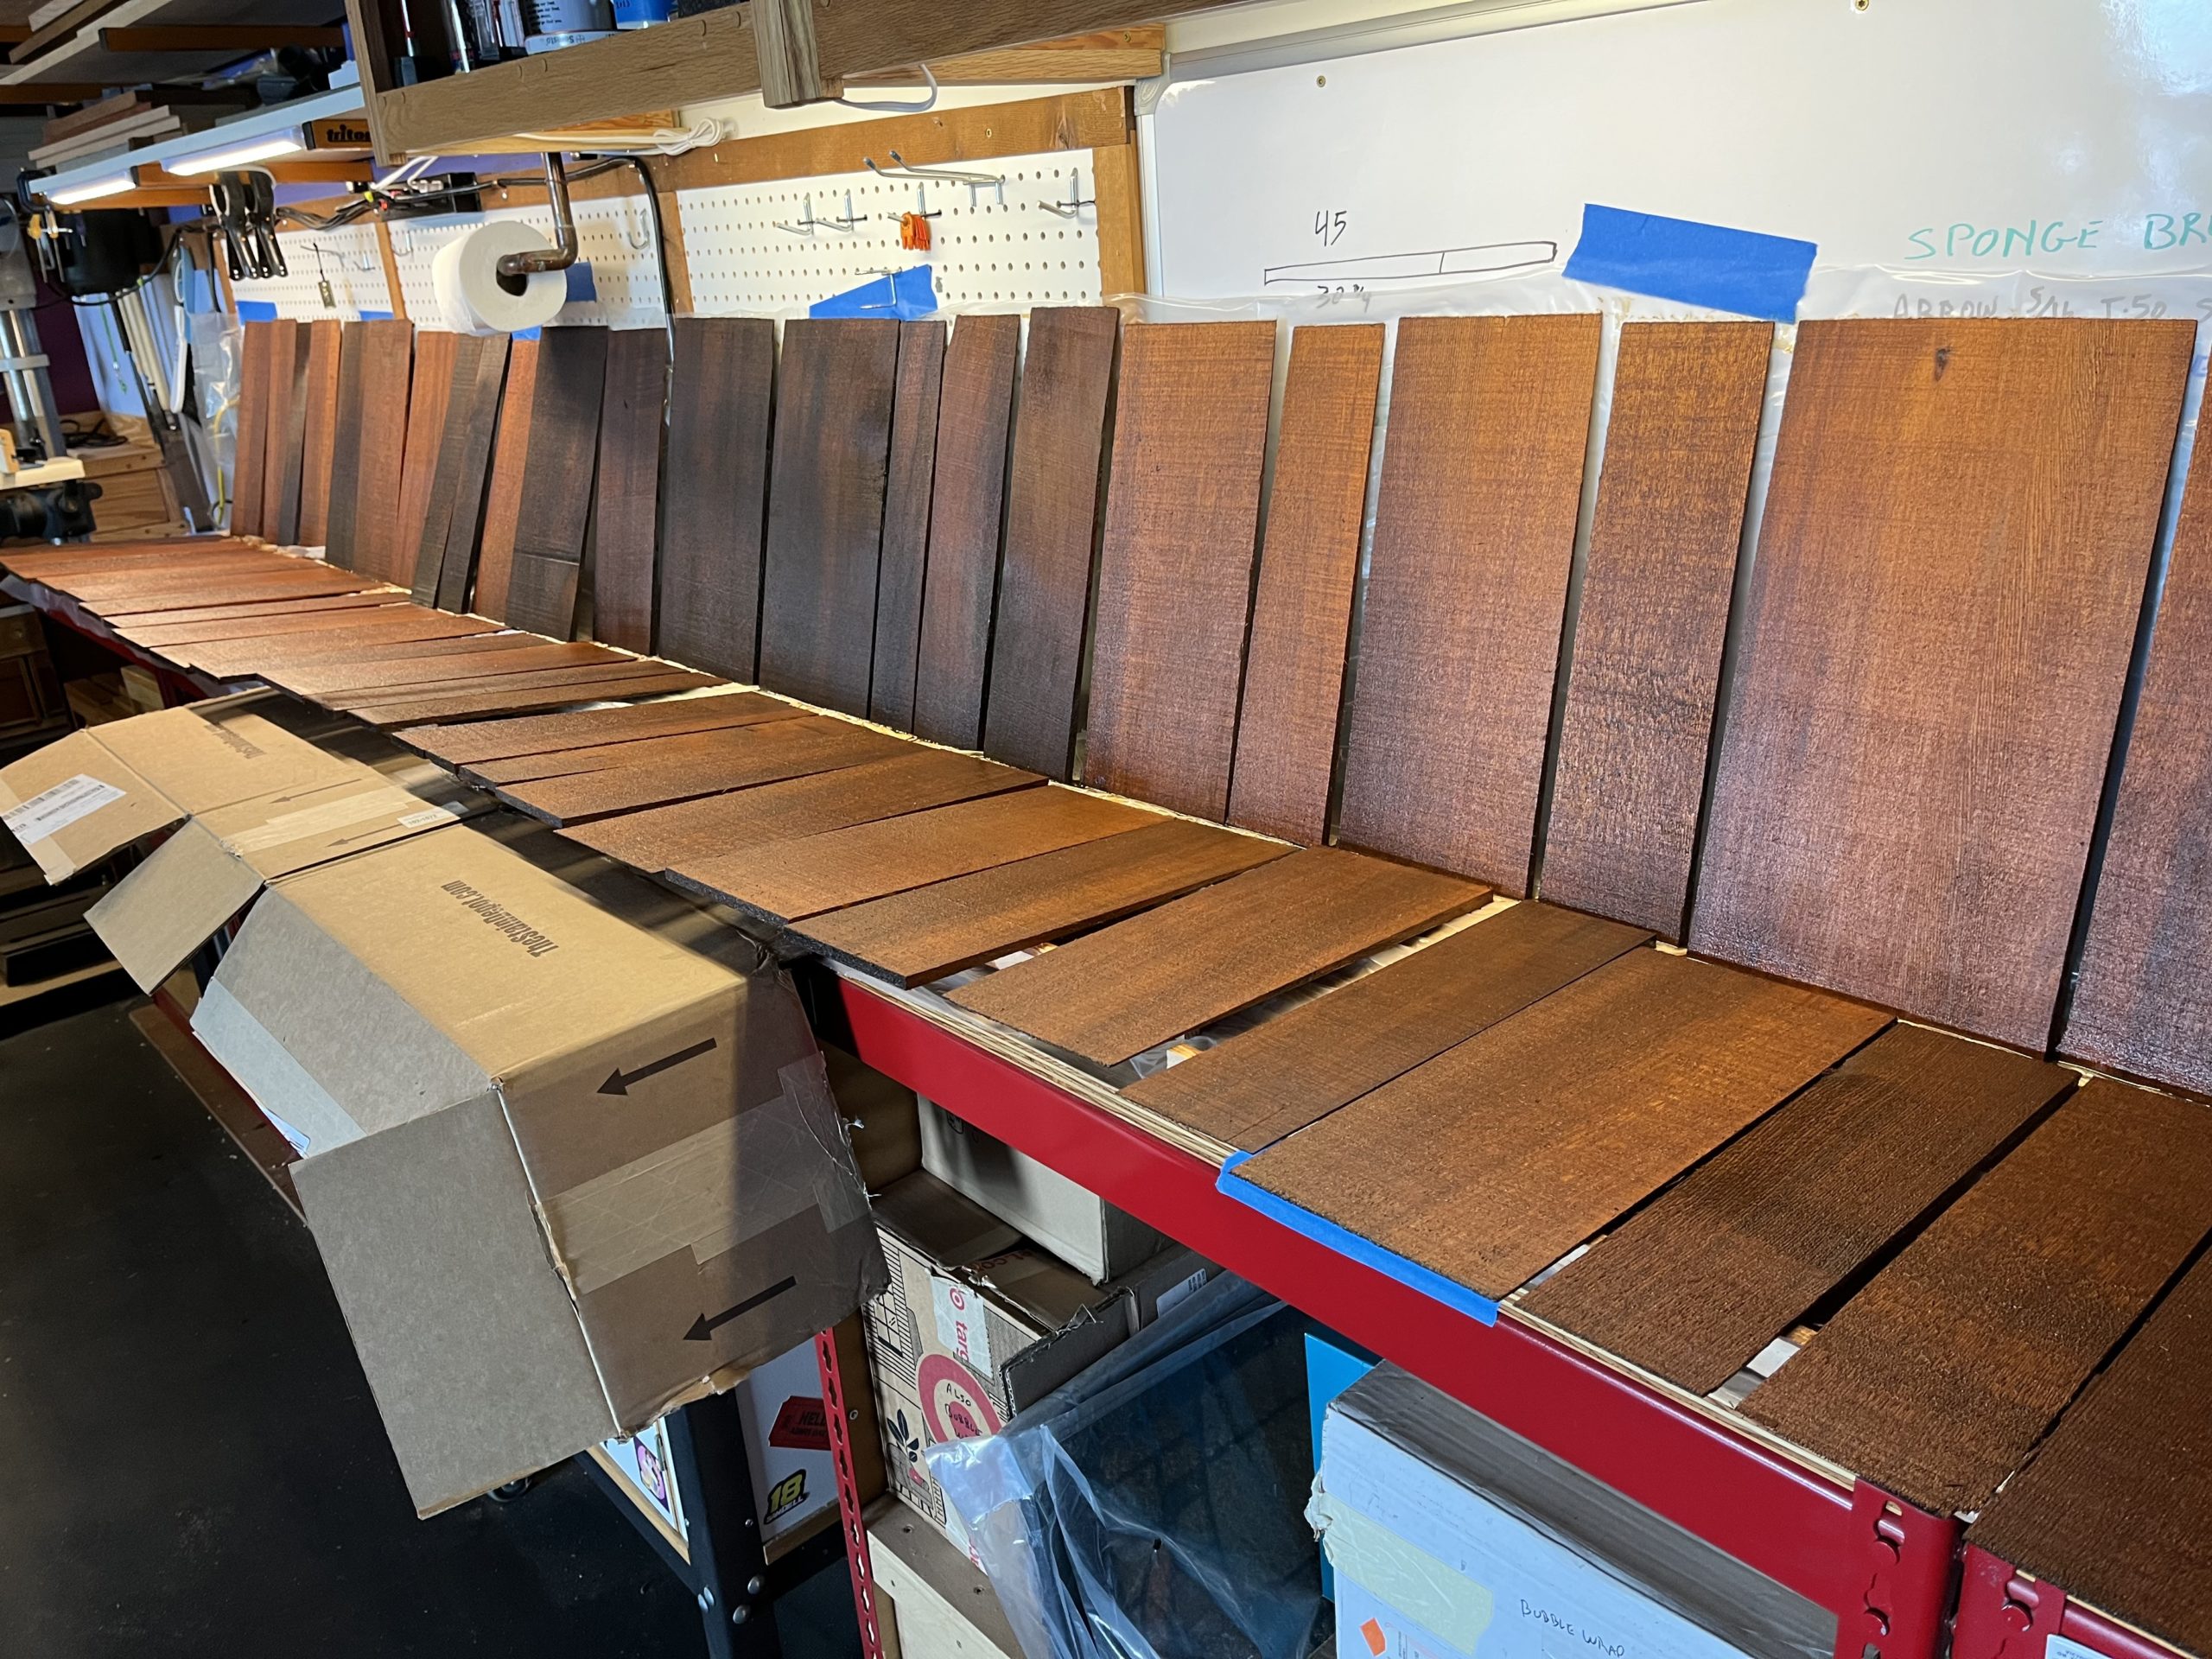
Cedar shingles pretty much took over the whole shop for a couple weeks.

The Hard Part Was Actually First

After demo (which went easy, for some reason), one of the first things I had to do was cut a straight line into each log. This way, a straight trim piece can be installed on either side of the log and my cedar shingle sides will but up to a flat surface, as opposed to a log surface. I really, really, really, really, really wanted to just remove the logs and replace them with normal house parts, but that would have been a lot like surgically removing dinosaur bones. They’re part of the house. Just leave them be. I guess.

I cut each line with the Festool rail saw, affixing the rail to the house as flat and I could, and tried not to cut my hand off while I ran the saw along the length of the log. From there, the remaining wood had to be cleaned out with hand saws and chisels. Do this on both sides of five logs, and you’ll know what a pain in the ass is.