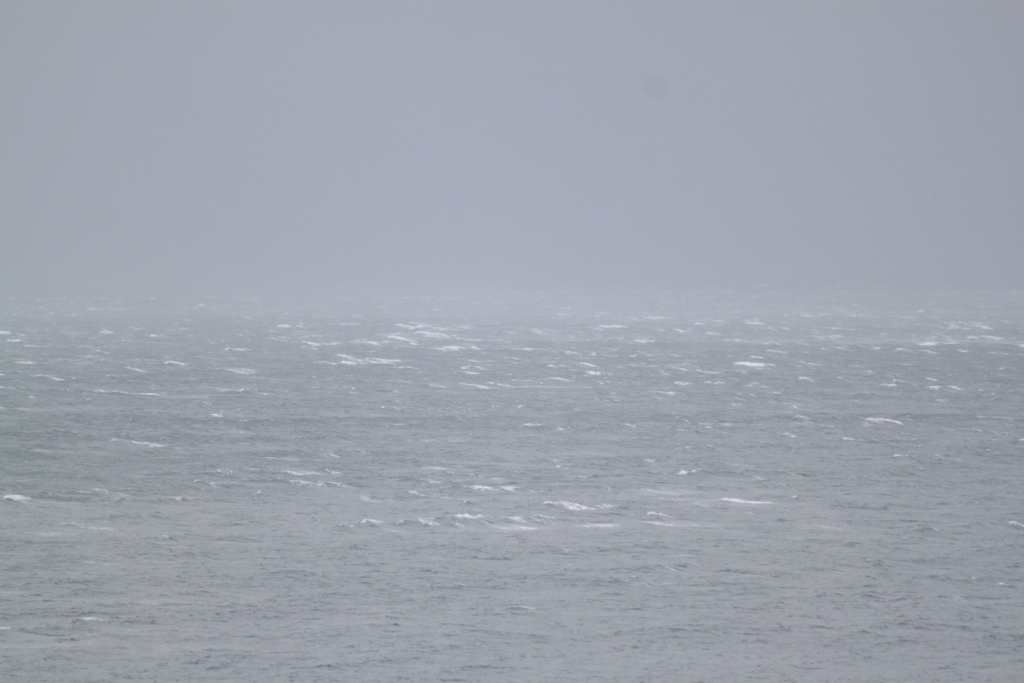
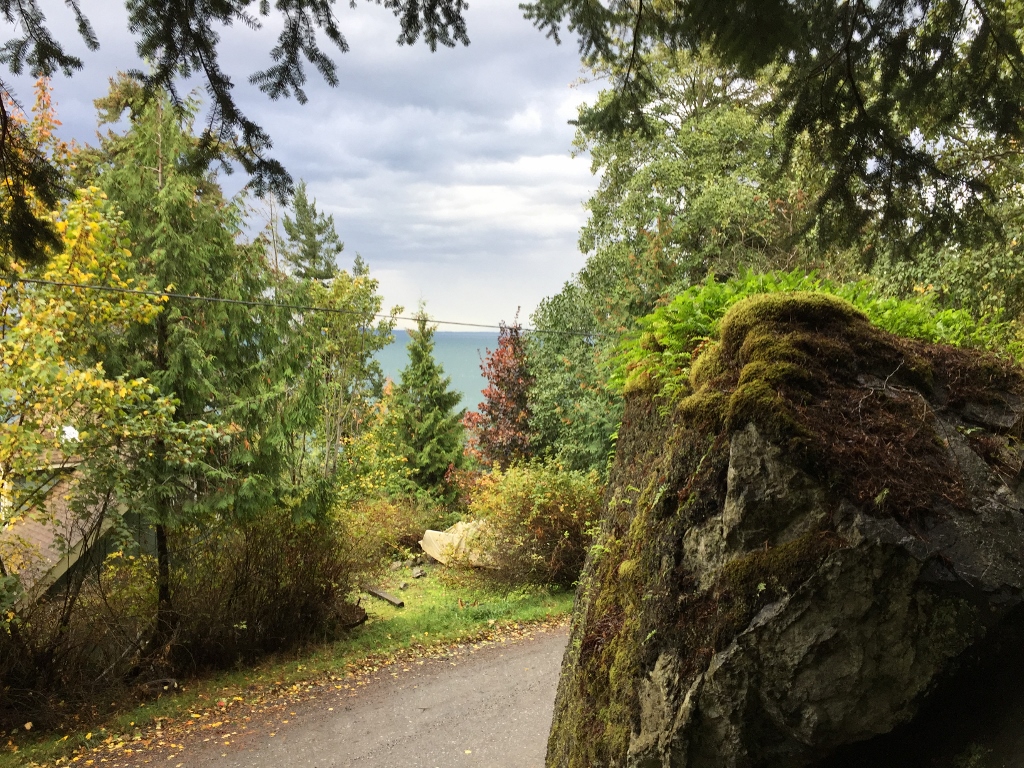
We’ve had a few stormy days up here. It wasn’t as bad as they predicted, thankfully, but we had some very high winds and tons of rain. This is how bad it was: usually when we look out to sea we’ll see at least a boat or two out there, even in bad weather the big tankers will go out and the tugs will take barges across the strait. But for a few days, we didn’t see one damn boat out there. No one wanted to sail in these waters.
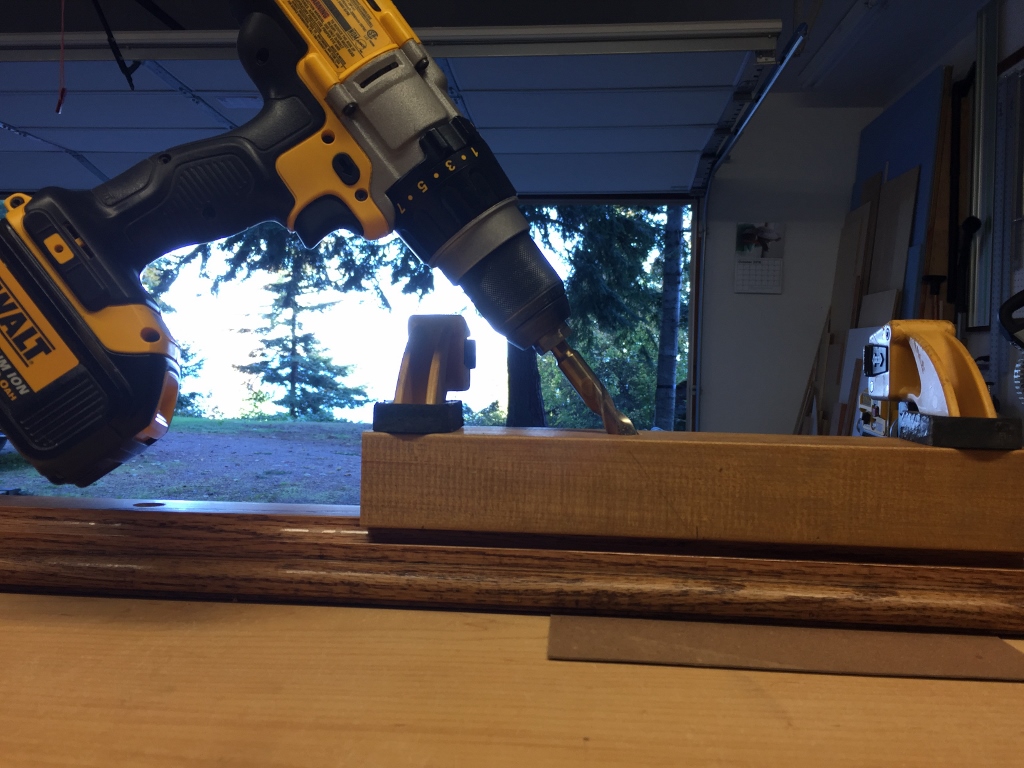
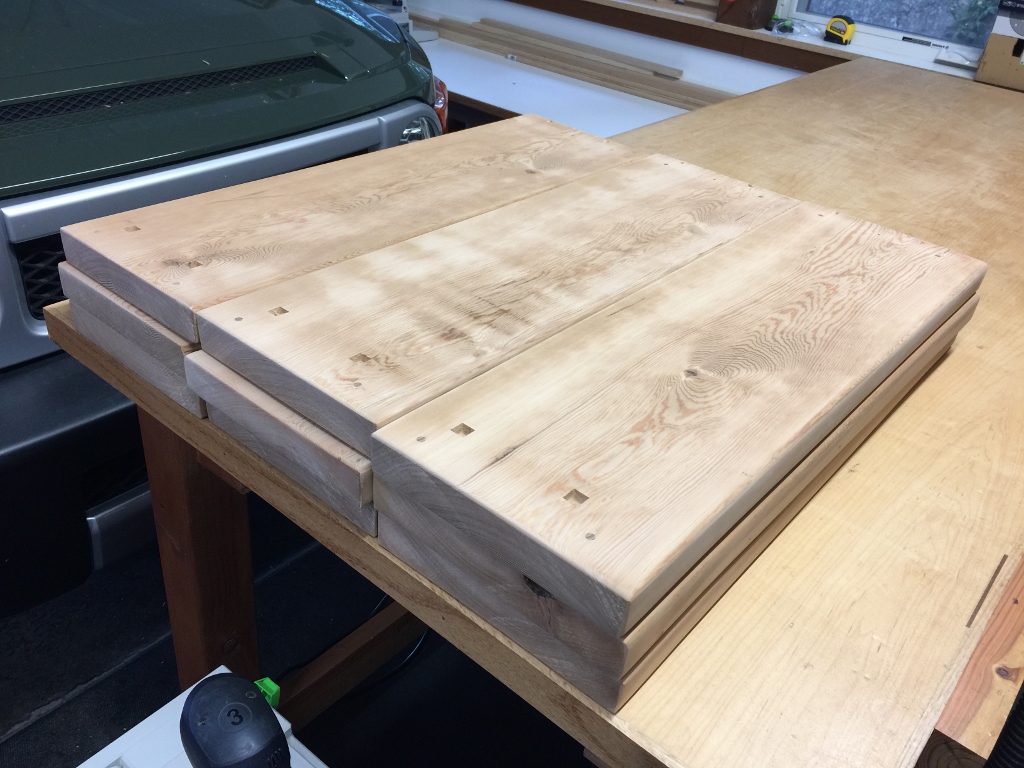
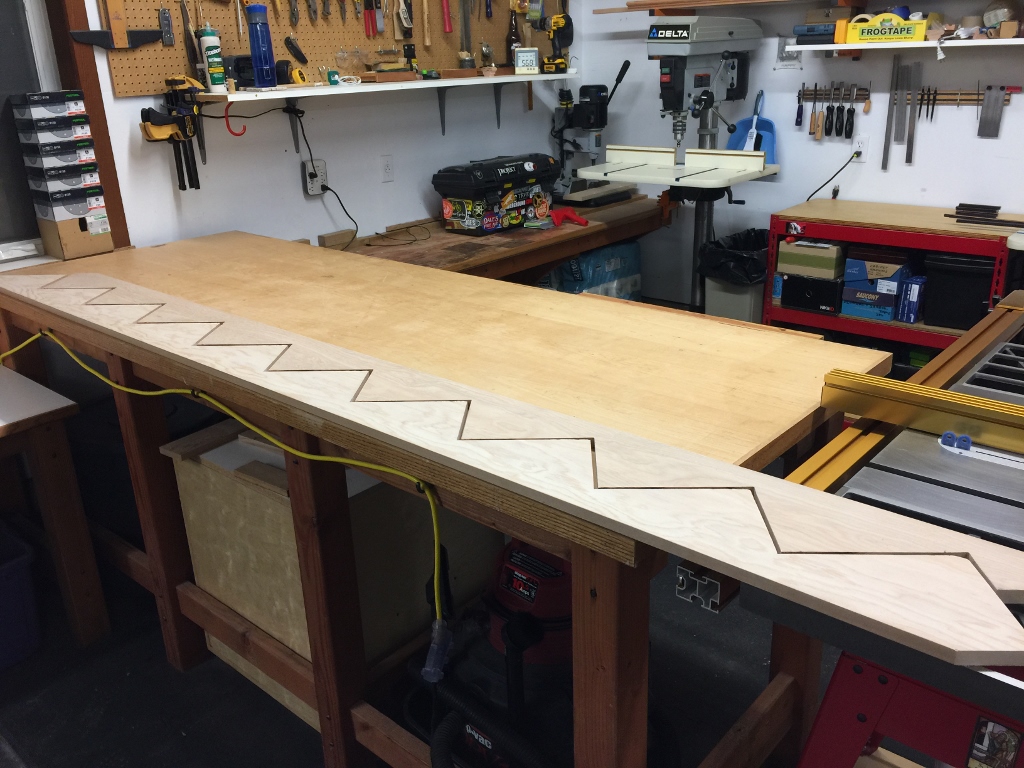
Well, despite the looming possibility of the power going out for a few days, I was able to get in the shop and finish up my stair project. Above is the jig I made to keep my drill holes at the correct angle for the iron balusters. That’s a 2″ thick piece of rock maple, and it held the angle great over all 19 holes I had to bore.
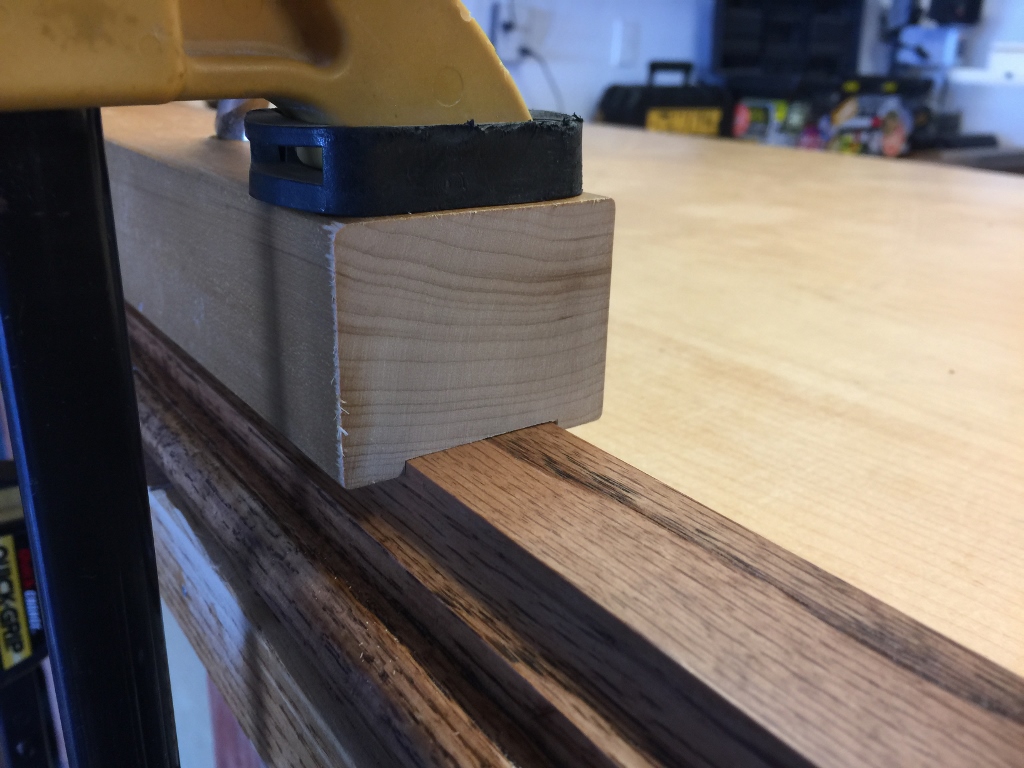
It took a little patience but I cut a wide groove in the bottom of the jig to keep is straight on the handrail. Worked well for me! Again, we are firmly in the realm of “I don’t know how it should be done, or how it’s supposed to be done, or how everyone else does it, I just know how I do it.”
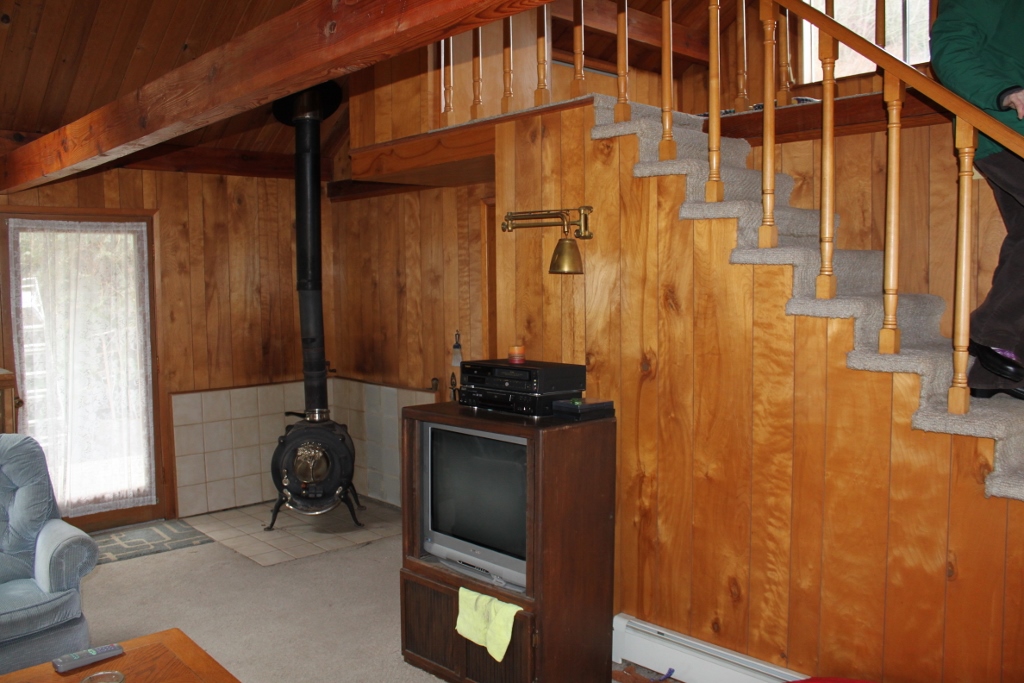
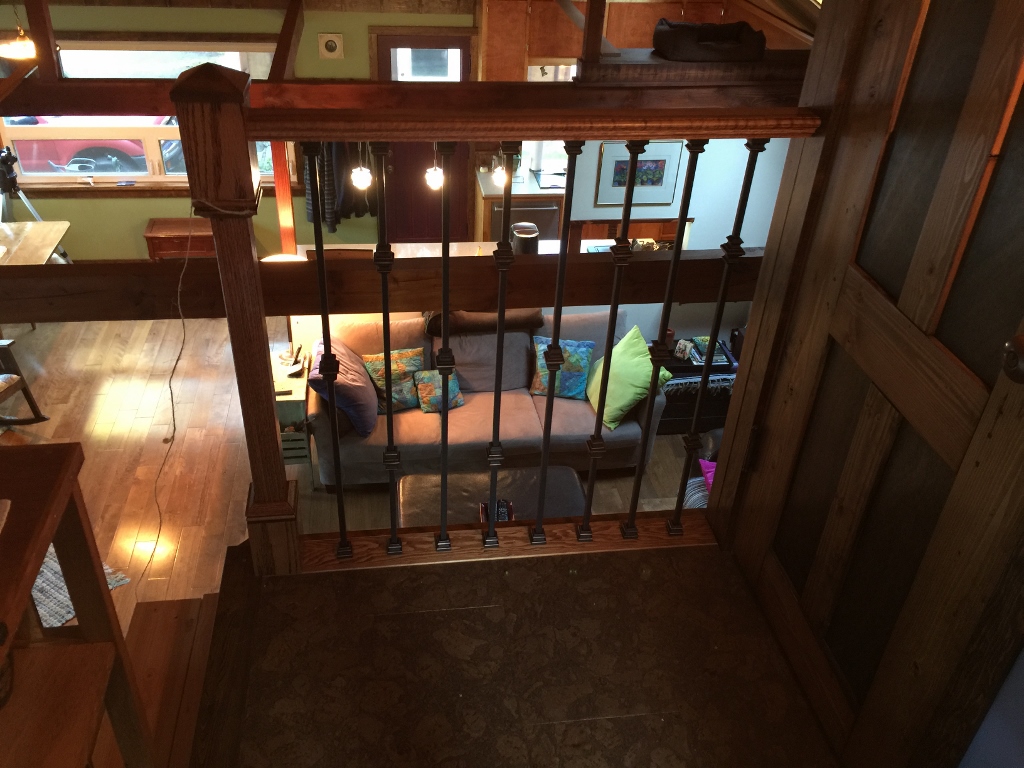
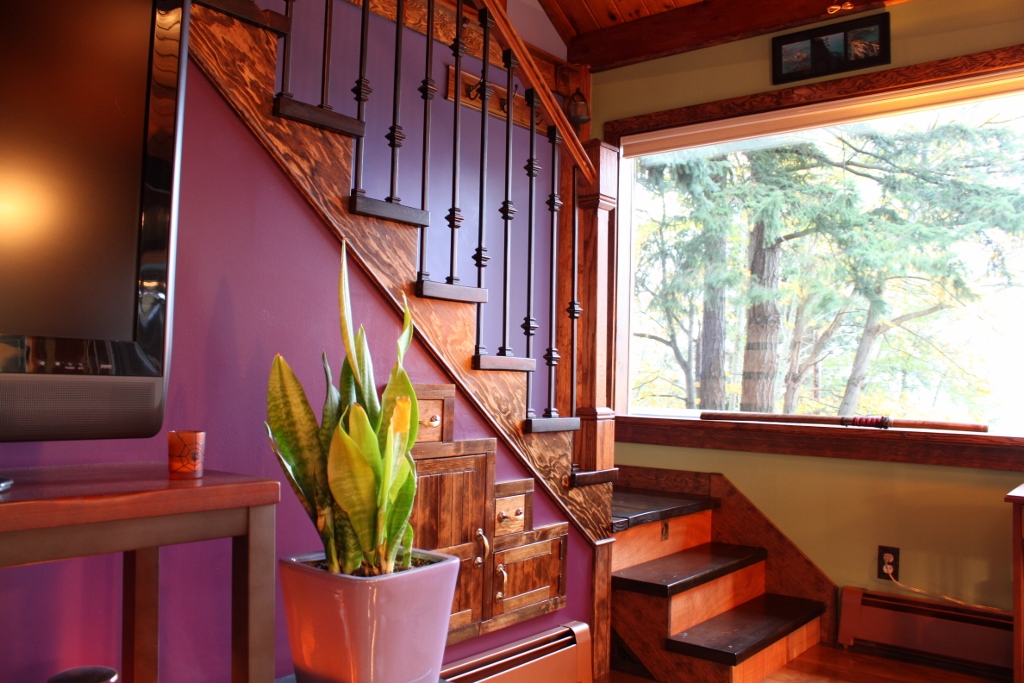
It looks a hundred times better than it used to.
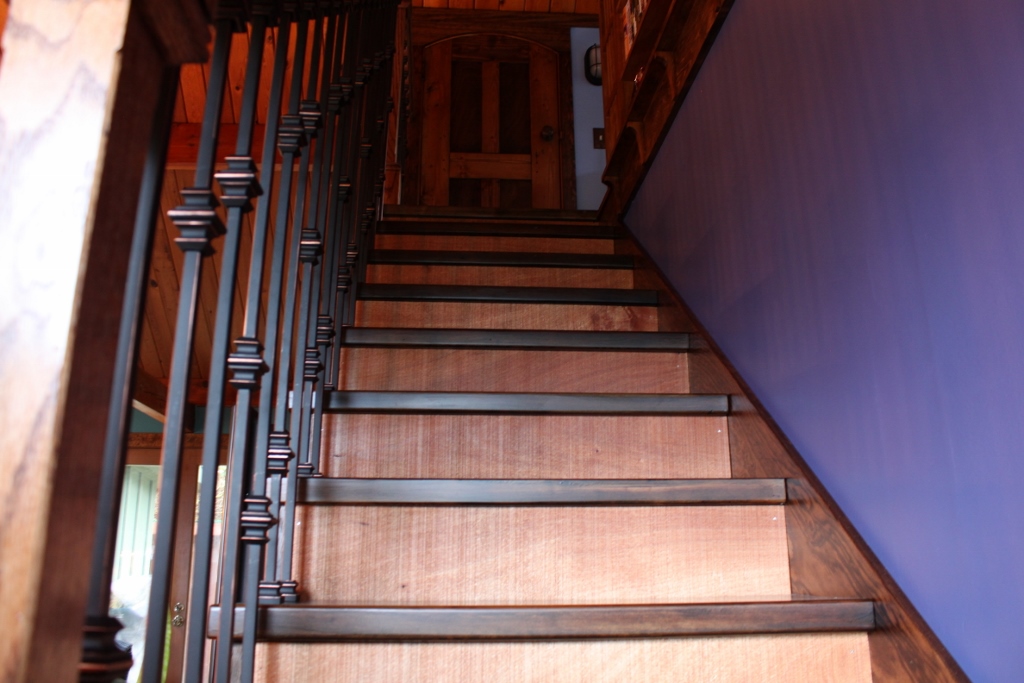
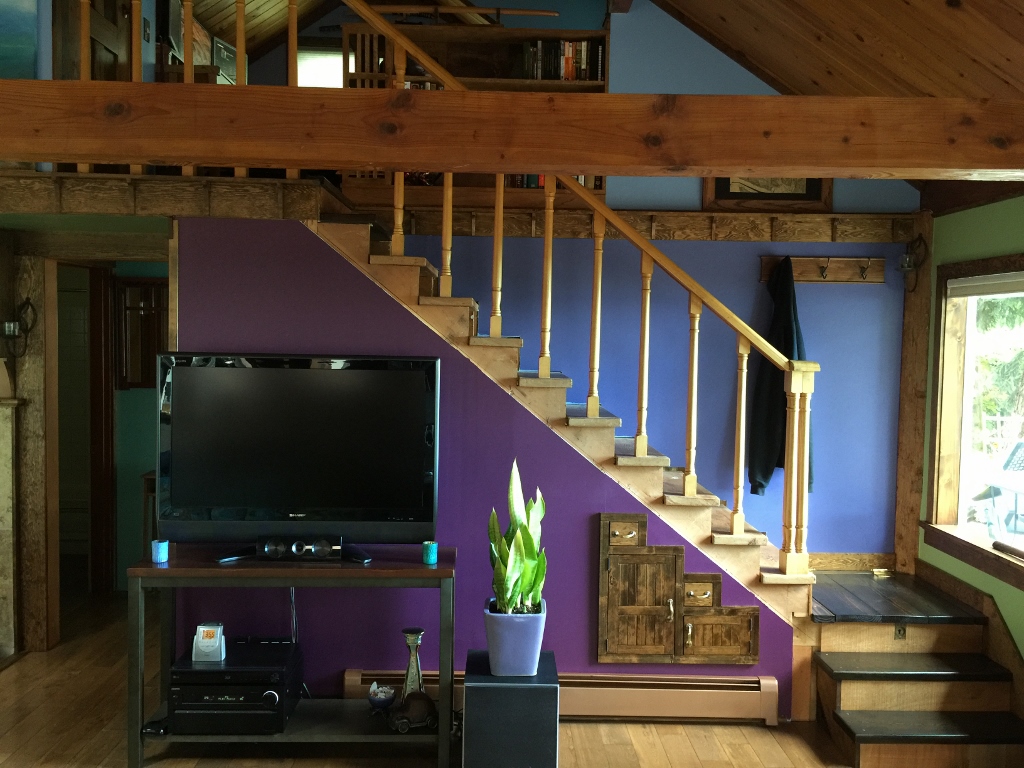
The risers have a nice, coppery color to them. That’s T-111 paneling, so it’s rough cut cedar plywood, sanded a little smooth and drowned in about a pint of spar urethane. It still retains some of its rough texture, yet is smooth enough to be cleaned by a damp cloth if necessary, and hard enough to withstand scuffs and scratches.
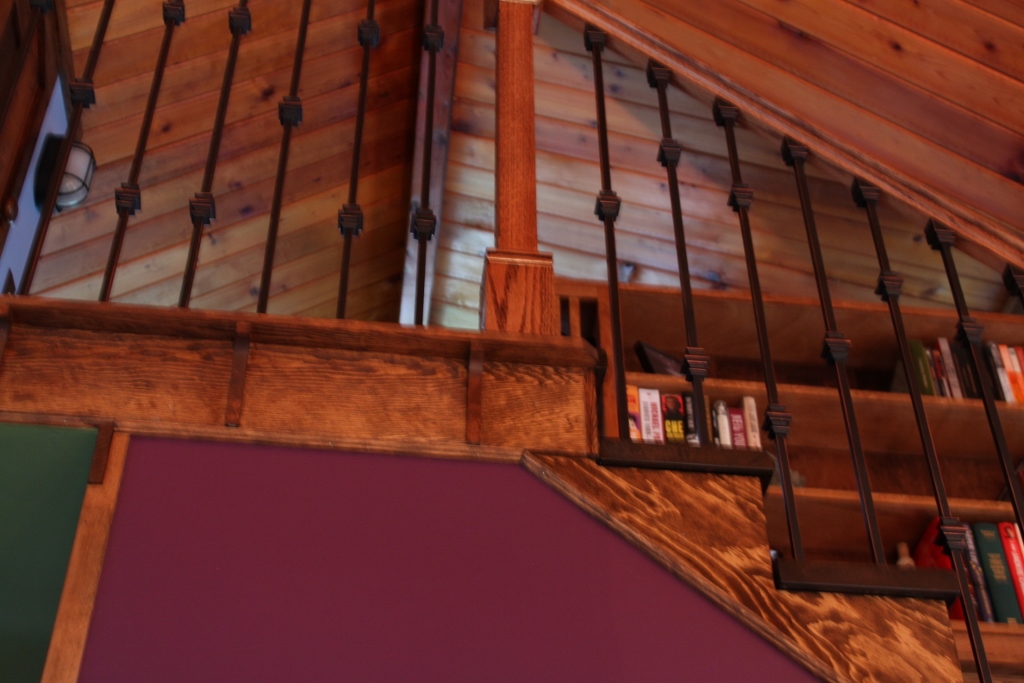
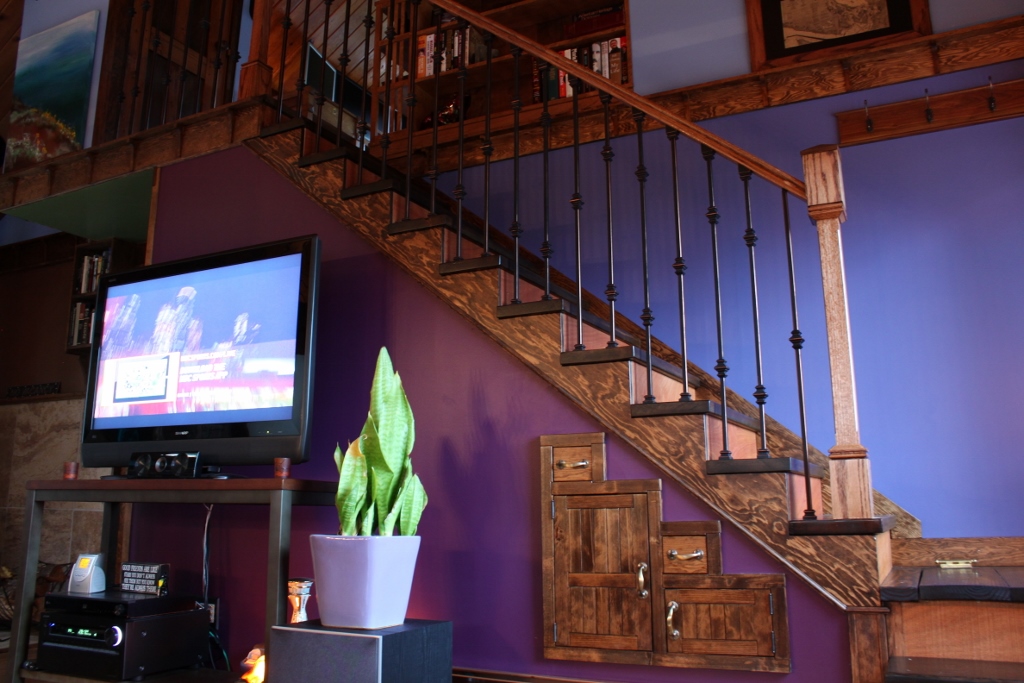
The finish trim was the trickiest part. It’s just a crooked house, and it wasn’t exactly framed for drywall or nice stairs. It was The House That Was Not Allowed To Have Nice Things. Indeed, the finished stairs look so nice that they don’t seem to belong in this house.
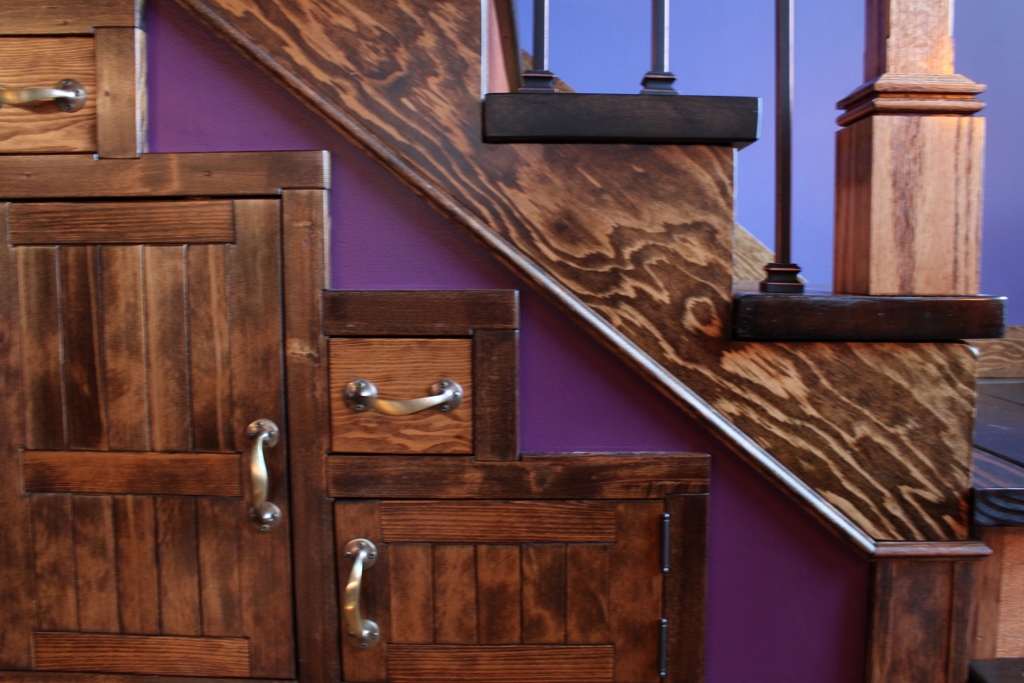
The cabinets came out … okay. I guess. (I love those brass handles!) I used trim hemlock, and it took the stain a little blotchy. But that’s okay. I’m thankful for the storage space. That big door on the left is where we put the vacuum. Yes, I built a vacuum chamber! Ha ha ha. Get it? Vacuum chamber… because it has a vacuum in it… ha ha ha, ha…. ah, bugger.
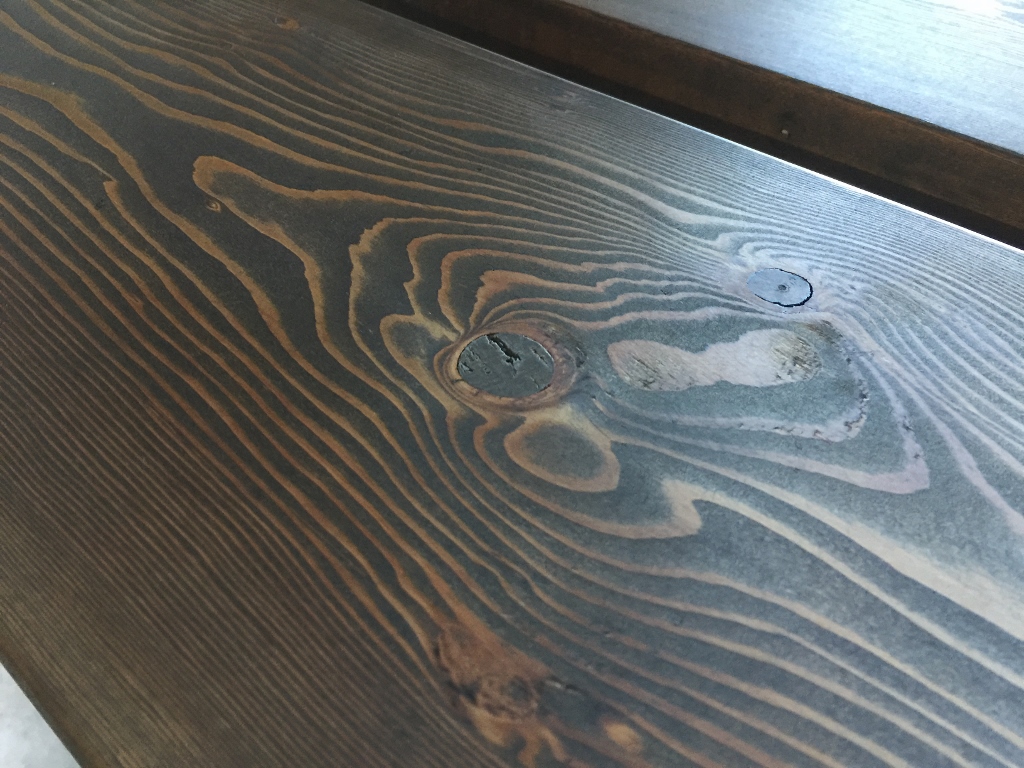
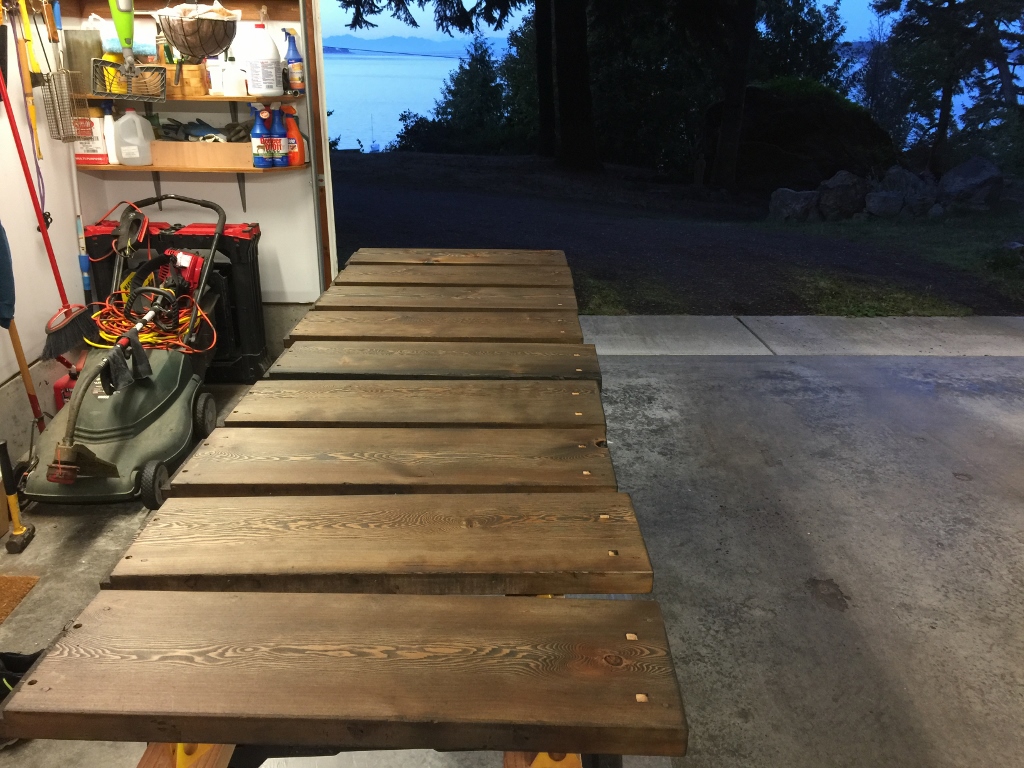
I stained the stair treads dark ebony, and the resulting color is beautiful, rich and varied. There are bands of orange and chocolate and even a little green and yellow in them. The grain was very tight and detailed. They were a real pain to restore but I’m glad I made the effort.
I did say almost finished, because when I ordered the stair balusters I was short one angled shoe. So I can’t finish the handrail install until I get that shoe, and then I have to take the handrail off, put the shoe on the baluster, put epoxy into the nineteen holes in the handrail, carefully reinstall the handrail and bolt it to the posts, and re-tighten all the shoes and fill the holes to conceal the bolts and re-sand and re-stain and drink copious amounts of beer and touch up polyurethane and spar urethane and drink more beer and touch up paint and put some clear caulk in a few joints and tighten the shims that got loosened with use and drink more beer. And then, maybe, this project will be done.