This is the hard part.
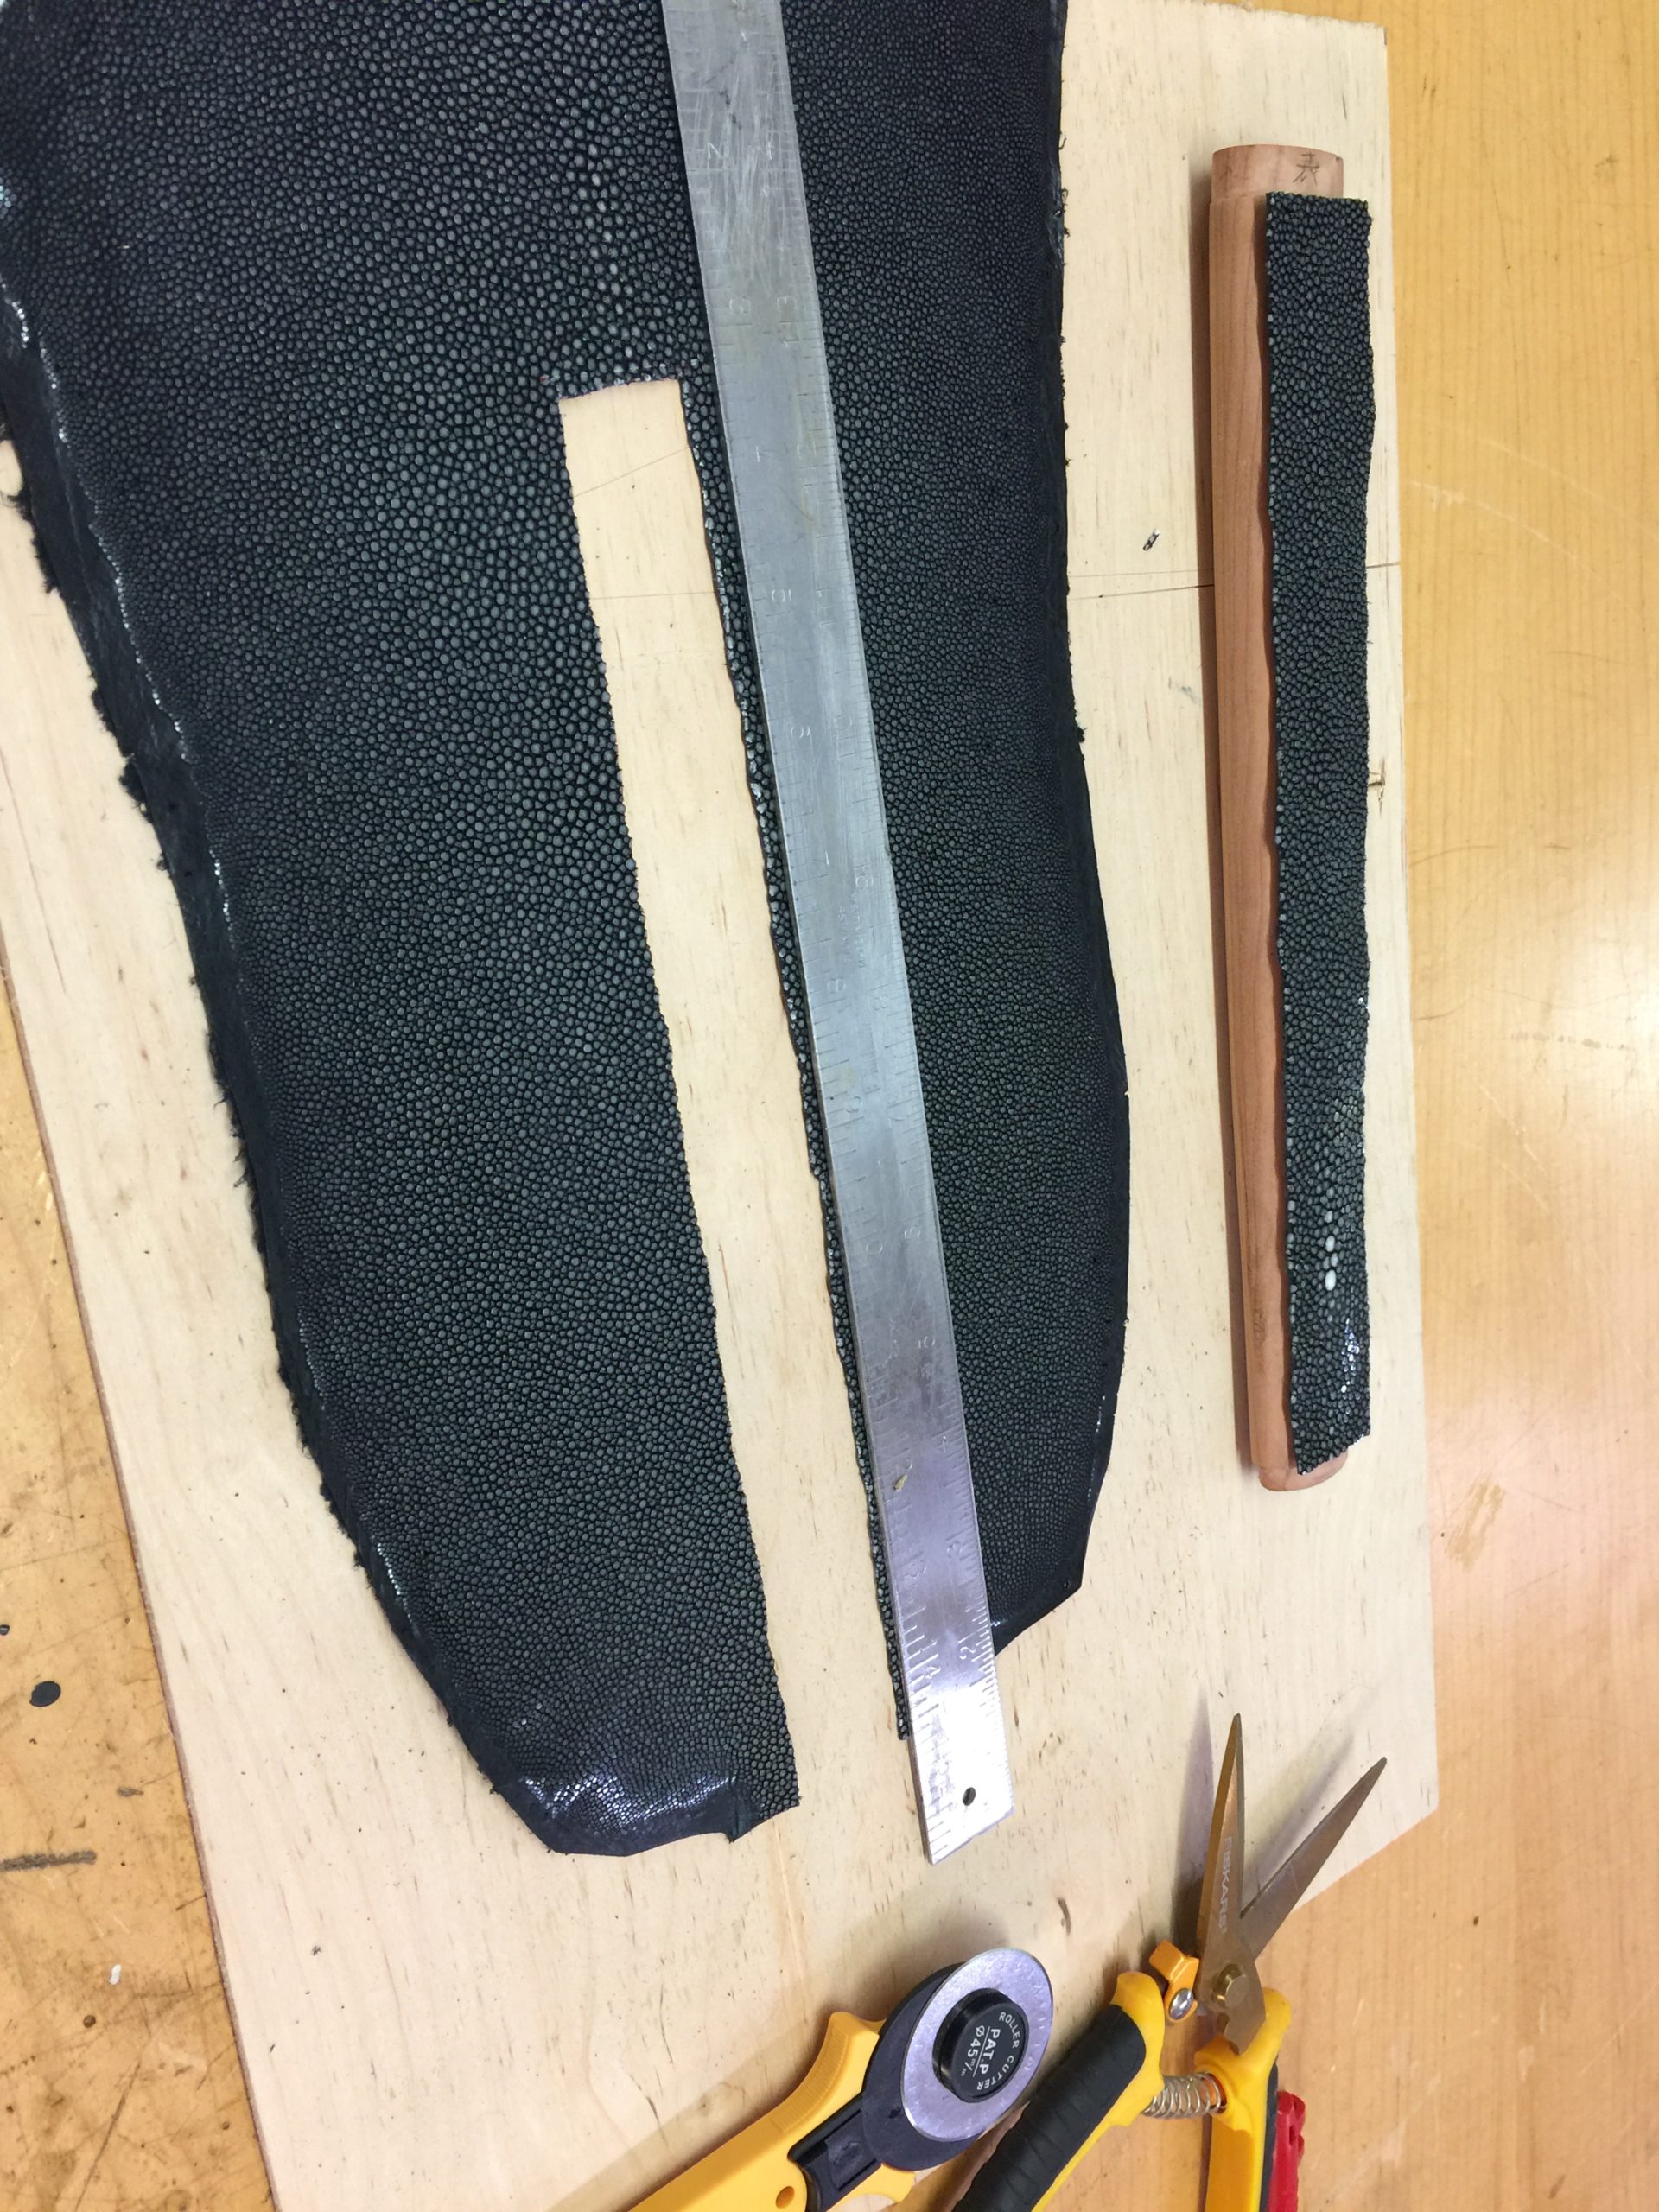
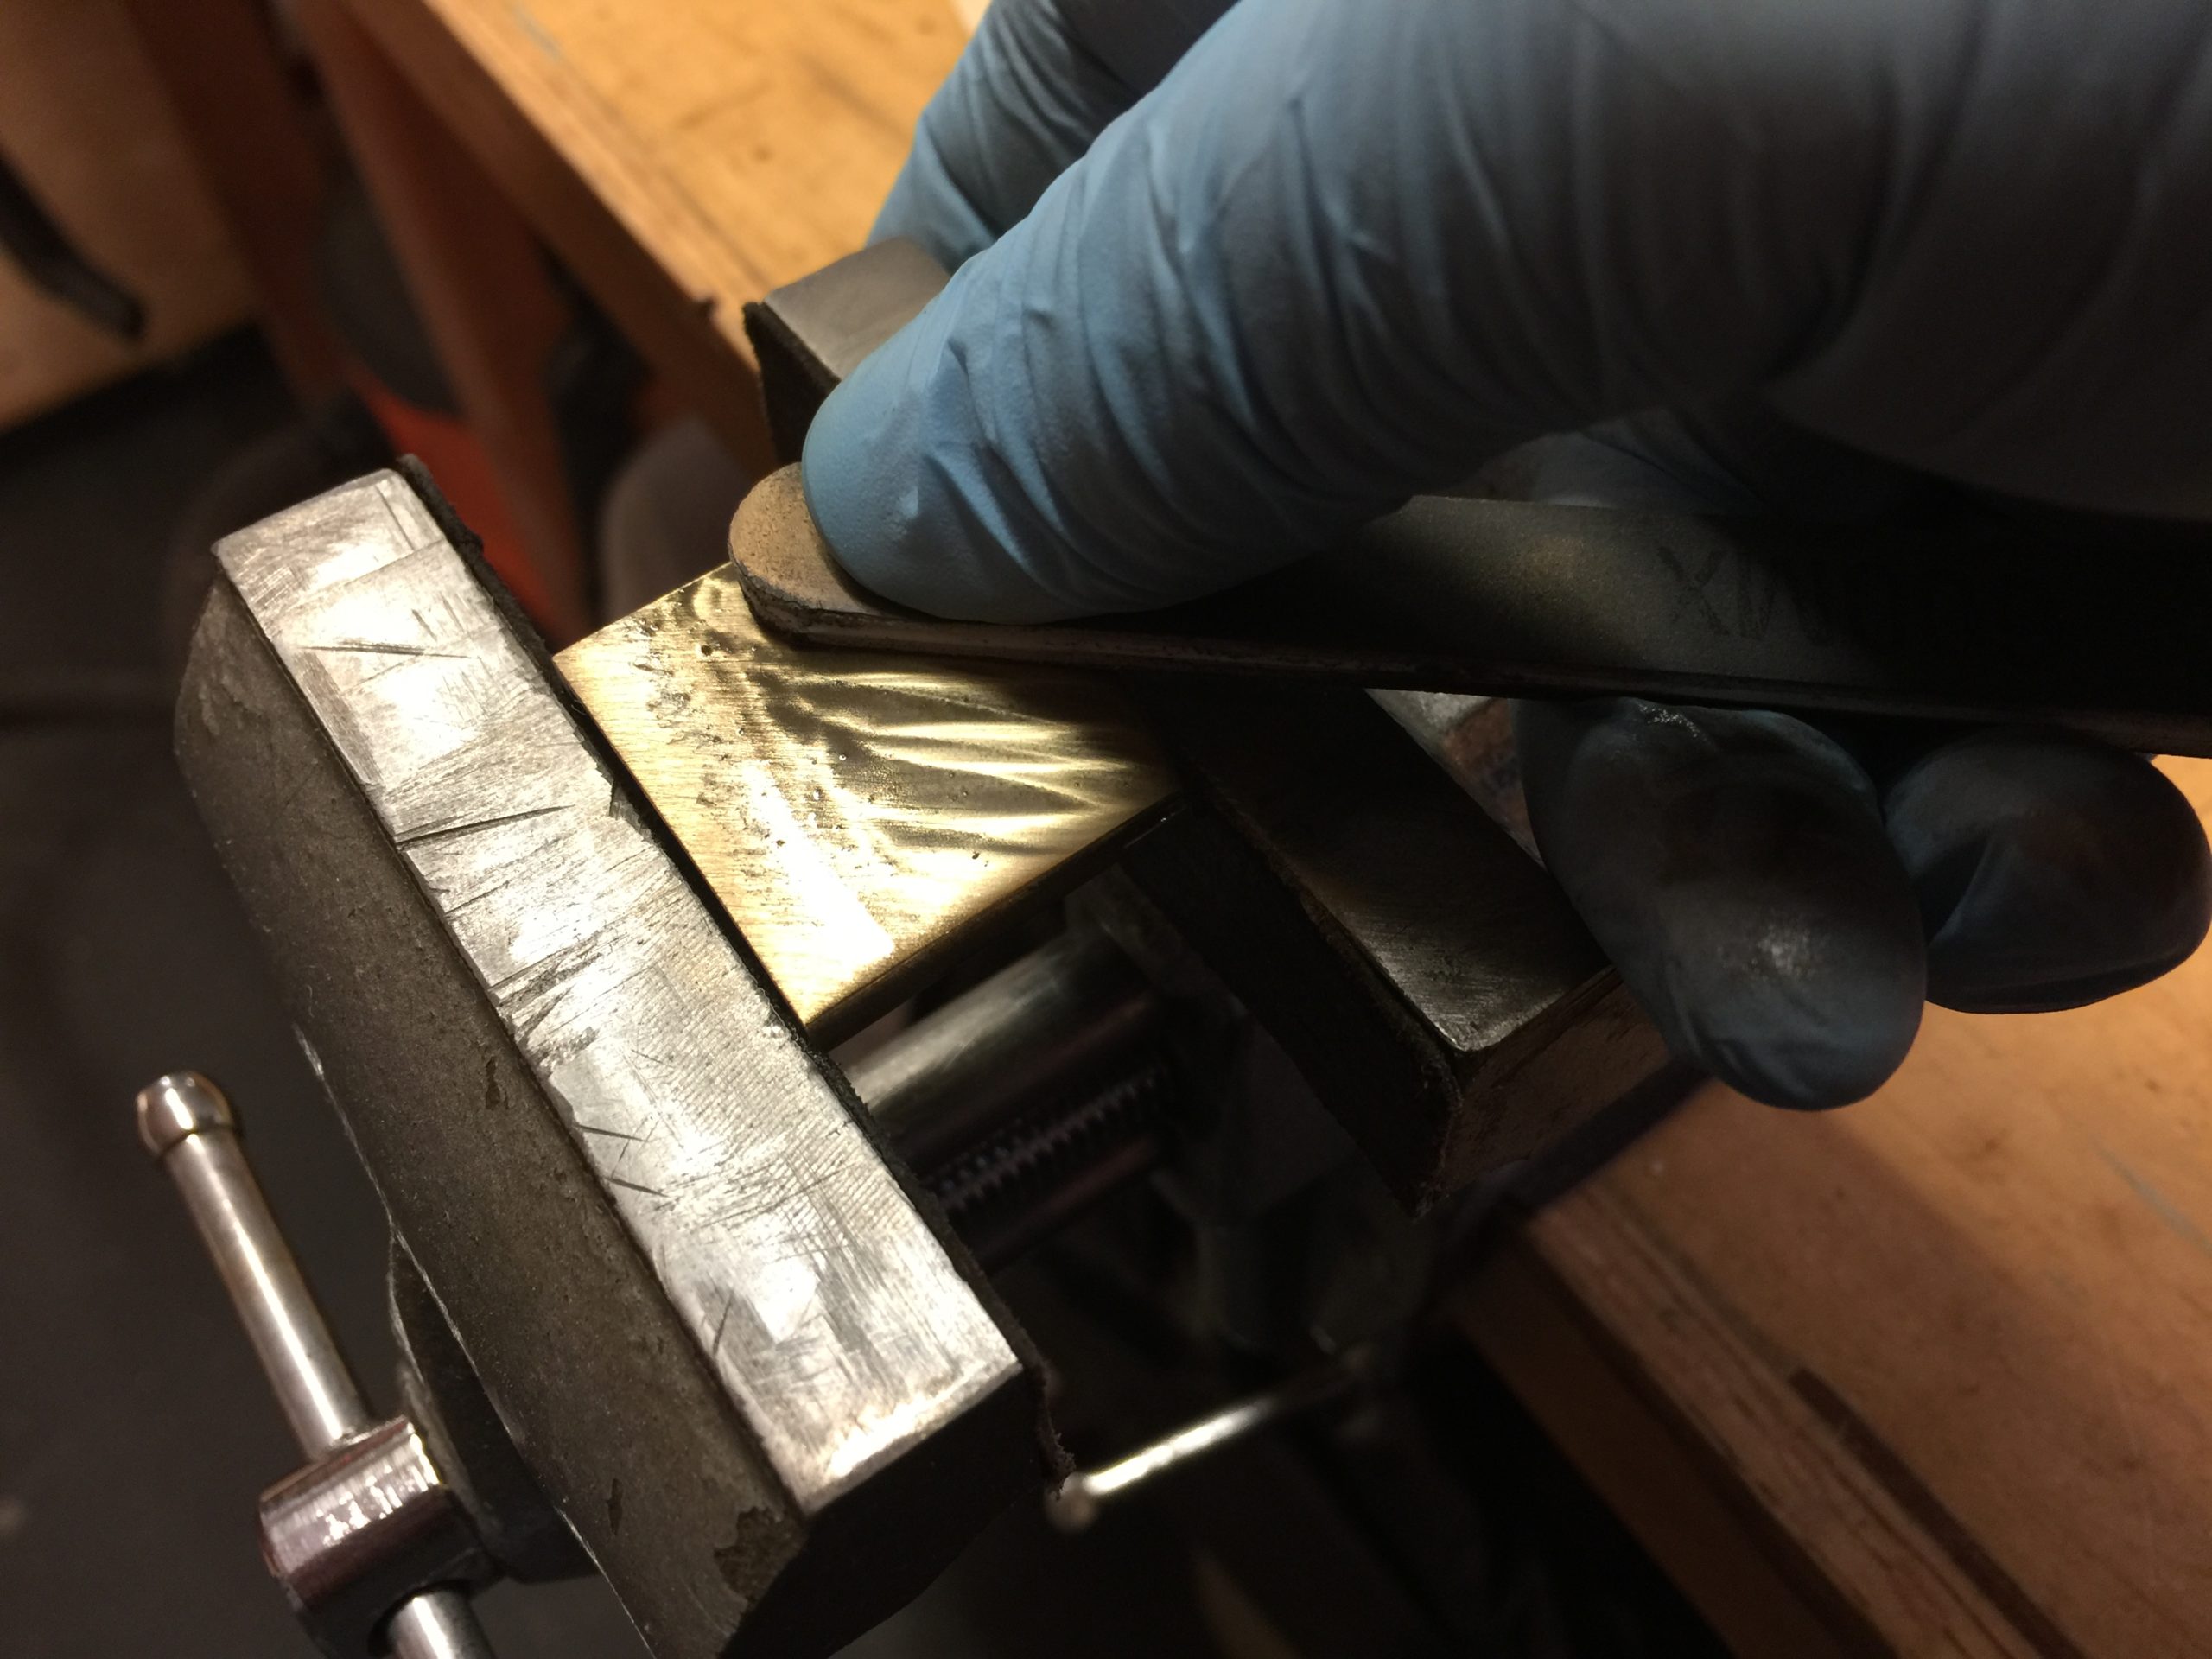
Handles were covered in samegawa, which I’ve seen translated as either shark skin or manta ray skin. It’s got some texture to it so it helps keep the wrapping from sliding around. I bought this one and it turned out it was sanded smooth, so it won’t help with texture but I really loved the color and smooth texture so I thought to use it. I’m breaking tradition all over the place here! I cut it into panels, because I wanted the ito cord to contact the wood directly.
That rayskin is very hard to cut. Those little nodes are hard as bone, so you cut around them or have to saw through them. There are probably better ways to cut that stuff that I simply don’t know about.
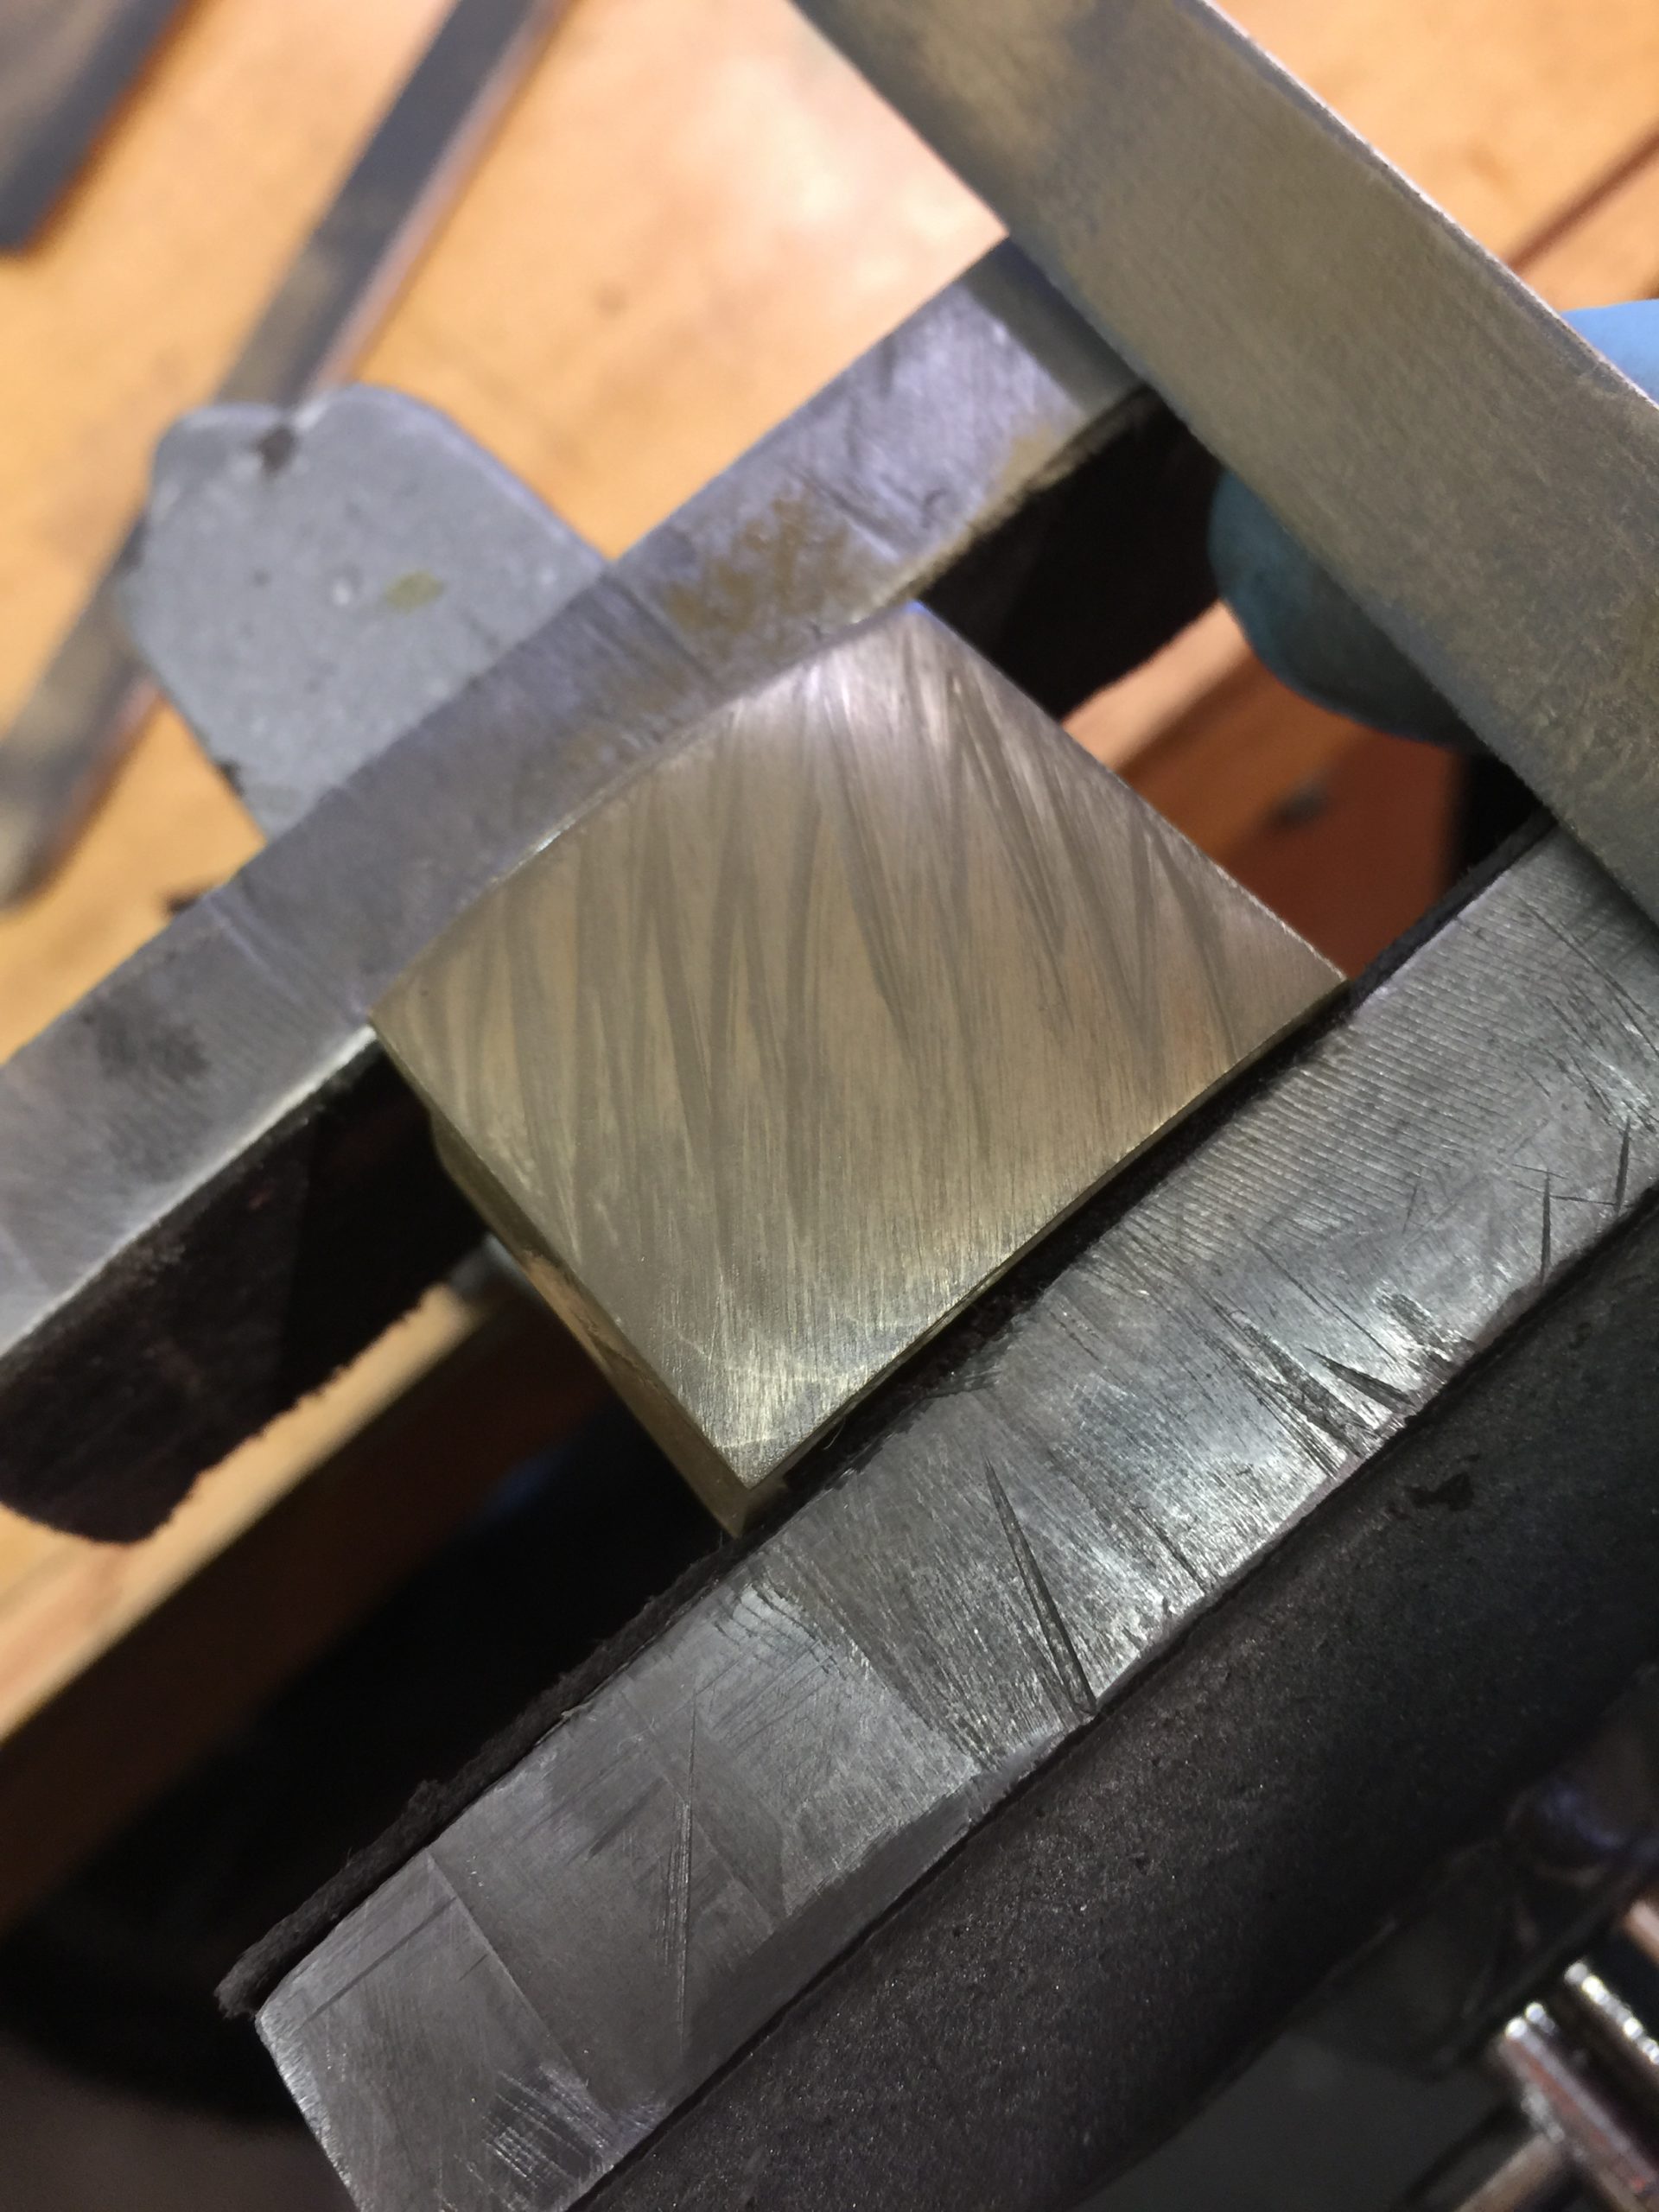
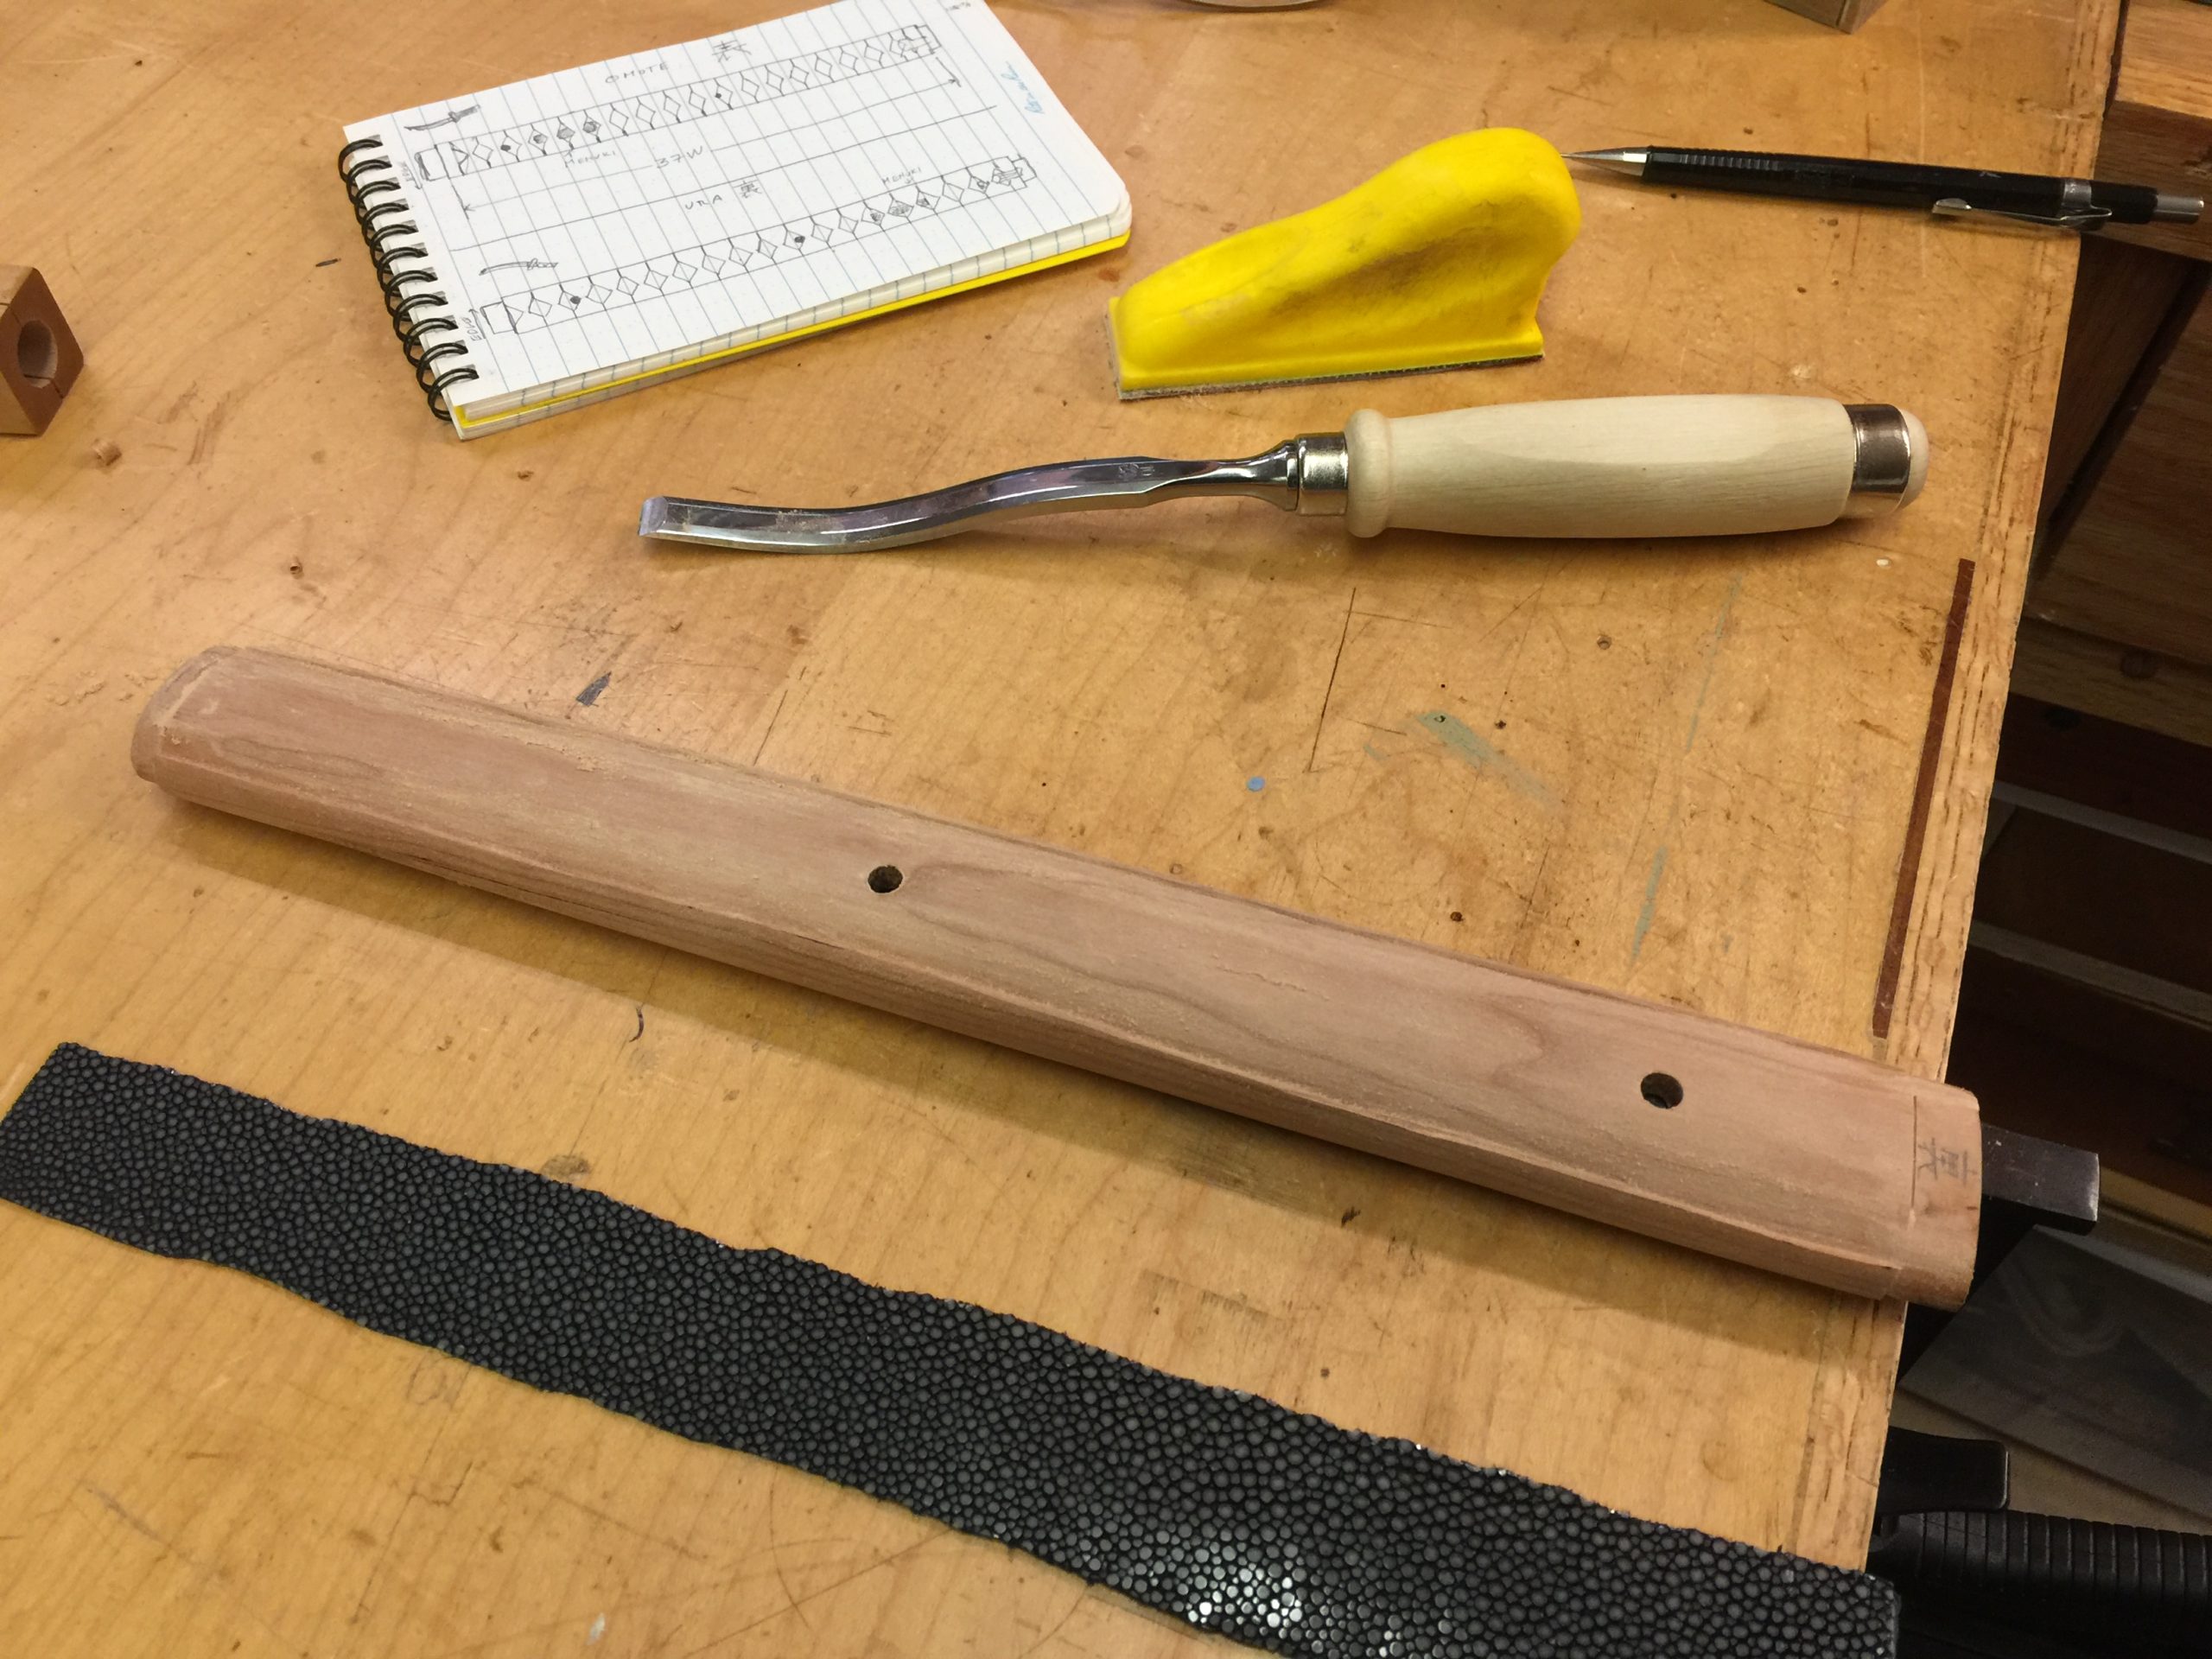
And then I had to cut a hole for the wrapping to pass through. The woodwork is about done now.
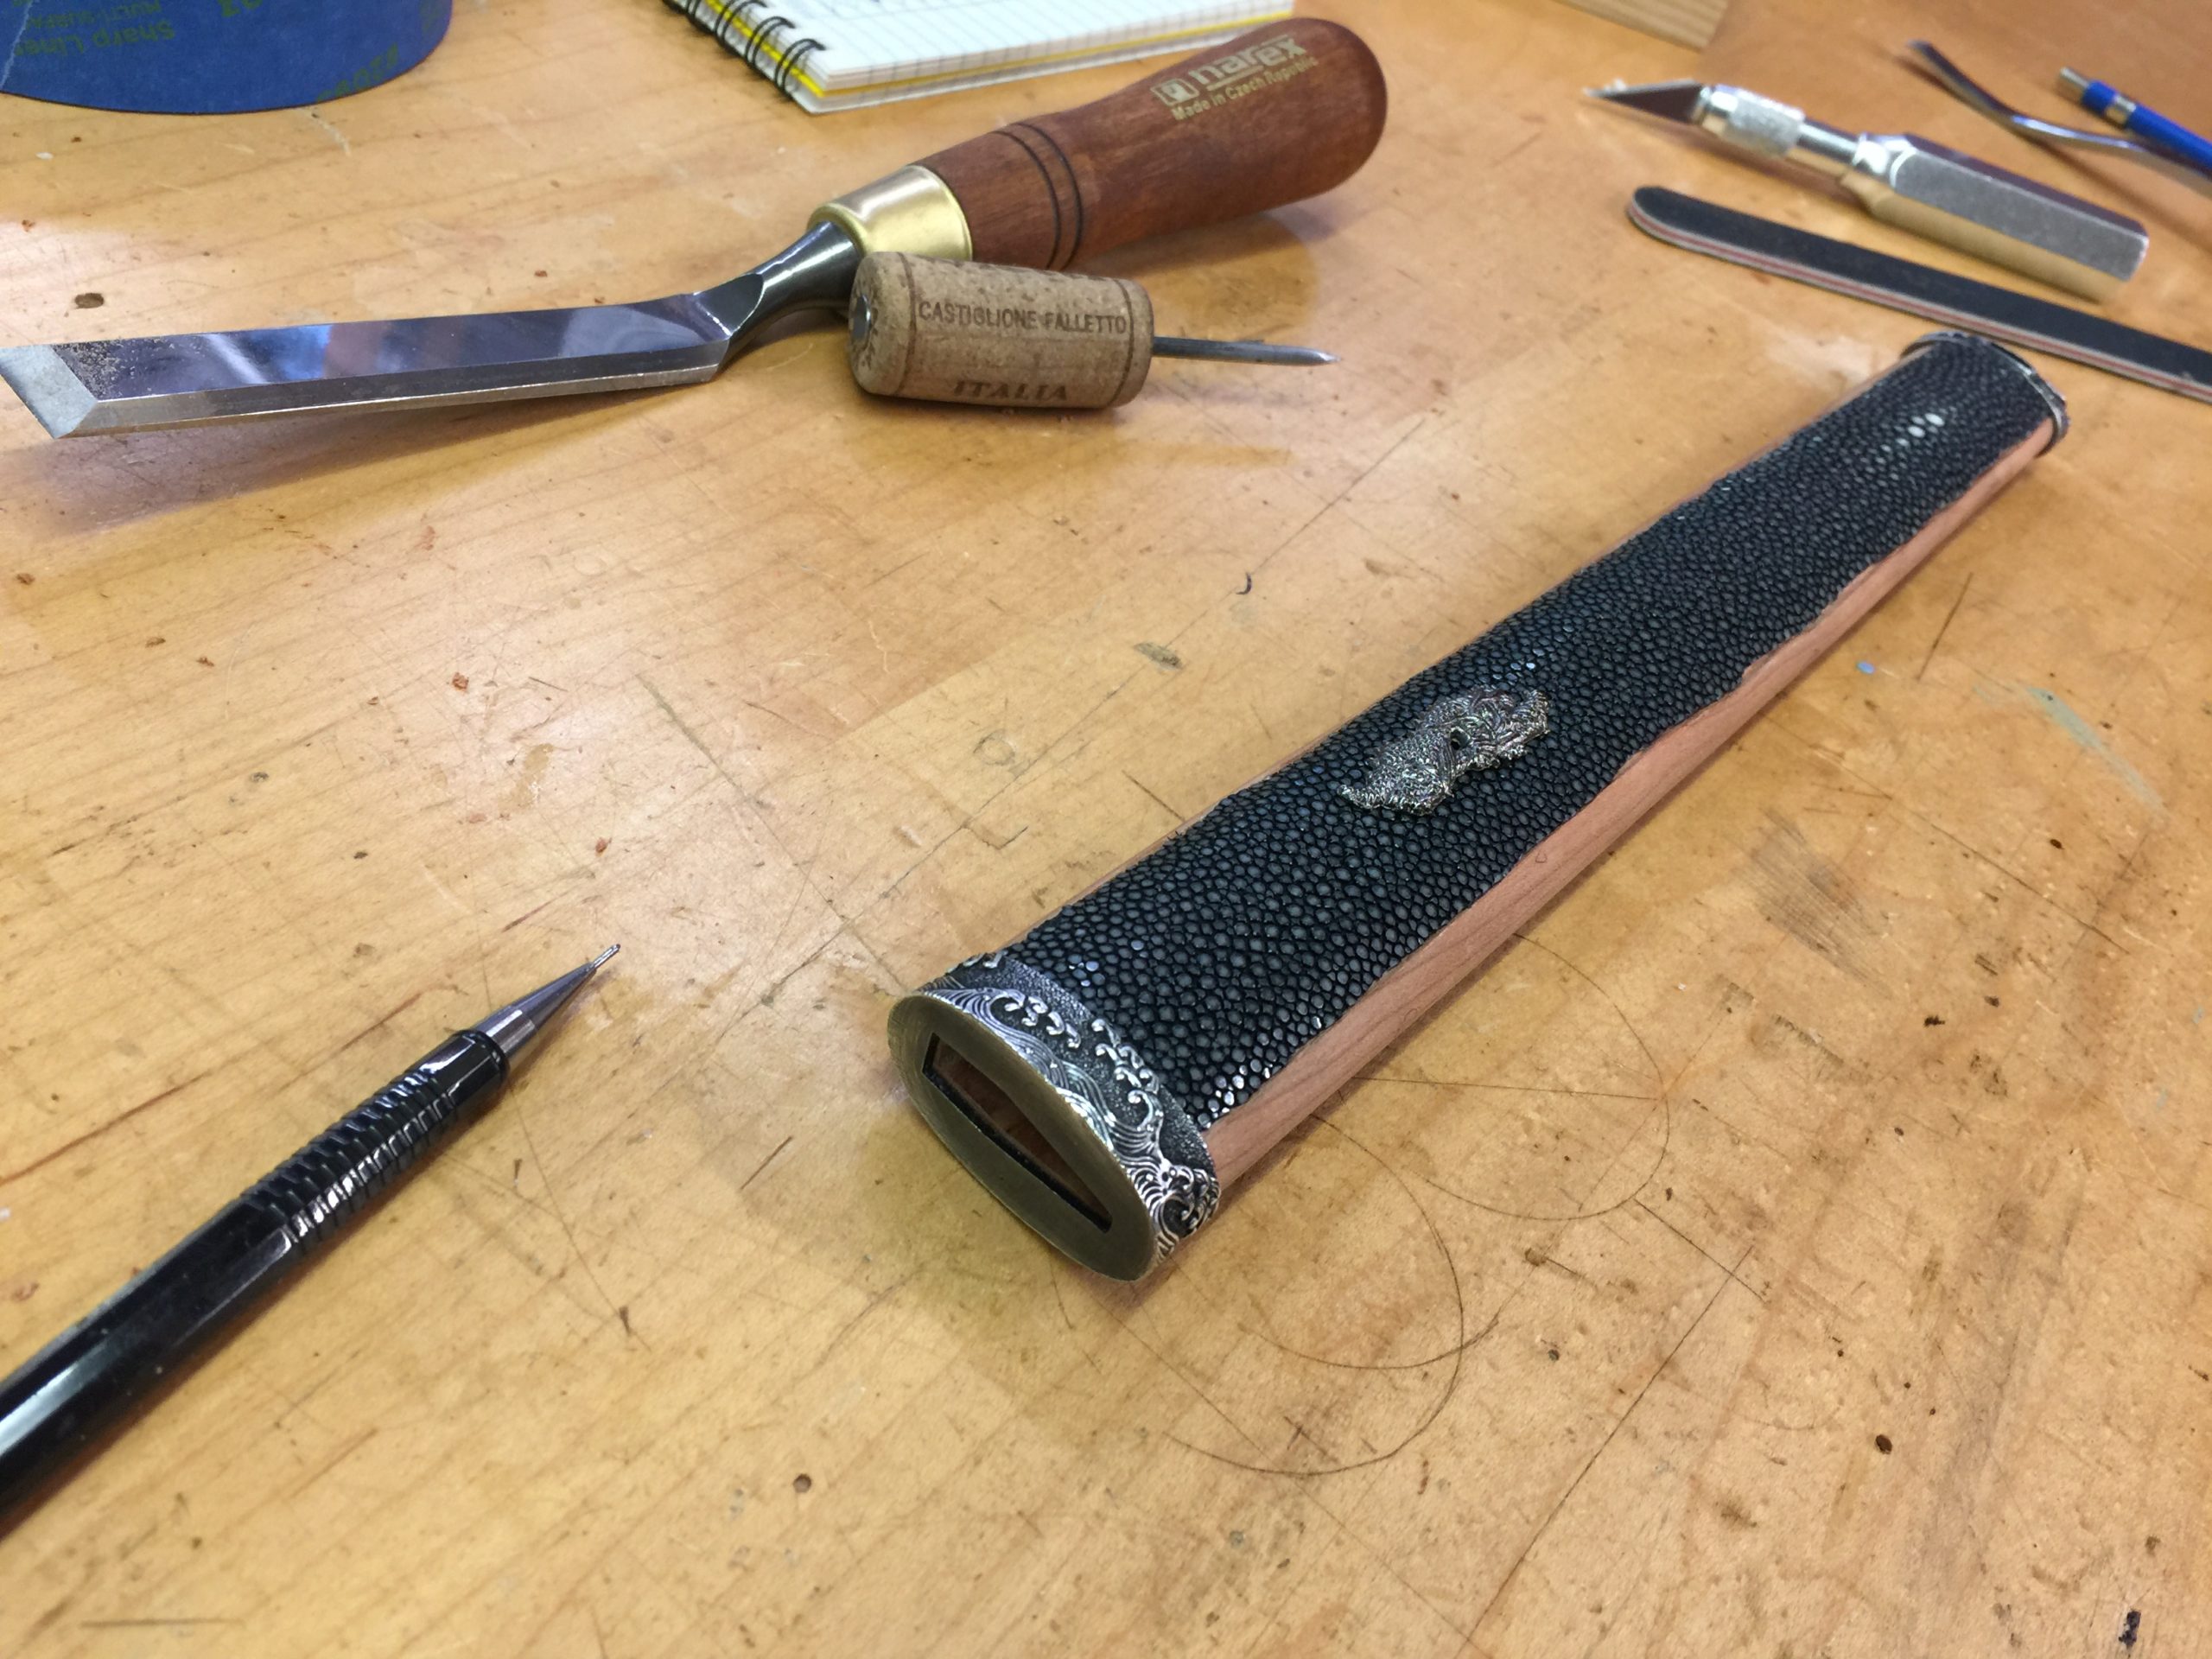
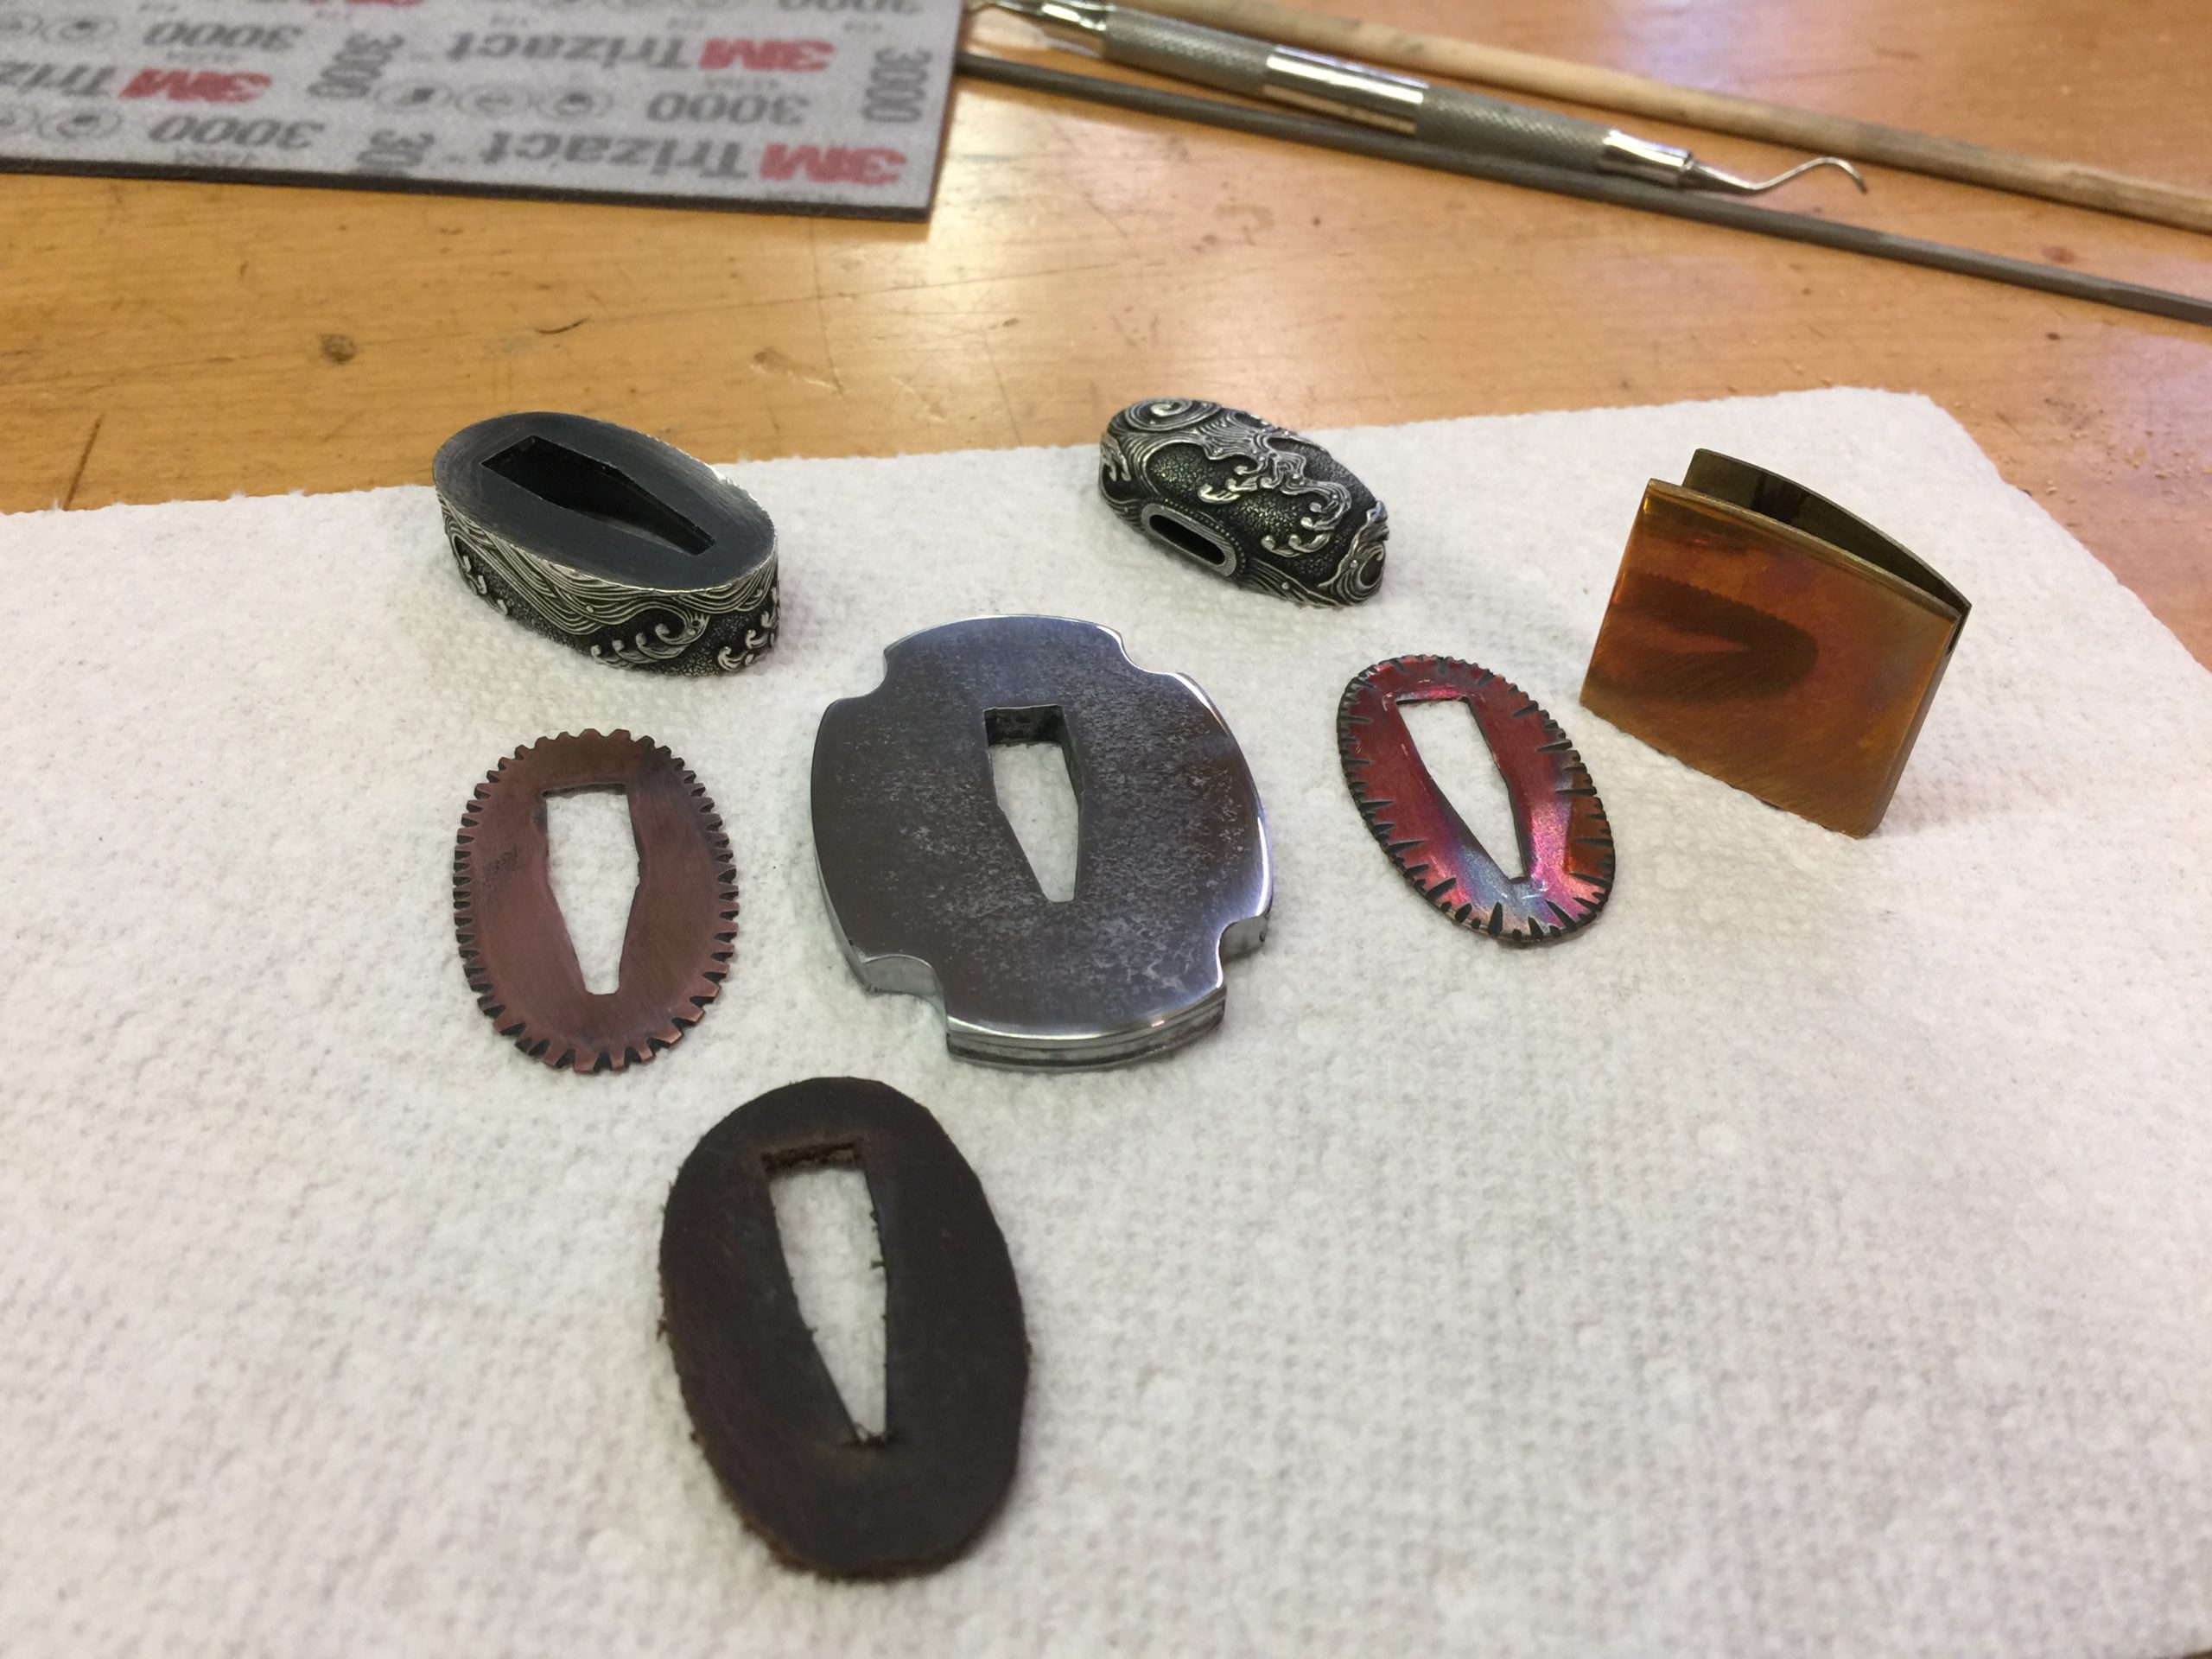
I’ve fitted the fuchi and koshirae on the tsuka, and there’s one of the menuki that gets wrapped into the handle for some more texture. They help with the grip.

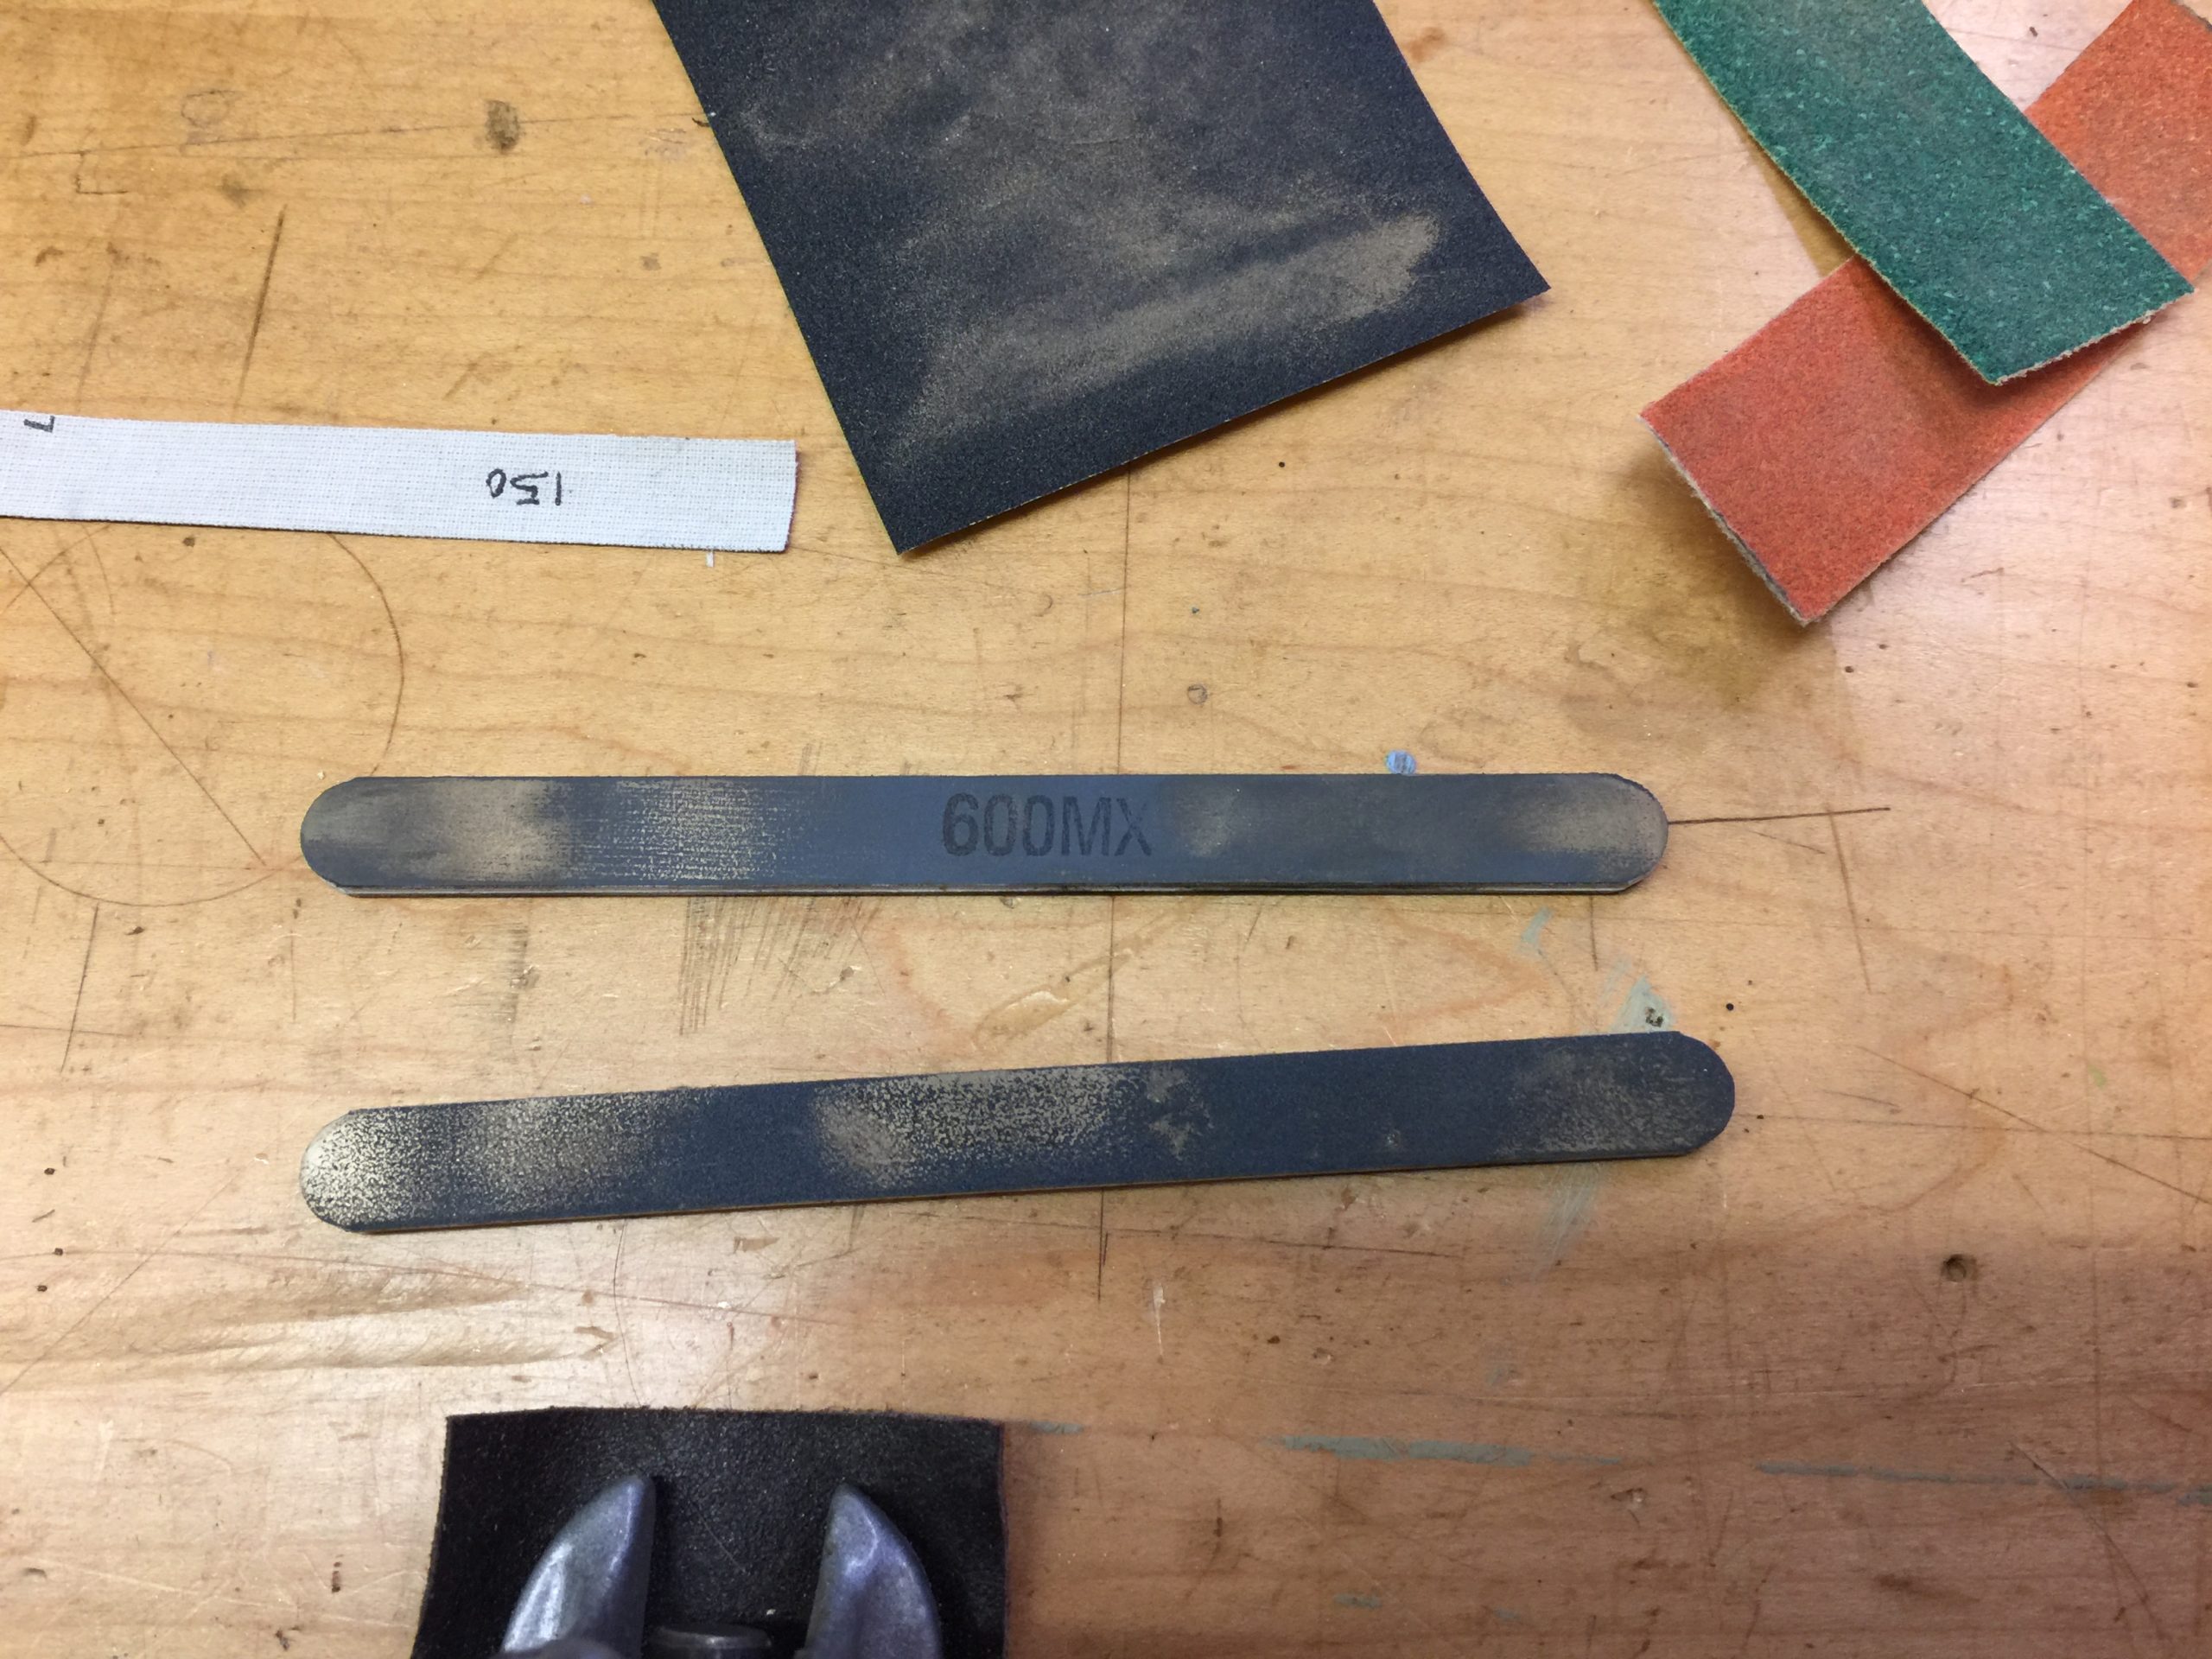
These little pains in the ass are called hishigami, tiny folded triangles of paper that help maintain an even shape as the handle is wrapped. Traditionally, they can be made out of just about anything, typically paper but sometimes wood shavings and I’ve even heard of baked clay being used. This paper is nice and thick and it’s waterproof so I thought it would be ideal. I thought wrong; in the future I’ll use hishigami that is the same color as my cord, so I don’t have little slivers of white that need to be tucked in and hidden after the wrap is done.
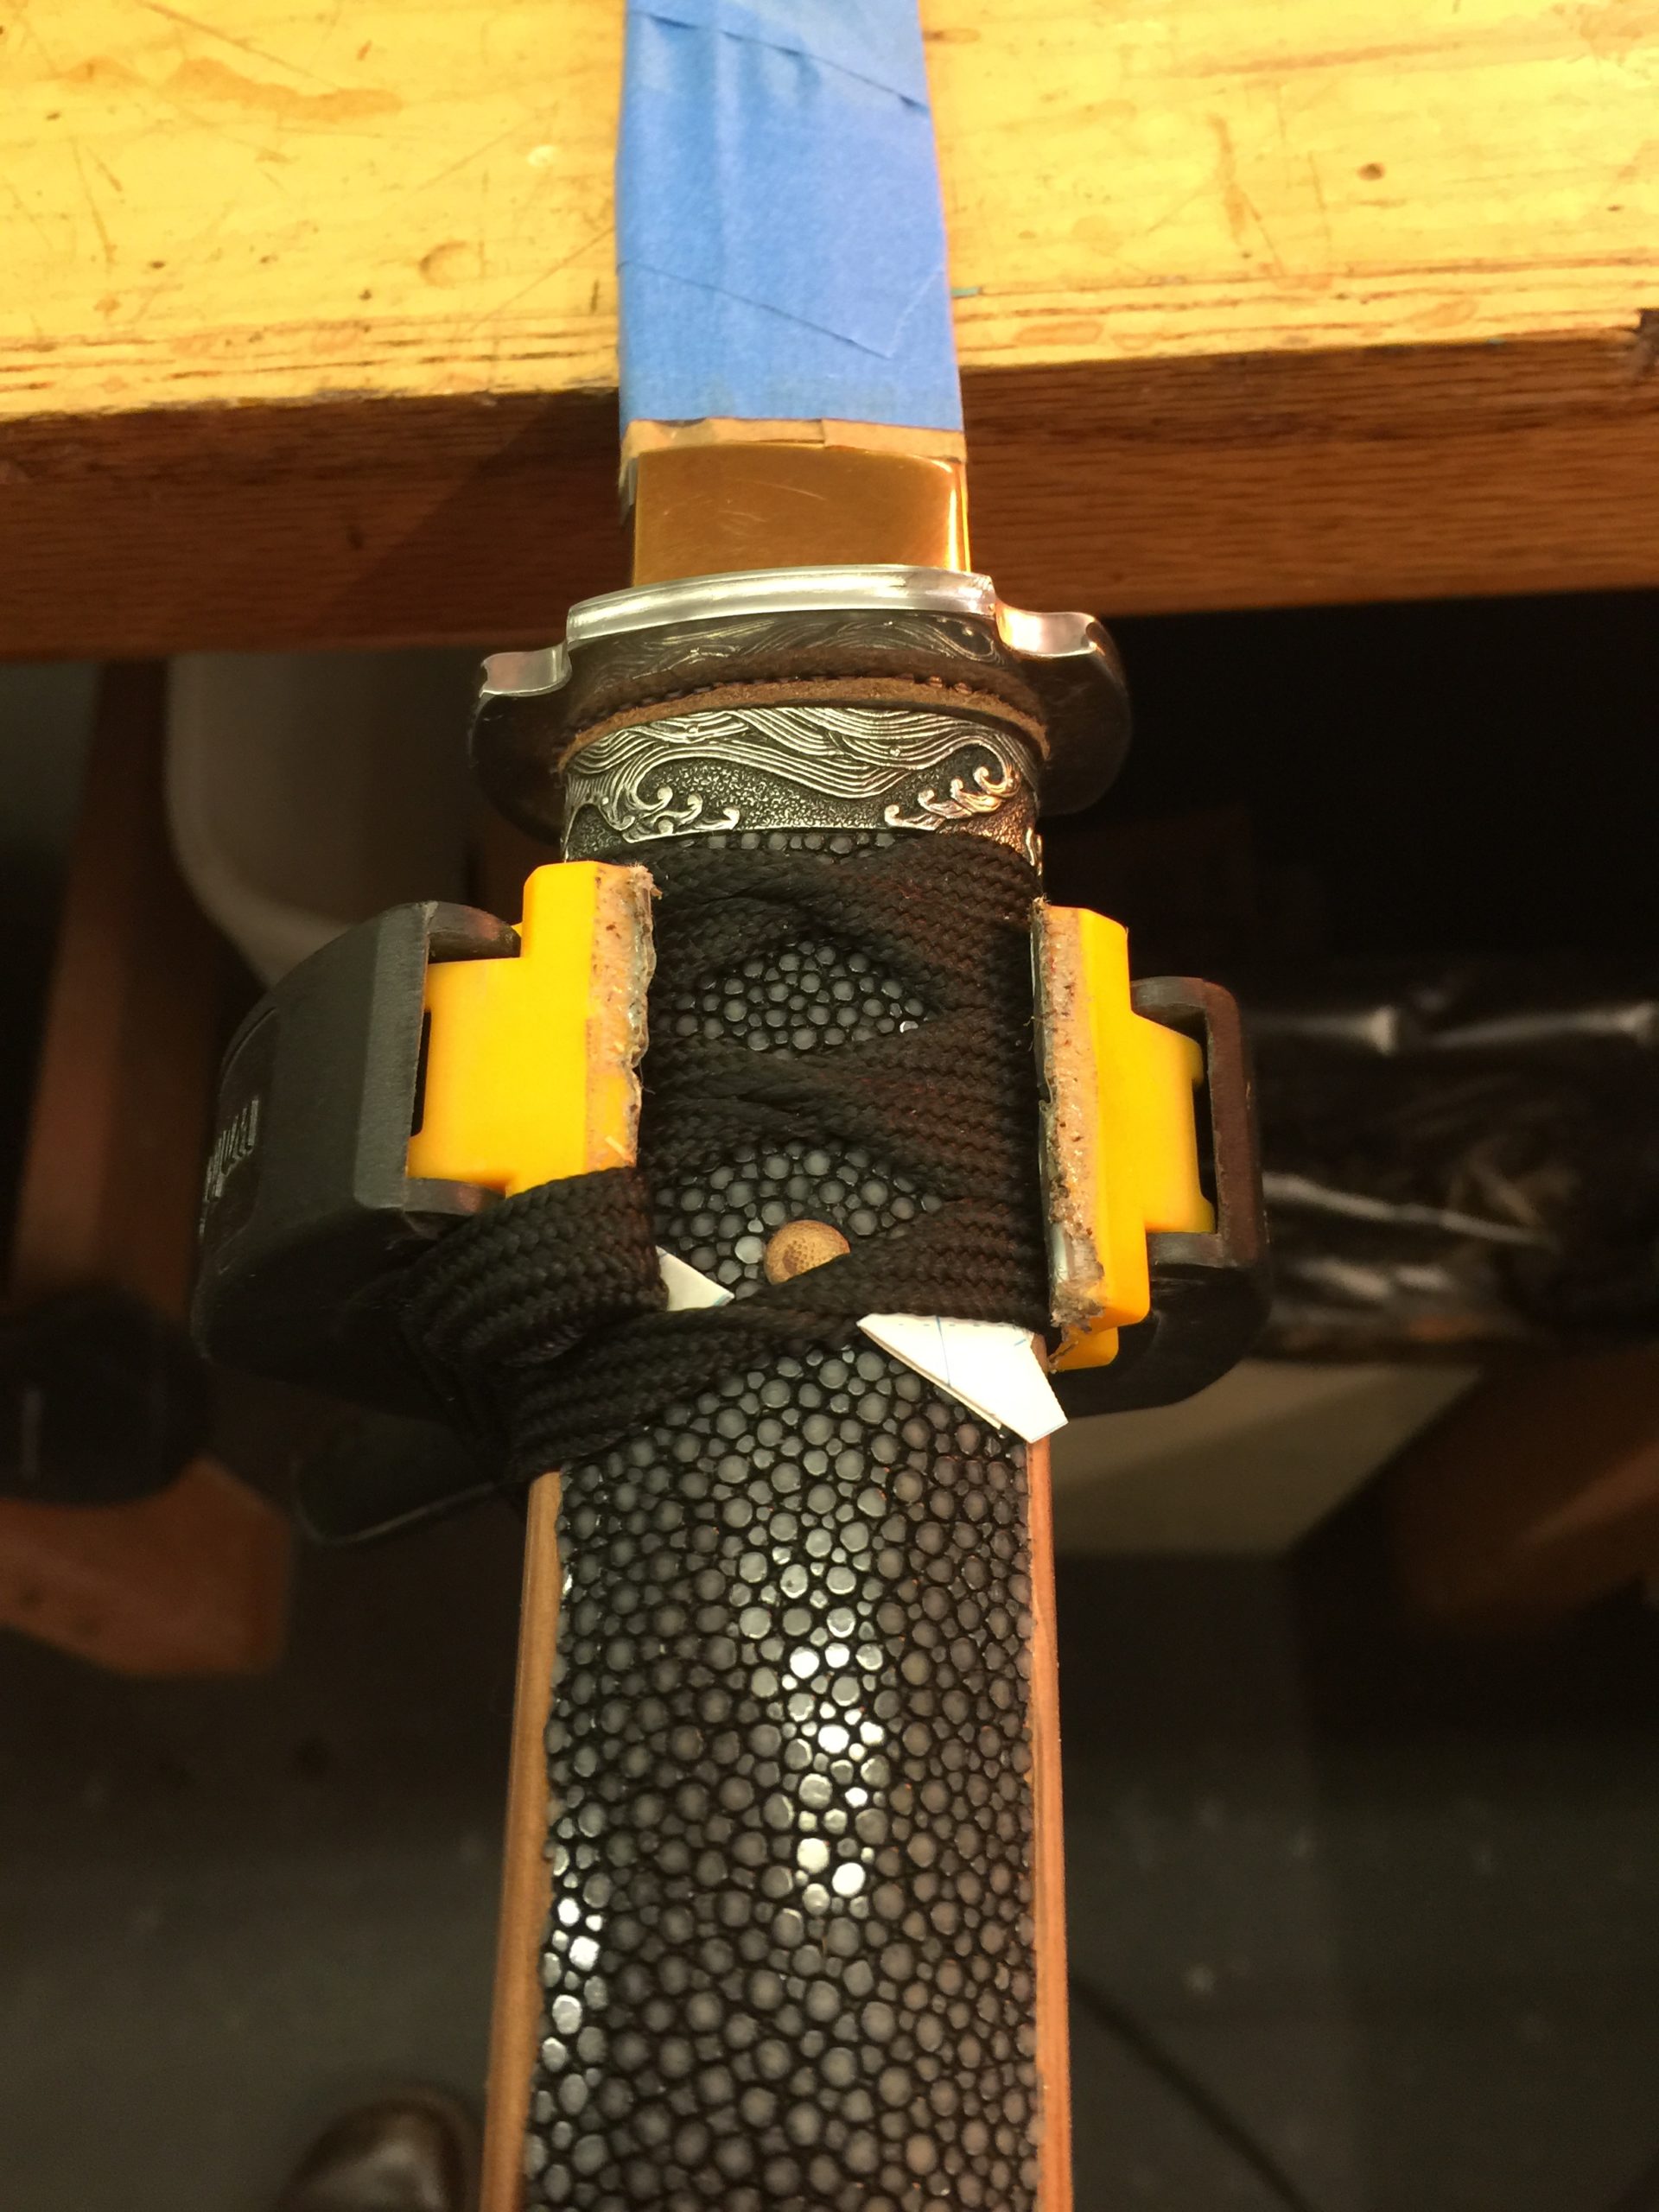
It has to be very, very tight. There’s the hishigami in there to help keep each fold uniform and makes for a symmetrical wrap. I’ve wrapped handles without them many times and they always look uneven and crappy. The pain in the ass of folding 88 little pieces of paper, it pays off.
I also use double sided scrapbooking tape along the wood sides. It really helps with the wrap and it adds longevity to the handle. I practice with a sword every day, so this thing isn’t just going to hang on a wall.

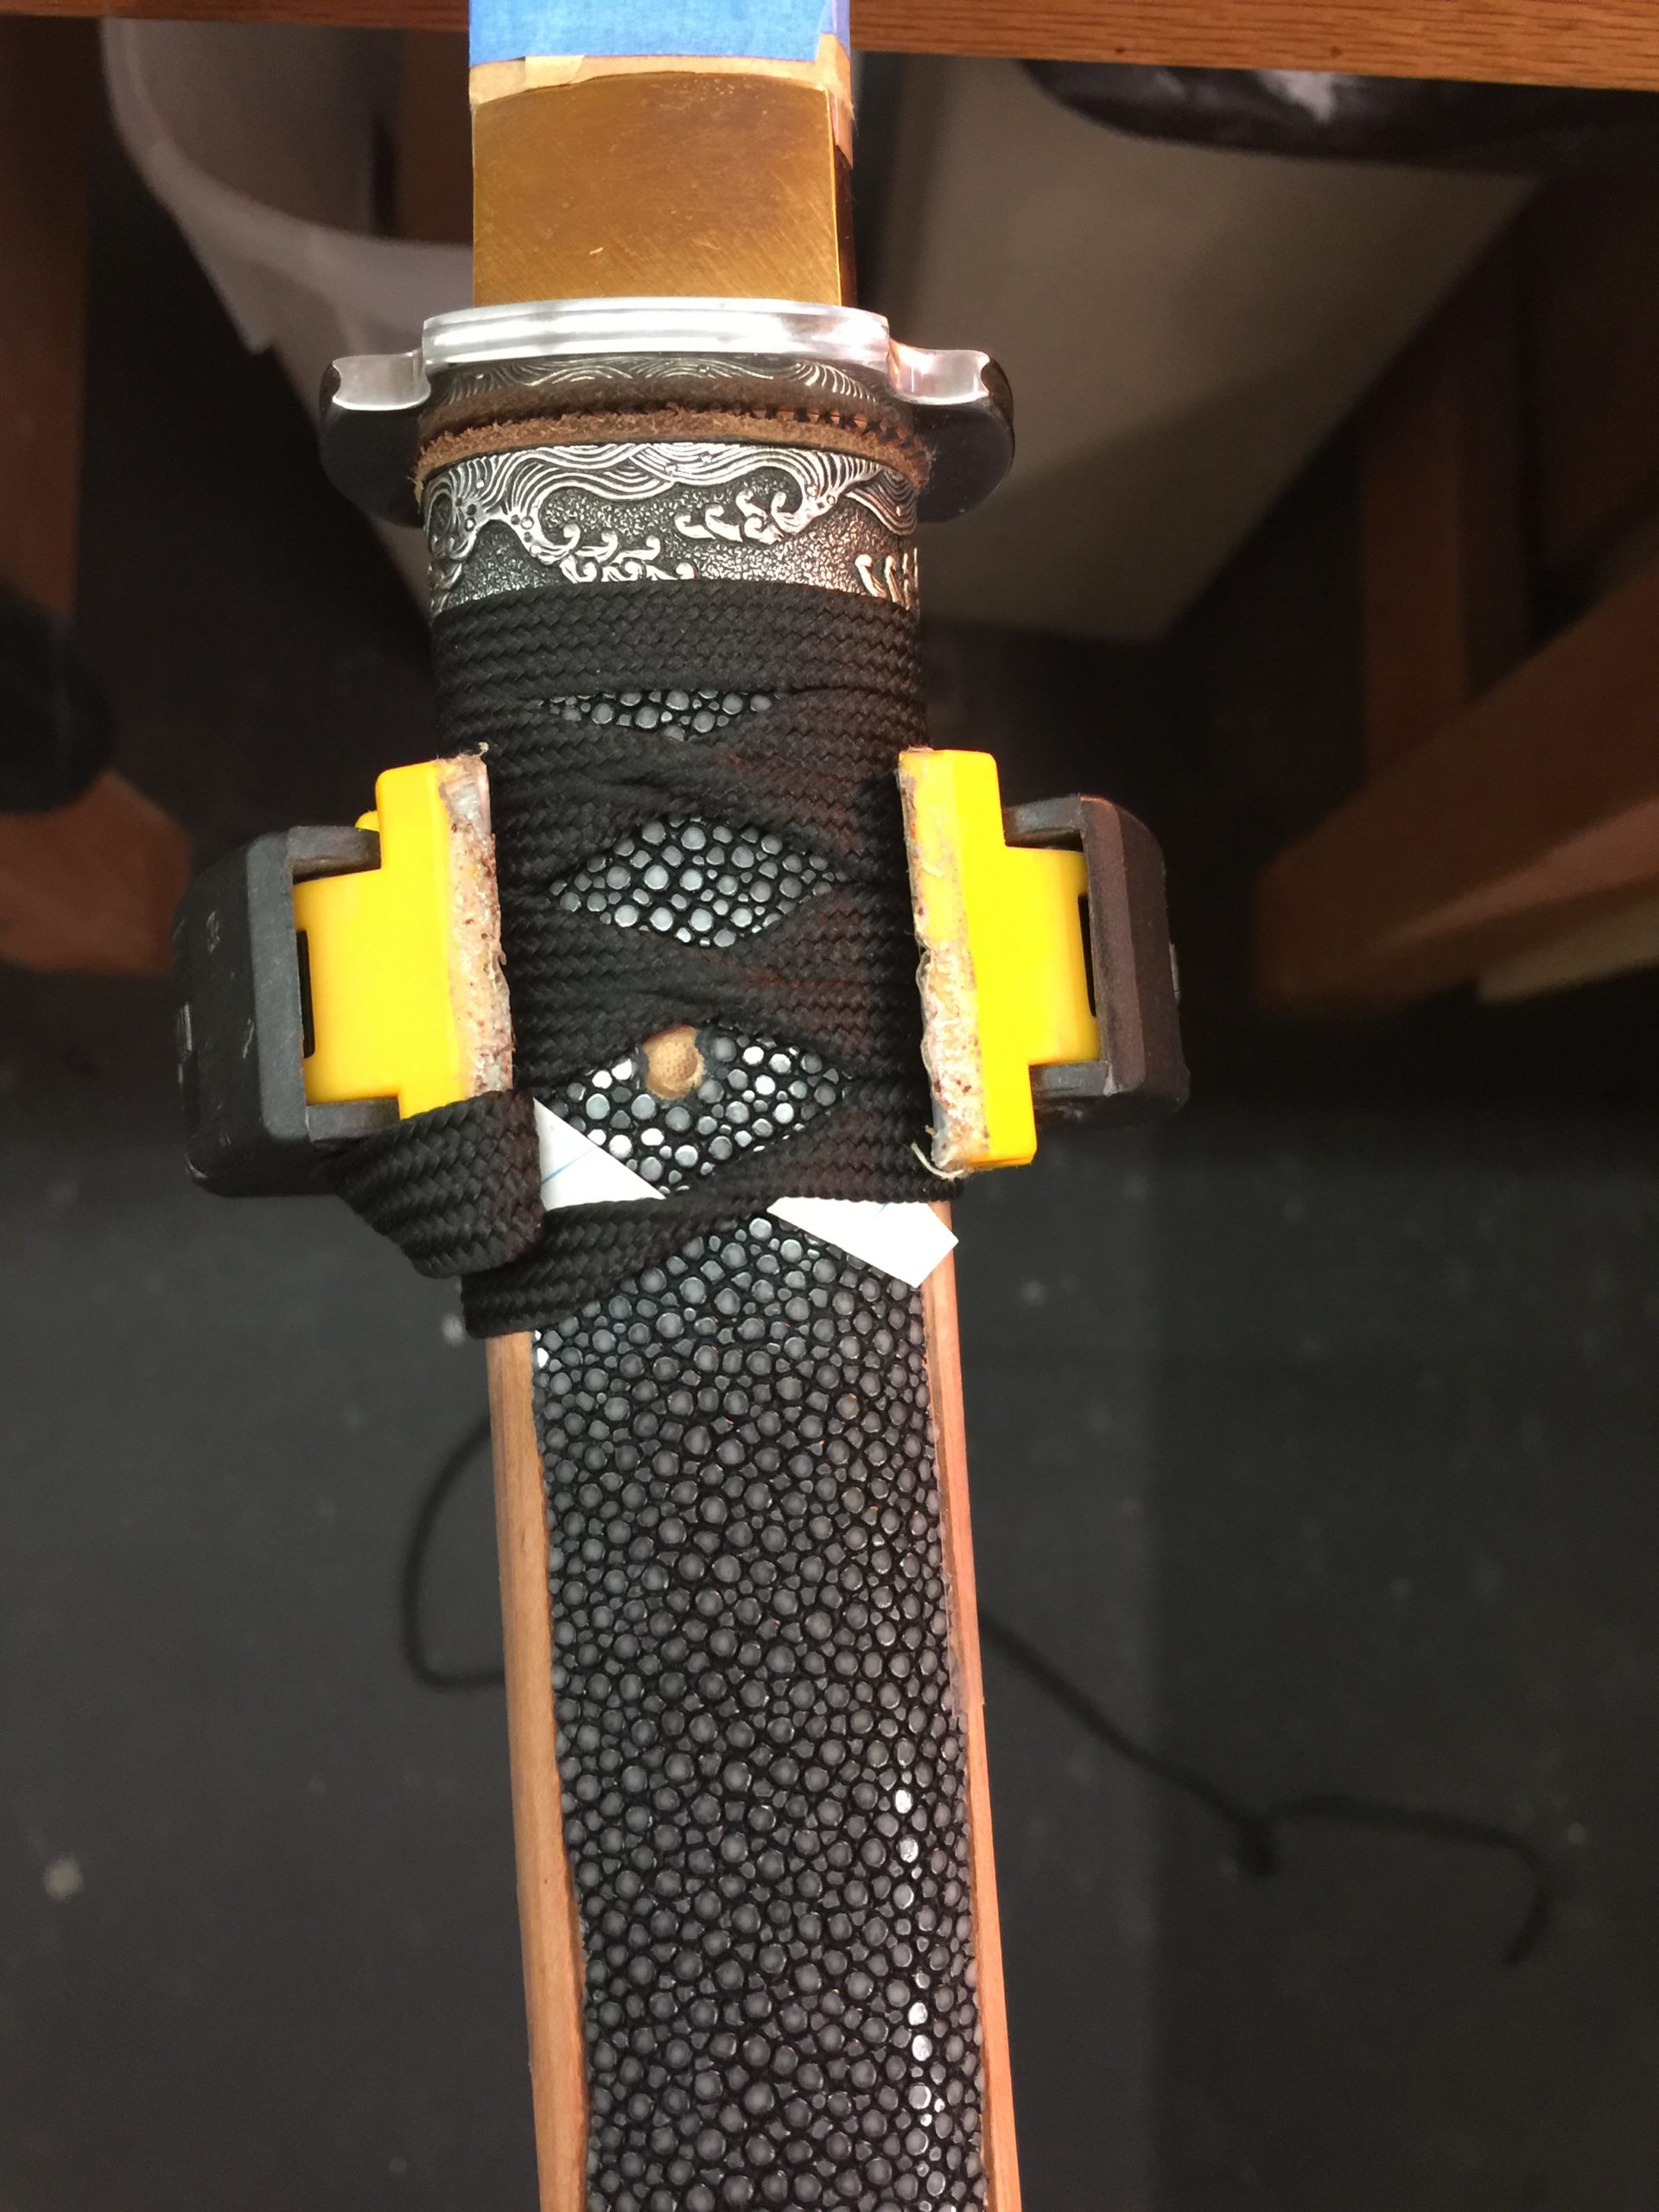
The knot may seem like the hardest part, but once you’ve done a couple they become old hat. They are easy to screw up, though. Traditionally, rice paste was used for glue if necessary. I like super glue better.
A nice handle! The shape is good, the size is good, texture is good, and it looks like it will last a long time even with use.
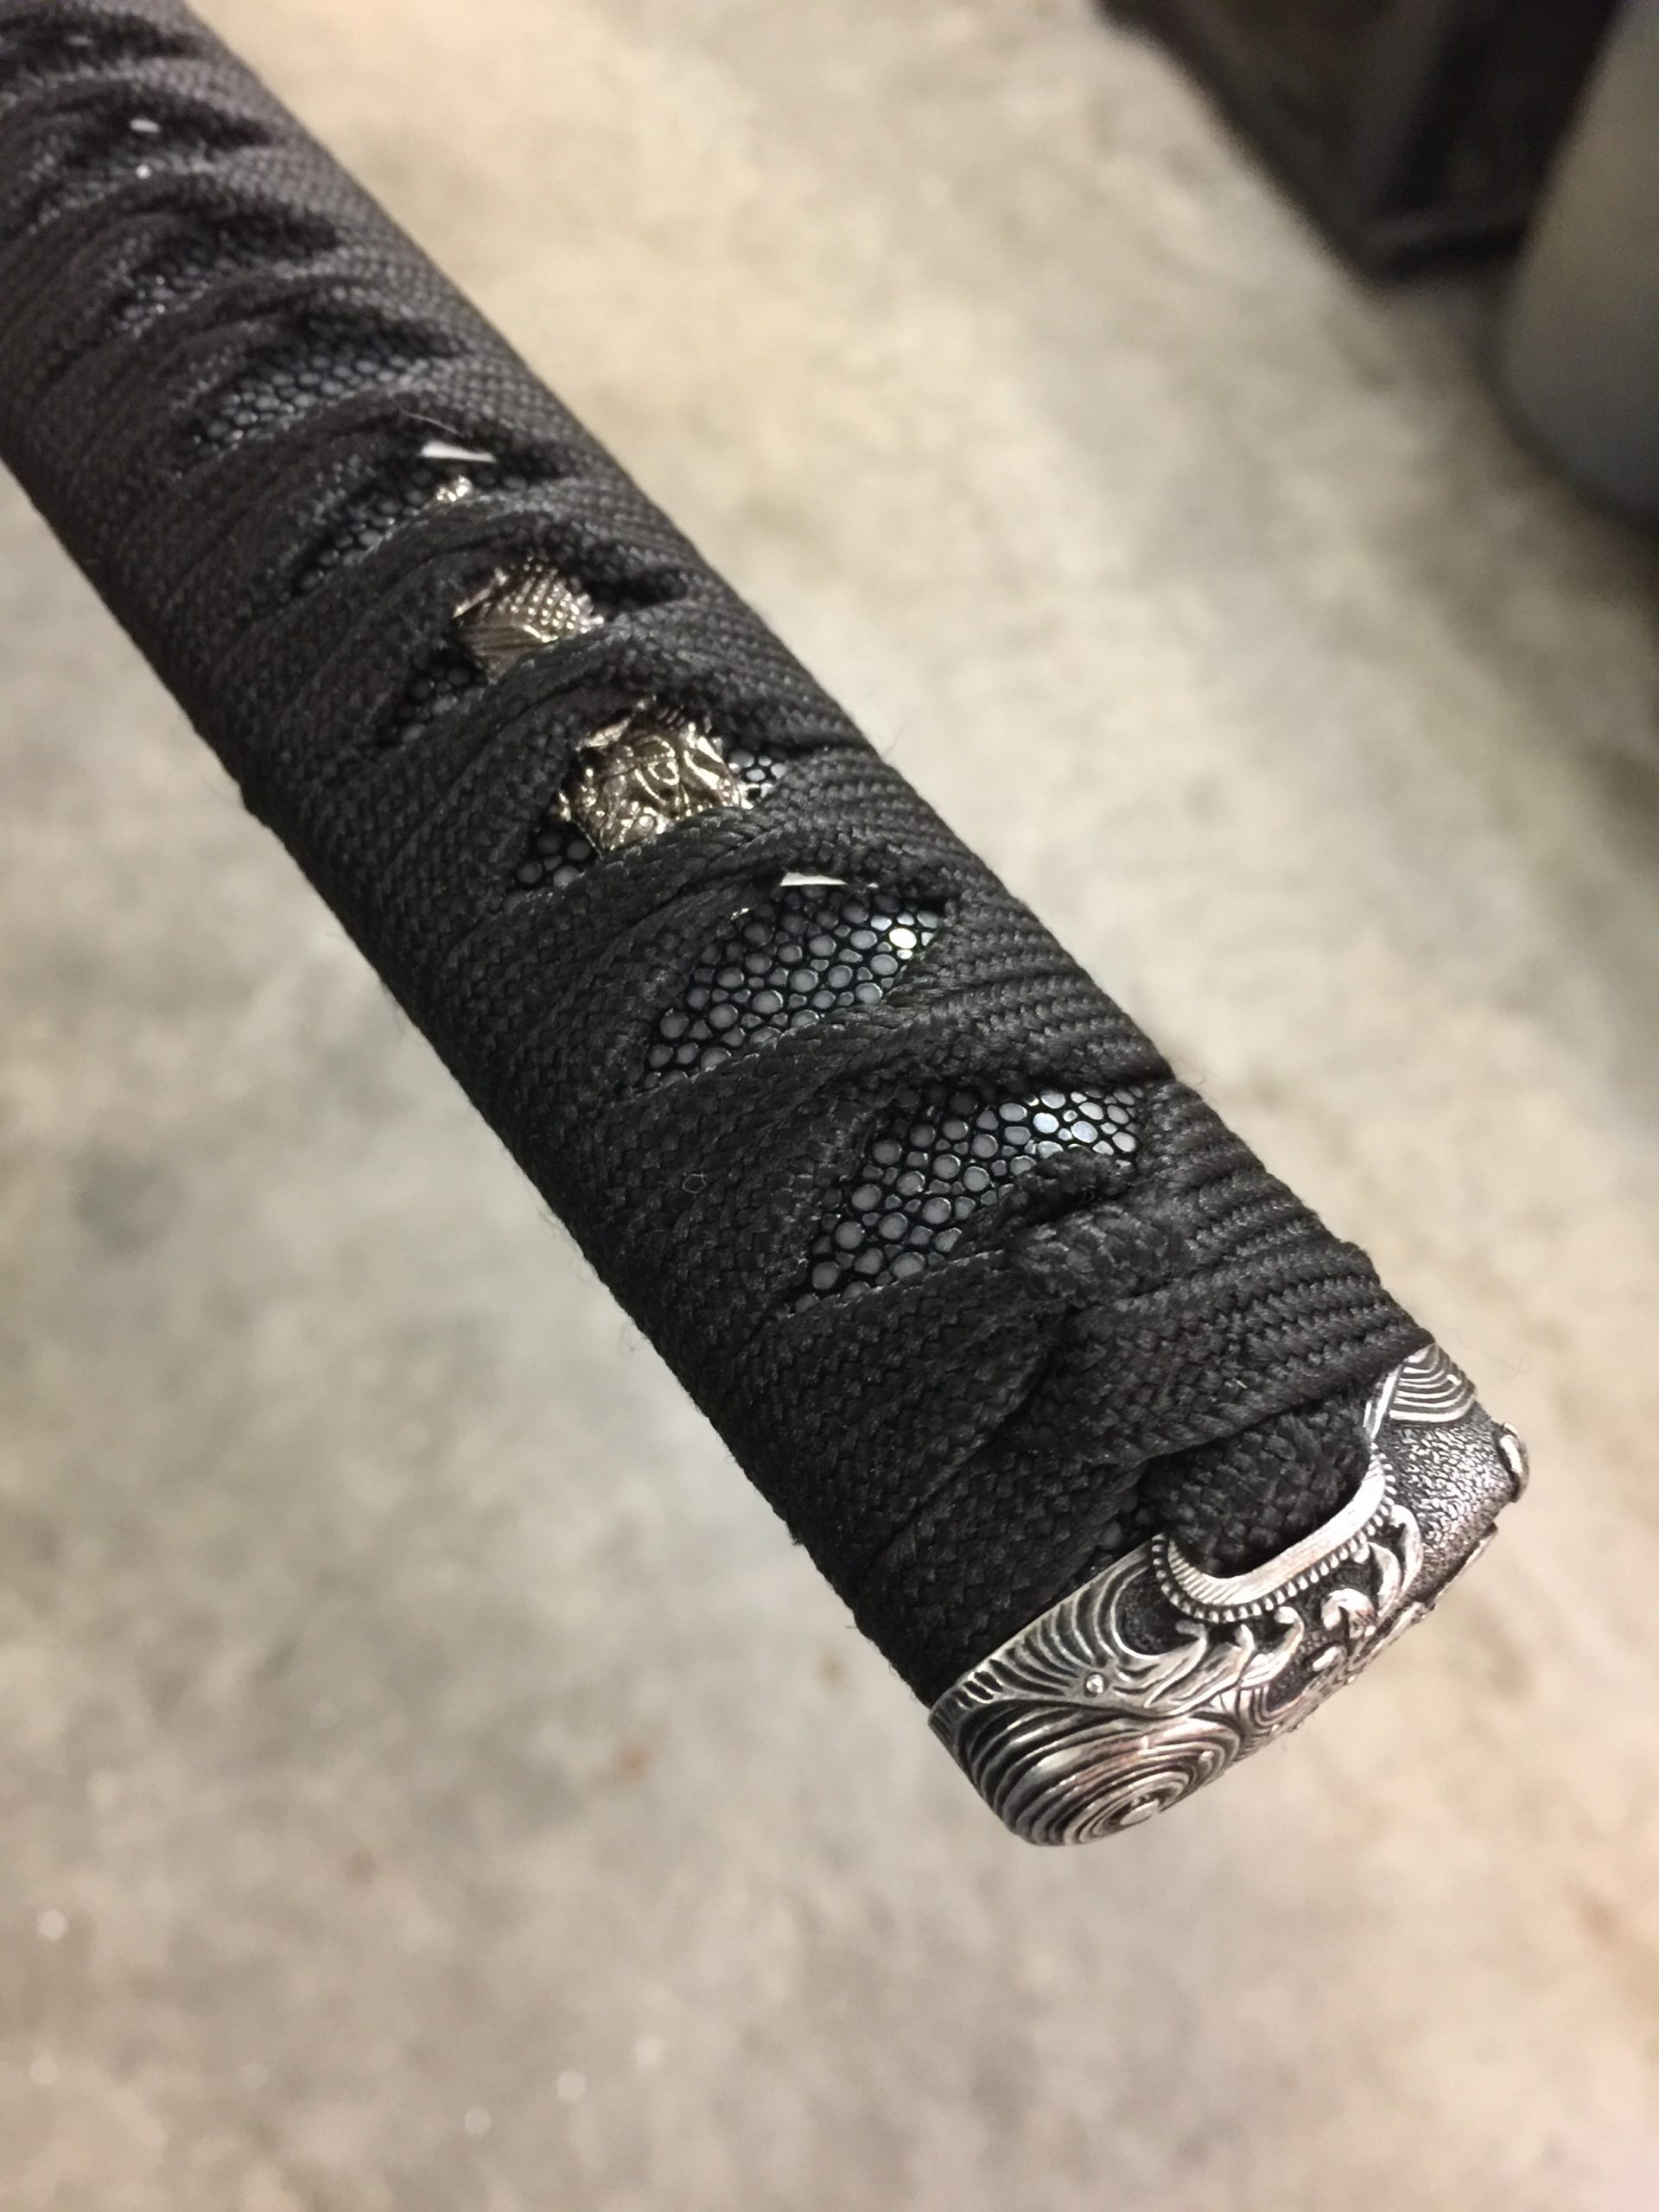
Yeah, I’m using black hishigami next time. They’re supposed to be tucked in where they can’t be seen at all. That’s what a dental pick is for.
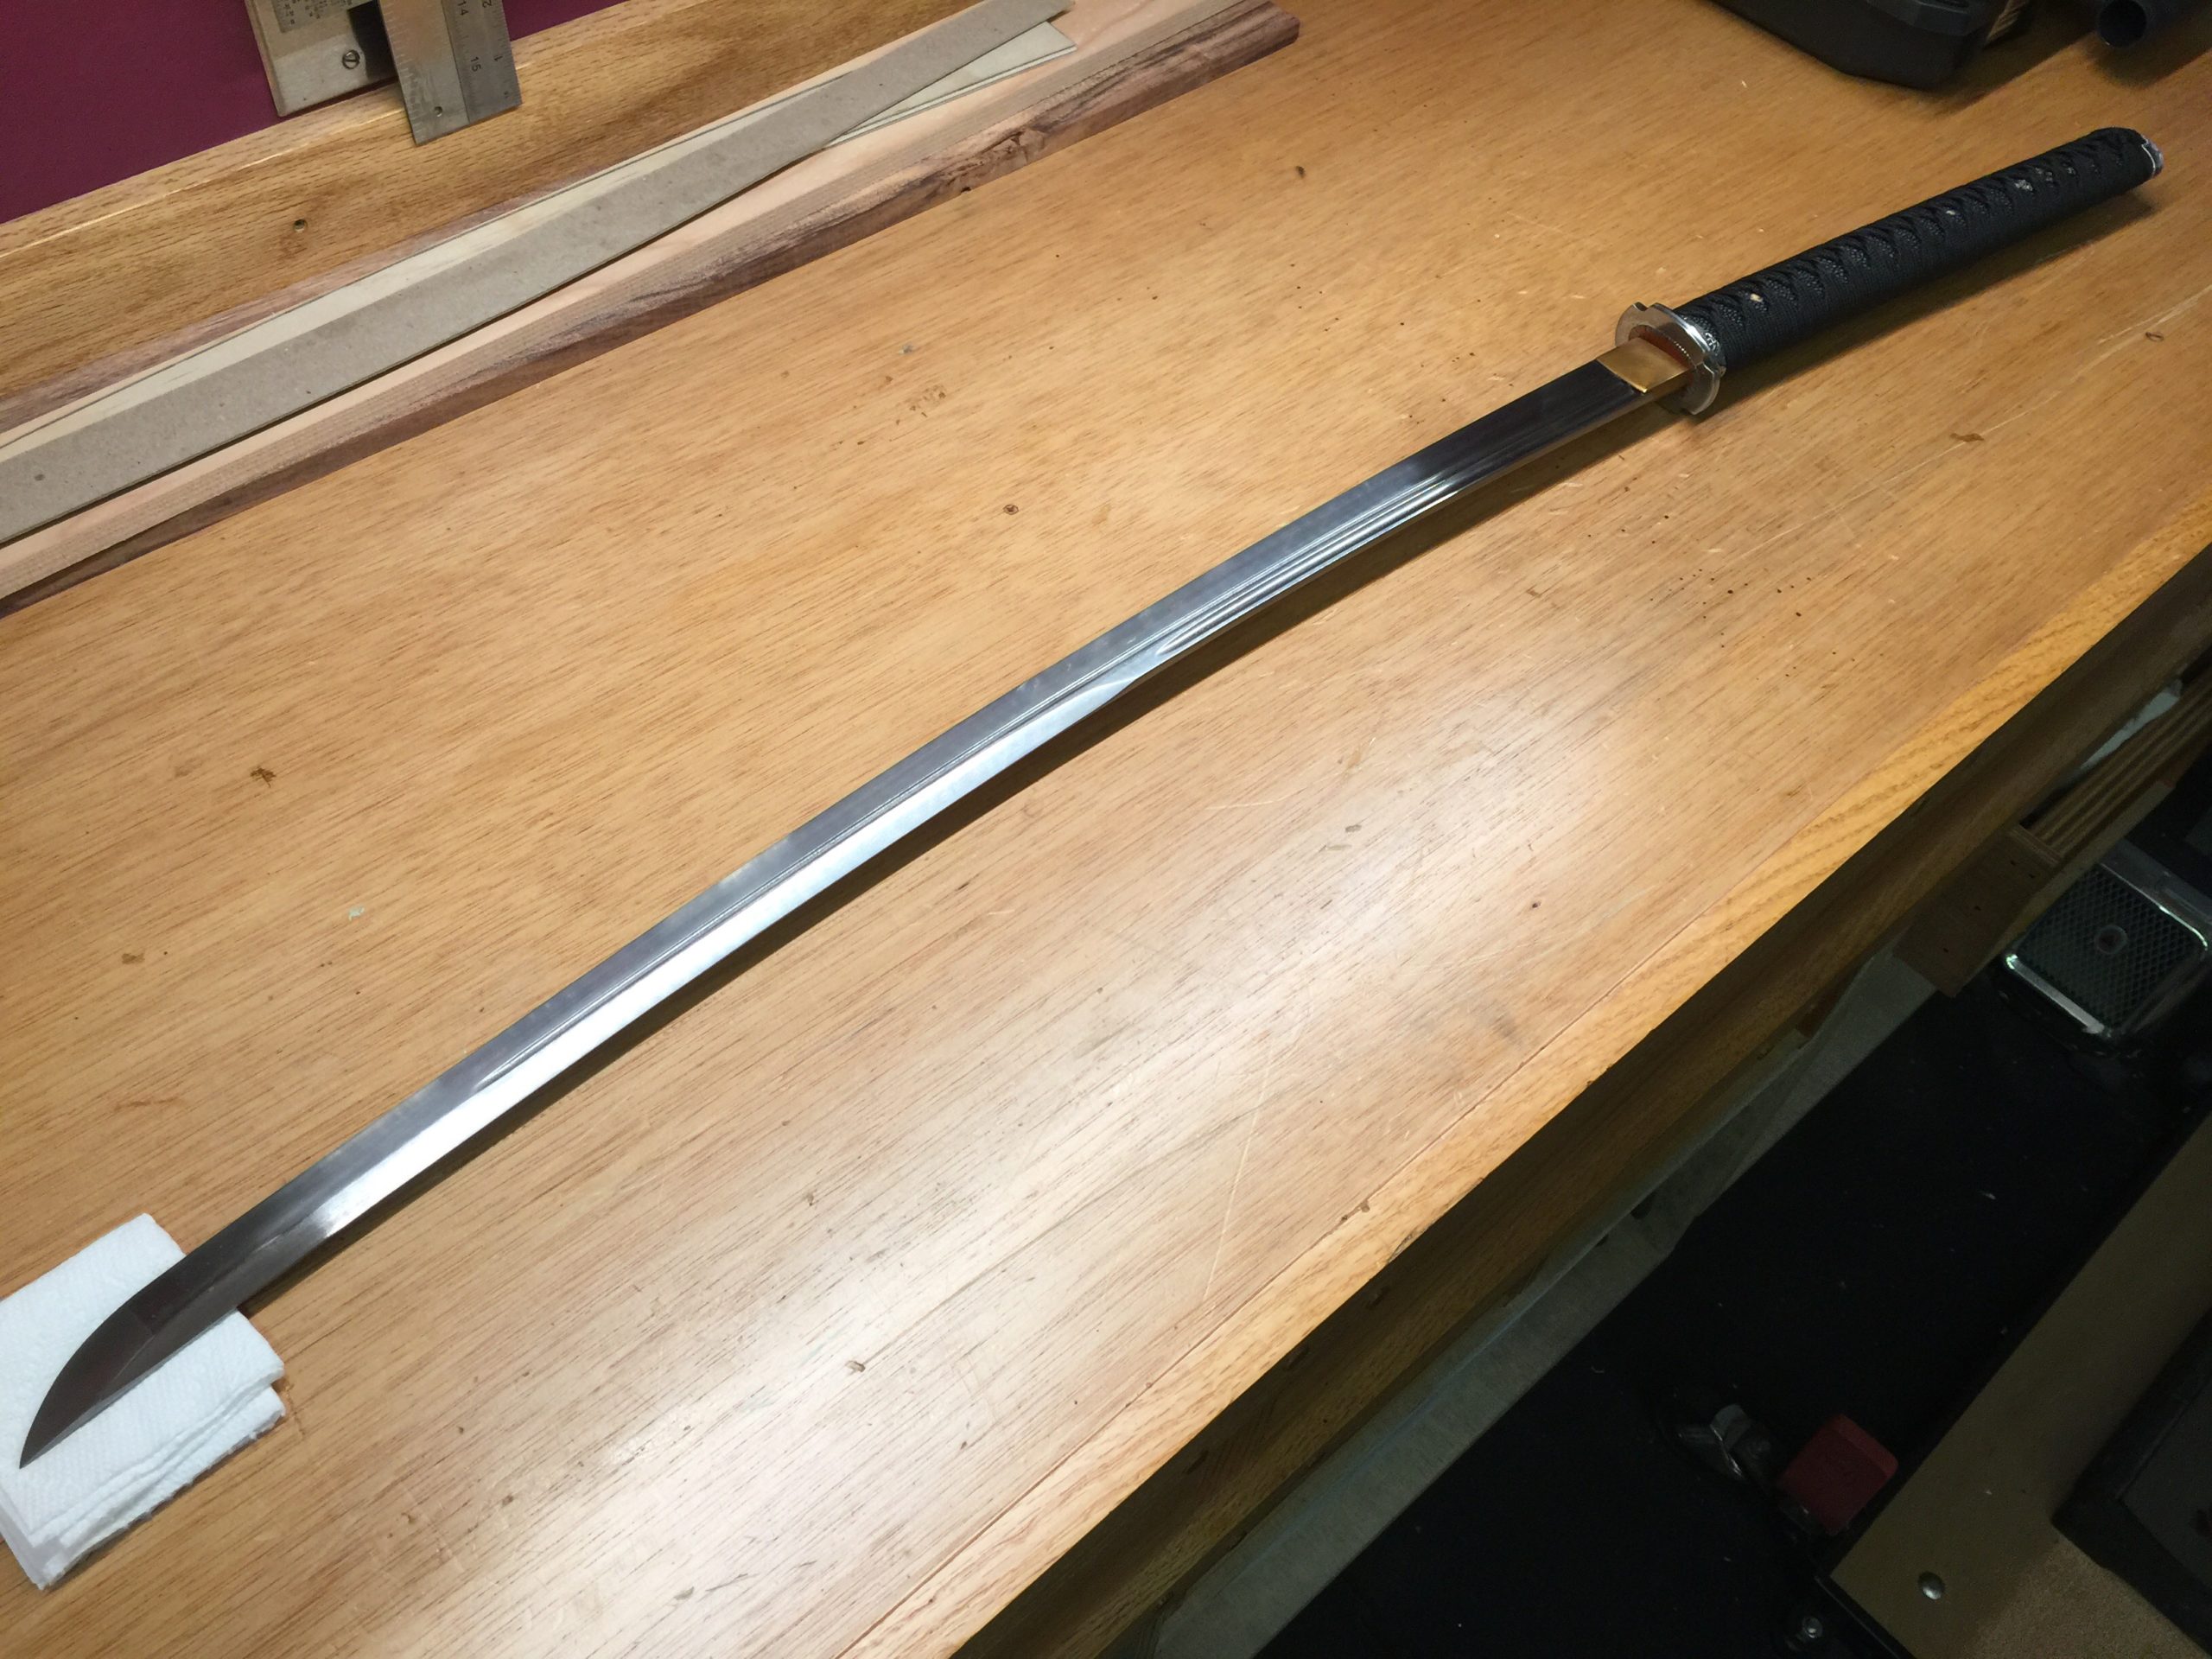
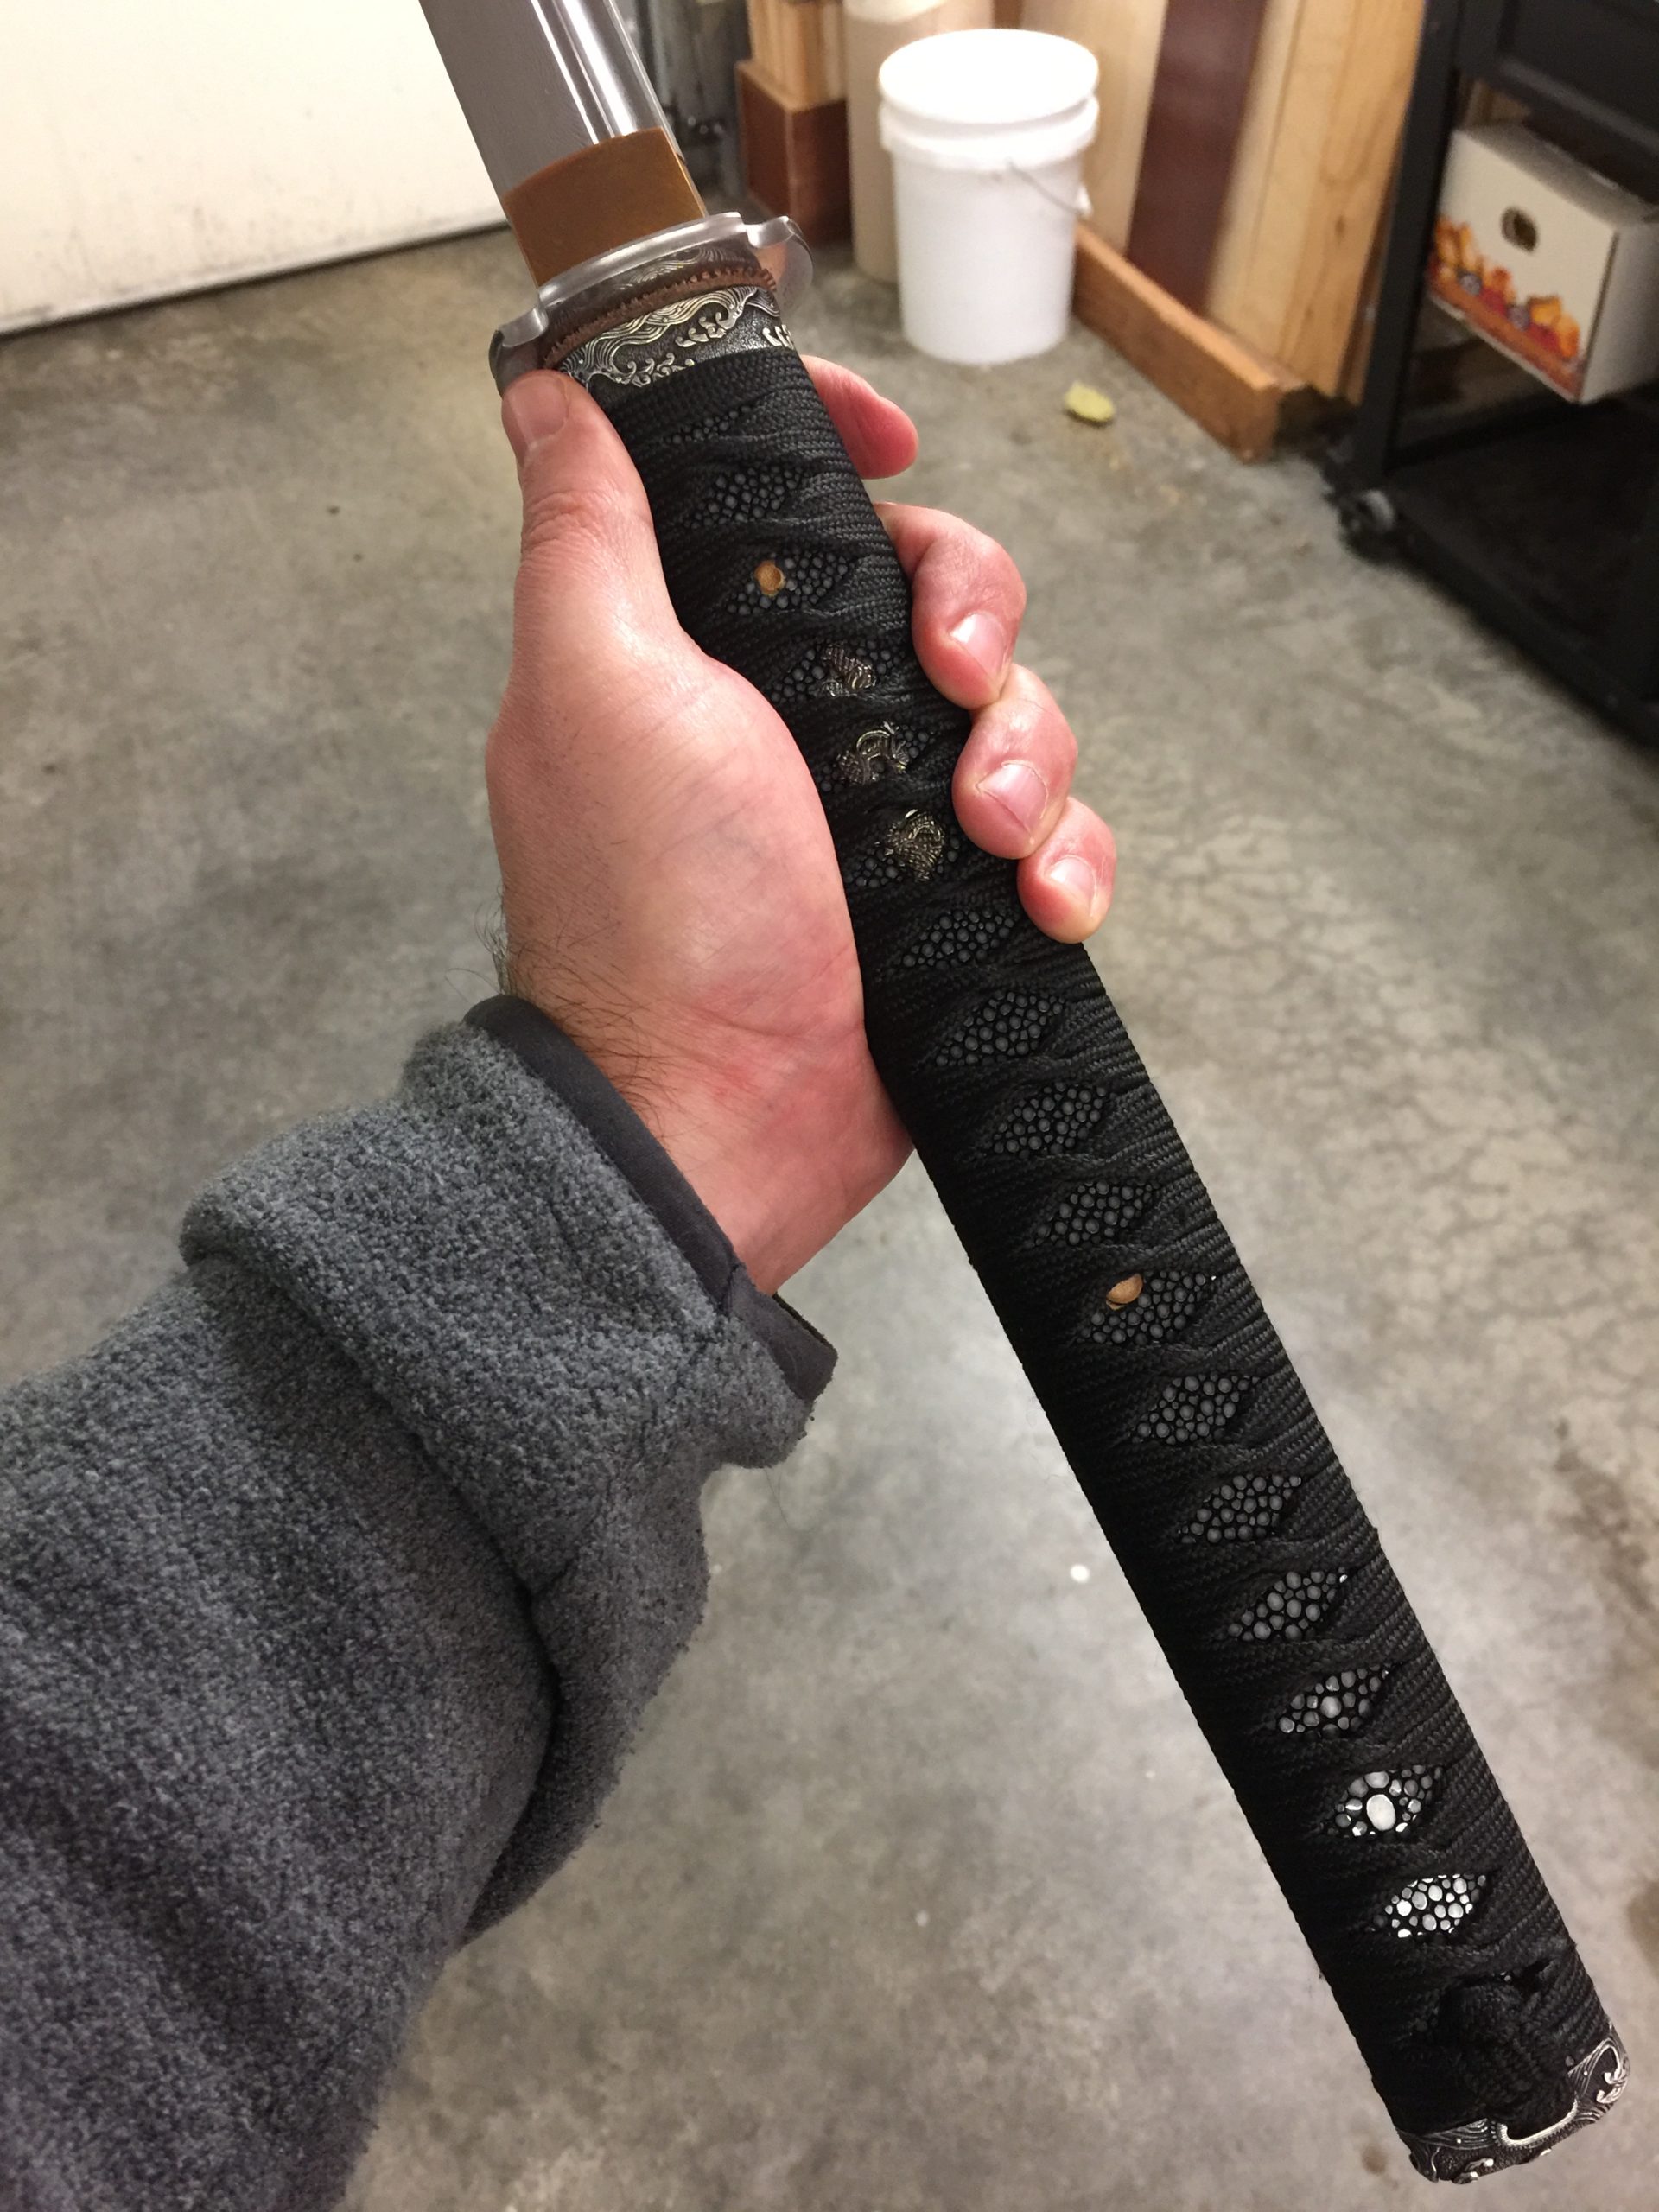
Finally together, I was able to practice a few moves and cuts for the first time. This is a very light, very quick katana. Usually, “real” swords tend to be heavier than the toy replicas that populate the internet. This one is heavier than a toy sword for sure. It’s probably 2 ounces lighter than the one I usually practice with, and that makes a big difference.