It’s not all hammocks and sailboats out here

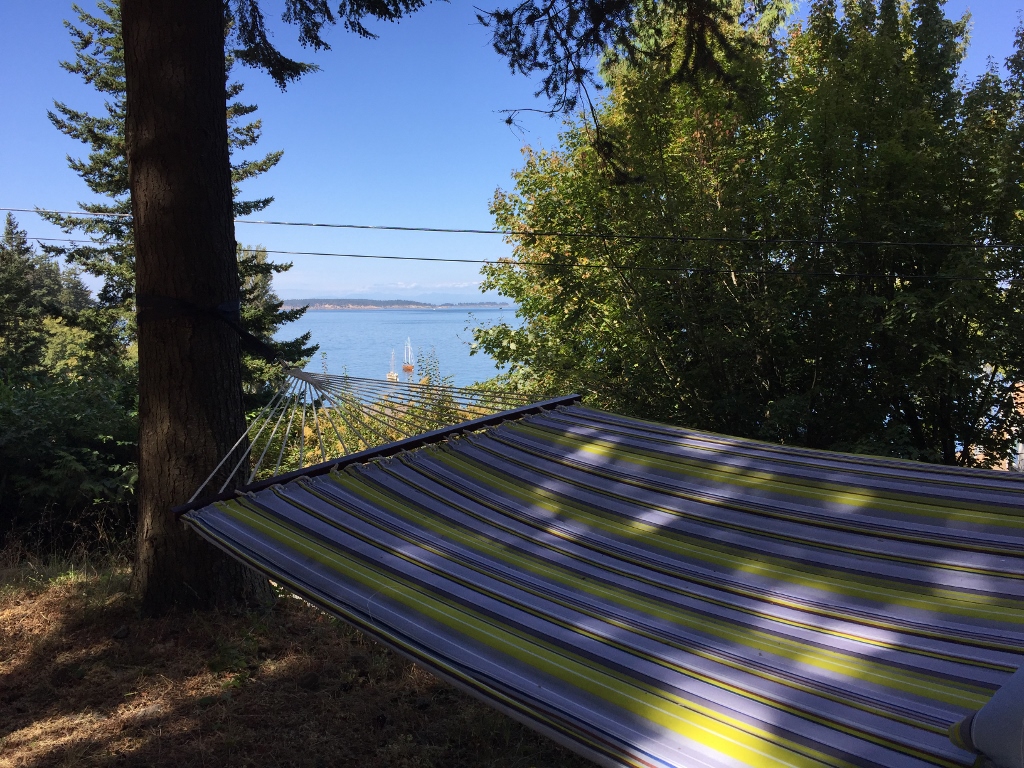
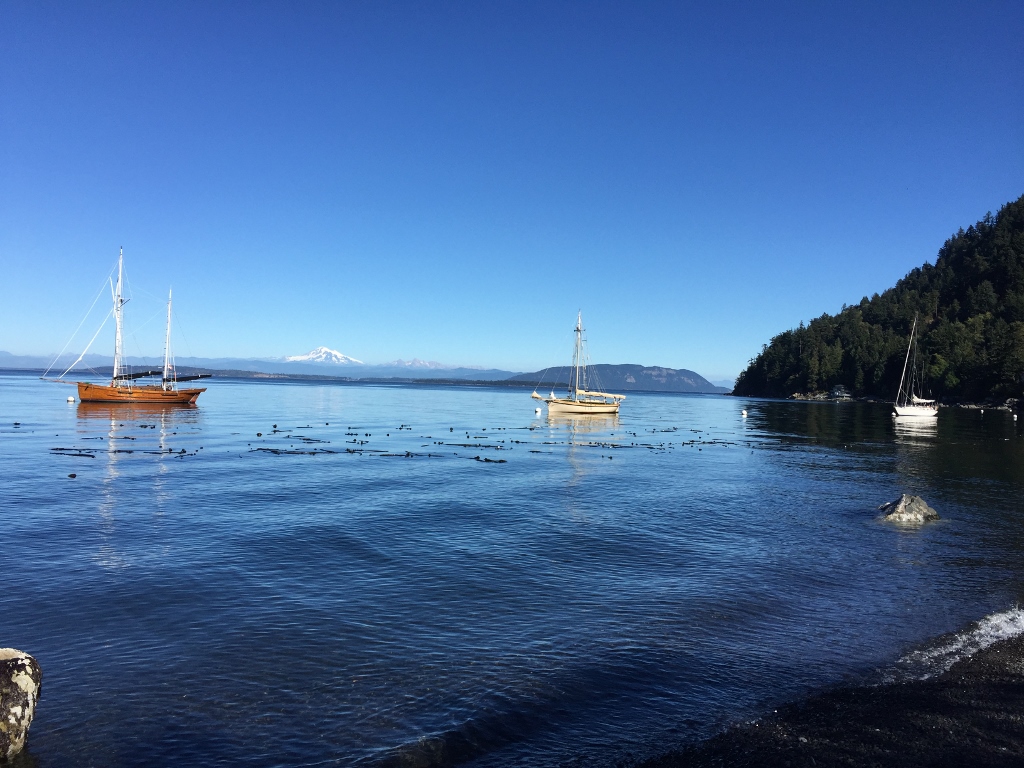
People hear that I live on an island and they automatically assume that it’s paradise.  That all we do all day long is lay around in a hammock and watch the sailboats go by.

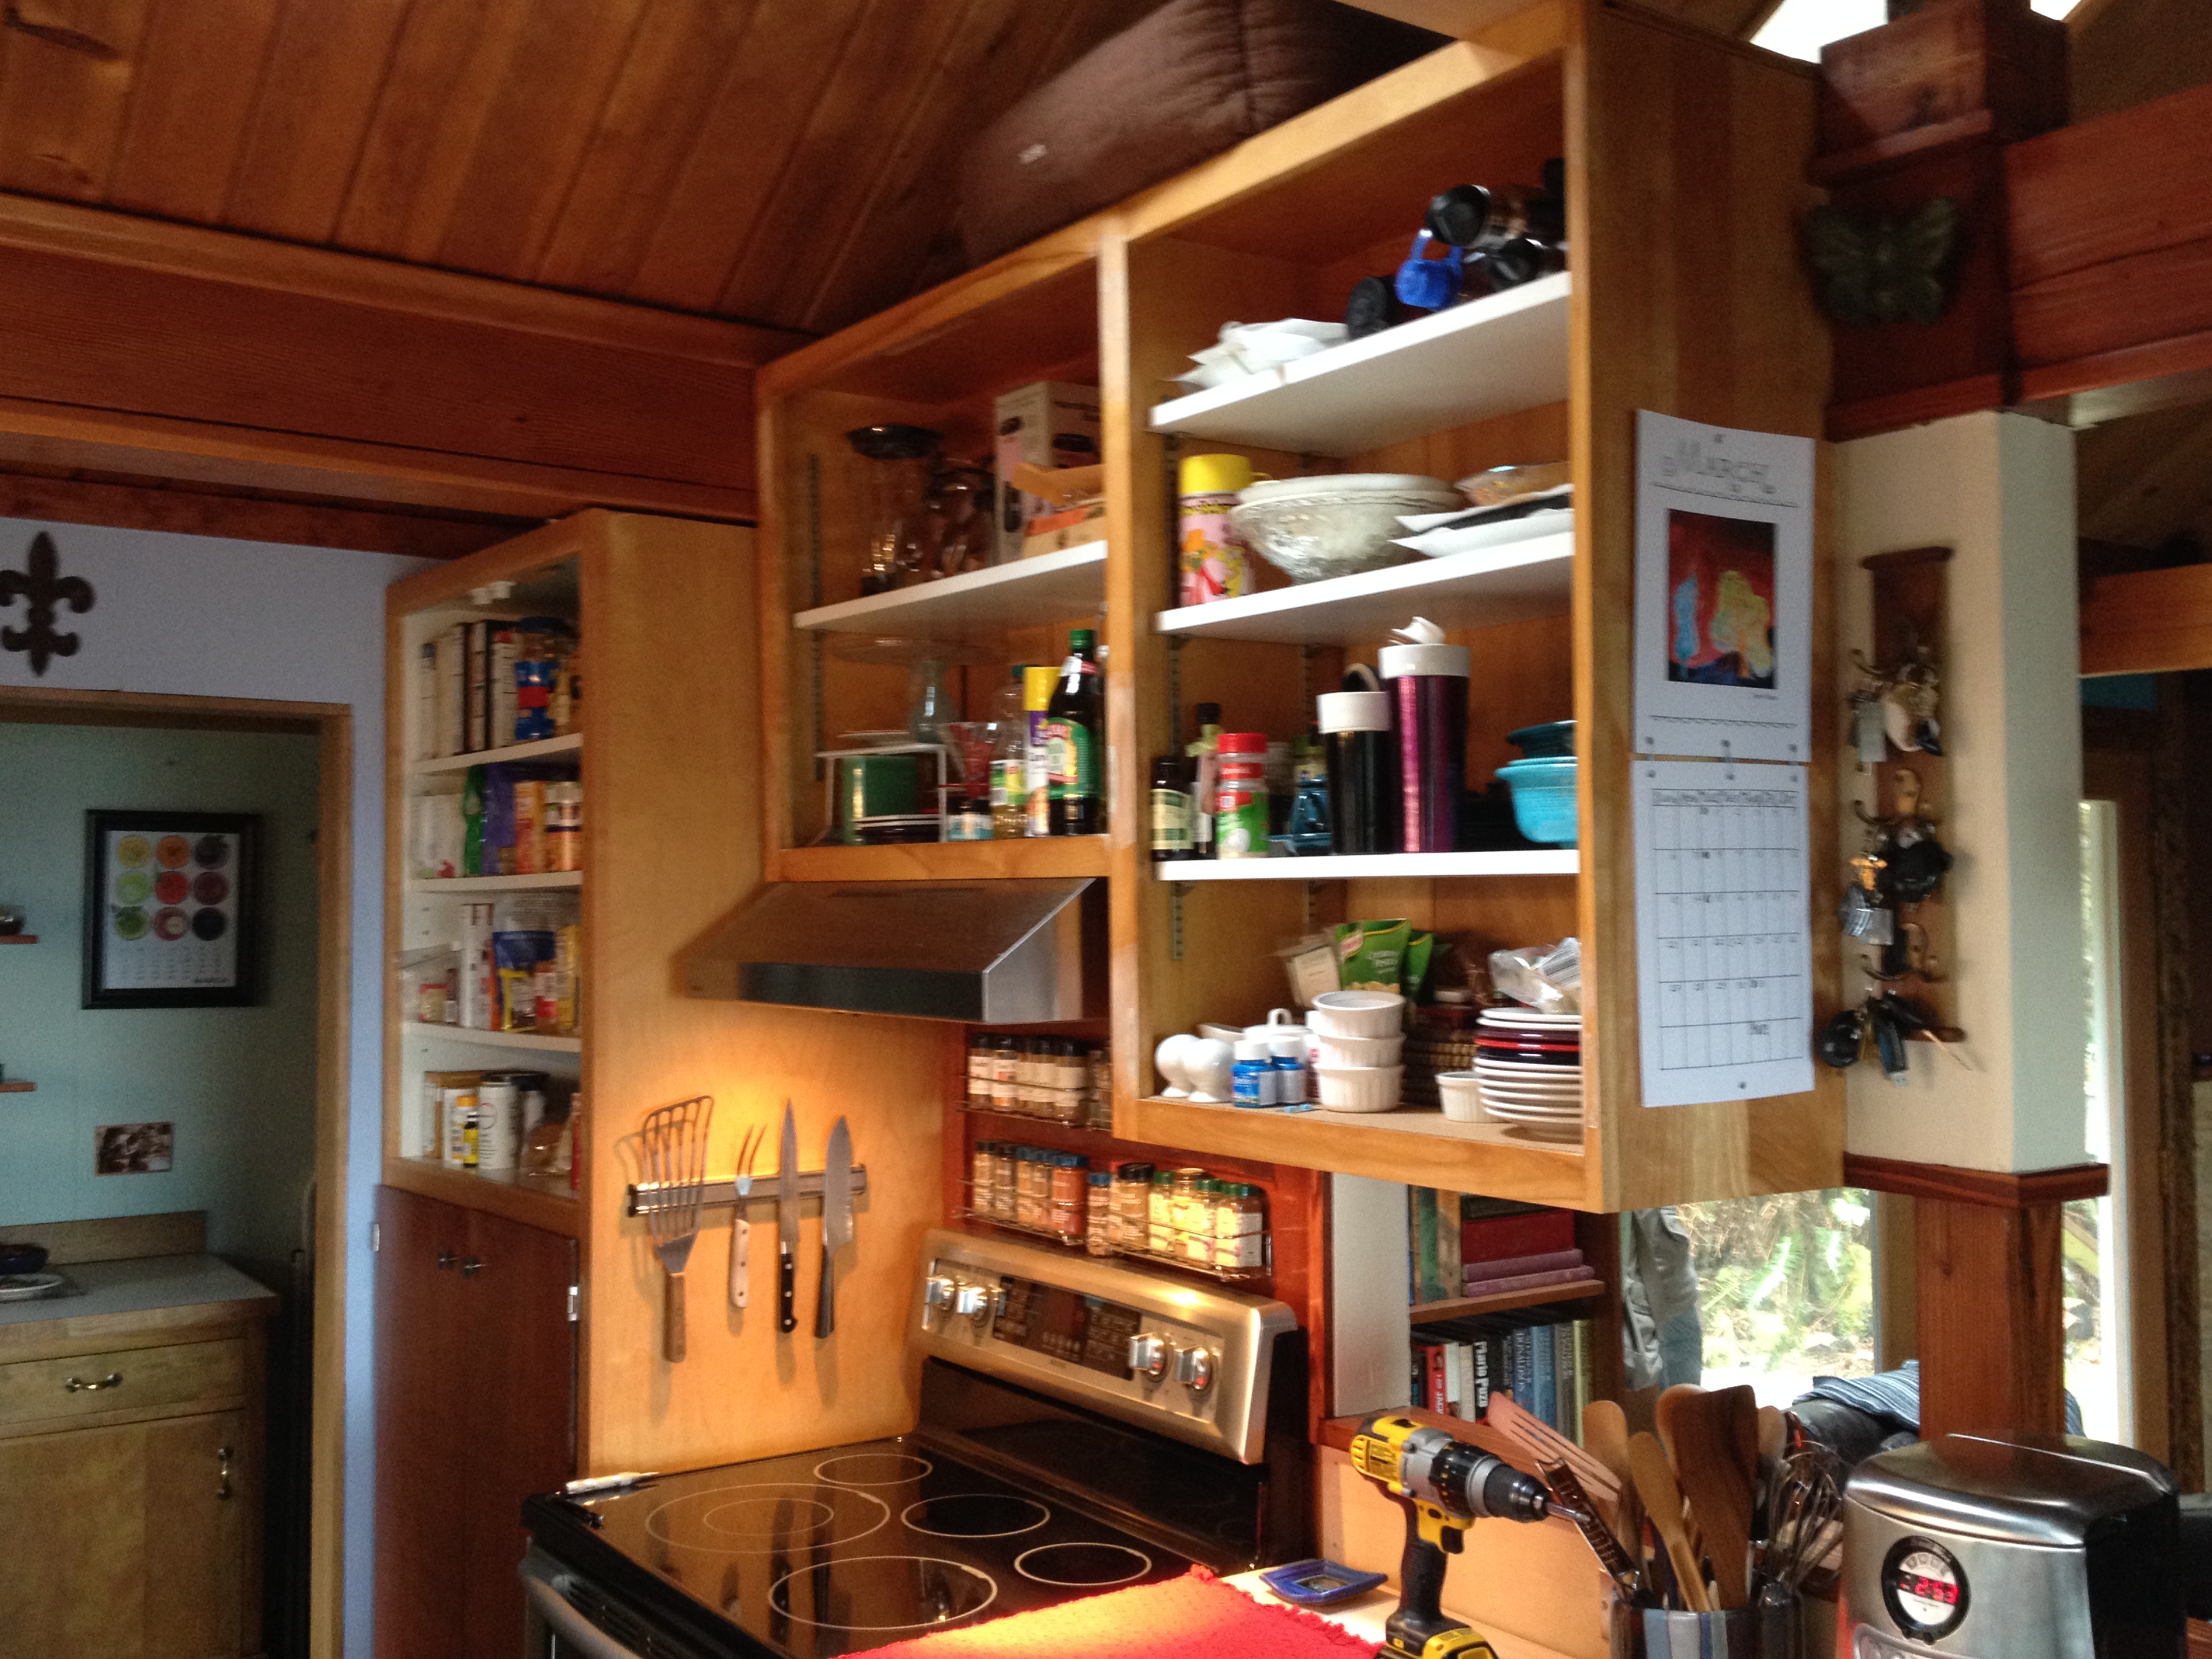
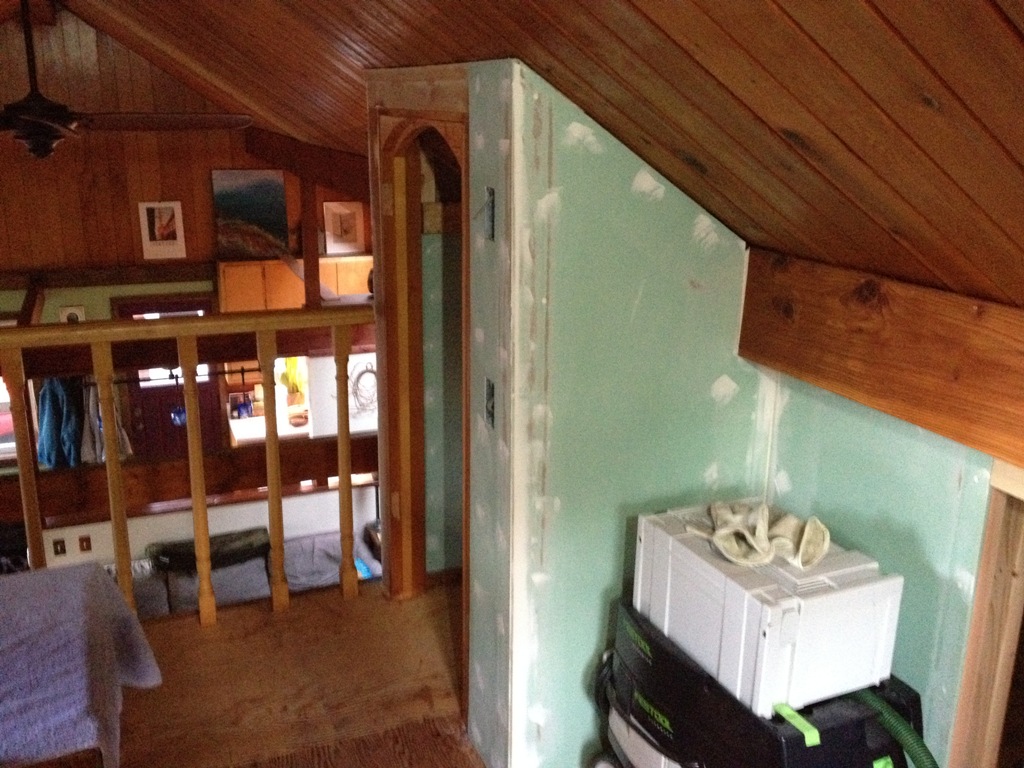
Well, I gotta tell you, it’s not for everybody.  There’s no Home Depot, no Bed Bath and Beyond, no fast food, no dry cleaner, no pizza delivery.  If you want food, you cook it.  If you need a tool, you make do with what you have.  If something goes wrong, it’s pretty much up to you to fix it.

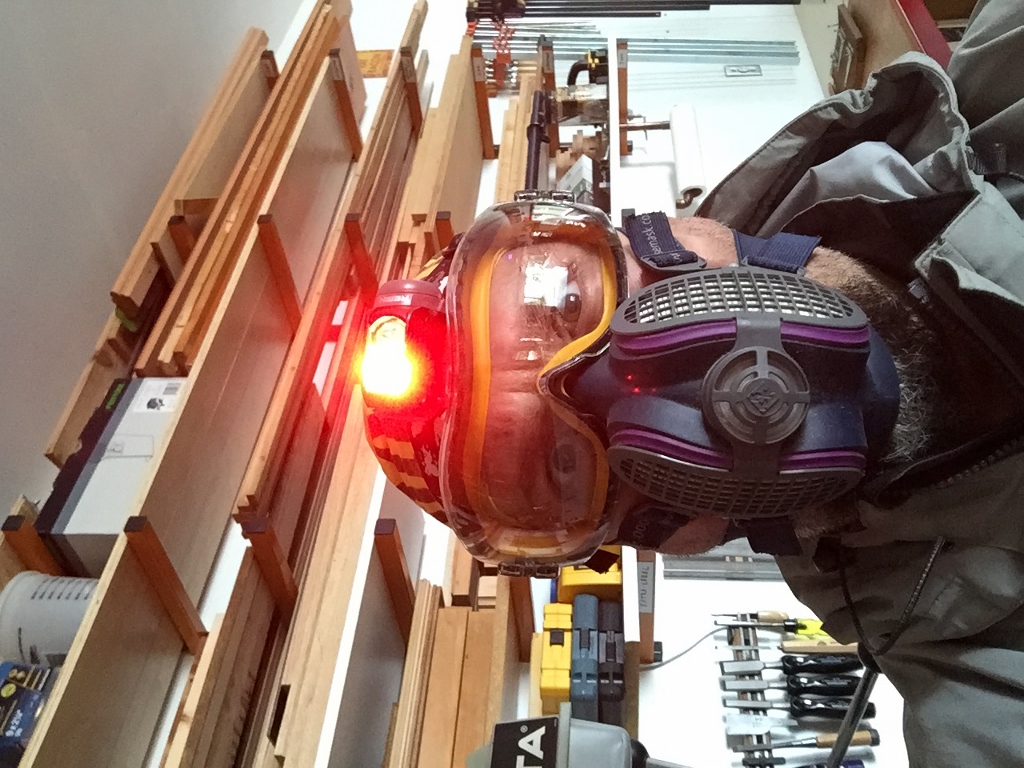
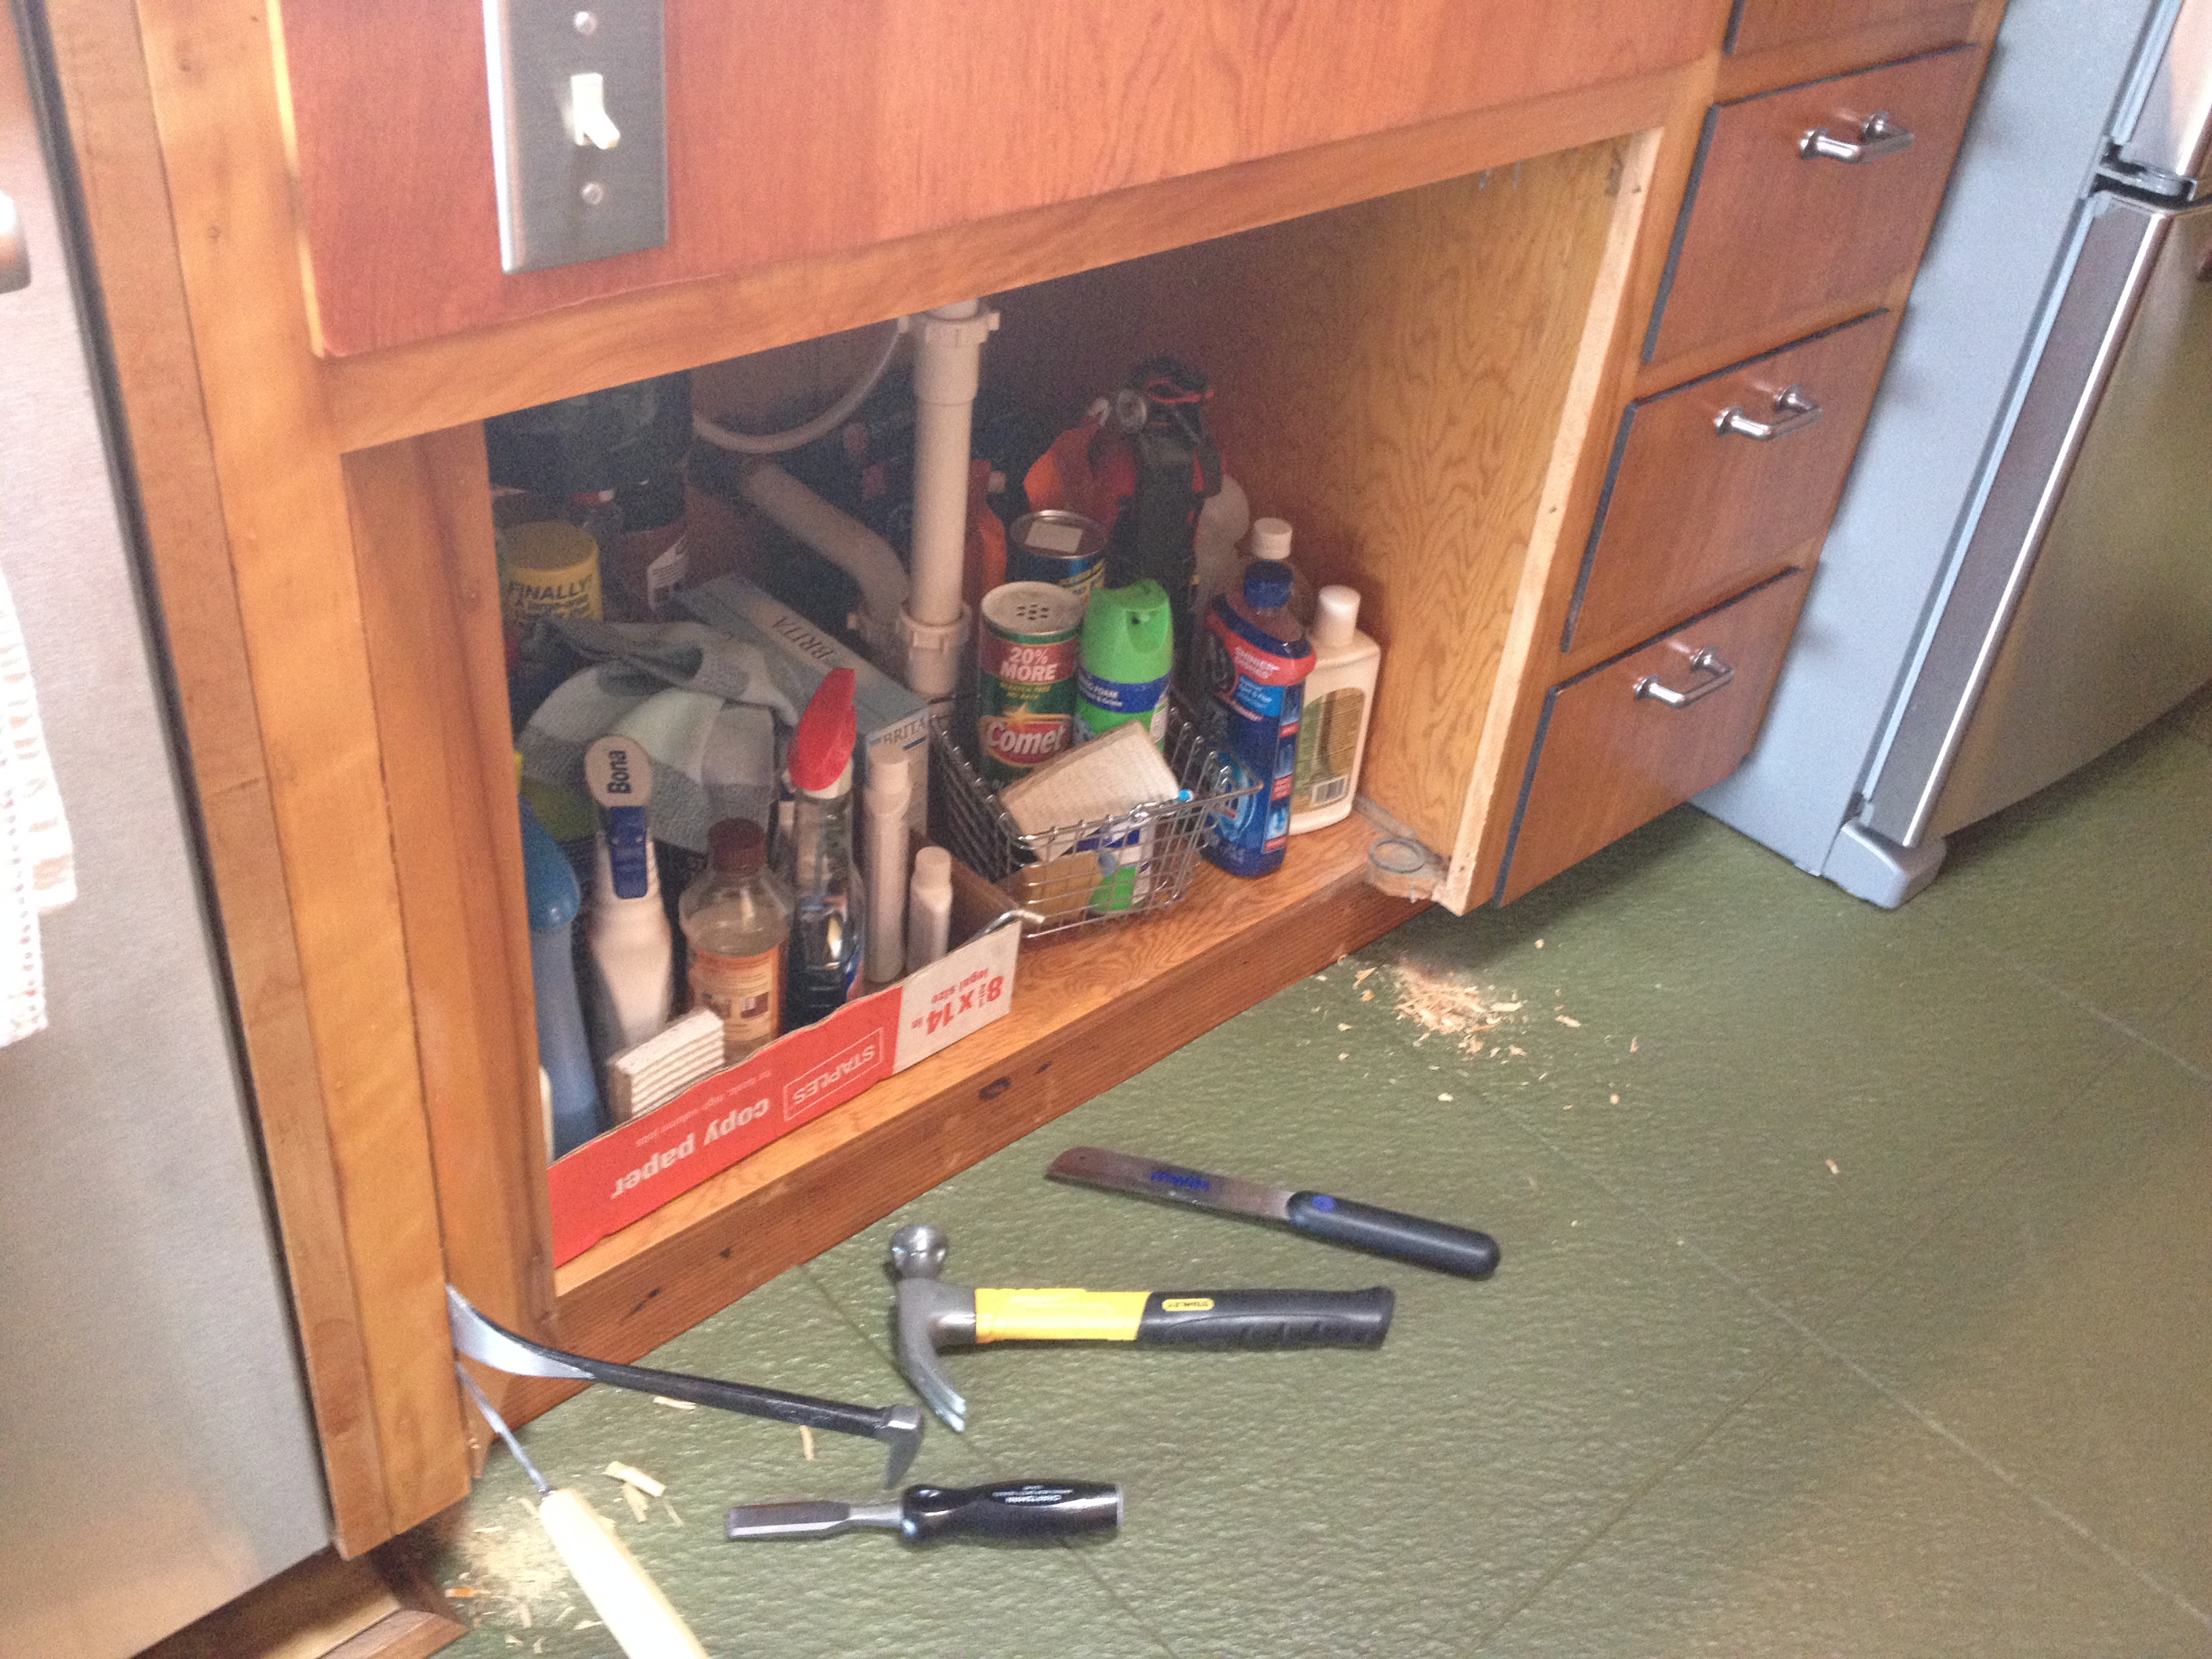
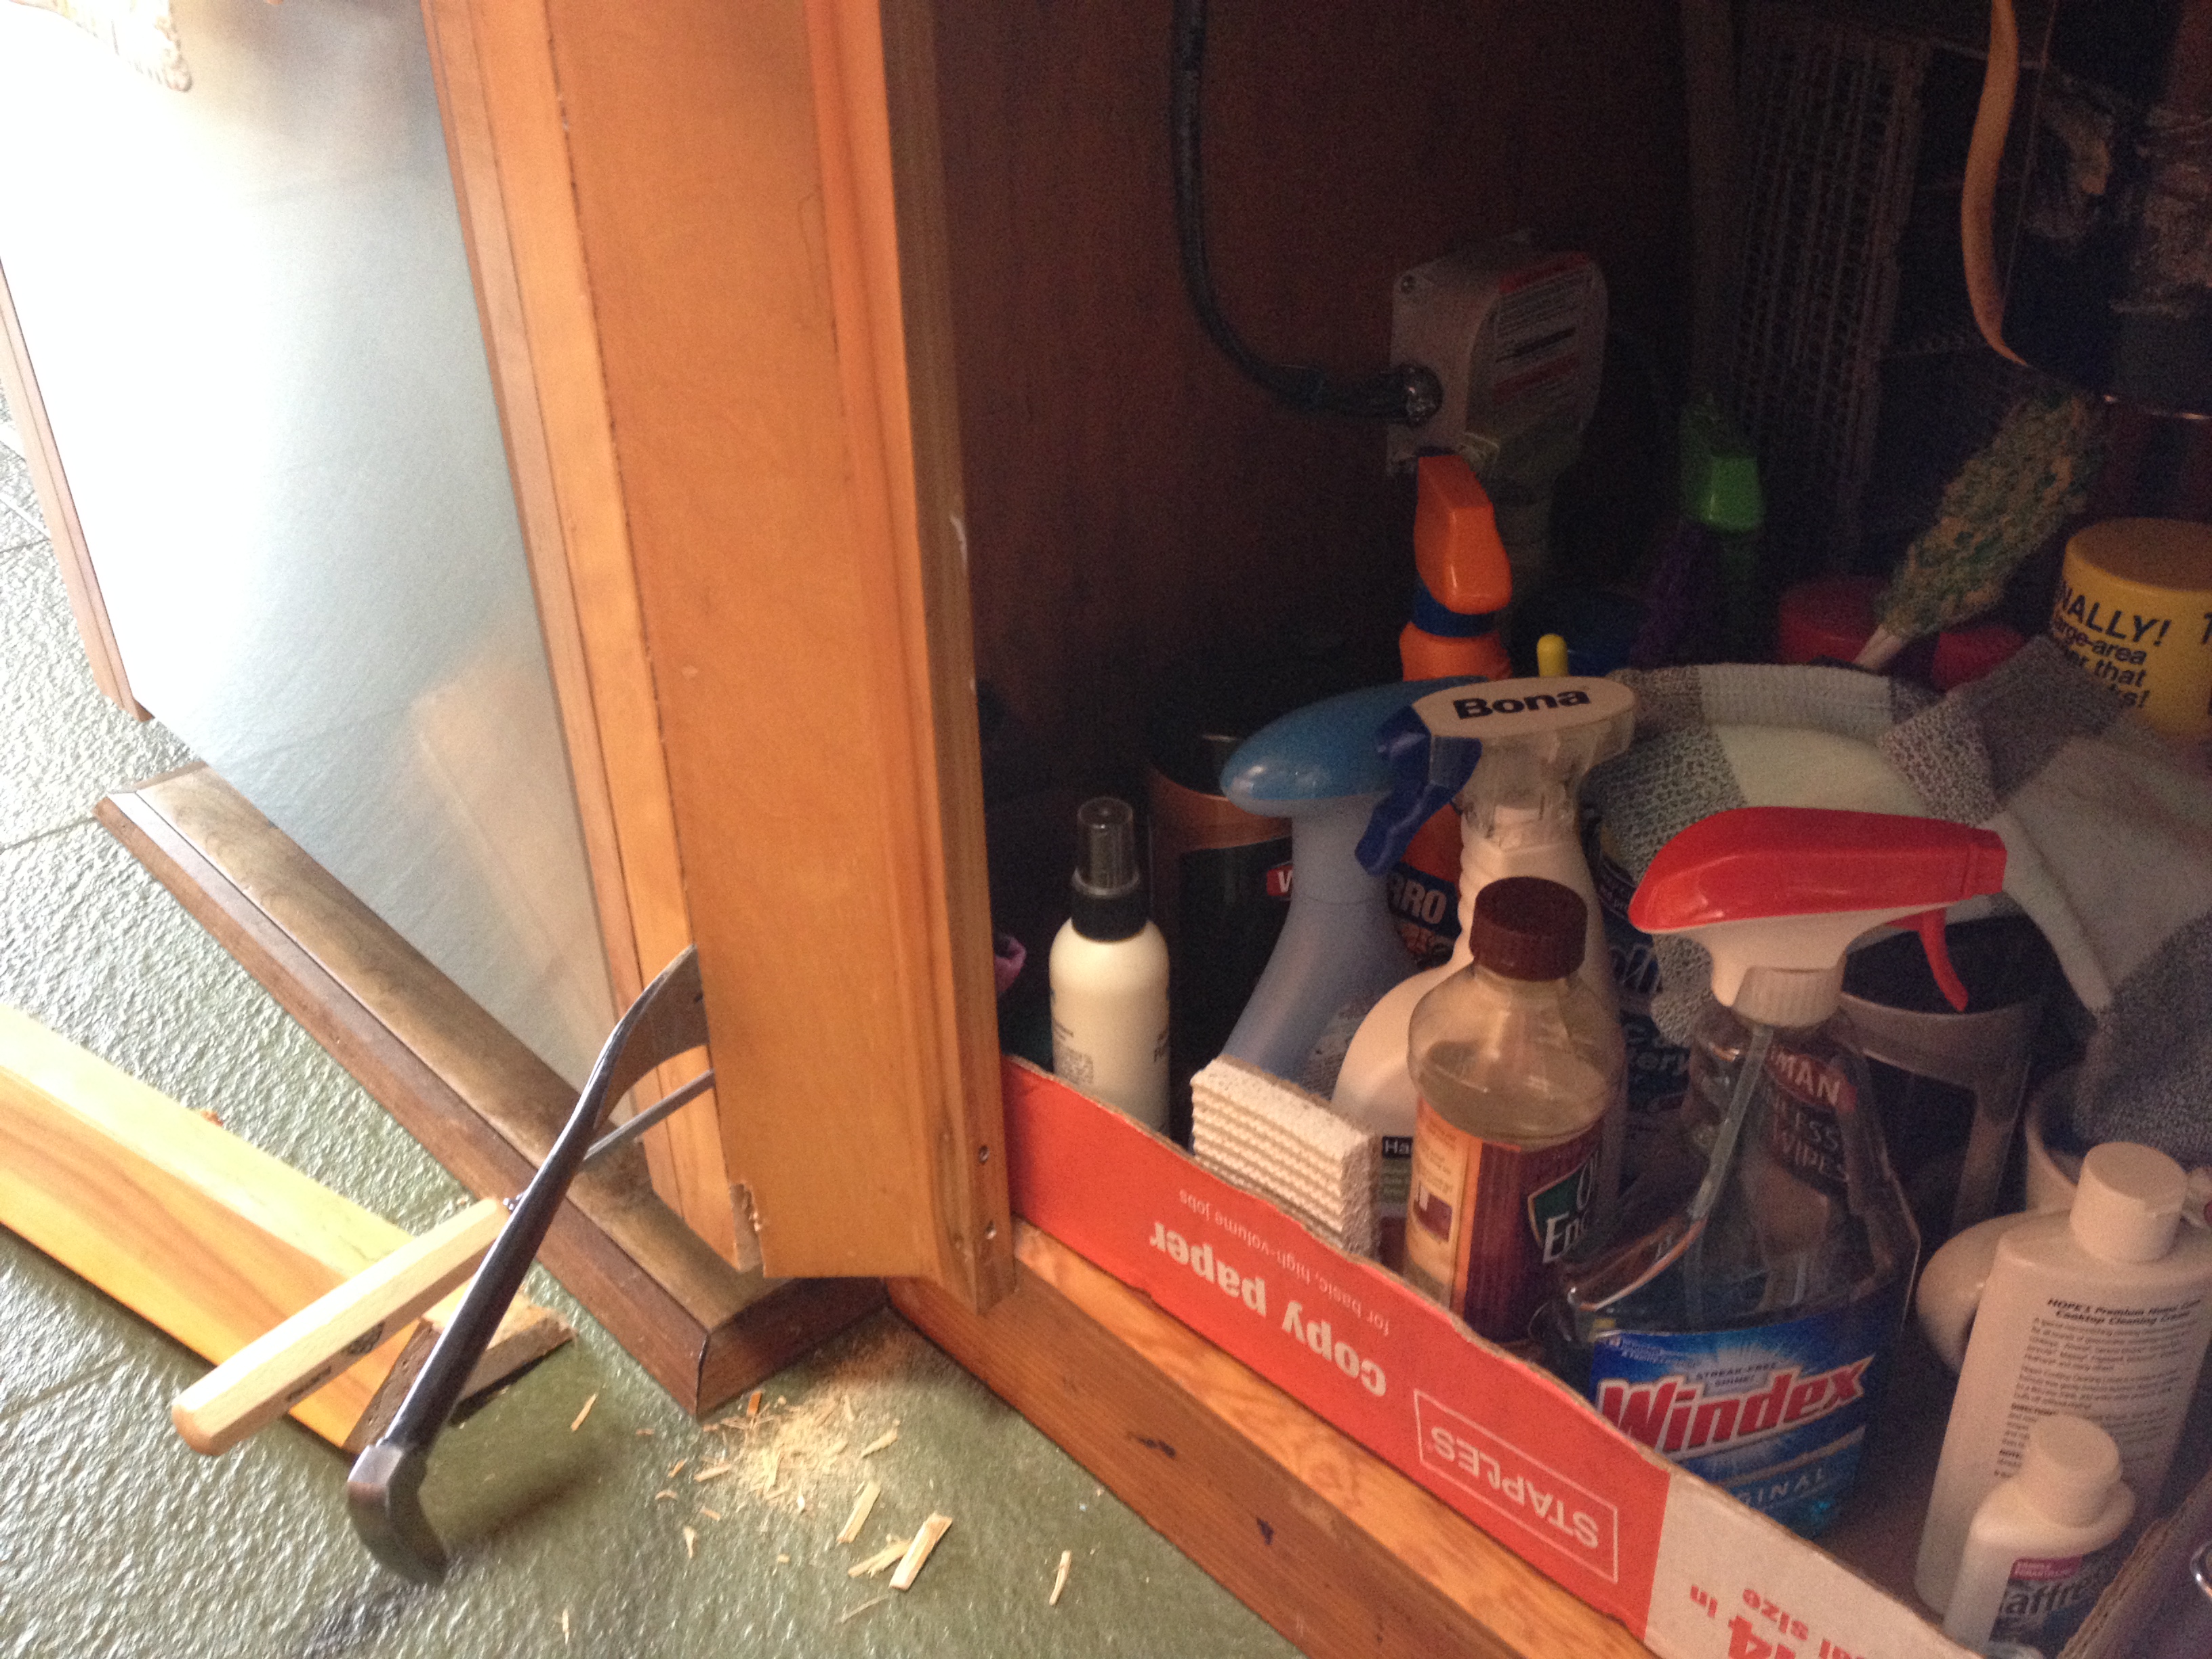
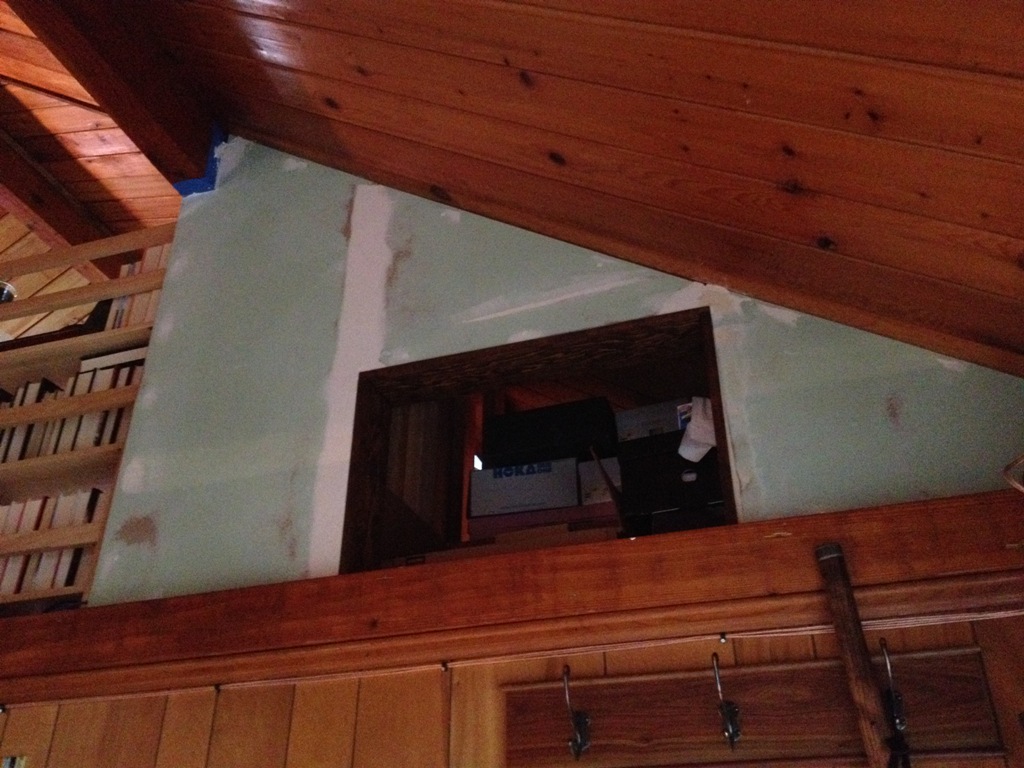
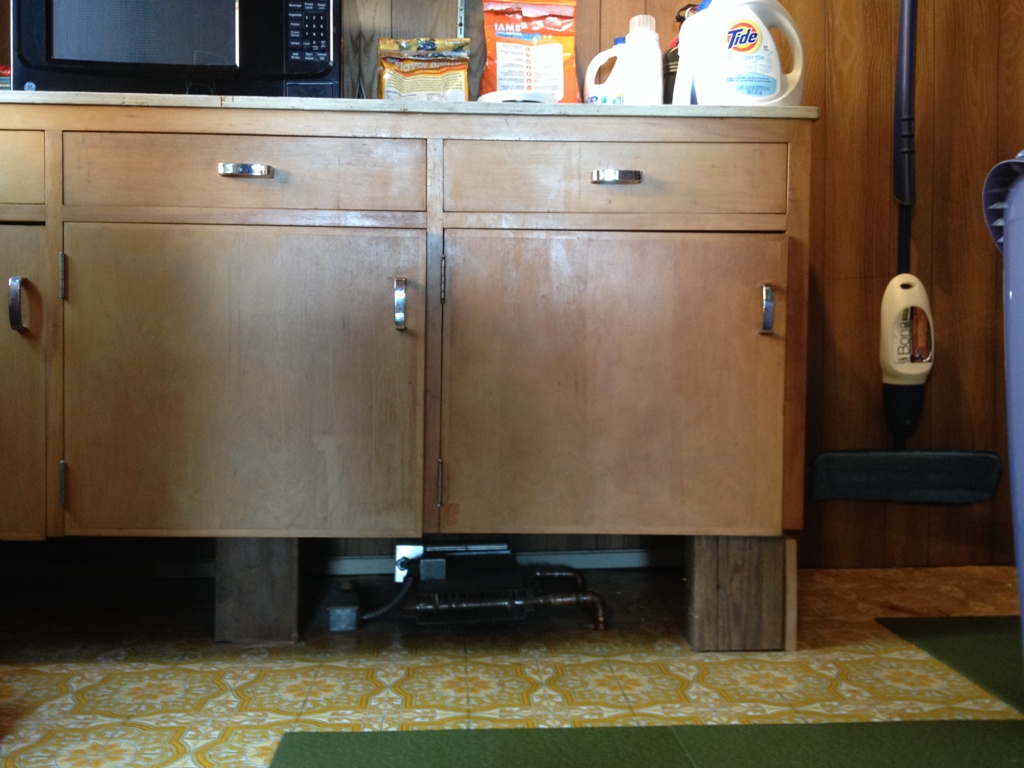
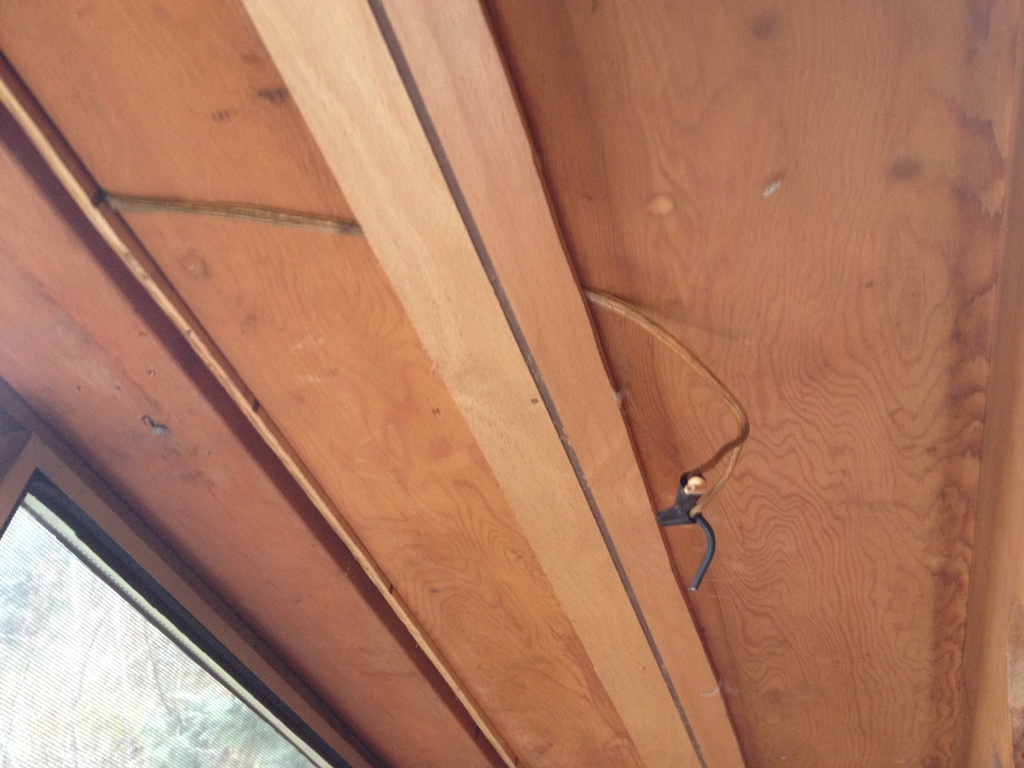
So, when one of our water pipes magically sprung a leak under our house, it was up to me to crawl down there and get it fixed.  Yeah, I called all the plumbers on the island (all three) and they were all booked until September.  And further, they won’t go under my house if it’s wet.  There’s electrocution risk, union regulations, but most importantly:  they don’t want to.

So here I am, 20′ inside a muddy crawlspace, soaking wet because that leaking pipe drenched everything and it won’t dry out because it’s under a freaking house.  There were electrical wires that rats had chewed through.  I taped them up while lying in a pool of muddy water, live electrical wires.  FYI – don’t do that.

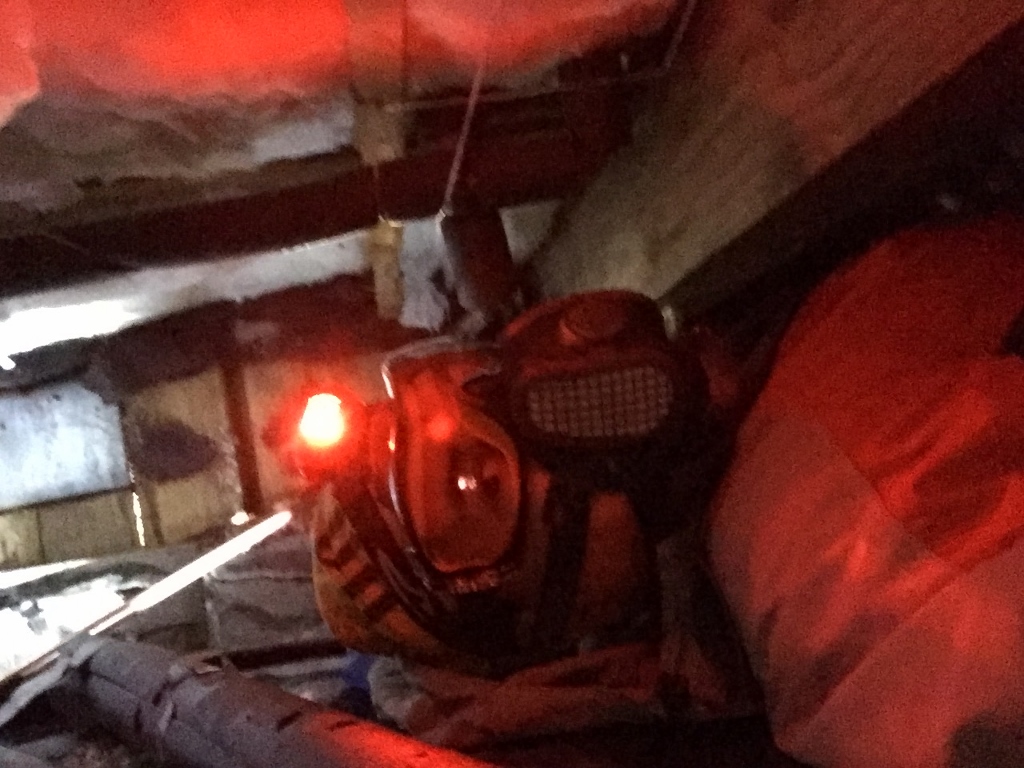
Yeah, it was a tight space.  Moldy, dank, wet.  I had just watched Alien Covenant the night before and in hindsight that was the wrong movie to watch before crawling into a tight, dark spot like that.  I had to use a pipe cutter to cut the corroded pipe out, then cut a new length of pipe to fit, and then secure it with adapters.

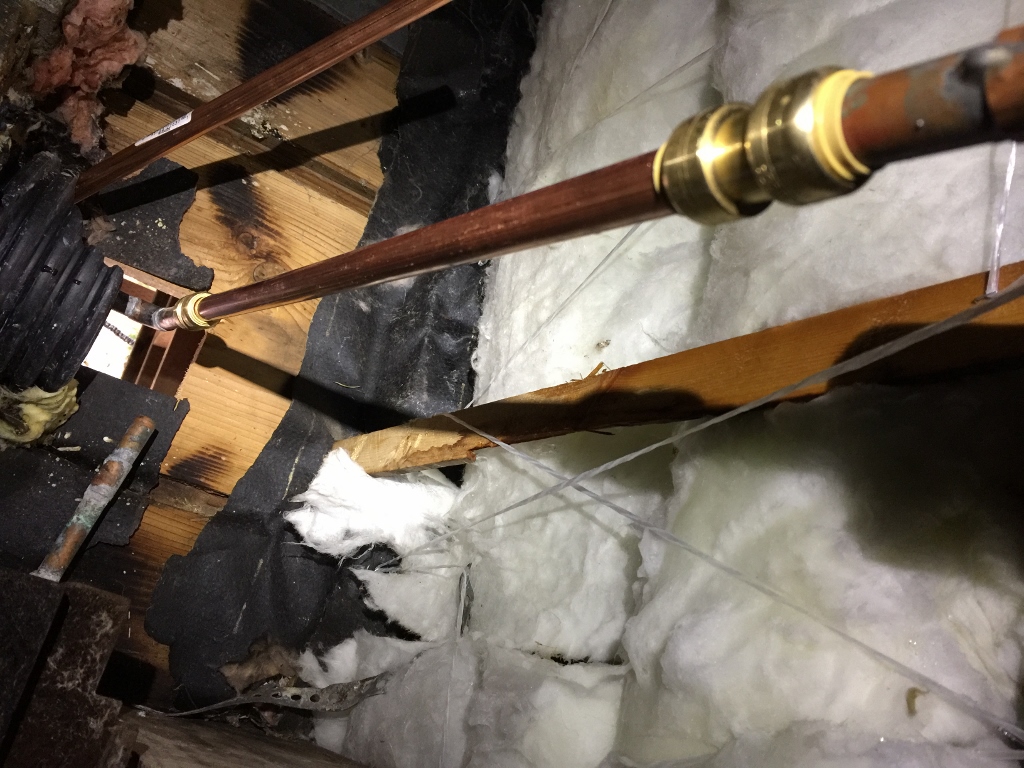
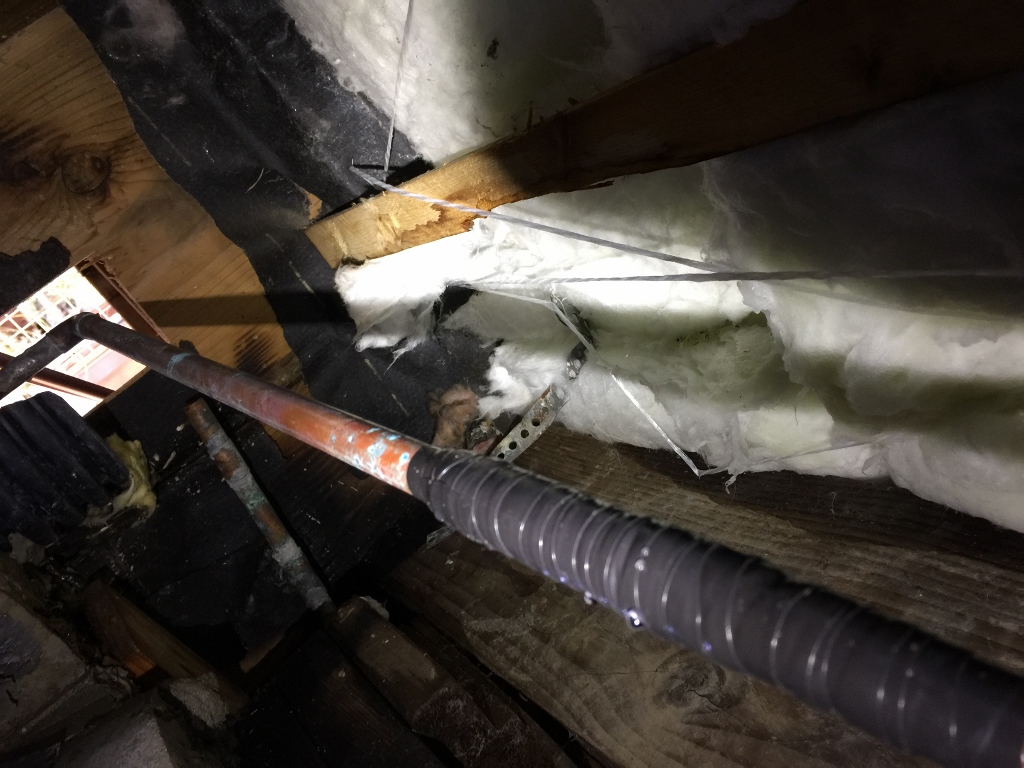
All fixed.  I gave it a few days to make sure it didn’t spring any new leaks before crawling under there yet again to wrap it with insulation.  These are old pipes.  I think I can expect to be doing this a few more times before all is said and done.

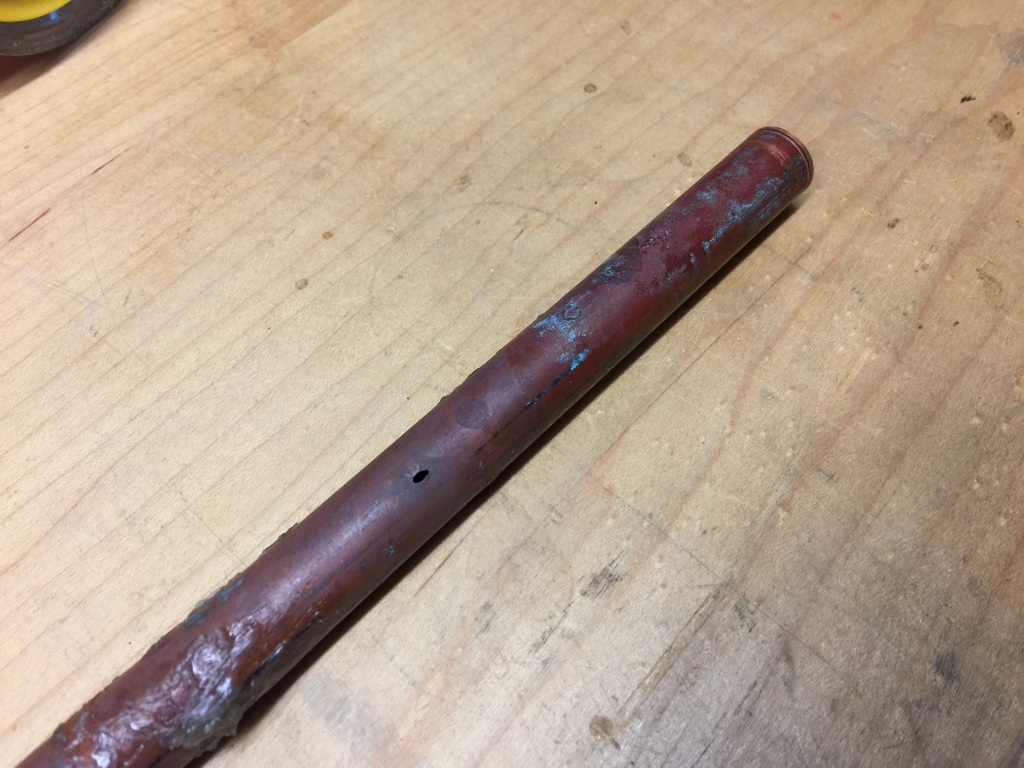
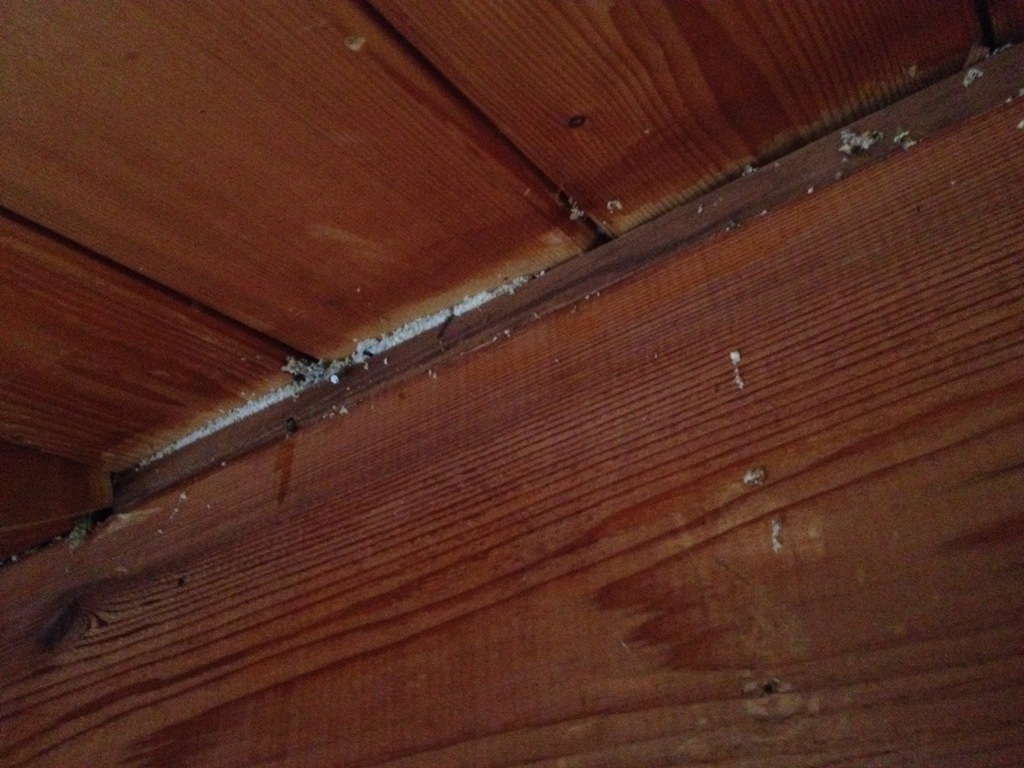
That’s it.  That’s the hole in the pipe that caused all the trouble.  Just fyi, all those products out there that promise to fix these things, all those tapes and patches and crap, none of them work.  None.

It may seem like an ordeal, but there are people in these islands who get by just fine without things like electricity, hot water, running water, etc.  Some people here are completely off the grid, and live their lives without any of the things that might seem indispensable to modern life.

And I’m not one of them.

The Cabinet Butcher

Cabinet Butcher

The cabinets directly under the sink have recessed doors, so you can comfortably stand at the sink all day long washing dishes or doing laundry or performing whatever task Island Life has in mind for you, and there’s plenty of room for your knees and shins and feet.  However, the new kitchen sink that we selected is too big to allow for this recess.  There won’t be enough room to install it unless the cabinet doors are made flush with the front surface.

Recessed Cabinets

That’s where I come in.  The Cabinet Butcher.  I can take that recessed frame and reconstruct it so that the doors are flush and there is room for the sink, at the obvious expense of one’s comfort while standing there doing dishes.  Since that’s usually me, well, who cares if I’m inconvenienced.  We have a new sink to install, after all.

Now, the new configuration of the cabinet doors down there makes the opening wider, by a total of six inches.  So, we need a strip of wood 6″ x 24″ to put in there between the doors.  This is a pretty good opportunity to go down to a salvage store and find some odd scrap of carved wood that I can integrate into the cabinetry!

Pick Me

“Pick me!” squealed these two pieces.  No, you’re both the wrong size, and you’re both ugly.

No Pick Me Instead

“Pick me!  Pick me!”  Okay, you’re the correct size but you’re still ugly.  No dice.  I’ll keep looking.

No Doors

Yeah, well, while I ponder my newest conundrum, I must pry the remaining cabinet doors off their hinges so I can replace the hinges (with less-ugly hinges) and resurface them and stain them and make them pretty.

War Zone

I did replace all the cabinet shelves with melamine.  I’m no fan of melamine, but I am a fan of sanitary kitchens, and the melamine shelves were far cleaner than the greasy, sticky, cigarette-smoke infused cabinet shelves that we had.

Mountain Climber

Aprupt change of topics, but Inky is a mountain climber.  Here she is atop a rock that’s about 30′ above the road below.

The Farmhouse Table

We found an old dropleaf farm table at an antique store.  It is rumored to be from Ireland.  Or made by someone from Ireland.  Or owned by someone who drank a lot of Bushmills.  Anyway, we saw it and we had to have it.

censored

Antique wood furniture can teach us a lot about woodworking.  You can see exactly how things were made, and more importantly, how these techniques stood up to the test of time and use.  What worked, and what didn’t.

table

In this case, it has taught me that we have been doing everything wrong.  We spend so much time making sure everything is straight and flat, that table legs are plumb and solid, that pieces join at right angles.  We cut tenons and mortises and dovetails, wasting precious time in a useless endeavor.  We buy expensive table saw fences for accurate cuts, but there is no reason for them.

beam

You see, all you need to do is split some lumber with an ax and nail it together with some tenpenny nails, and you’re done.  That’s it.

crooked

Why make sure your table is flat?  It doesn’t need to be.  And is mortise and tenon joinery really superior to a few clipped-head steel nails?  This table is like a hundred years old, and it’s still getting used.

burns

Should you protect the surface from burning pots and pans?  What the heck would you do that for?  Just set the frying pan right down on the table, the wood will absorb the heat.  No biggie.  And if the legs get loose, just twist those screws a turn or so to tighten them.

nails

And there’s always room for more nails, just pound them in!

reflection

And don’t bother finishing it to a nice flat even surface, when the pens of children doing homework will simply indent the table top with a strange cuneiform.  This table is riddled with overlapping pen strokes, and it adds to the character.  In fact, I think it even inflated the price a little bit.

splinters

The table legs are made out of oak, and judging by all those crisscross cuts were probably used to parry the broadswords of viking invaders.  No effort was made to remove the splinters on the exit side of all those nails.

final resting place

All I had to do was slather on some polyurethane, just trying to make it a little more sanitary, that’s all.  This table is now in its final resting place.

surface

You can’t get this at Restoration Hardware.  No sir.


The Art of Being A Cheap Bastard

So, I had this trim piece that was about 6″ too short.  It’s in a semi-visible area so I didn’t want to do a butt-end joint or even a mitered joint.  Well, I can always just go and buy a new trim piece.  Let’s see, 6 feet at $0.83 per foot…

too_lazy_to_name_photo

No way.  Why spend *that* kind of money when I can do a little tongue and groove instead?  That would make the trim piece exactly the length I want, and it would be perfectly straight along the edge I’m nailing it into.

too_lazy_to_name_photo_2

Gosh, just a few quick cuts and a little bit of fitting and it pops right into place.

too_lazy_to_name_photo_3

Put a little pin in there with some wood glue and it’s never coming apart now.

too_lazy_to_name_photo_4

I just saved myself $4.98!  Woo hoo!

Loft Renovation – No More Wood Paneling

War Zone

When we left off last time, the loft had become a bit of a war zone.  Paneling had been torn off, framing had been nailed into place, drywall had been screwn on and joint compound was drying in the seams.  In my head, these things take like an hour, but in reality it takes weeks.

Corner of Horror

I called this the Corner of Horror.

Yuck

Yuck.  When you’ve lived with this paneling for a few years, there’s a part of you that doesn’t even see it anymore.  It’s like a disease without any symptoms, slowly killing you inside and you don’t even know why.

Frass

That white stuff is frass.  It’s what carpenter ants leave behind when they tunnel through wood.  It’s ant poop.

Tricky Trinagle

These triangles were tricky cuts.  Trickier still carrying the cut pieces up the stairs without damaging anything. And there really weren’t any good beams to screw it into behind it, I had to get a little creative sticking these to the framing.

Drywall Seams

I really only had one drywall seam on this install.  Most pieces were small enough I could just cut them out of a single sheet.  That bottom piece on the left hand side had four cut outs for boxes:  one electrical outlet, one phone jack, one cable and internet box, and a box for the rear speaker hookups.  I must have measured everything out six times before I cut that piece.  If I screwed it up, I wouldn’t have enough drywall to finish.

Paint at Last

Finally got some paint on the walls.  I had the trim all cut and finished before I even started painting, so the trim install went very quickly.

Closet

I even finished the inside of the closet.  It looks like there’s a light inside but that’s just my work lamp.  It’s an eight square foot room with a low ceiling.  I’ve seen refrigerators bigger than that.  It doesn’t get its own light.

A Frame

A lot of the big tasks are now finished, but there are still some major projects ahead.  I need to make windowsills for both windows, I have a special way that I’ve done to other windowsills in the house so it’s not as simple as nailing a board down and pouring half a bottle of shellac over it.  Which is how the current windowsills were done.

Desk Nook

And then there’s flooring.  The floor sags pretty badly in the middle and it’s a little spongy, so I have some structural work to do before I even put down a finished floor.  Currently, I’m walking on plywood panels that have been here since Nixon was president.  The good news is if it hasn’t caved in by now it probably won’t, but I’d like to at least try to shore it up a bit.

Desk

I finally have the desk fit into a little nook so that it doesn’t block any windows.  I not only have a nice view, but I get some natural light.  The green sleeping pad over there is for Inky, she loves it and sleeps there daily.

Desk Nook 2

With the desk in a nook, it’s really opened up some space in the loft.  It’s not a big room at all and the A frame limits moving around very much.  In small houses it’s really important to make the best use of your space.  Or, be very small.  In fact, I bet this house is considered fairly large by cats, squirrels and mice.

Hobbit Door

The Hobbit Door is at last in place.  I love it.  The whole thing cost about $60 and almost half of that was the hinges.

Bookshelf

There’s a bit of an unfinished corner up there.  And speaking of doors, I need to make some pocket doors for those storage area.  And see where that cheap bookshelf is?  I’m going to put a nice built-in bookshelf in its place, a bit bigger and with some better storage spaces.

Monkey Hooks

And see that gap between the beam and the ceiling timbers?  The ceiling isn’t straight.  My guess is when they made the dormer up here they didn’t support the roof correctly.  They had to cut a load bearing beam to make this dormer so maybe that was their problem.  Anyway, it’s now my problem and I need to find a way to either fix that gap or cover it up.  There’s really nowhere to put the load of that roof anymore, so I’ll probably just cover it up.

Loft

Looks great from downstairs too.  Well, it looks better than it did.  And now the handrail and balusters look really awful so I guess they’ll have to go soon.  Very soon.

The Actual Cost of a Salvage Door

Door

Salvage Door:  $40, plus tax.

Ferry trip to get to the mainland and back with the door:  $58

Gas:  $8

Tools

Tool wear and tear:  $5

Fasteners

Fasteners and miscellaneous hardware:  $2.50

Doorknob and deadbolt:  Free, just use the existing crappy ones so all the keys still match.

Fir

1×6 Douglas Fir planks:  $112.  (For that price, next time I’ll just cut down a tree)

Dentist Pick

Labor:  Free, though in all fairness, in the time it took me to fix up this door I could have watched District 9, Gladiator, Season 6 of The Shield, the extended versions of all of the Lord of the Rings movies, Skyfall and Casino Royale.

Dowel

Dowel:  Free, I got dozens lying around for scrap.

The correct size dowel that you don’t have lying around and have to go buy at the hardware store:  $4.35

Sanding Discs

22 Festool sanding discs:  $16.50

Stain


Stain, primer, paint, and about 24 feet of frog tape:  $54.67 (that frog tape is a little steep)

Cat

Cat in a sink:  Free.  Good luck washing your hands.

Hinges

Solid brass hinges in Oil Rubbed Bronze (TM) that will never ever rust:  $75.

Asymmetry

Amount of sleep I’ll lose because the door is asymmetrical:  0.0 hours.

Priceless

Using the old door for thrown weapons practice:  Okay, that is priceless.


The Cabinet From Hell

attractive

It’s time to face facts.  We can do whatever we want to make the kitchen look better, but this hideous cabinet is all you see whenever you’re in there.  All the new appliances and knobs and flooring in the world won’t hide this demonic thing.  I’ve considered covering it with a drop cloth but then Inky wouldn’t know where to eat.  I’ve considered destroying it with a flamethrower but I doubt I could keep the rest of the house from burning down with it.

This cabinet is old, and it rests on scrap 2×4 pieces the way an el camino rests on cinder blocks in someone’s front yard.

precision

Nothing meets at a right angle.  The doors do not stay closed without the aid of a rubber band or a thumbtack.  I’d love to get rid of it but that’s 24 cubic feet of storage I don’t have anywhere else.

craftsmanship

The frame is literally coming off the cabinet.  Look closely – you can see the frame is just held to the cabinet by a nice, smooth, bright finish nail.  I could pull it out with my fingernails if I wanted to.  The one across from this was repaired with glue, so now it’s permanently 2 1/2 degrees off.    Ugh.

style

The worst of it is the top, which is just painted construction grade plywood.  Painted a long time ago.  It does not come clean.  It’s pitted, stained, moldy and warped.  The only really good thing about old paint is that it was made before a lot modern environmental laws, so it’s generally better quality than new paint.  Plus it’s fully cured so it forms a hard shell that’s arguably stronger than the plywood it envelops.  Other than that, it’s disgusting.

Do not ask me why, but I decided to restore this thing rather than smash it to bits with a fireman’s ax.  The drawer pulls are easily replaced, and I even have some good pulls in mind for it.  And replacement hinges are affordable, right?  (answer:  no.  $25 per pair is not affordable, but that’s what well machined hinges cost).  What else would need to be done?  A melamine top is not hard to do.  A band of wood around the bottom wound conceal that weird heating apparatus underneath so we don’t have to see it.  And I can take the doors off, sand them down, stain them and polyurethane them and they would look significantly better.

restoration

And so, it’s come to this.  50 year old cabinet parts are in my shop, sanded smooth, re-squared, fitted, stained, and ready to go.  The cabinet will live again.  It’s still a piece of crap, but at this point, it’s like a personal challenge.  See how long I can keep this box limping along, serviceable, and in working order.  See if I can get the doors to close straight, or close at all.

I love making cabinets, and sometimes restoring the old ones teaches you a thing or two about making new ones.  But that’s really not the case here.  This Cabinet From Hell is a textbook example of all the things not to do when you’re making new cabinets, from the materials and hardware not to use to the way not to join wood together.  Well, let’s see how long I can keep it going. I have to move it out when I drywall the laundry room, then put it right back in.  If it survives that, it can probably last a while longer.

Please don’t use 16 gauge speaker wires for electrical

No No Bad Bad


Just a public service announcement.  Please don’t use 16 gauge speaker wires to hook up your overhead kitchen lights.  Future homeowners who have not yet died in an electrical fire will appreciate it.

It’s probably okay for low voltage and short term applications but if you’re installing some fancy new halogen light fixture you will want wires that don’t melt and burn when a bunch of electrons go racing through them.  And seriously, for like $5 you can buy a length of the correct wire, two staples to set it into place, a pack of electrical connectors, eight inches of black tape and gas money to drive to and from the hardware store.  Just go get 12/2G NM-B indoor yellow cable.  It comes with a grounding wire that is absent from speaker wires.  Connect black to black, white to white, ground to ground and Bob’s your uncle.

Thanks.

Sword Rack

fogIf you’re like me, you have a large number of Japanese swords cluttering up your house.  All manner of Nihon-to, katana, bokken and shinsakuto edged weapons just leaning against walls or lying on the floor like a trip hazard. I really needed to do something about this.  Storage space is hard to come by in this house so I thought my best bet was to design a wall mounted sword rack.

The PlansThere’s not much wall space in the house either, but there’s a few spots I can mount at least one or two of my better blades as long as I keep the mount a little compact.  I didn’t want a traditional Japanese design either, and I came up with my own, something a little more modern.  Simple, though.  Fit and function are a lot more important than looks.

When designing something small, it can be helpful to make a full scale drawing of what you’re trying to make.  Drawing it out full scale really helps you see exactly what you have to cut out of wood.

More PlansI used a slab of 7/8″ burled rock maple.  It is not easy to saw and not very forgiving, but it is bulletproof.  The prongs that hold the sword tend to be the weak point of any sword rack – if the sword twists against that prong, it can easily snap.  This is why I like to use a really hard wood.  When you draw it out life size, you start to realize there are things you may not be able to do, and you adjust your design accordingly.

fit


I have a mortising machine that cuts square holes like that, but it broke on the first mortise.  Haven’t used it in over a year and I guess it was mad at me.  So I had to cut all four mortises by hand with chisels I haven’t sharpened in over a year.  I probably should have stopped and sharpened them but I know me, that would have taken all day.  I wanted to get this project done before moving on to another project.

village of toolsIt takes a village of tools to do even a small project like this, especially the smoothing, shaping and sanding.  I cut out a lot of that with a jigsaw (don’t own a scroll saw, and I’m not sure how a scroll saw likes an inch of rock maple anyway) and it was very rough after cutting.  I smoothed it out with rasps and files and a nice straight router bit where I could get it to fit.

wedgesWhen I have exposed tenons like that, I like to put a wedge in there for some added stability.  I don’t need them for structure, it’s only got to hold about 5 pounds of swords.  Could have made this out of cardboard and still had enough structure.  But wedged tenons not only look great but really make a strong joint that should never fail for the life of the piece.  Last time I made wedges, I needed about 84 of them for my desk, and I cut them all by hand.  Thankfully, the zero tolerance insert on my table saw lets me cut them on the saw.  The wedge goes flying once it’s cut out, but it’s small enough that it doesn’t hurt anybody.

keyholeI’ve never cut a keyhole like this before but it seemed like the best way to mount it to the wall (and saved me a trip to town looking for hanging brackets that would fit). It’s not a difficult cut to make on a router table.  The holes came out perfect and are actually stronger than I thought they would be.


finishedAnyway, all finished.  Two less swords to trip on now.  The top one is a crappy replica but it’s okay to train with.  The bottom one is a very real wakizashi, folded steel, and extremely sharp.  I’m going to re-do the handles on both of them and probably do some more work to that wakisashi at some point.  Another project for another day.


The Snowball Effect


The bathroom needs to be fully gutted down to the studs and completely redone.  Everything.  But we can do small things in the meantime to make it a little nicer.Knobs and PullsLet’s replace the cabinet knobs.  And the drawer pulls.  That’s cheap, right?  Takes ten minutes.  Just order some nice ones online and install them.  It’ll make a big difference.

HingesOkay, the new knobs and drawer pulls make the hinges look ridiculous.  Let’s get some new hinges.  Find some nice ones on the internet and swap them out.

Lets PaintOkay, if I put new hinges on then I’m going to have to putty the holes left by the old hinges.  You know, may as well paint it.  That’s cheap, right?  Doesn’t take very long.  And that way the holes are completely sealed up.

Oh, if we’re going to paint may as well put some trim pieces along the floor too.  And paint those.  And that’s going to make the walls look awful, going to need to paint them.  And if we paint the walls, may as well get new towel rods.  They’re not cheap, not in the least, but this is our forever house.  Going to want nice towel rods.

Shiny new hardware


Nice, what a difference. But you know, now that countertop and sink look so awful up there.  That stupid two-tone swirled plastic, with fungus growing in the cracks.  I can’t live with that a minute longer than I have to.  There’s got to be something out there we can replace that with.  That’s cheap, right?  Doesn’t take long, just a weekend.

So now we need a new sink and new towel rods and I may as well get started replacing the vanity with some new cabinetry.  And new trim around the windows.  Could use a new fan, too, that thing is awful.  Oh, and the shower doors are disgusting.  And don’t get me started on the toilet (we did get a new toilet seat lid).

Better I guessThis story doesn’t have an end.