Saya

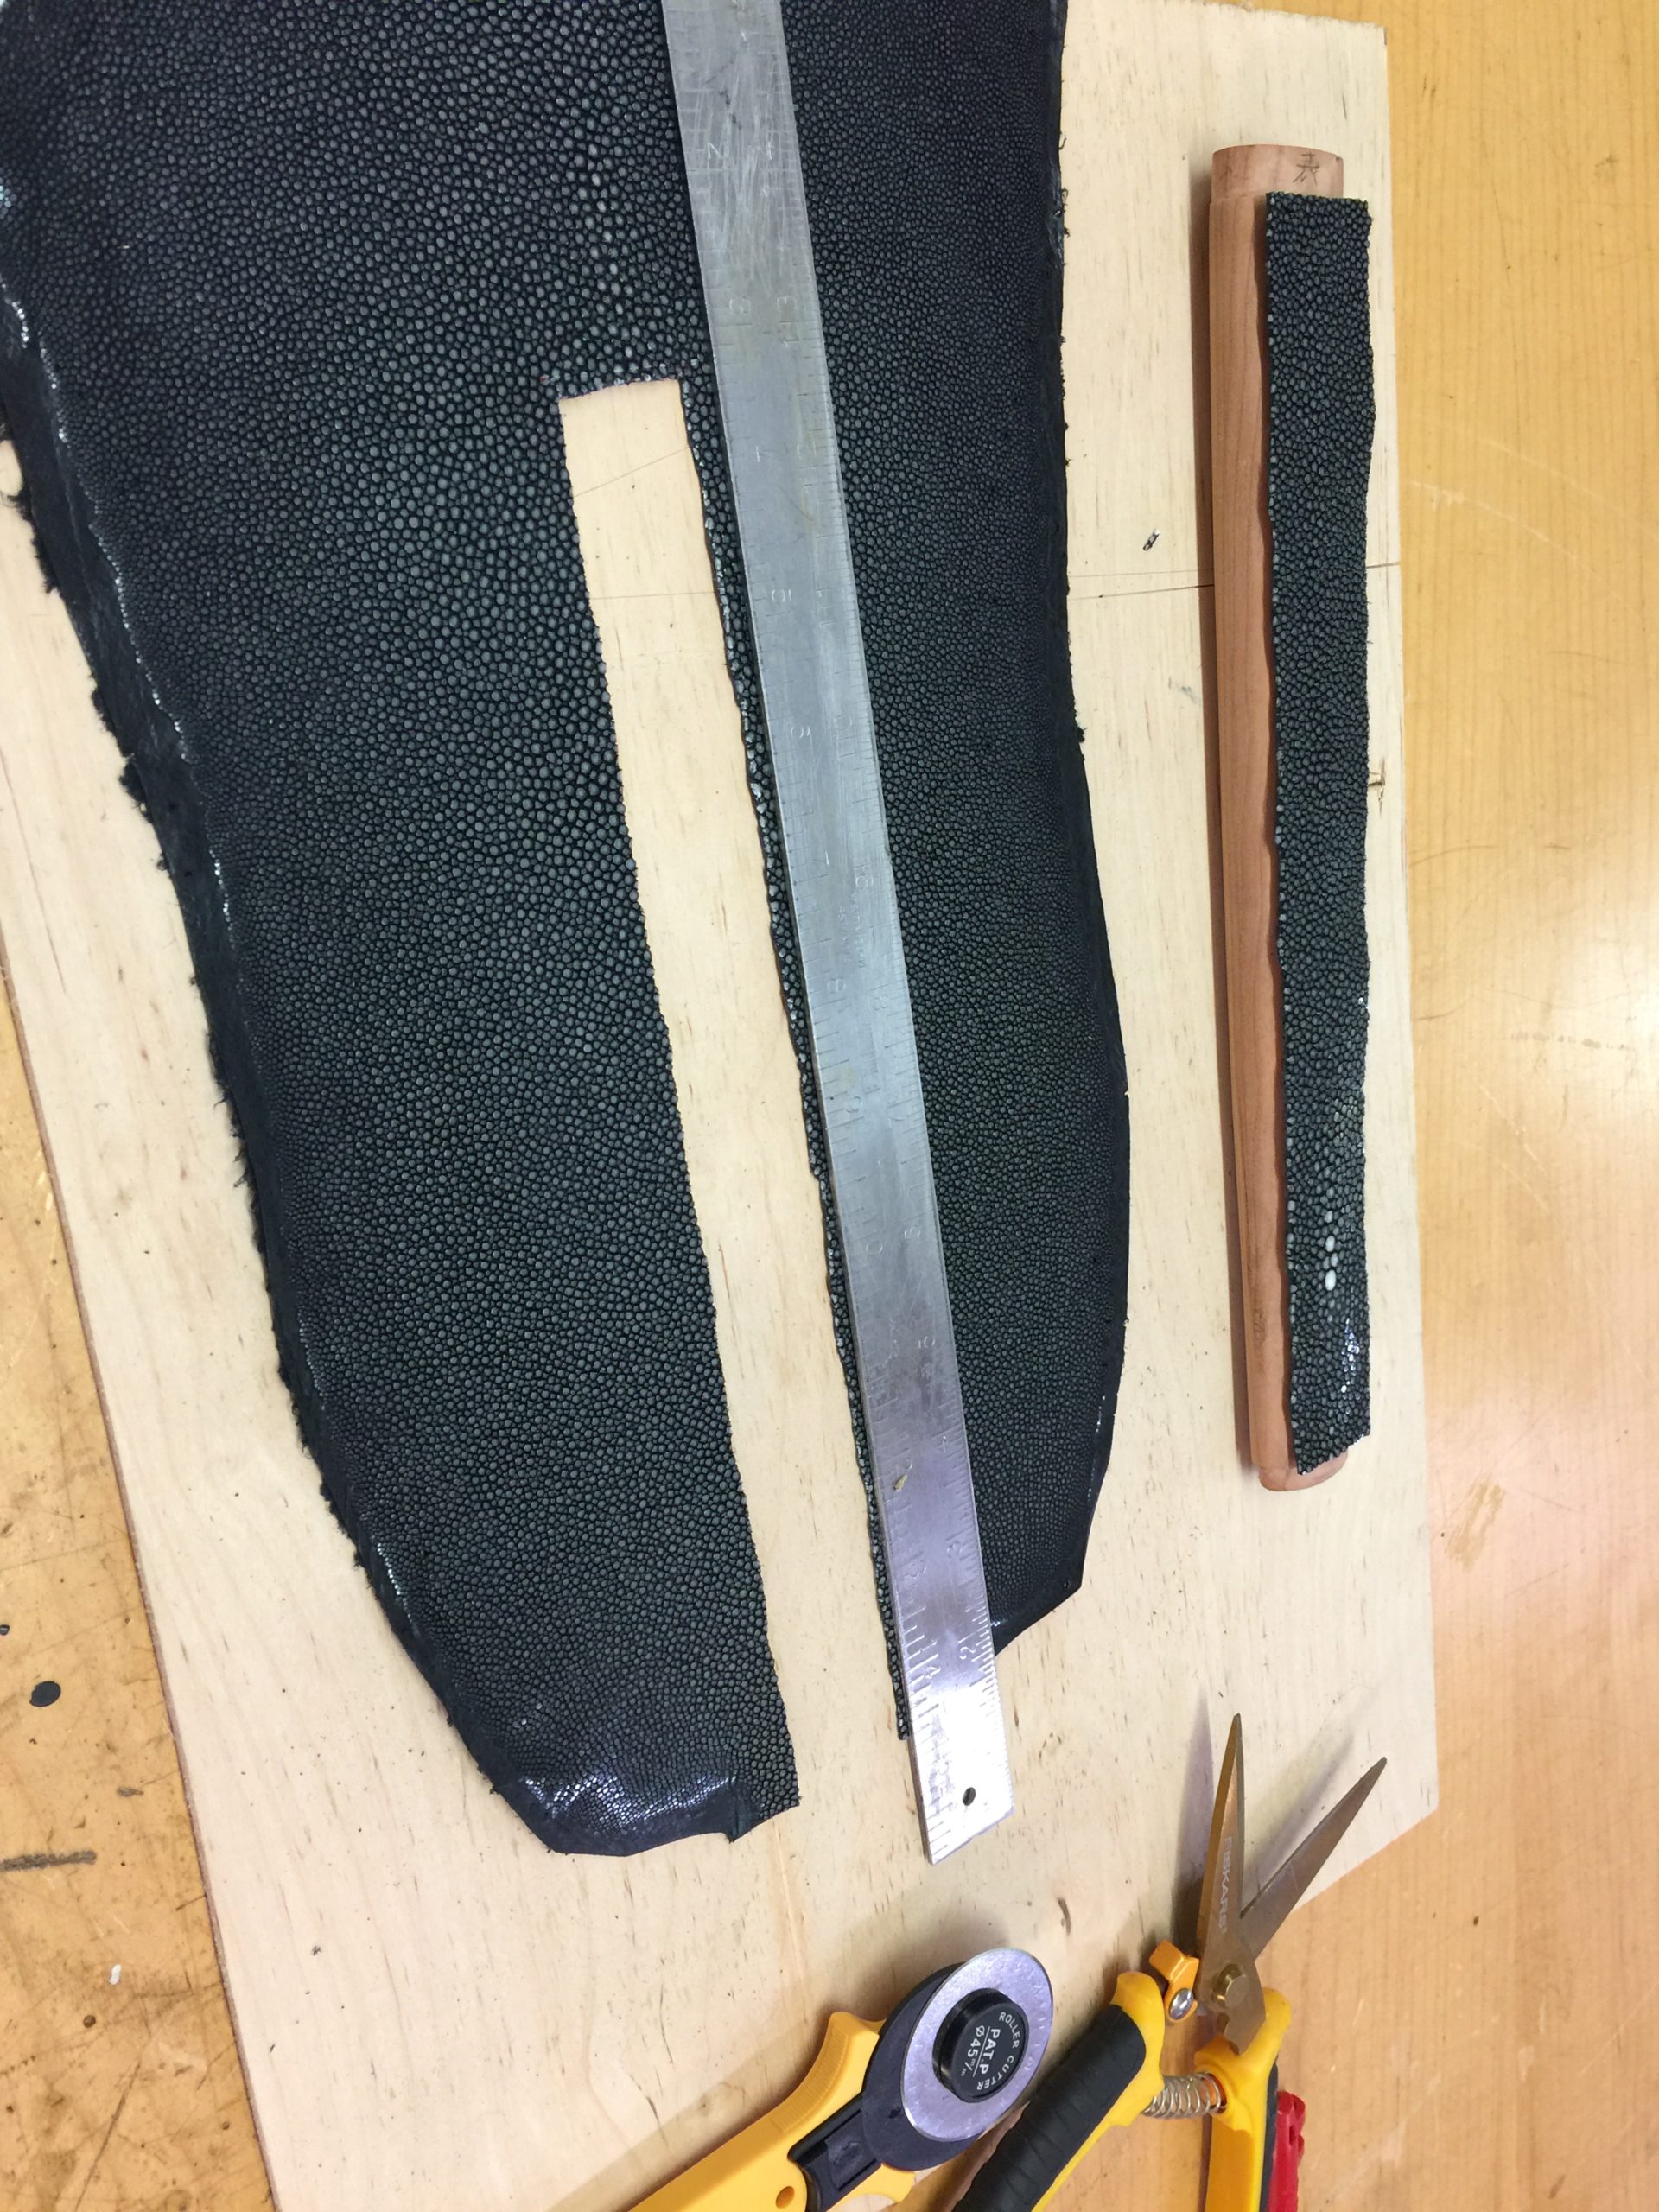
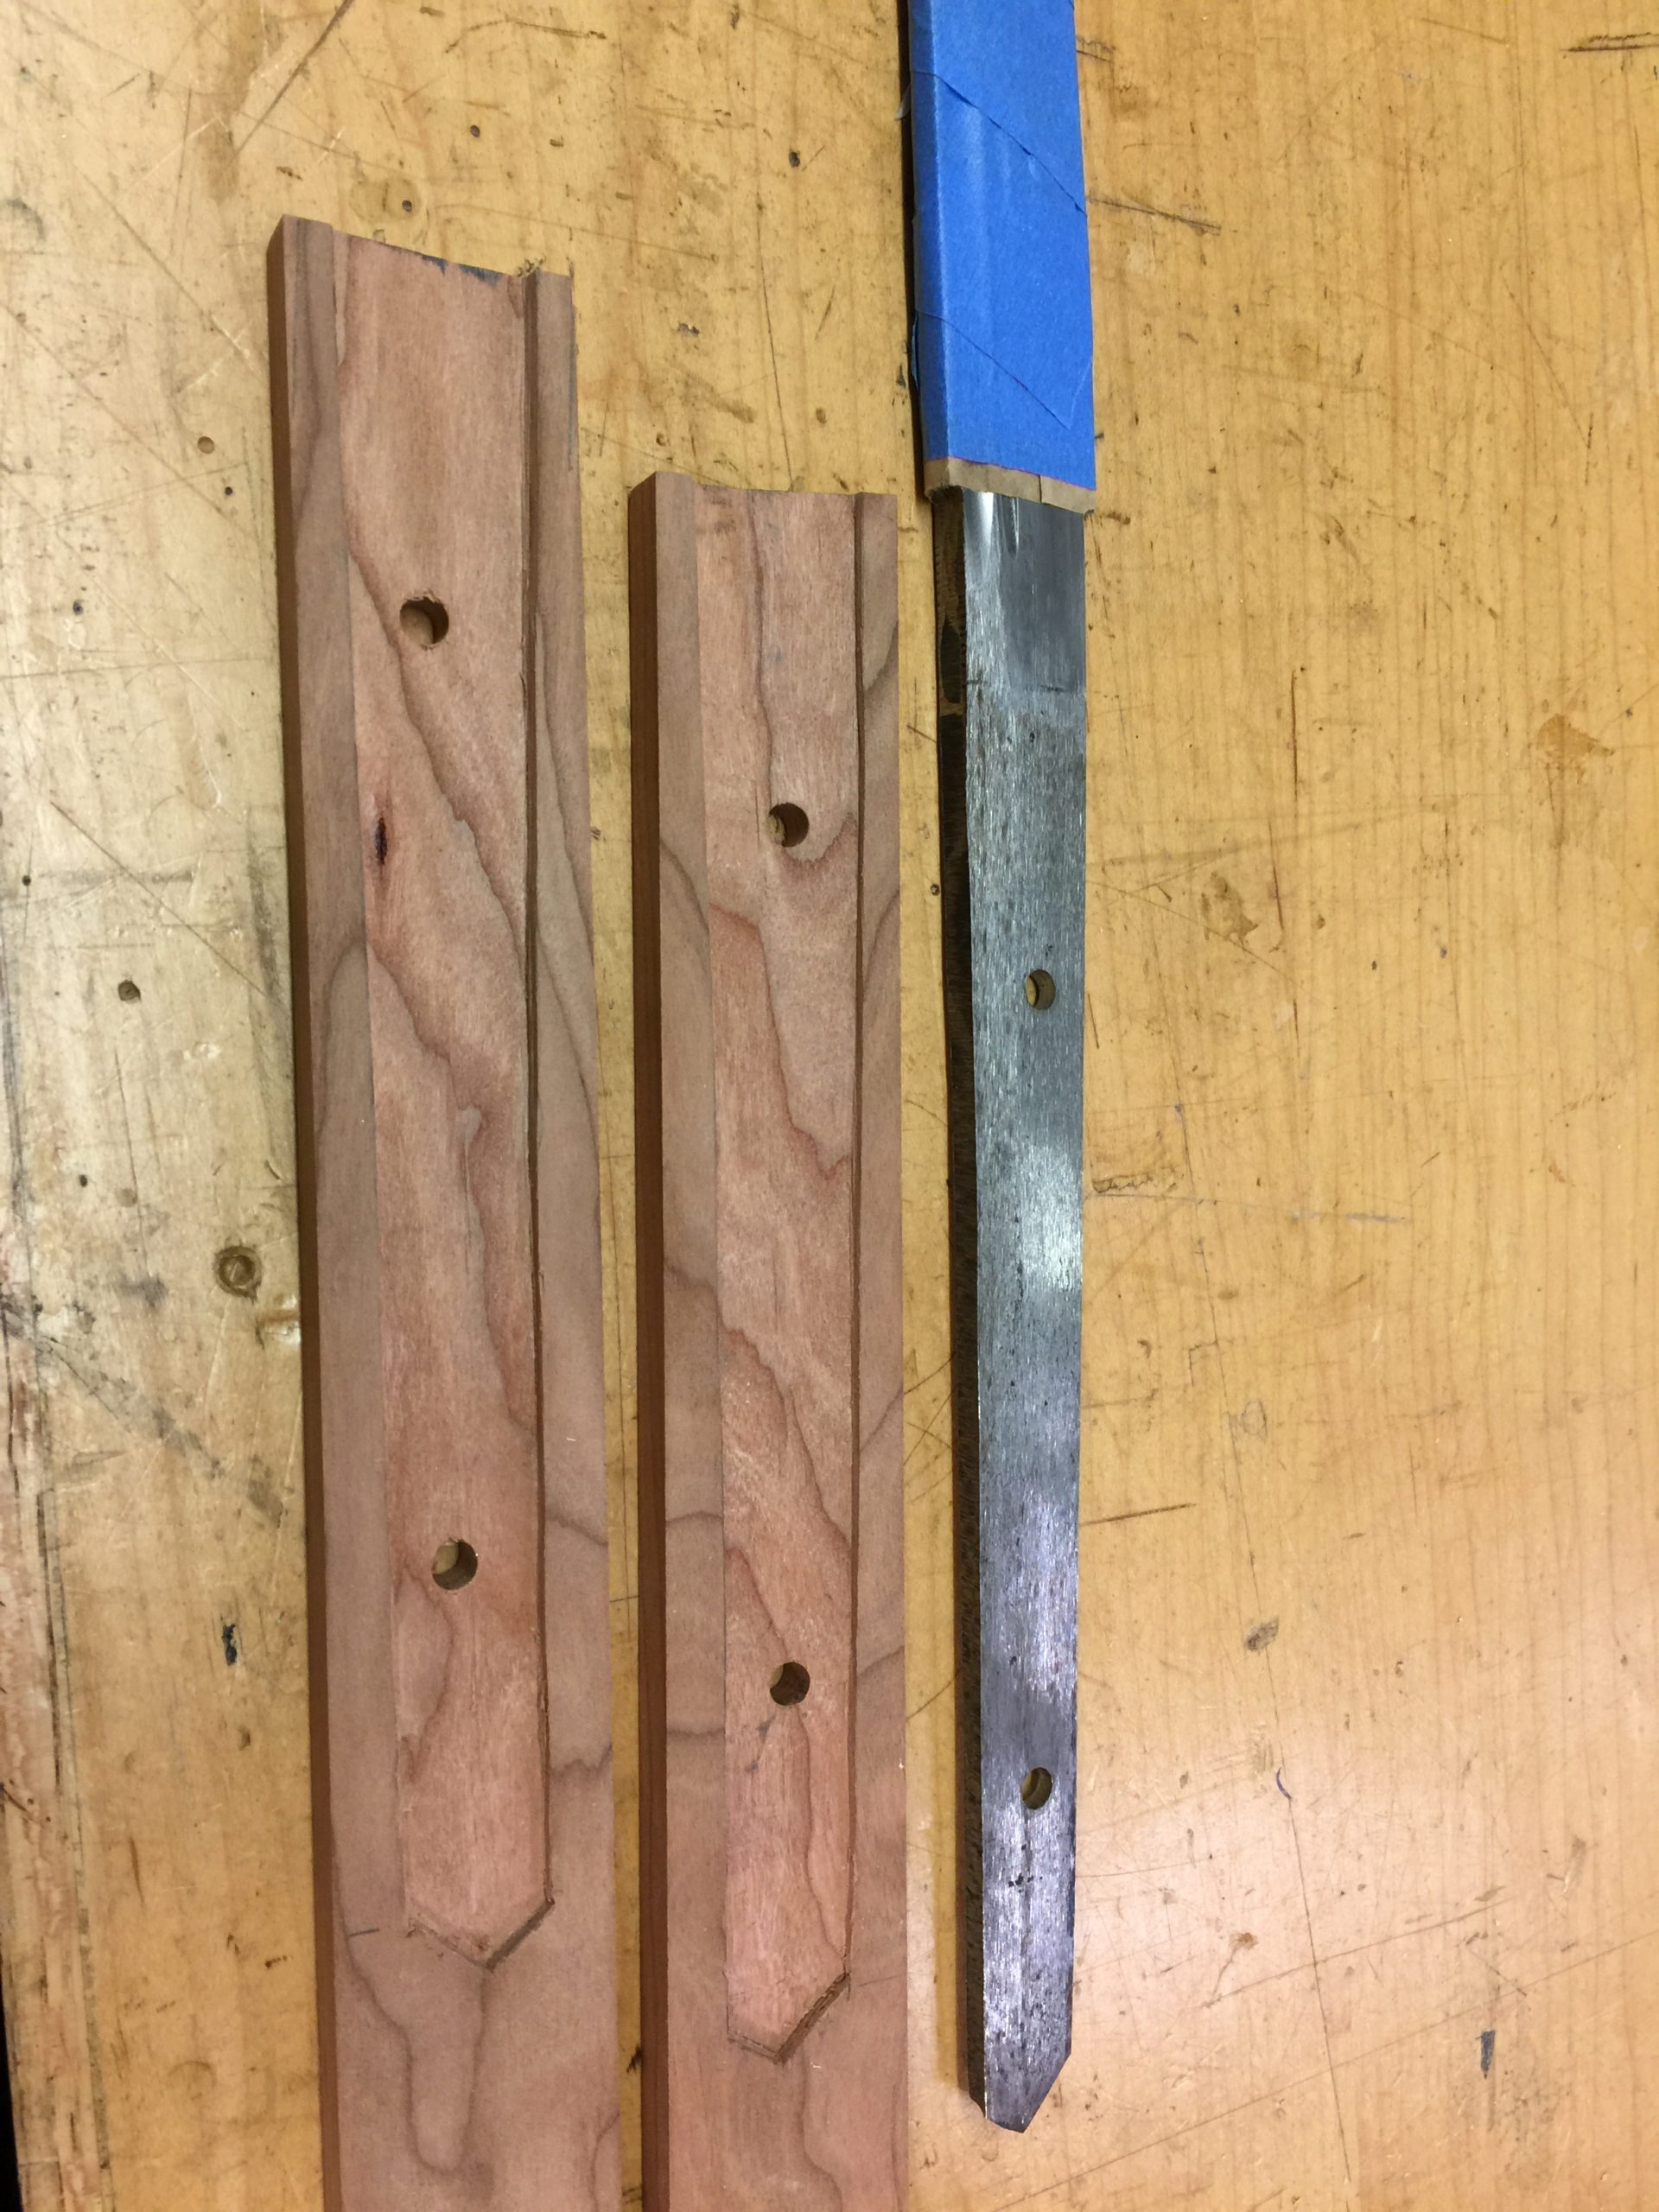
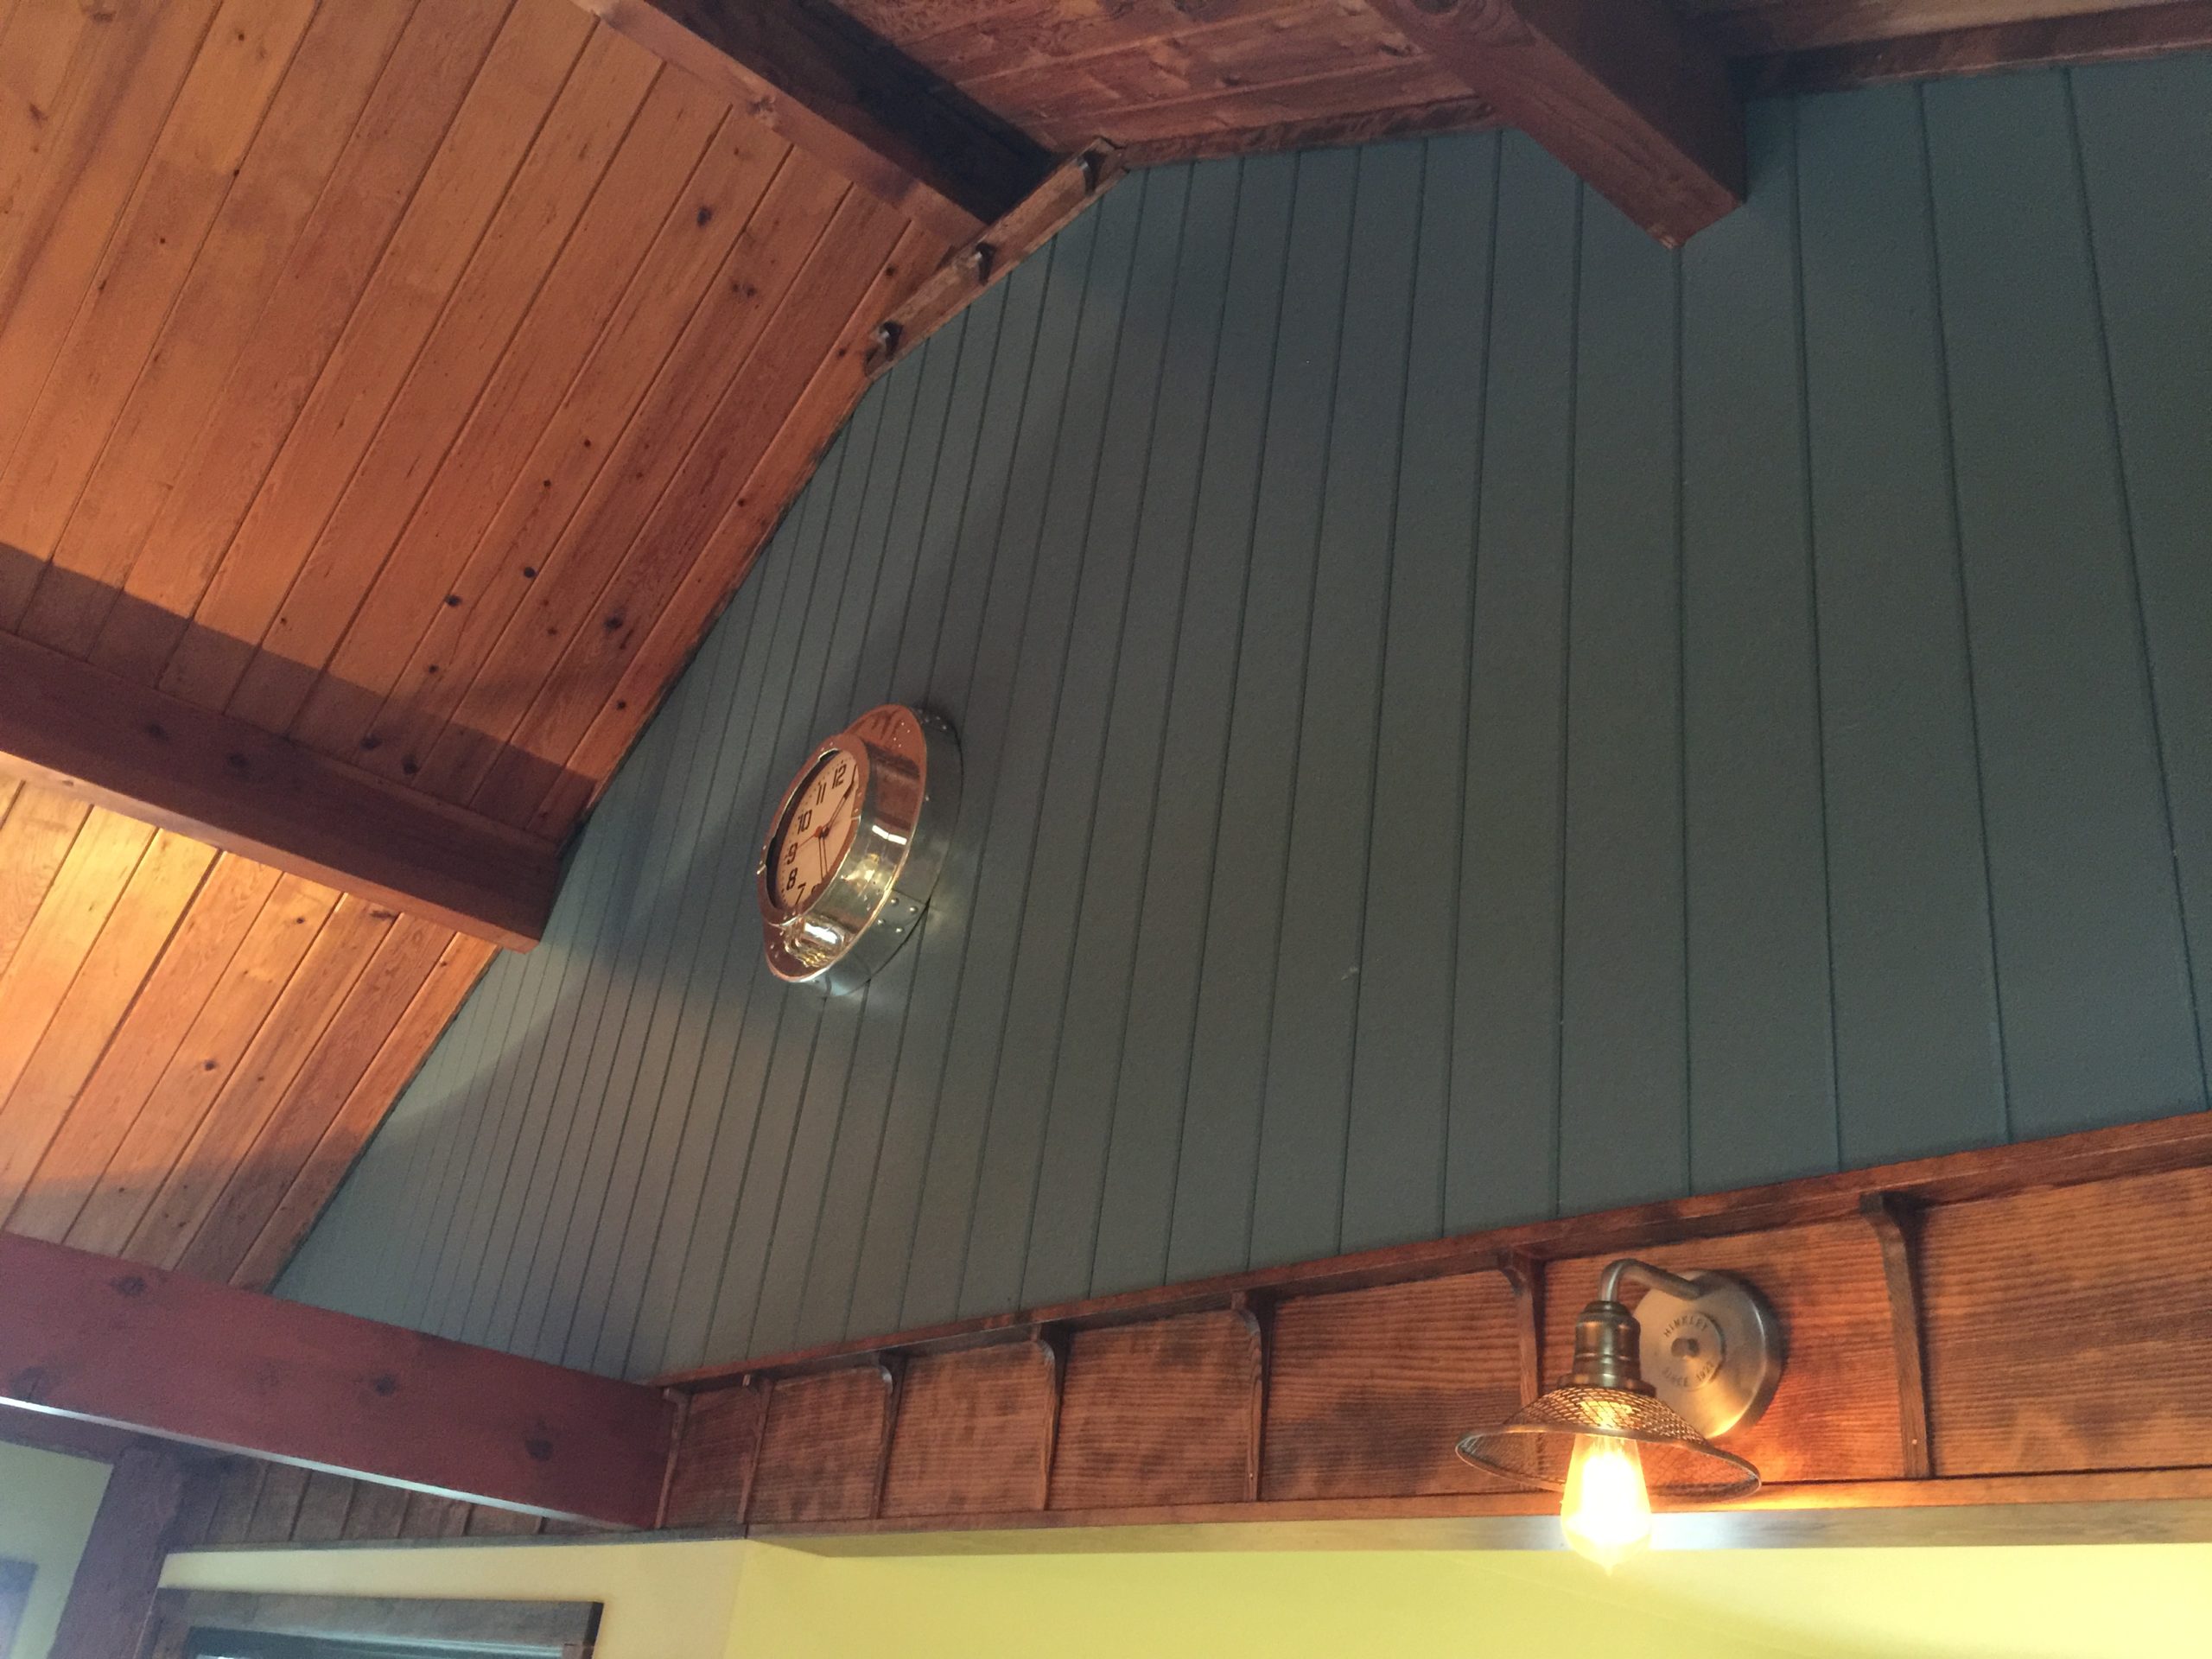
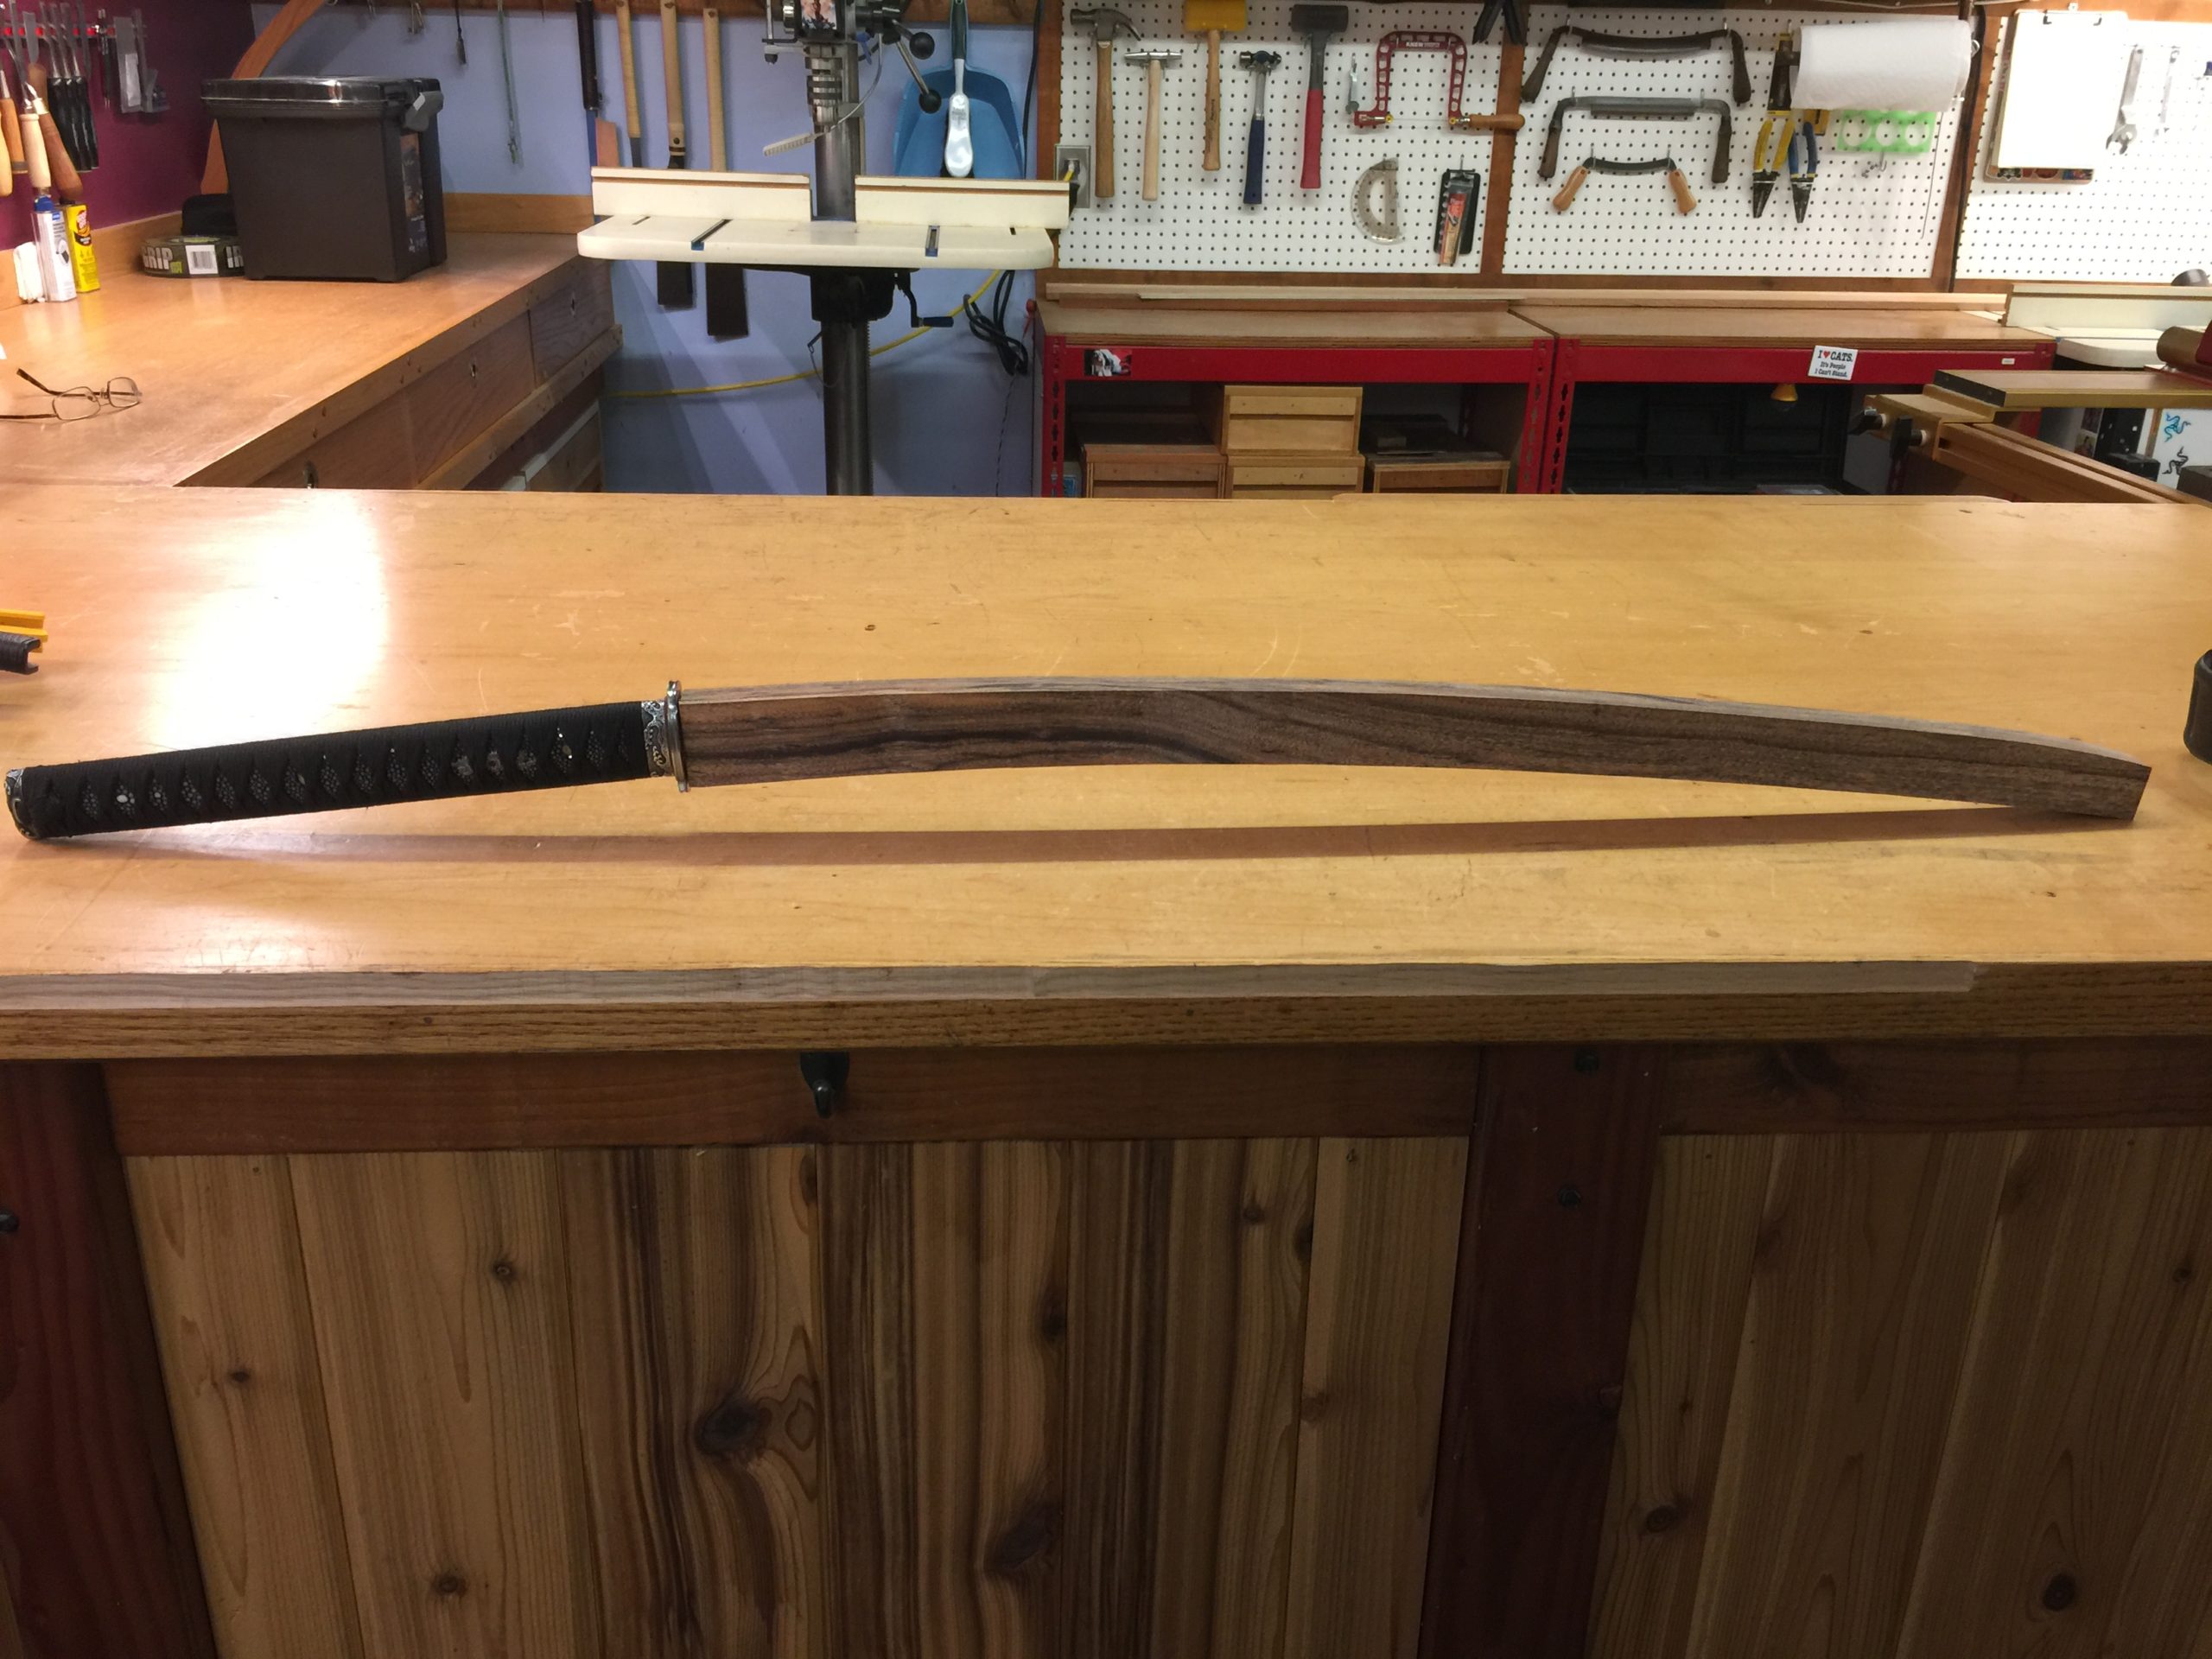
The saya is the wooden sheath the katana fits into. They are usually made out of soft wood and painted or laquered, and decorated with fantastic artistry. I’m a woodworker, not a painter. I make mine of of hardwood and let the wood grain speak for itself.

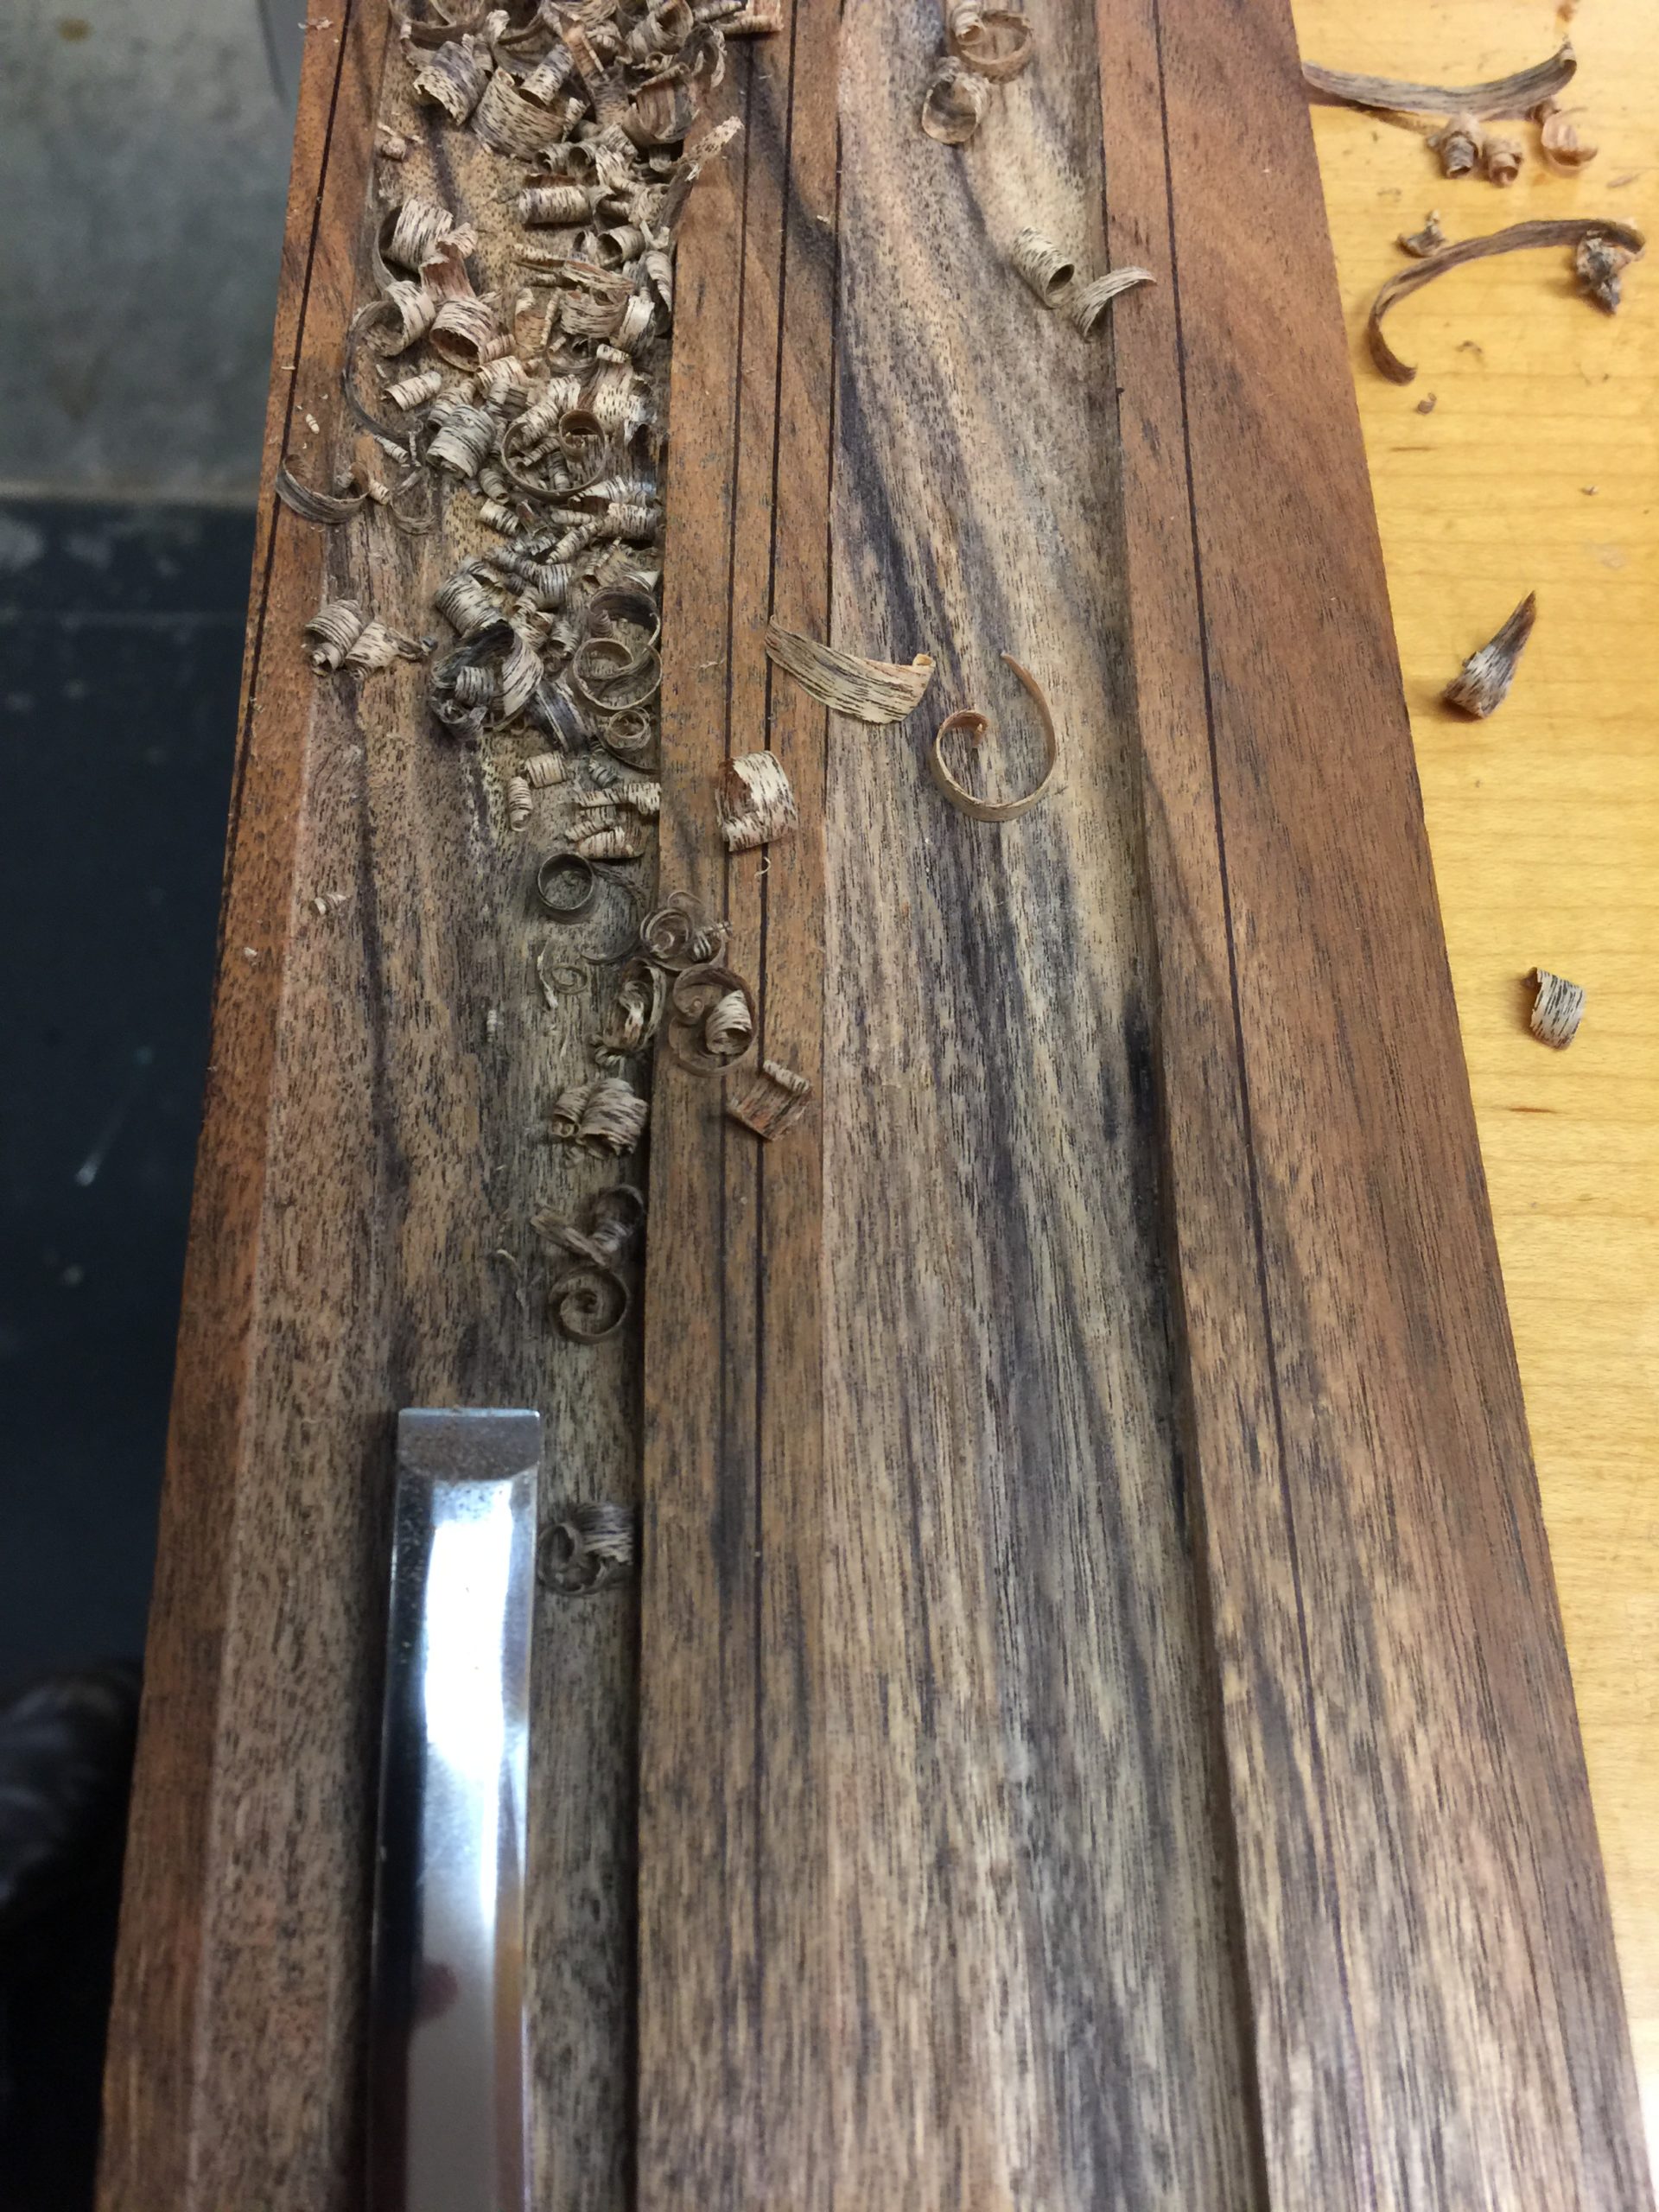
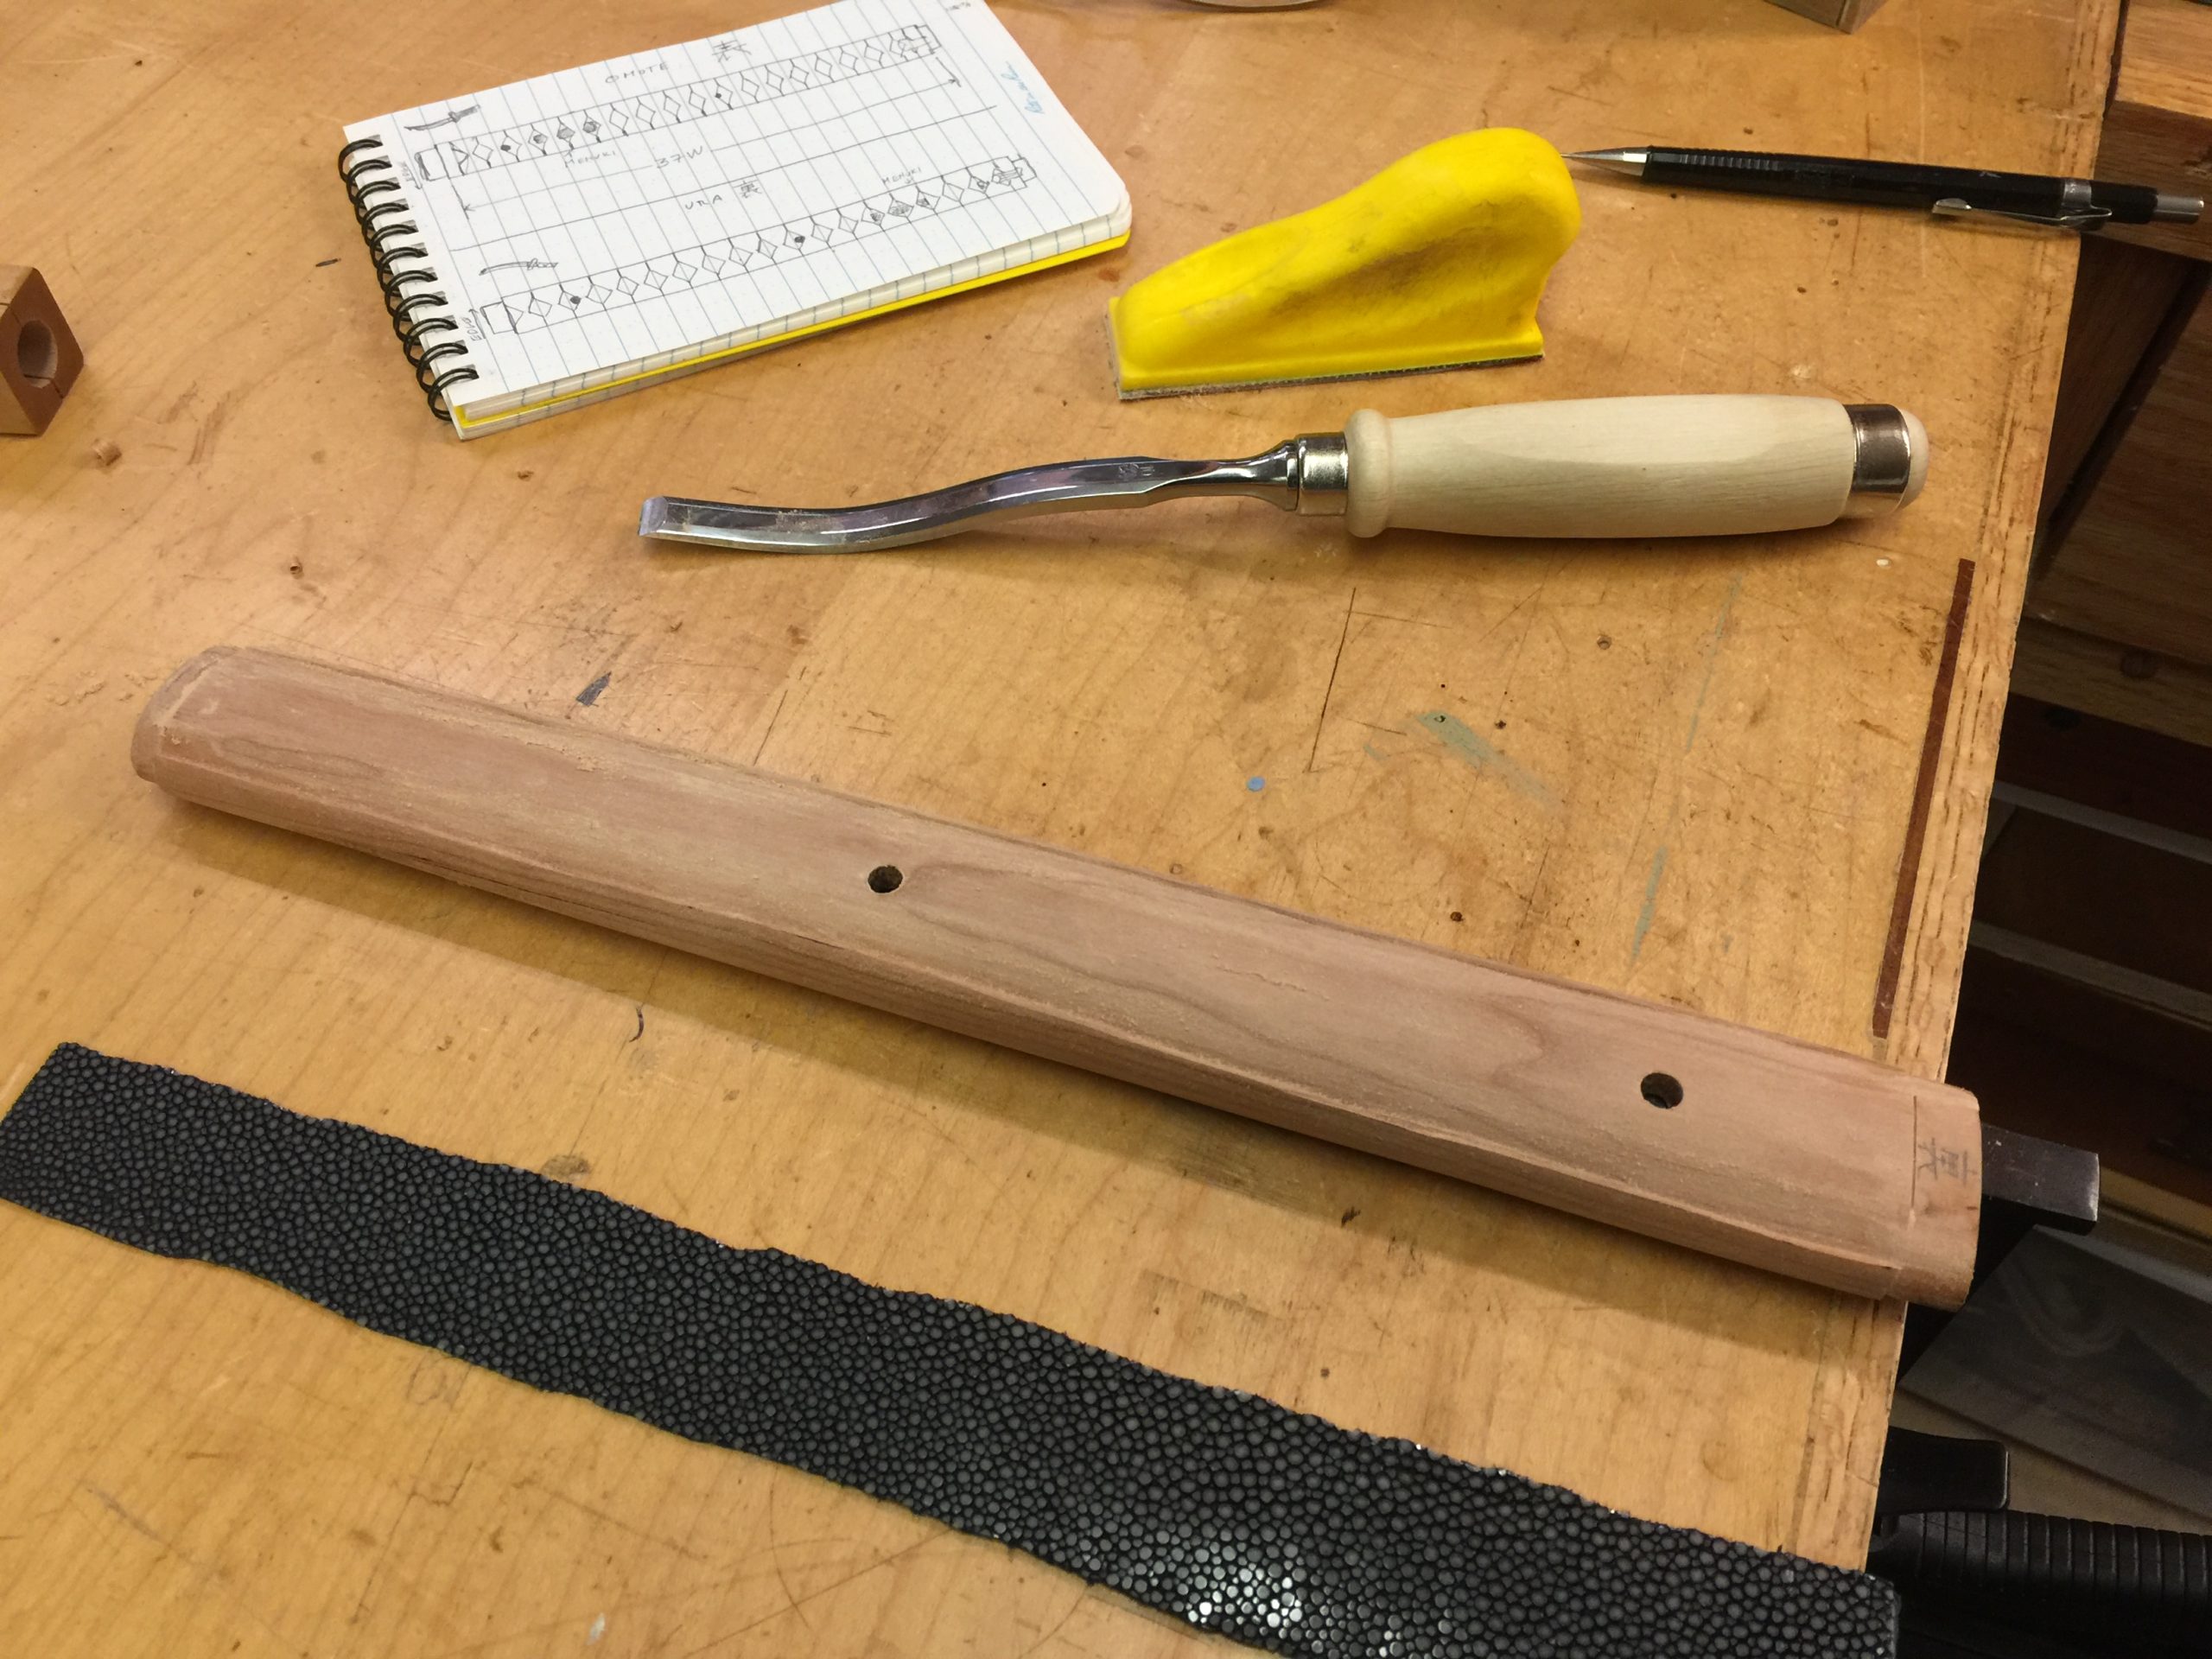
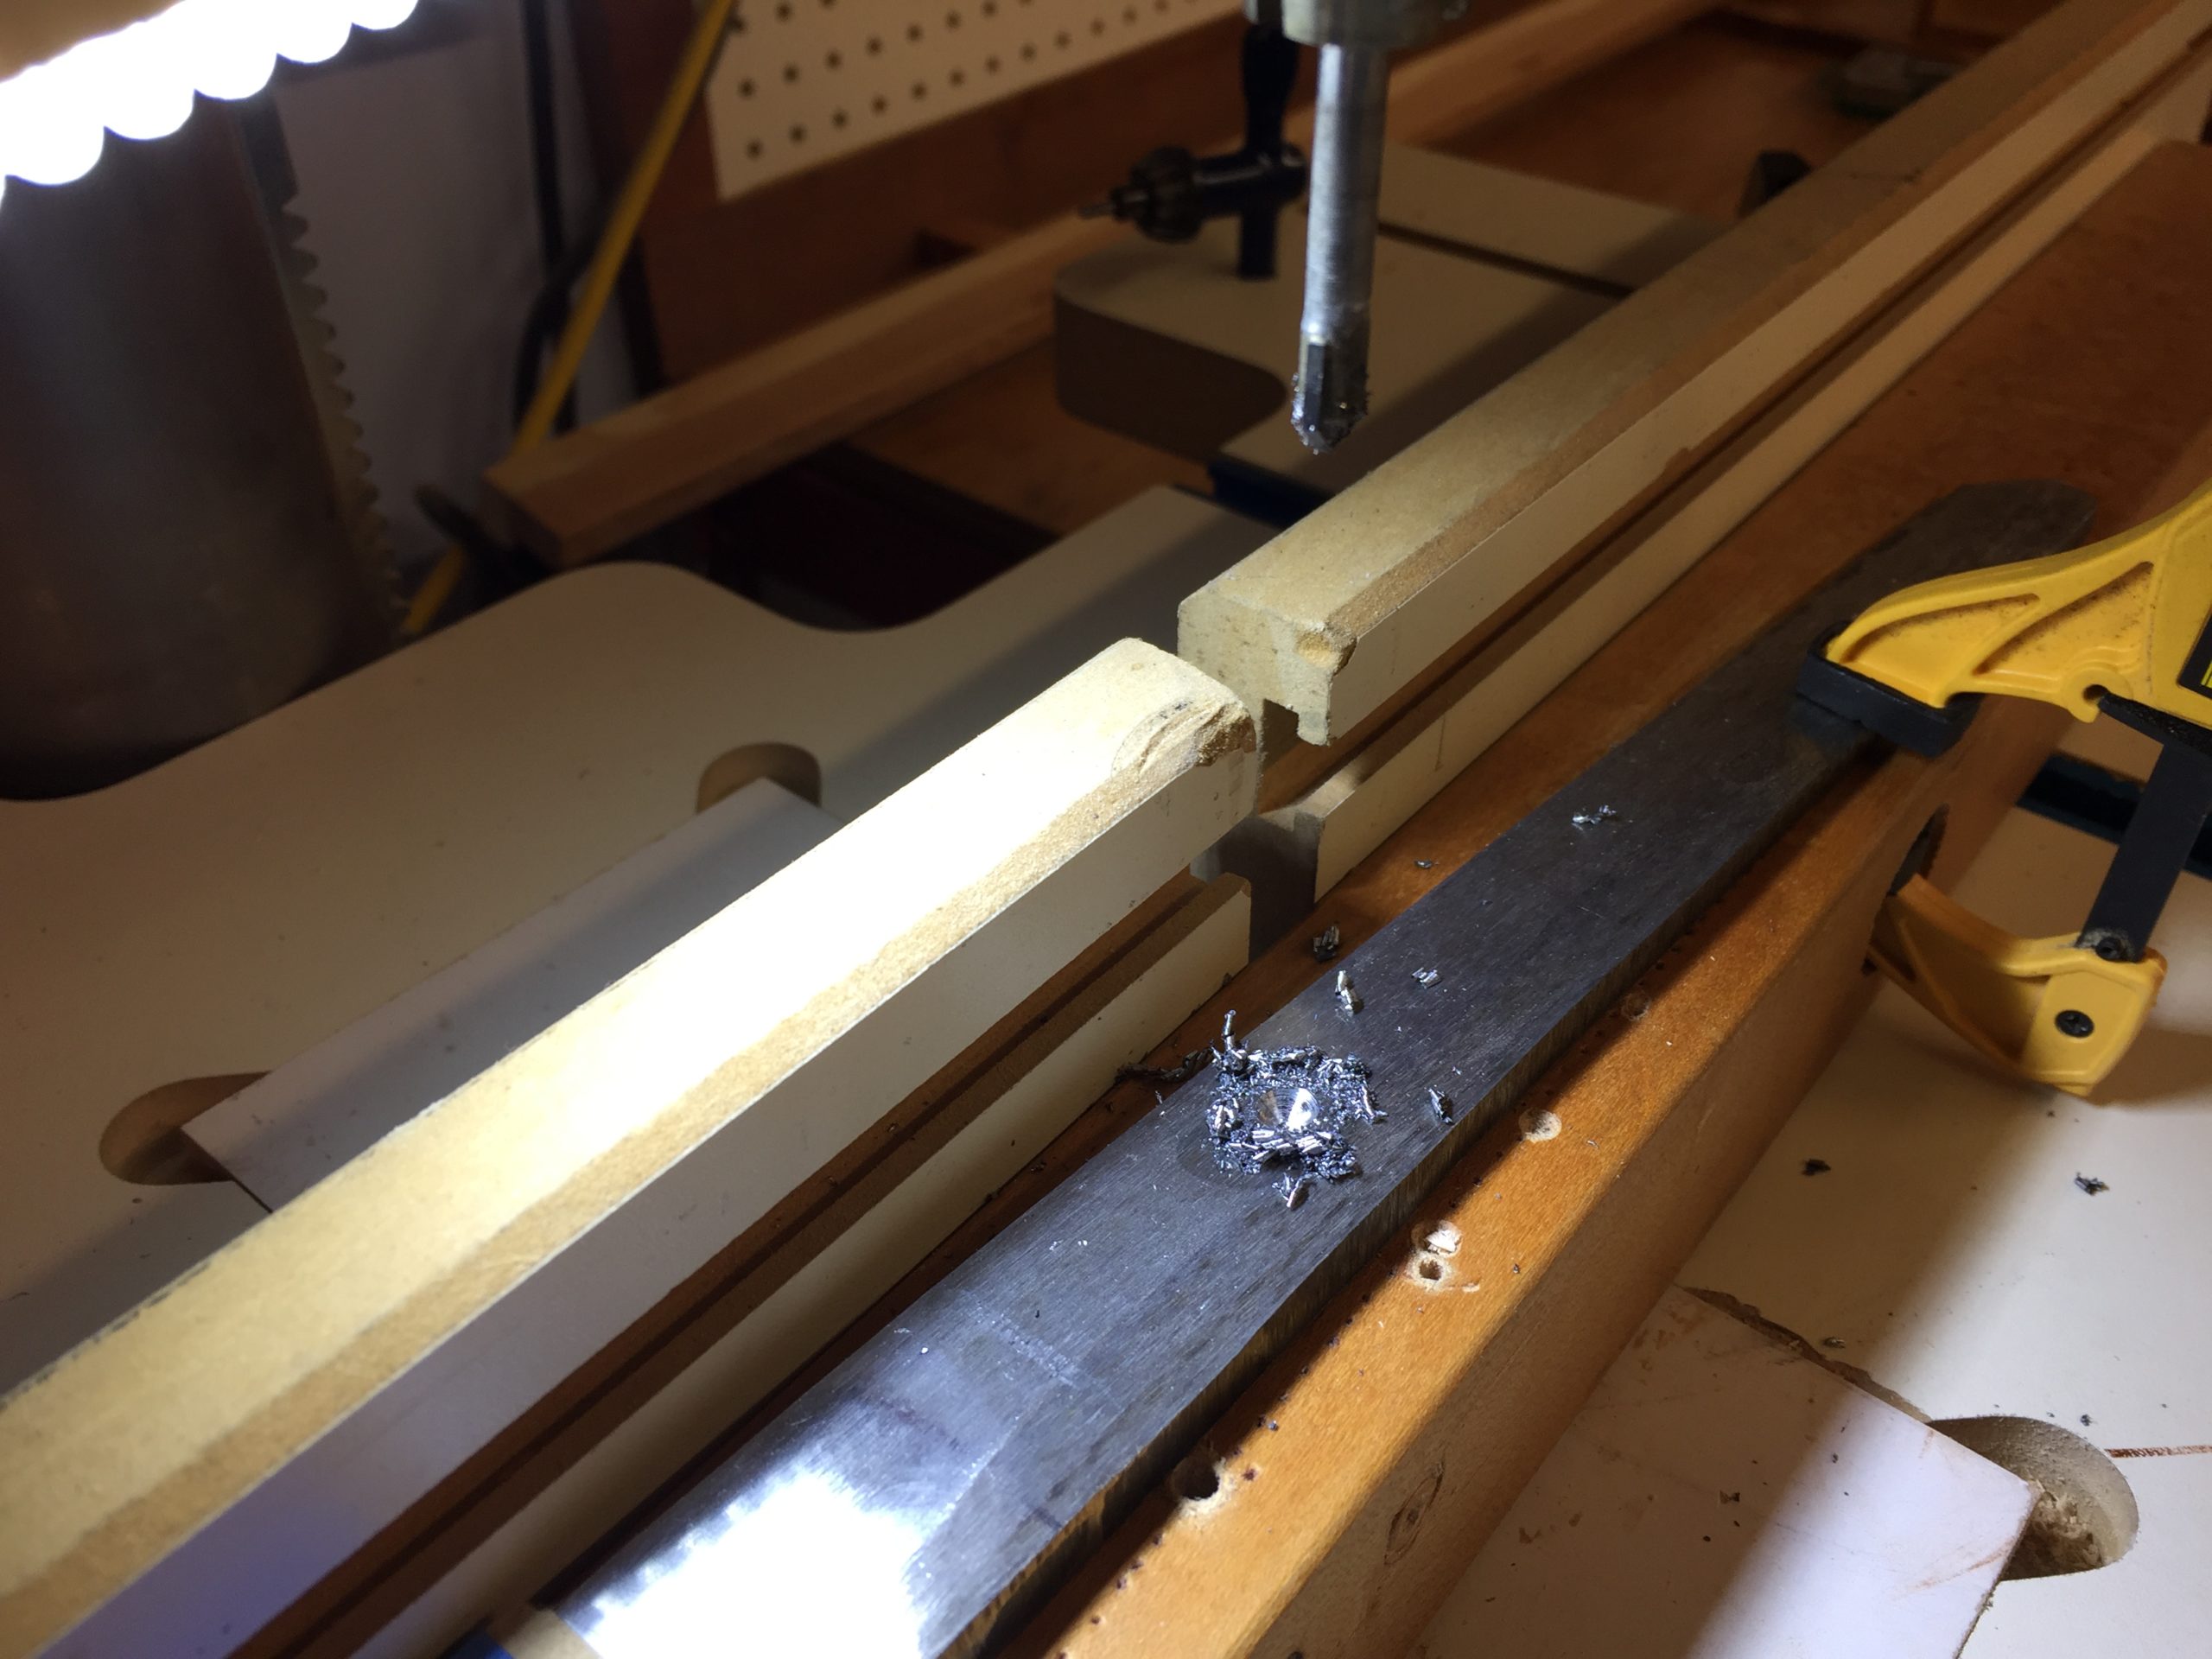
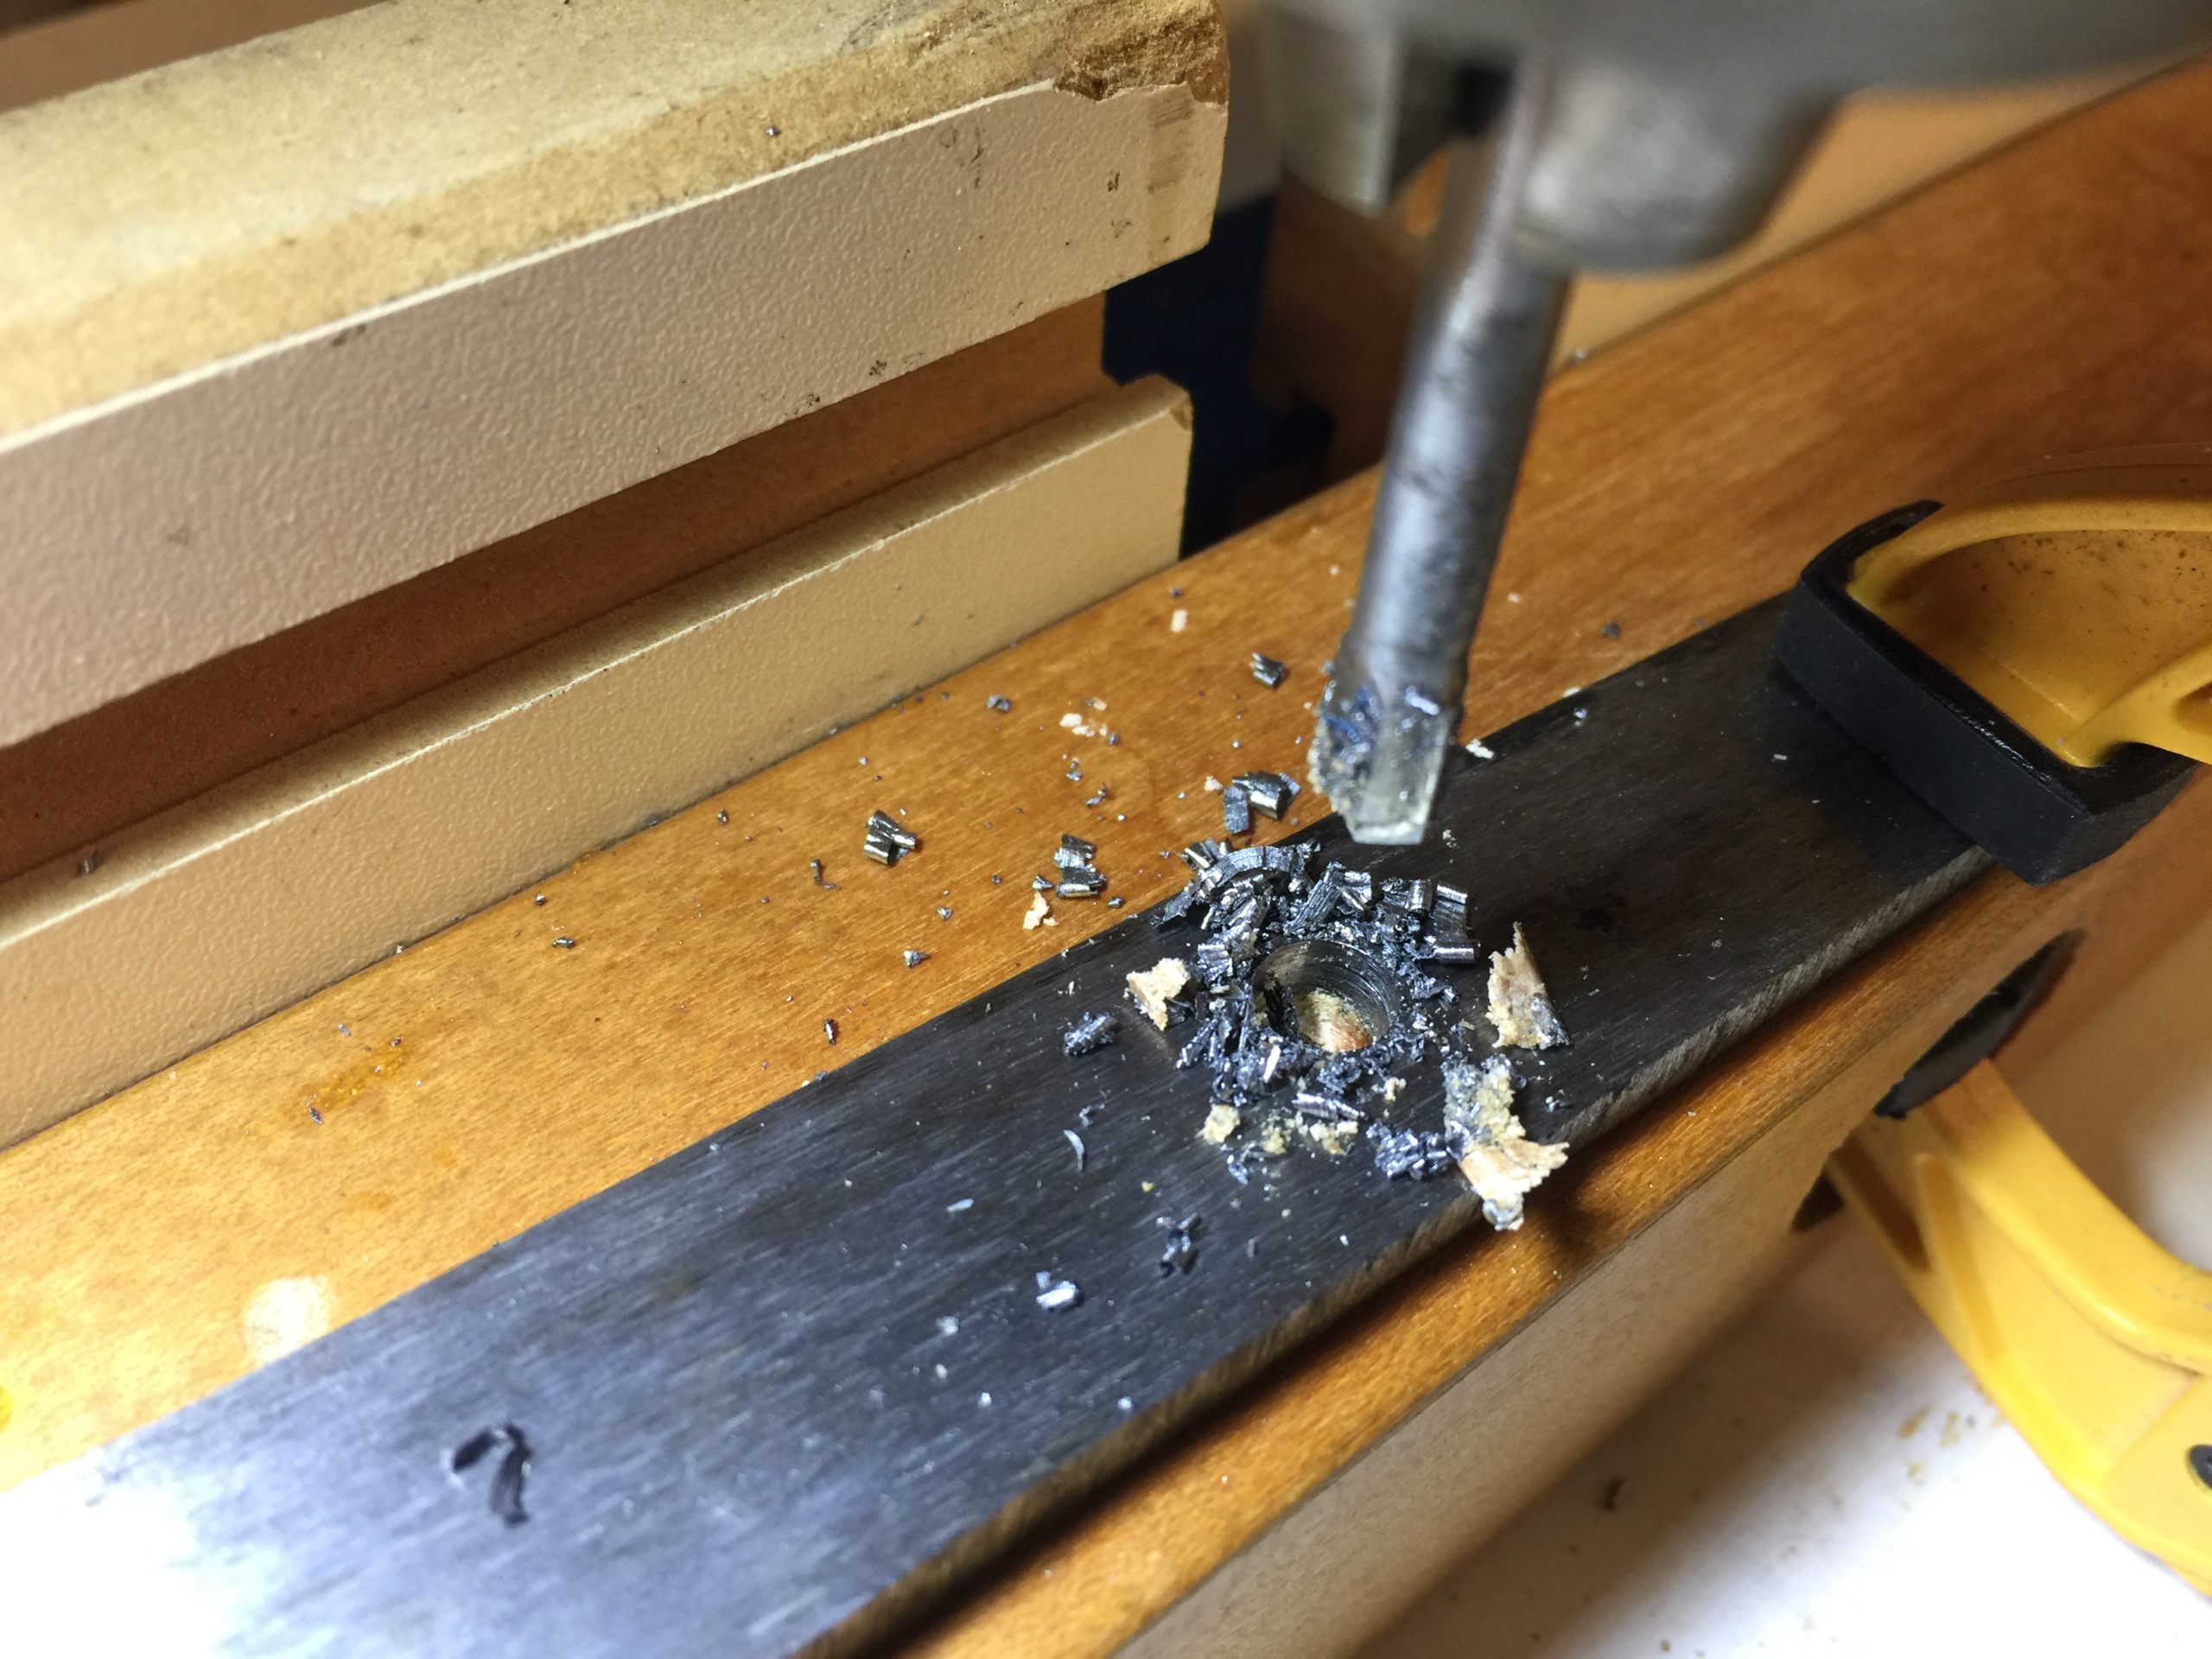
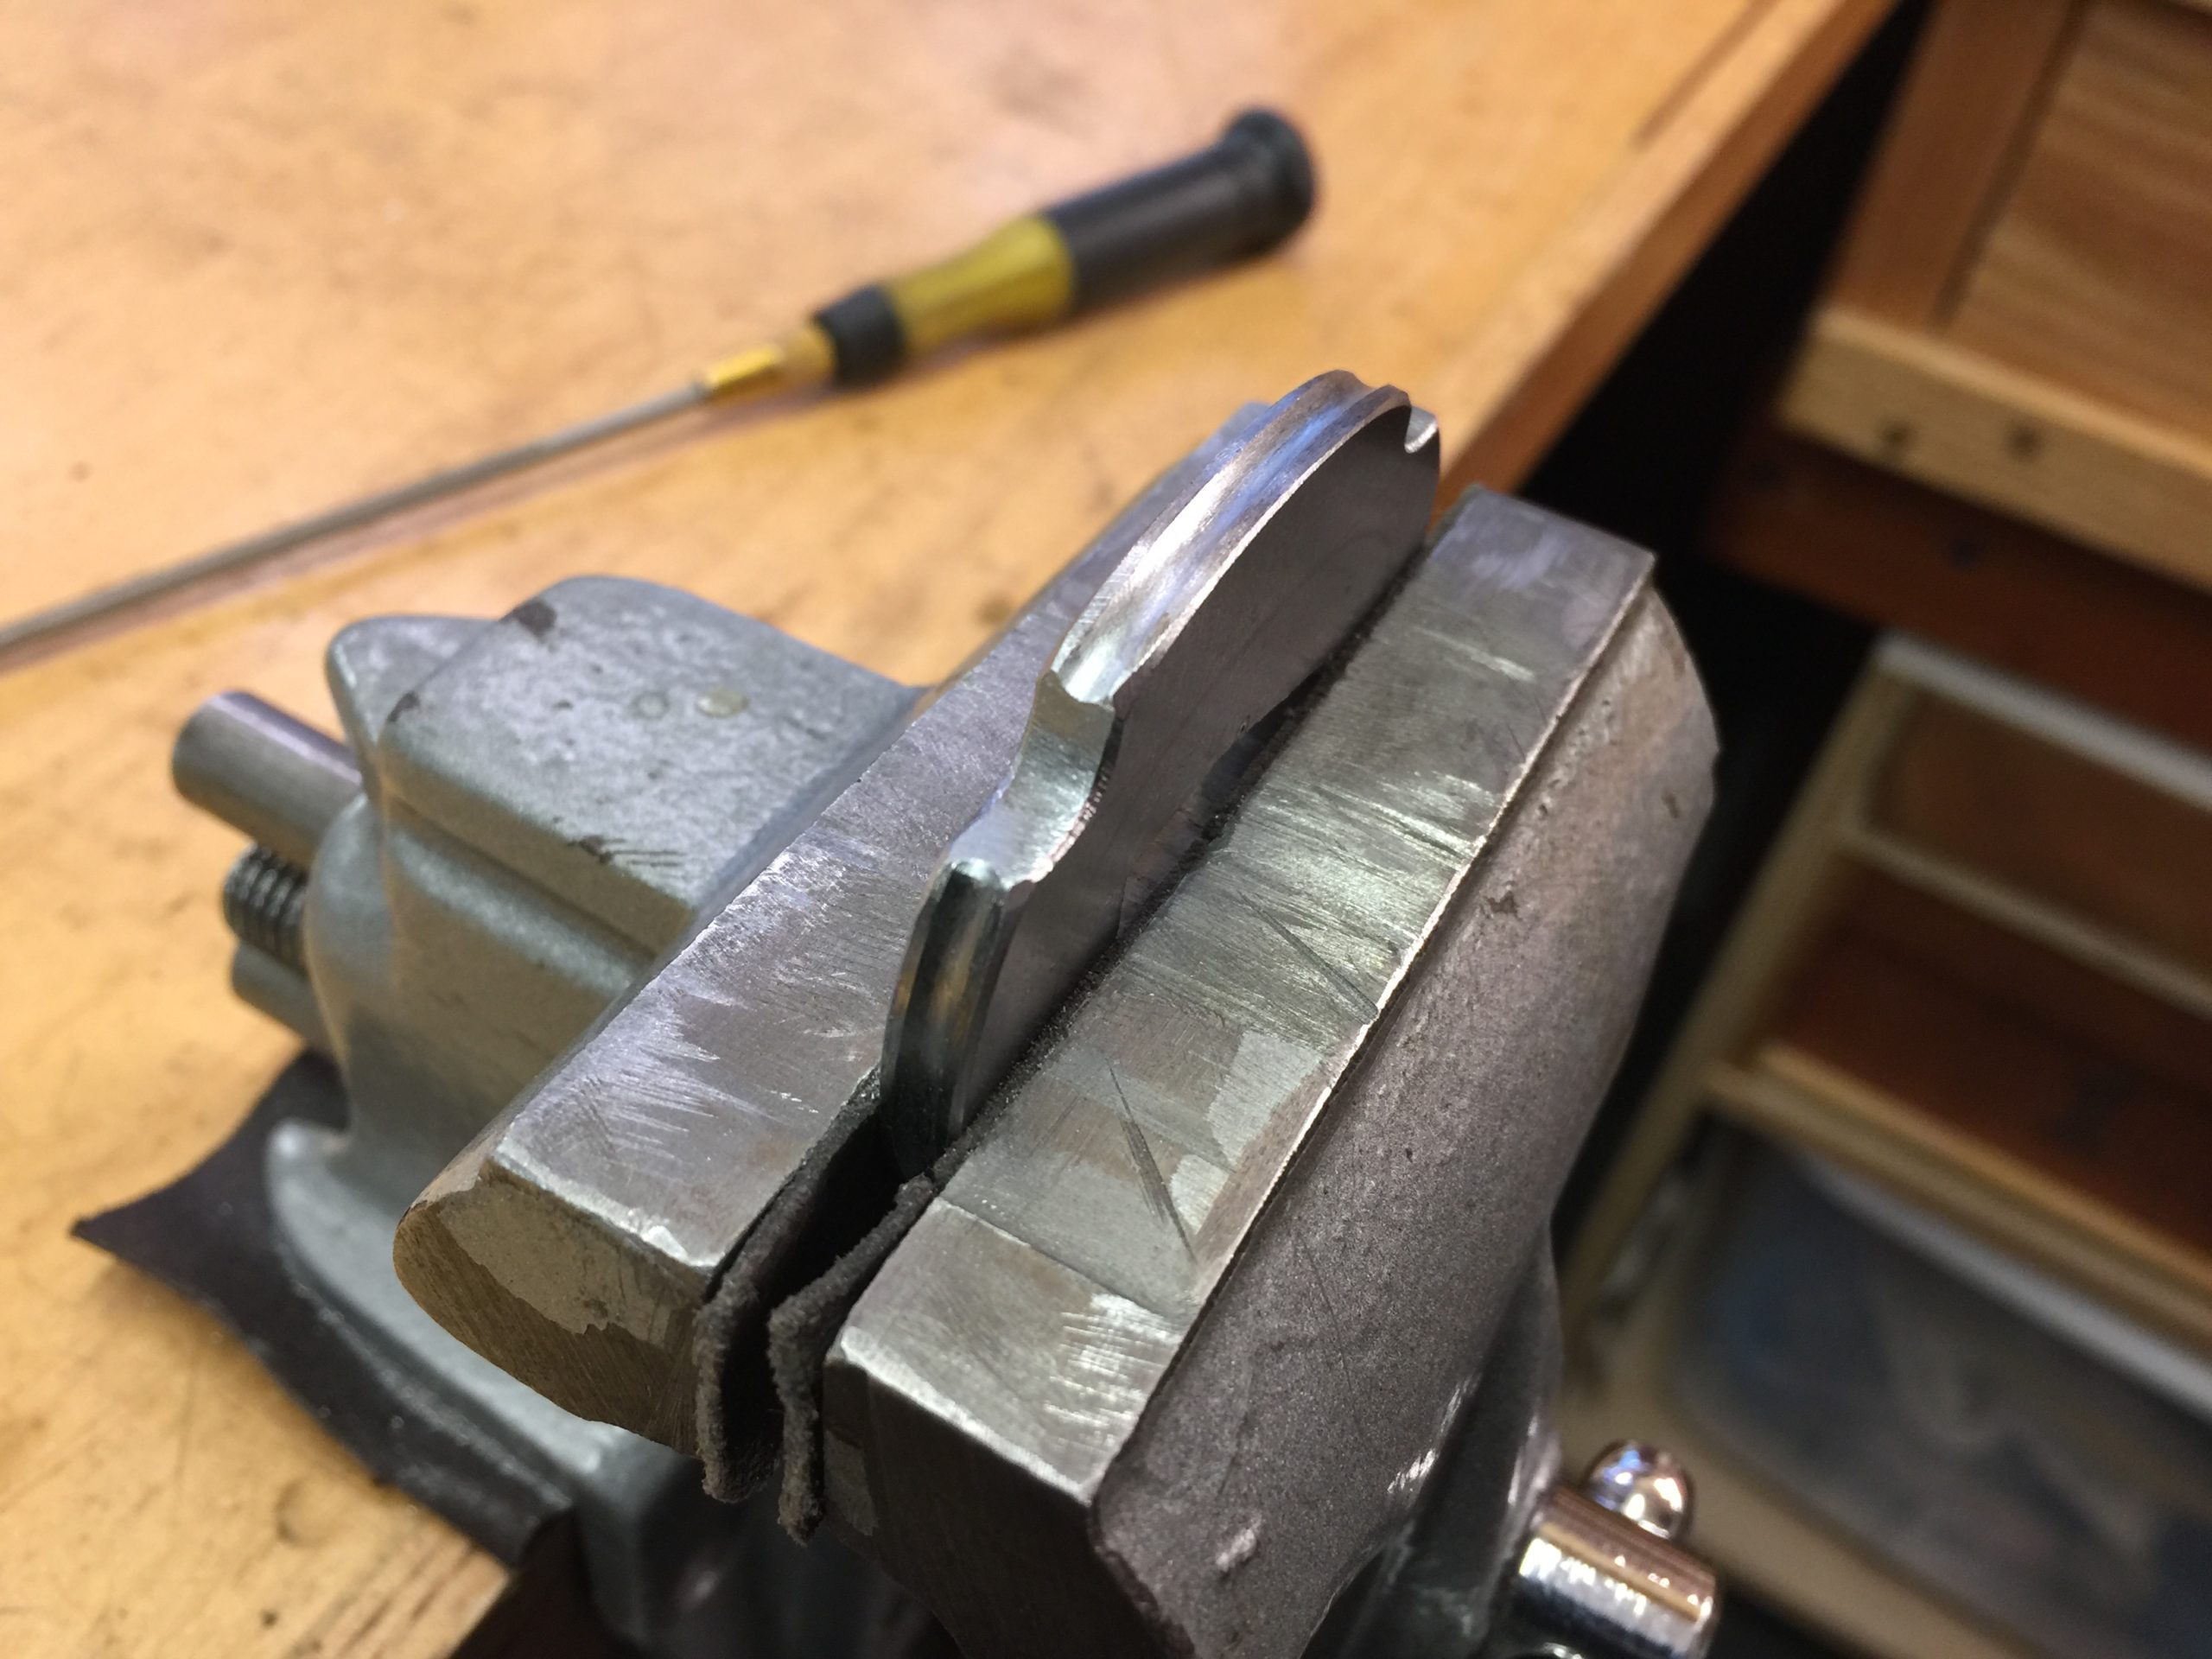
Saya are hand carved. This is again another instance of once thinking I could buy cool power tools and do all this easily but I still use hand tools to do it. I’m making this one from African rosewood. It was hard as a fricking rock and difficult to carve and probably ruined a couple of chisels, but it is a beautiful and strong wood.

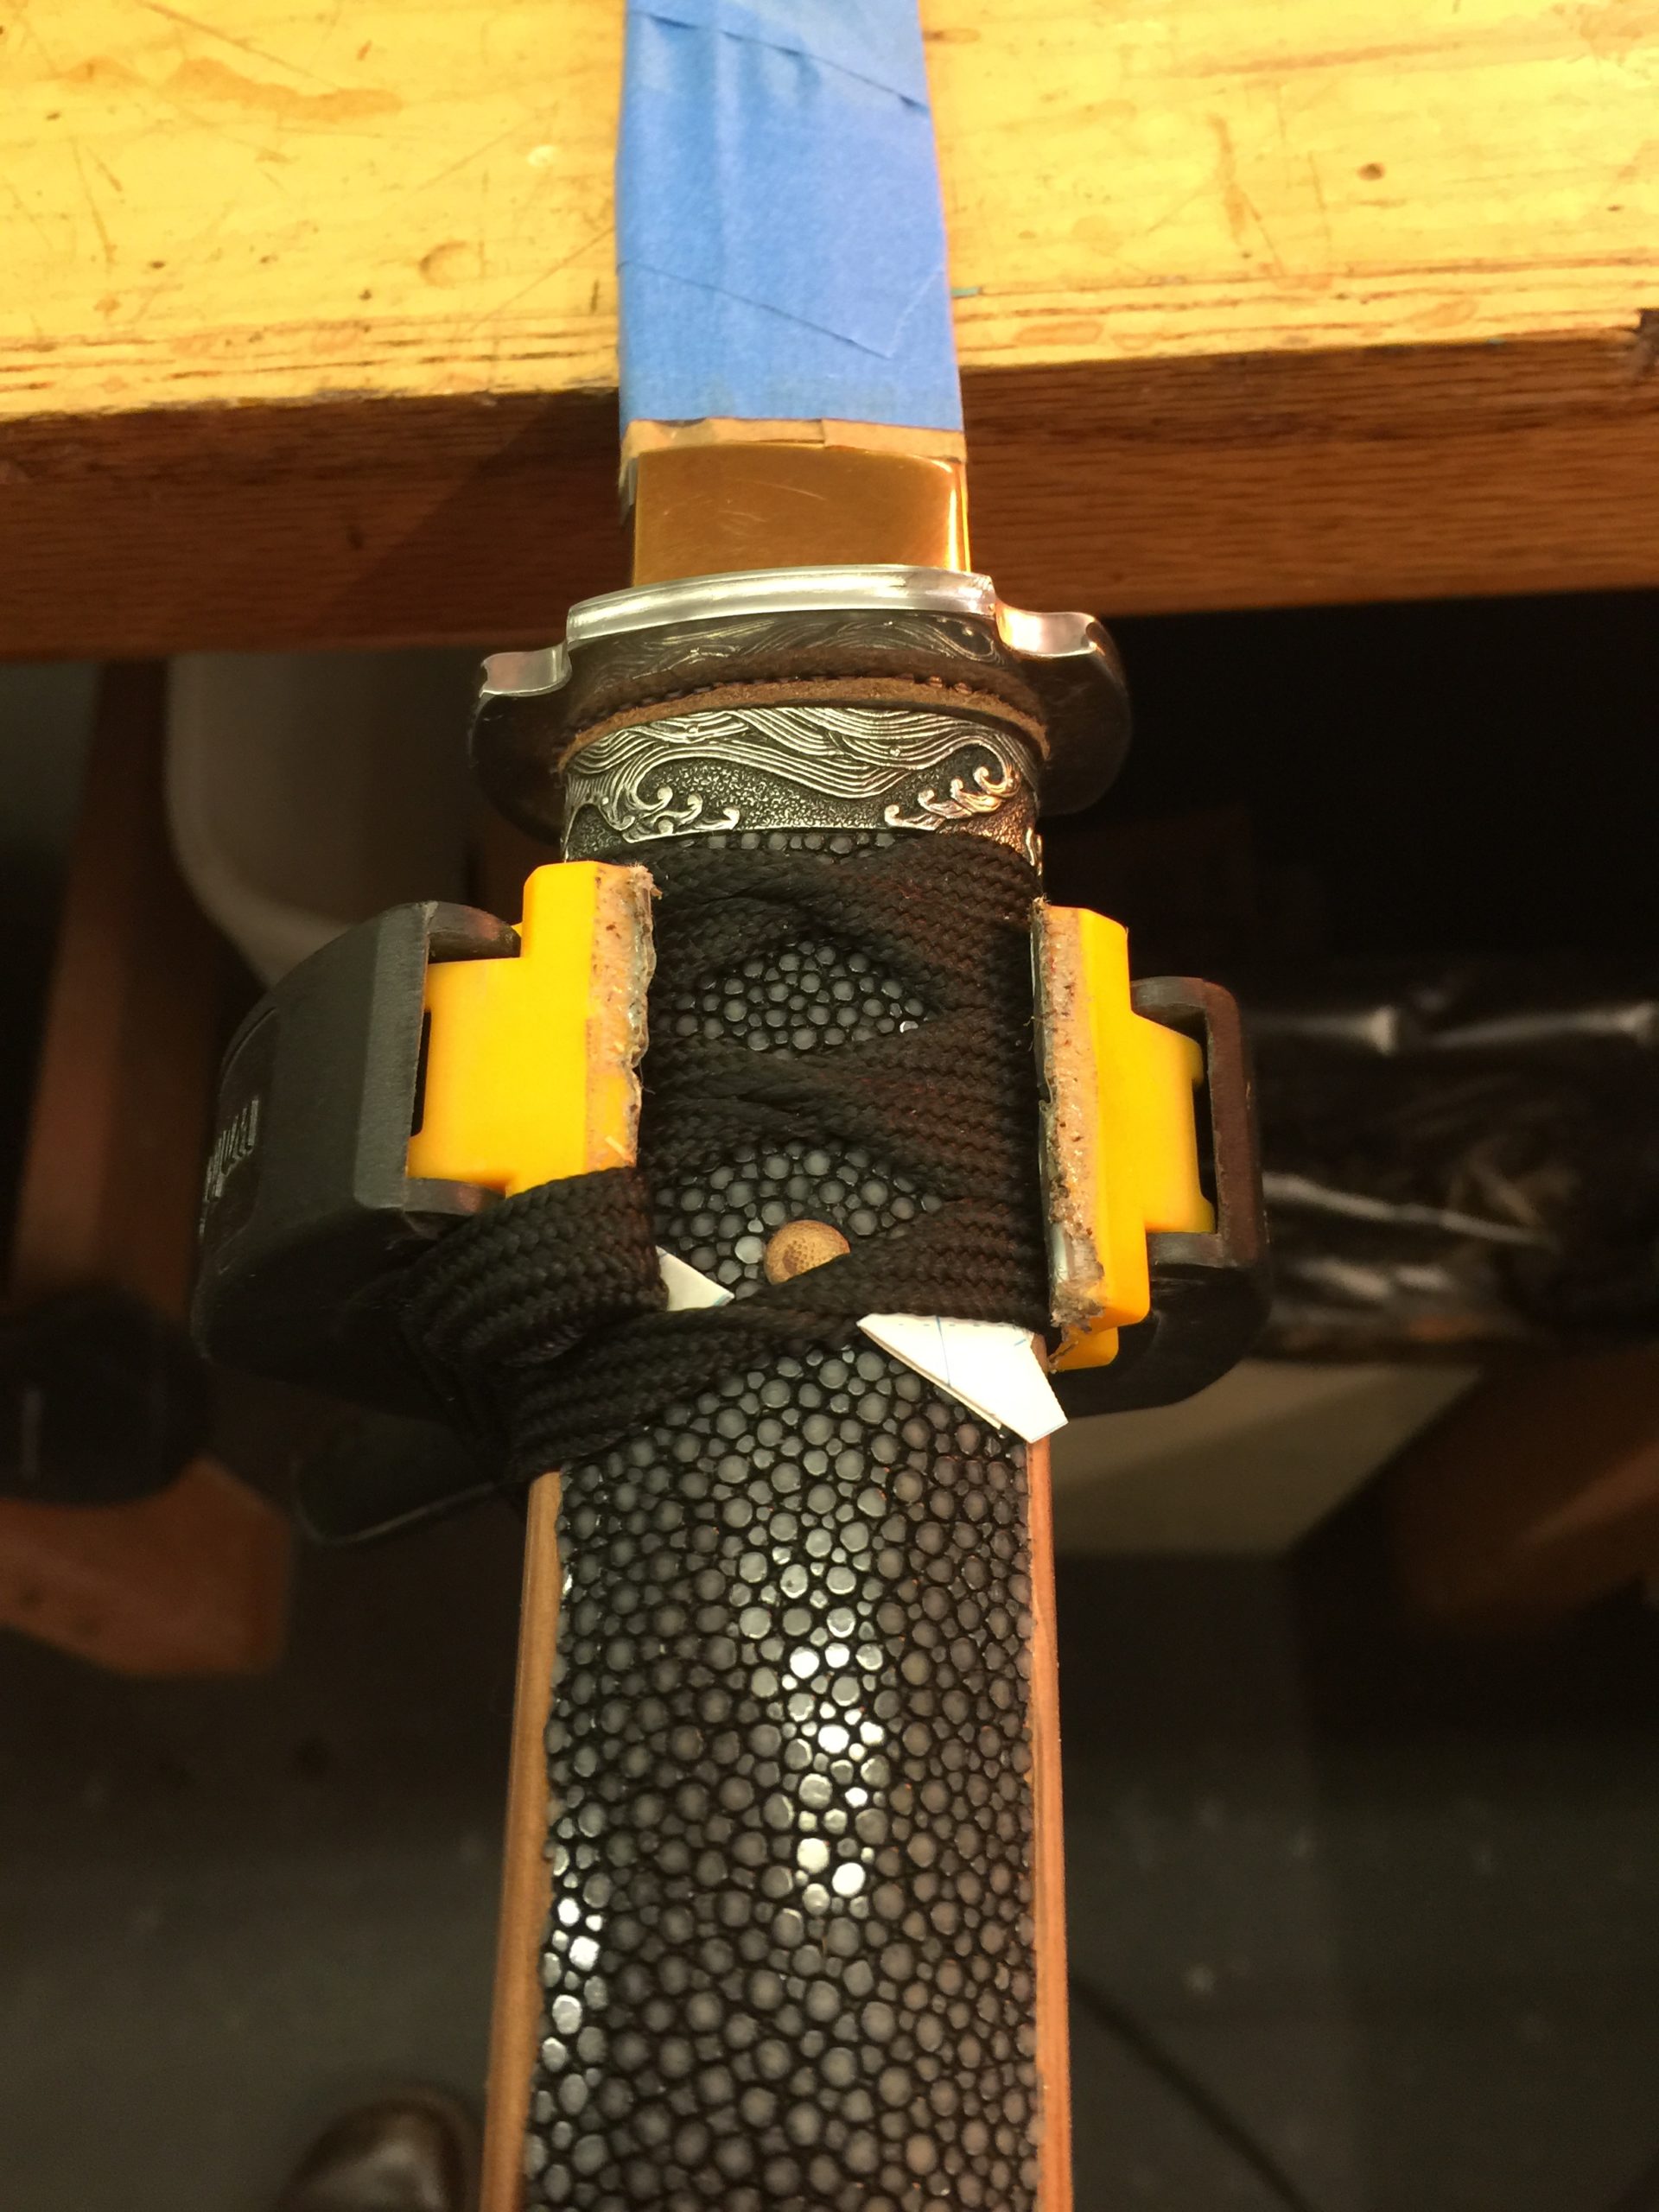
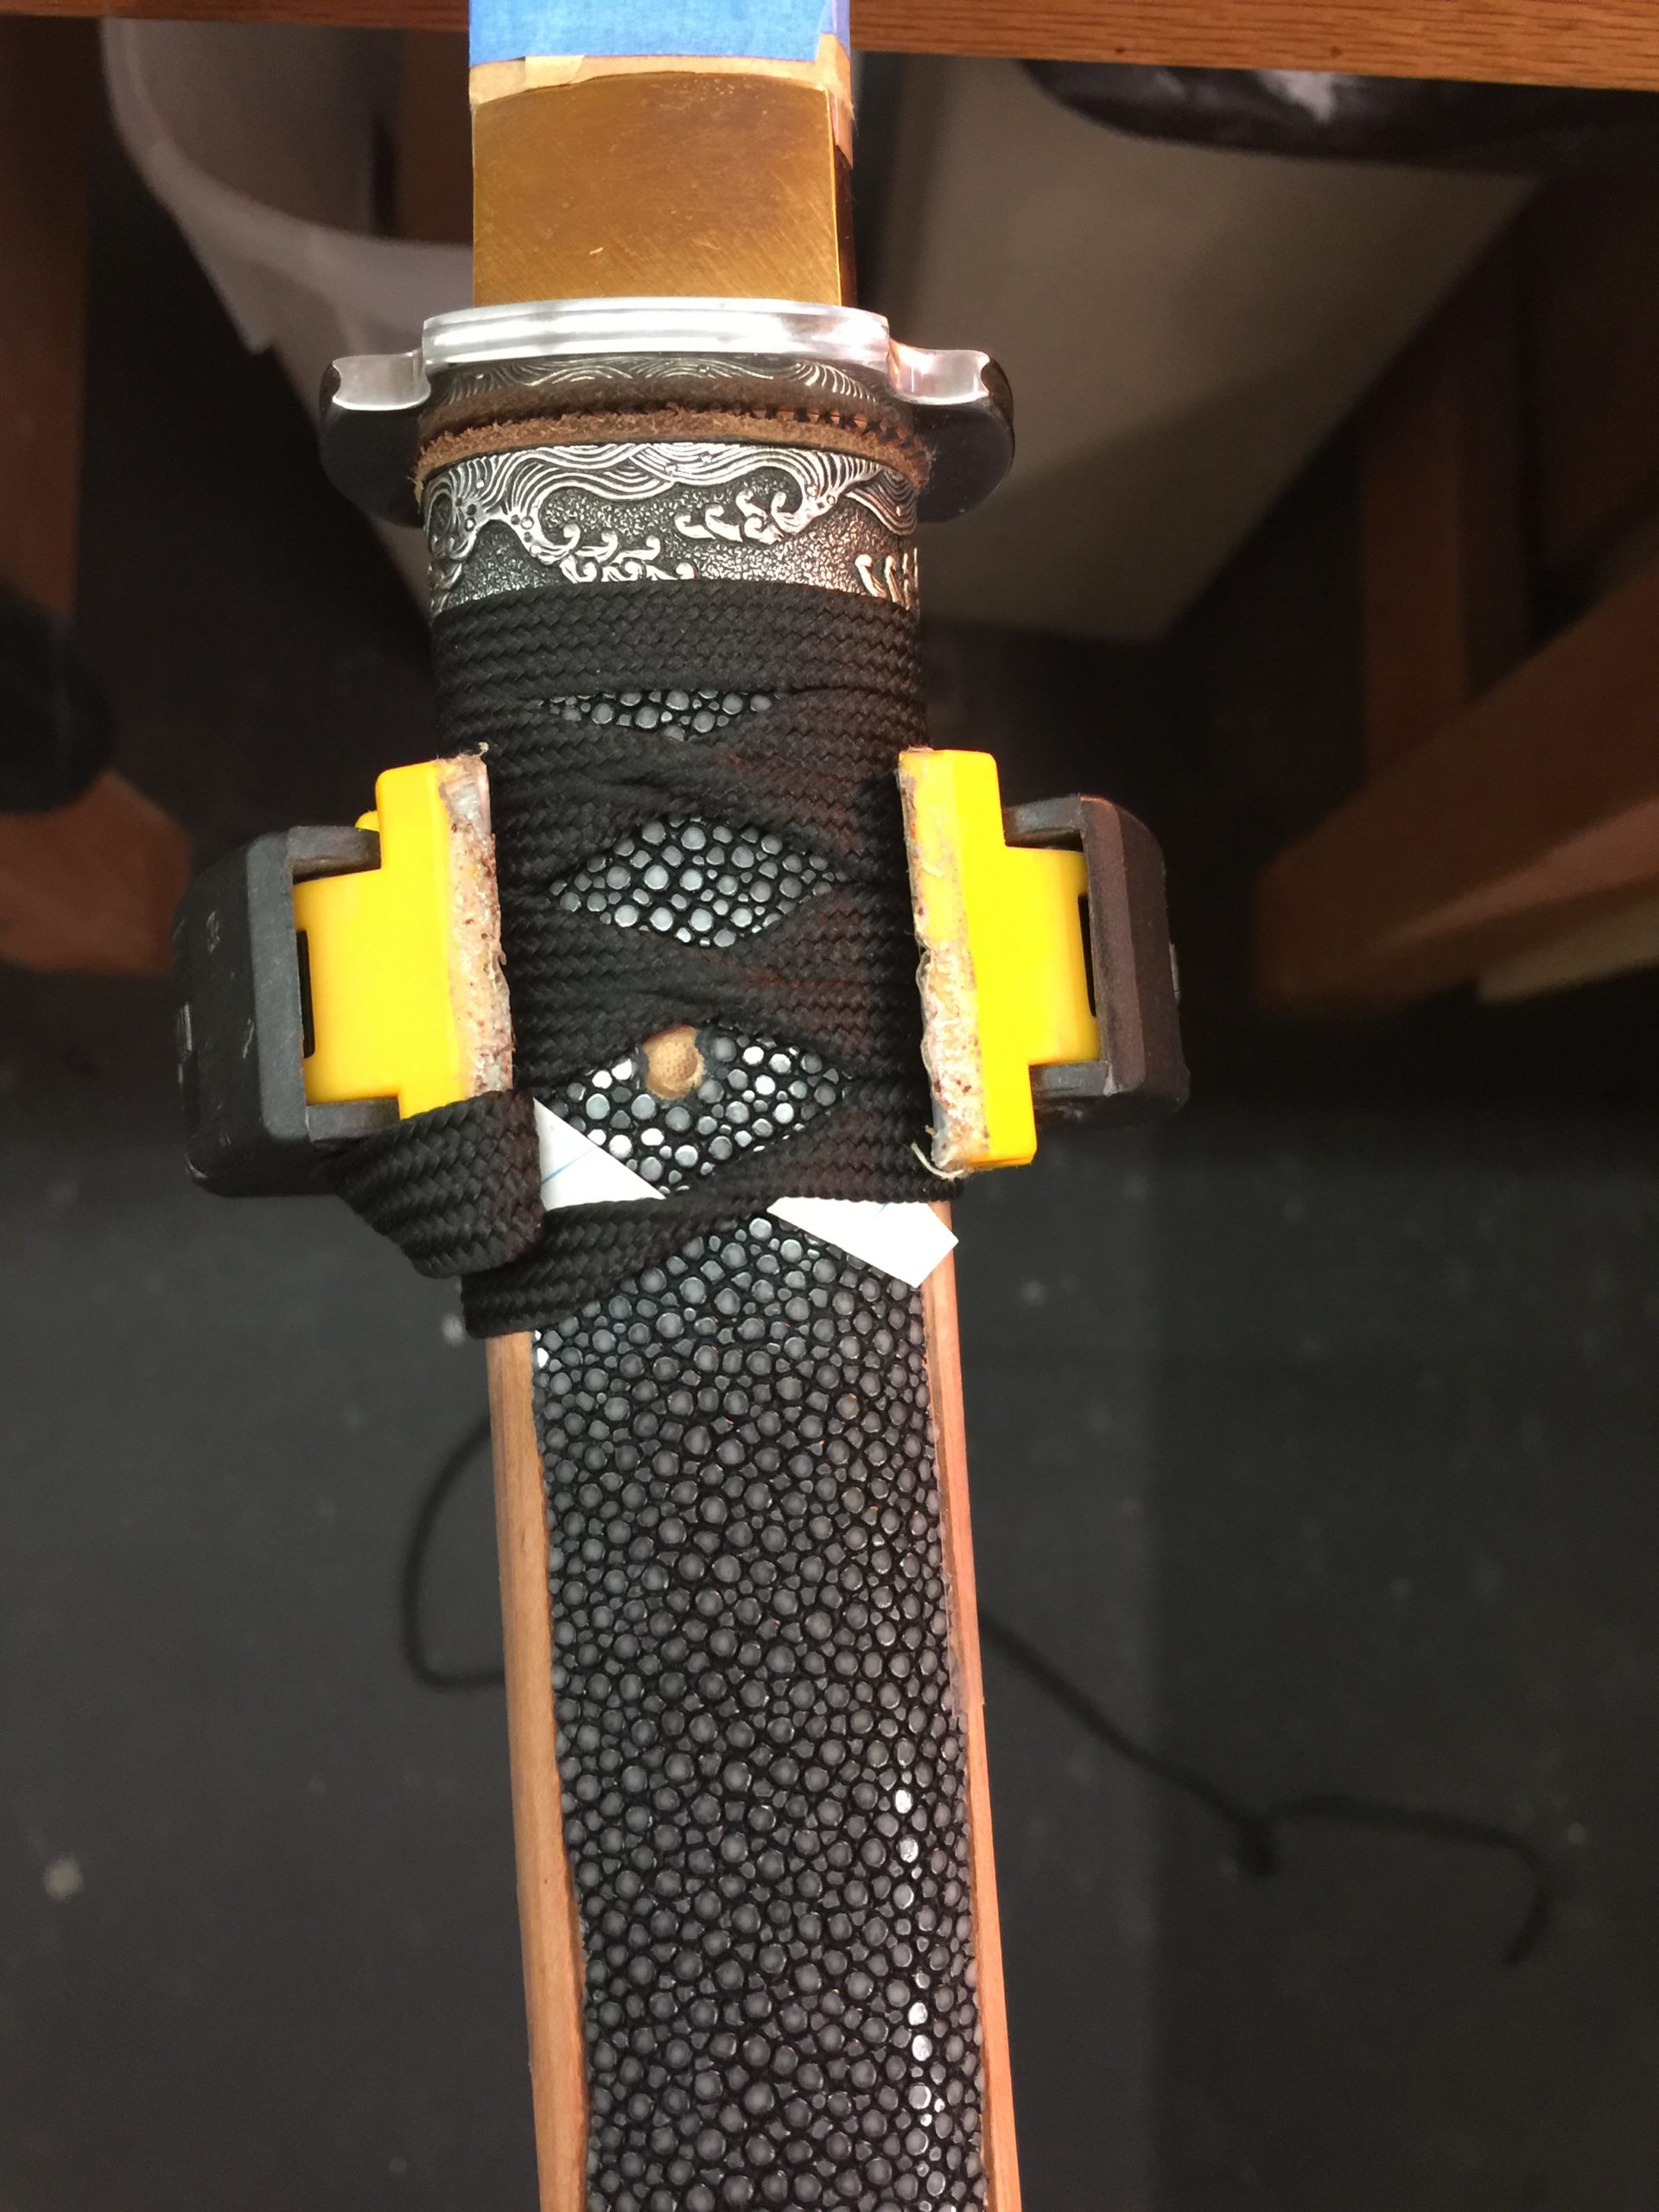
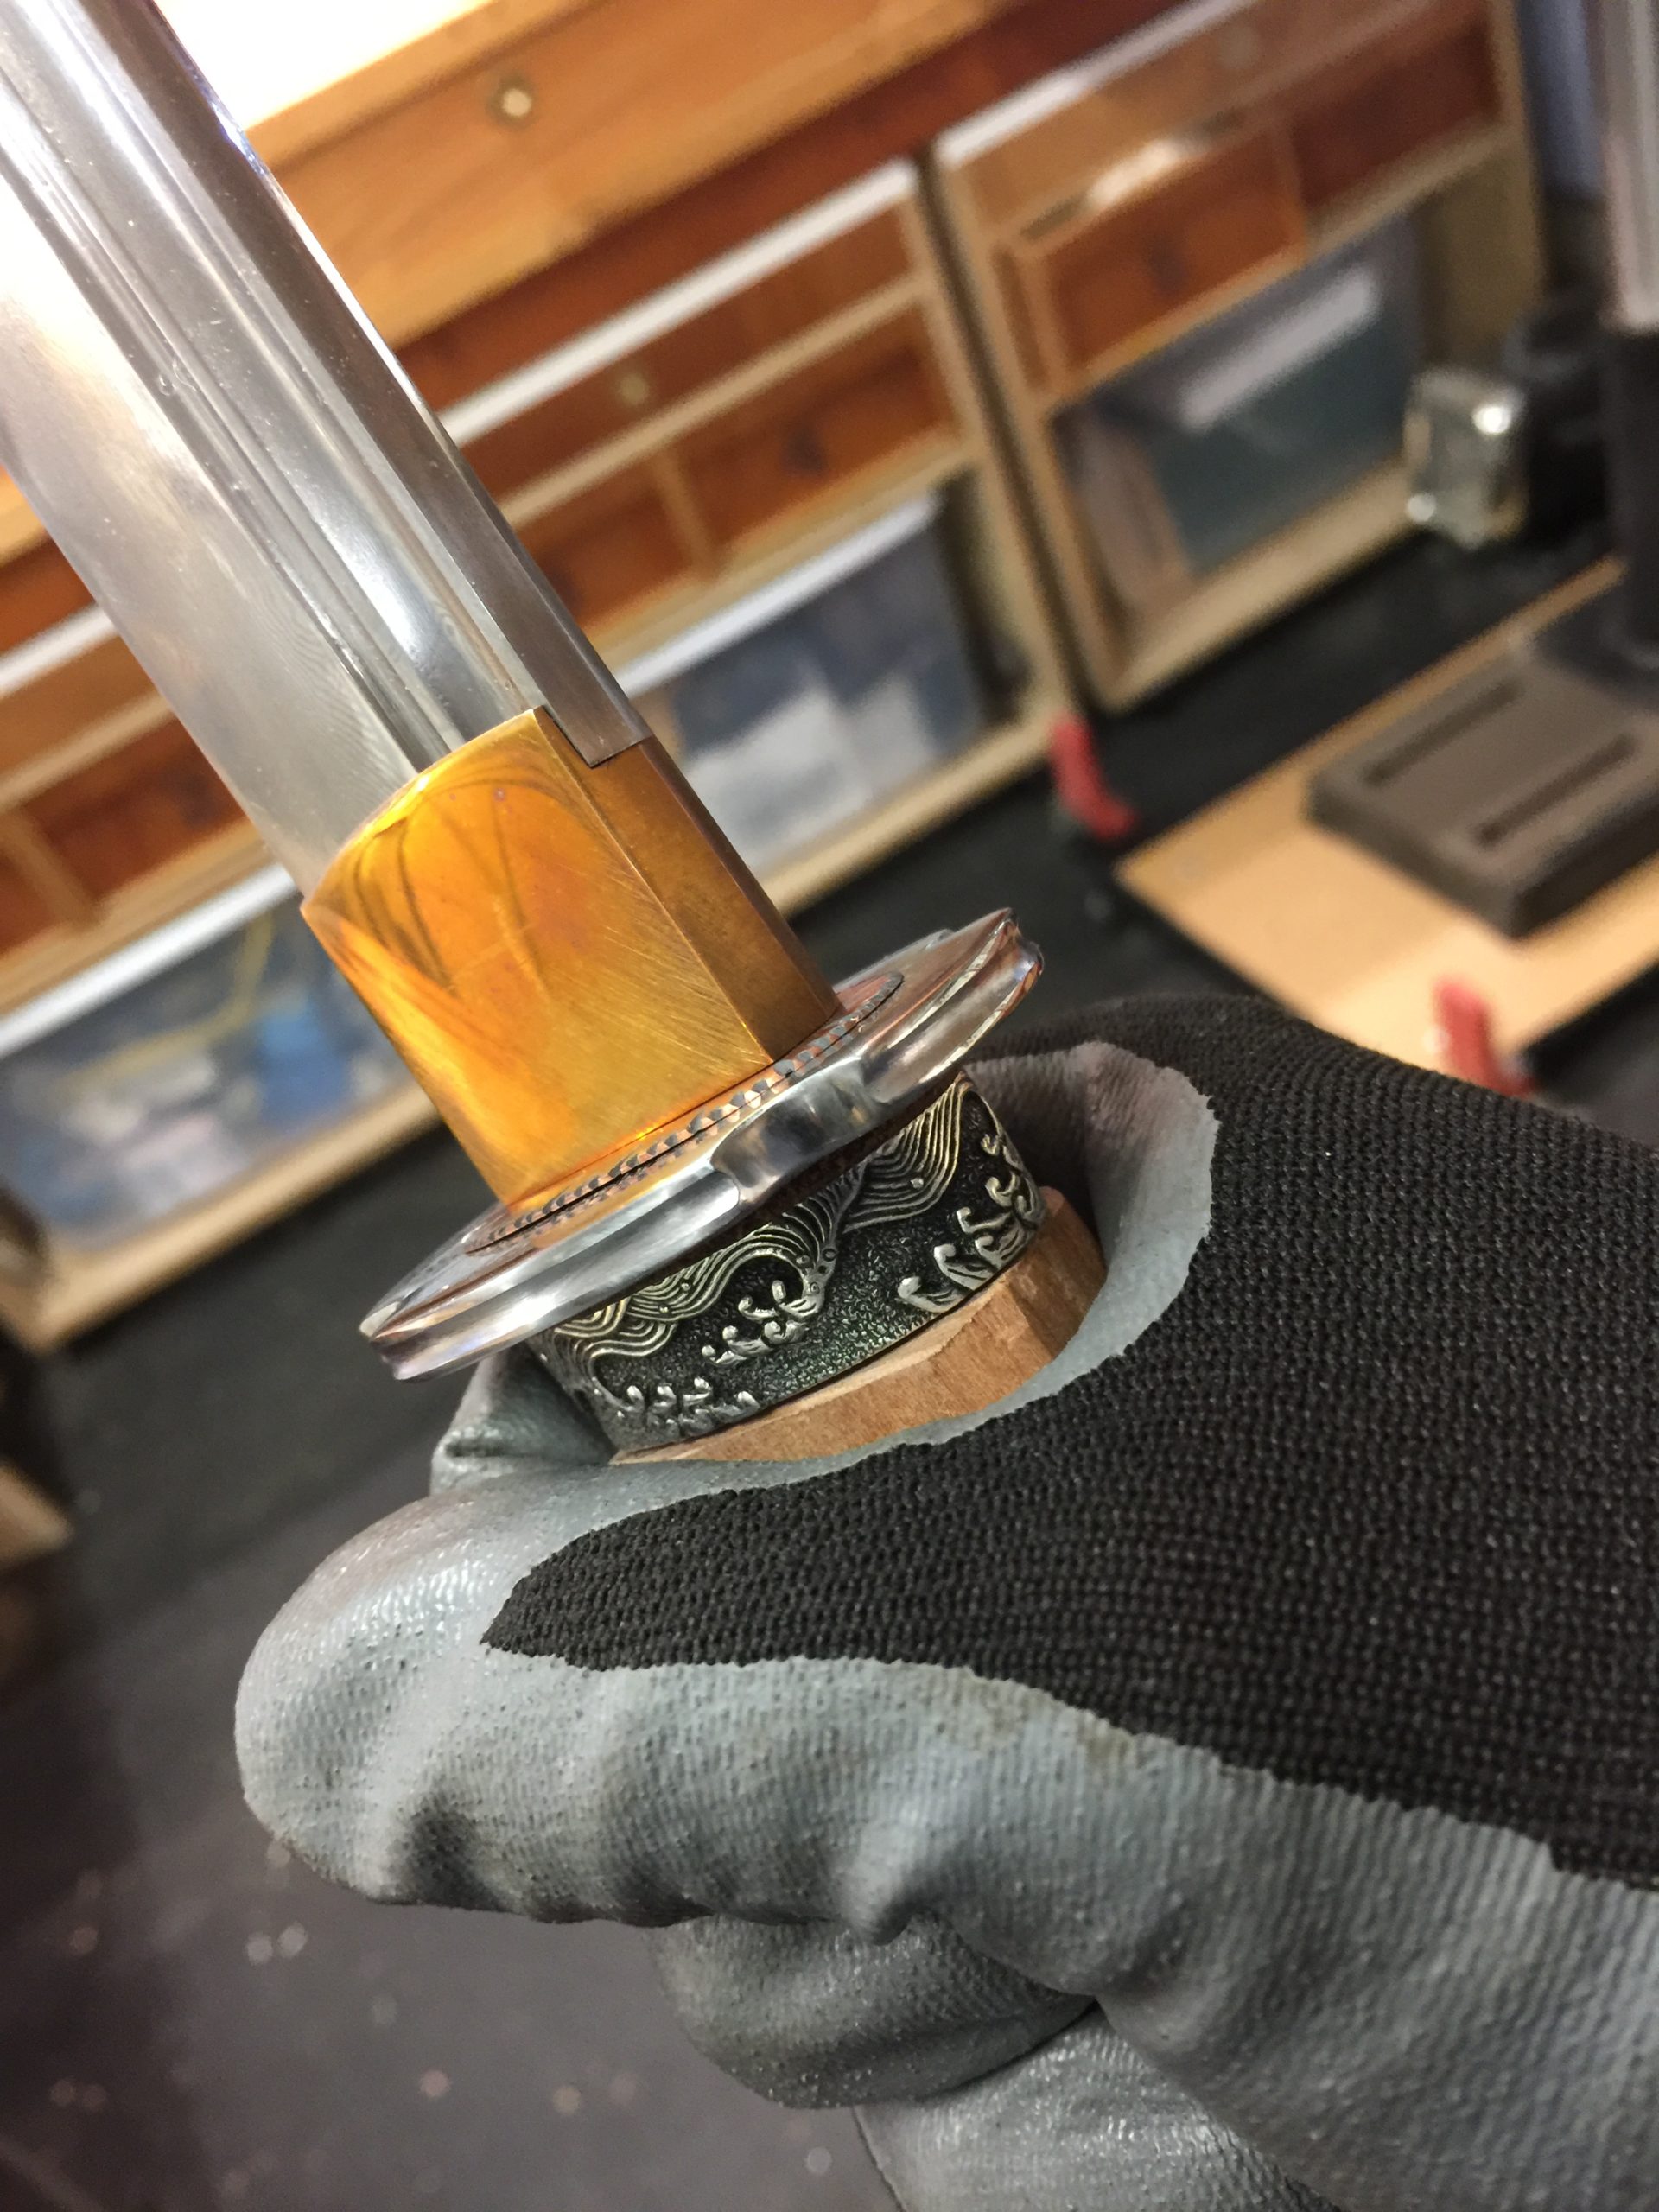
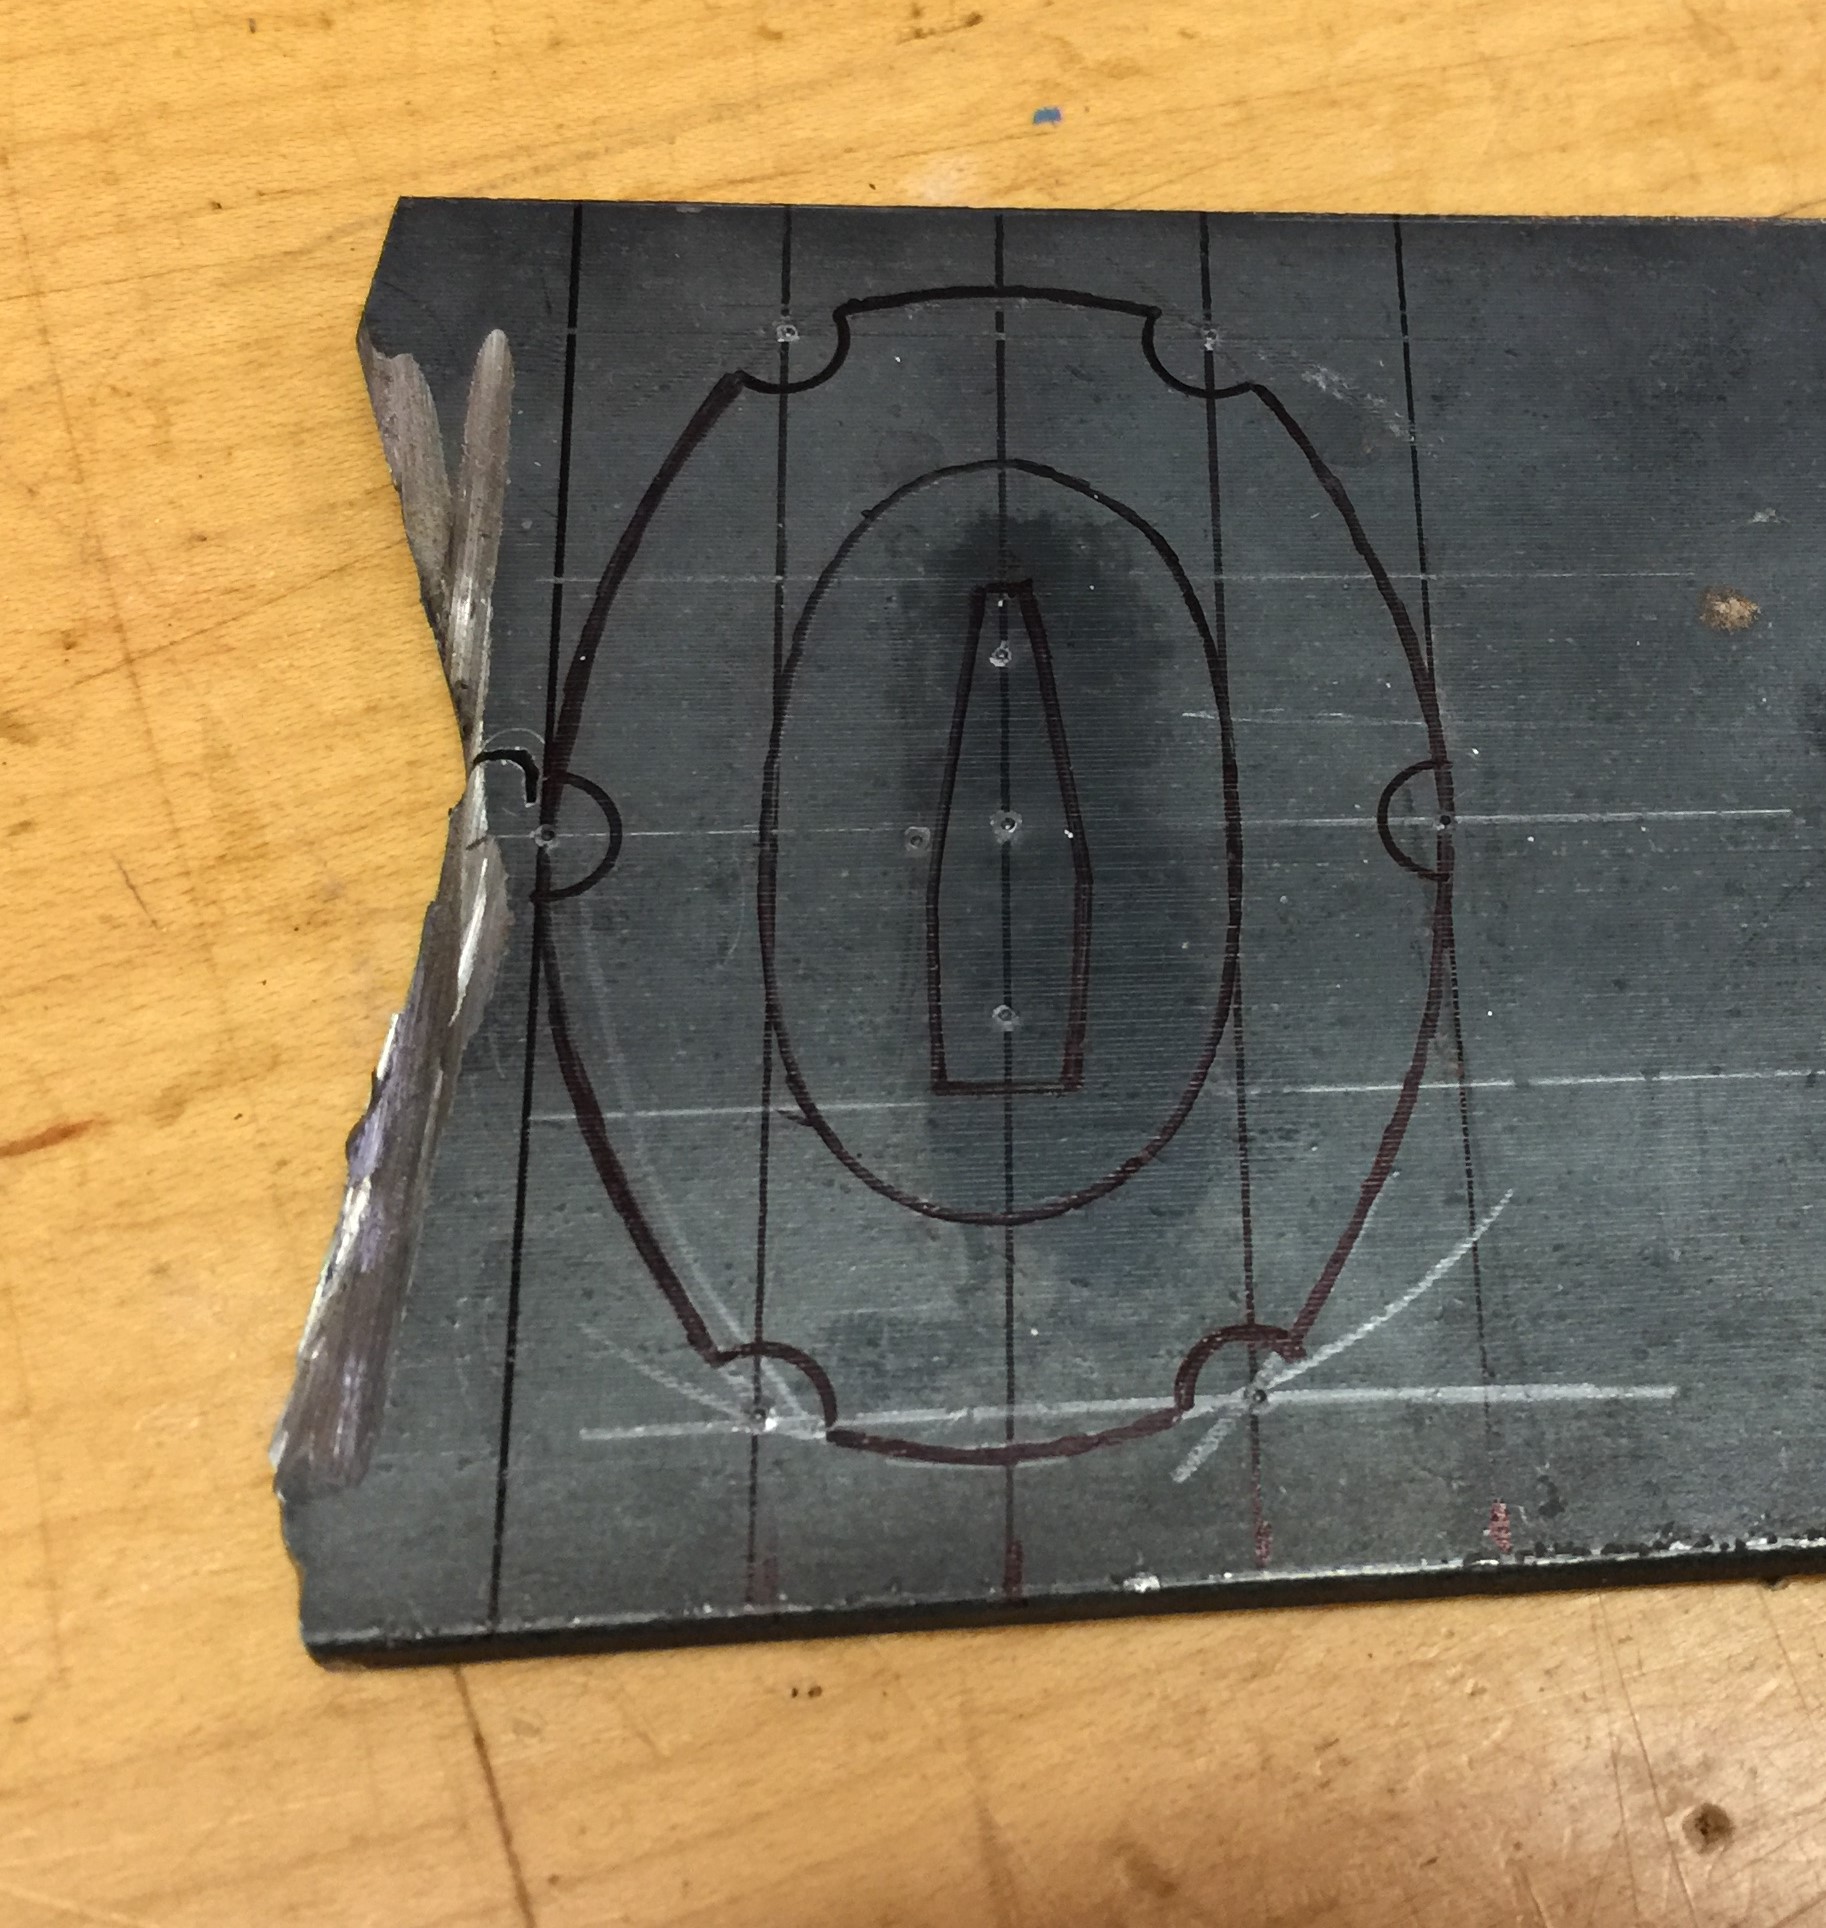
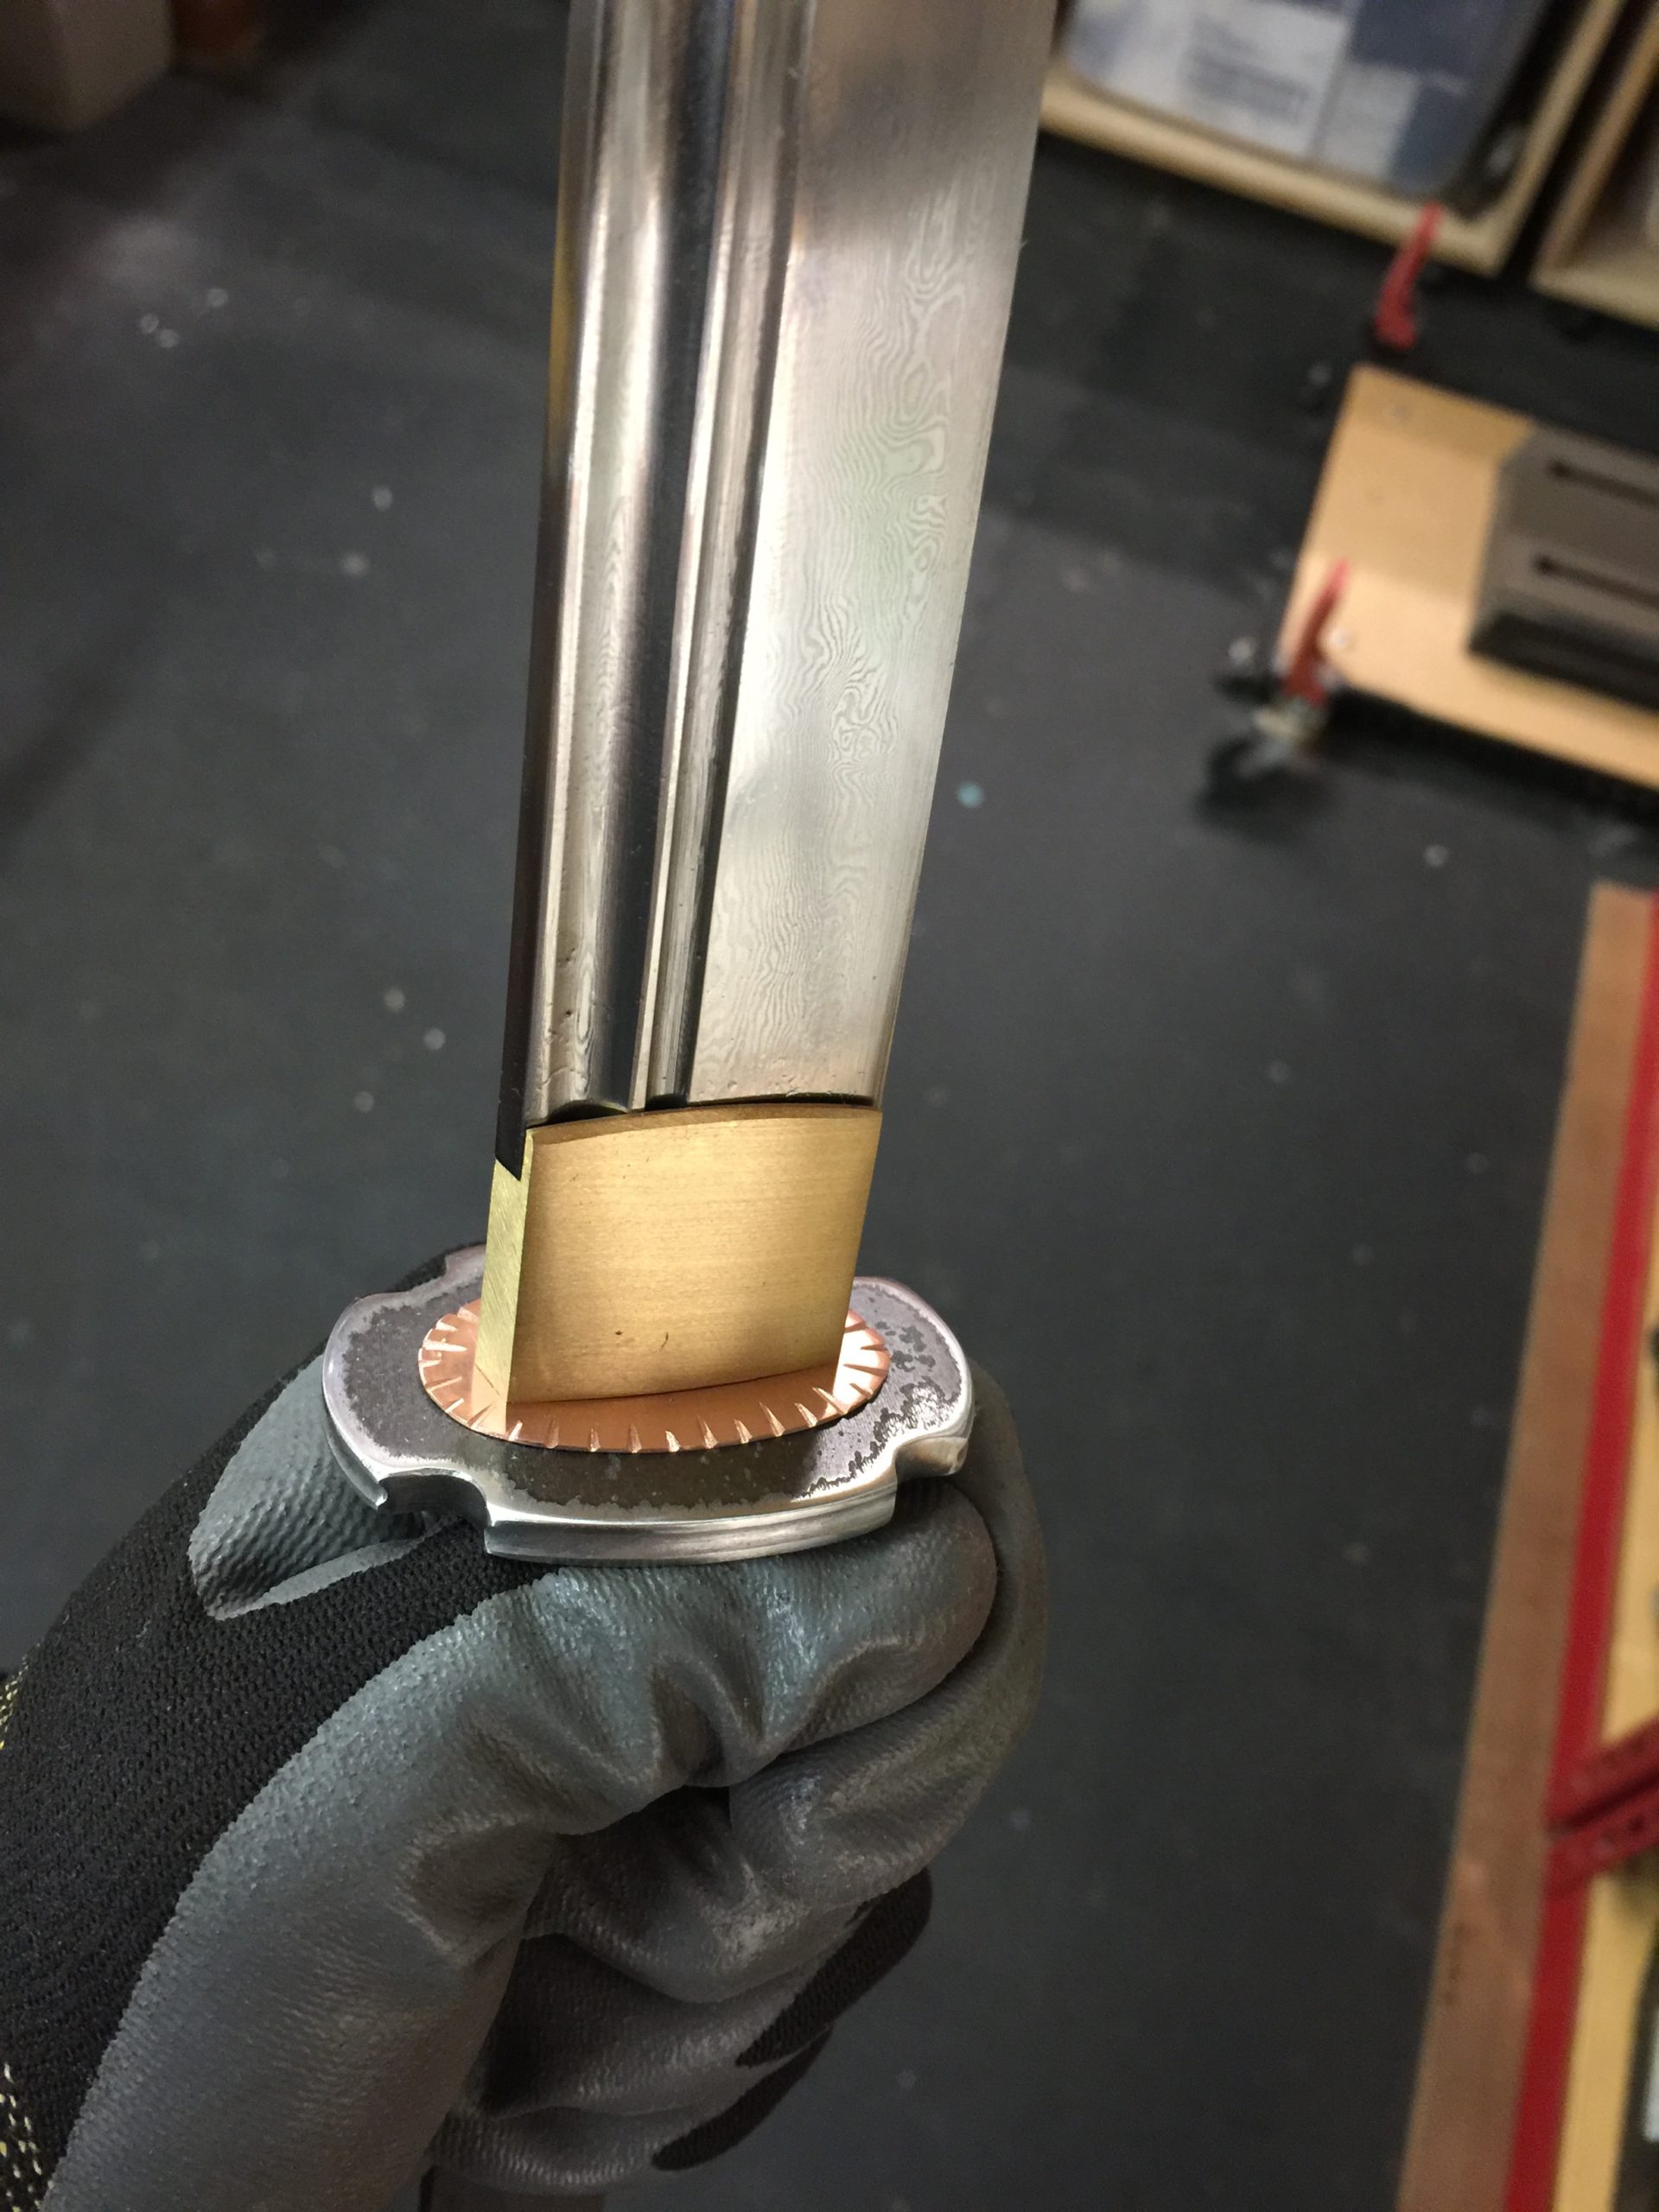
I light a snug fit. Too tight, and the blade won’t come out very quickly. Too loose, and it rattles around. There’s not a lot of room for error on these. I was a little nervous making this one, all the cuts needed to be on point, and if I screwed up I’d be carving a new saya.

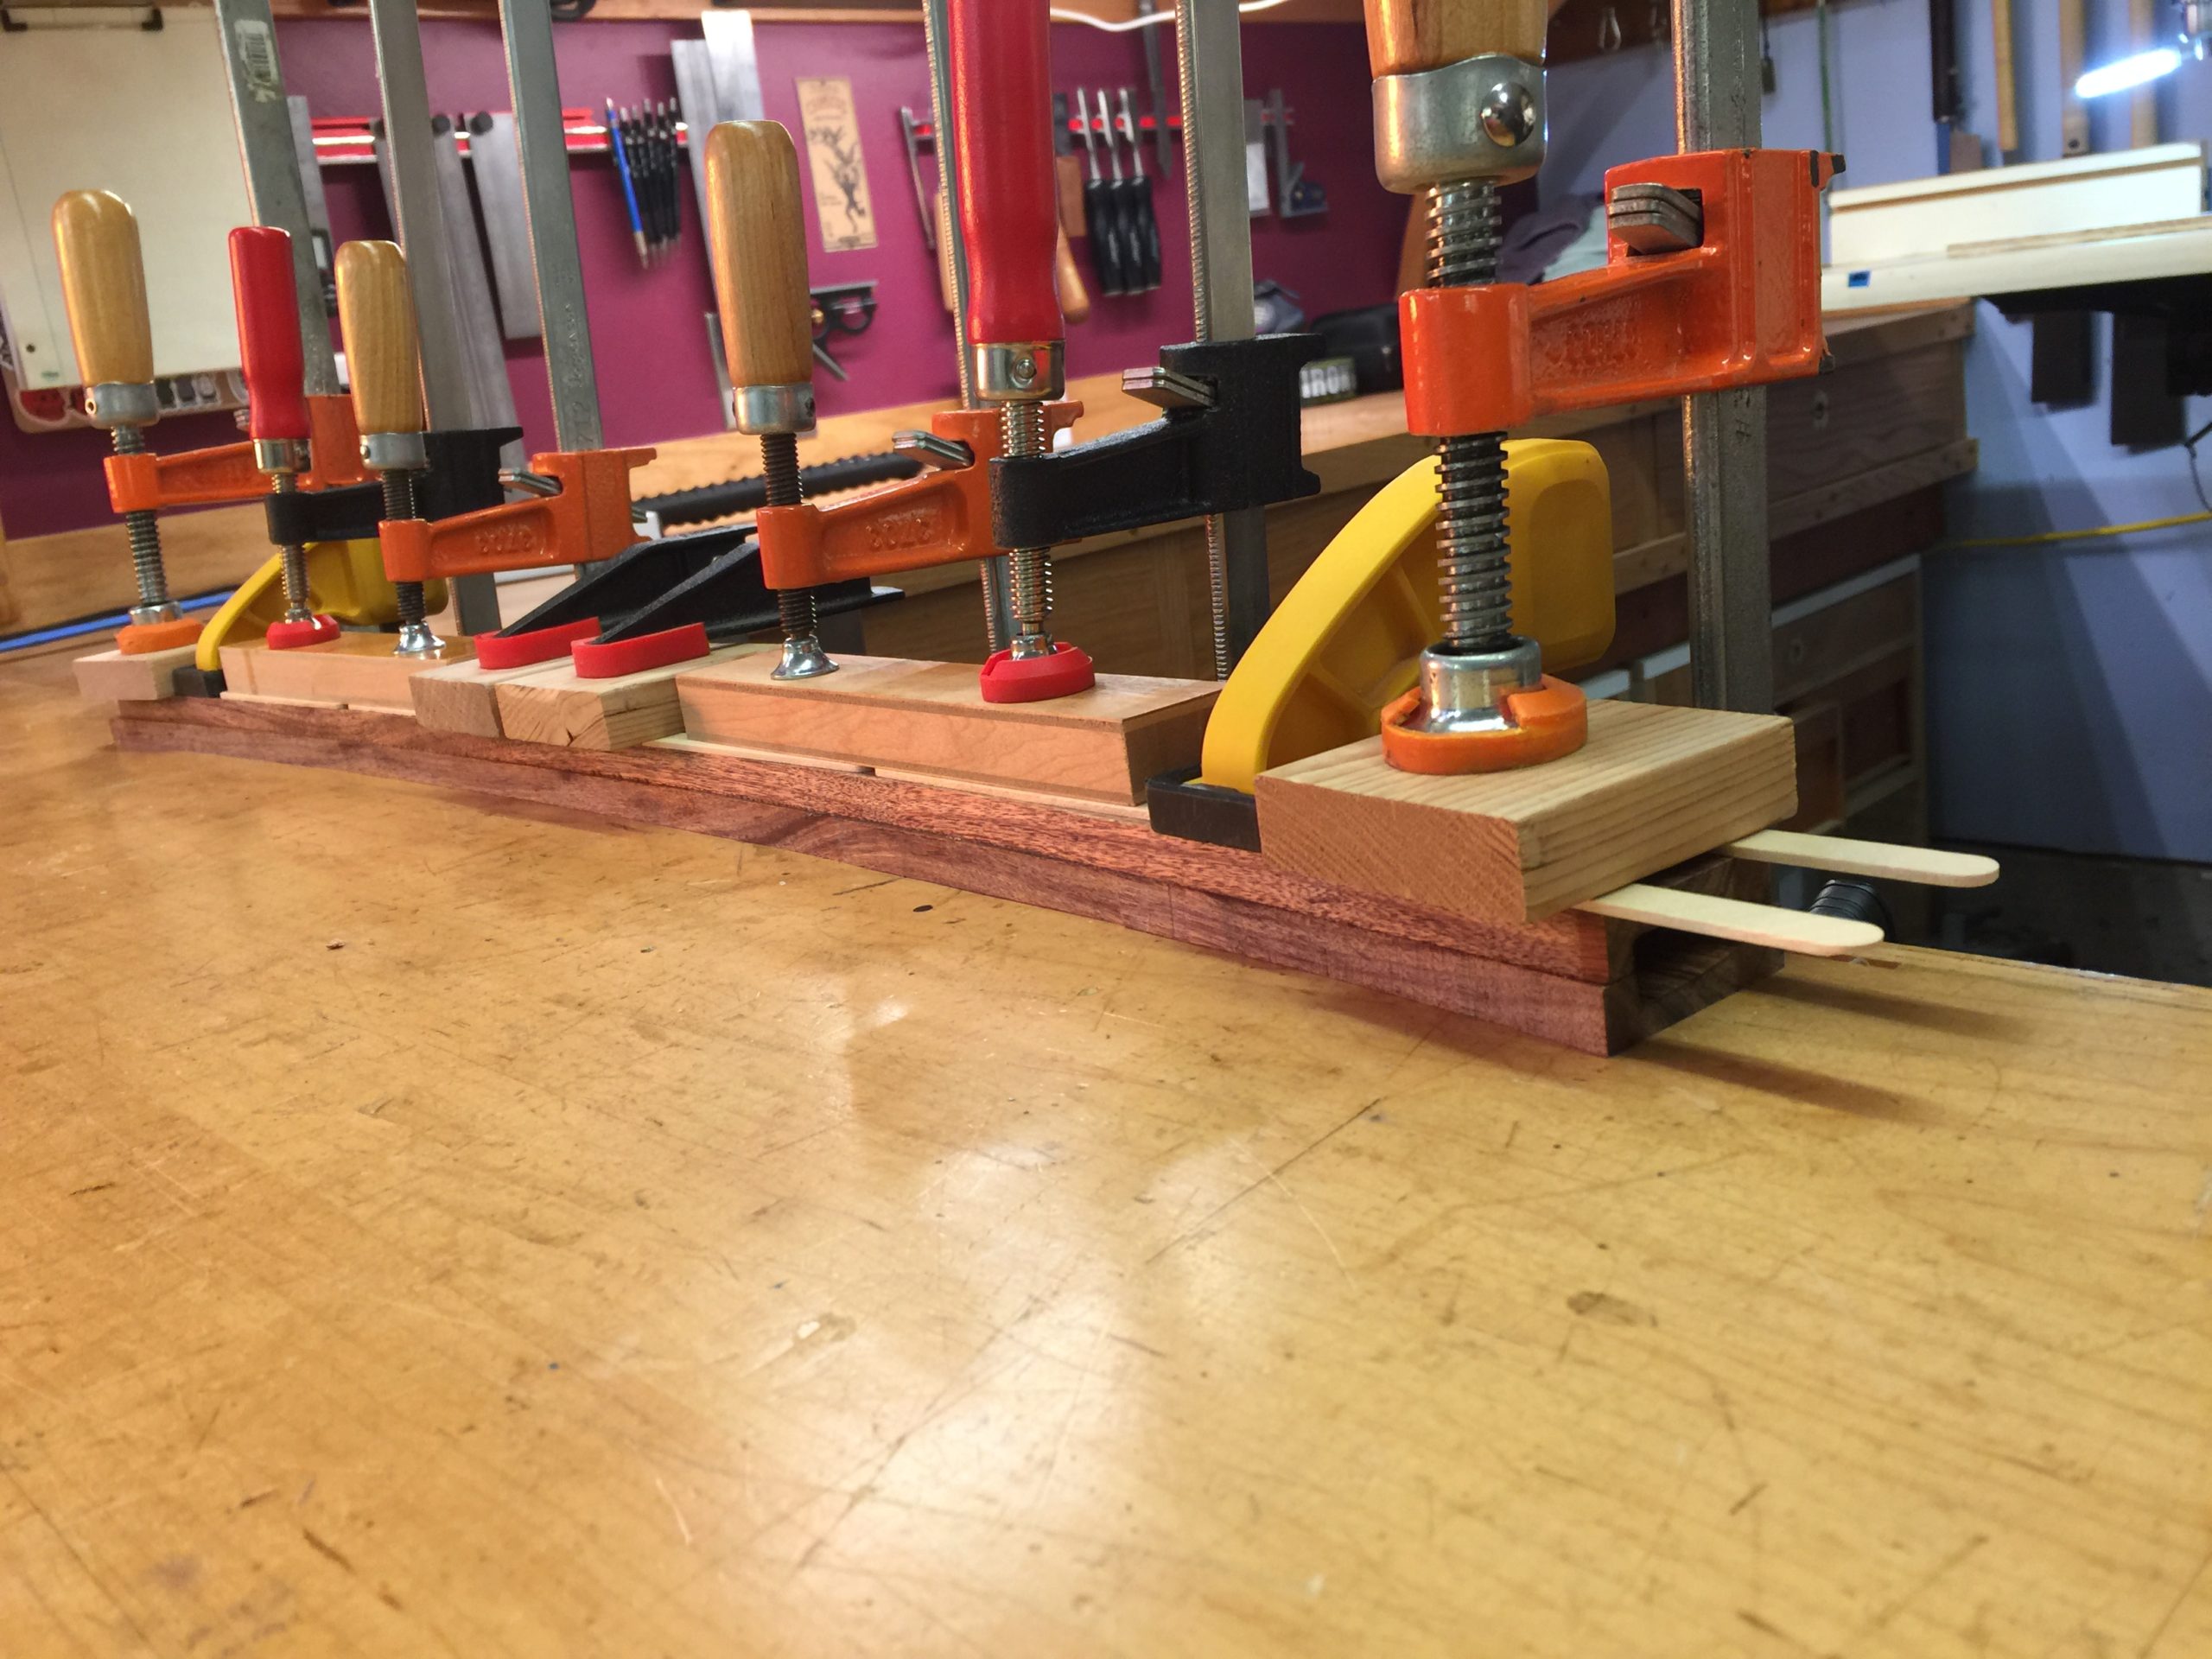
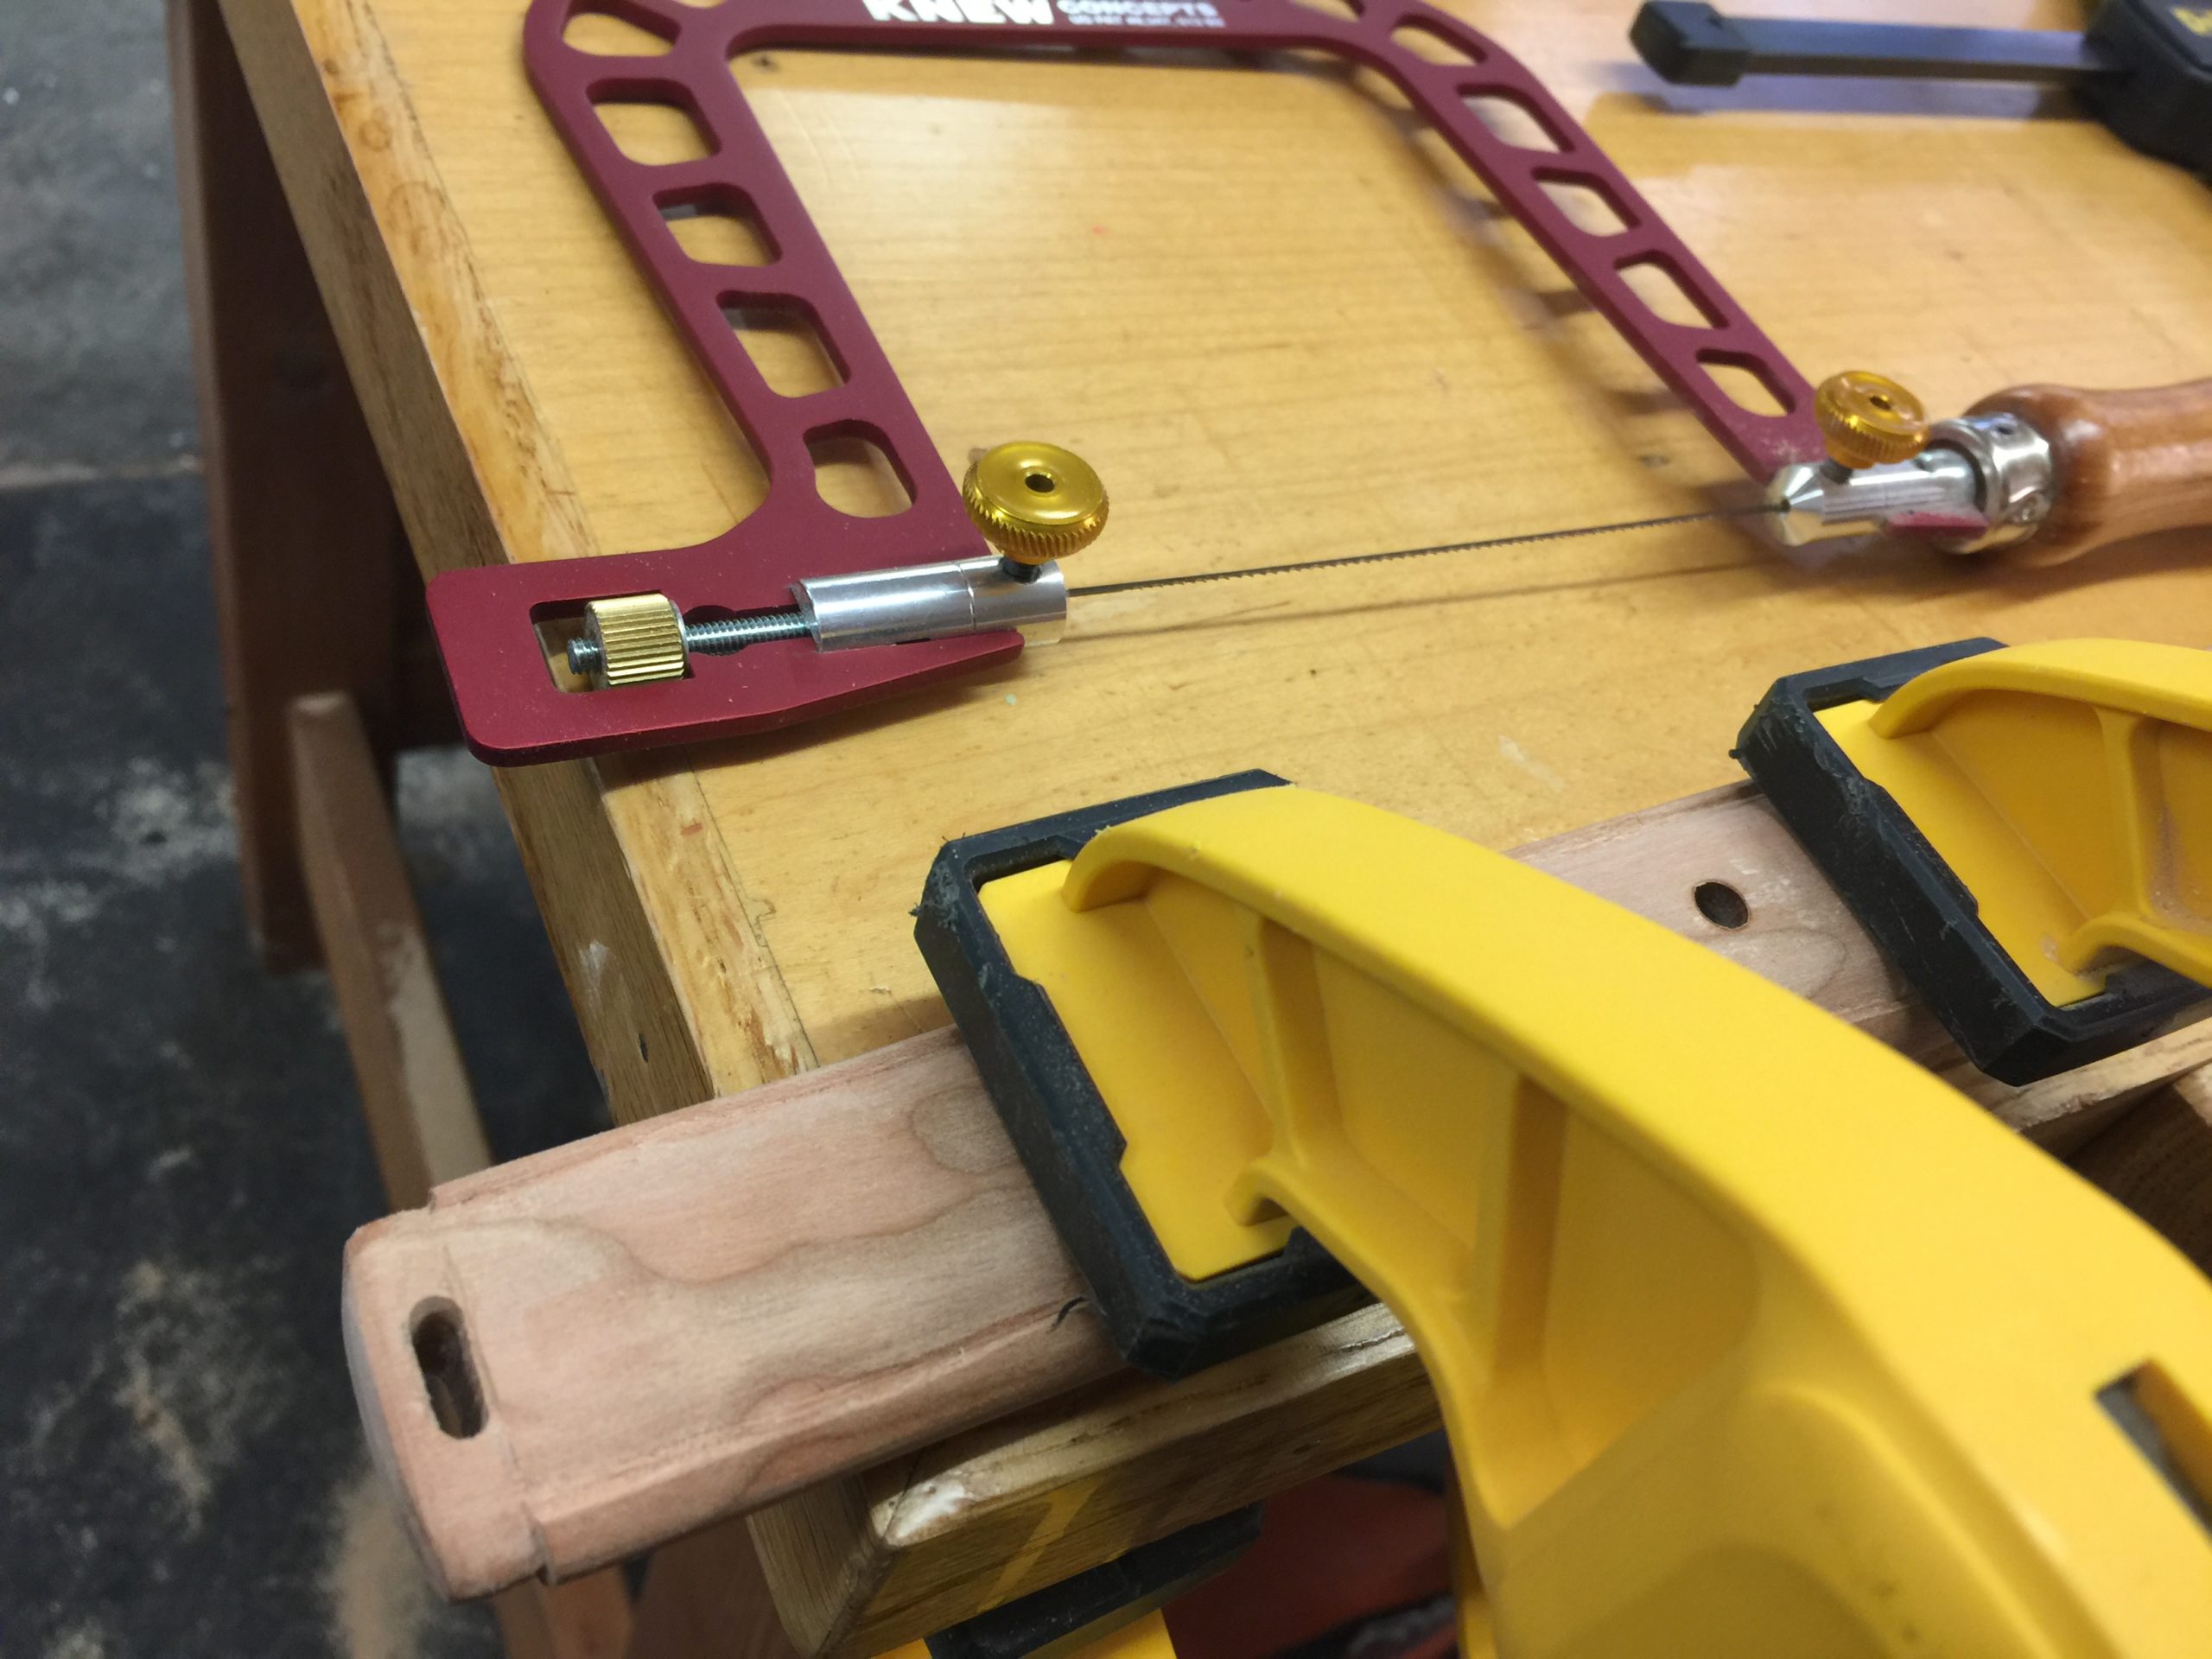
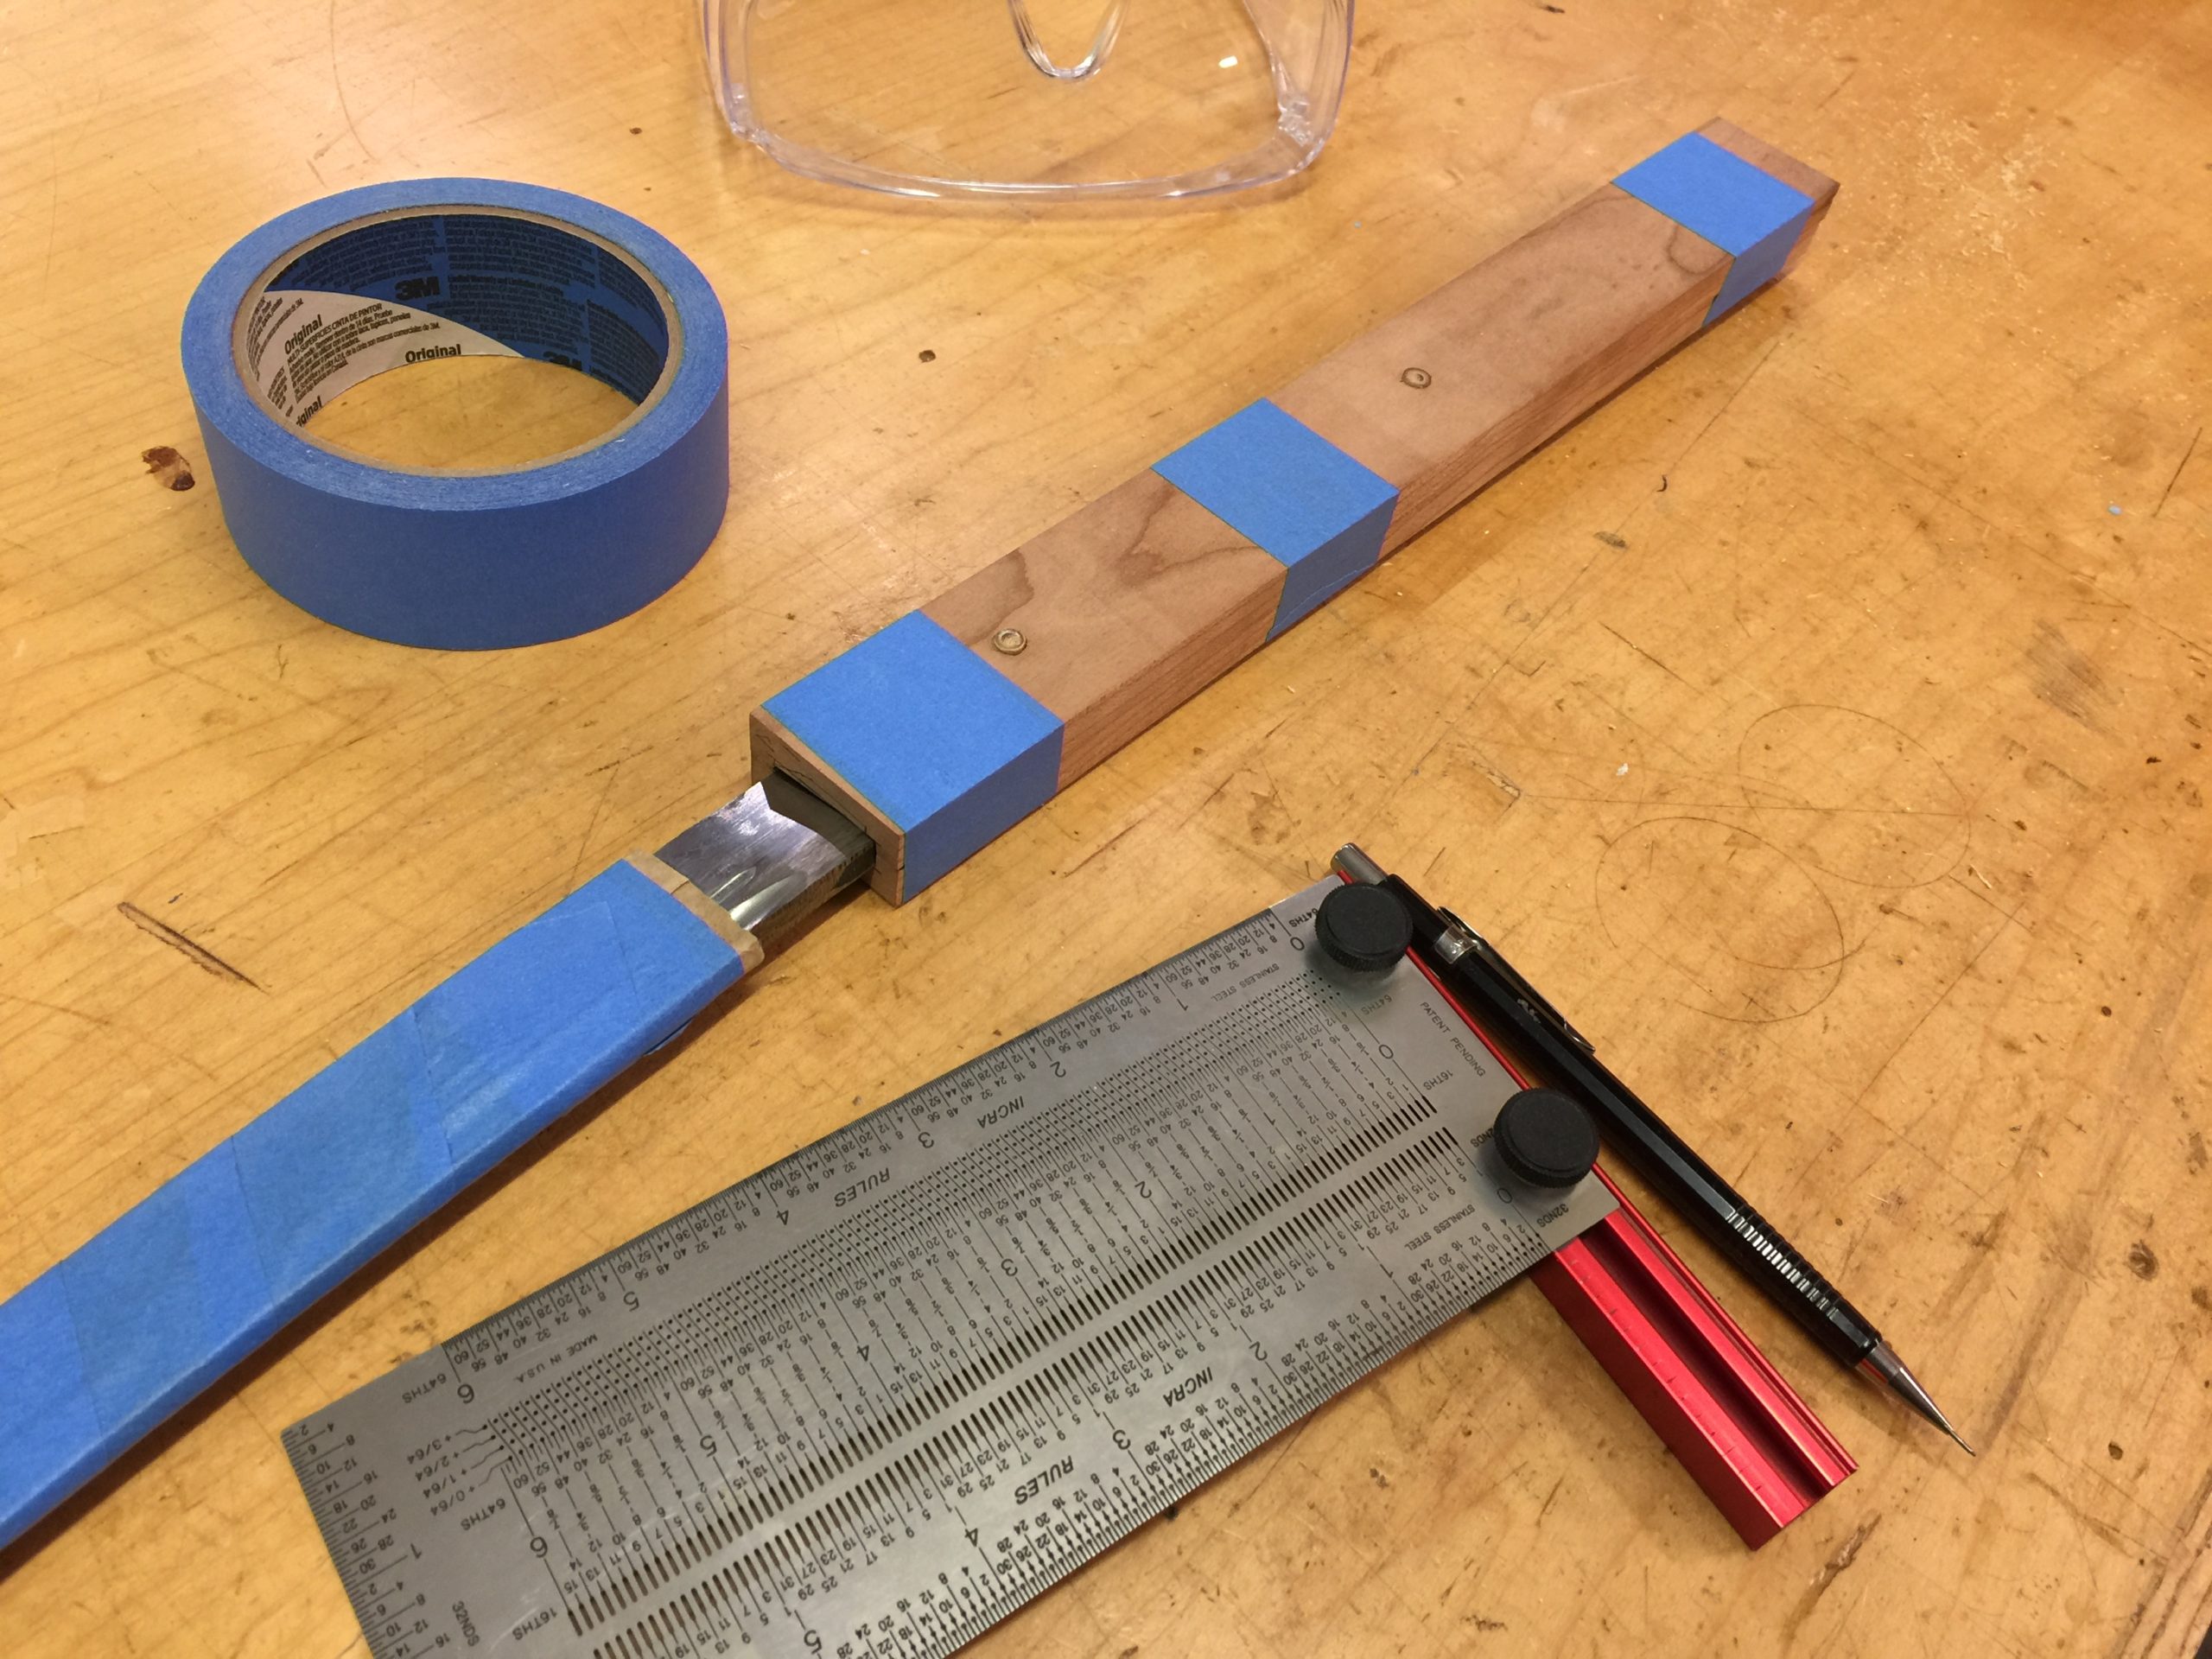
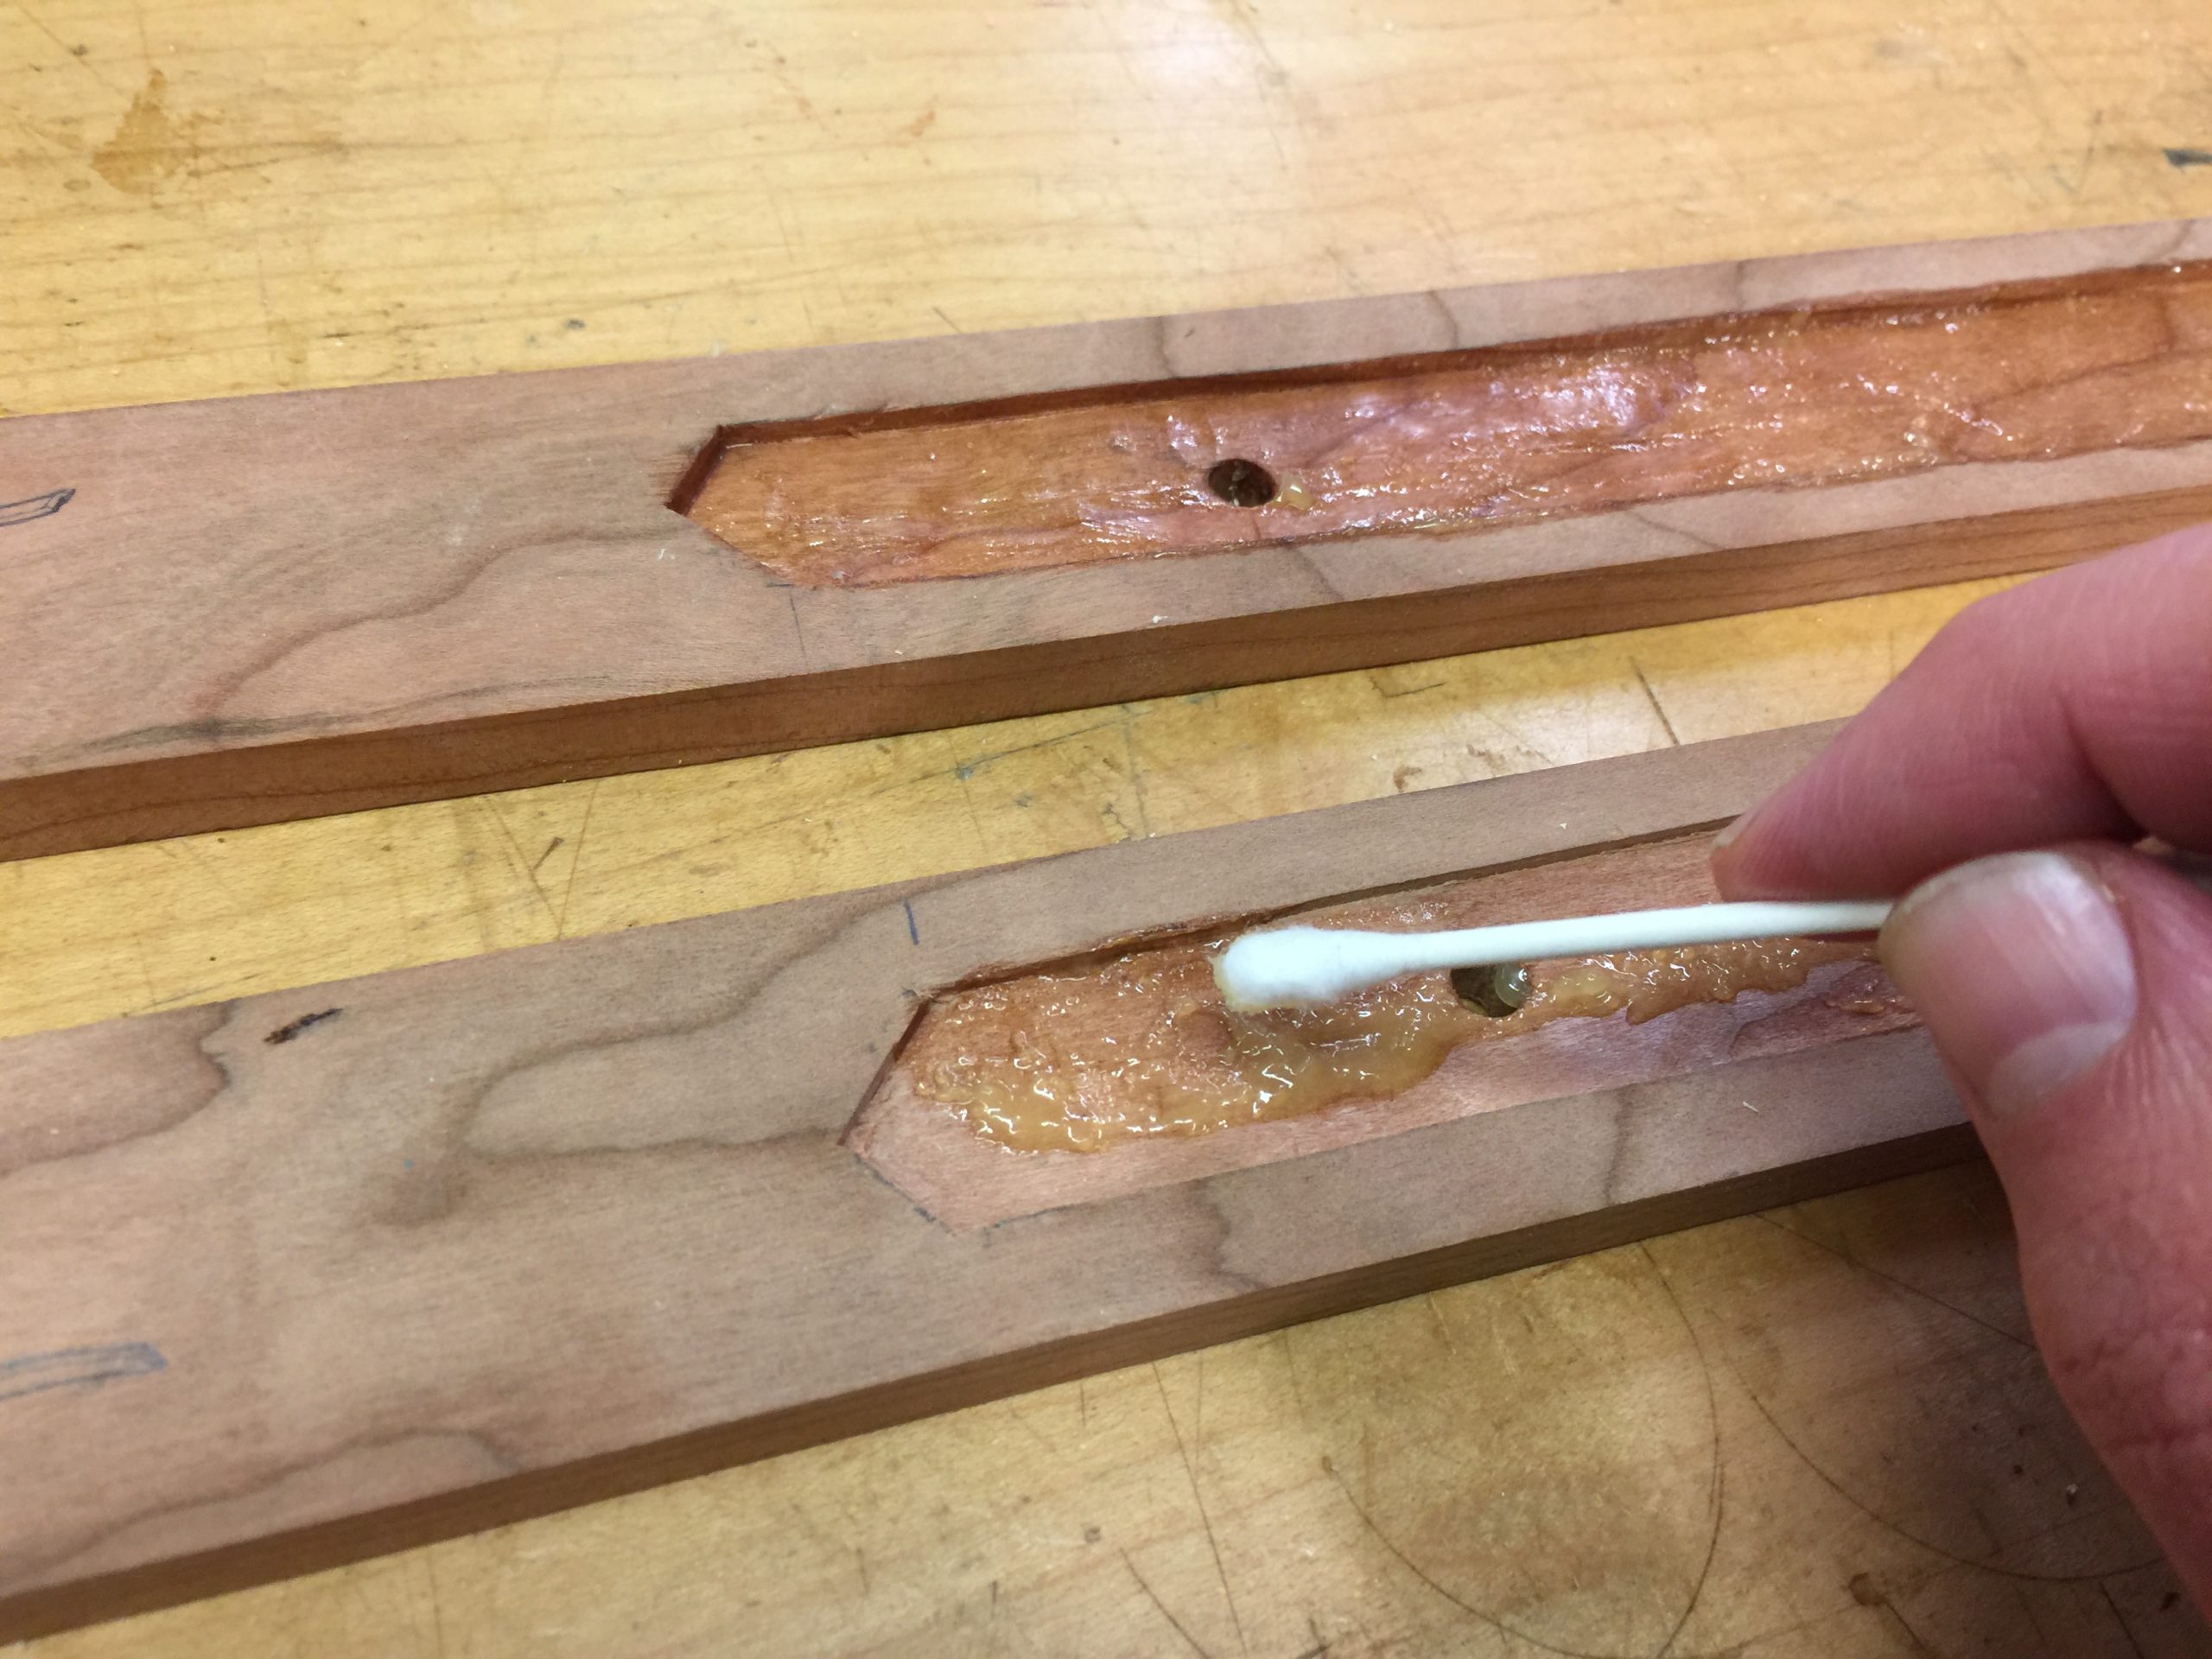
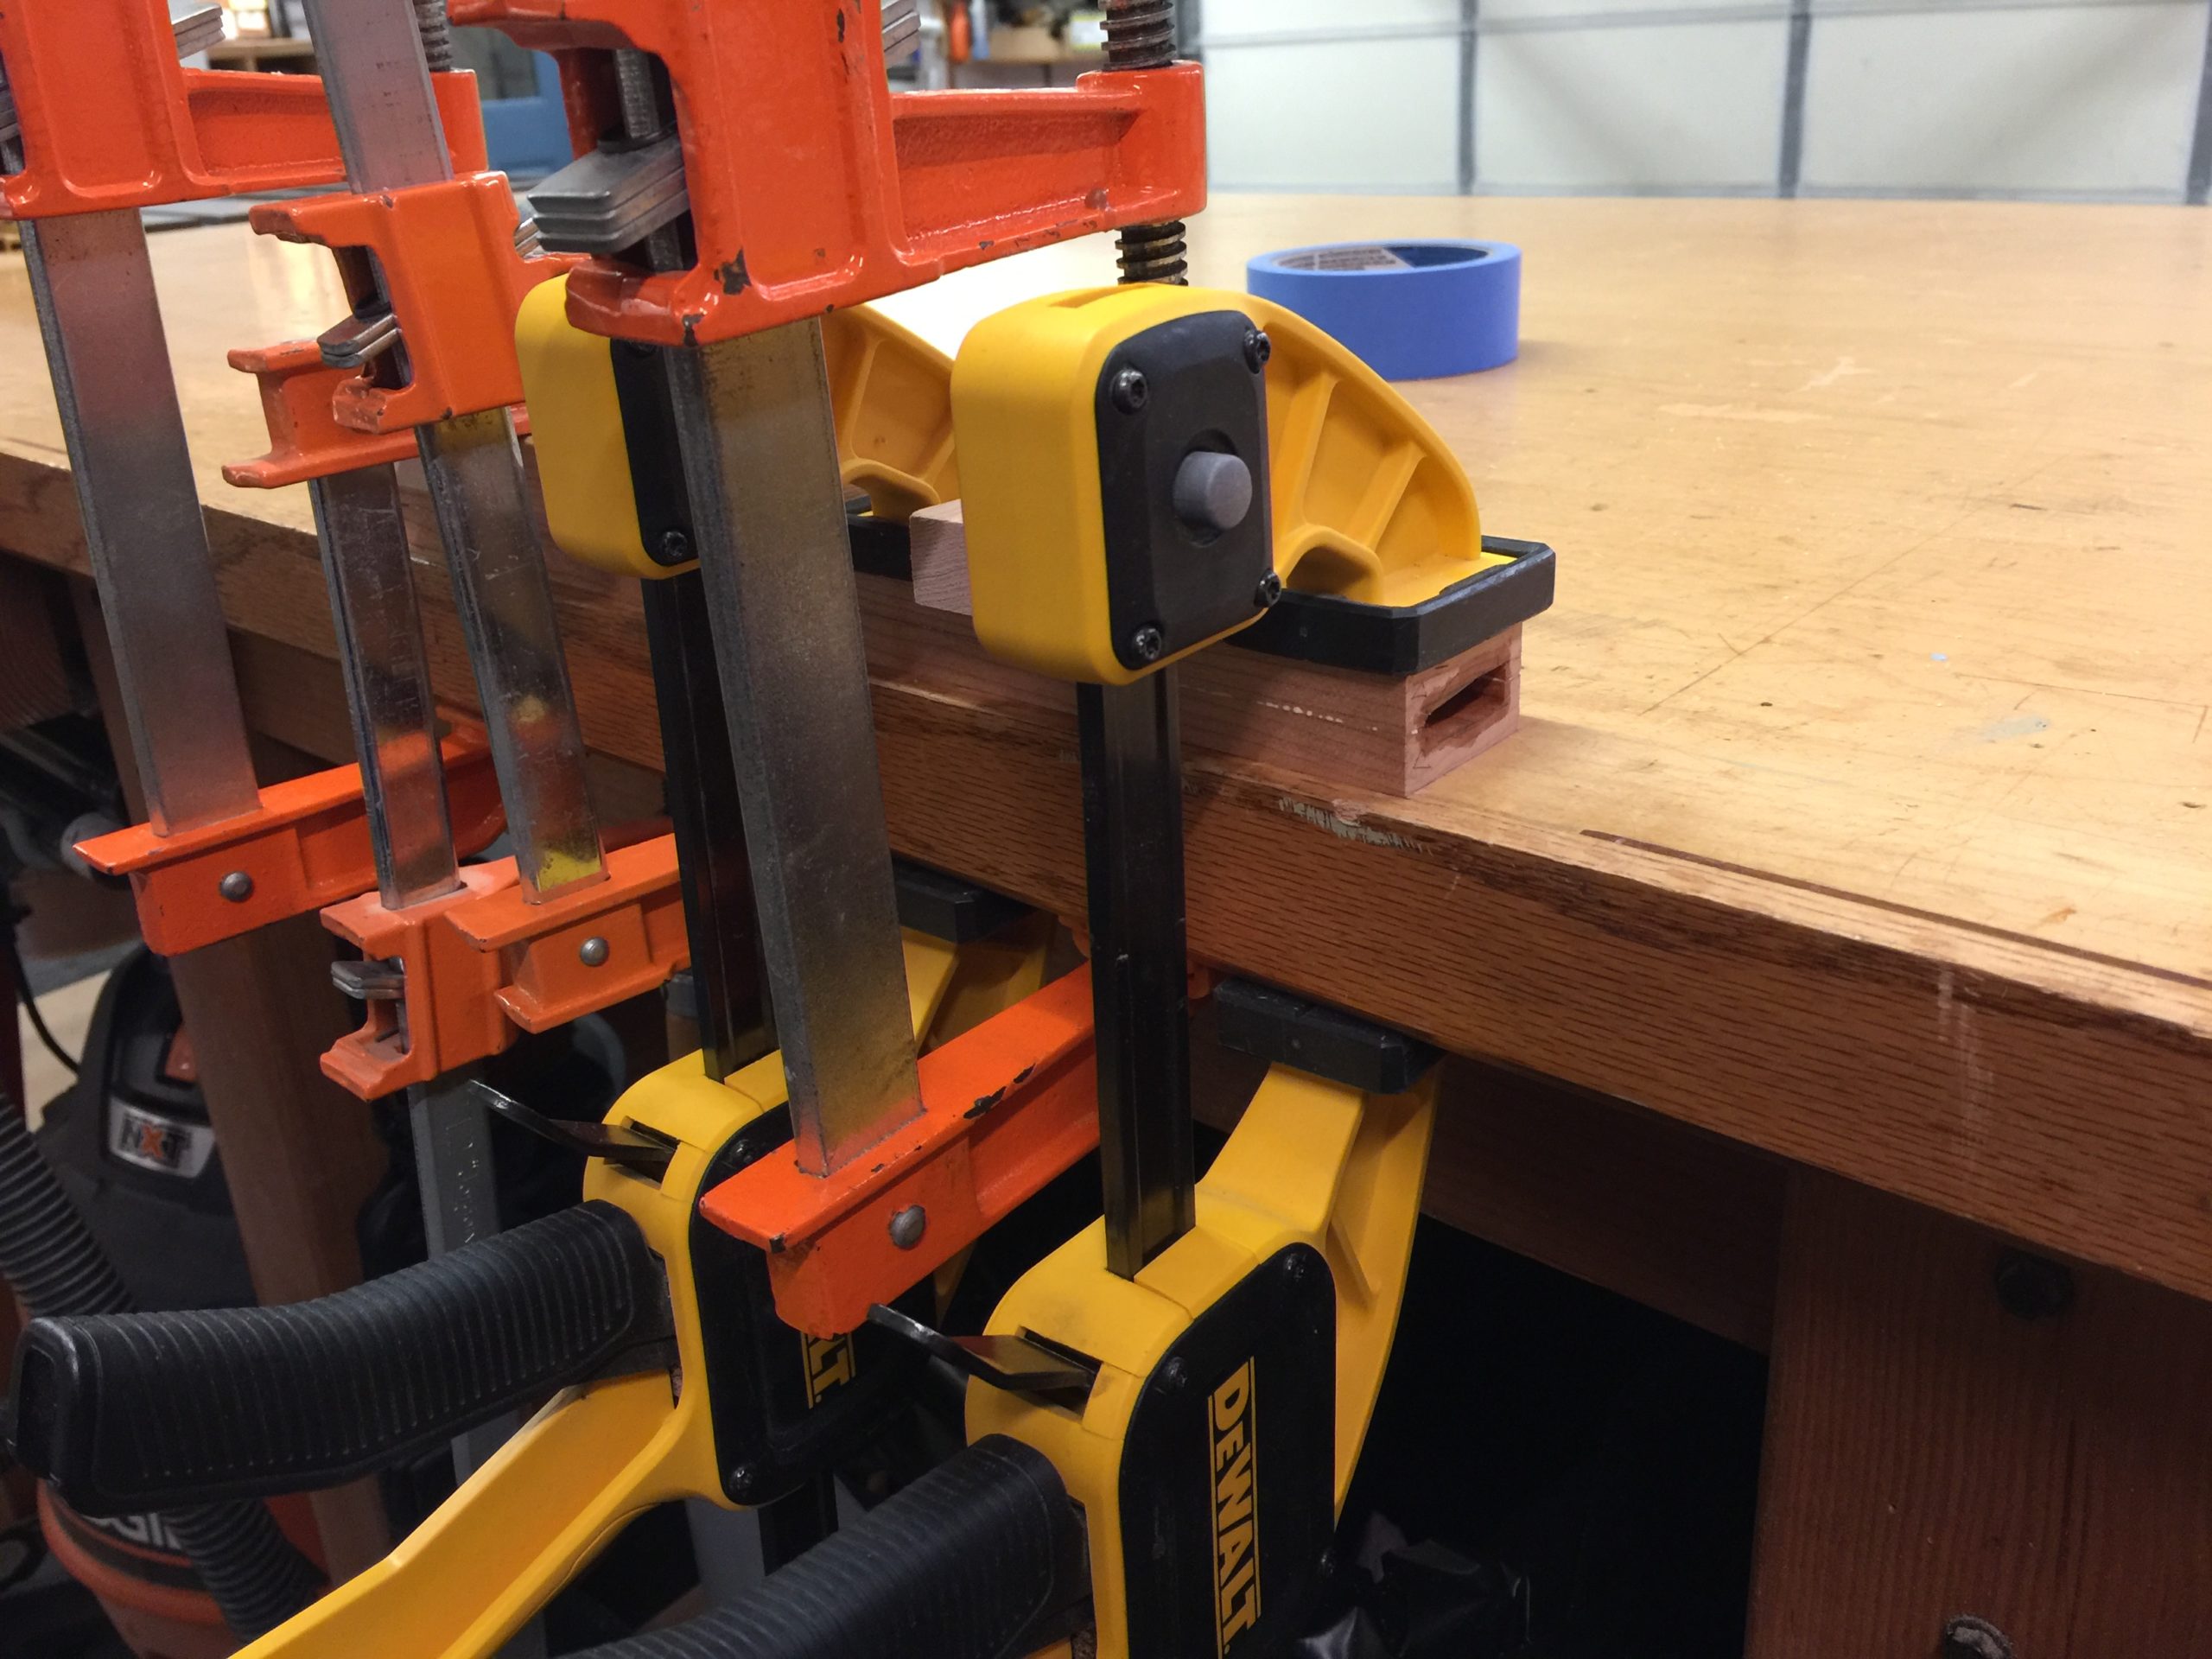
All clamps on deck for the glue up. You may notice I used popsicle sticks in the above pic. Placing them near the edge like that transfers the pressure to the outside of the saya, where the glue joint is. The middle is hollow and I don’t need the pressure there. Yeah, it’s a pain, but it makes for a good glue joint.

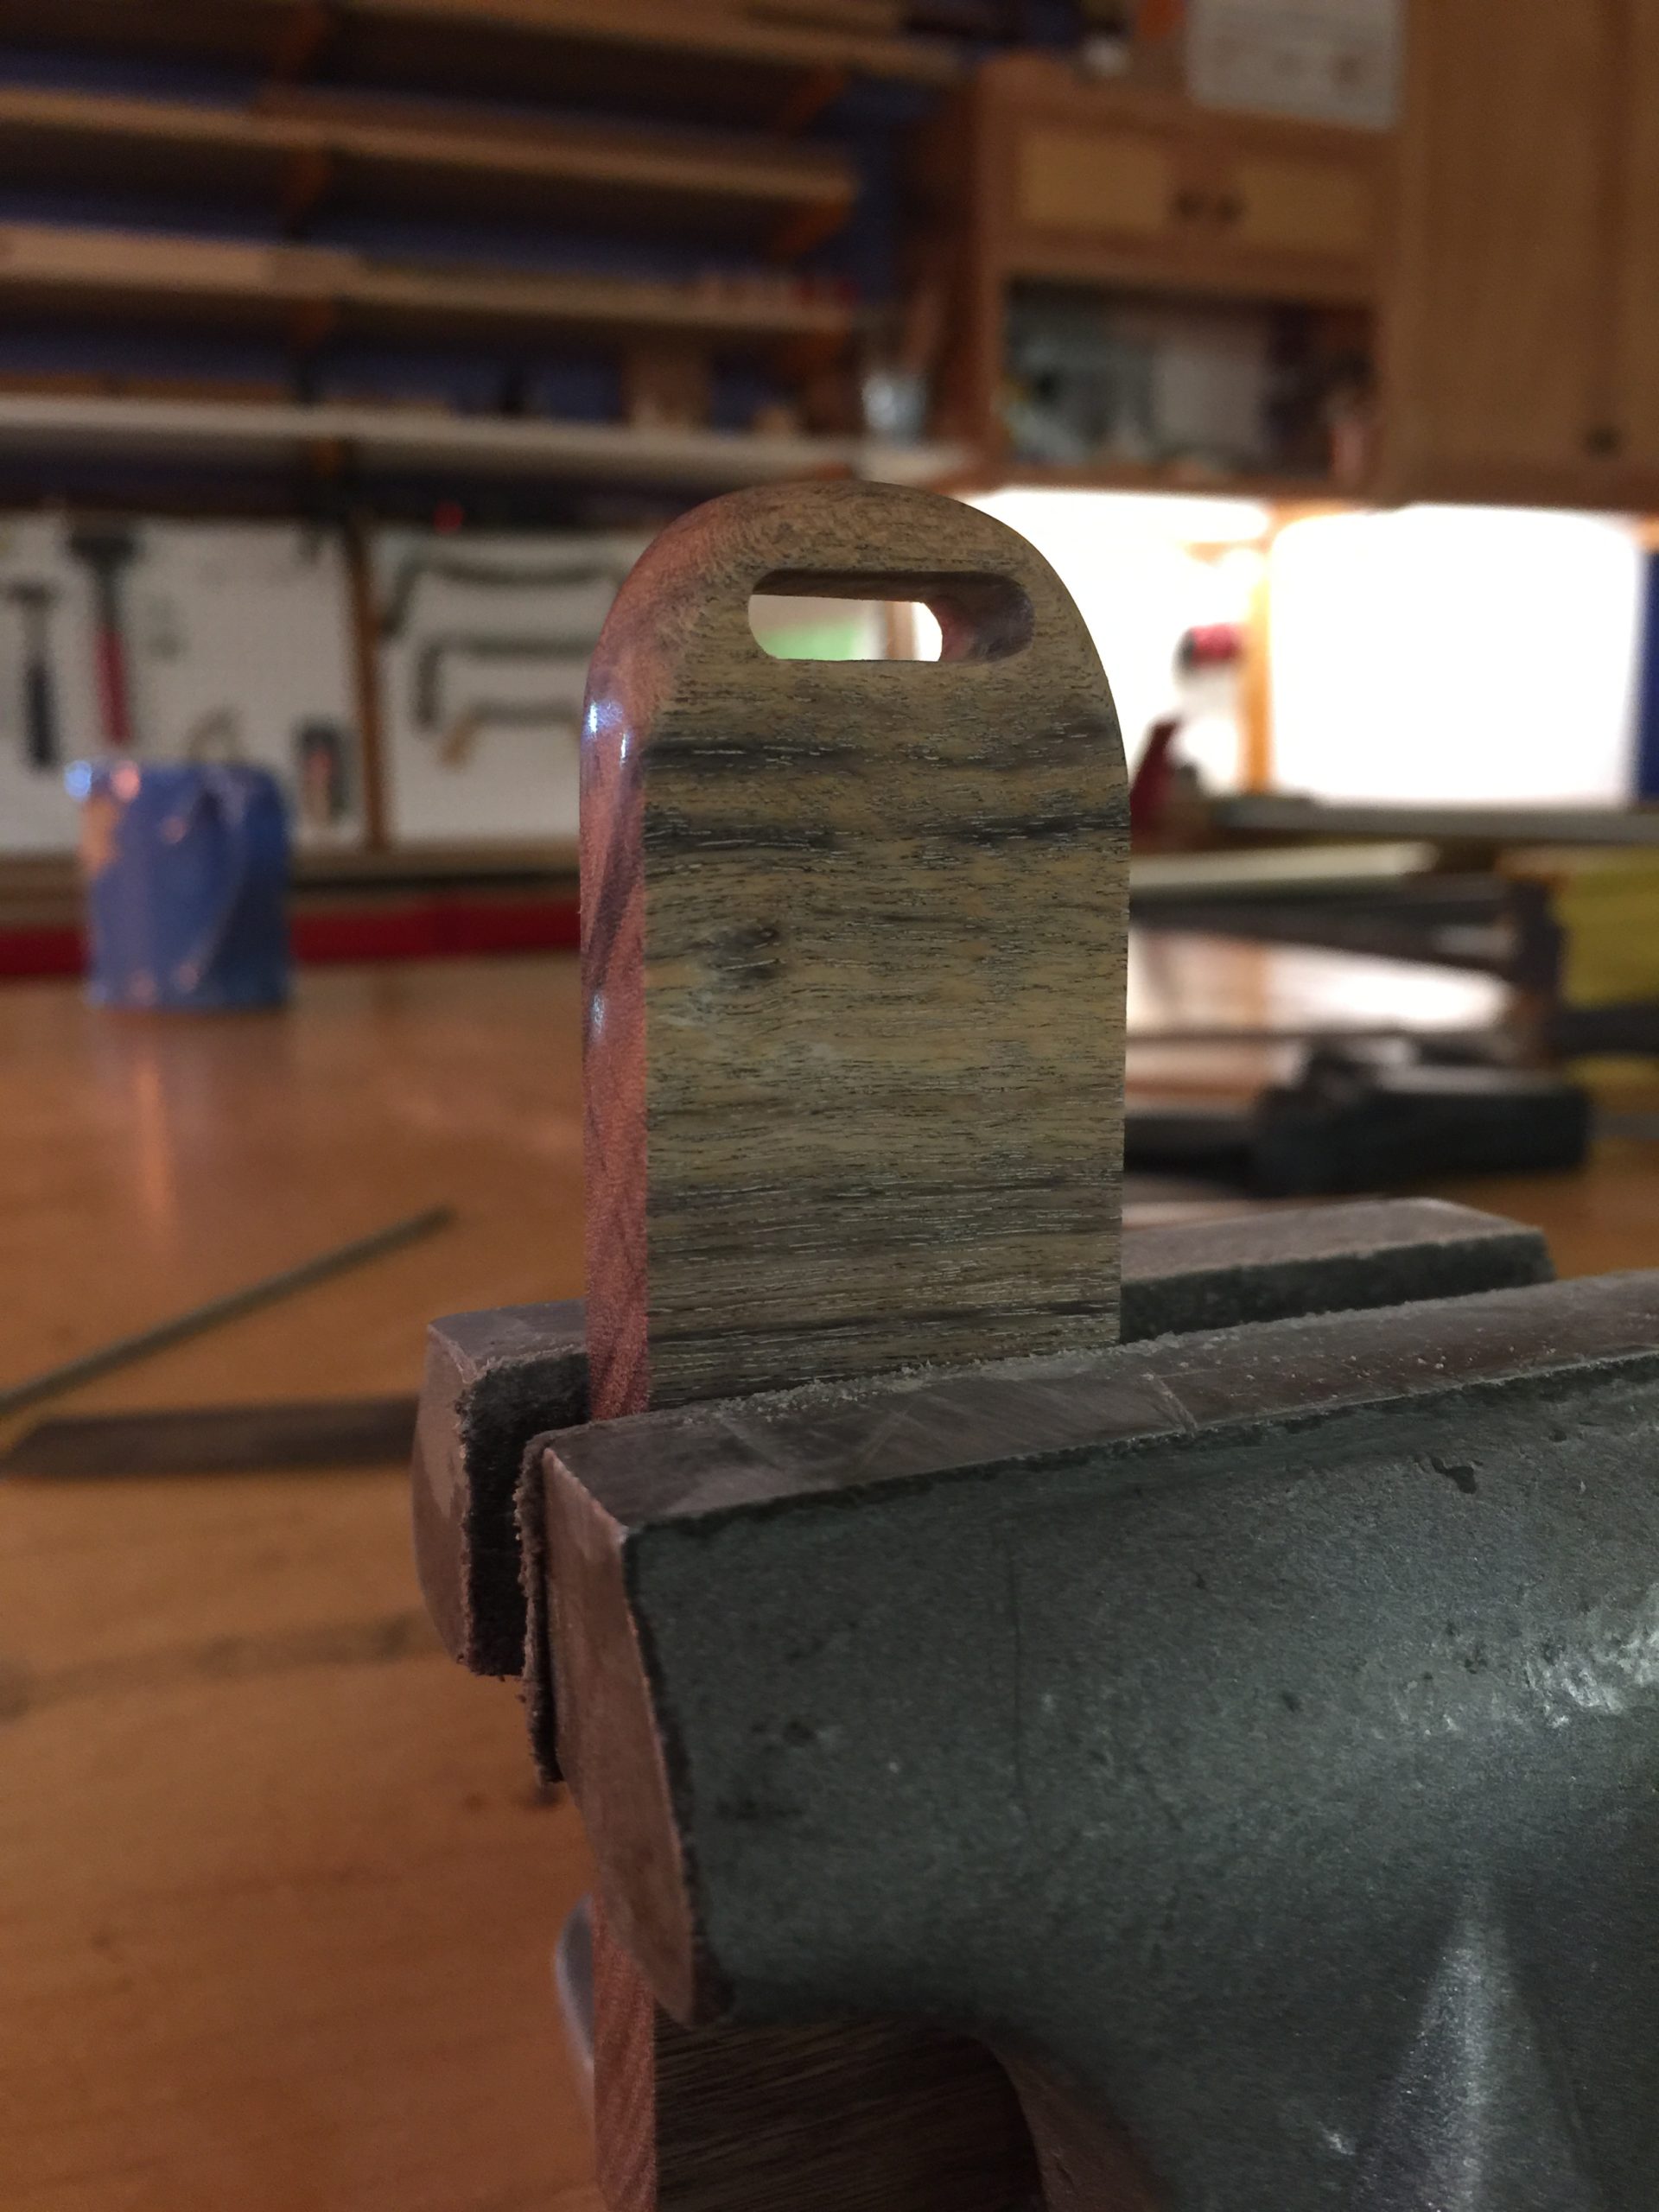
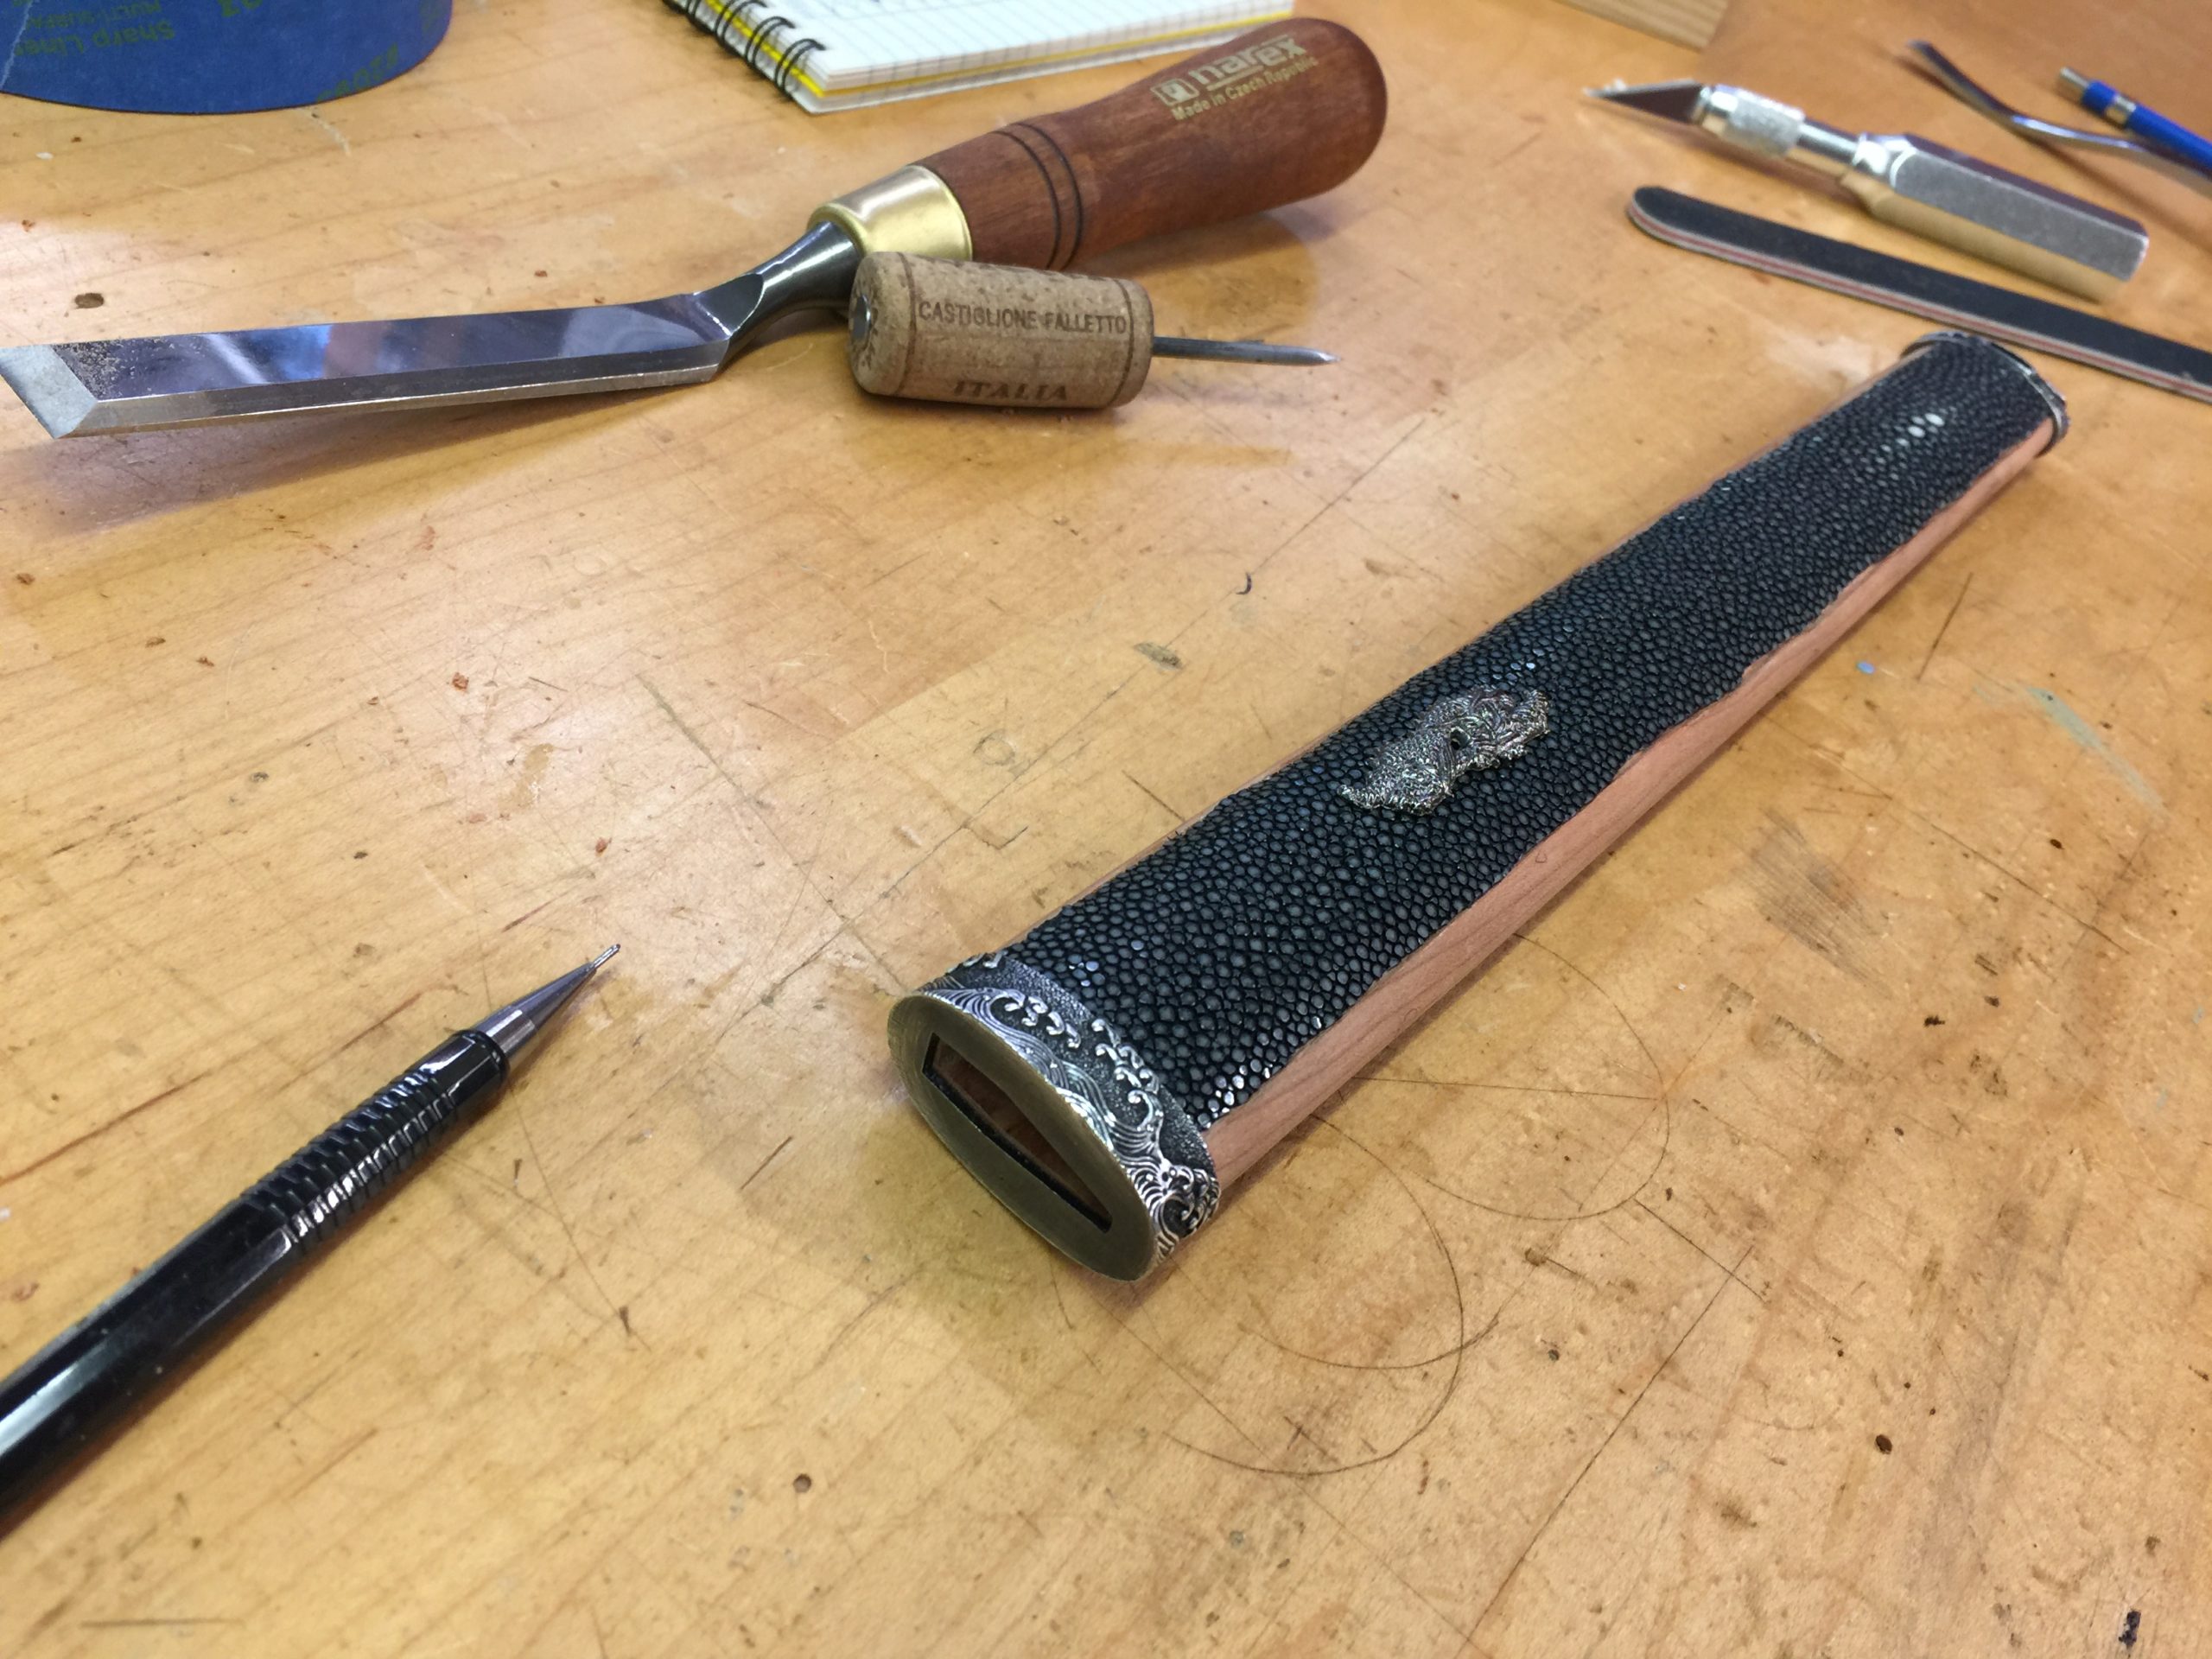
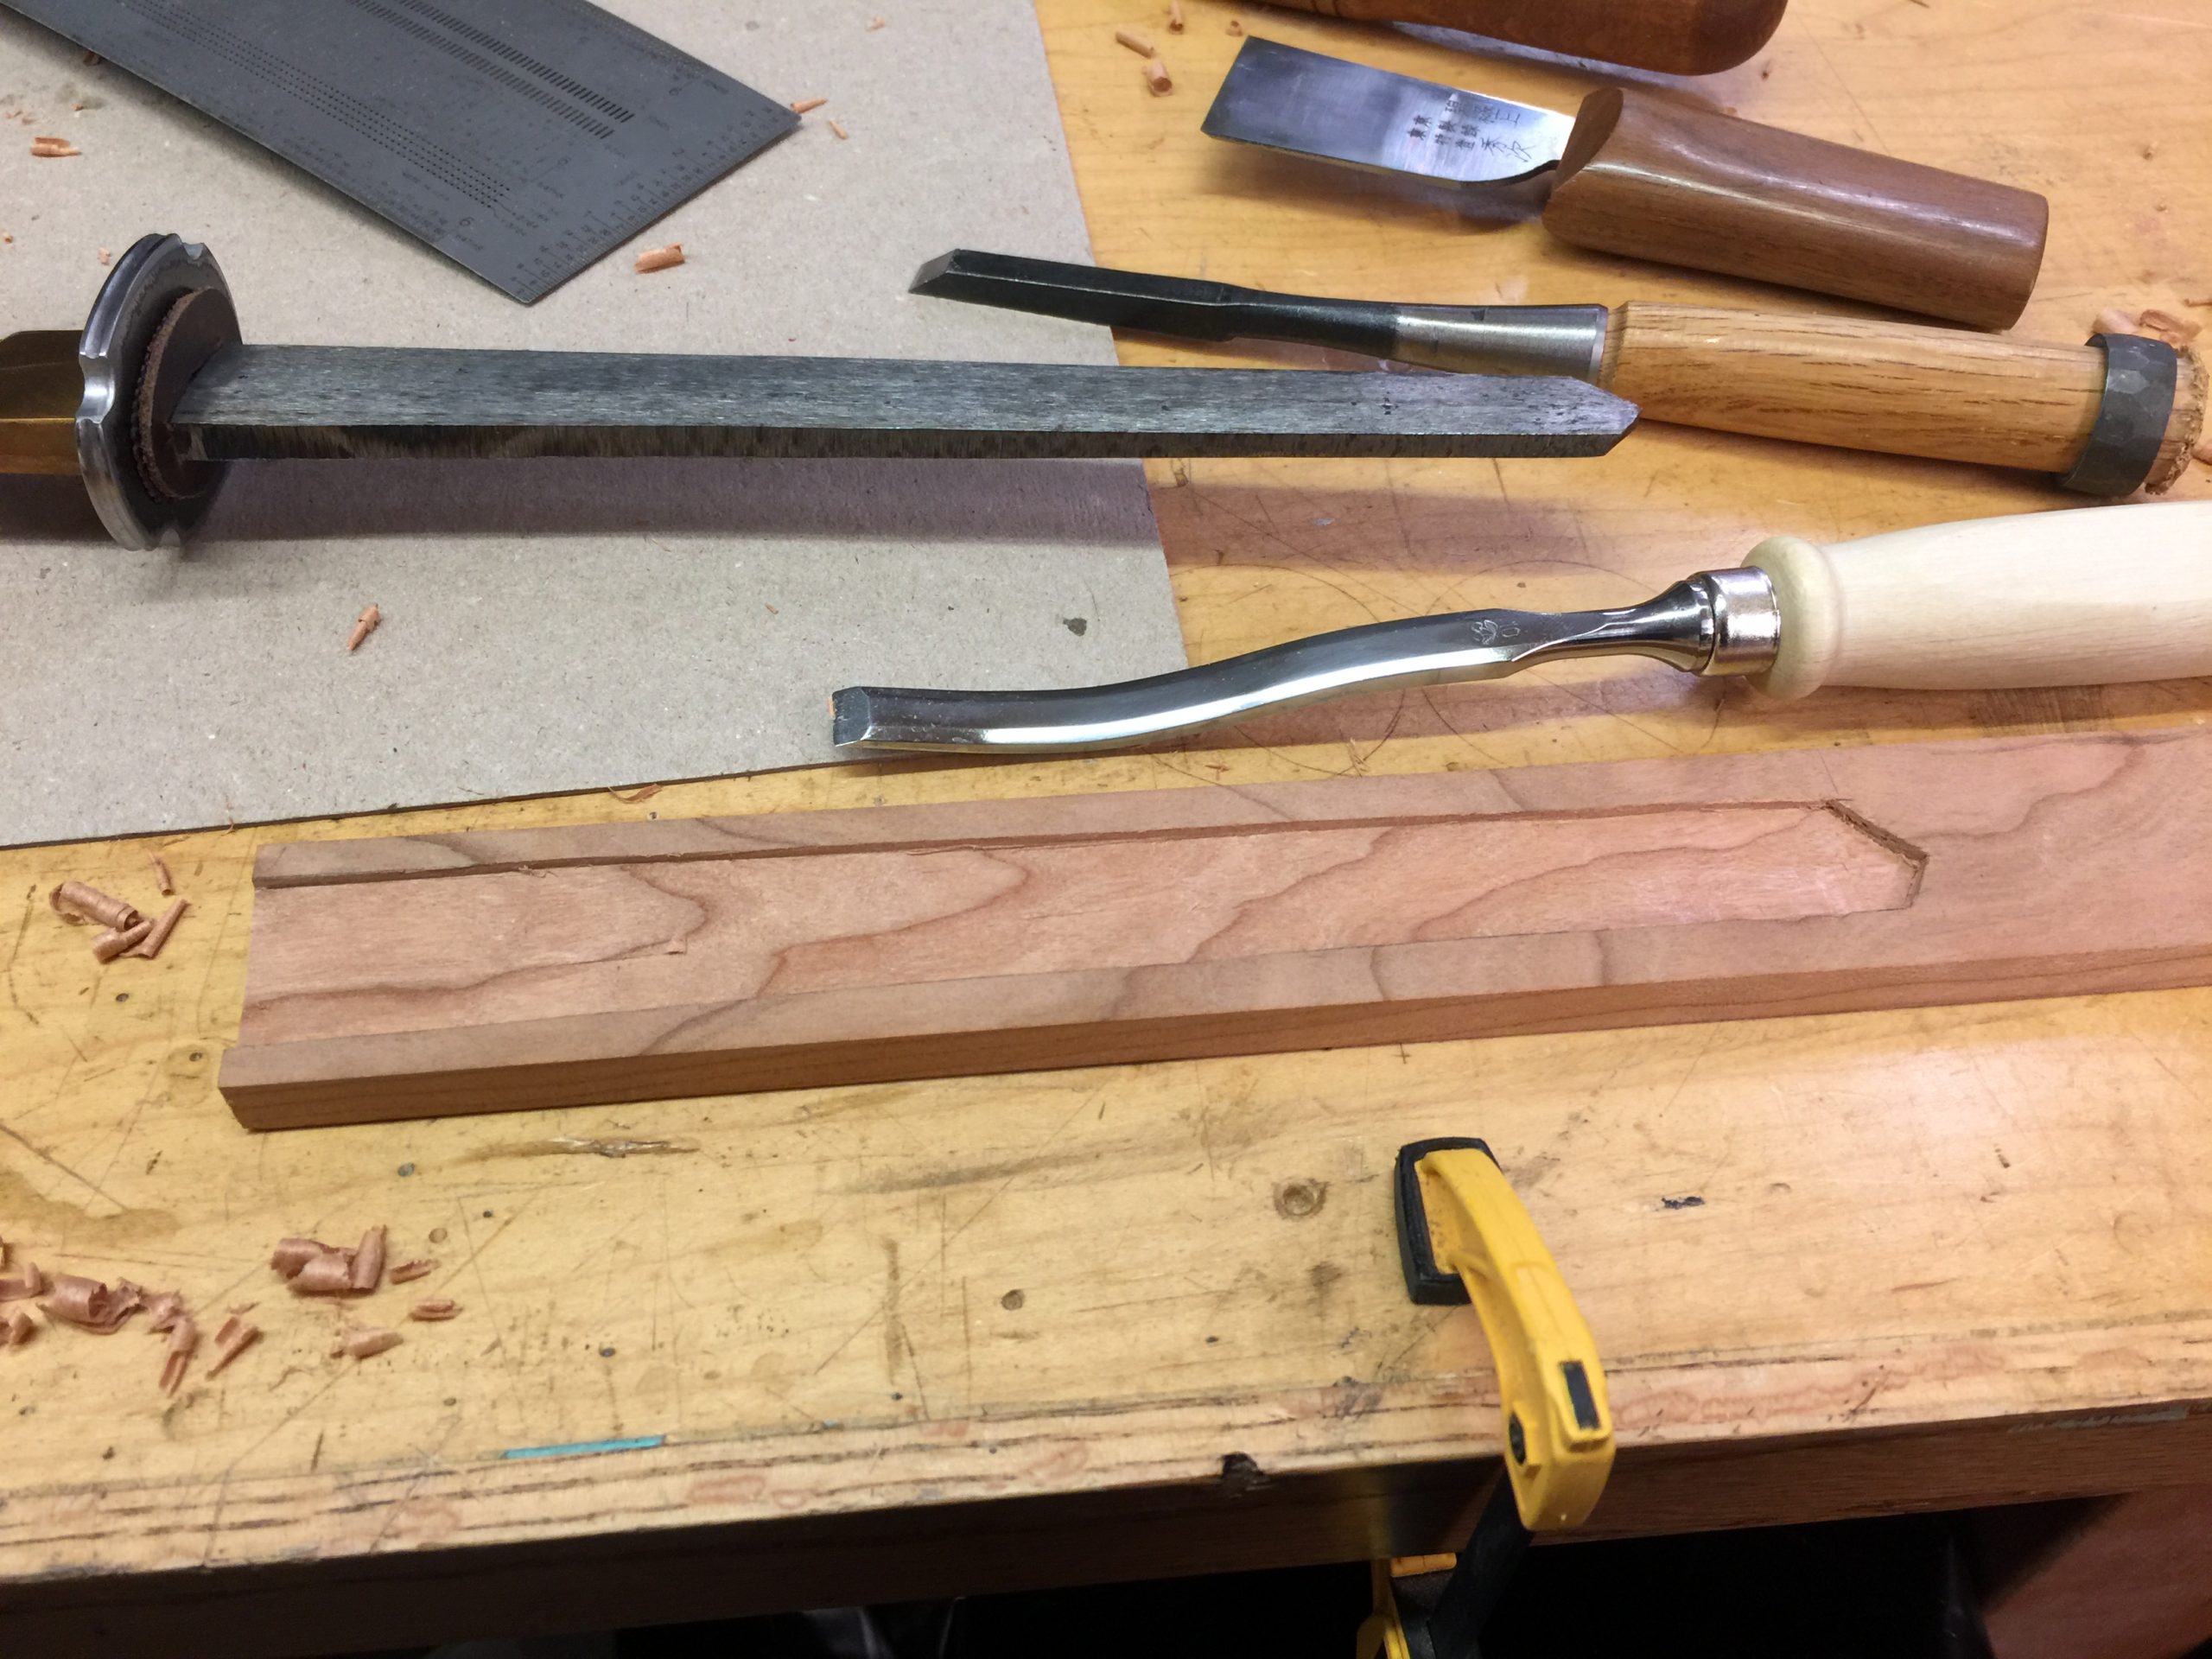
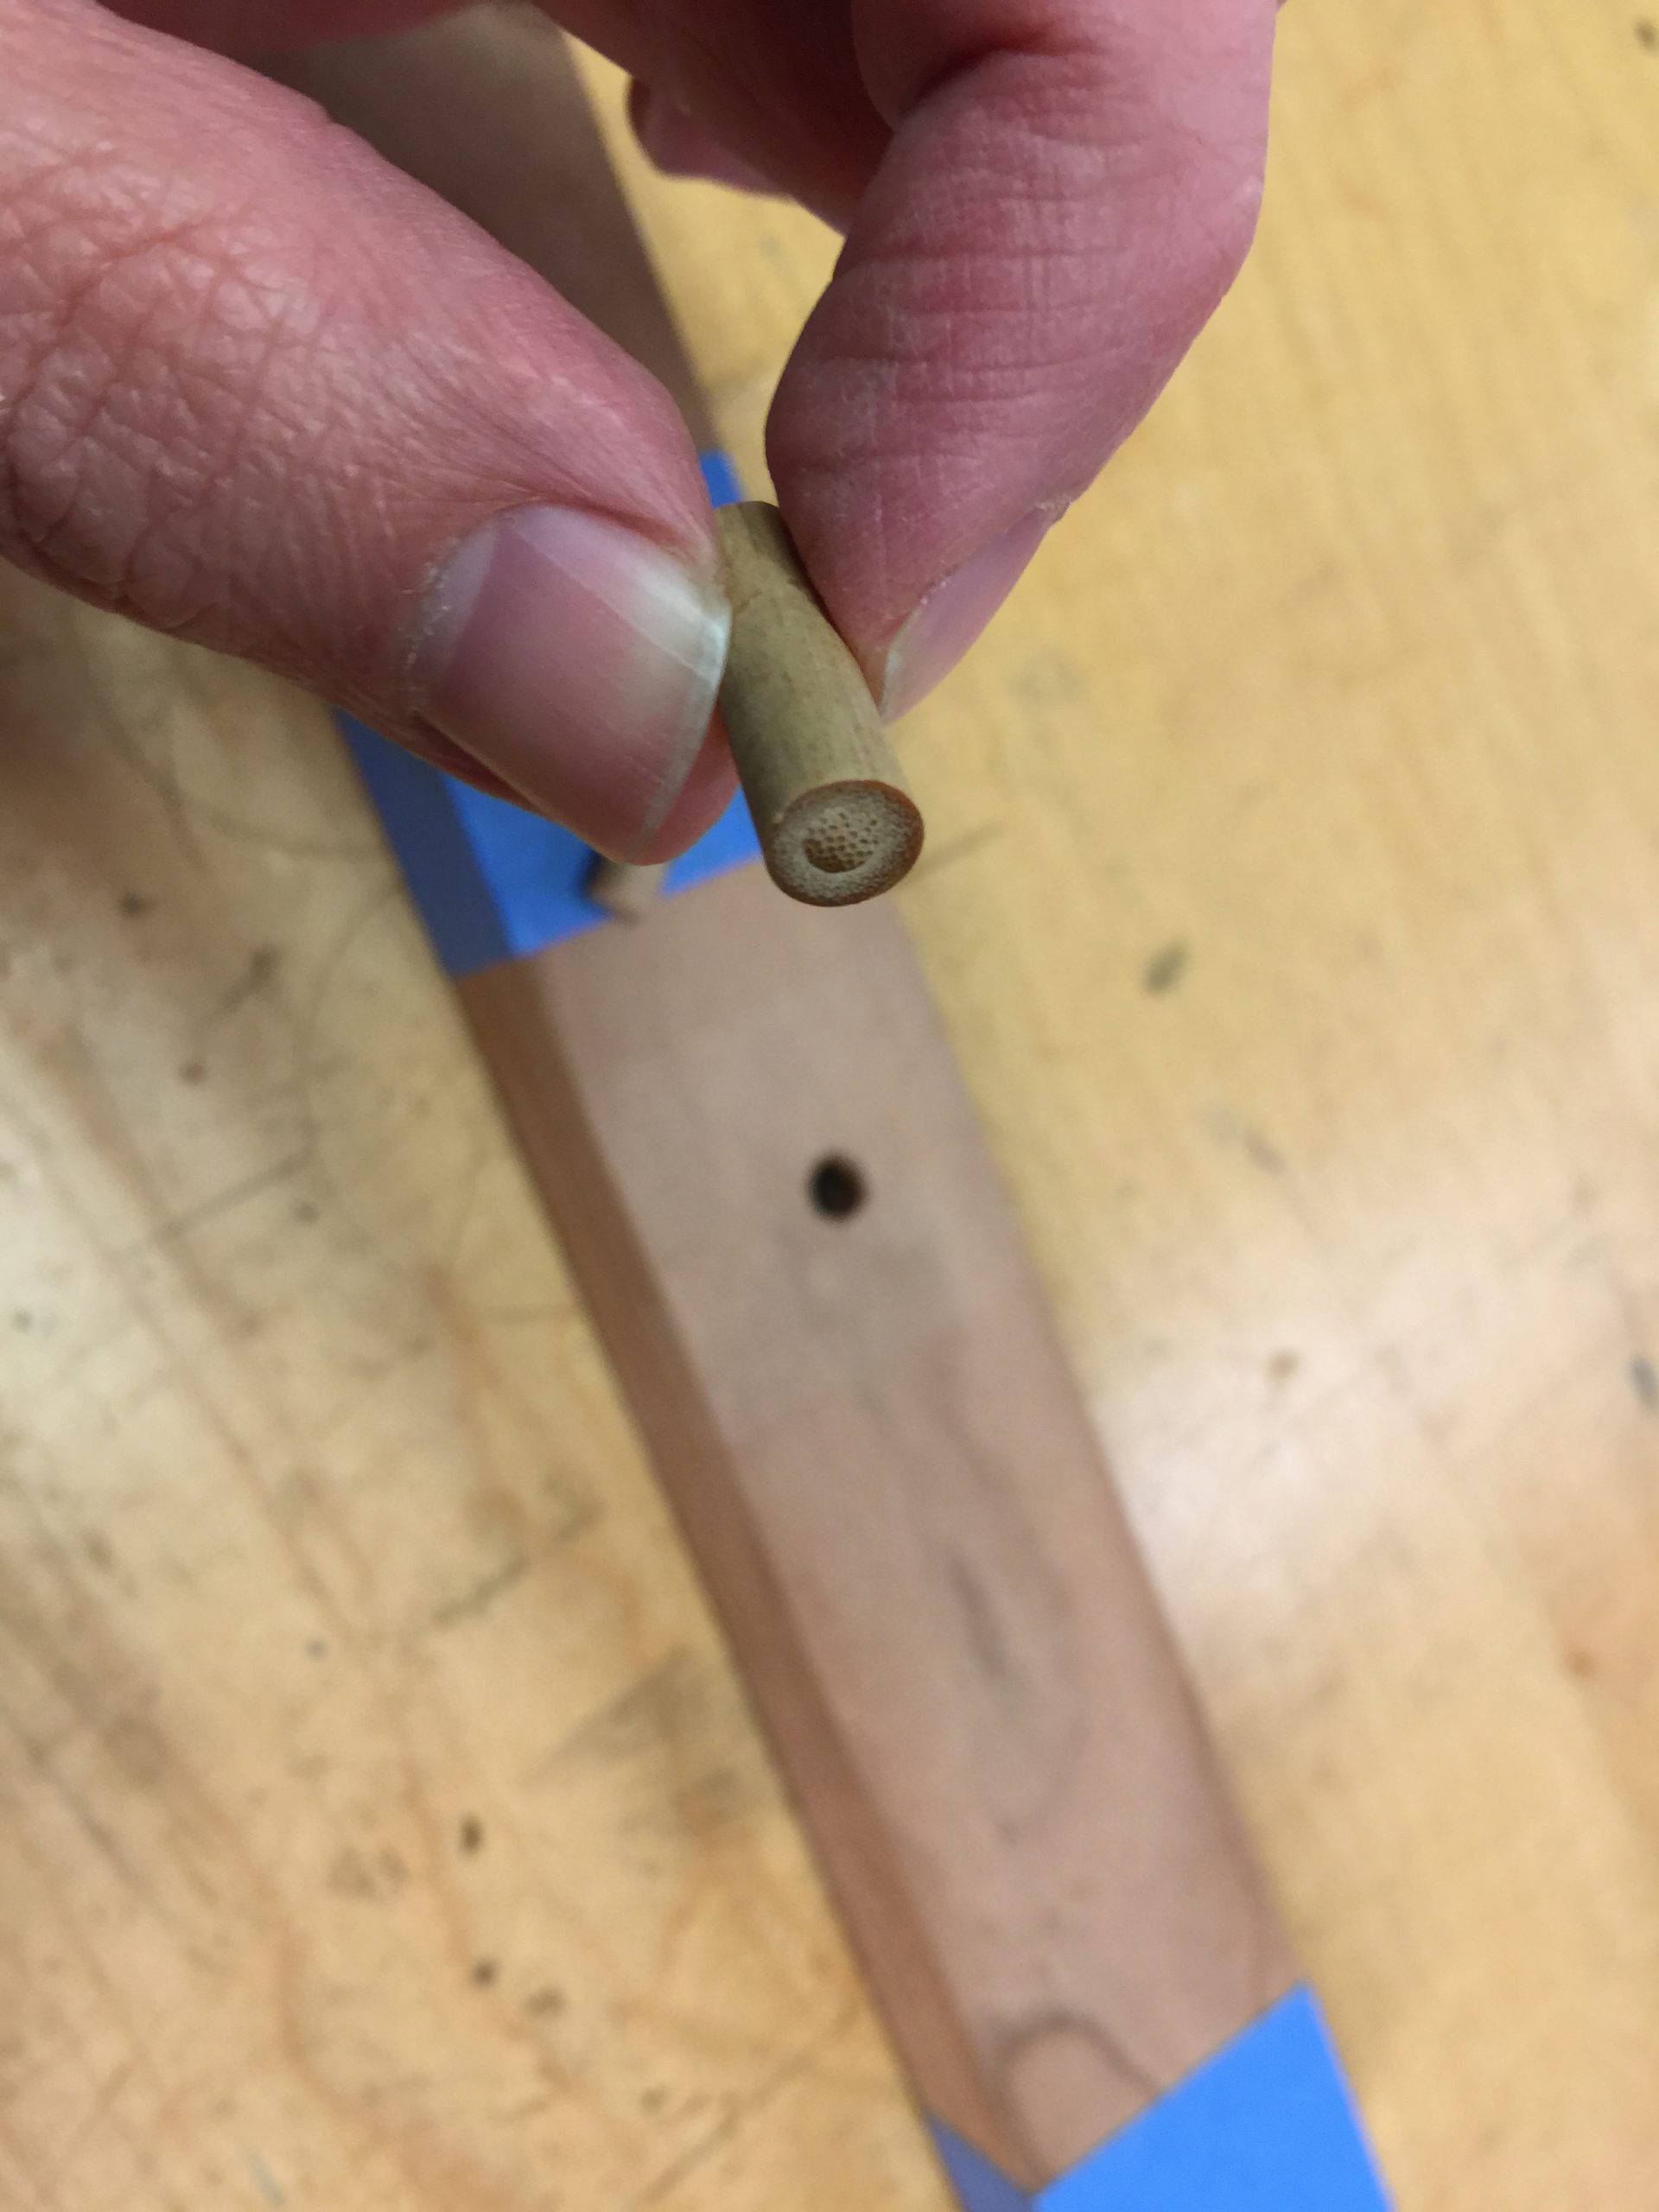
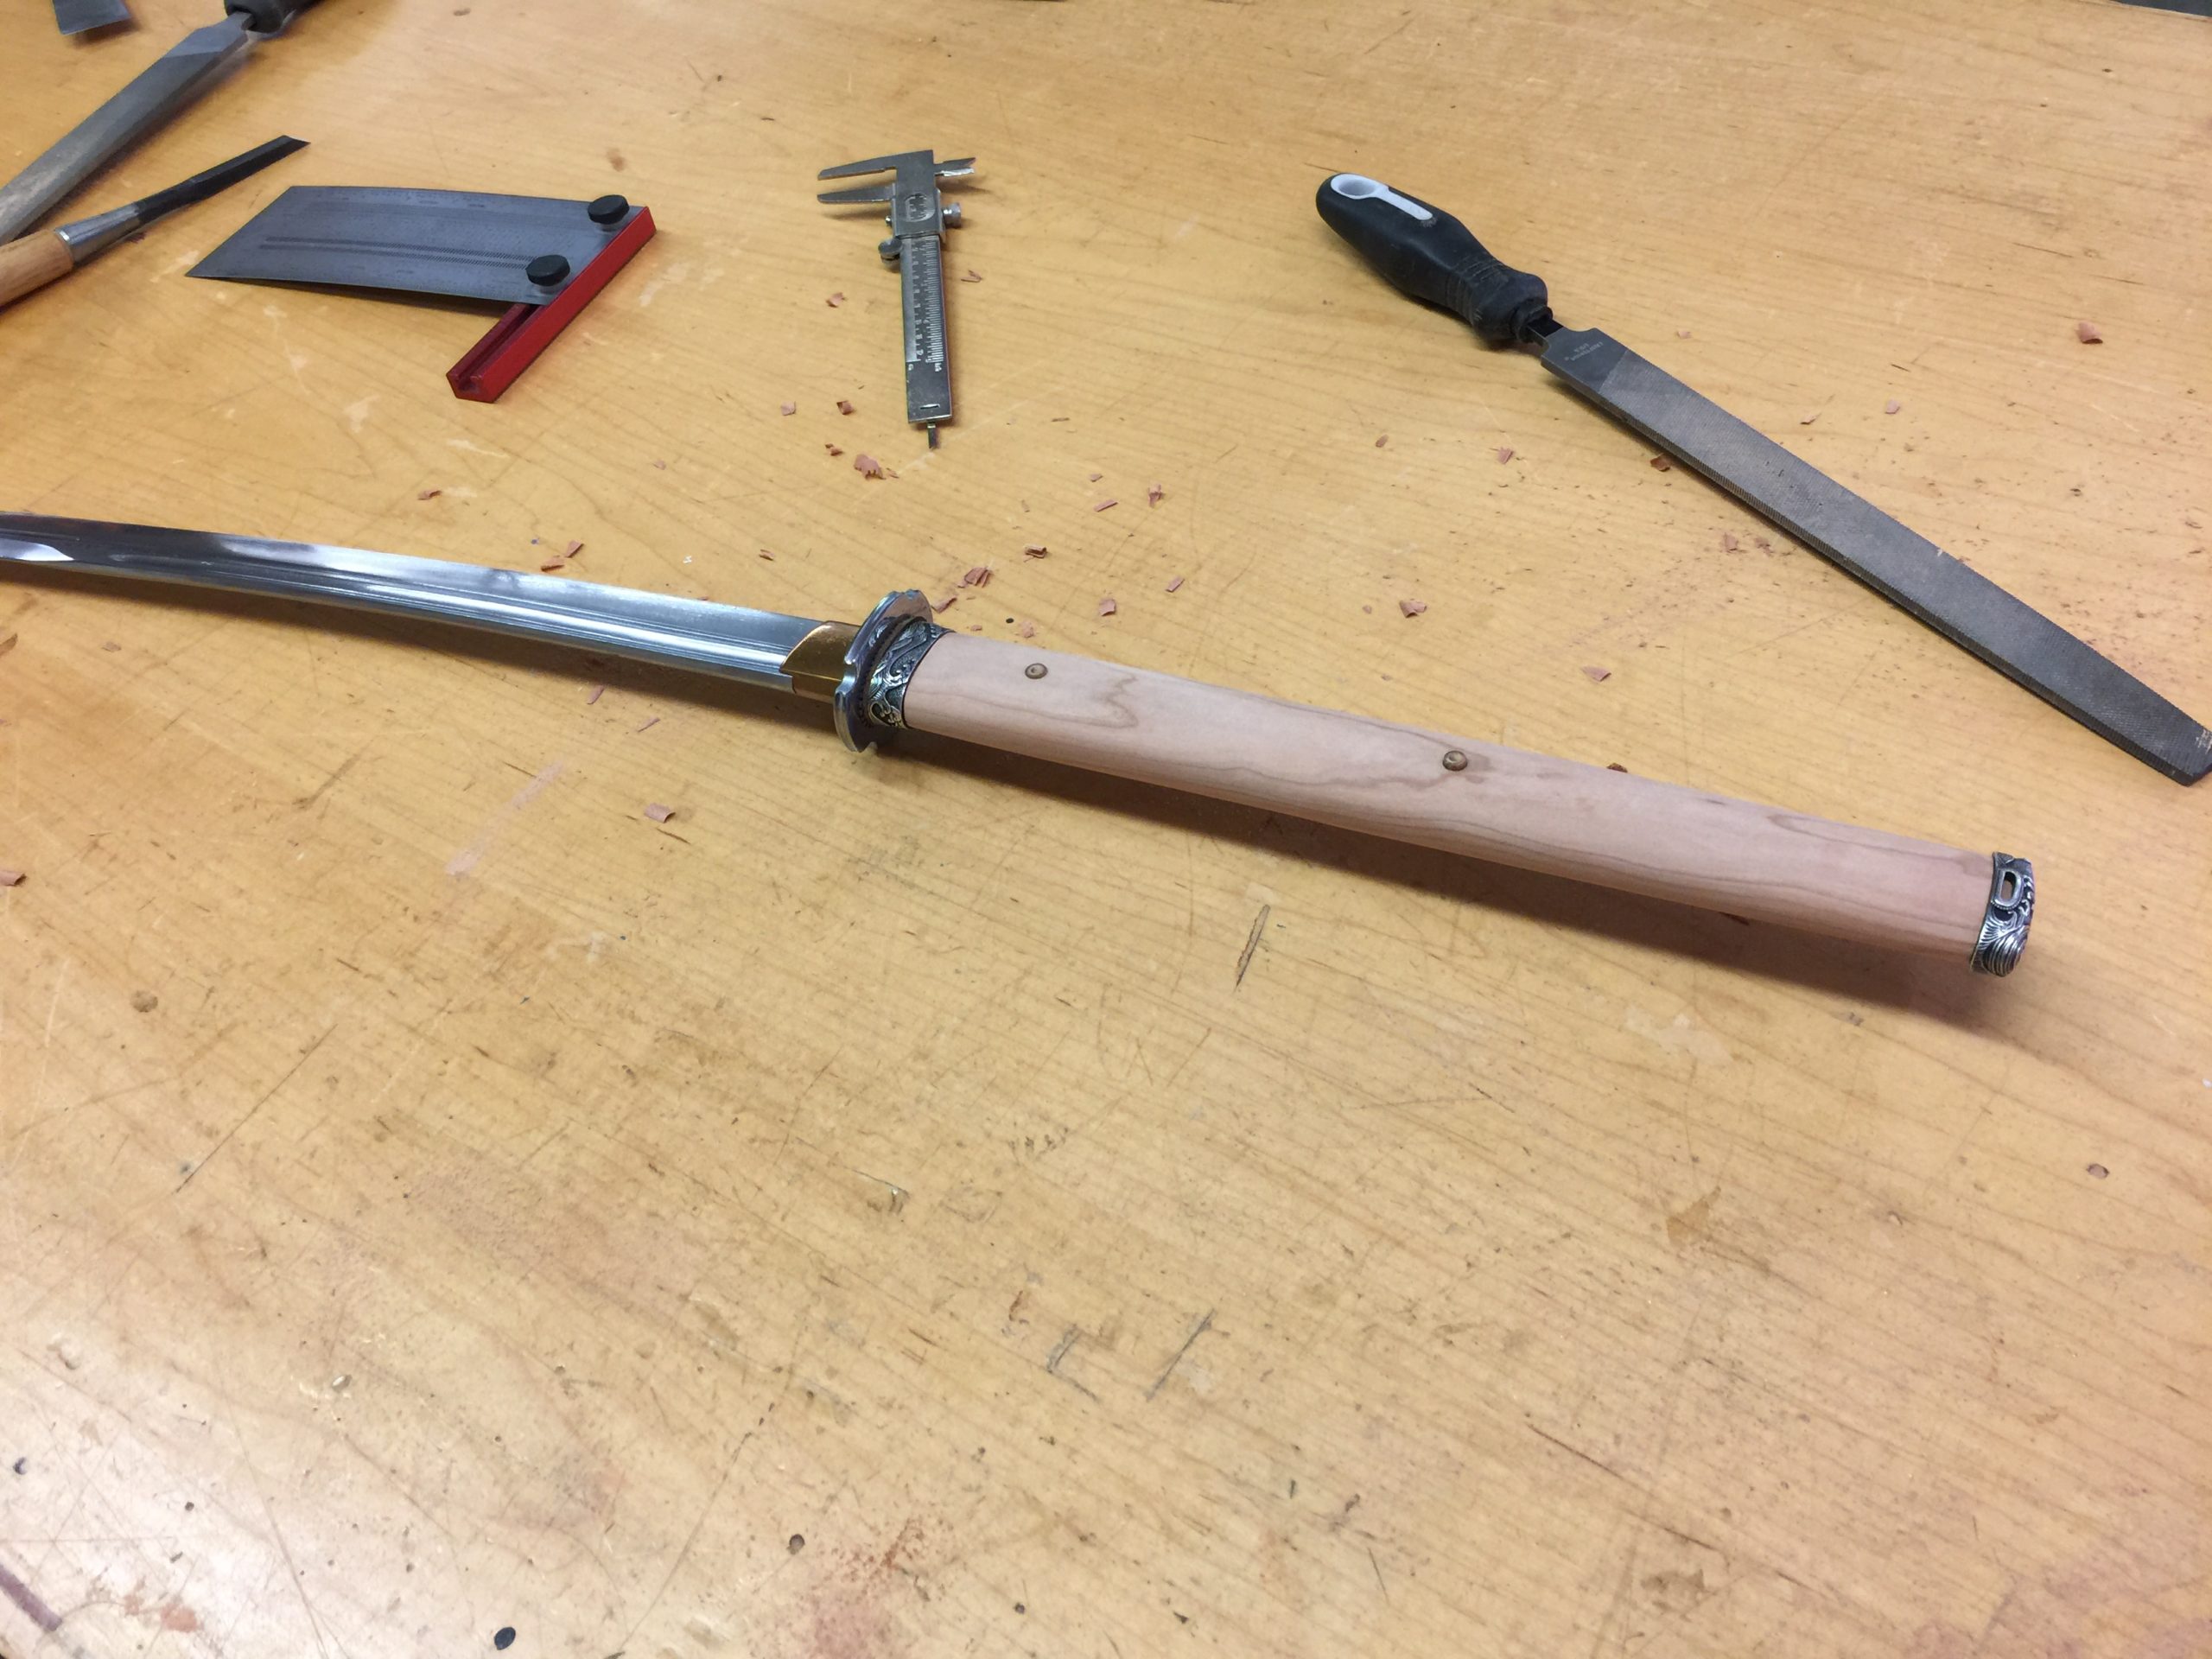
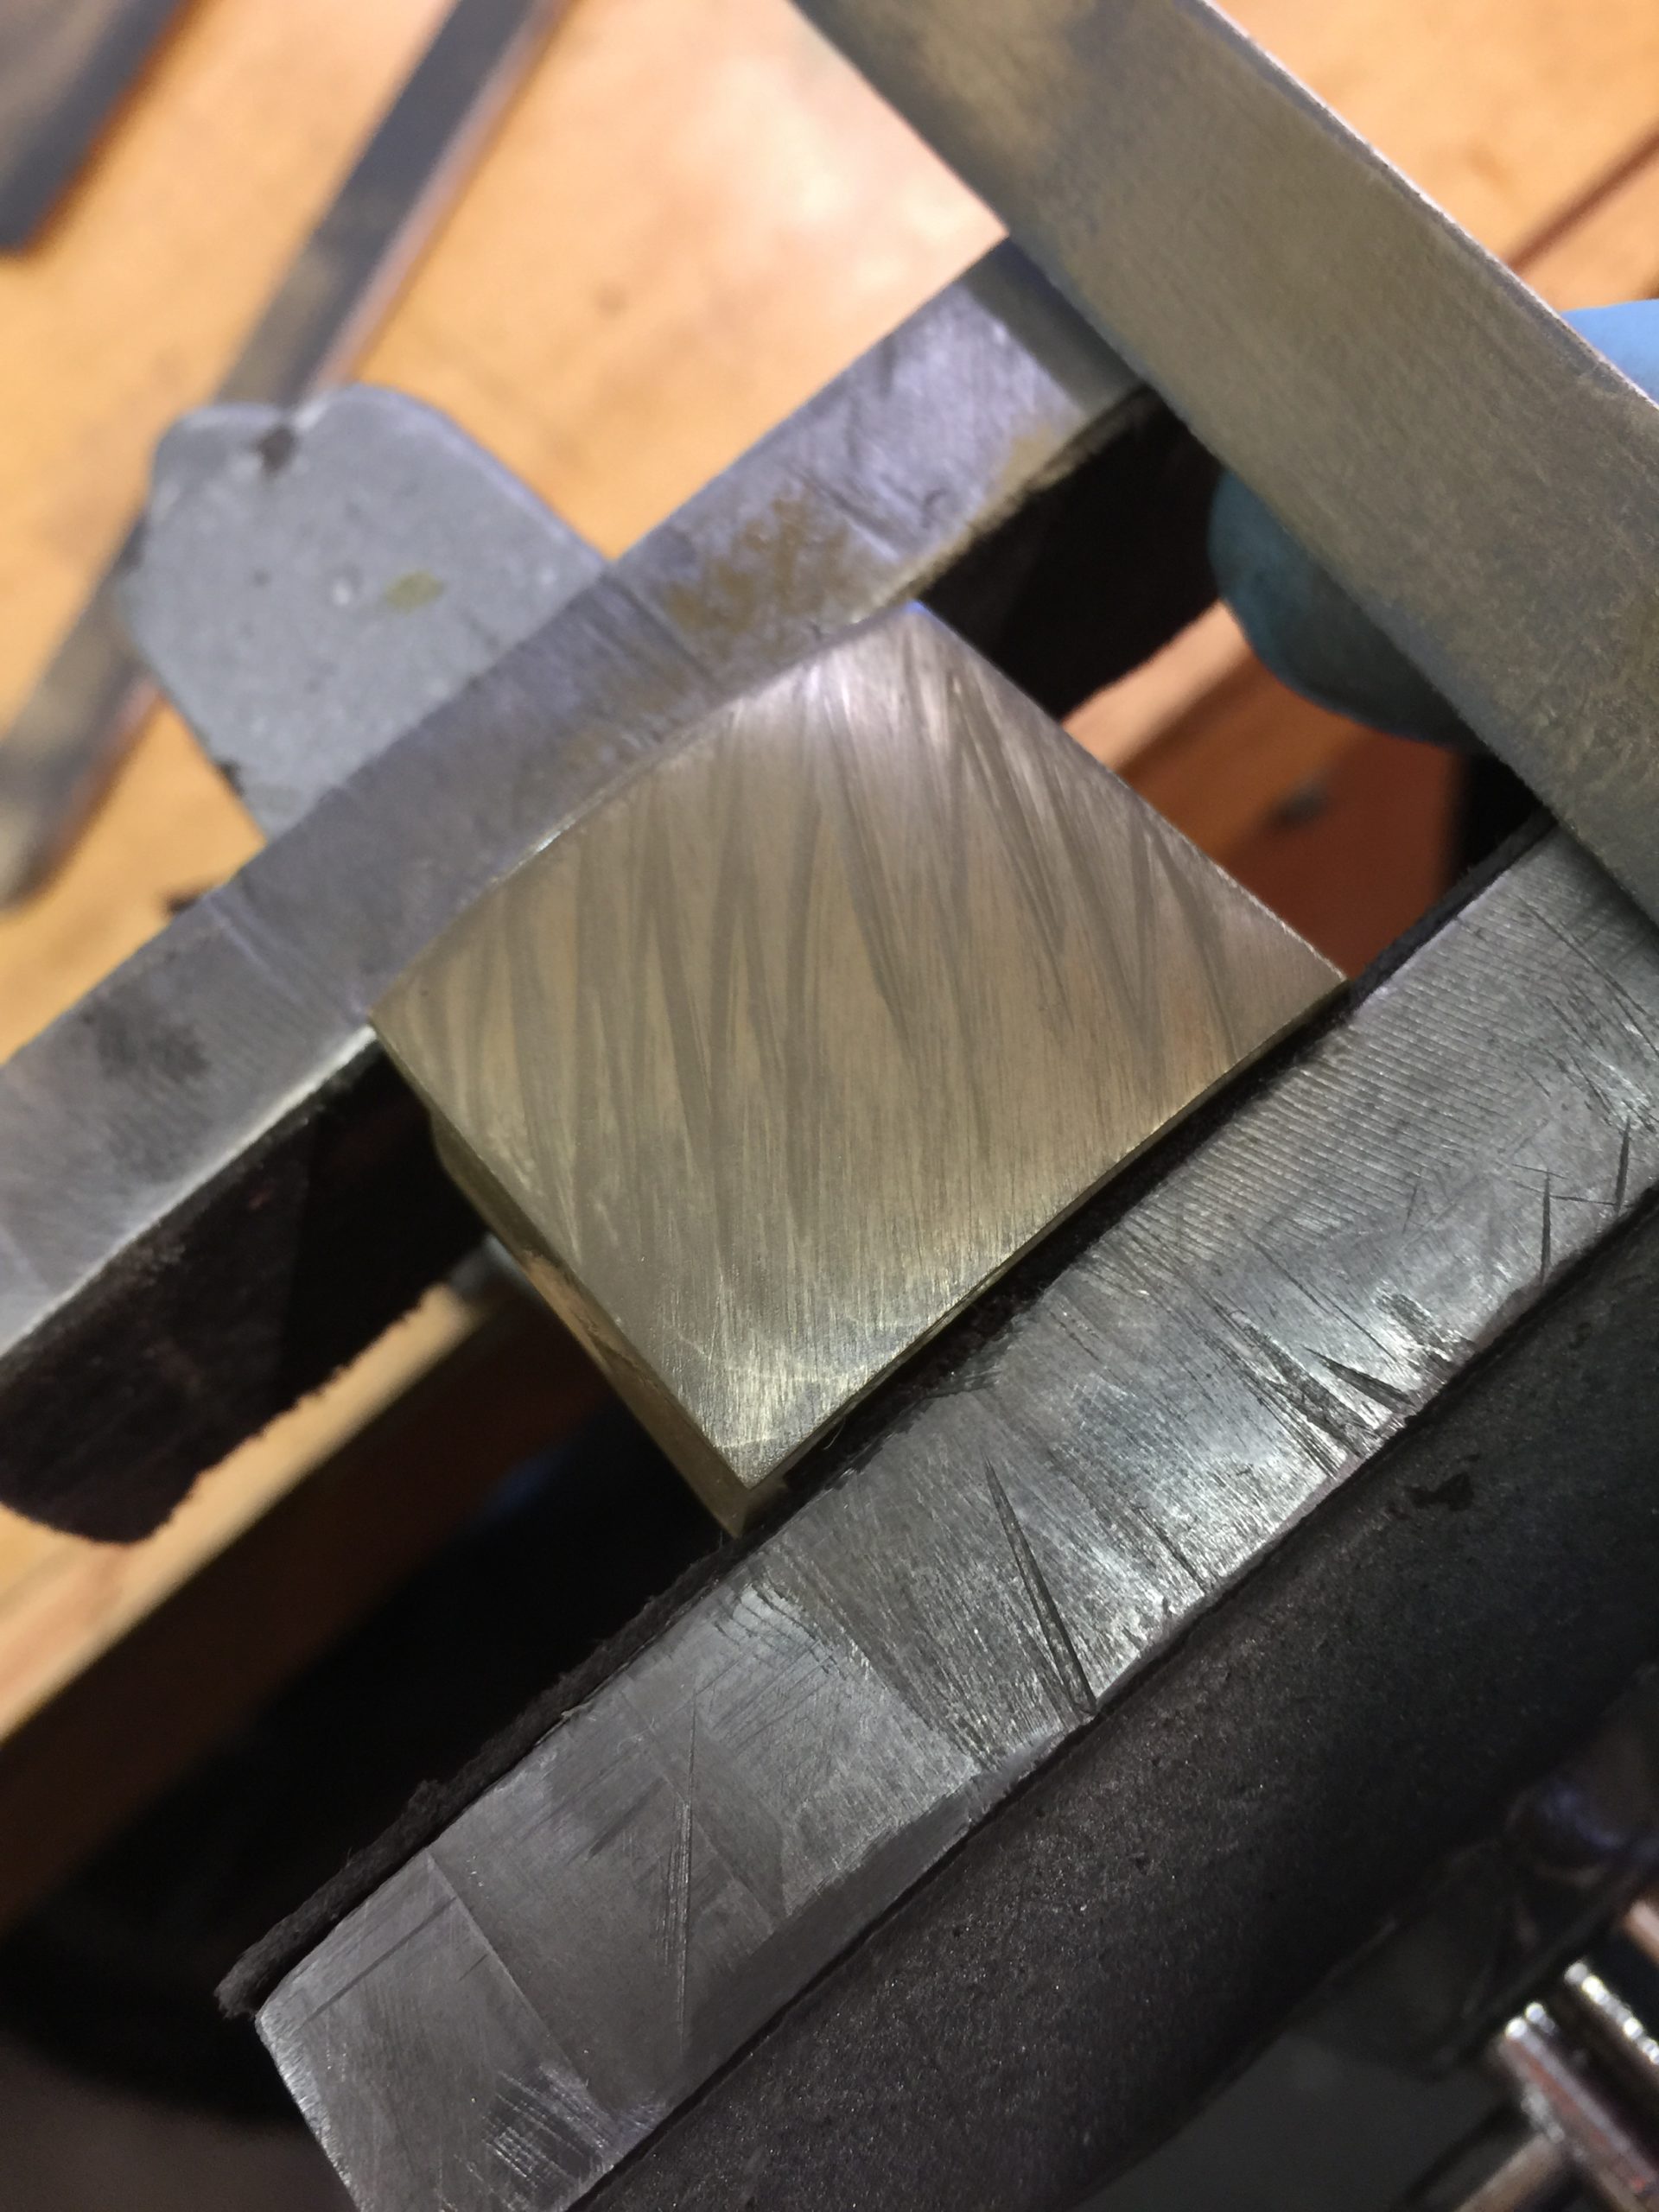
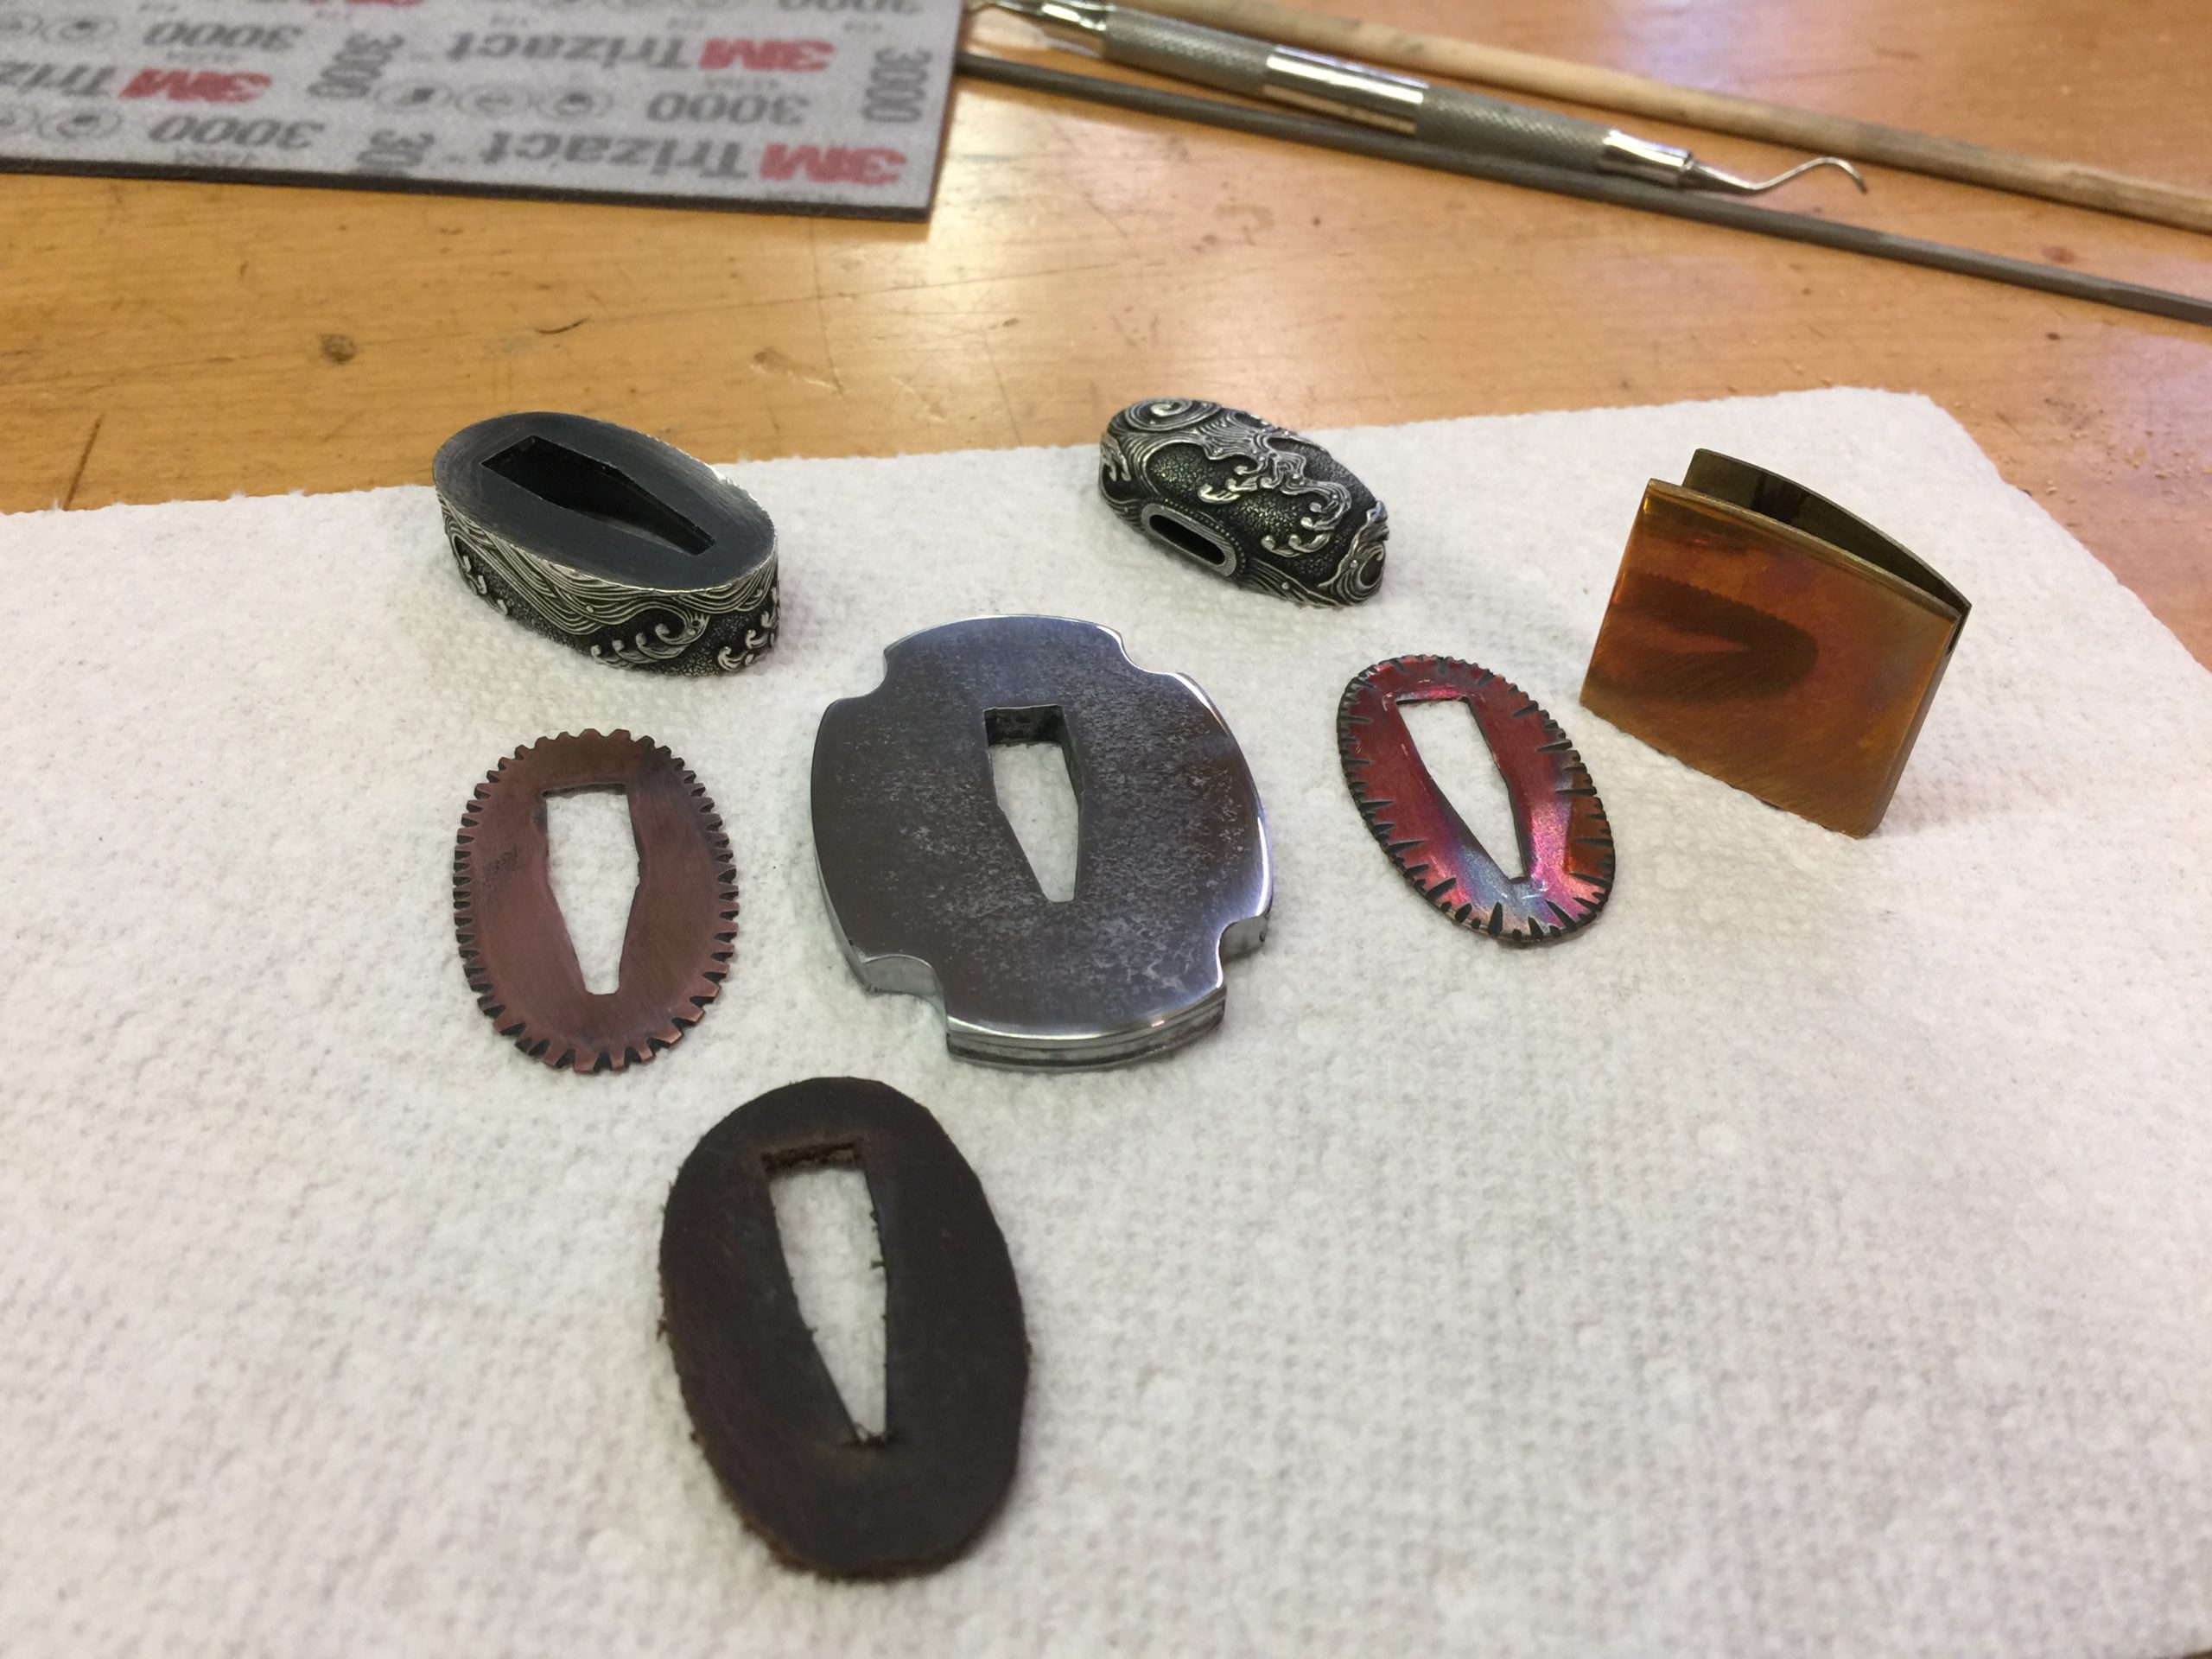
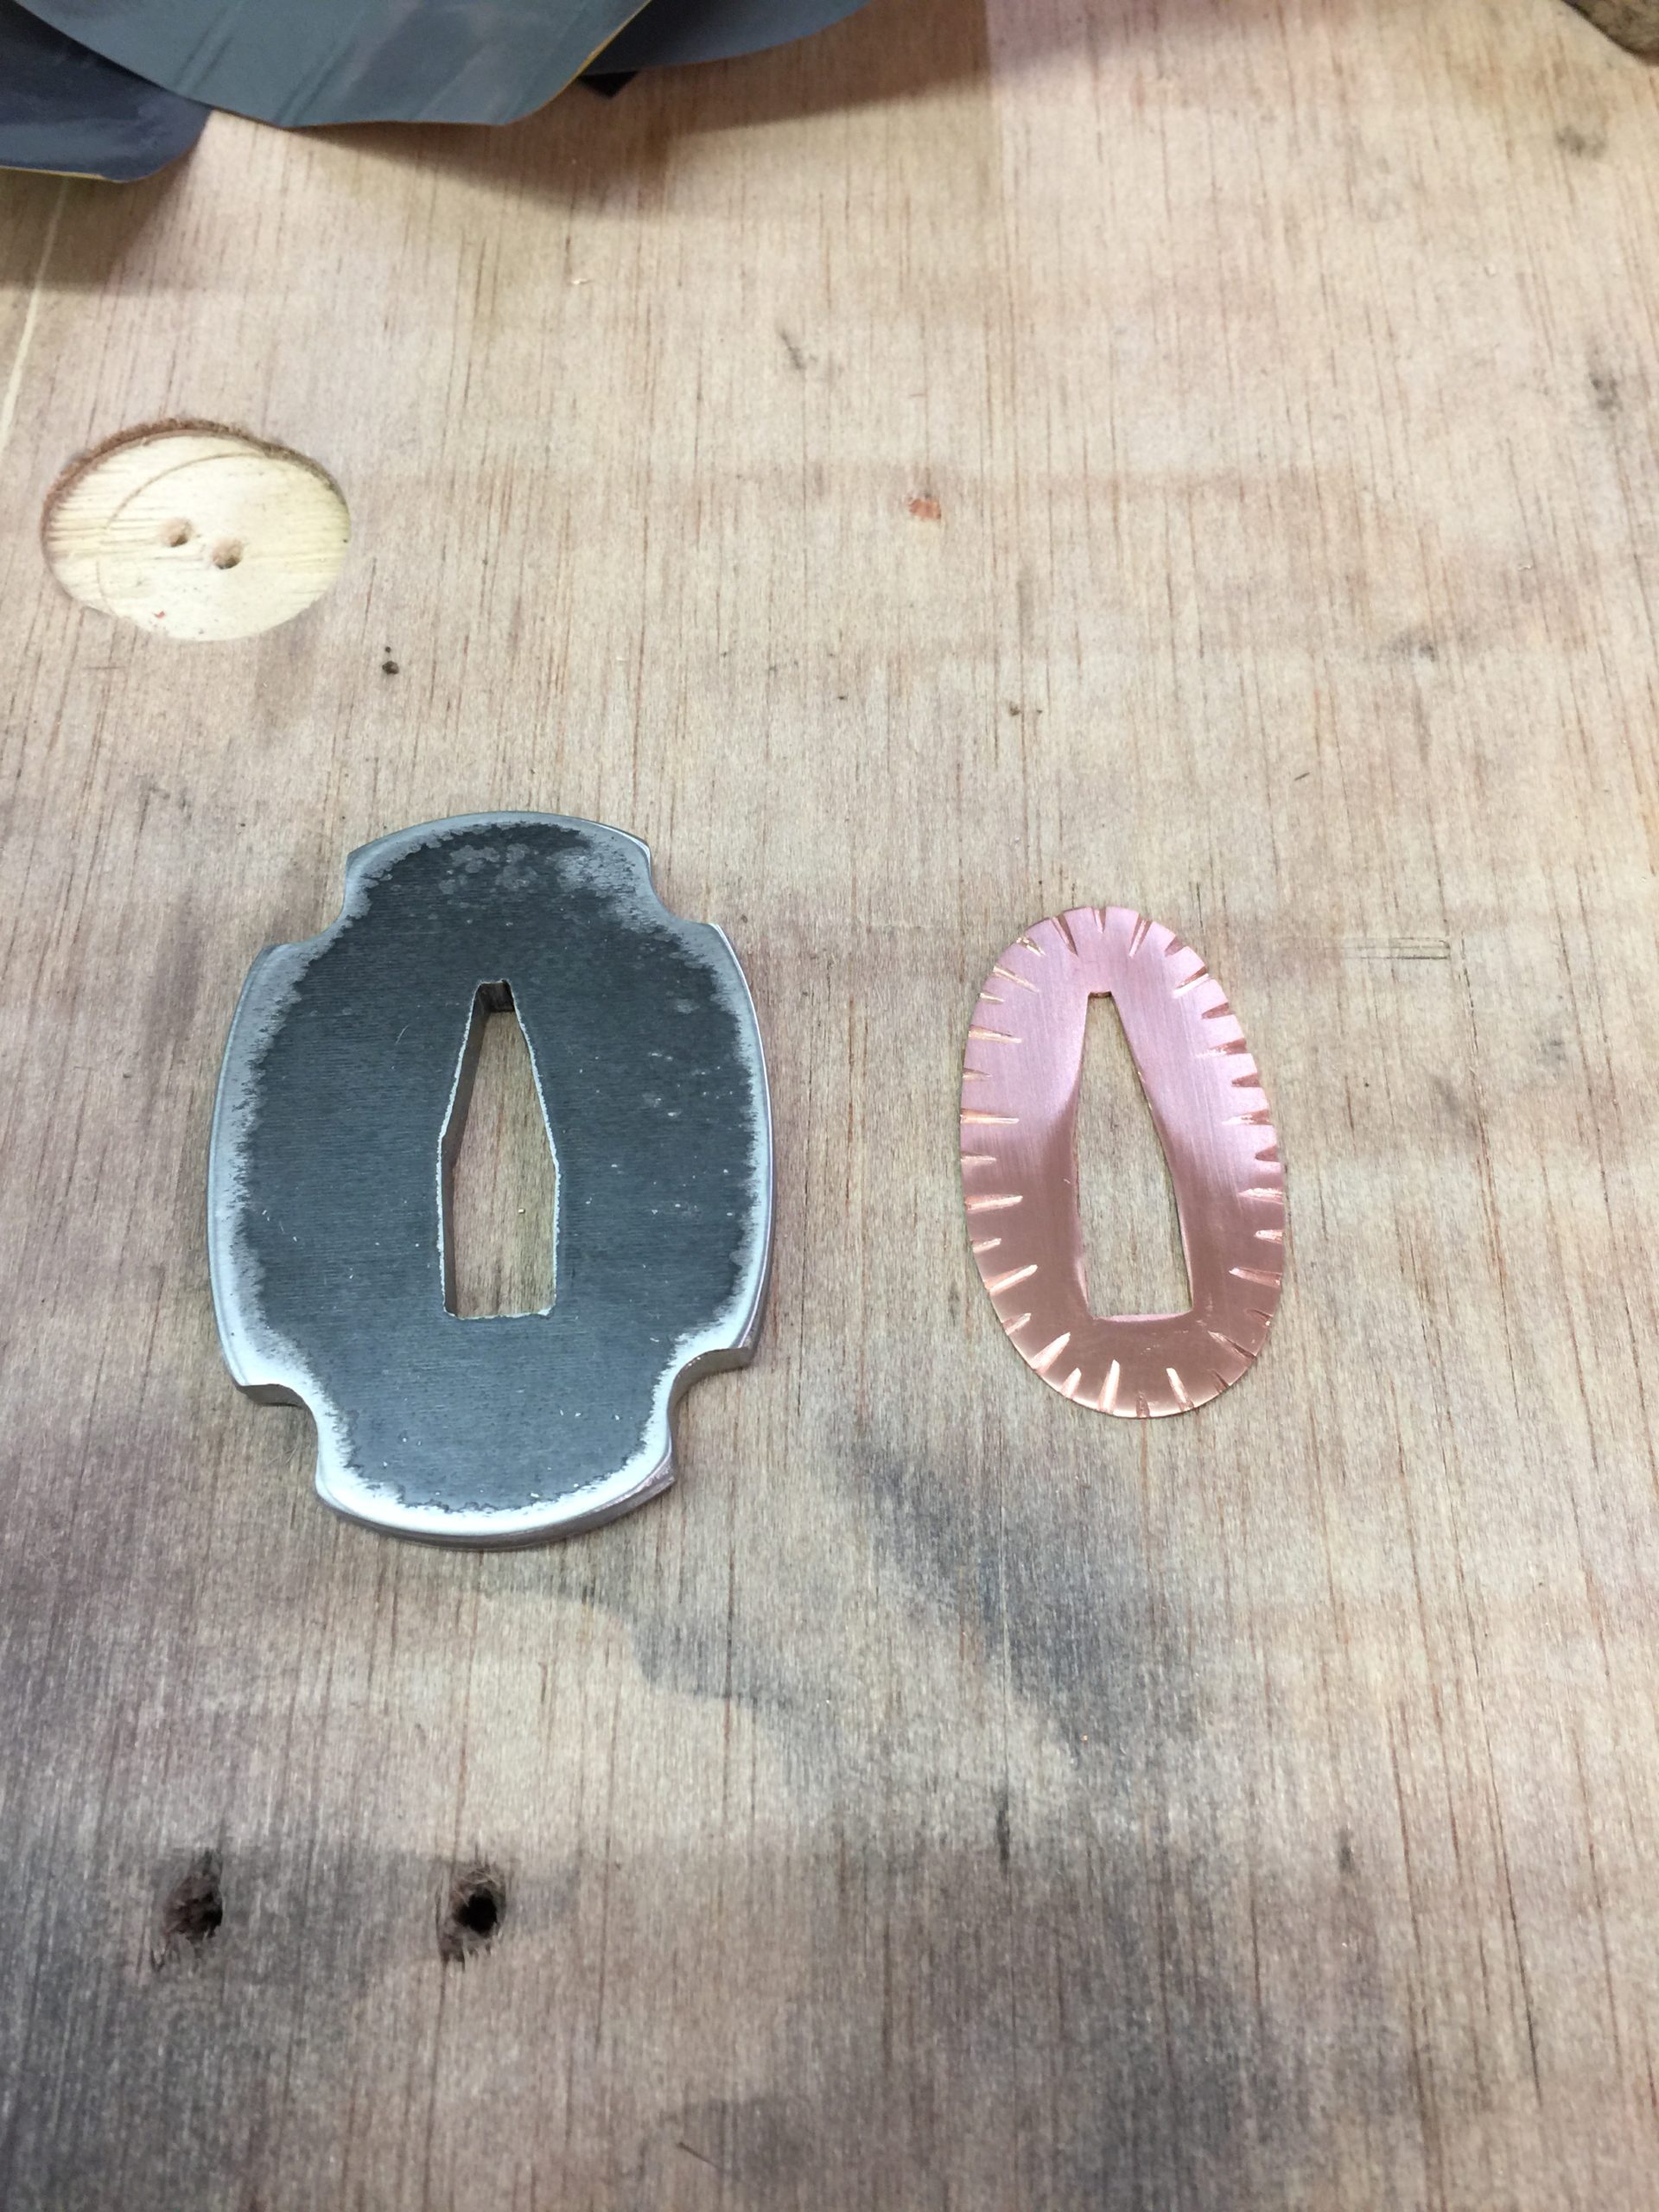
This is the kurikata, the little knob on the side of the saya that keeps it from falling through your belt. I make mine a little small, just what’s needed, and suited for a quick, light sword.

There’s always a little nervousness when the saya is first glued up. If for whatever reason it’s too tight, it is a real pain to make the inside any bigger. You literally have to tape sandpaper to your sword and slowly sand the opening larger until the fit is just right. It takes hours, if not days. Better to just get it right on the first try. This burden is only on those of us who make our saya as snug as I do. Traditionally, they are made a little loose and you don’t have to worry about this.

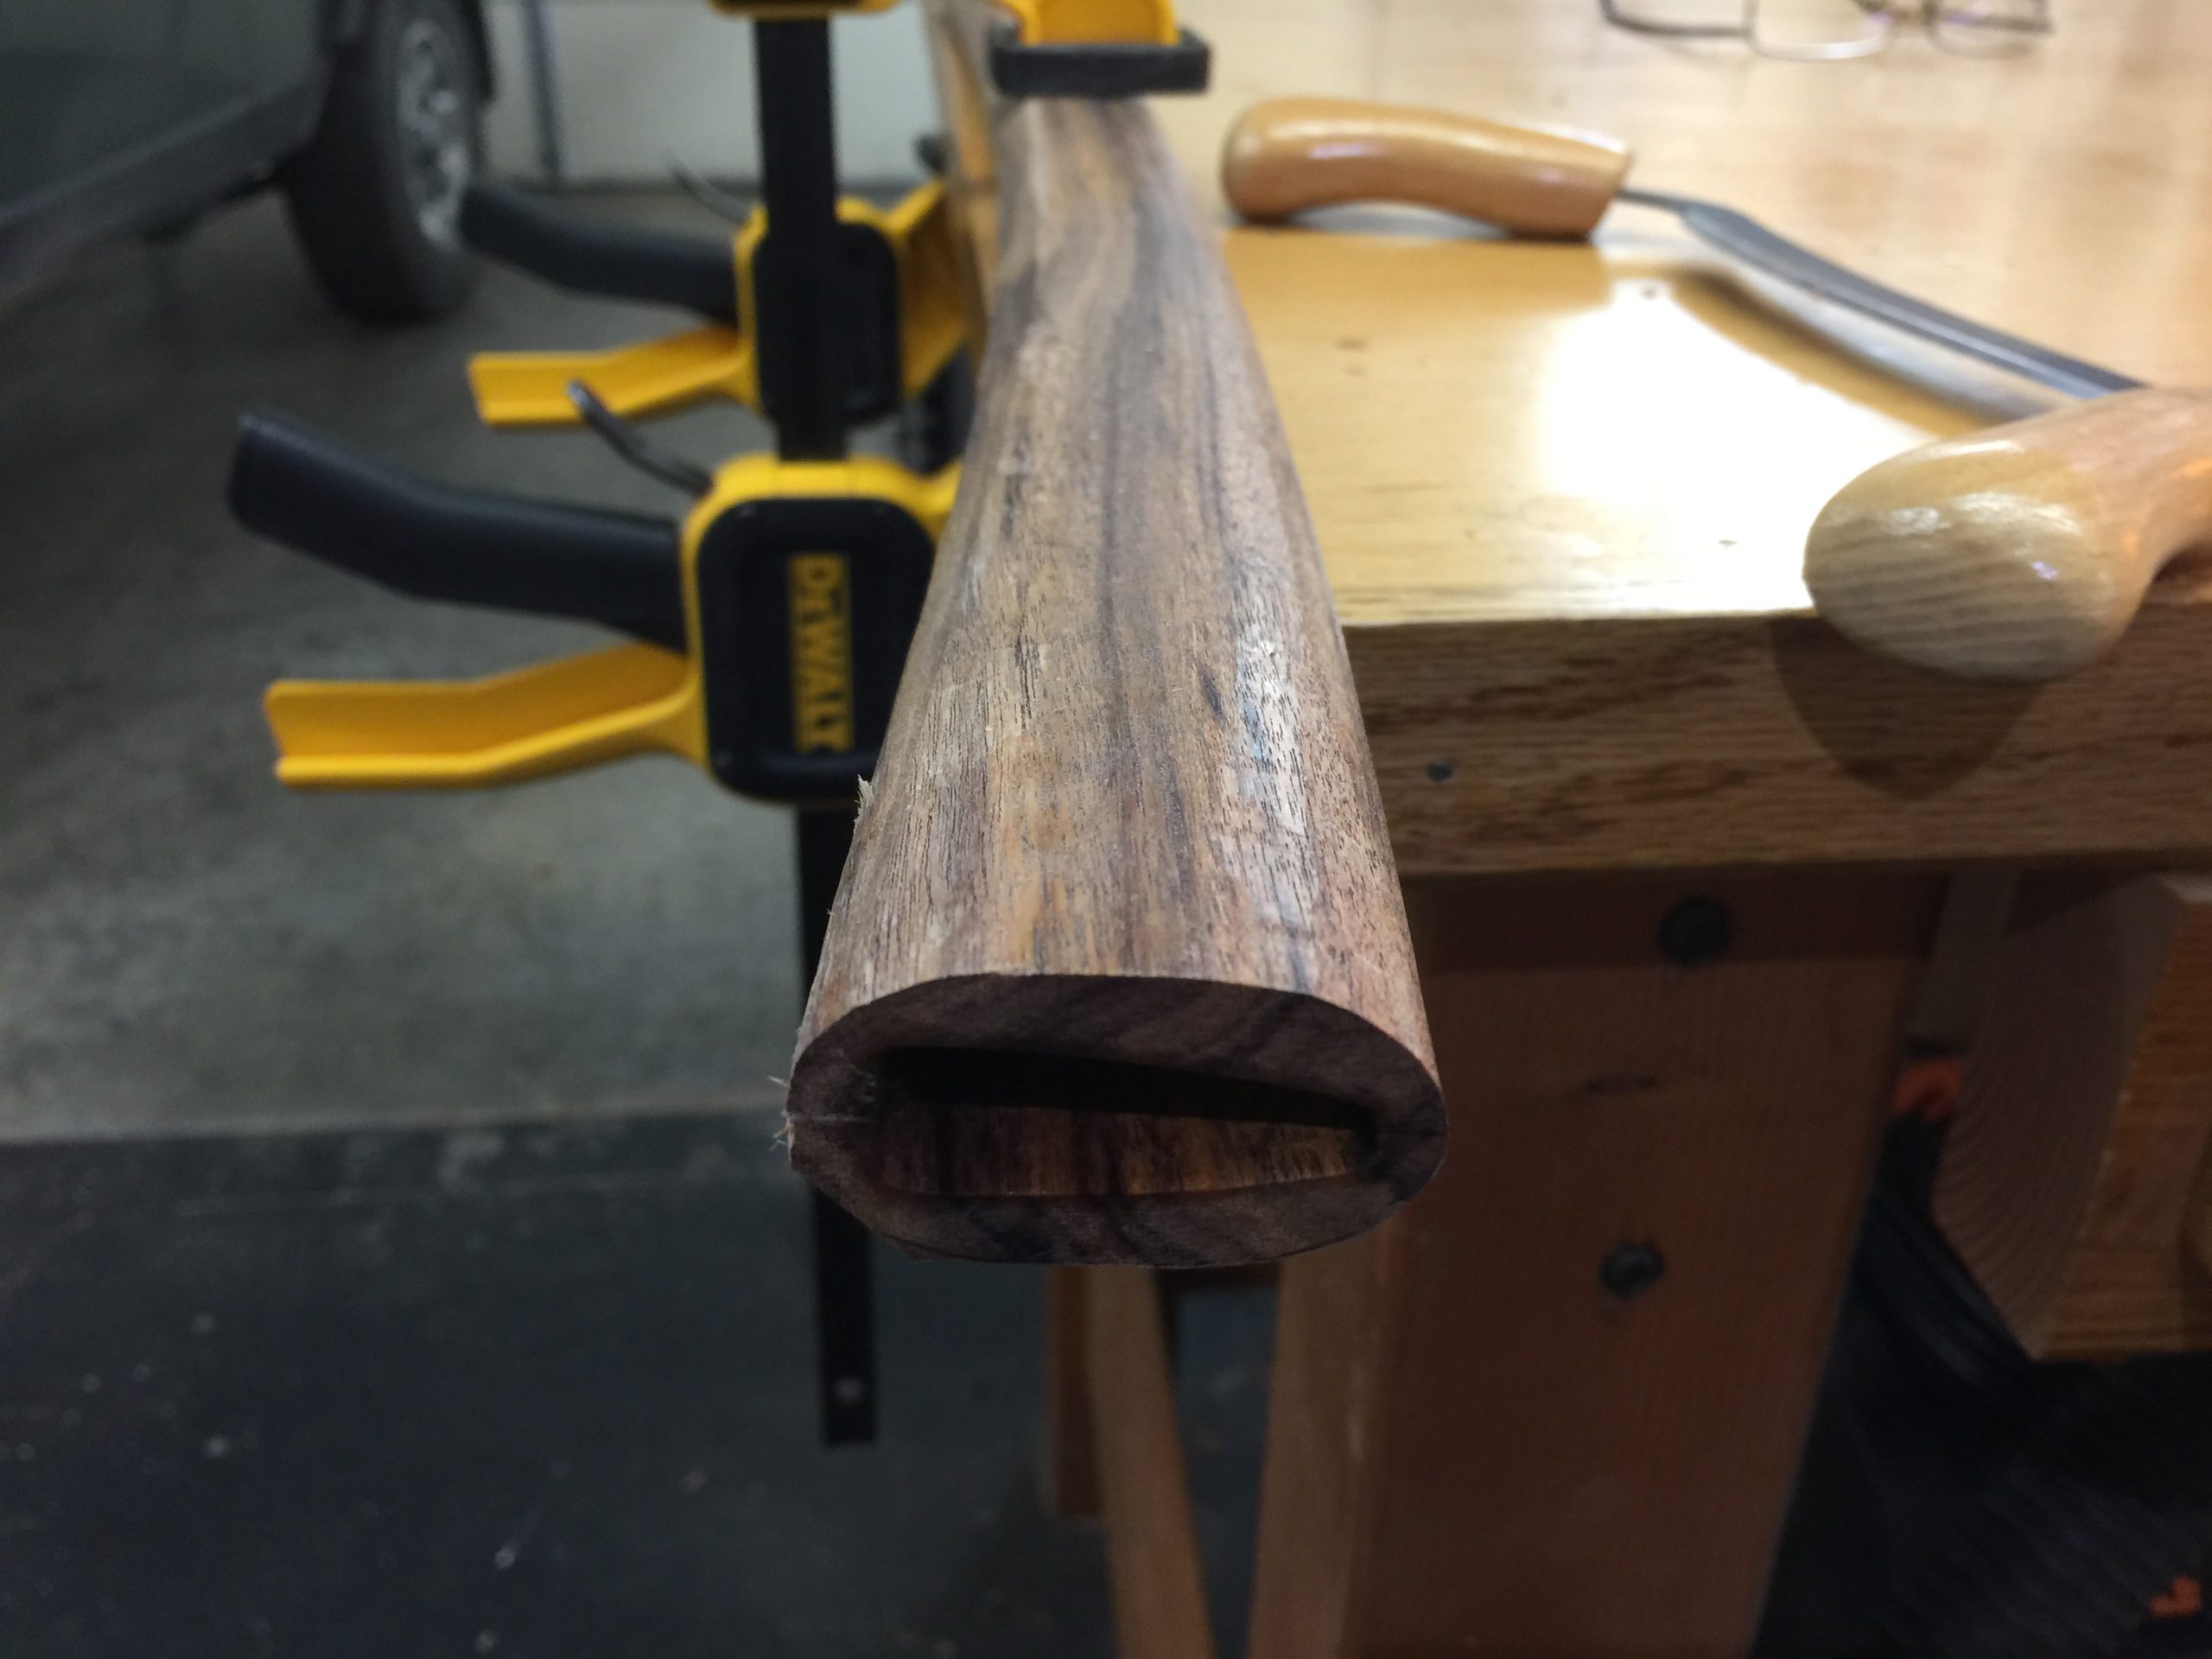
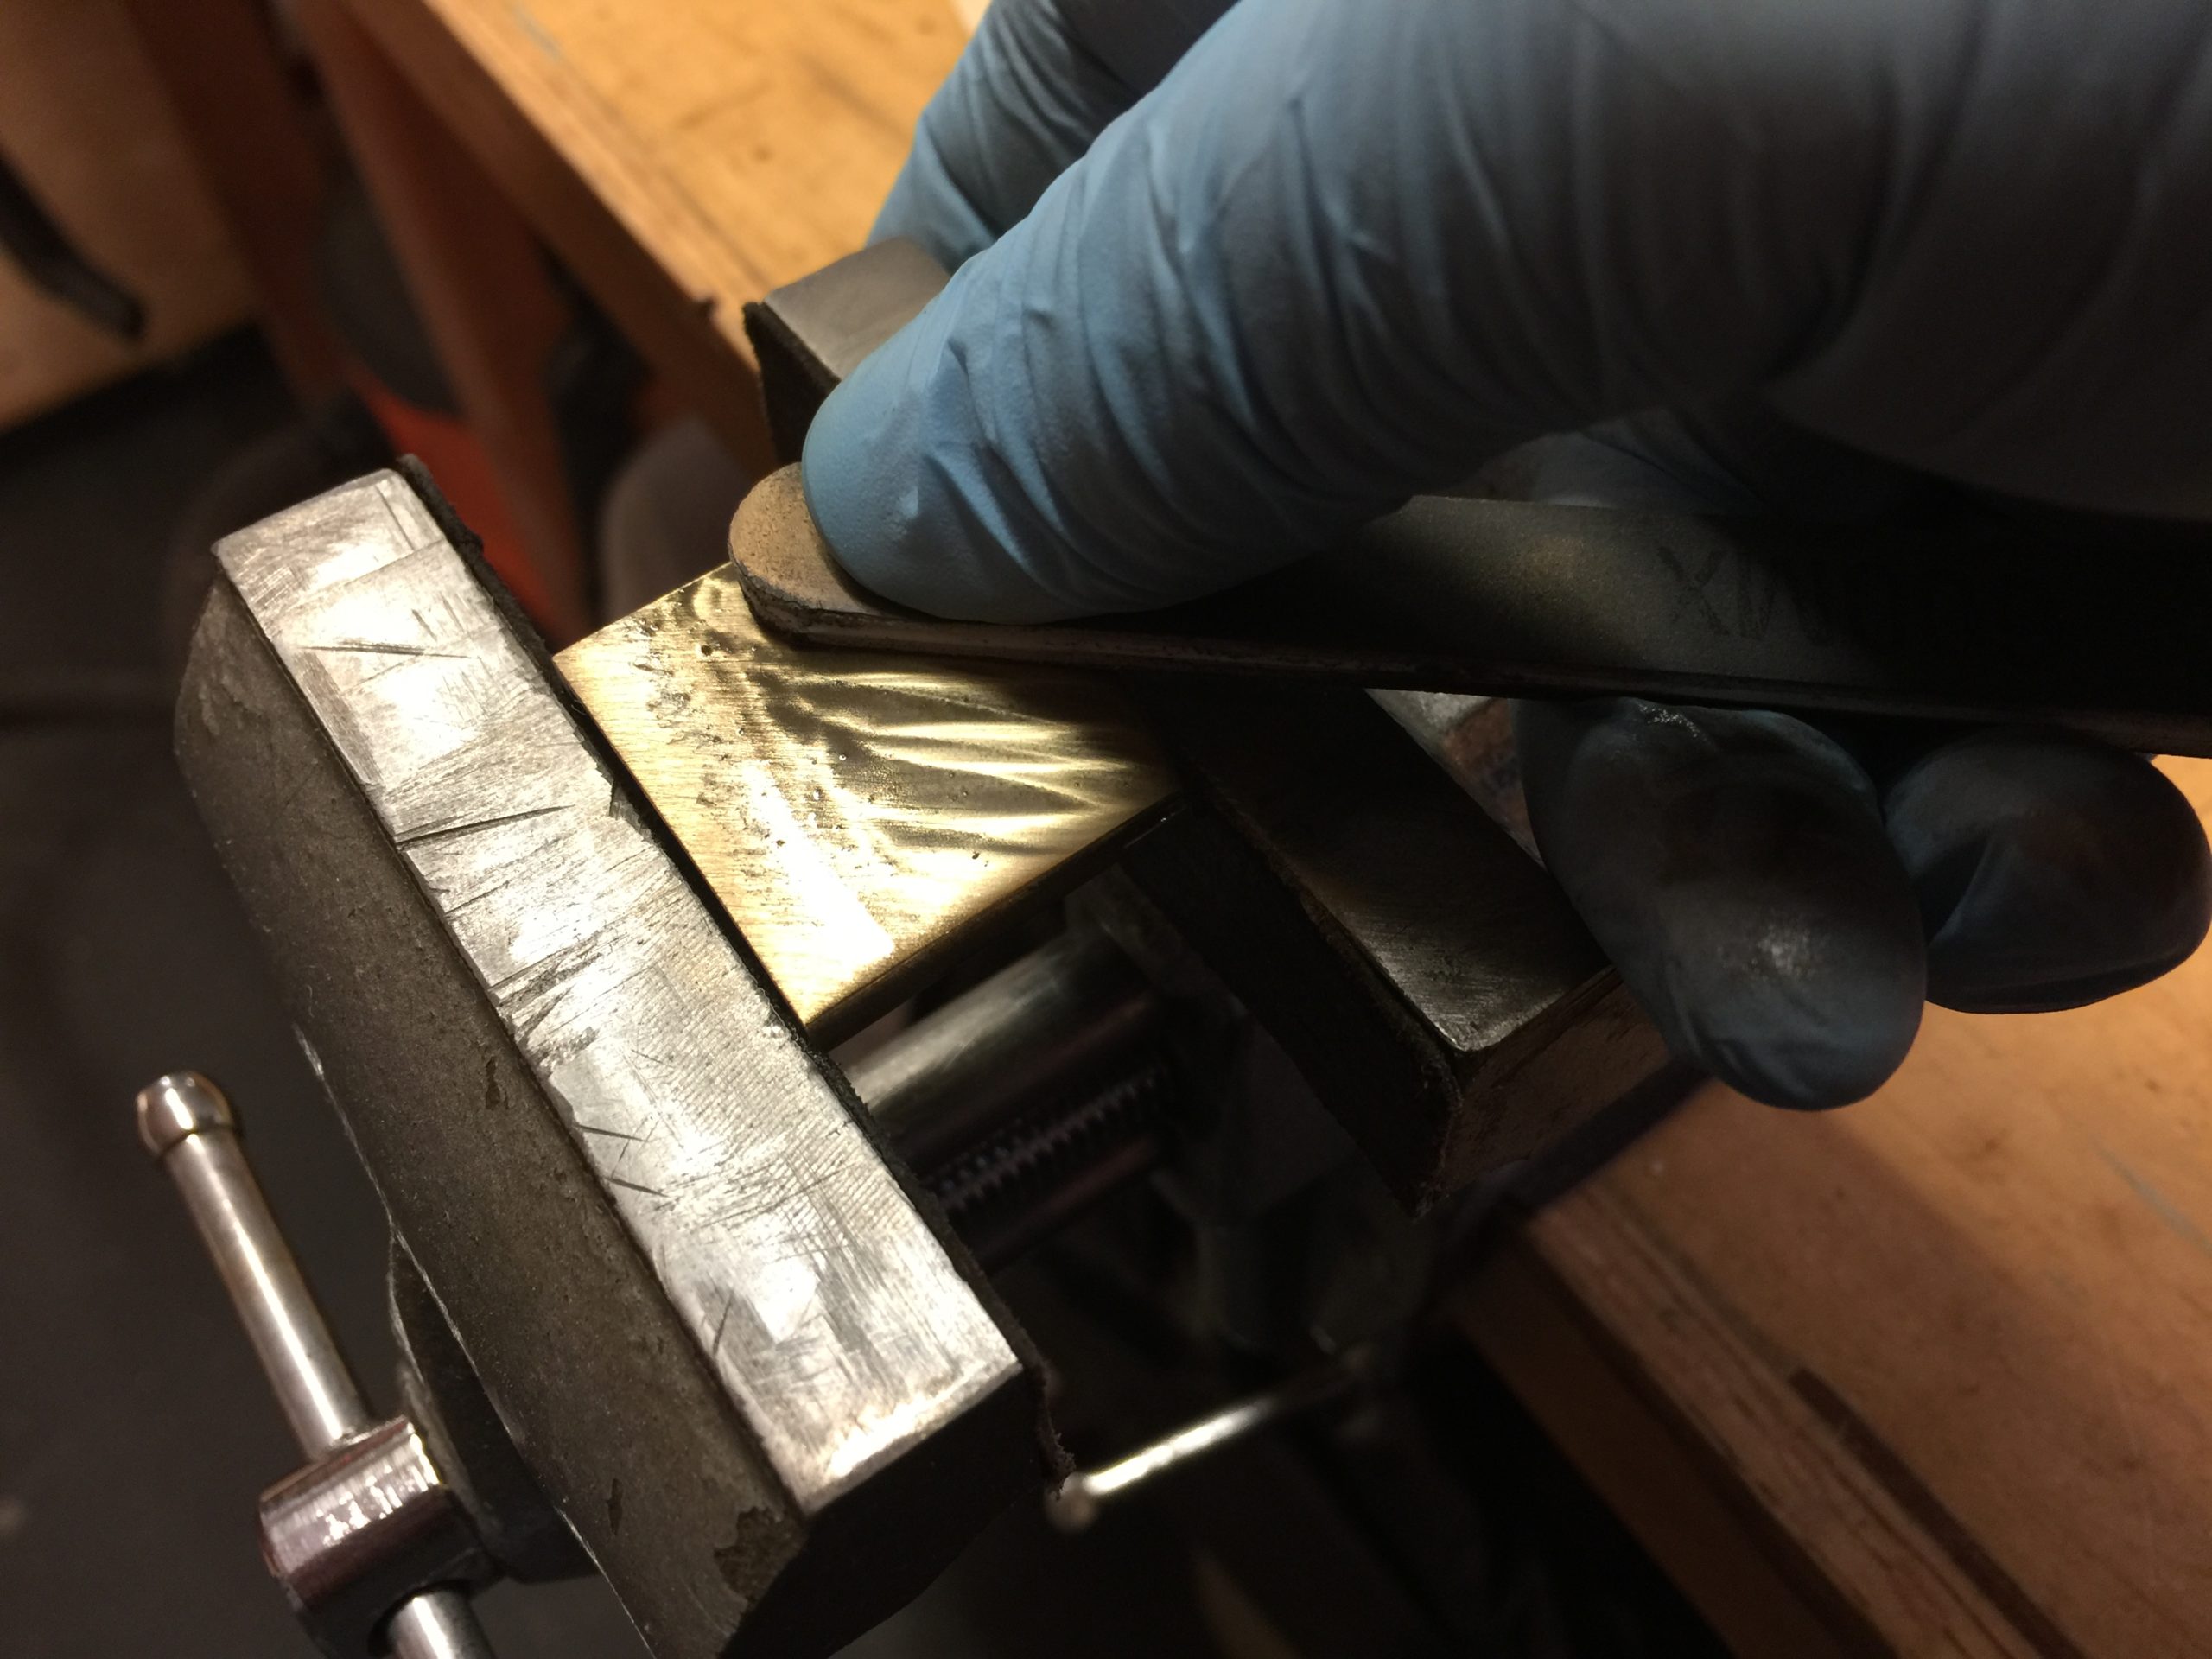
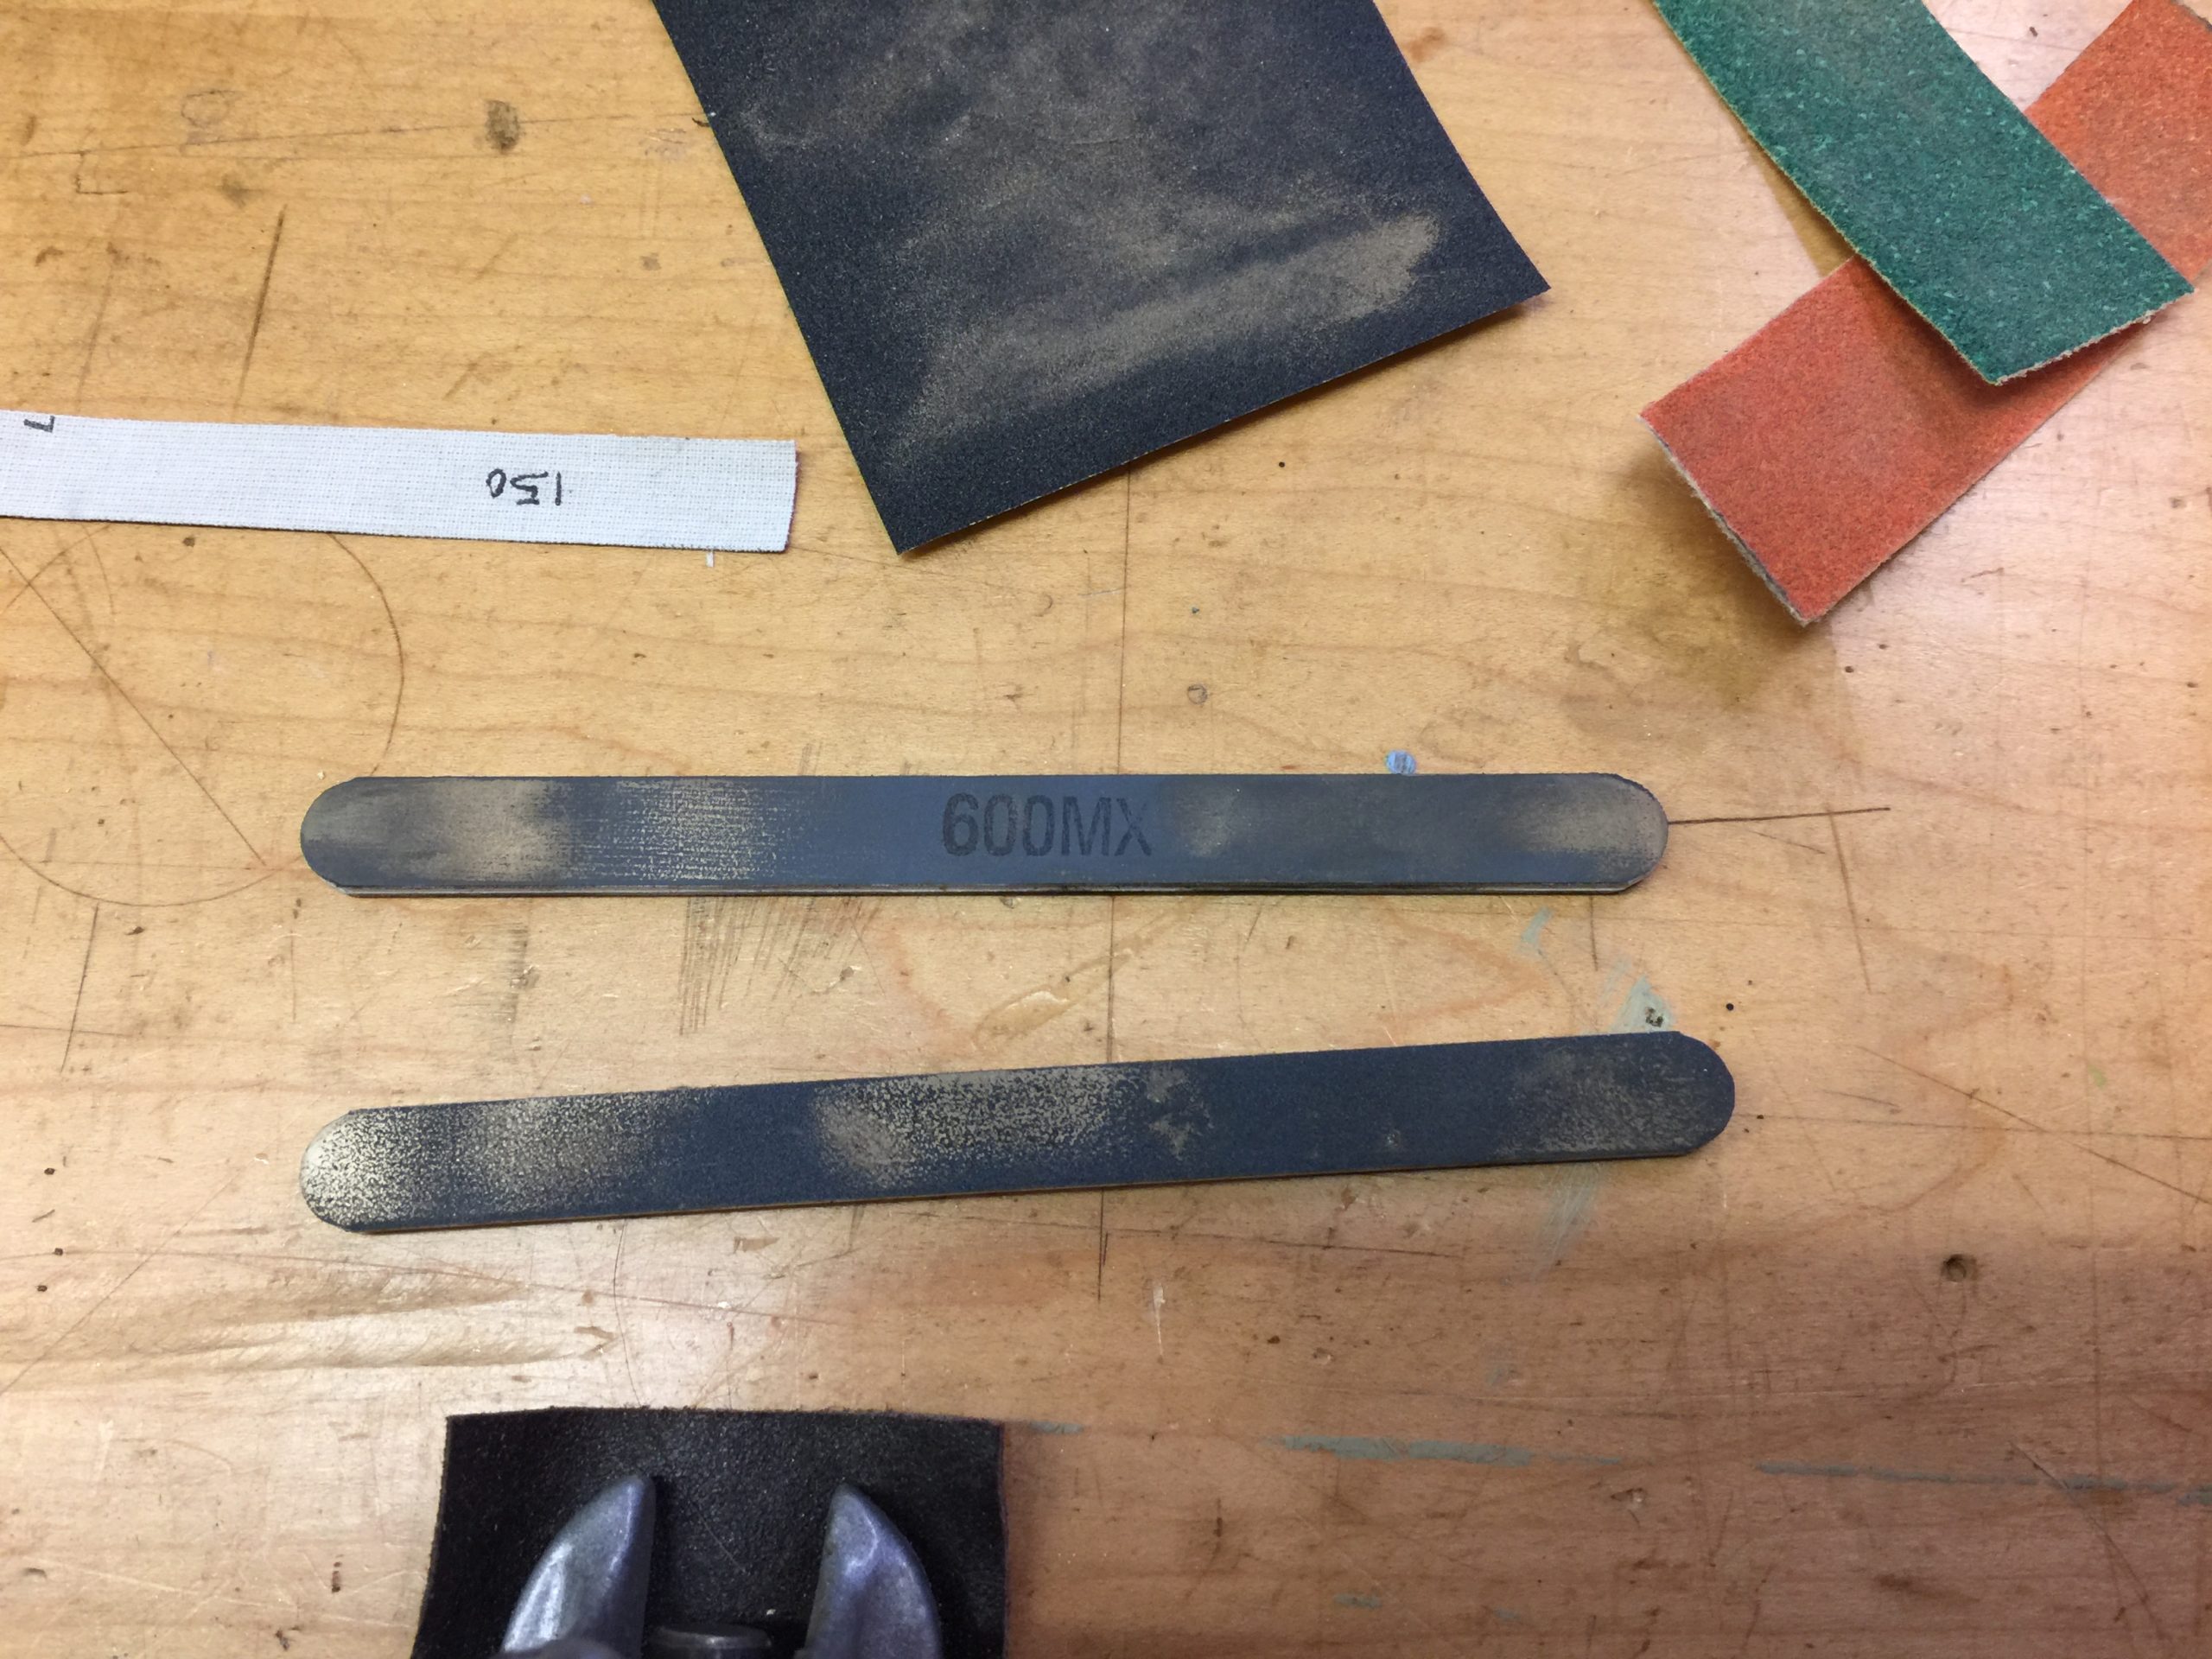
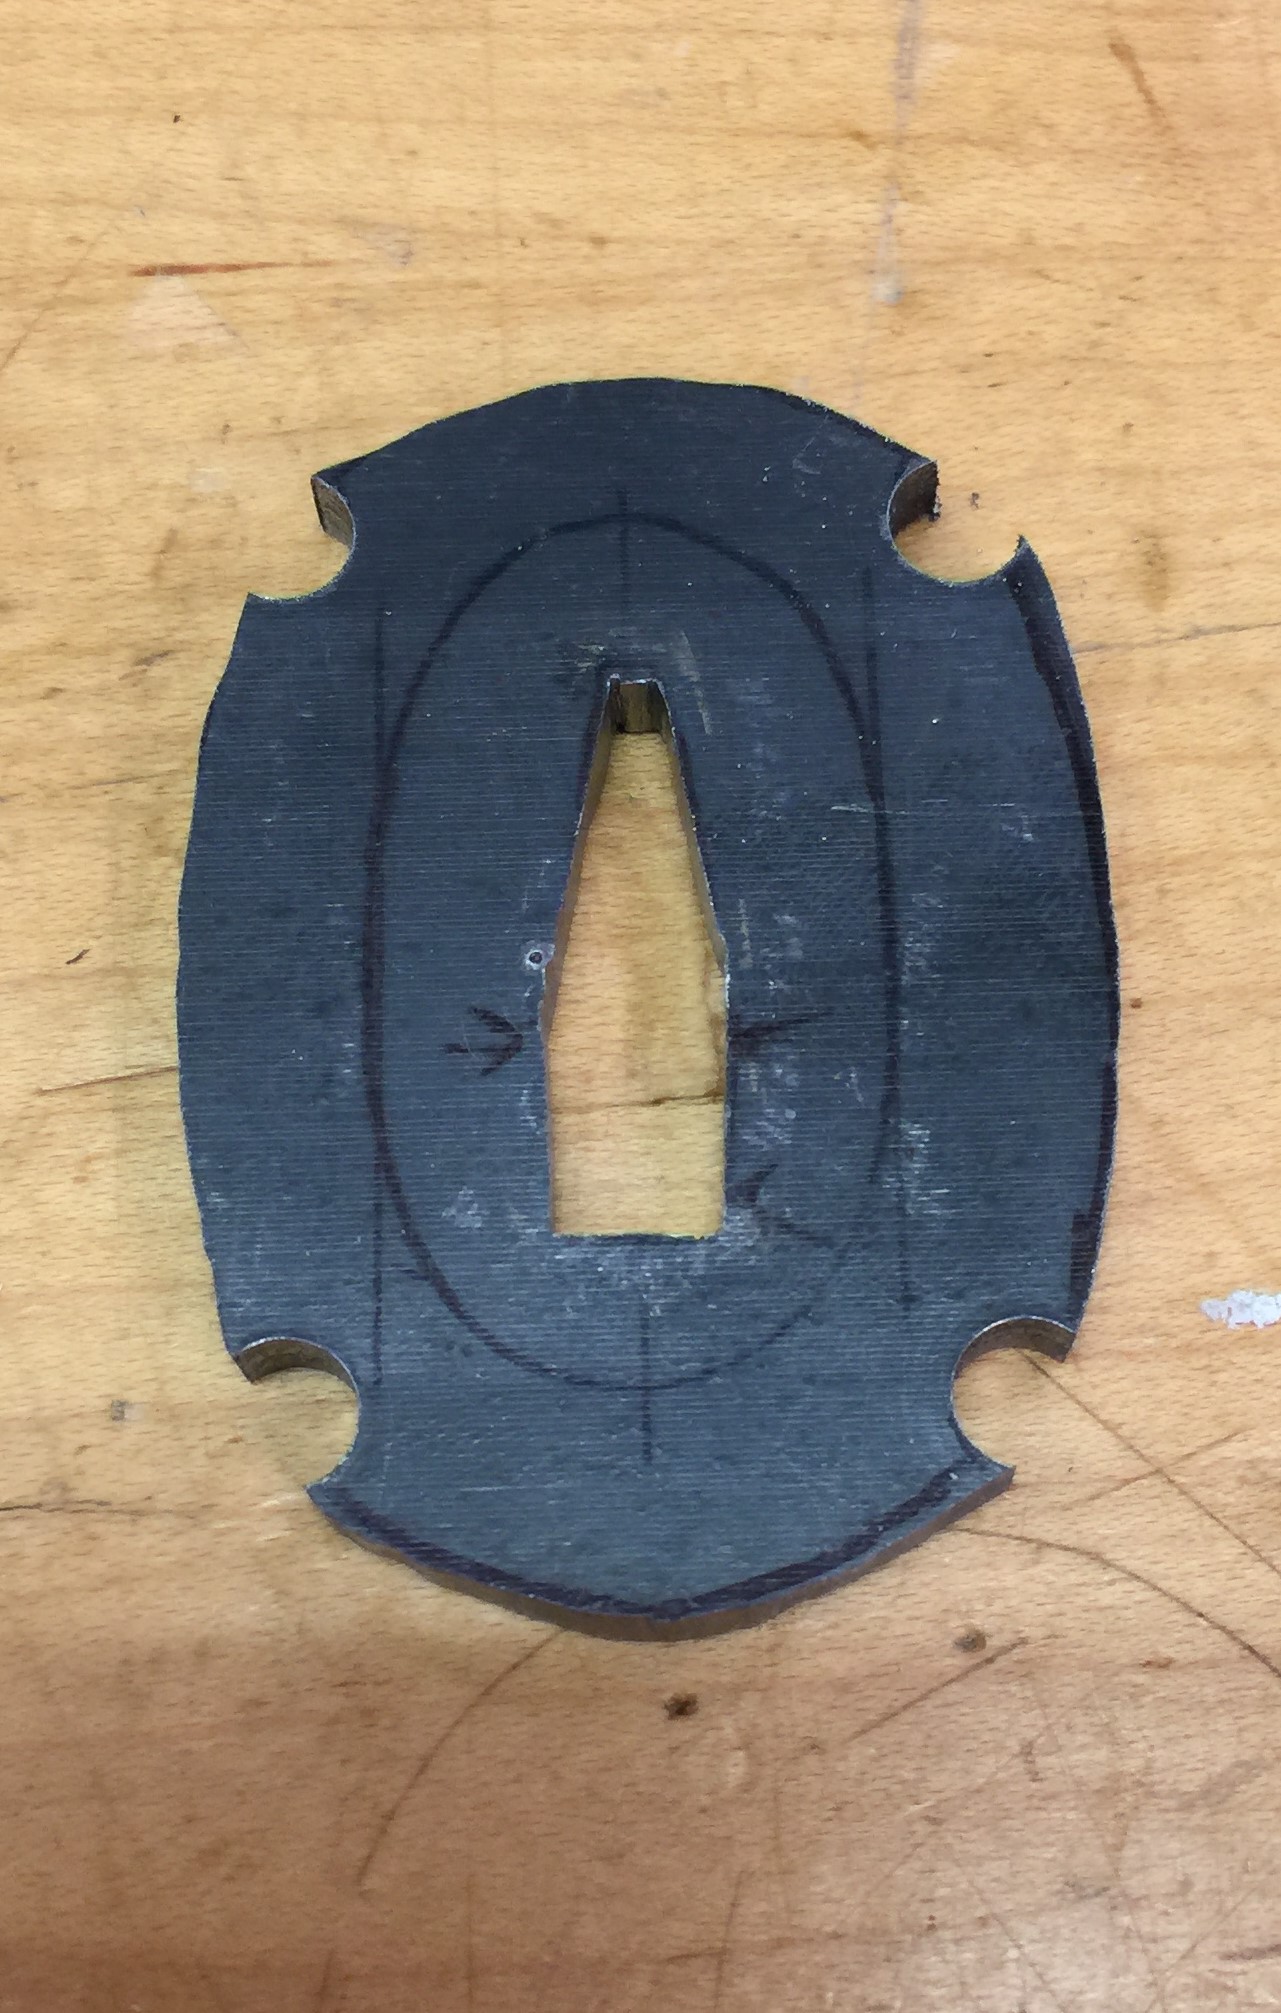
Carving this wood was a bear of a task. Draw knives, shavers, whatever I could use to get this nice oval shape, and then a course of sanding (for four hours) to get it all smooth.

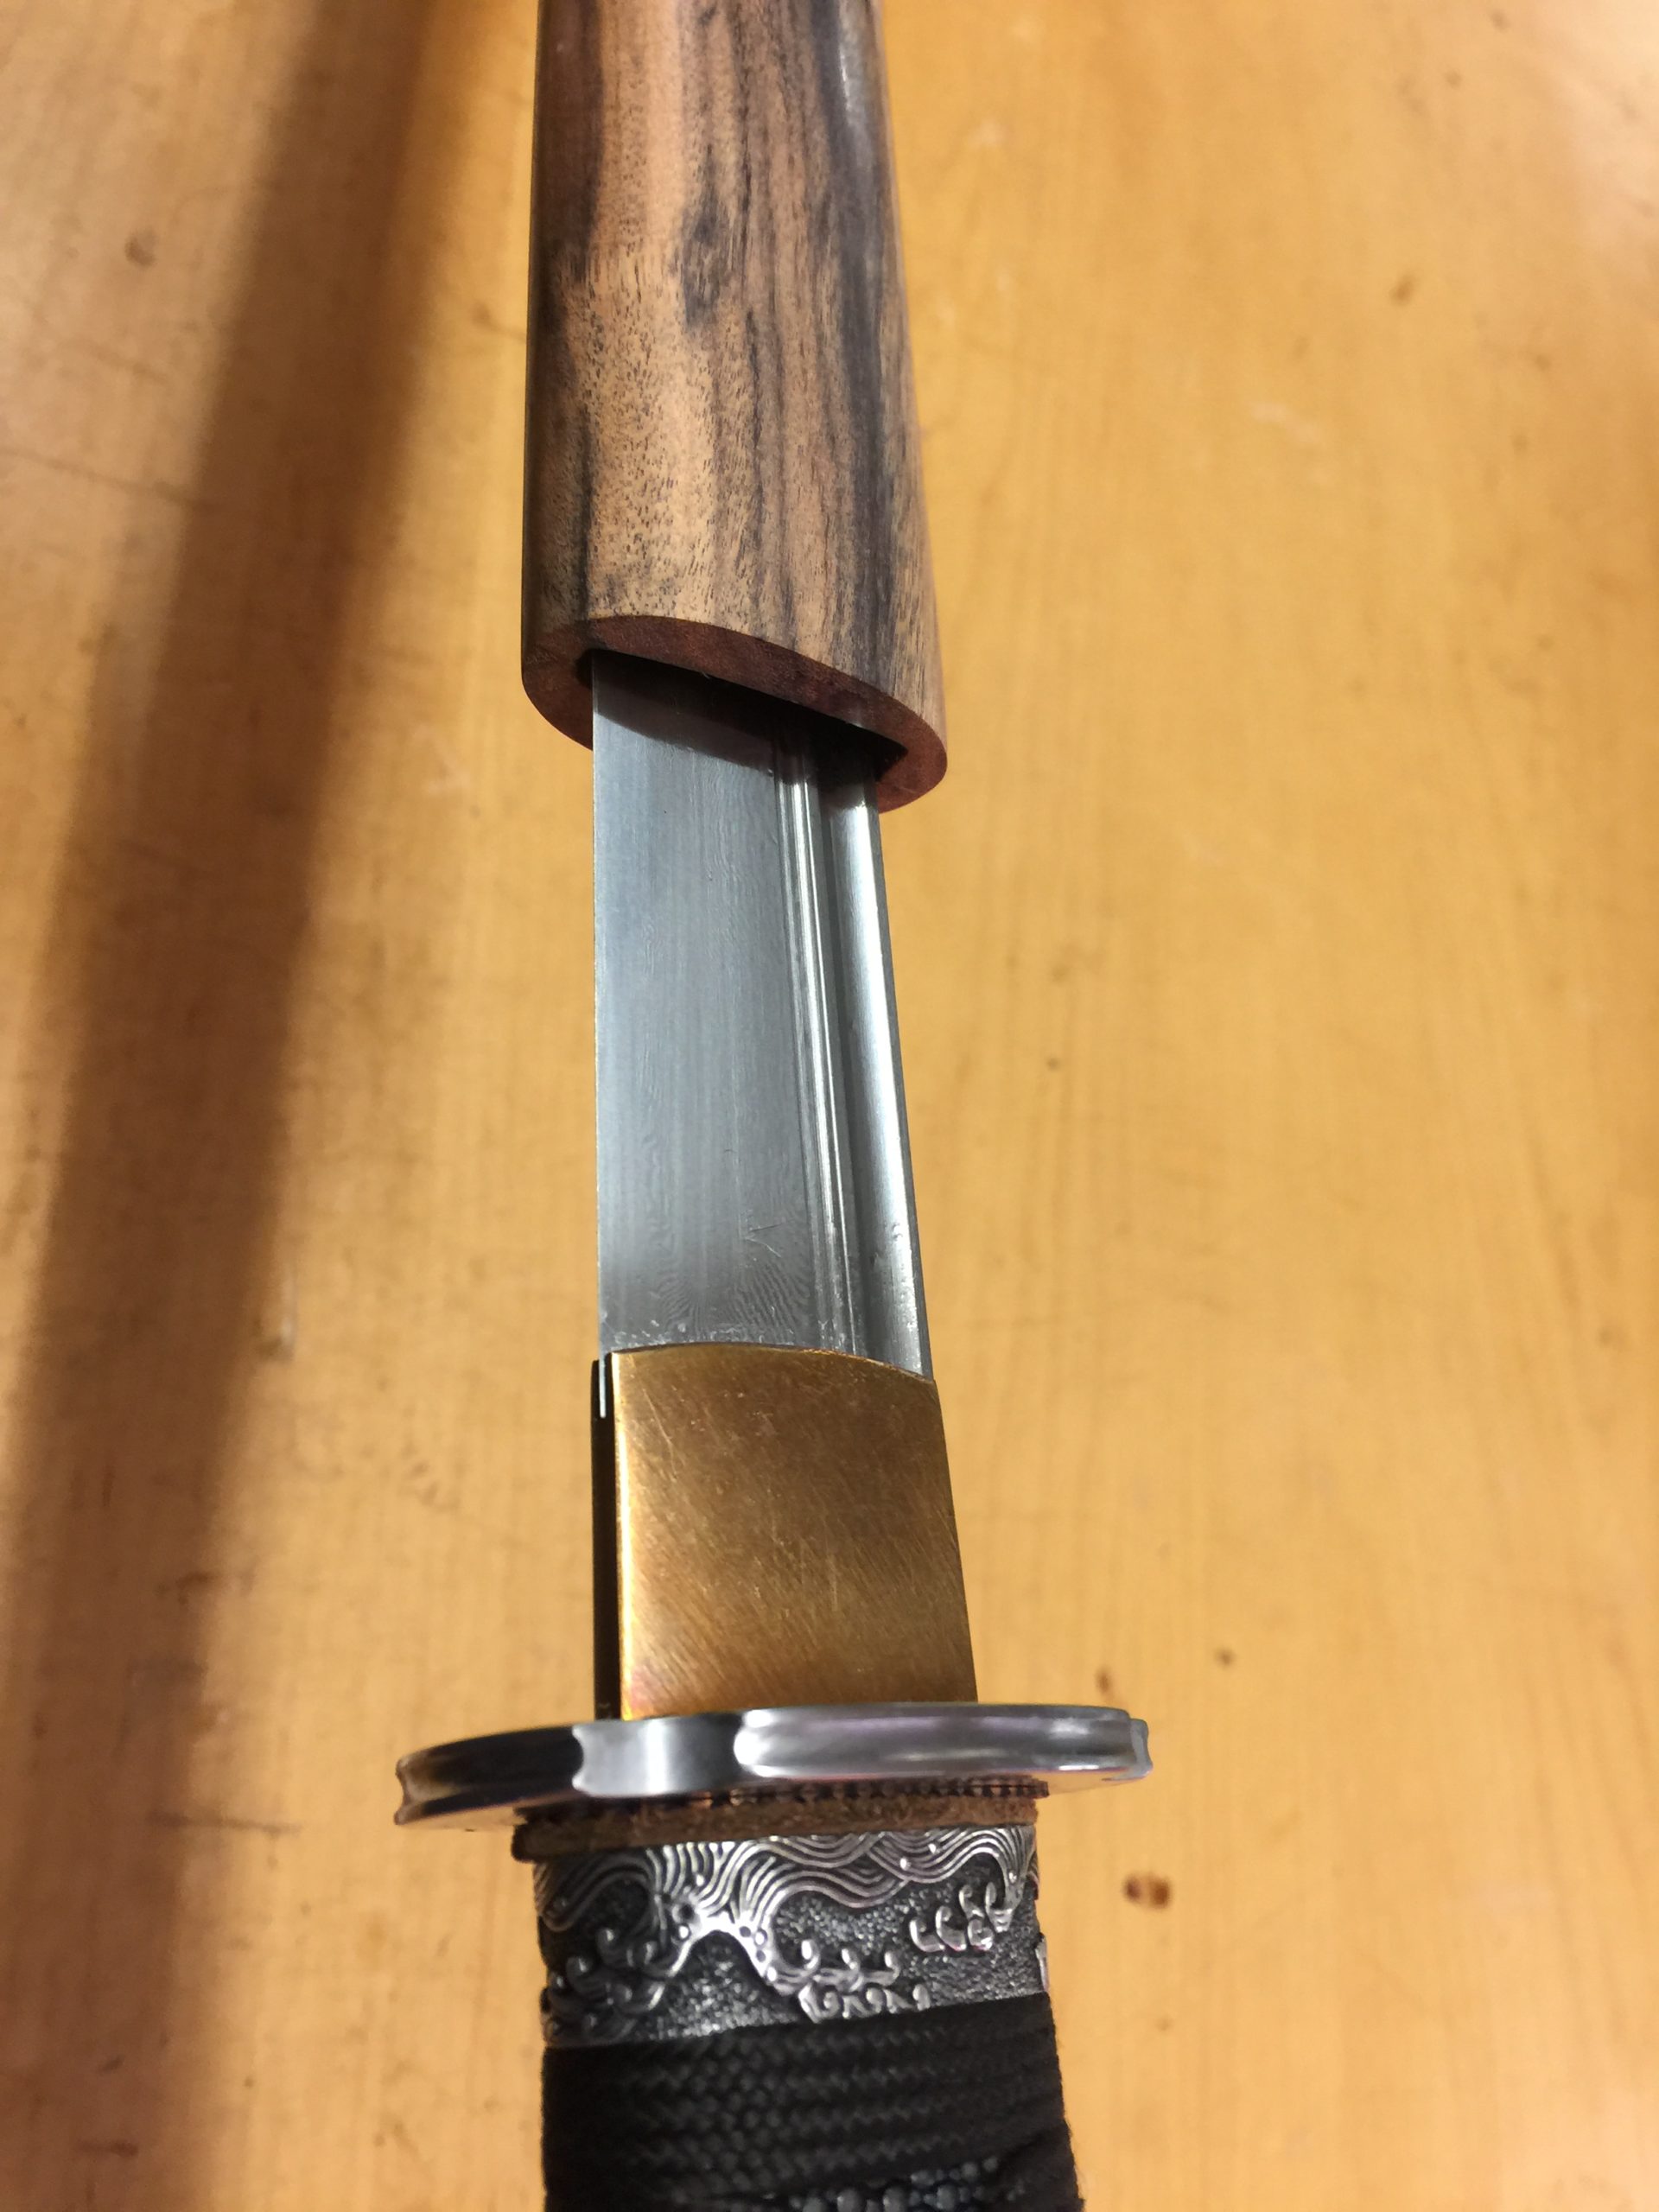
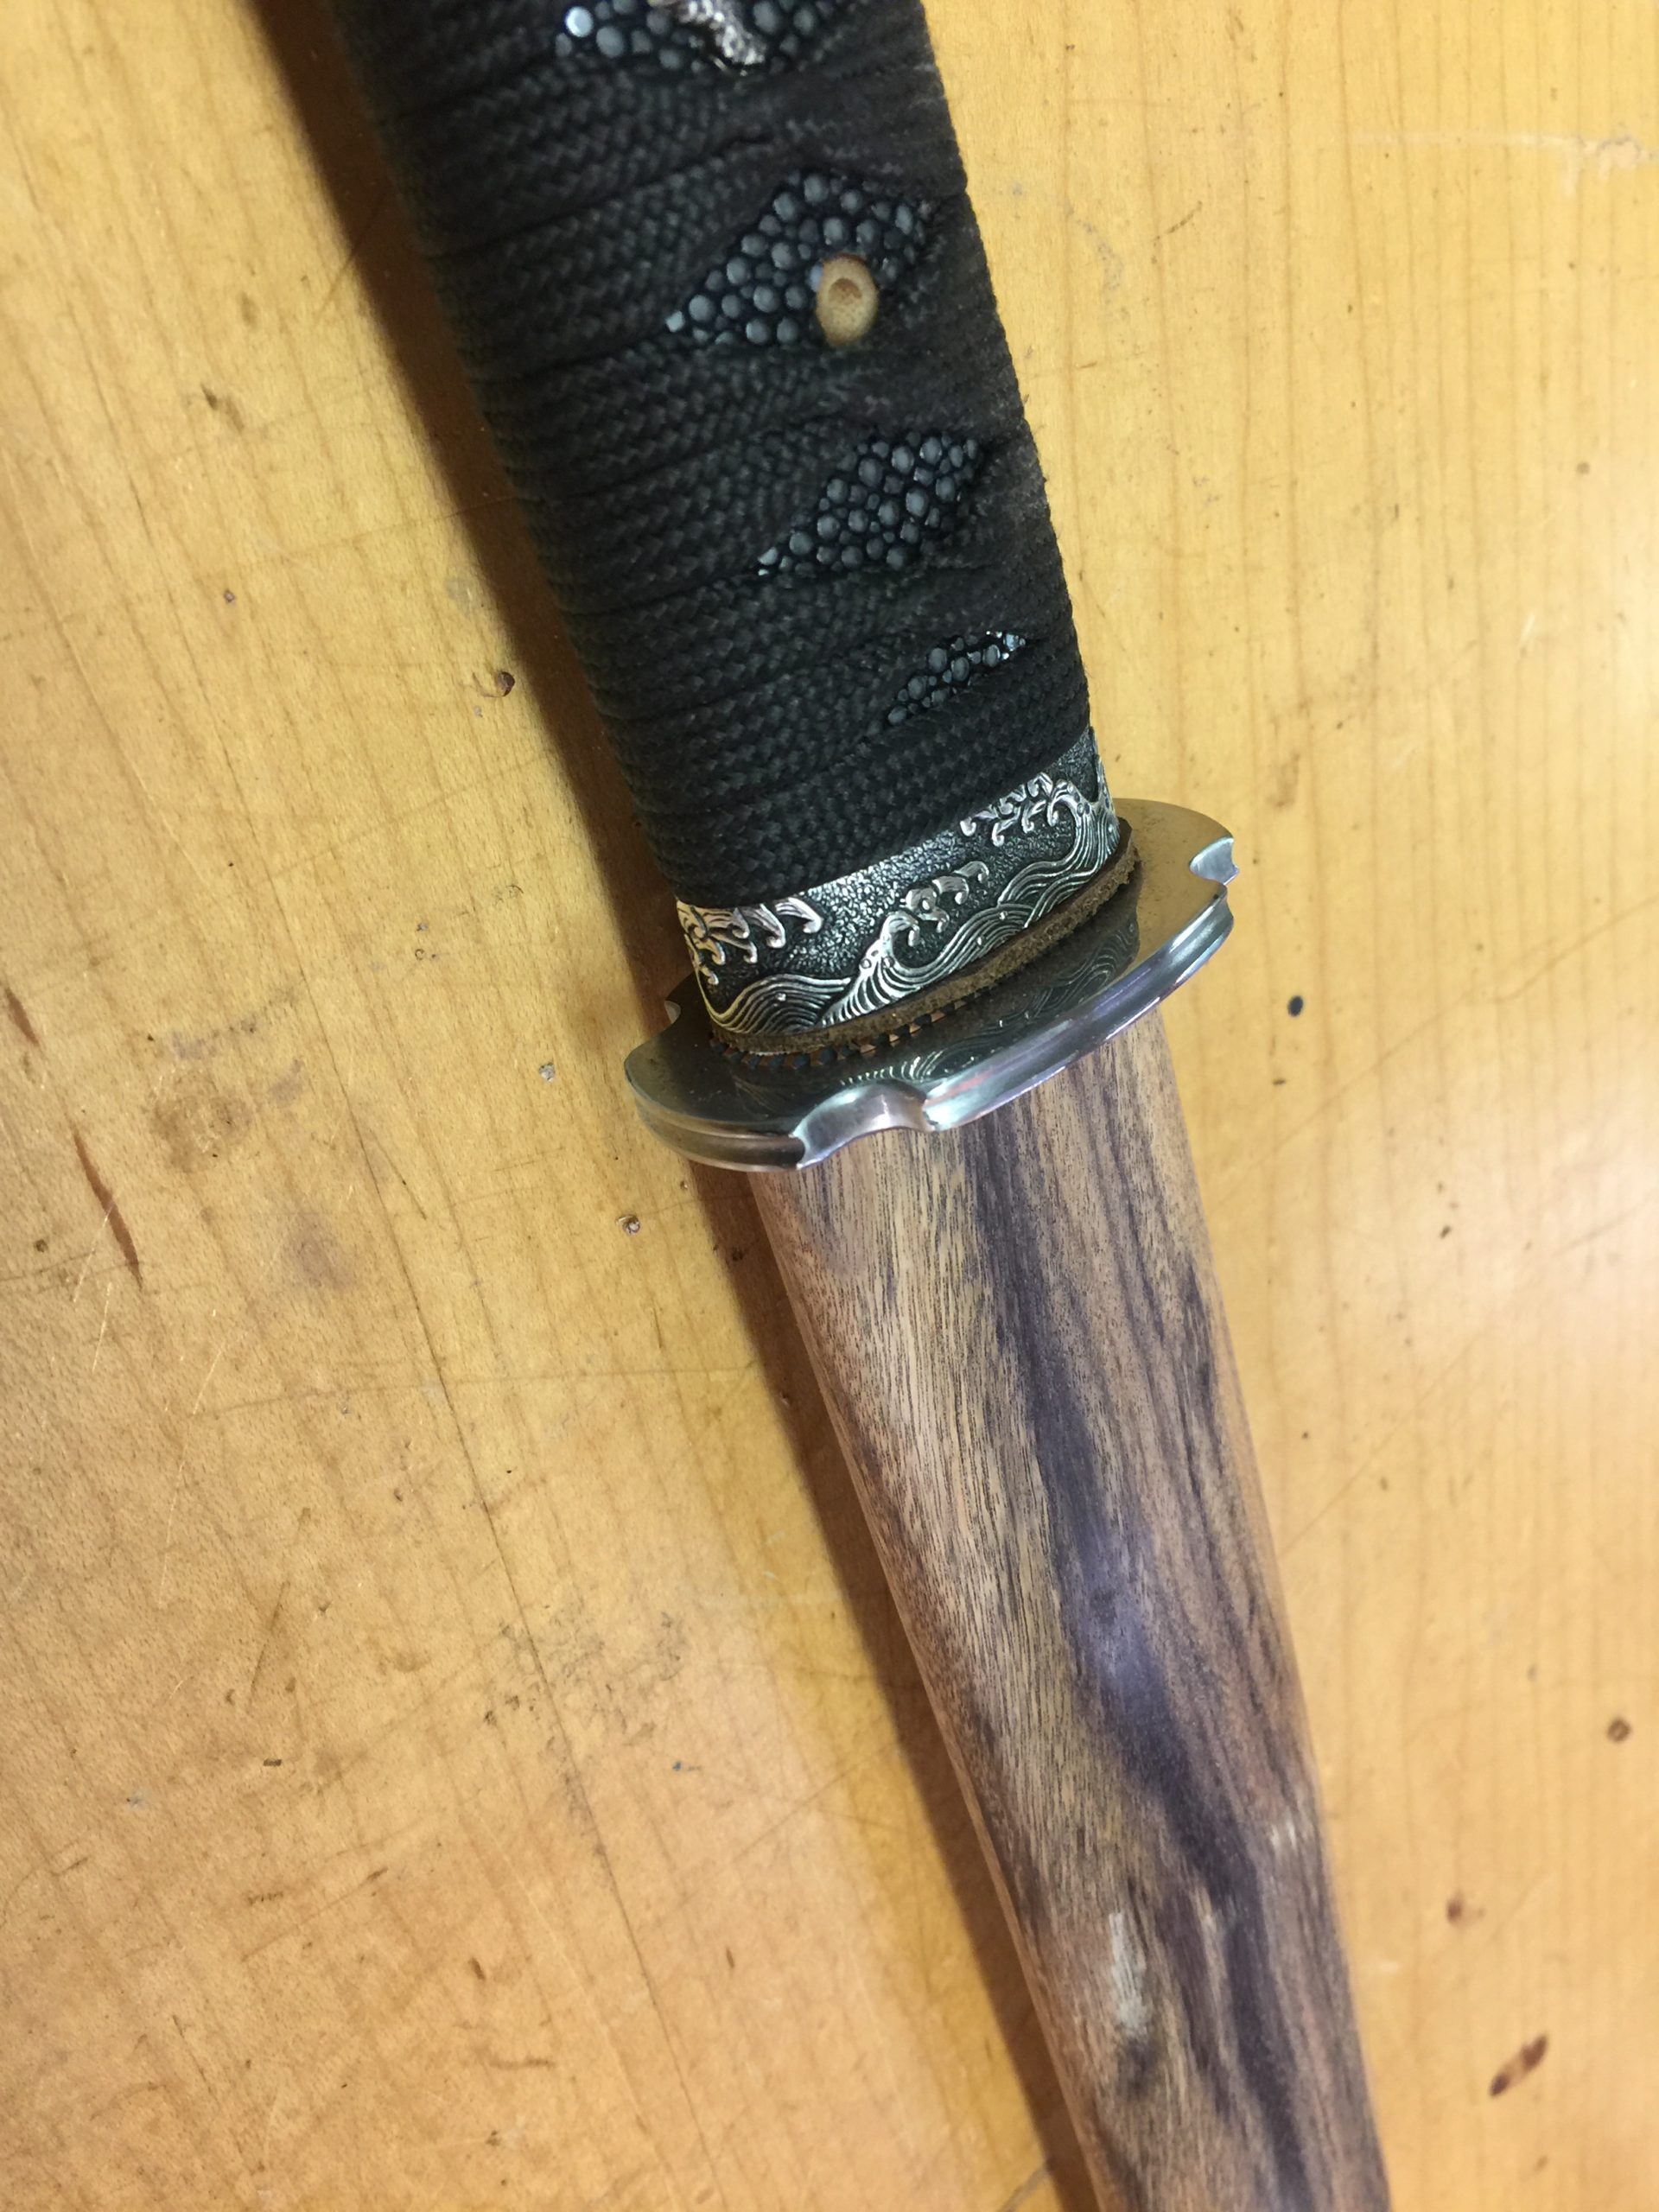
It’s a nice fit, though, and all that sanding got the saya as smooth as glass. Traditionally, saya have a carved buffalo horn around the opening there, to help prevent the blade from wearing the wood down. But this wood is hard enough to withstand training, it won’t split like softwoods will.

I really do like the bare wood much better than a lacquered or decorated saya. The traditional ones are beautiful, for sure, but I prefer mine.

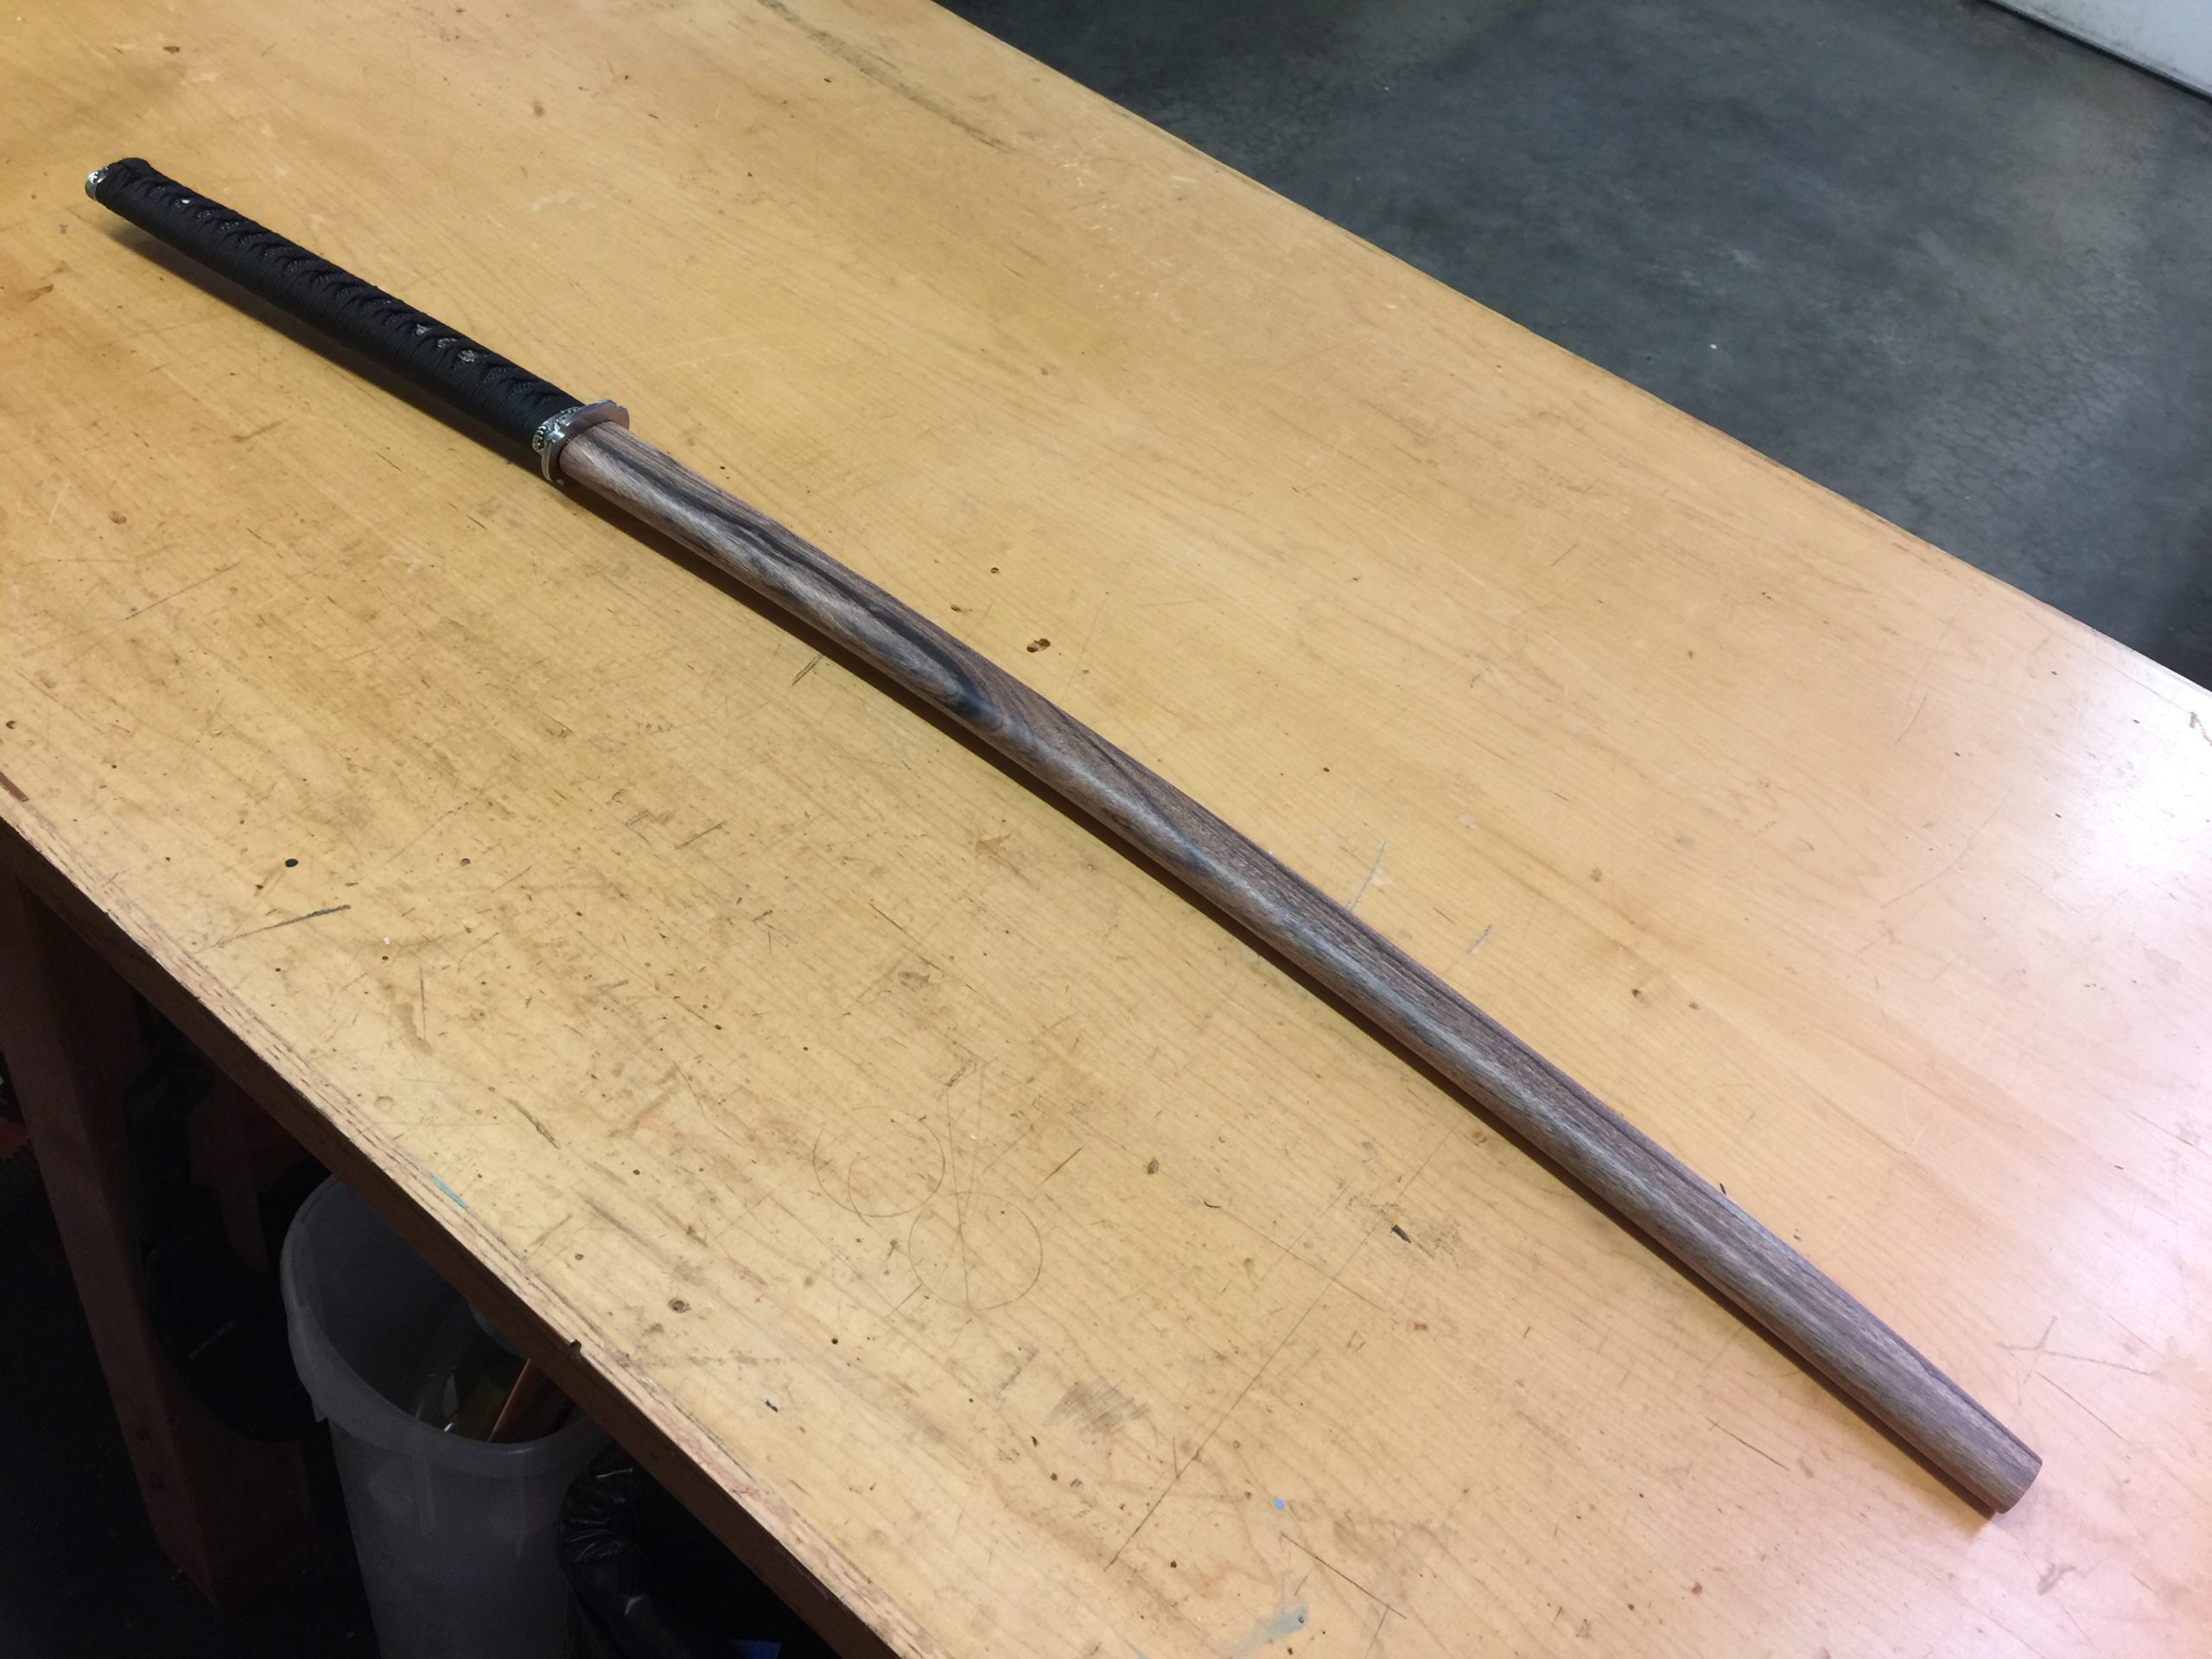
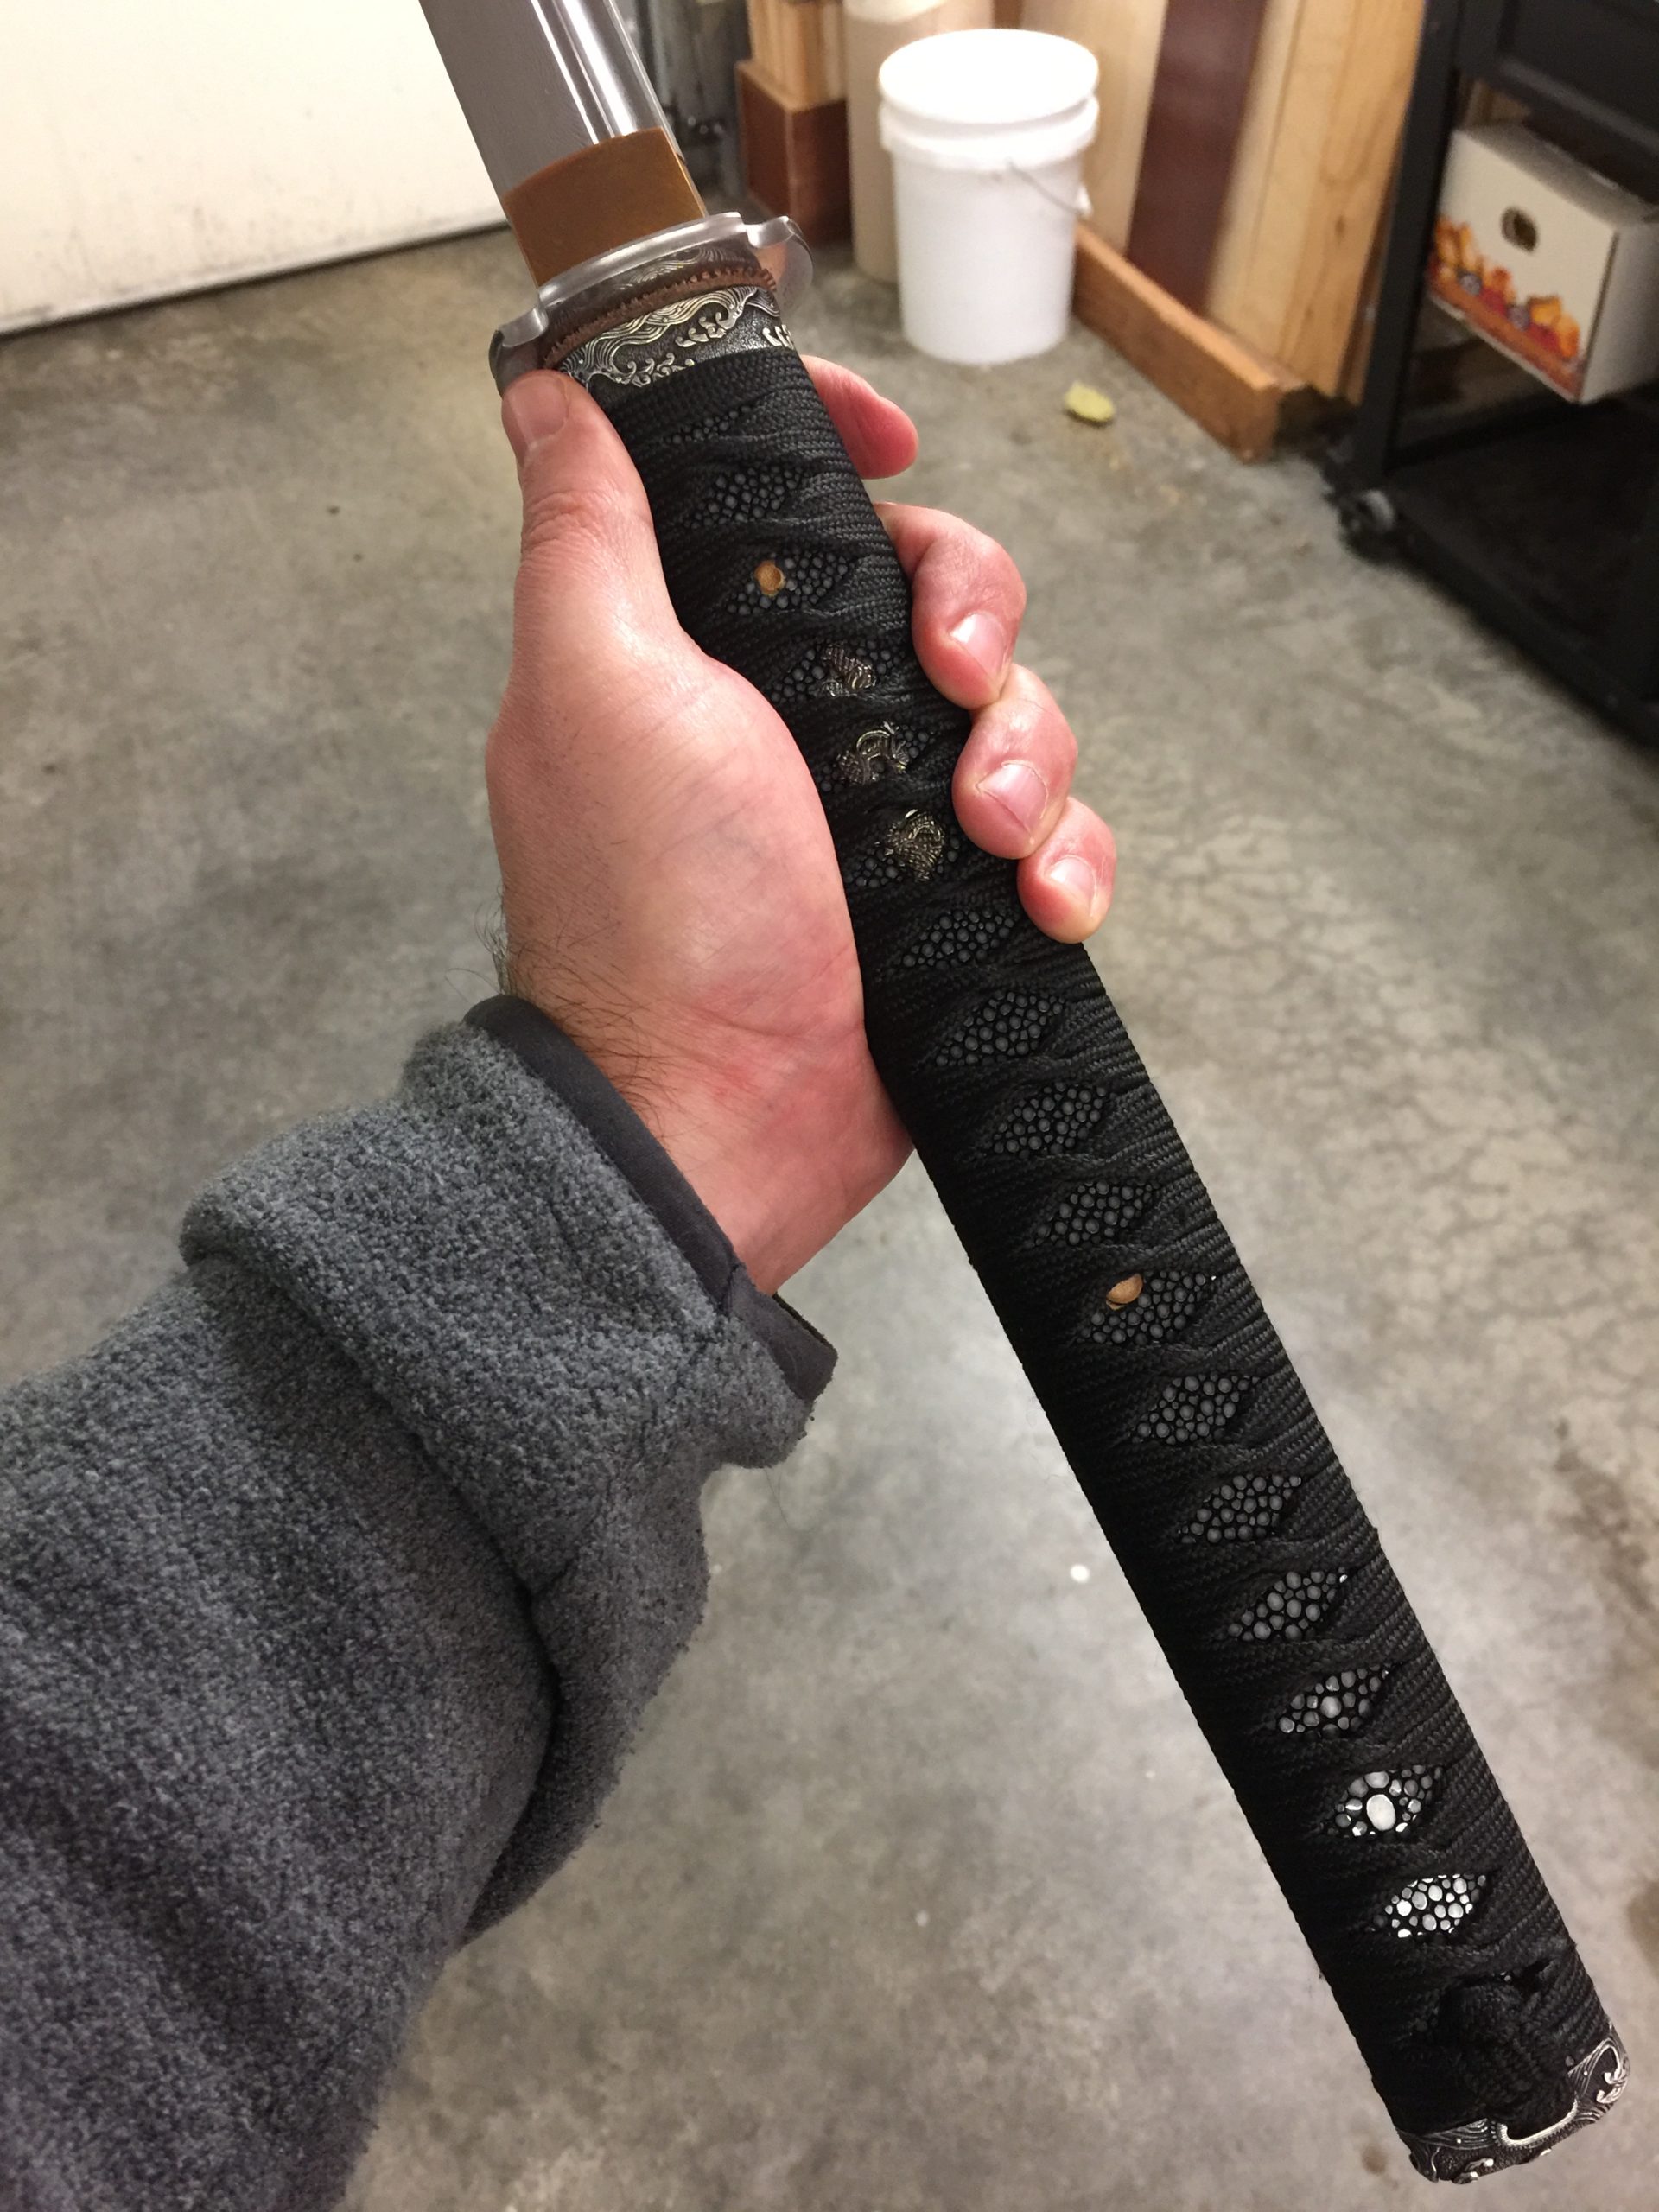
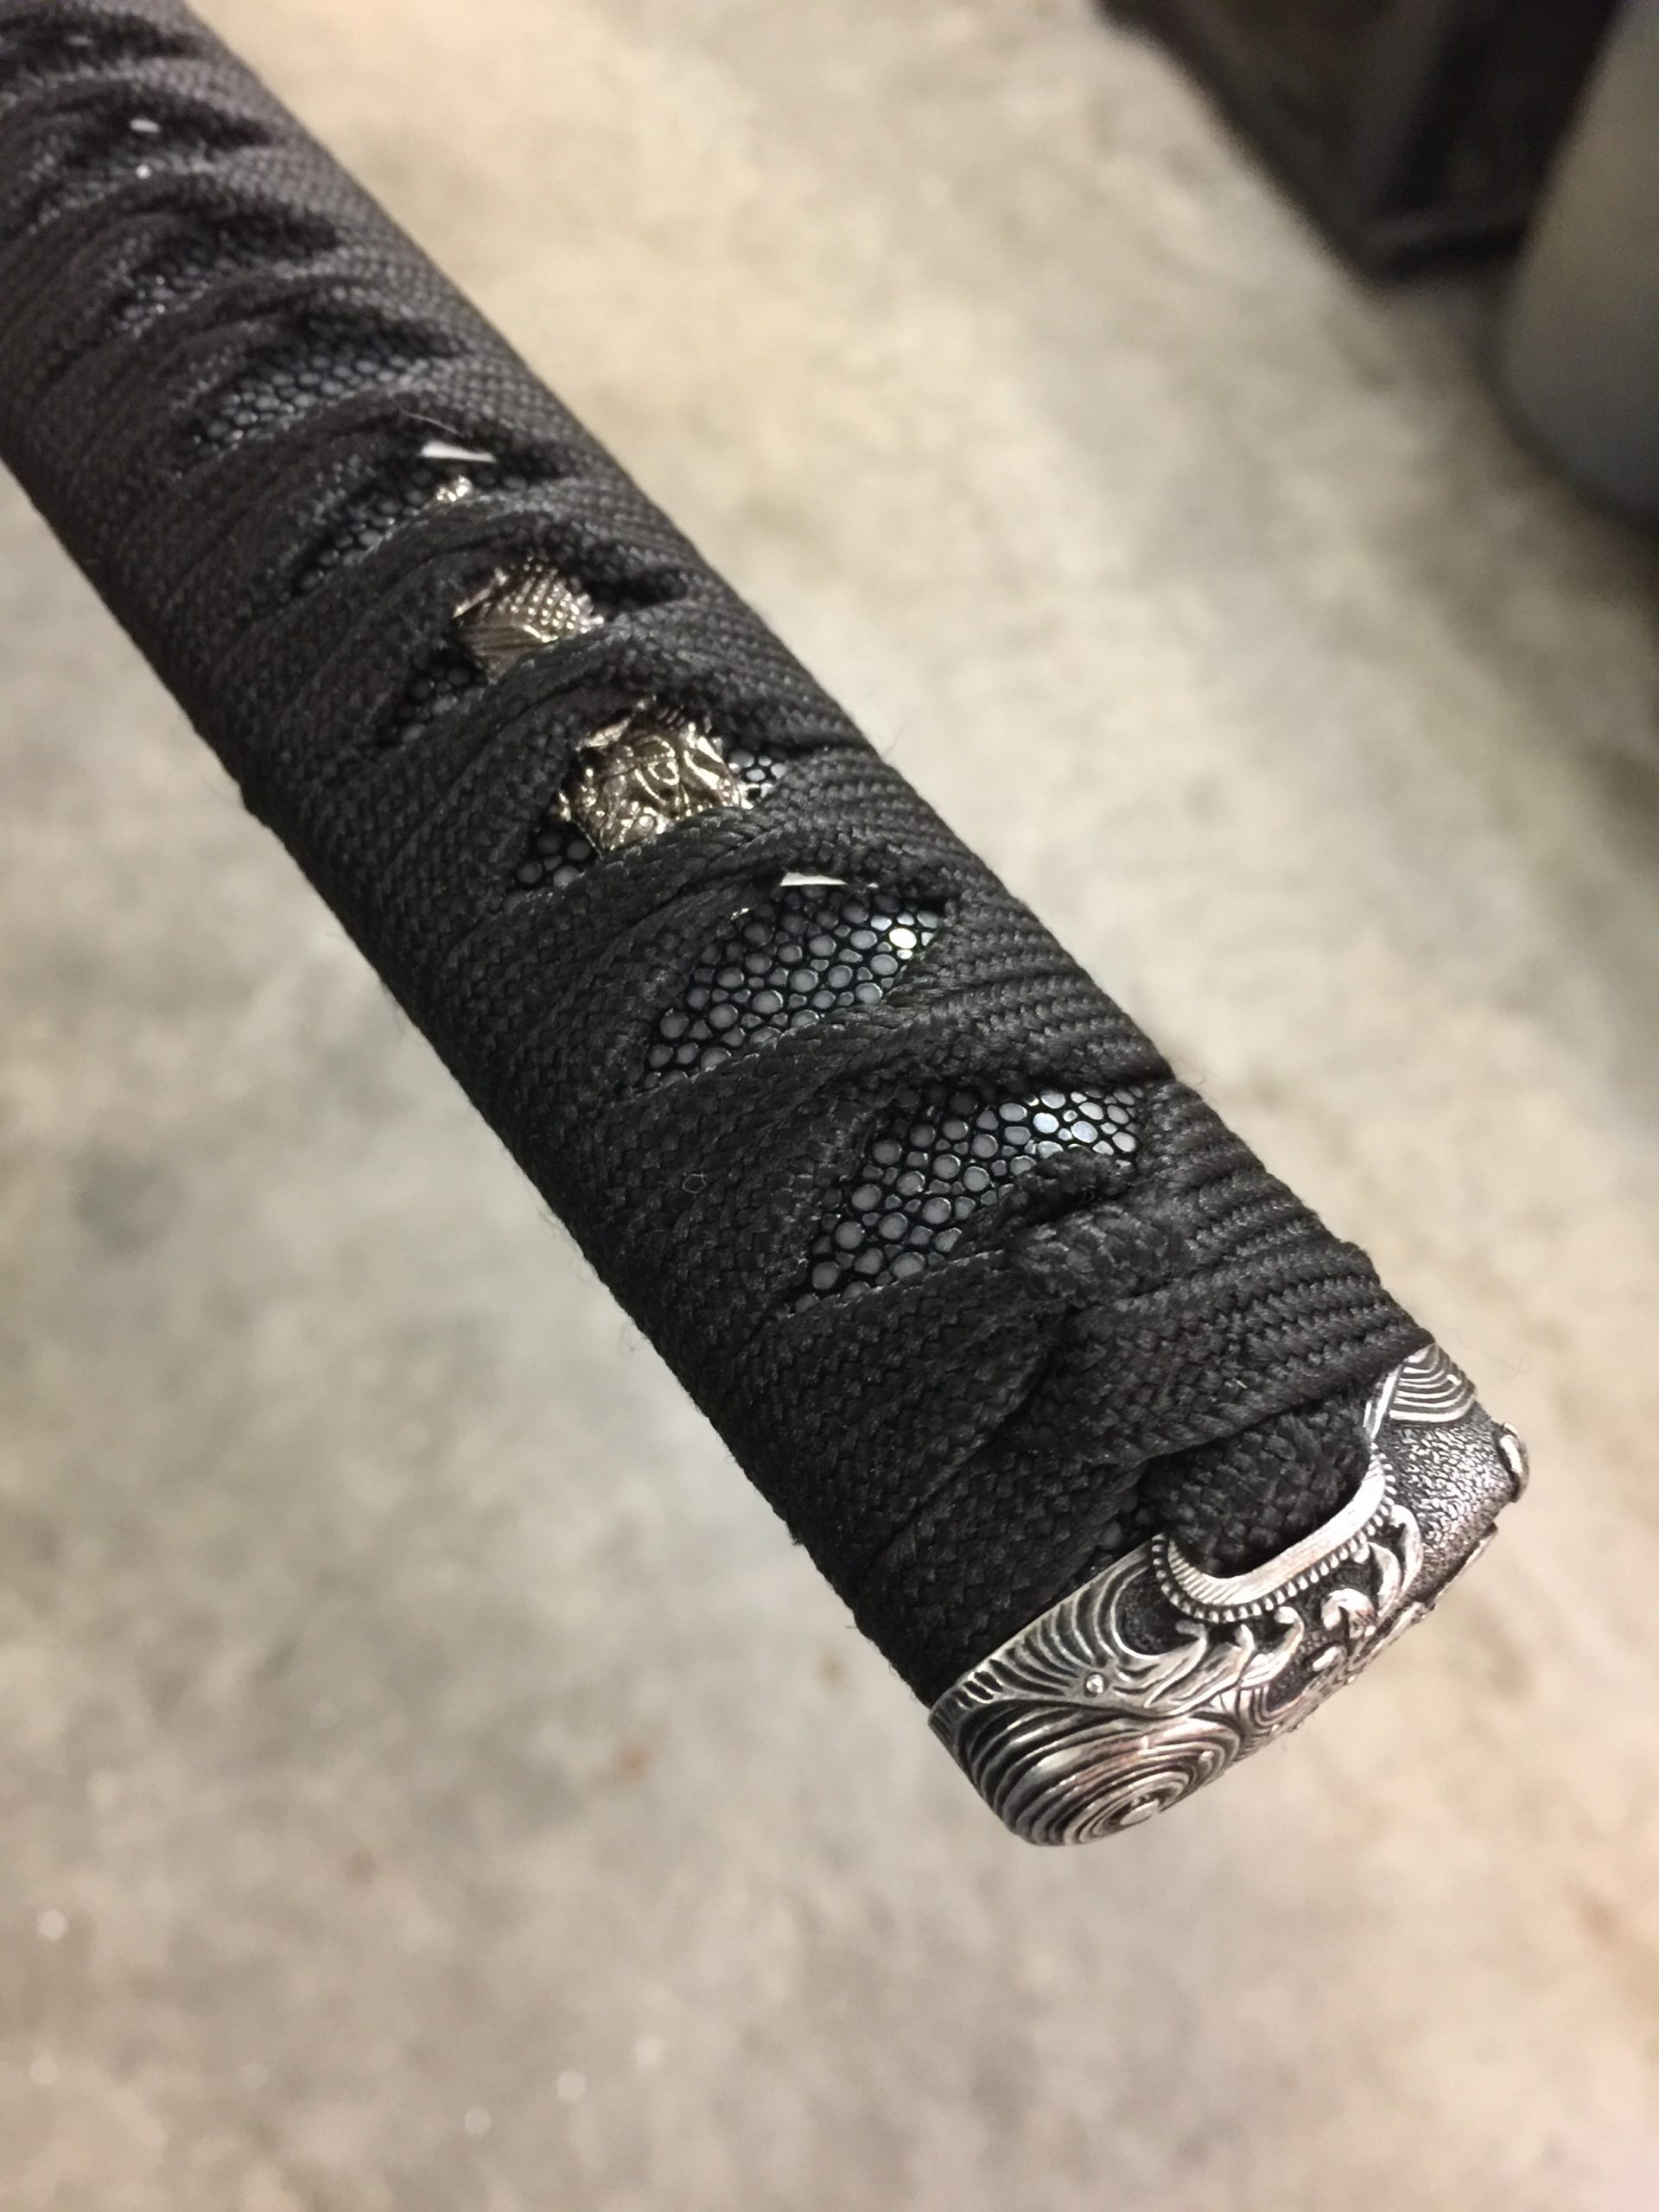
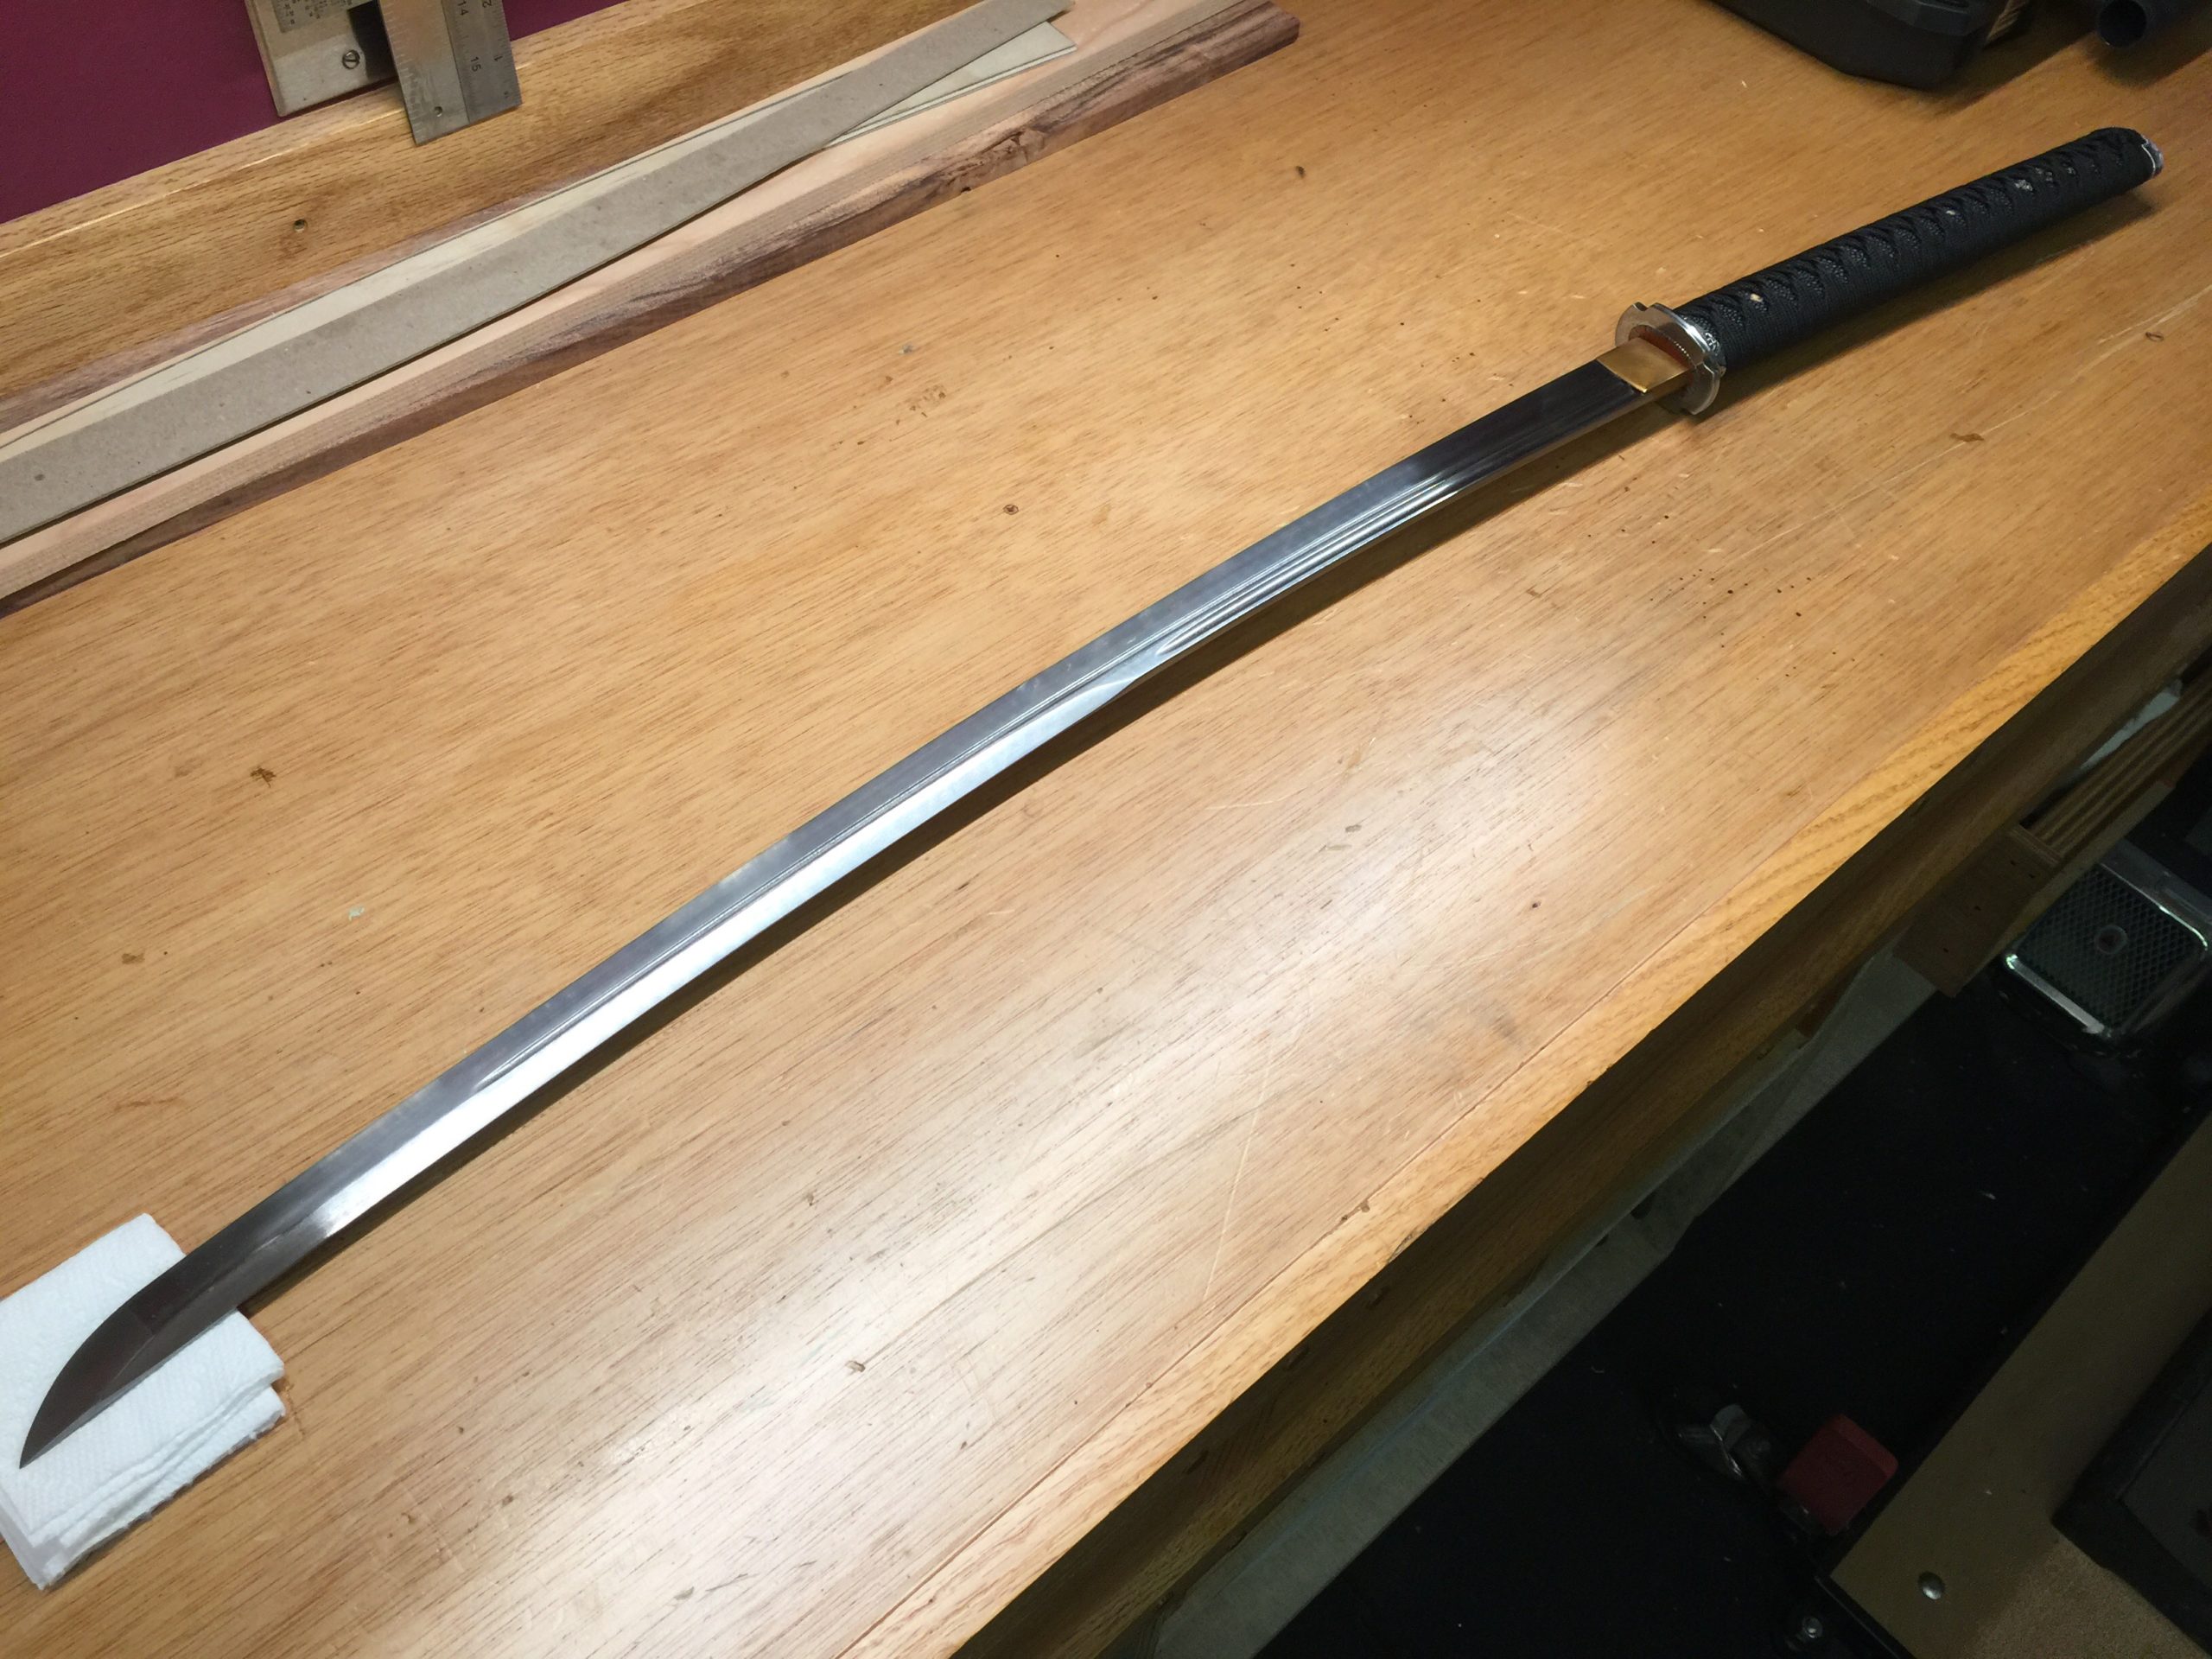
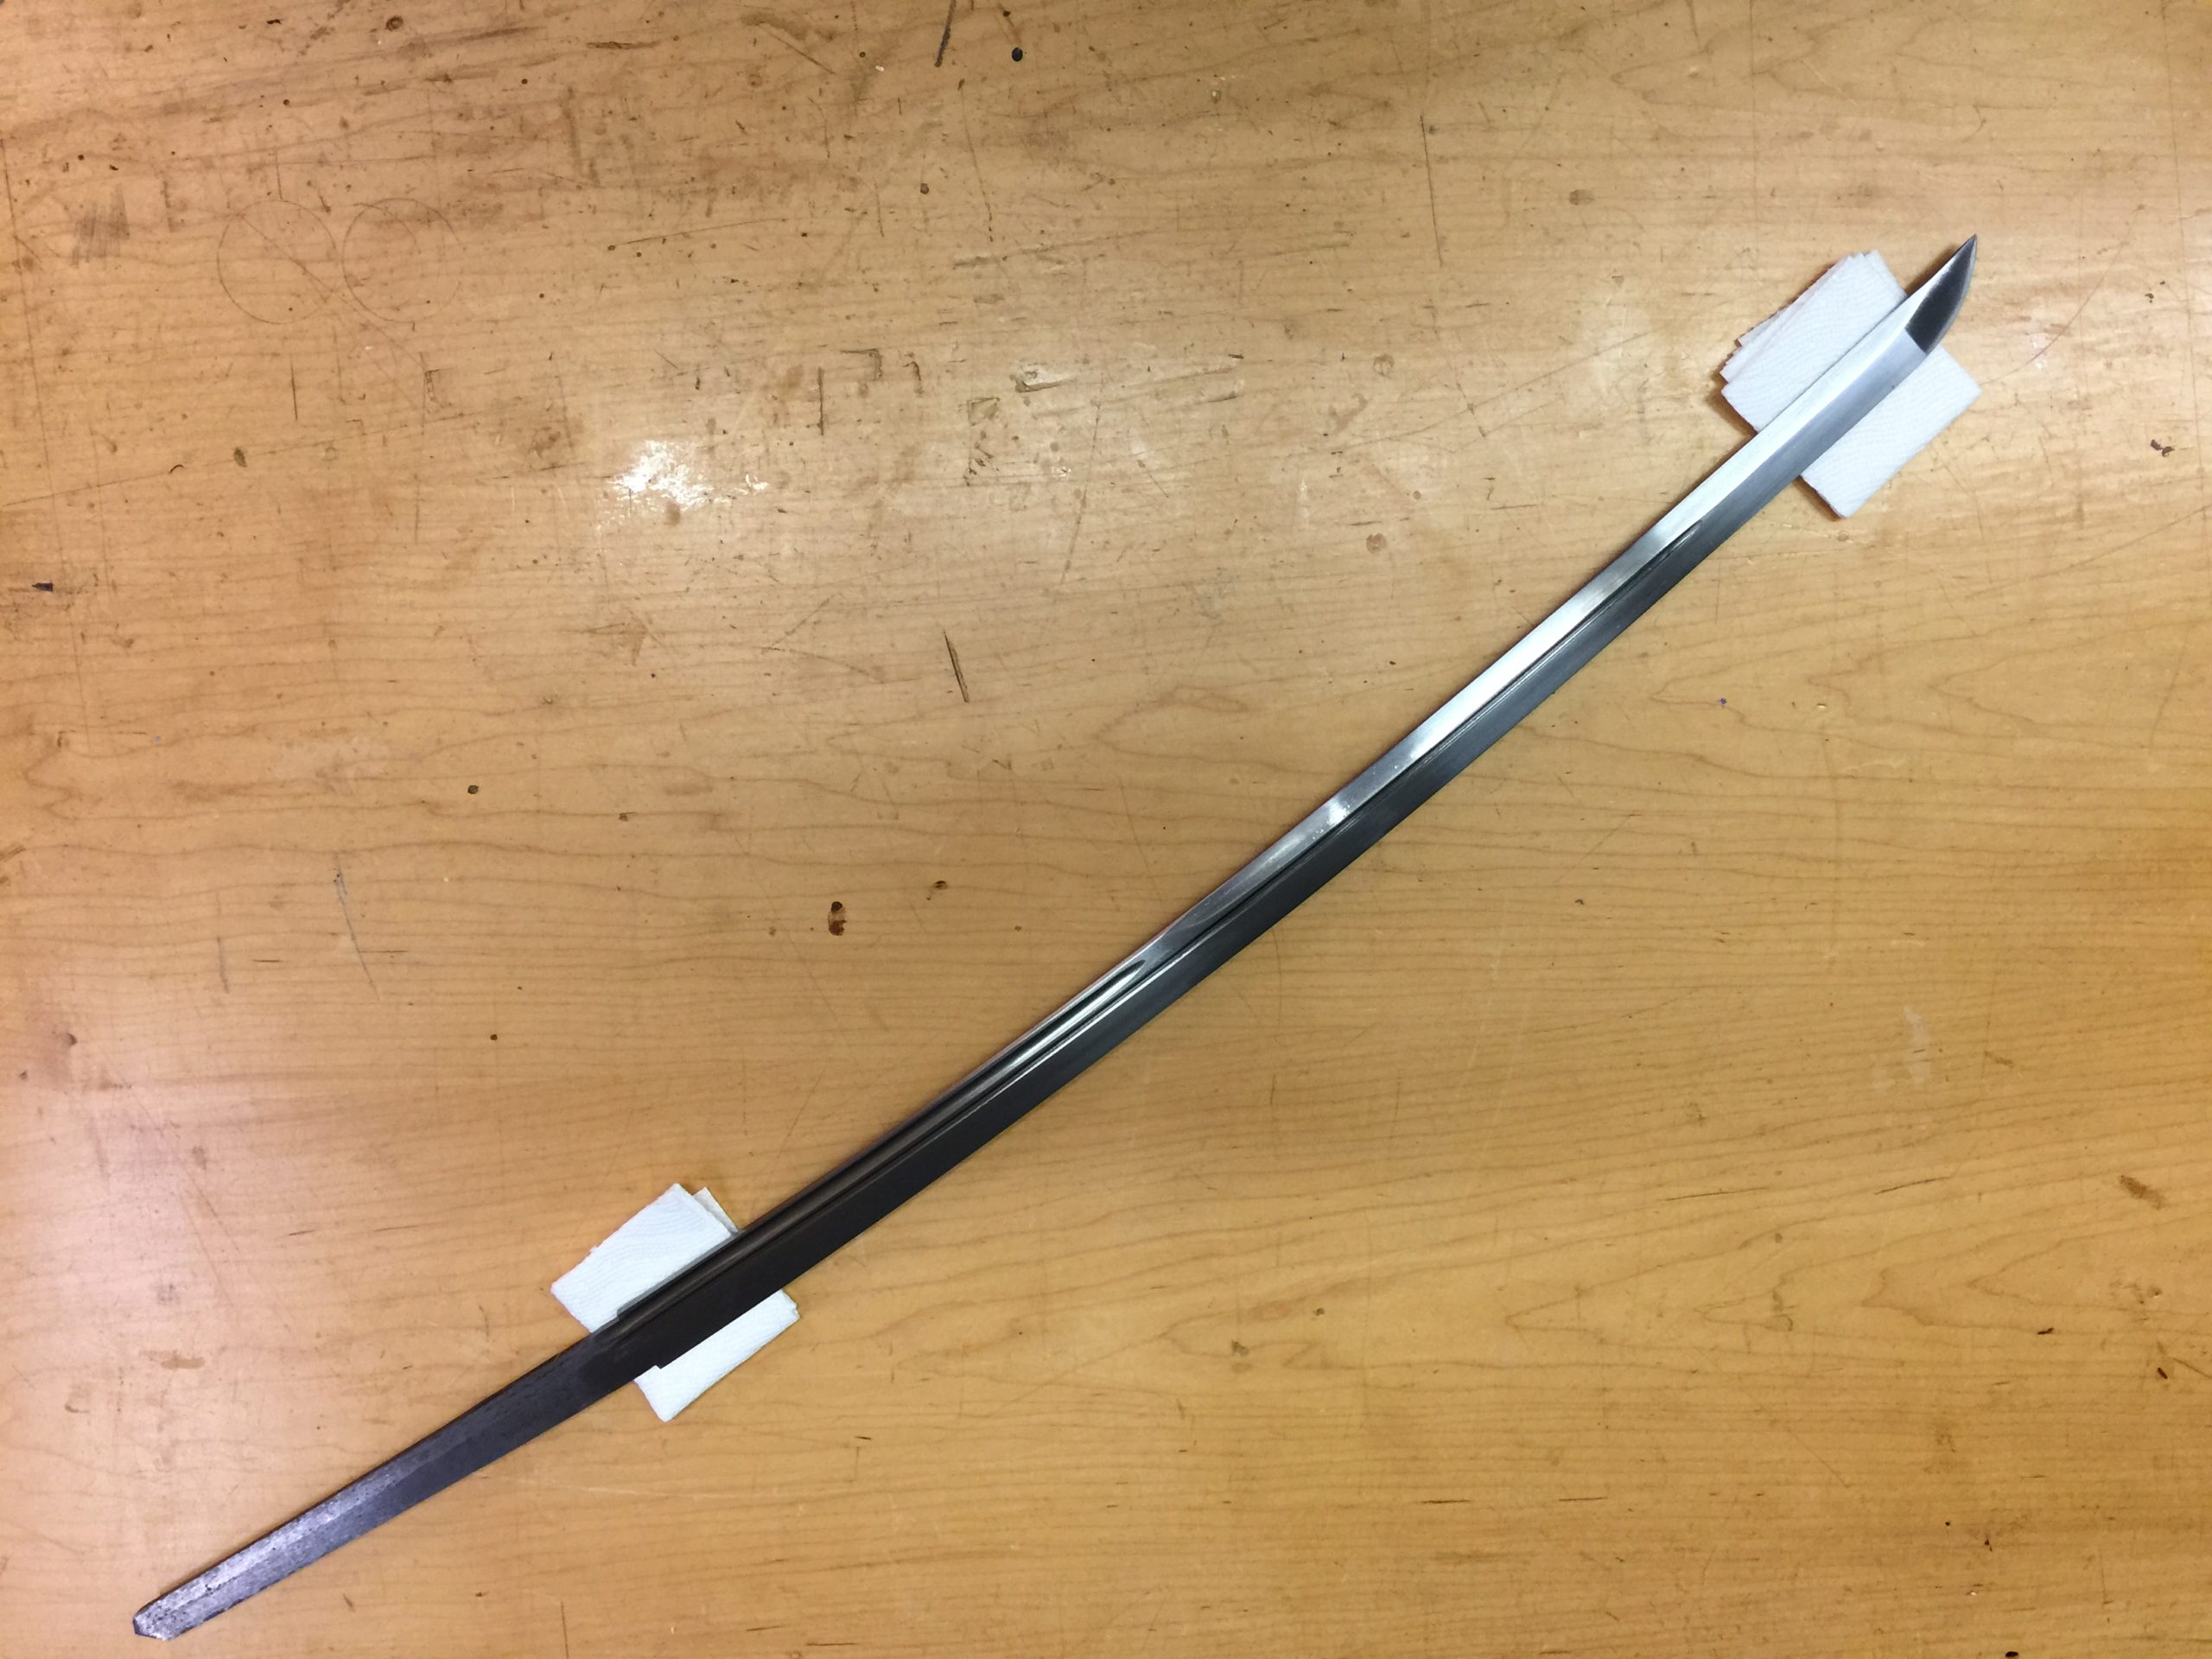
Slender and light, built for speed.

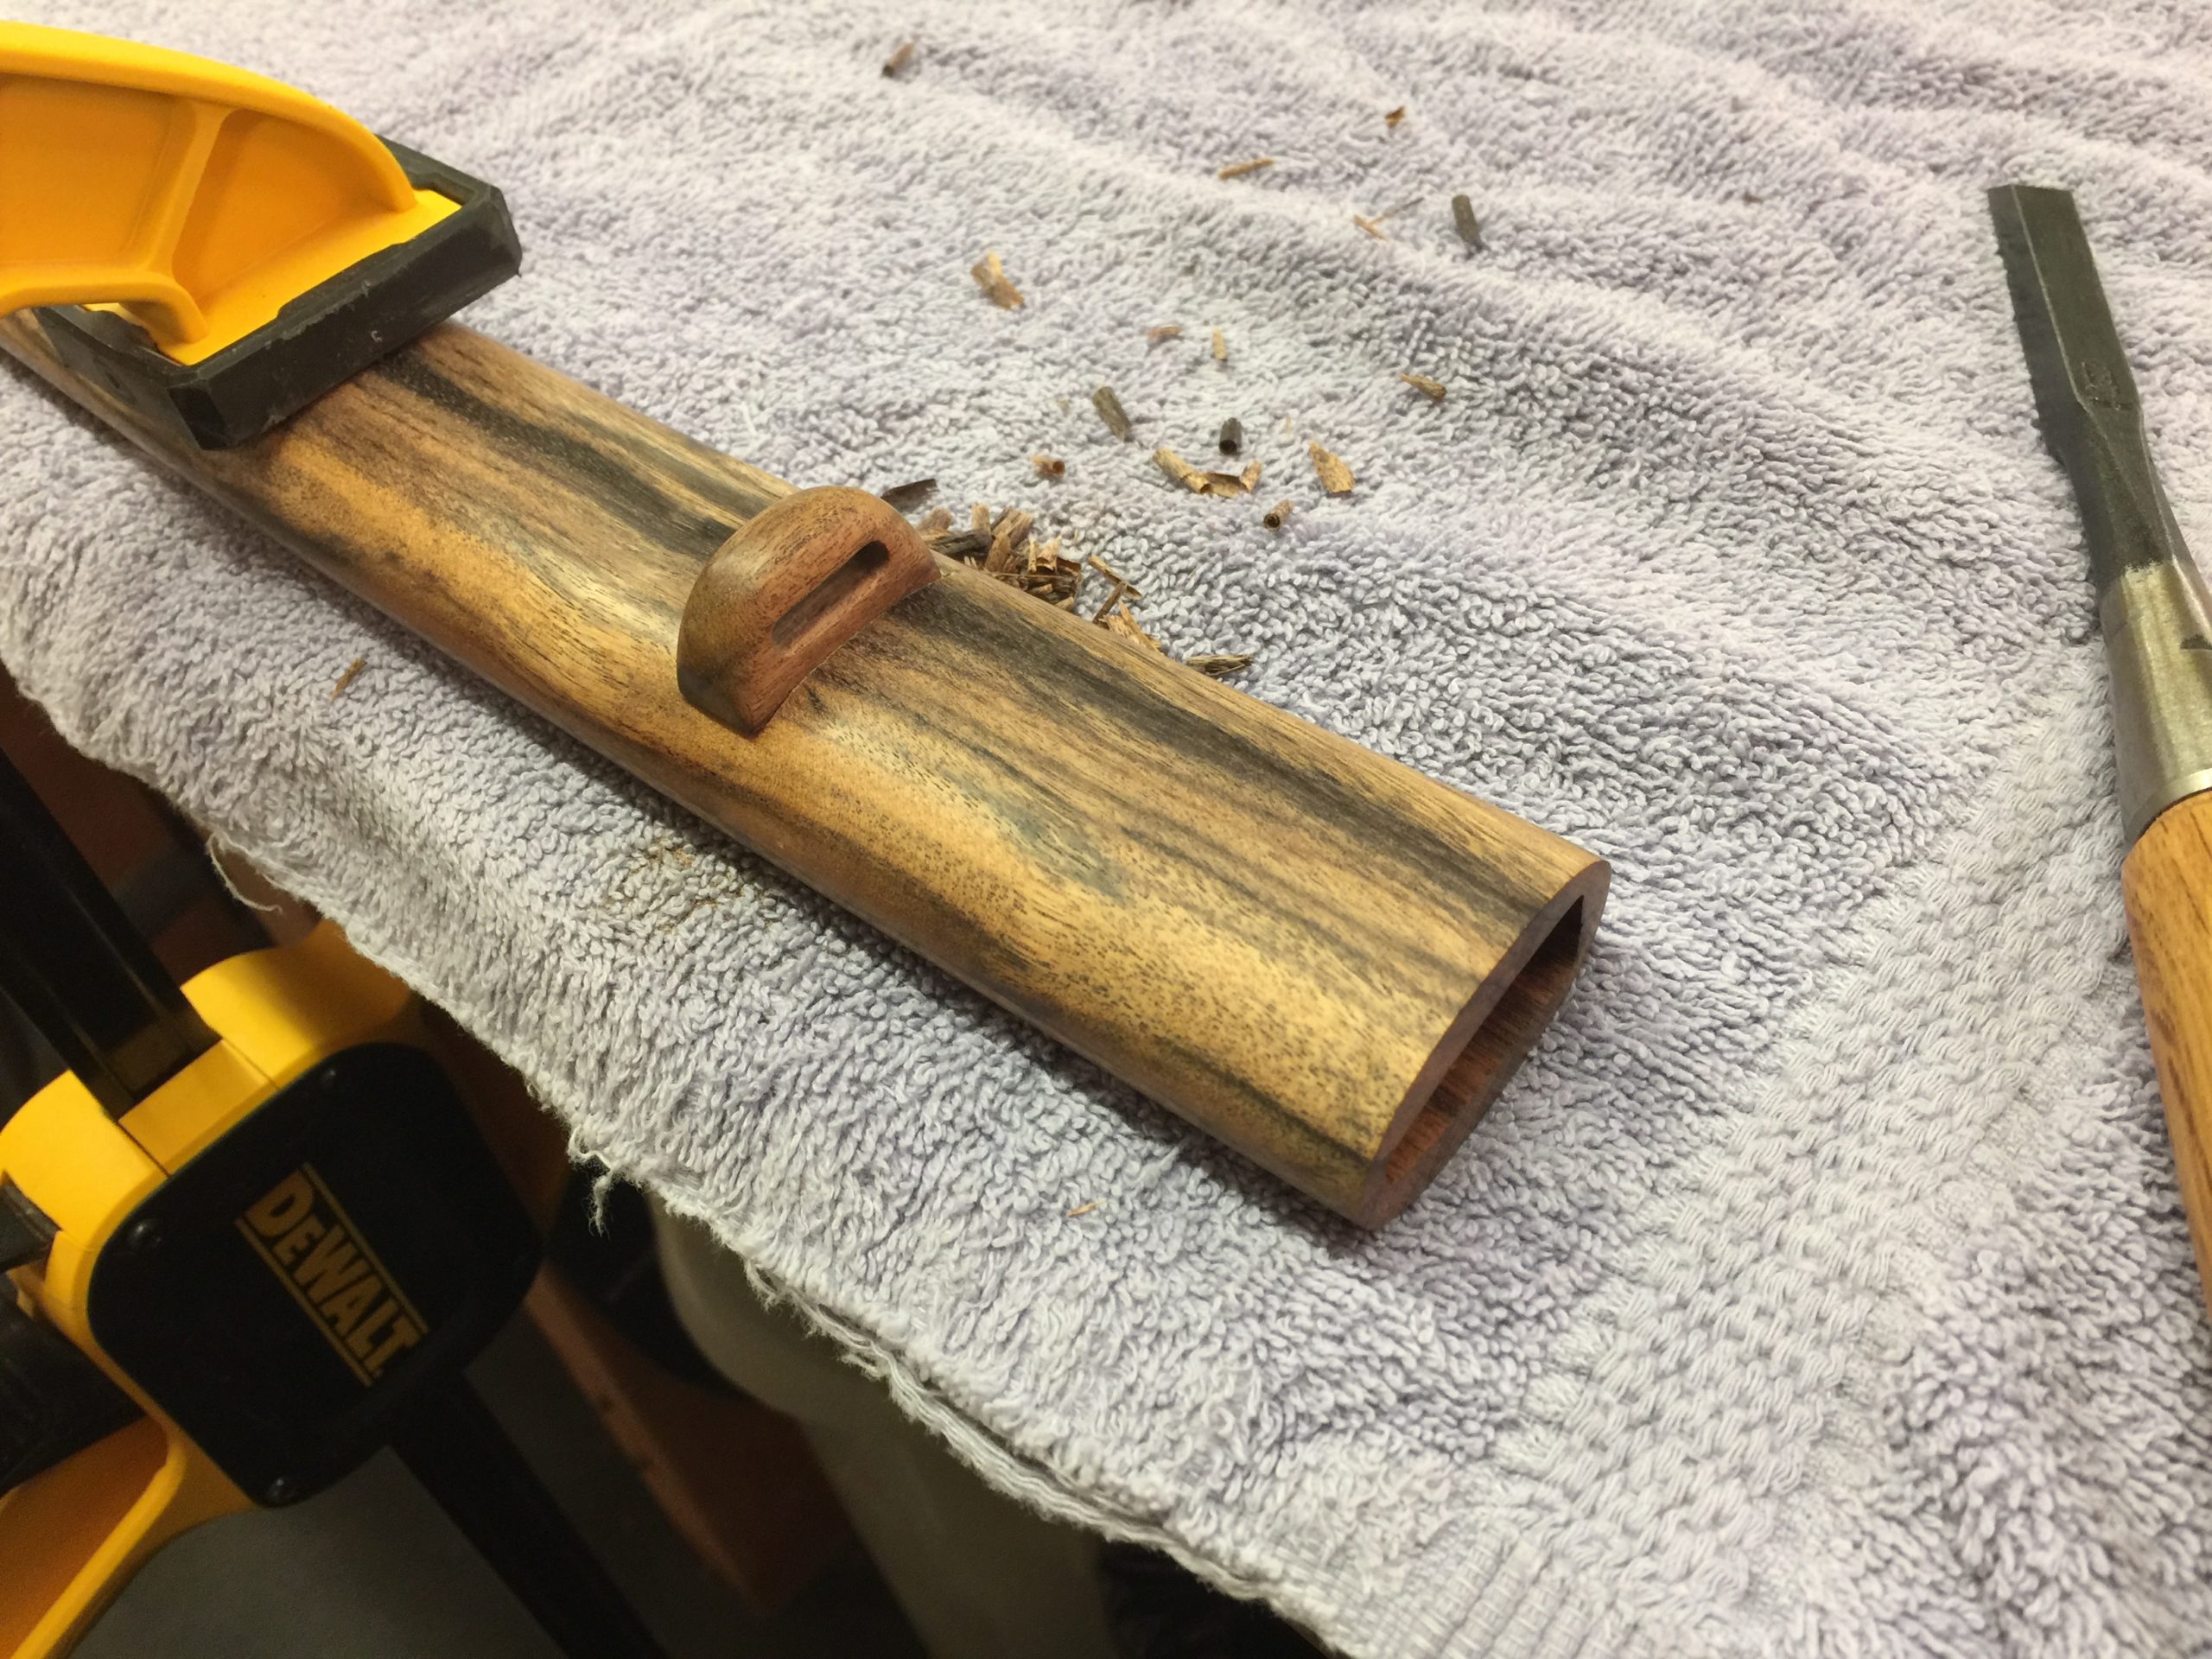
Attaching that kurikata is a delicate task. I needed to cut a nice flat groove in the saya, not too deep, and the exact thickness as the little knob I made. Sometimes these knobs are also made from buffalo horn; again, soft wood might split along the grain there as the knob will have a cord wrapped through it. But when you use hardwood like this, there’s little risk of it splitting.

The saya needs a couple coats of tung oil, my personal choice for any martial arts weapon made from wood, and it’ll be ready to go! Up next will be the finished sword.

Tsukamaki

This is the hard part.

Handles were covered in samegawa, which I’ve seen translated as either shark skin or manta ray skin. It’s got some texture to it so it helps keep the wrapping from sliding around. I bought this one and it turned out it was sanded smooth, so it won’t help with texture but I really loved the color and smooth texture so I thought to use it. I’m breaking tradition all over the place here! I cut it into panels, because I wanted the ito cord to contact the wood directly.

That rayskin is very hard to cut. Those little nodes are hard as bone, so you cut around them or have to saw through them. There are probably better ways to cut that stuff that I simply don’t know about.

And then I had to cut a hole for the wrapping to pass through. The woodwork is about done now.

I’ve fitted the fuchi and koshirae on the tsuka, and there’s one of the menuki that gets wrapped into the handle for some more texture. They help with the grip.

These little pains in the ass are called hishigami, tiny folded triangles of paper that help maintain an even shape as the handle is wrapped. Traditionally, they can be made out of just about anything, typically paper but sometimes wood shavings and I’ve even heard of baked clay being used. This paper is nice and thick and it’s waterproof so I thought it would be ideal. I thought wrong; in the future I’ll use hishigami that is the same color as my cord, so I don’t have little slivers of white that need to be tucked in and hidden after the wrap is done.

It has to be very, very tight. There’s the hishigami in there to help keep each fold uniform and makes for a symmetrical wrap. I’ve wrapped handles without them many times and they always look uneven and crappy. The pain in the ass of folding 88 little pieces of paper, it pays off.

I also use double sided scrapbooking tape along the wood sides. It really helps with the wrap and it adds longevity to the handle. I practice with a sword every day, so this thing isn’t just going to hang on a wall.

The knot may seem like the hardest part, but once you’ve done a couple they become old hat. They are easy to screw up, though. Traditionally, rice paste was used for glue if necessary. I like super glue better.

A nice handle! The shape is good, the size is good, texture is good, and it looks like it will last a long time even with use.

Yeah, I’m using black hishigami next time. They’re supposed to be tucked in where they can’t be seen at all. That’s what a dental pick is for.

Finally together, I was able to practice a few moves and cuts for the first time. This is a very light, very quick katana. Usually, “real” swords tend to be heavier than the toy replicas that populate the internet. This one is heavier than a toy sword for sure. It’s probably 2 ounces lighter than the one I usually practice with, and that makes a big difference.

Tsuka

The blade is made from 1060 carbon steel, folded and heat treated. It is not easy to drill though. I use glass cutting masonry bits to drill the holes. I need two holes for the pins that hold them tight into the handle. Without them, my blade will fly out of the handle on the first swing. It can cause severe damage or injury to whatever or whomever it hits. And worse, the blade itself can become damaged. So these holes are important.

My advice if you want to try this at home: Use a drill press, not a hand drill, as you want this hole to be perfectly straight and perpendicular. Find a friend with a drill press if necessary. Use the lowest speed you can to prevent overheating, and add oil periodically to help the bit cut through. And above all, clamp that blade down like you’ve never clamped anything down before. Sometimes when you drill something and the bit gets stuck, it will rotate the object you’re drilling through. Imagine a spinning katana blade, about chest level, on the drill press. Horror movies have things like that. No need to make it a reality.

Also, and this is important: when I work with a sword blade, I wrap the blade in paper, then wrap the paper in masking tape. This makes a nice little sheath that allows you to safely handle the blade. Obviously, the edge can still cut through the paper and masking tape, but it is much safer to handle this way. I didn’t get many pictures of this but know that it’s an important step.

The sword’s handle is called the tsuka. When I made my first tsuka, I used what meager hand tools I had and it was an arduous task. I hoped that when I grew up, I would have all the power tools I needed to do this kind of stuff easier. Now, I still do it all by hand. Hand tools are just better at carving out the hollow for the sword’s tang. Yeah, I have better hand tools than I used to. Some of those chisels up there cost more than dinner for four at a fancy restaurant. That German-made curved chisel is so good at this, though! Worth every deutsche mark.

I made the tsuka from solid cherry, which is non traditional. The Japanese use honoki, which is a stable wood with low water and salt content and a nice even grain. It’s similar to poplar. But I always use cherry, because poplar sucks. Poplar is shit wood. Cherry is awesome. It’s harder and more difficult to tool, but it is very strong and resilient and it shapes well. My personal choice. I’ve made several tsuka from cherry, never had any issues with my swords because of it.

Ah, there’s that blue tape sheath I was talking about. It will save the tendons in your fingers, I tell you. So if you’re going to try this, make one!

The wooden pegs that hold the sword in the tsuka are called mekugi. They are traditionally made from bamboo and I find this to be an ideal material. Bamboo is hollow, so I fill the hollow with a bamboo skewer. Bamboo within bamboo, within my tsuka. It’s very strong, though it does wear a little with use and needs replacing once in a while. I’d say one pair of mekugi are good for about thirty fights with ninja. Inspect them frequently and replace when necessary.

Sword making uses a lot of blue tape! Here, I’ve fitted the tsuka pieces together and taped it tight just to make sure the tang fits . There is nothing worse than gluing those two pieces together and realizing the sword doesn’t fit. This is just a way of testing the fit before glue-up.

Non-traditional, but I coat the inside with a mixture of bees wax and orange oil. It soaks in and helps keep moisture at bay. Maybe. I don’t know. Maybe it does nothing. But it makes me feel better, like I did something.

Traditionally, rice paste was used for glue. I use Titebond III. It doesn’t need a lot and it needs to be evenly spread across the surface to be glued. I use an expired credit card to smooth it out. A little will bead on the outside and inside. I clean up the inside before it dries using a bit of paper towel on a long stick. It’s not much of an issue, but I have observed that a bead of dried glue inside makes for a bit of rust over time.

A really good initial fit. Ah, here you can see the diagonal lines on the habaki that I was talking about earlier. It’s polished smooth on the top side but I left scratches on the bottom. The bottom is wider than the top, and that’s the part that will rub up against the saya the most when the sword is drawn, so that area can take the most wear. I love the color!

All manner of hand tools are indulged to shape the tsuka. I’m told a spoke shaver works really well for this but I don’t own a spoke shaver, so tough toodles for me. The tsuka wants a nice oval shape that meets evenly with the fuchi and koshirae that cap either side. The tsuka is also not perfectly straight, but has some subtle curves in it and tapers slightly towards the bottom. When making this, just think, this is the handle for your tool in your fight against ninja. It needs to be comfortable, practical, and the best size and shape.

Shaving off a little at a time is far better than shaving off to much. You can’t add anything back on.

This was the first time the tsuka was assembled with the sword and I could actually make a few practice swings with it. It’s good to get an idea of how it feels in your hand at this stage, because if anything needs to be changed, well, now is the time. Length, shape, thickness, width, all of these are so important that if something’s off by a millimeter or two, you will know. This tsuka did not need much adjusting.

Fittings

On the left is the brass habaki, the collar that holds the tsuba in place on the blade. To its right are the fuchi and koshirae, which cap the top and bottom of the handle. The habaki came with the blade and is fitted. The fuchi and koshirae are from Japan and I even had to pay for them in yen. You can find cheap ones on the internet and they are almost always of low quality, gaudy, made of crappy metals and full of flaws. These were not cheap but they are perfect. I like the black and silver color scheme and I love the waves. They will help give the sword its spirit.

The brass habaki tends to rub on the saya (the wooden sheath) a bit when the sword is drawn, so it will take some wear and if you use your sword this is normal. So I don’t put a lot of polish on these, but I do some. Here I sand it with some coarse sandpaper in a diagonal grain.

I polish off the diagonal scratches on the top only, leaving them on the bottom to give it some interest.

Brass is a nice soft metal and is fairly easy to tool and polish, but it does burn through a lot of sandpaper!

My assistant thinks they need a little more work, but I think they’re ready.

After polishing, I gave the habaki and the two copper seppa a little patina using sulfur and boiling water. The copper was absolutely blackened, which I had to polish off a little, but the brass habaki took on a complex reddish hue, which I thought looked nice. I also make a leather seppa, which is non-traditional, but it’s kind of nice to have between the handle and the tsuba, seems to absorb some shock and helps make a tighter fit.

Now I’m ready to make the handle.

Tsuba

The tsuba is the hand guard that sits between the handle and the blade. It gives the hand a little protection against an opponent’s blade and also prevents your hand from slipping up the handle to become injured on your own blade. Most traditional tsuba are a little bigger than this, I like mine smaller as it keeps the blade a little lighter and has less momentum near the handle.

I lay out what I think I want it to look like on a slab of 5/16″ steel.

I decided on four corners and not six. The hole for the blade should be well fitted. Many historical tsuba had copper welded in there at the ends, as the soft metal provided a good fit that wouldn’t damage the blade if it rubbed a little. I’m not that studious, nor do I think my sword needs it.

A little shaping and grinding to get the look I’m going for.

I give it some sanding but not too much yet. It still needs to be heat treated, and it will need to be fully sanded after that. I just get the edges the way I want them. The copper piece on the right is called a seppa, and it’s a spacer that goes on either side of the tsuba. I need to make two of them.

The fit is great, very tight.

Heat treating is the fun part, and not without some risk. The tsuba is heated in these embers until it’s glowing hot, and then quenched in water. This sudden cooling will harden the steel quite well, but if there are flaws in the steel, it may crack or deform, and then I’d have to start all over.

This one made it fine, a little dirty and with a thick glaze over it that will need to be broken off, then final sanding. I considered getting a little more decorative but I like them simple, as they do a simple job.

And Now For Something Completely Different

Let’s make a katana!

I got this blade on the internet. It needed a little polishing and sharpening but was otherwise ready to go.

1060 carbon steel, folded and heat treated. You can see the grain of the folds but the hamon (the line between the hardened steel and the more resilient spine) is difficult to come out in pictures.

This will be a good sword.

The Triangle of DOOM!

The gable roof end over our dining and kitchen area forms a triangular shape that we have named The Triangle of Doom. Mostly because it’s a pain in the ass to get up there and do anything, but also because it overlooks half the house and if anything is wrong with it, you can see it all the time.

Please observe the exposed plywood, framing and insulation up there. We’ve stared at that for over a year, since the day they knocked it out. Here’s a picture of that:

That was the view from my office, where I work, on September 9, 2020.

Really bringing the outdoors in, here. So, yeah, after staring at all the exposed framing and insulation for a year, we knew the time was coming that I had to get up there and do something about it. Drywallers wanted to just sheetrock over it but the nightmare of having drywall dust in every orifice of the house for six months was too much. We elected tongue and groove, pre-painted, so I wouldn’t have to go up there and paint it after install.

Sincerely, getting the Big Ladder inside was the worst of it. It’s stored outside under a tree (please note: 82% of our property is under a tree) so it’s covered in pitch and home to 812 spiders and weighs like 135 pounds so it’s a bitch to move around inside. But once it’s set, it’s nice and heavy and stable and can get me up there with planks and a mallet and a nail gun and sometimes a level though I quickly realized that if the boards were not level there was little I could do about it.

When it was finally done, we just about screamed. No more staring at crooked framing and dirty insulation. It was finished. Finished at last!

Sometimes when you live with something ugly long enough, you kind of stop seeing it because you stop looking at it. Our eyes just naturally averted their gaze towards that triangle. Now, it’s like we accidentally glace upwards and are pleasantly surprised.

The boards fit in better than expected, the trim goes well with it, we love the color, and I’m never going up there on that fricking ladder again.