
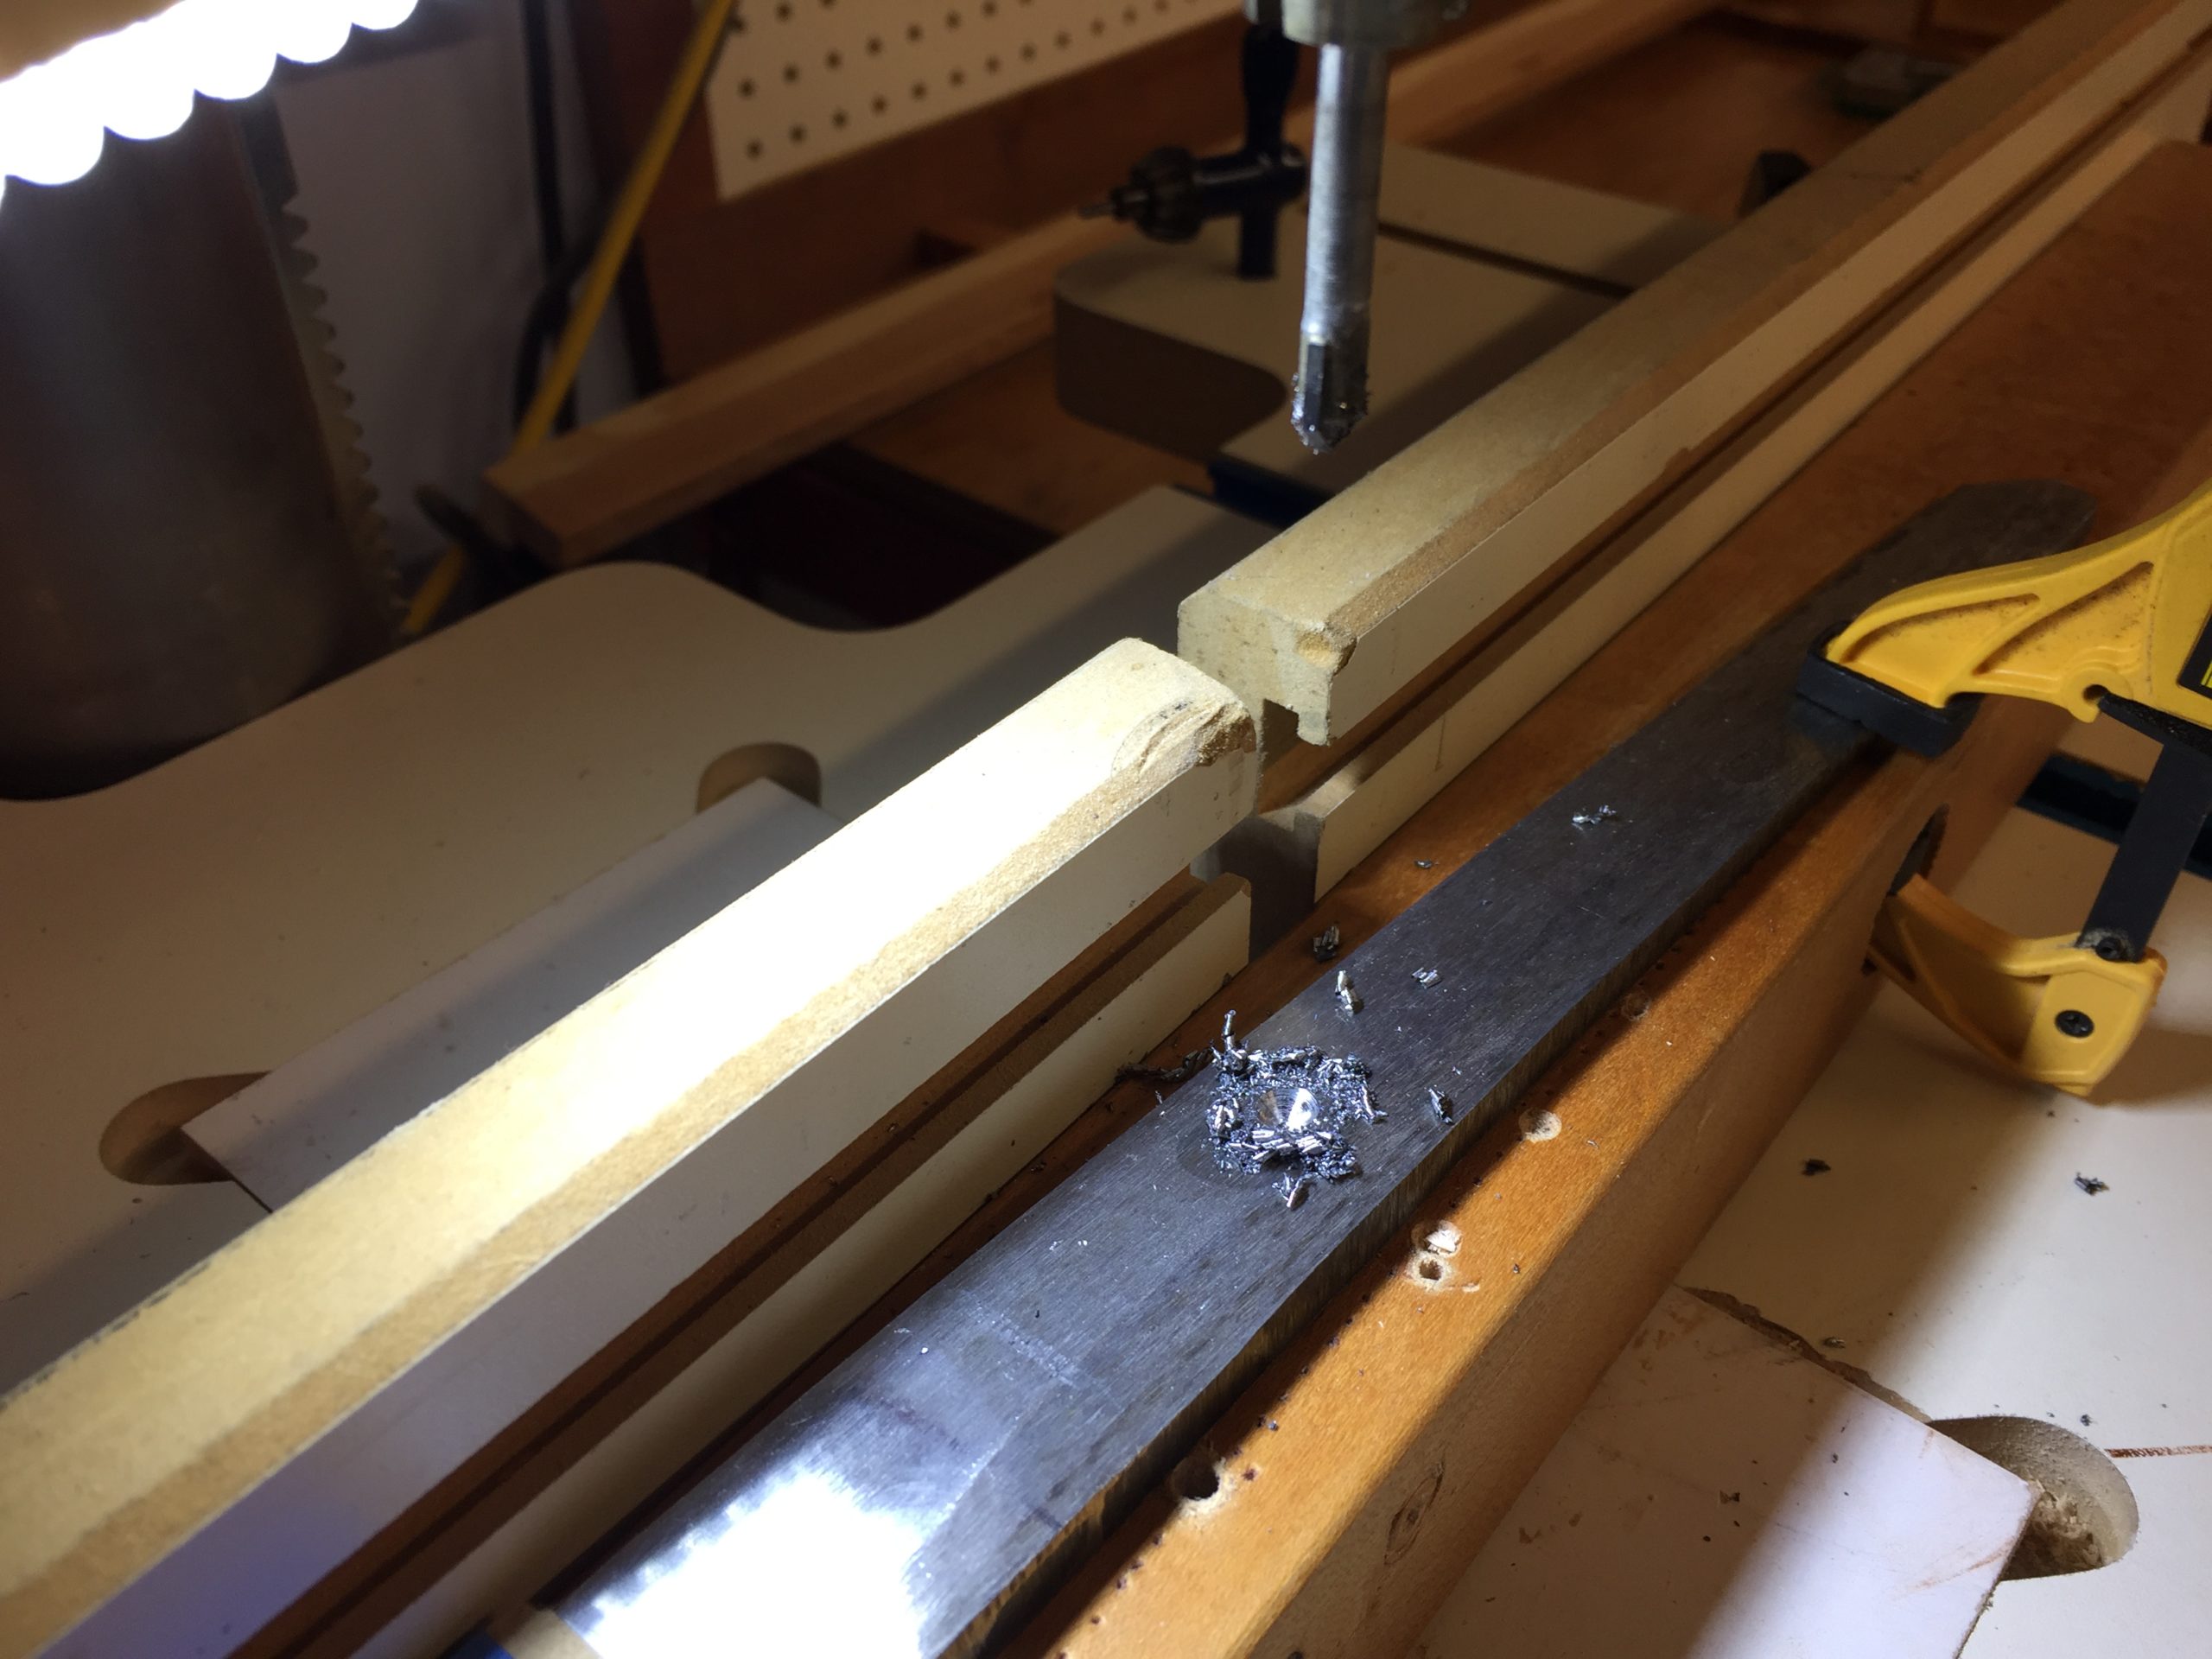
The blade is made from 1060 carbon steel, folded and heat treated. It is not easy to drill though. I use glass cutting masonry bits to drill the holes. I need two holes for the pins that hold them tight into the handle. Without them, my blade will fly out of the handle on the first swing. It can cause severe damage or injury to whatever or whomever it hits. And worse, the blade itself can become damaged. So these holes are important.
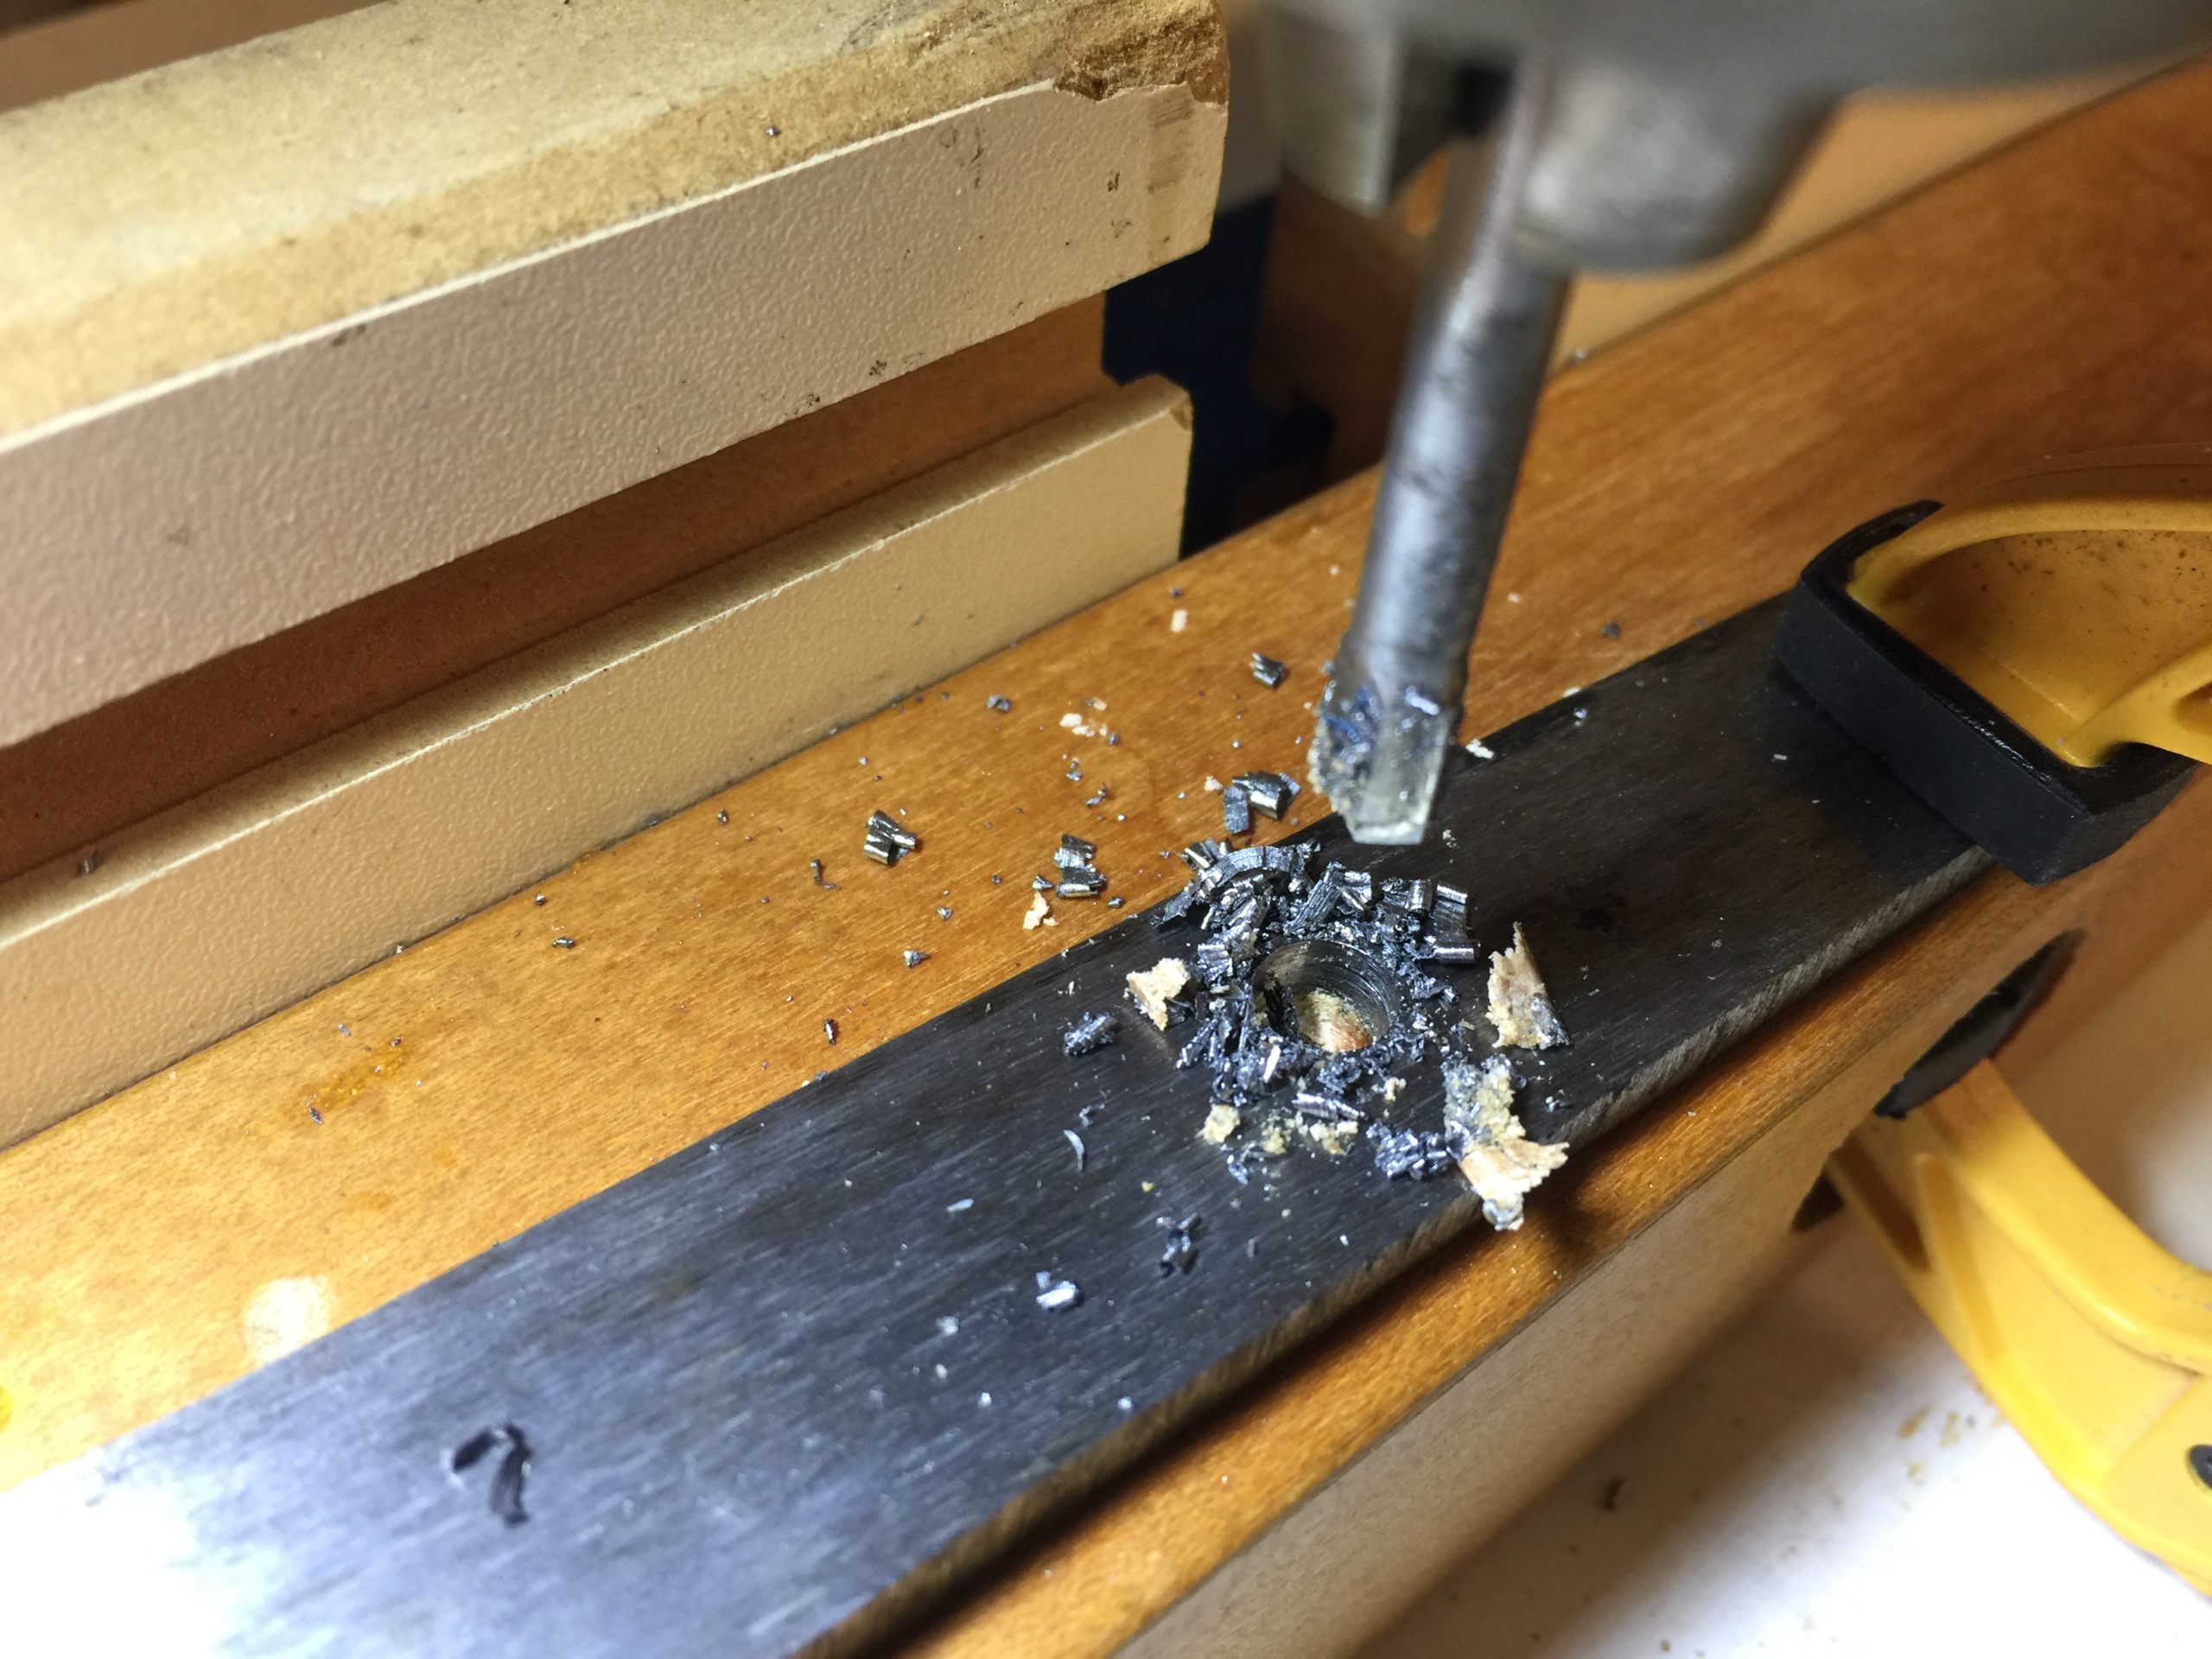
My advice if you want to try this at home: Use a drill press, not a hand drill, as you want this hole to be perfectly straight and perpendicular. Find a friend with a drill press if necessary. Use the lowest speed you can to prevent overheating, and add oil periodically to help the bit cut through. And above all, clamp that blade down like you’ve never clamped anything down before. Sometimes when you drill something and the bit gets stuck, it will rotate the object you’re drilling through. Imagine a spinning katana blade, about chest level, on the drill press. Horror movies have things like that. No need to make it a reality.
Also, and this is important: when I work with a sword blade, I wrap the blade in paper, then wrap the paper in masking tape. This makes a nice little sheath that allows you to safely handle the blade. Obviously, the edge can still cut through the paper and masking tape, but it is much safer to handle this way. I didn’t get many pictures of this but know that it’s an important step.
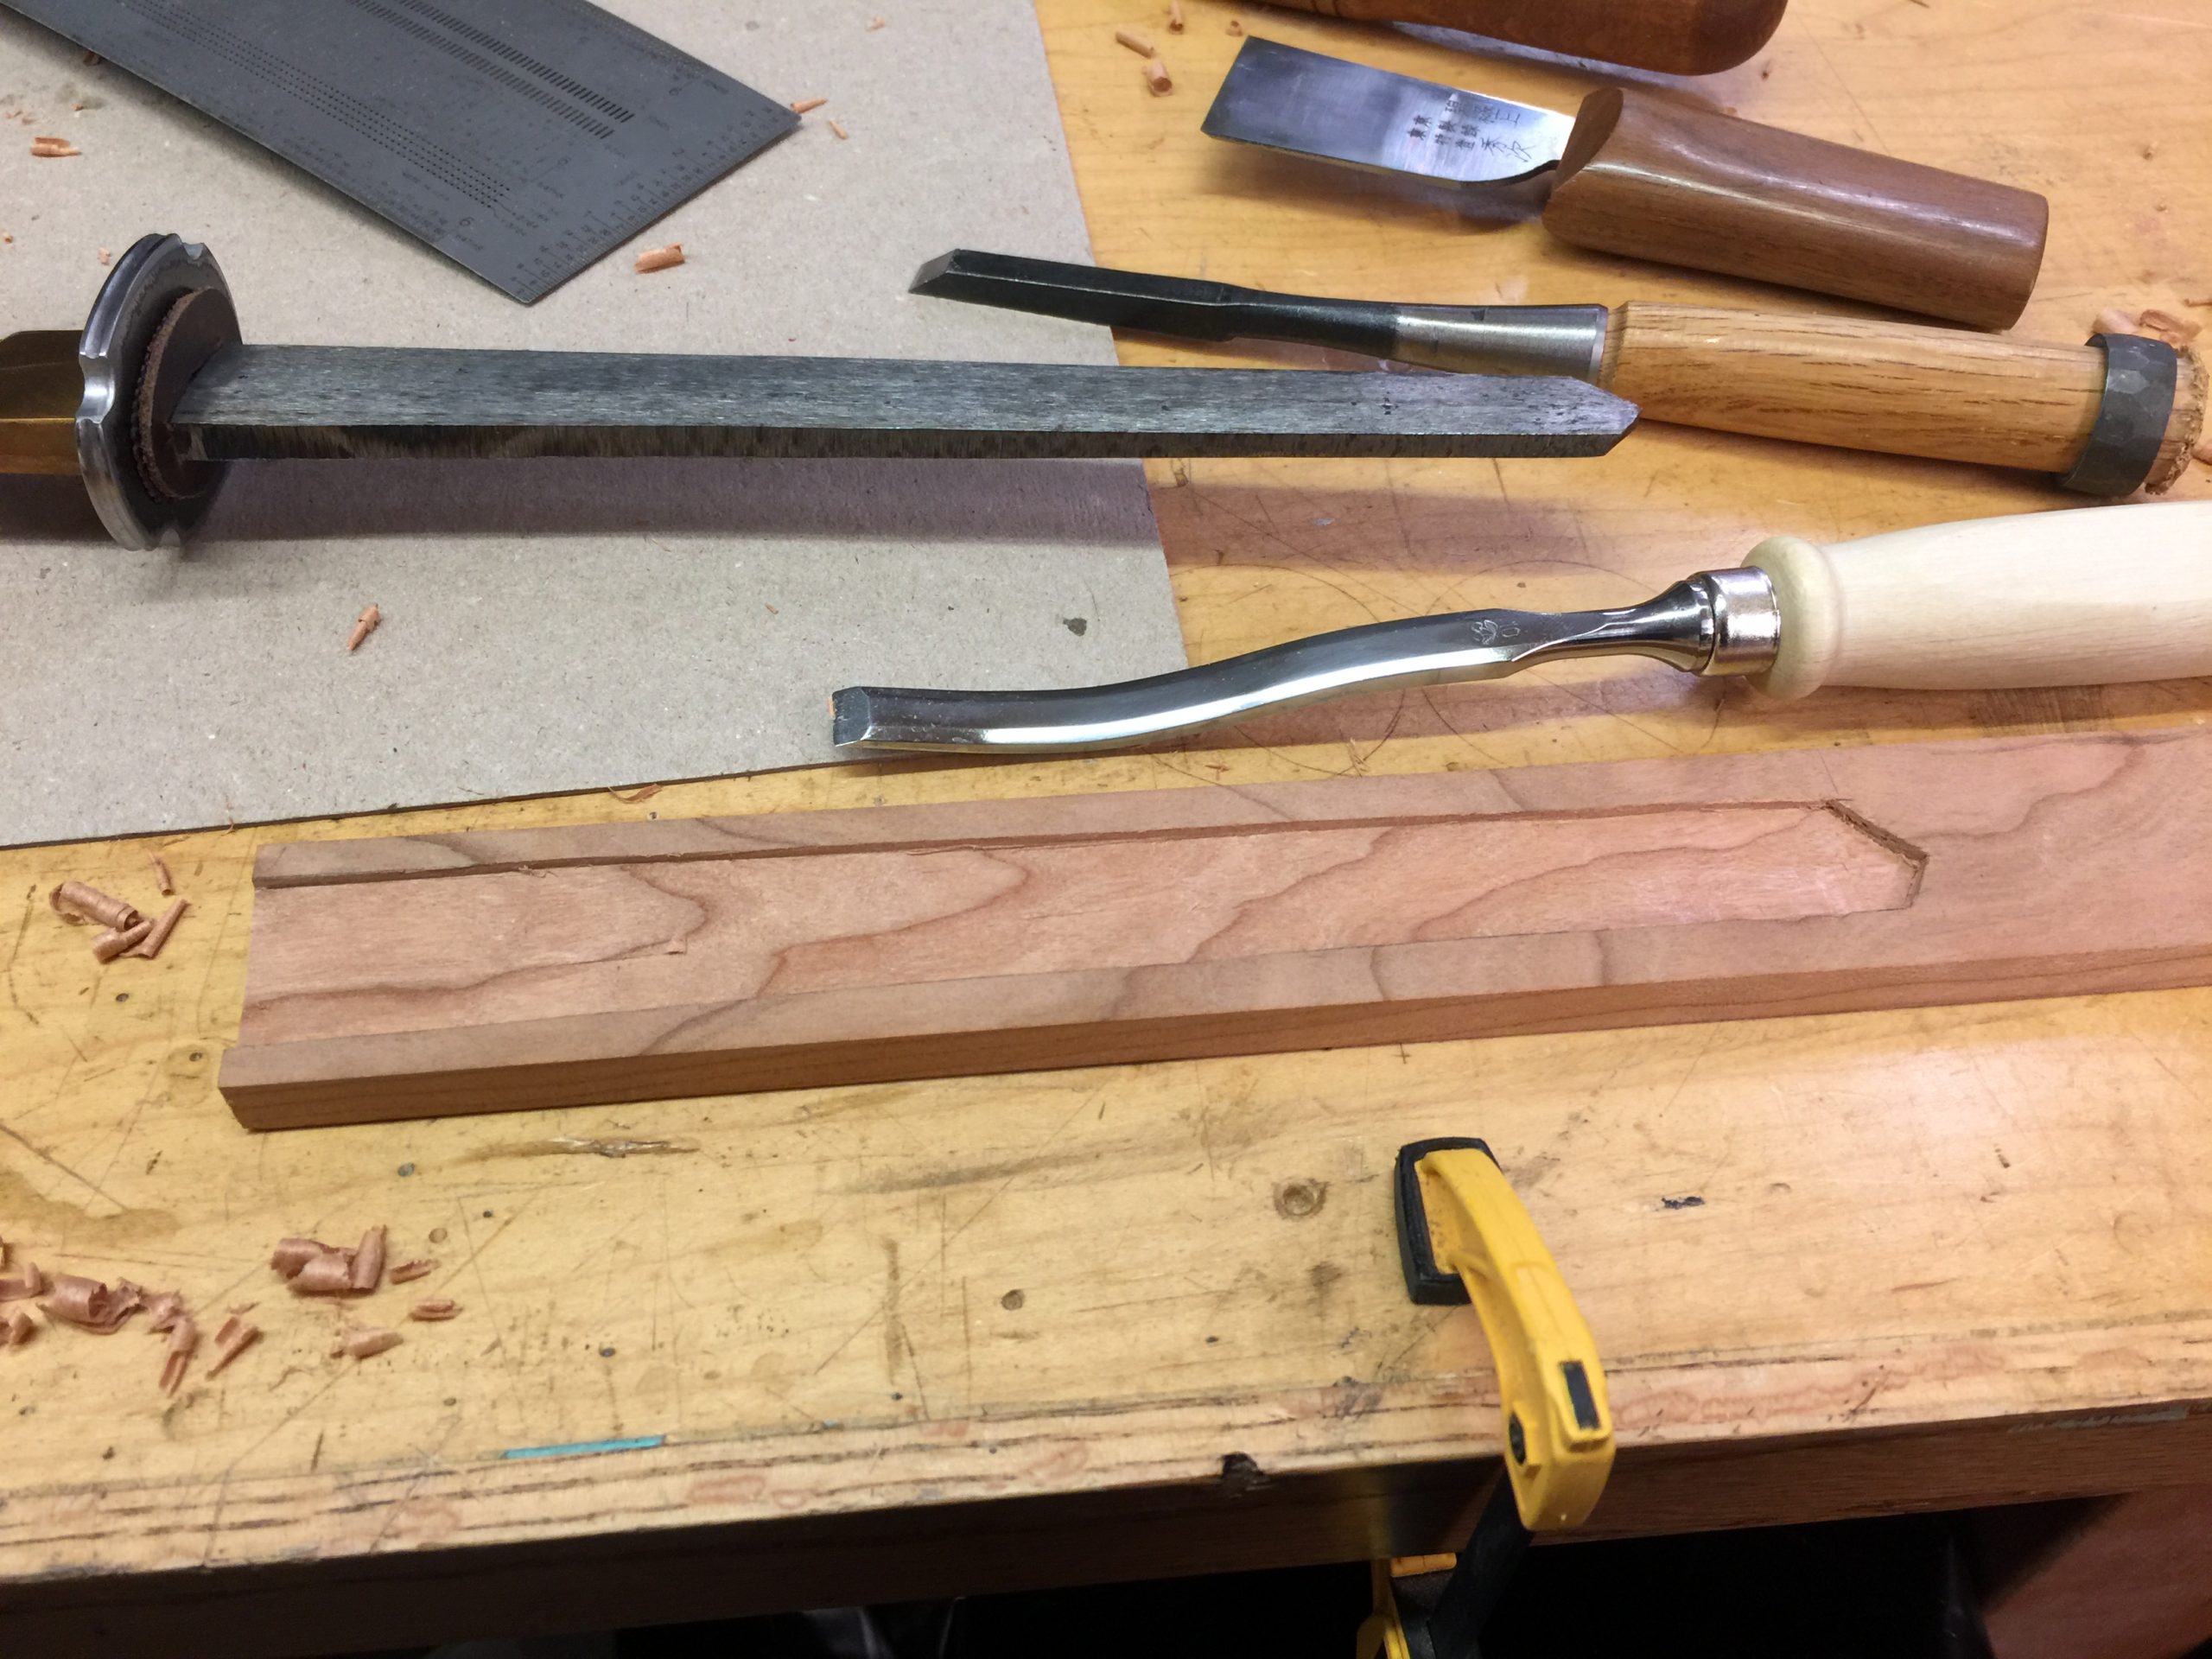
The sword’s handle is called the tsuka. When I made my first tsuka, I used what meager hand tools I had and it was an arduous task. I hoped that when I grew up, I would have all the power tools I needed to do this kind of stuff easier. Now, I still do it all by hand. Hand tools are just better at carving out the hollow for the sword’s tang. Yeah, I have better hand tools than I used to. Some of those chisels up there cost more than dinner for four at a fancy restaurant. That German-made curved chisel is so good at this, though! Worth every deutsche mark.
I made the tsuka from solid cherry, which is non traditional. The Japanese use honoki, which is a stable wood with low water and salt content and a nice even grain. It’s similar to poplar. But I always use cherry, because poplar sucks. Poplar is shit wood. Cherry is awesome. It’s harder and more difficult to tool, but it is very strong and resilient and it shapes well. My personal choice. I’ve made several tsuka from cherry, never had any issues with my swords because of it.
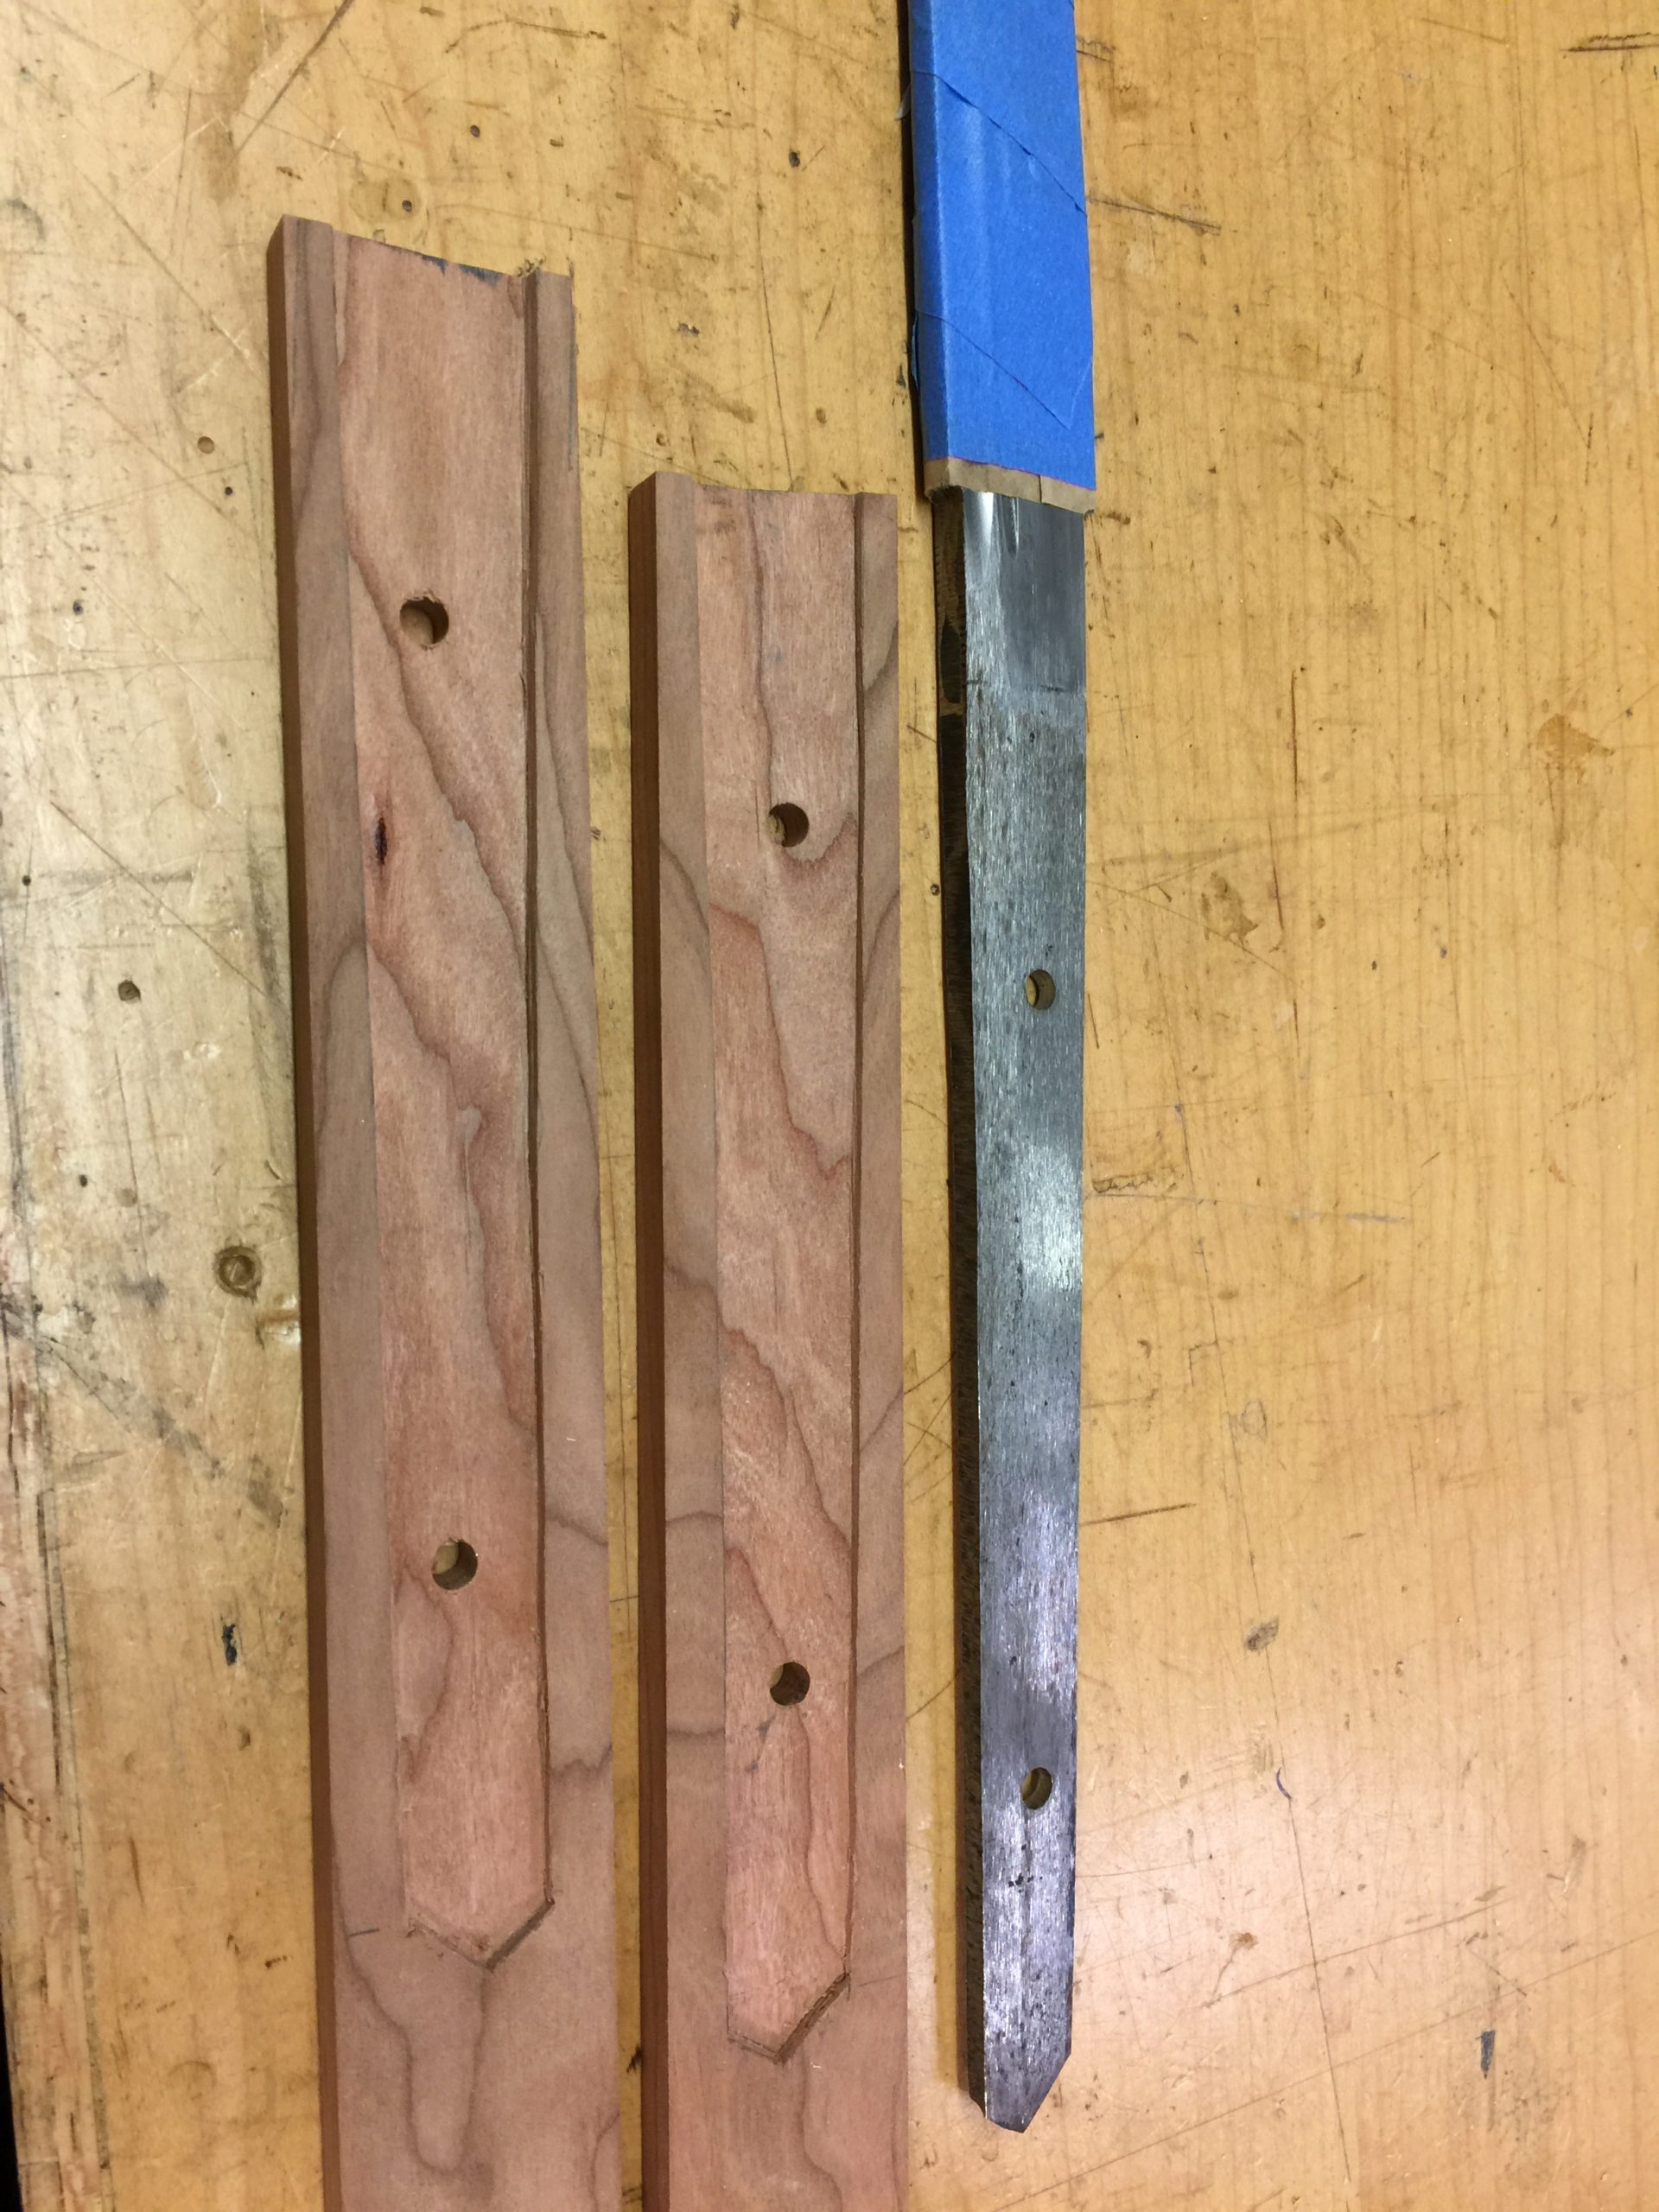
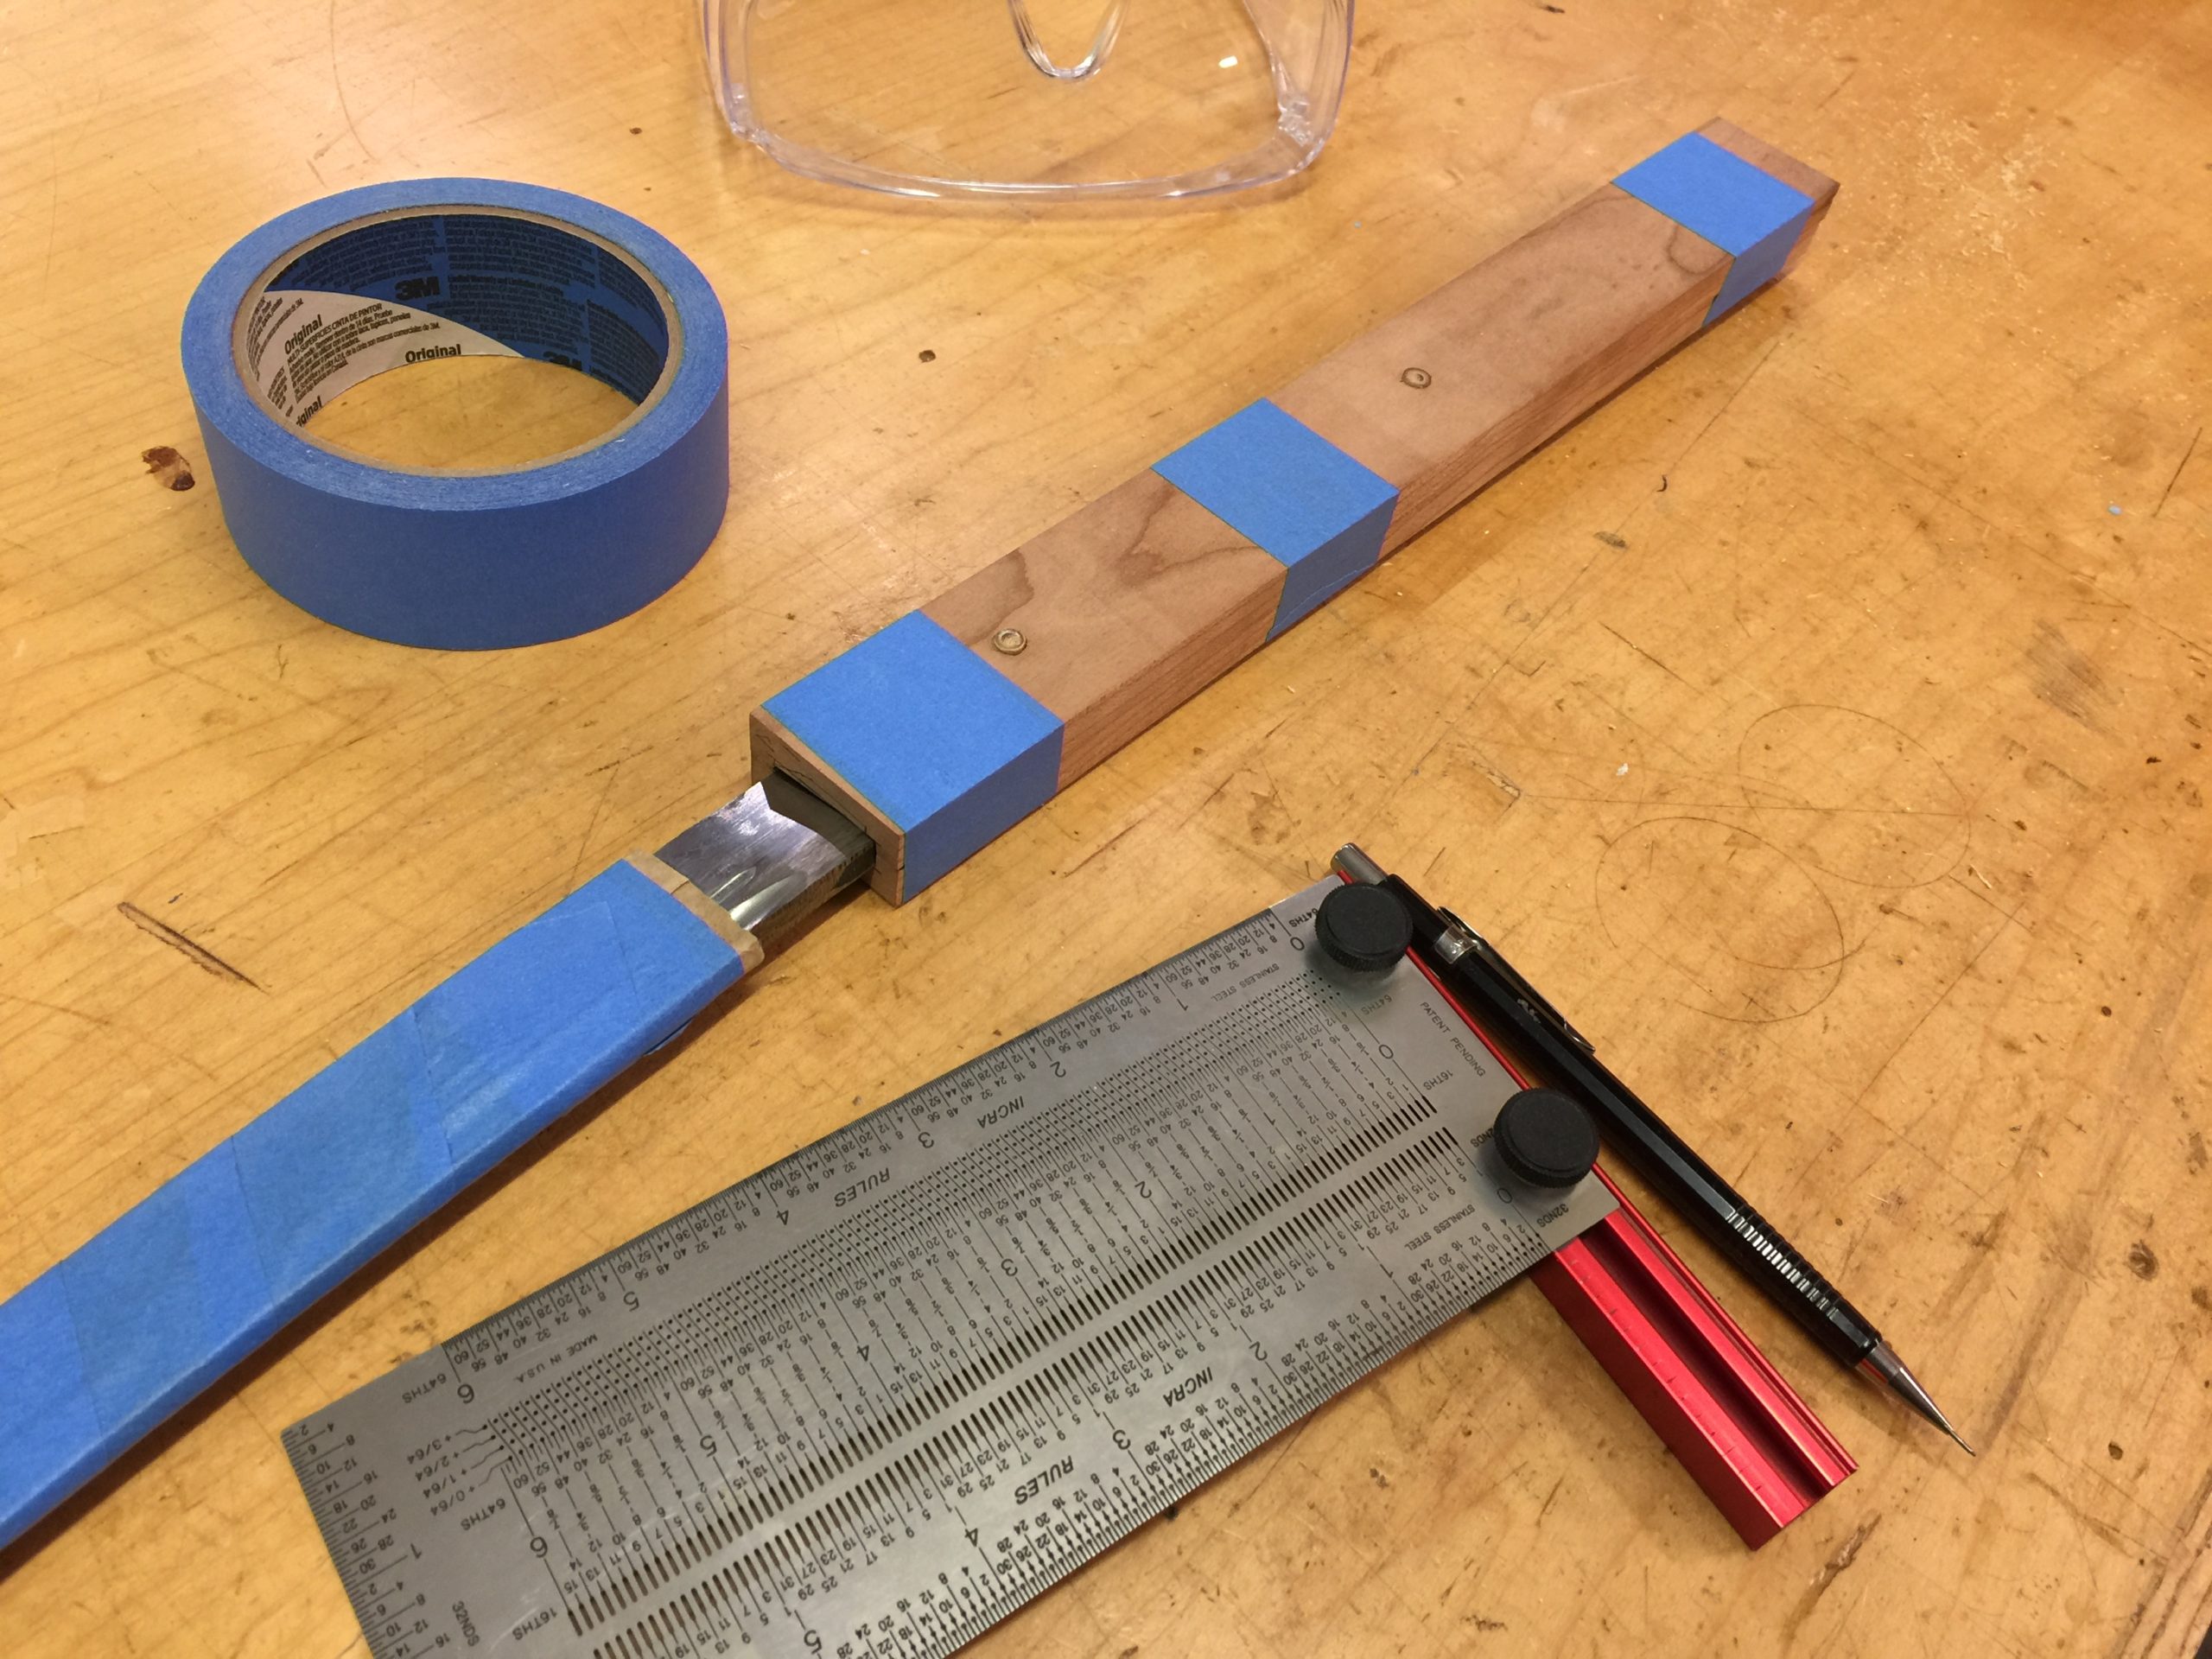
Ah, there’s that blue tape sheath I was talking about. It will save the tendons in your fingers, I tell you. So if you’re going to try this, make one!
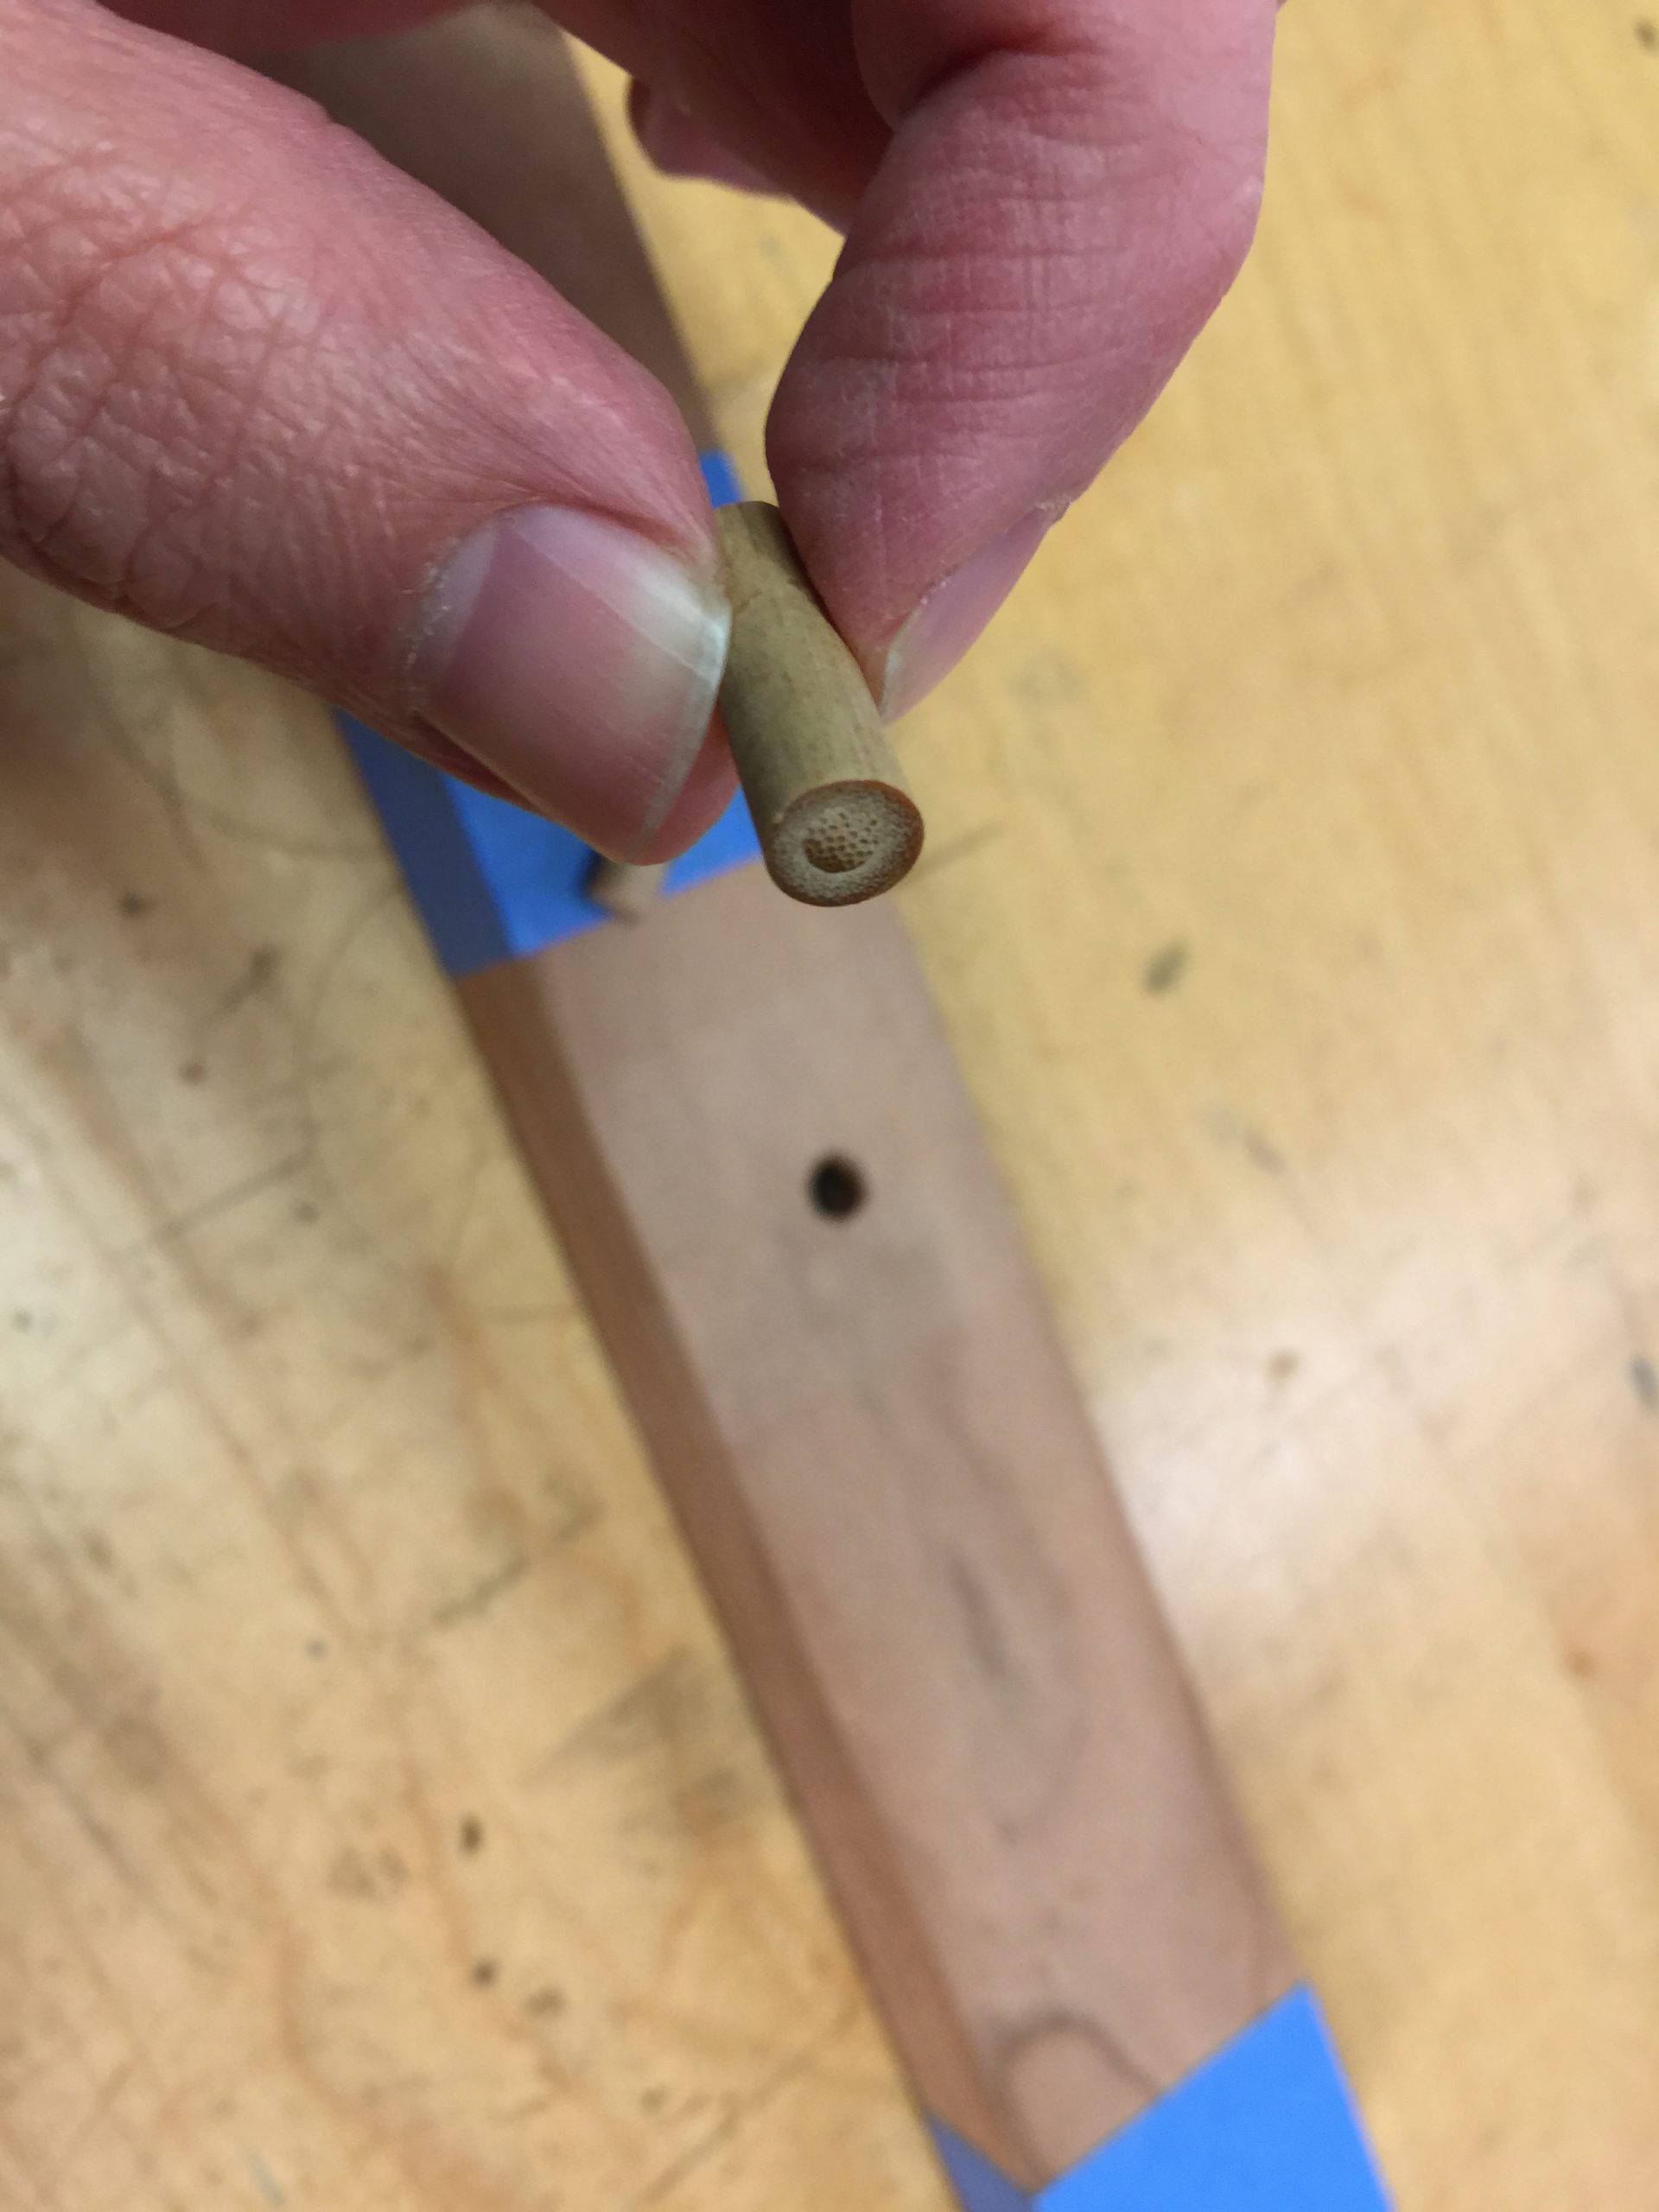
The wooden pegs that hold the sword in the tsuka are called mekugi. They are traditionally made from bamboo and I find this to be an ideal material. Bamboo is hollow, so I fill the hollow with a bamboo skewer. Bamboo within bamboo, within my tsuka. It’s very strong, though it does wear a little with use and needs replacing once in a while. I’d say one pair of mekugi are good for about thirty fights with ninja. Inspect them frequently and replace when necessary.
Sword making uses a lot of blue tape! Here, I’ve fitted the tsuka pieces together and taped it tight just to make sure the tang fits . There is nothing worse than gluing those two pieces together and realizing the sword doesn’t fit. This is just a way of testing the fit before glue-up.
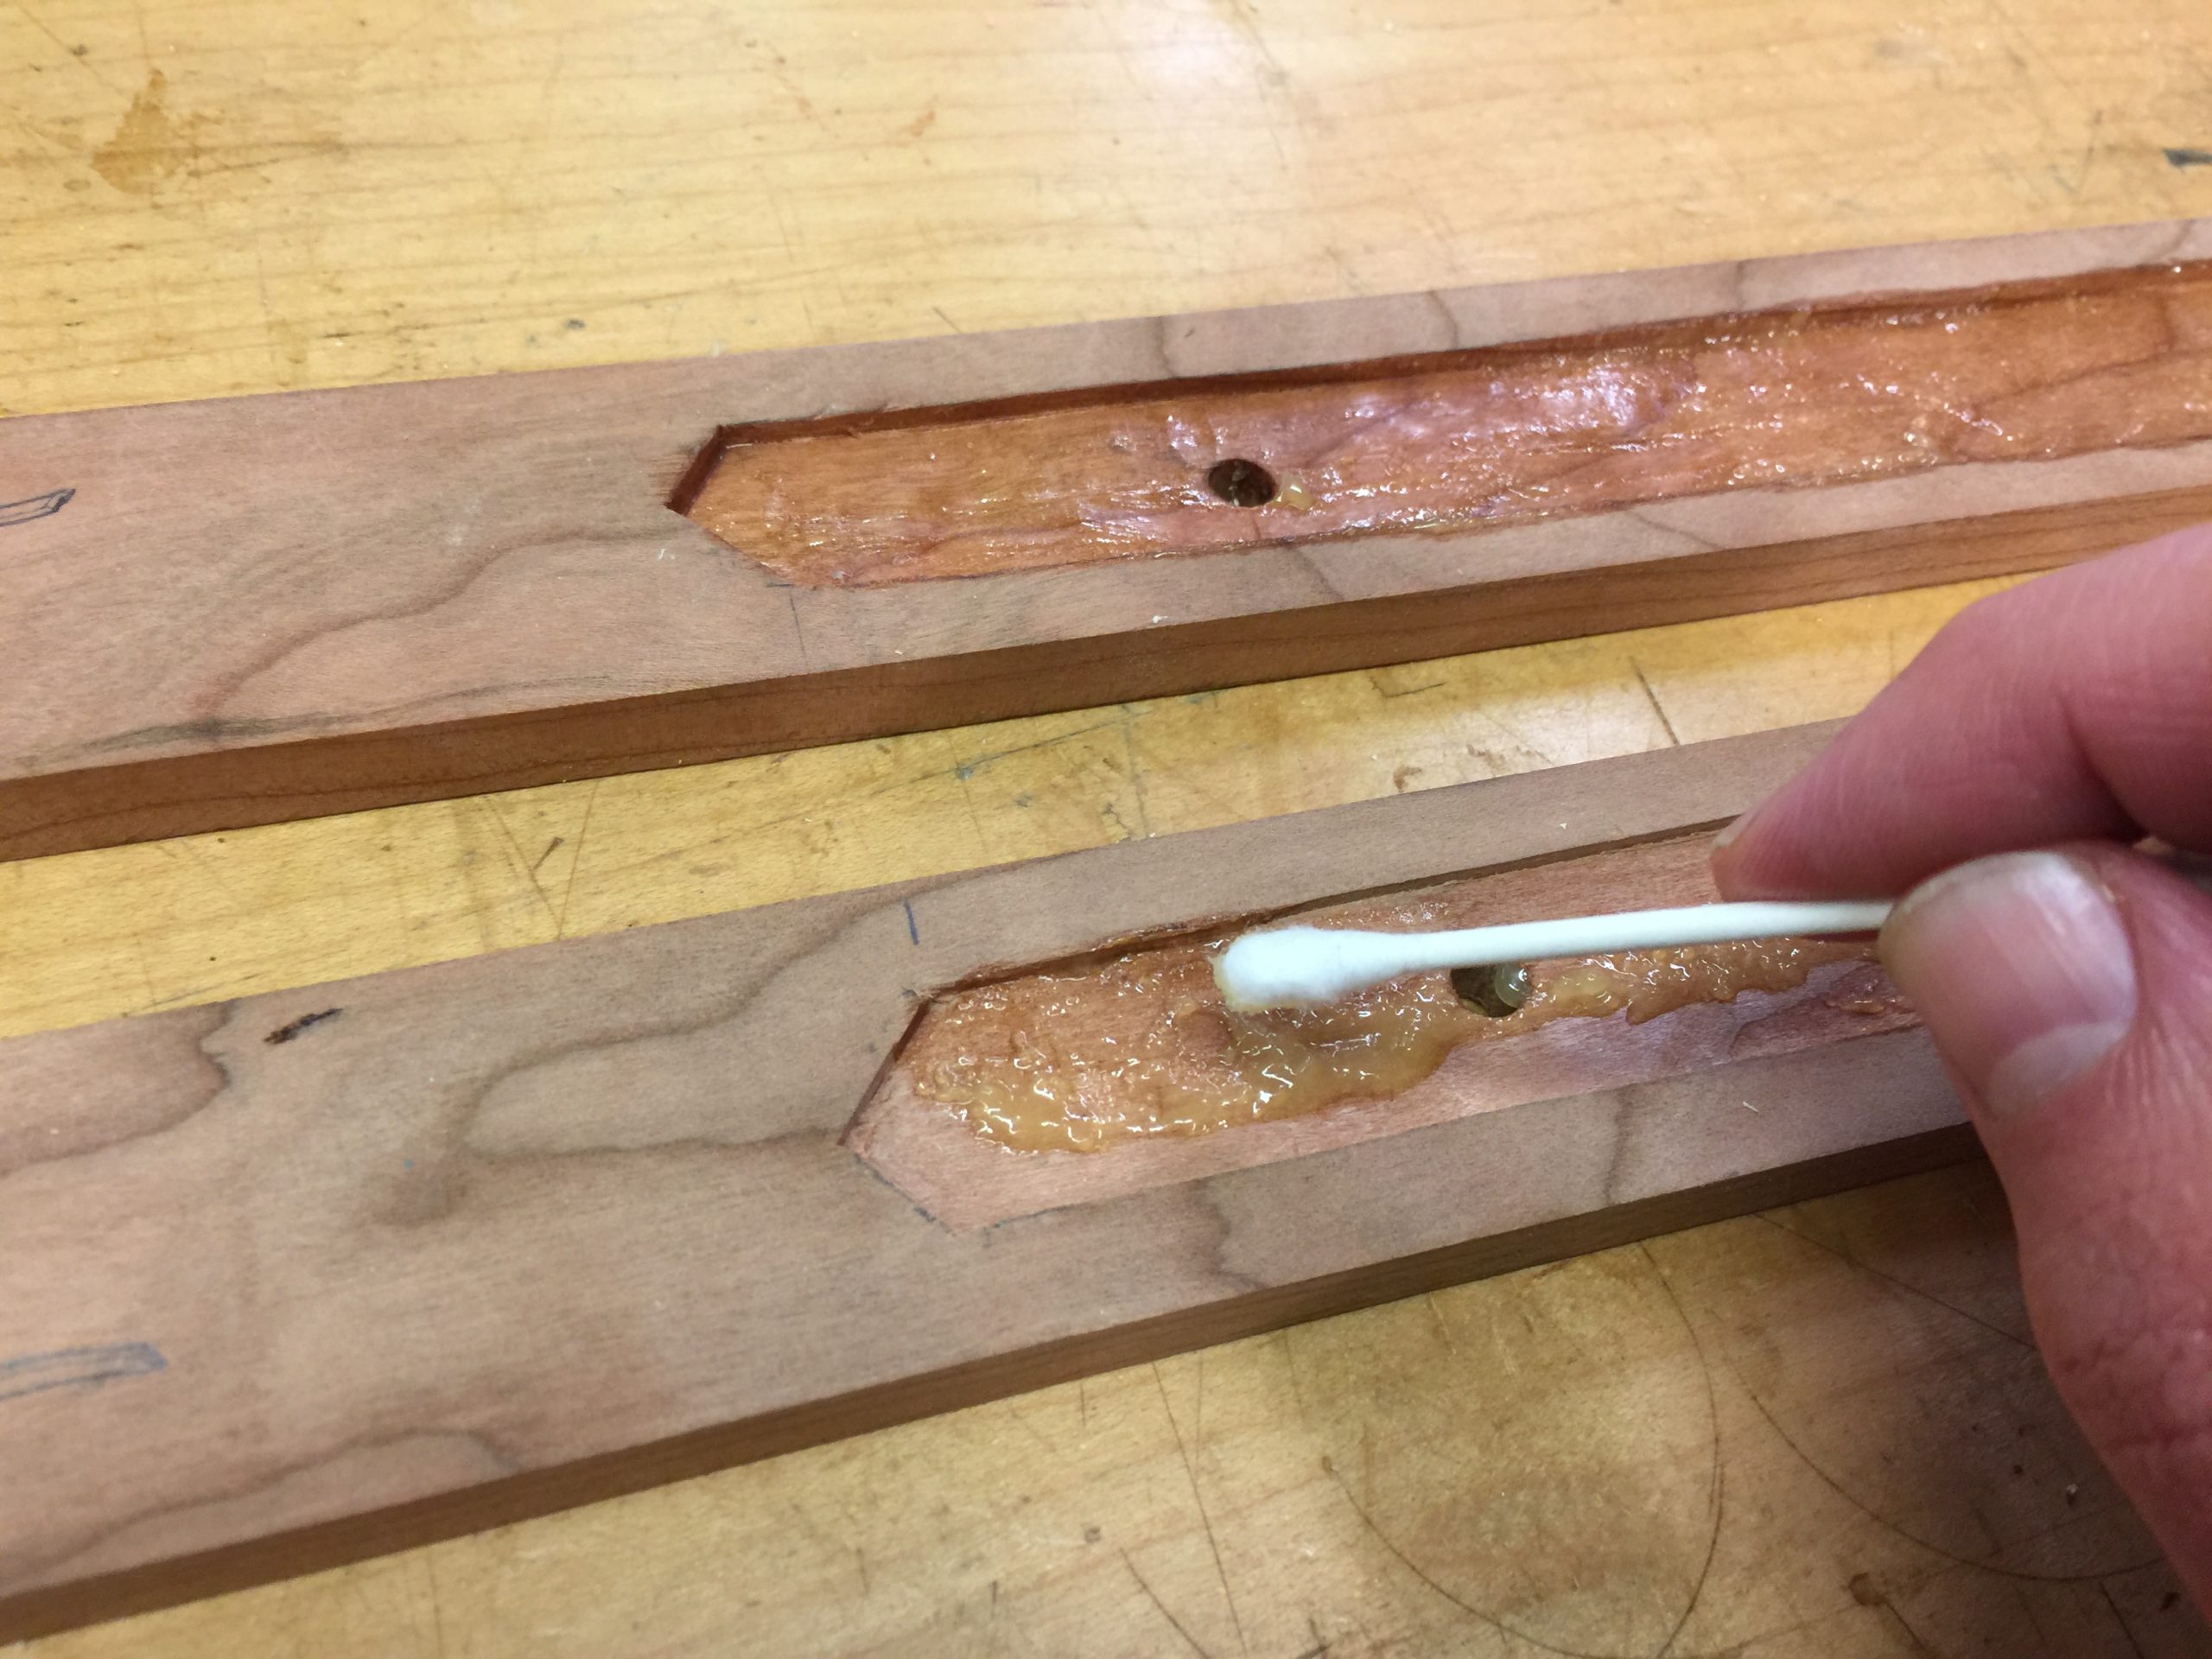
Non-traditional, but I coat the inside with a mixture of bees wax and orange oil. It soaks in and helps keep moisture at bay. Maybe. I don’t know. Maybe it does nothing. But it makes me feel better, like I did something.
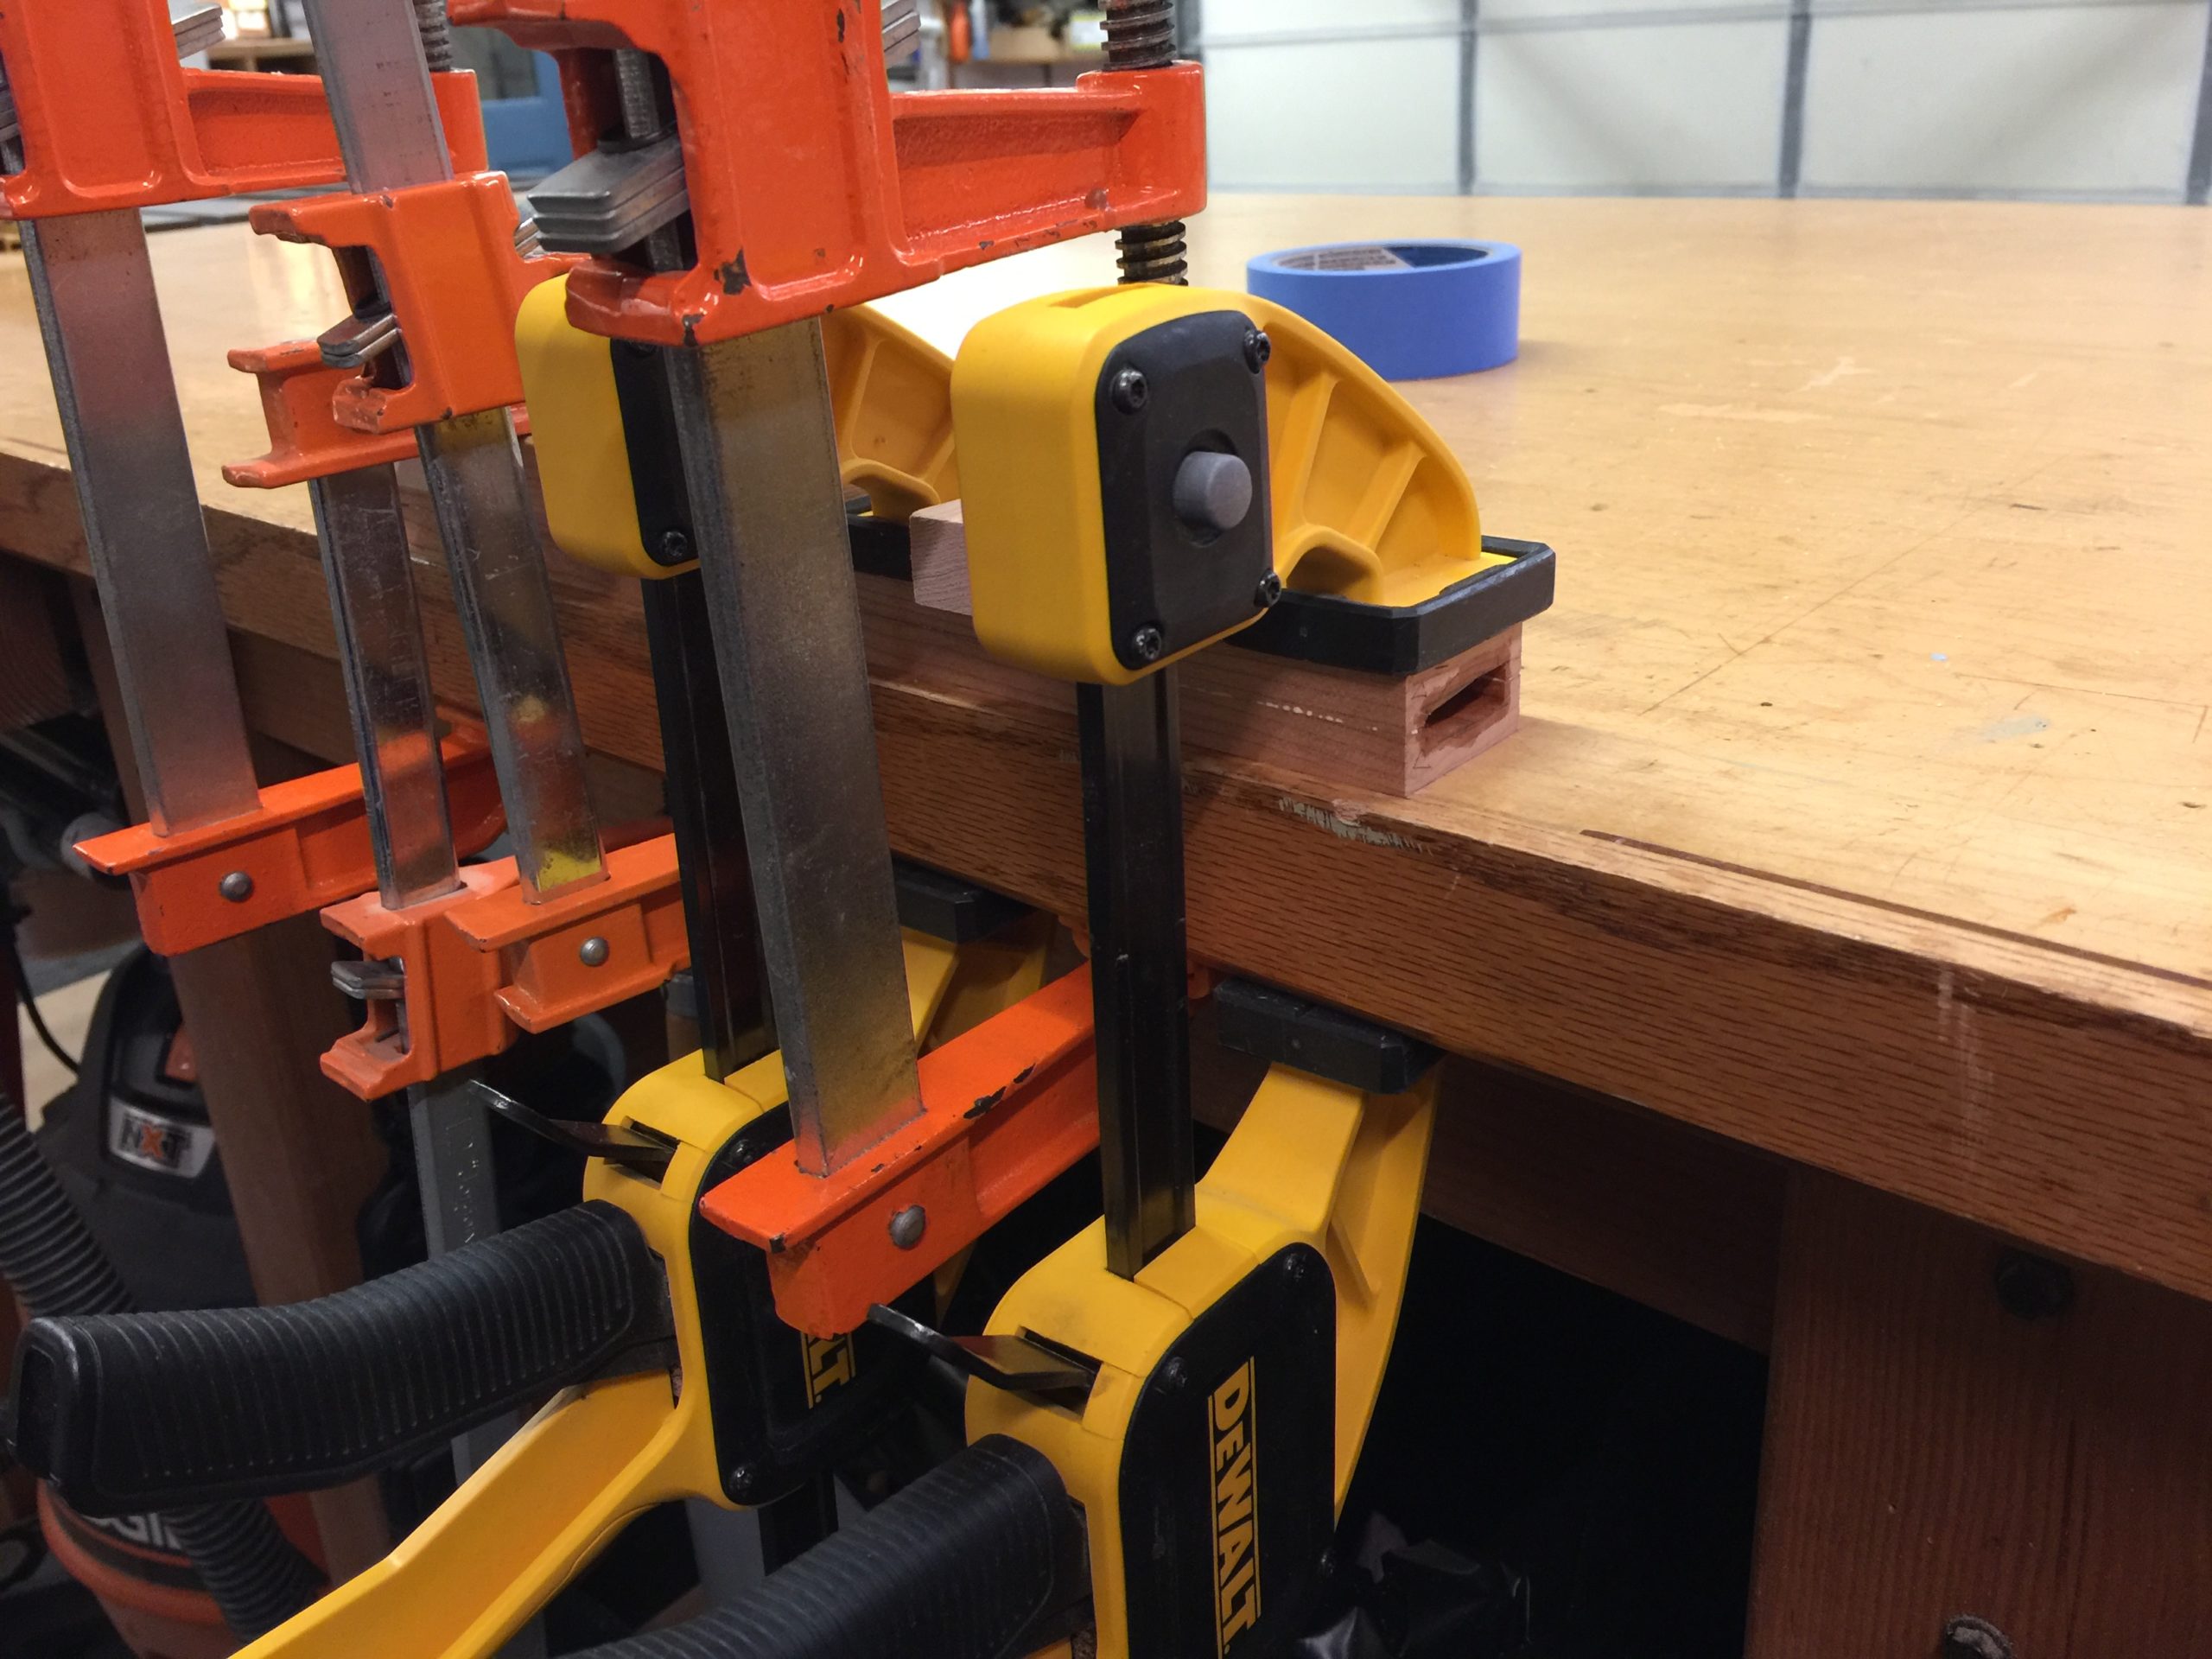
Traditionally, rice paste was used for glue. I use Titebond III. It doesn’t need a lot and it needs to be evenly spread across the surface to be glued. I use an expired credit card to smooth it out. A little will bead on the outside and inside. I clean up the inside before it dries using a bit of paper towel on a long stick. It’s not much of an issue, but I have observed that a bead of dried glue inside makes for a bit of rust over time.
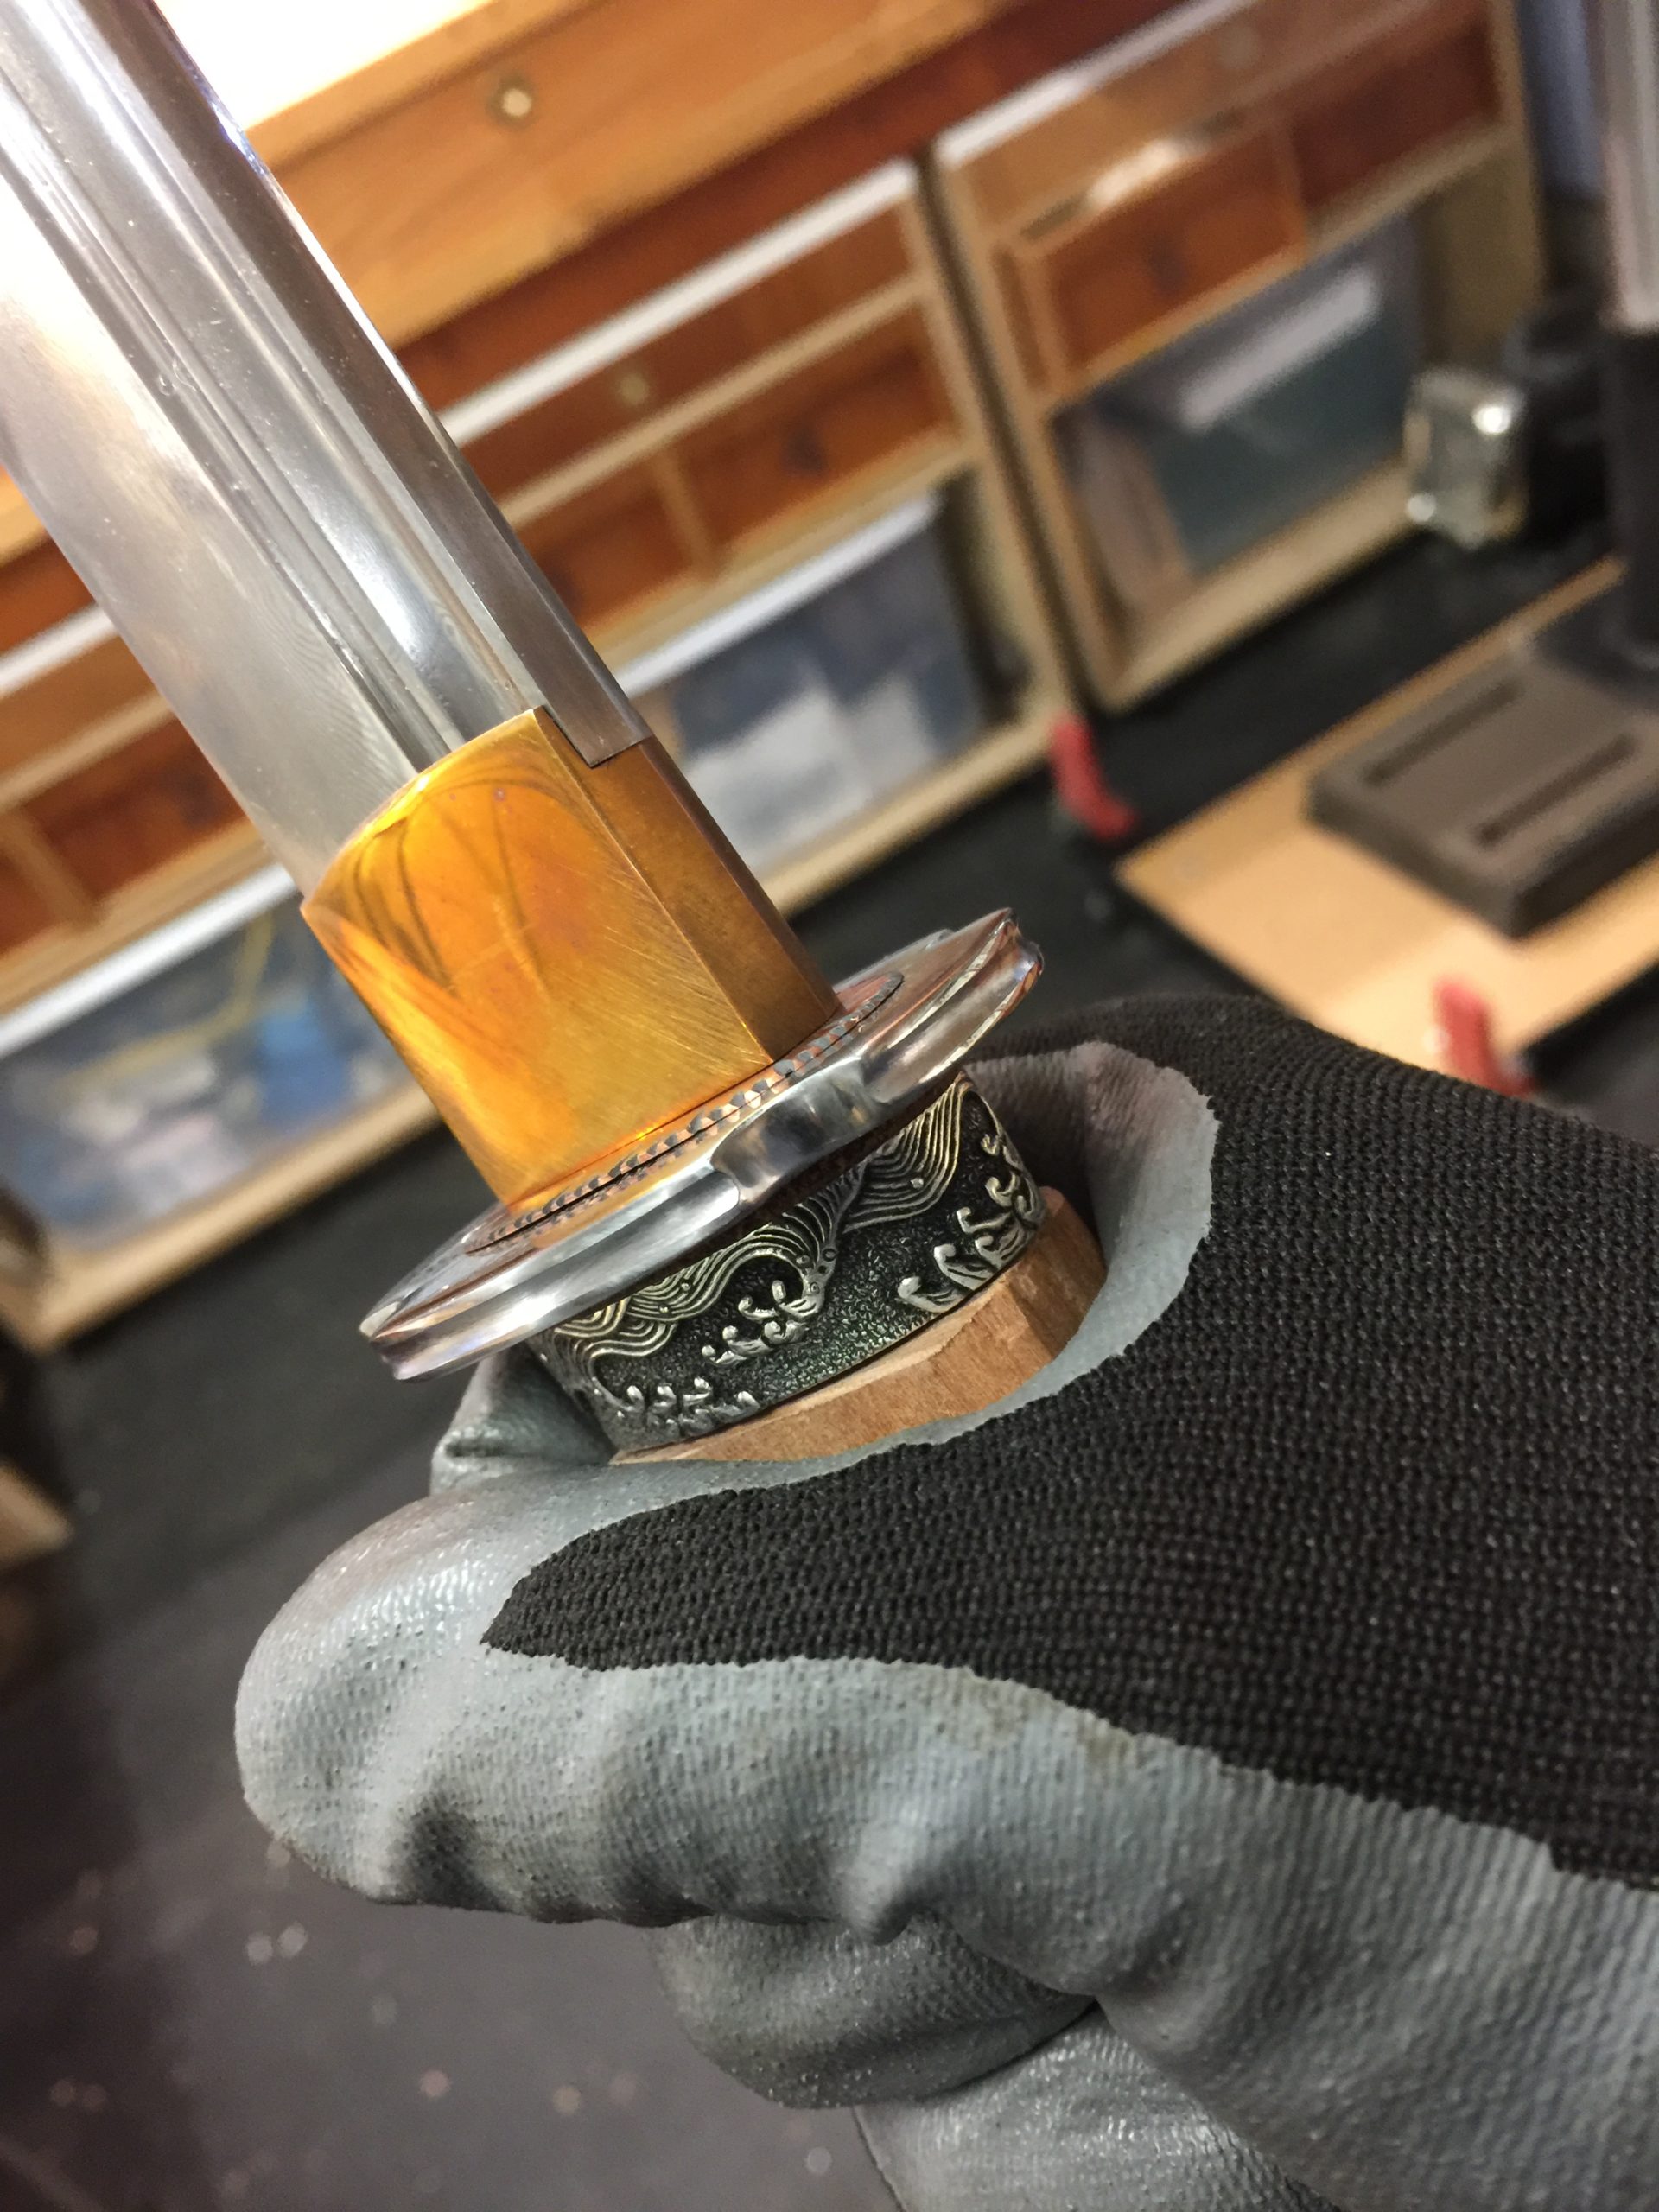
A really good initial fit. Ah, here you can see the diagonal lines on the habaki that I was talking about earlier. It’s polished smooth on the top side but I left scratches on the bottom. The bottom is wider than the top, and that’s the part that will rub up against the saya the most when the sword is drawn, so that area can take the most wear. I love the color!
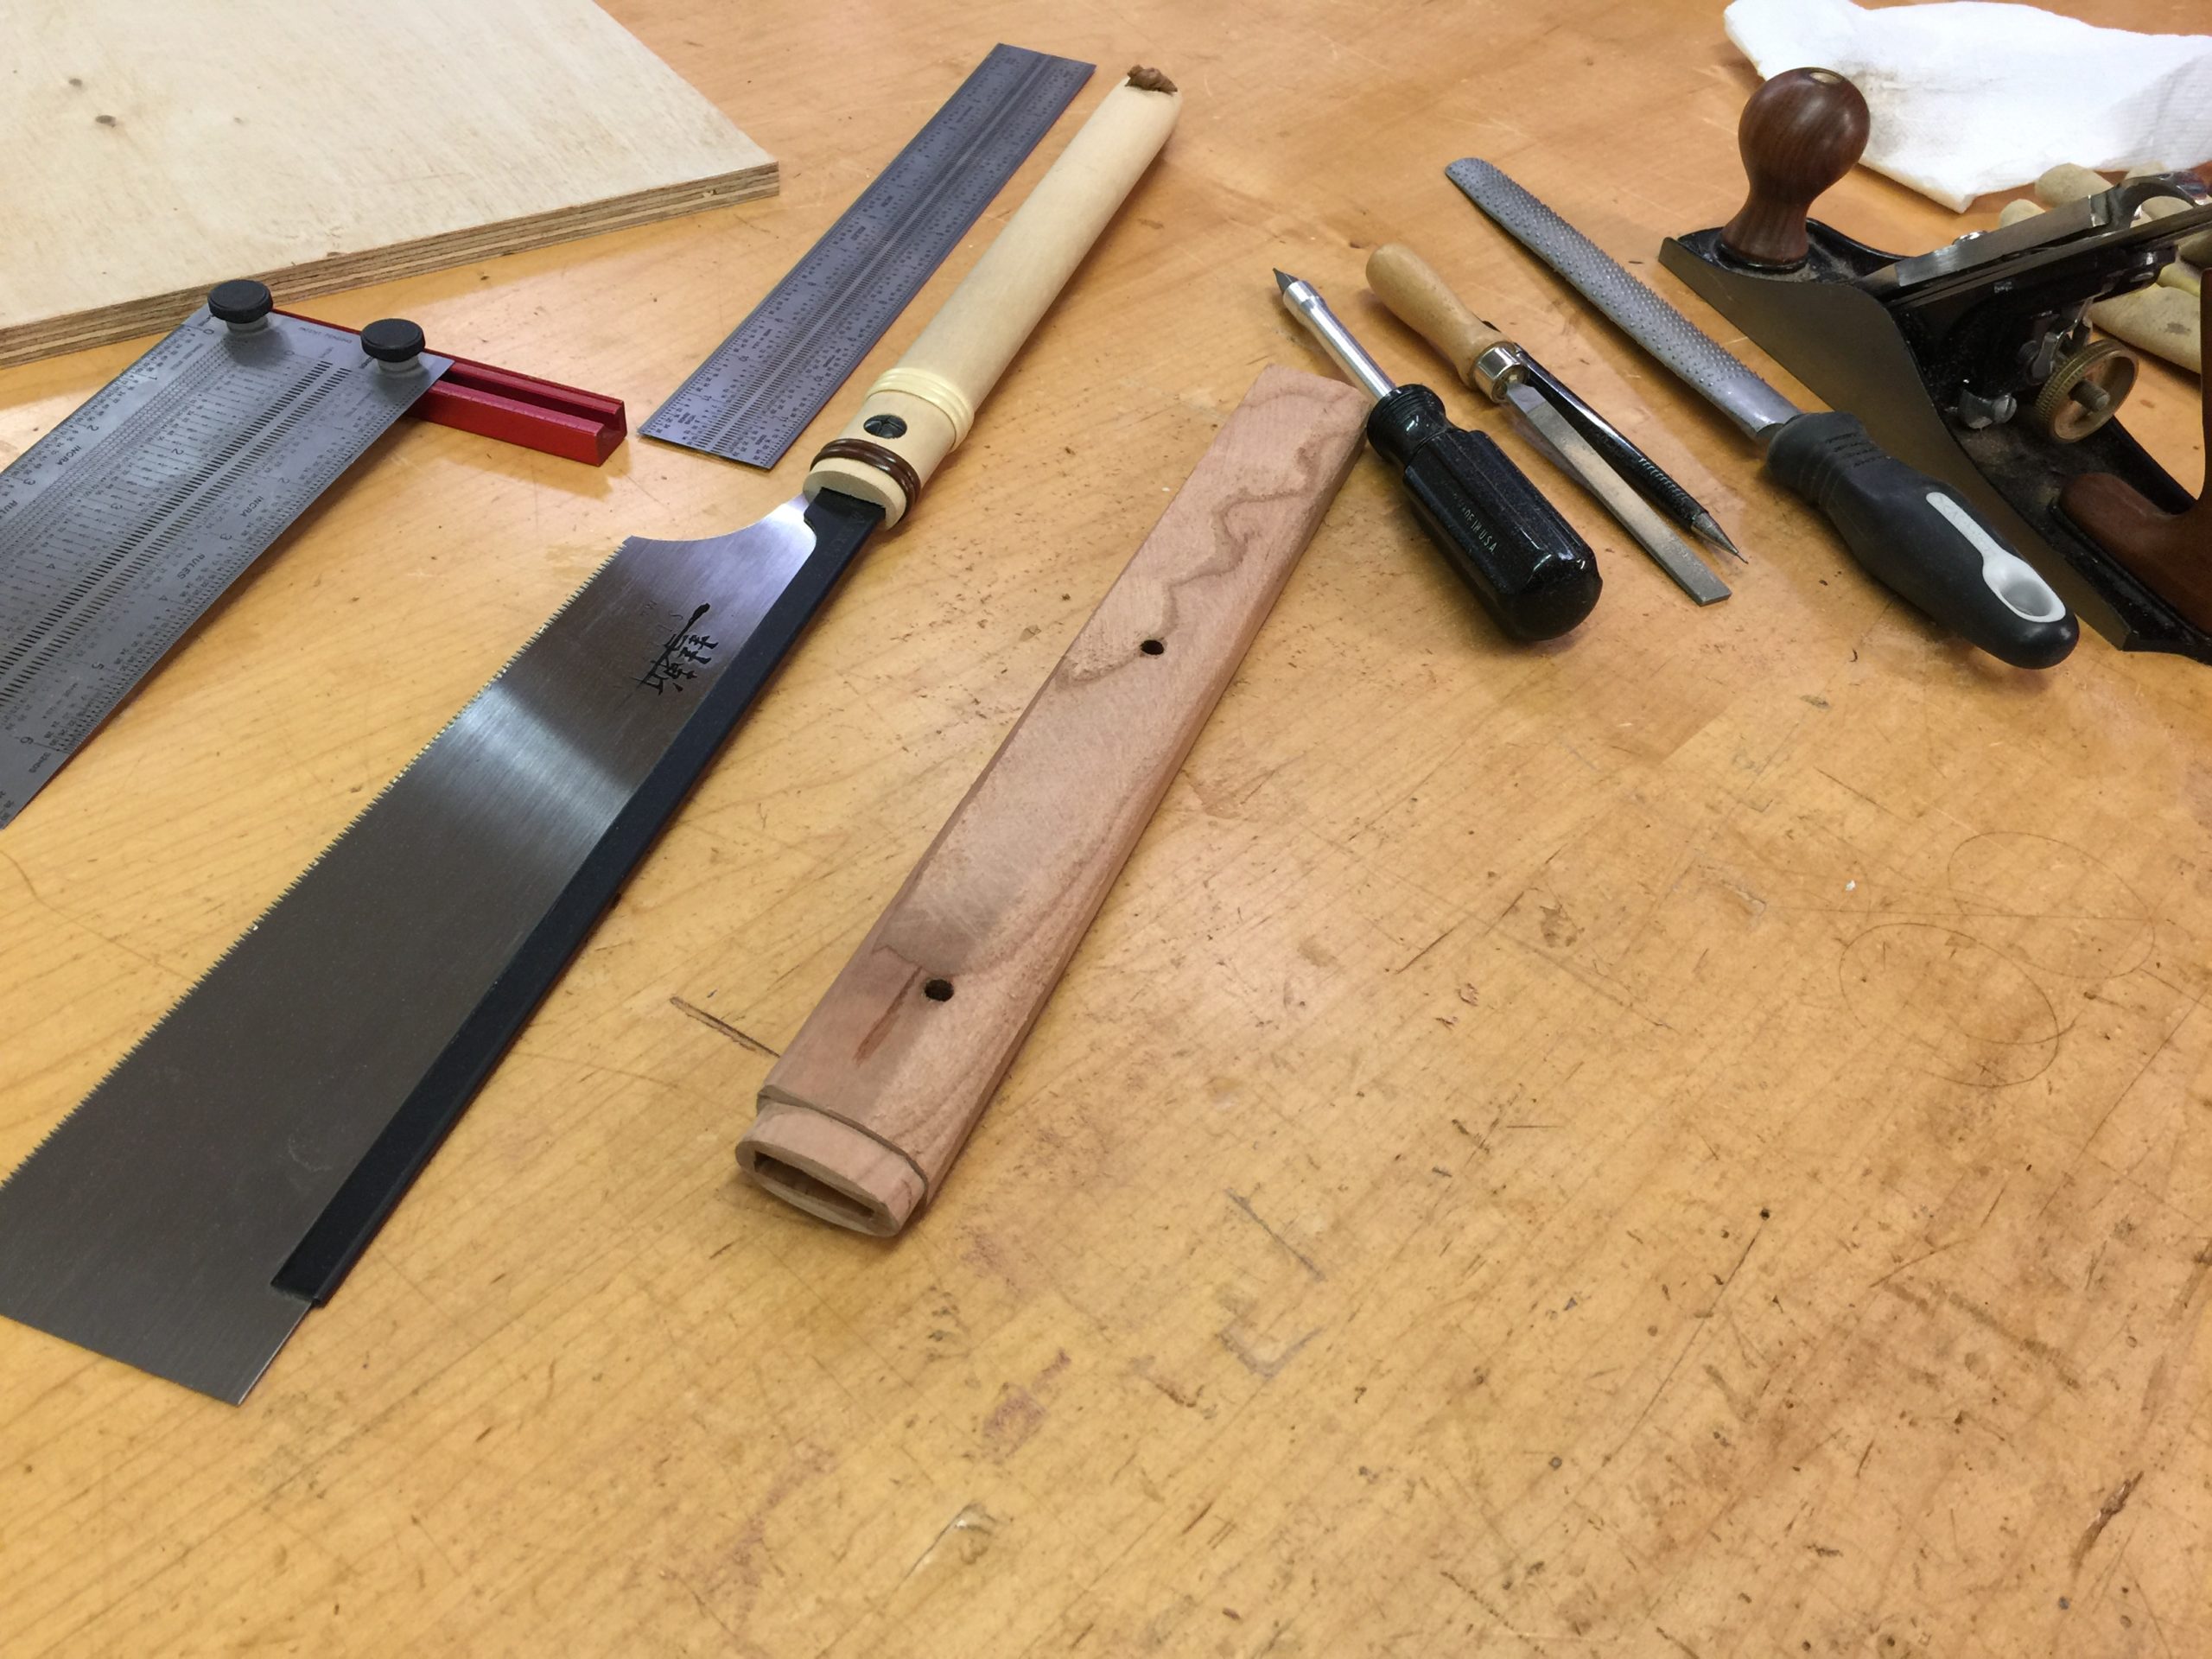
All manner of hand tools are indulged to shape the tsuka. I’m told a spoke shaver works really well for this but I don’t own a spoke shaver, so tough toodles for me. The tsuka wants a nice oval shape that meets evenly with the fuchi and koshirae that cap either side. The tsuka is also not perfectly straight, but has some subtle curves in it and tapers slightly towards the bottom. When making this, just think, this is the handle for your tool in your fight against ninja. It needs to be comfortable, practical, and the best size and shape.

Shaving off a little at a time is far better than shaving off to much. You can’t add anything back on.
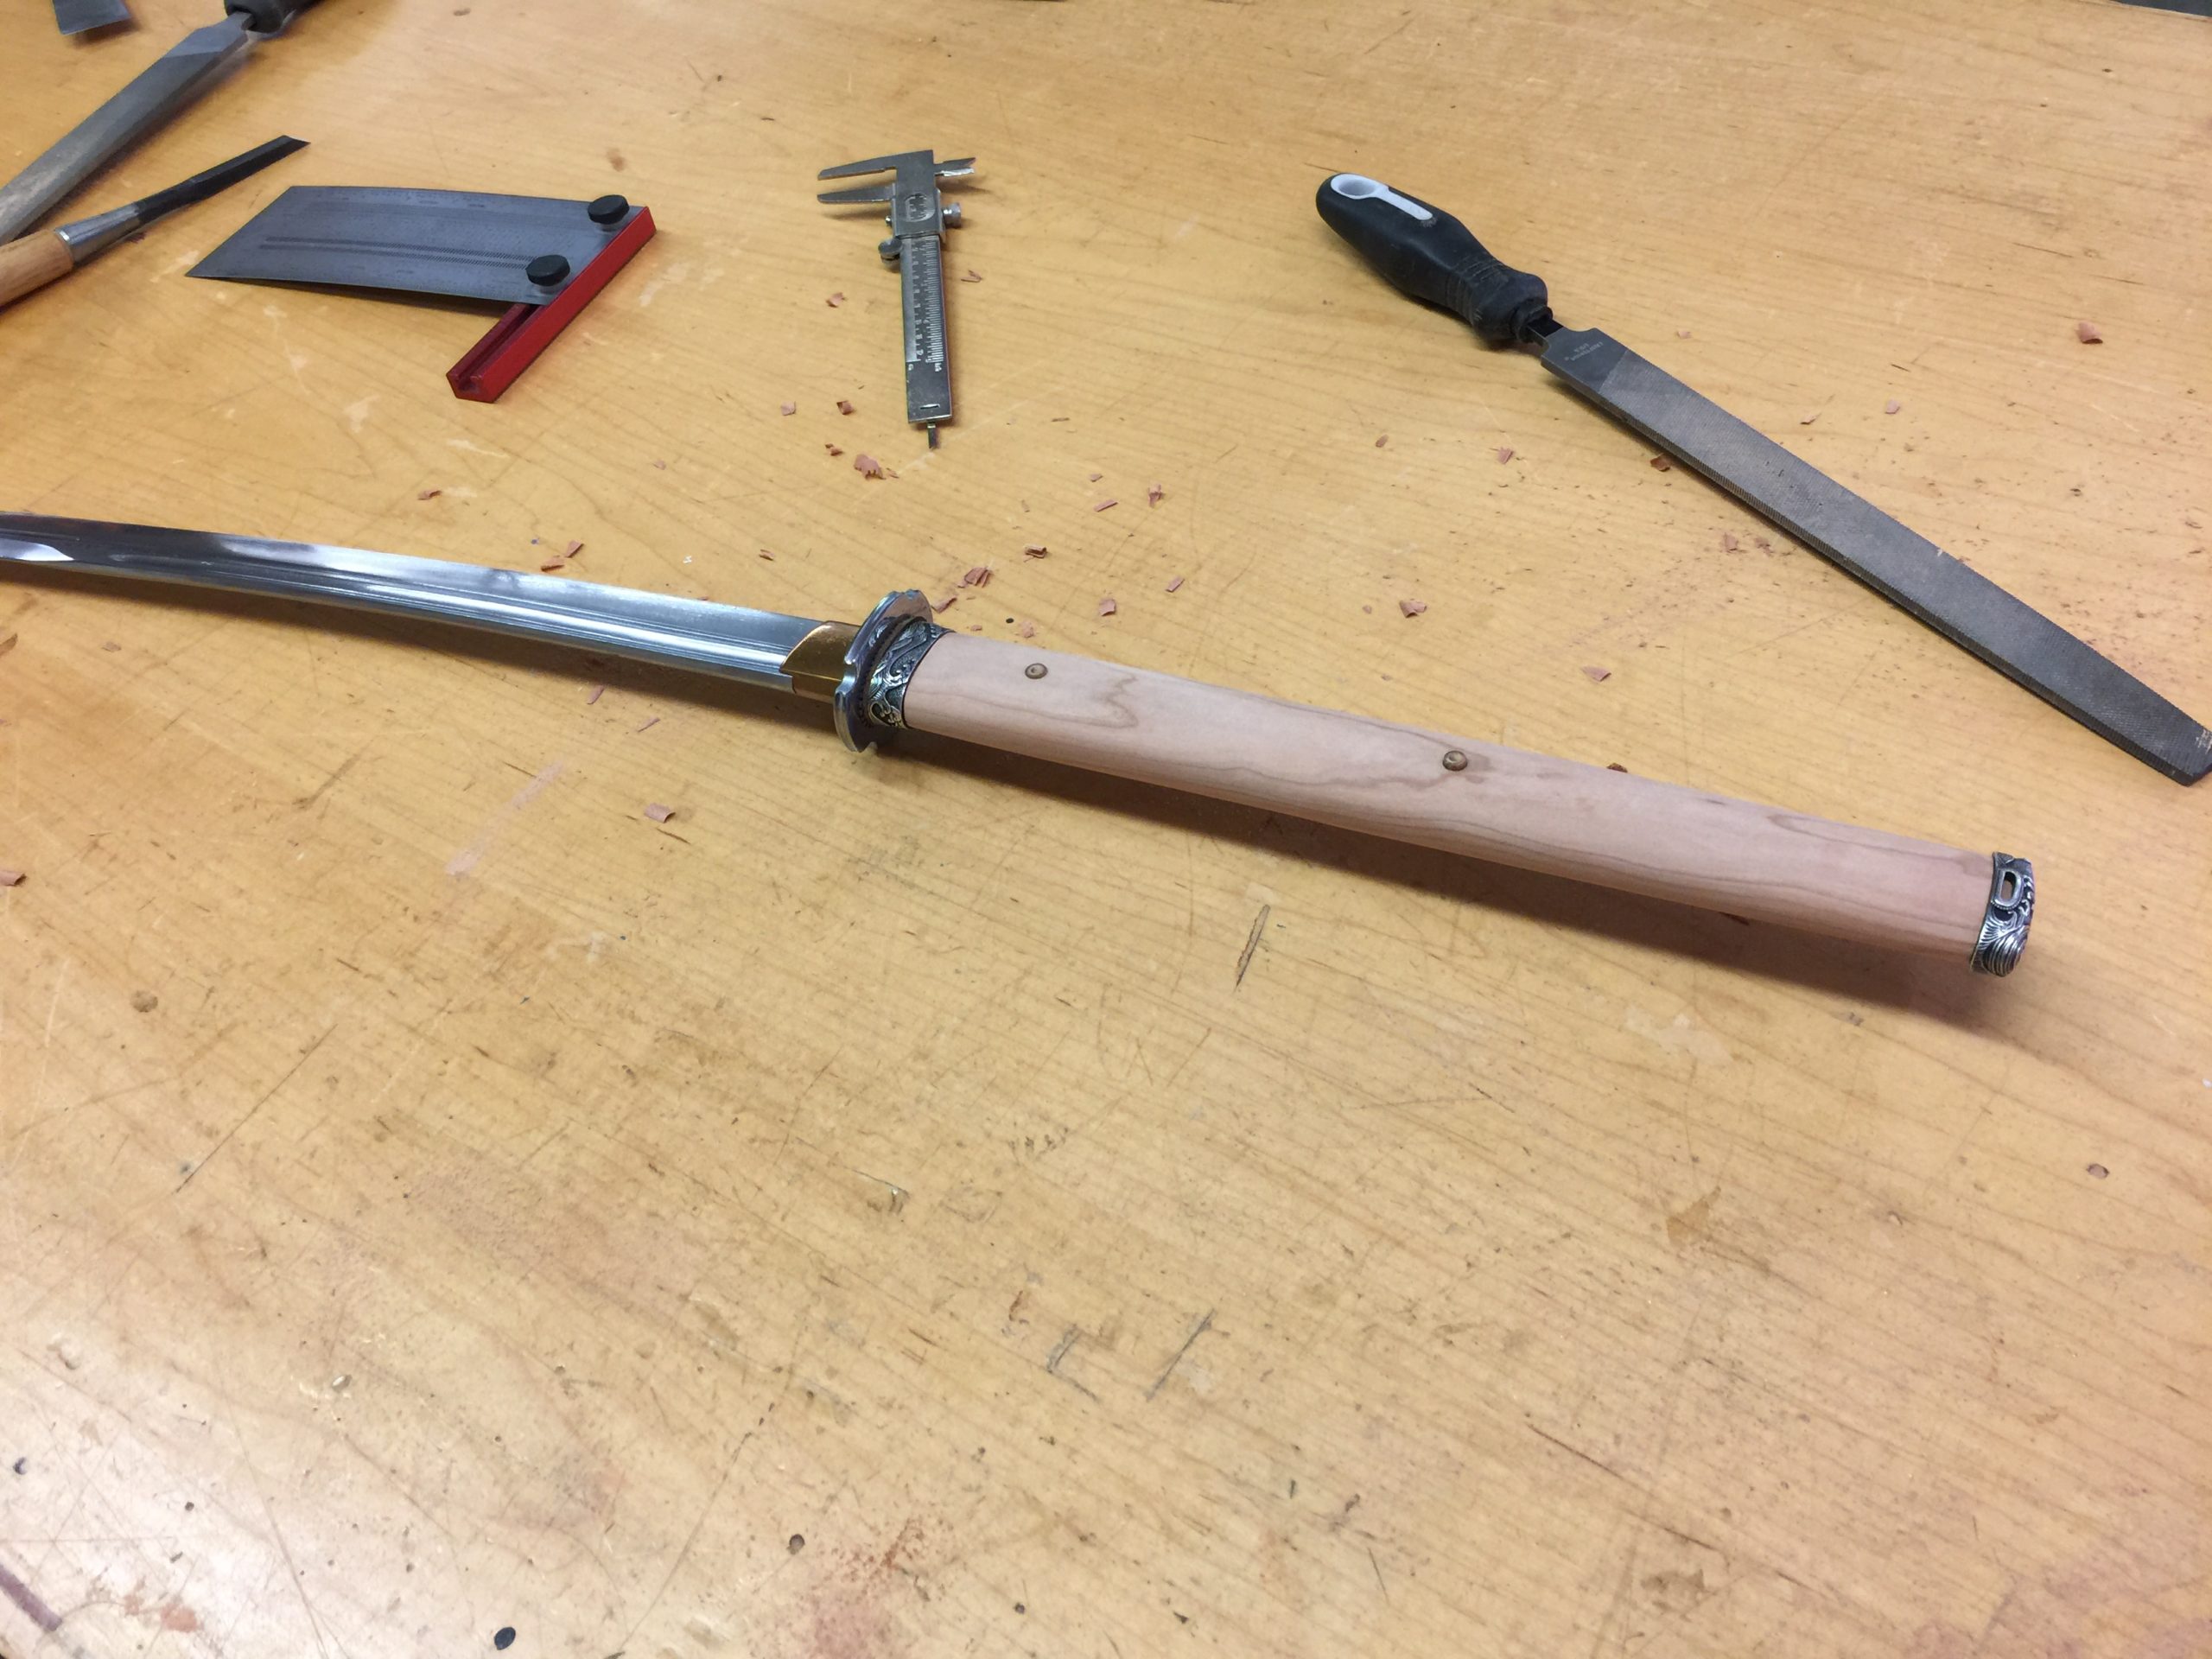
This was the first time the tsuka was assembled with the sword and I could actually make a few practice swings with it. It’s good to get an idea of how it feels in your hand at this stage, because if anything needs to be changed, well, now is the time. Length, shape, thickness, width, all of these are so important that if something’s off by a millimeter or two, you will know. This tsuka did not need much adjusting.