Japanese Sword Stand

Draw and cut

A bokken is a wooden Japanese sword used for training in martial arts.  I train with mine almost daily.  Lately it’s been just resting on a windowsill or against a log or sitting in the pile of firewood (who keeps putting it there?) but I’ve long wanted to make a stand for it.  I’ve had this piece of rock maple leftover from an old project and it looked to be about the perfect dimensions to cut a sword stand out of.

Forms
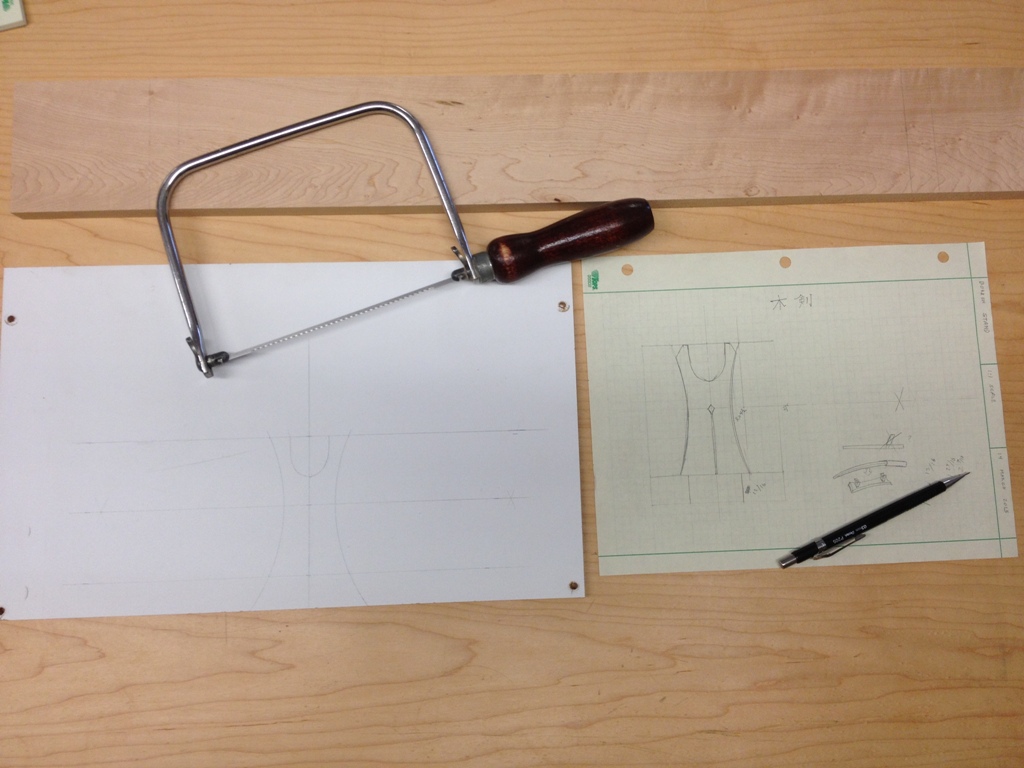
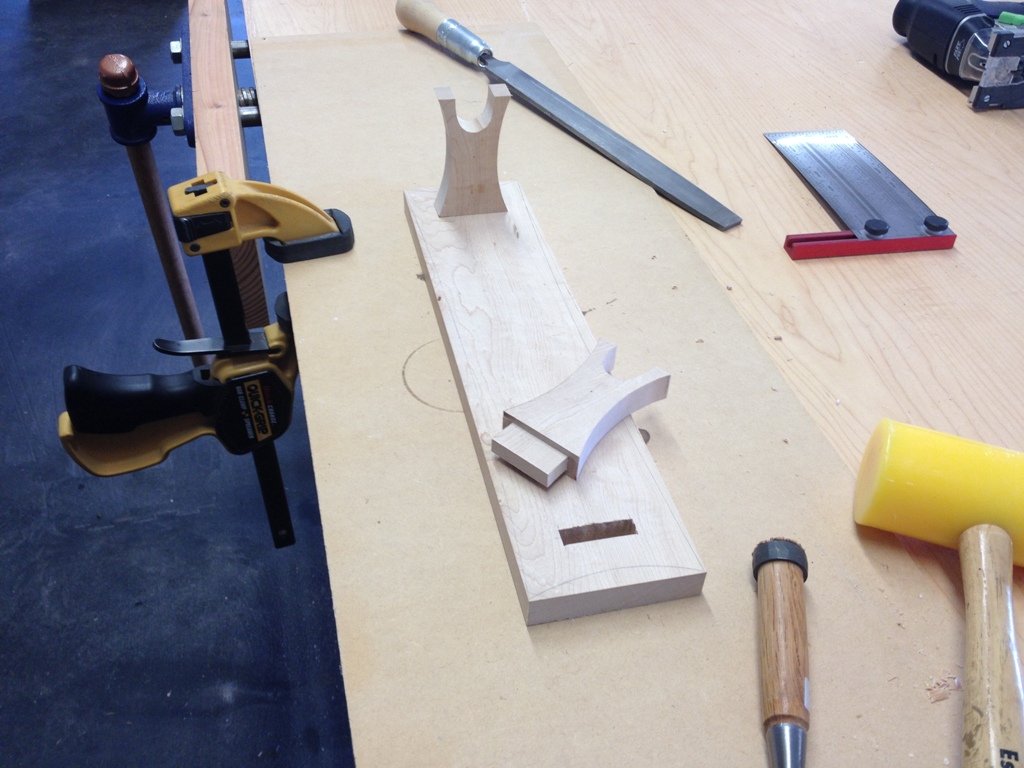
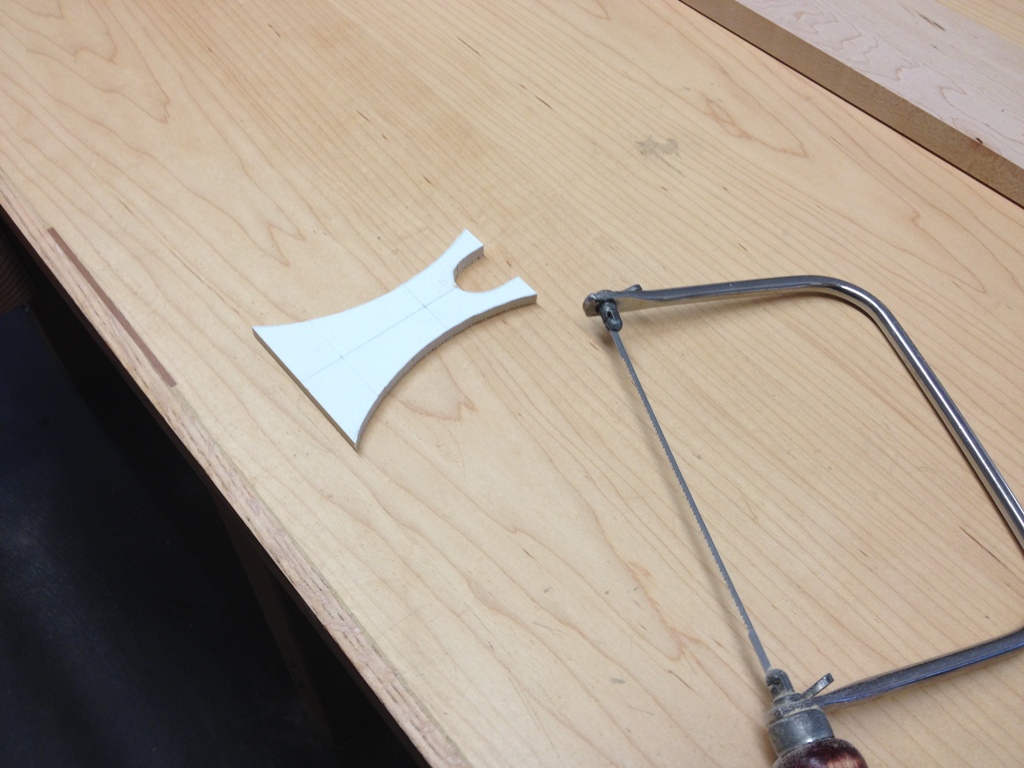
Very simple design.  The stand part looks like a soy sauce dispenser, which is Asian, so I feel like I’m on the right track style-wise.  I start by making forms out of 1/4″ MDF which I pin to the piece and use it as a template to cut out the shape with a smoothing bit on the router.  Normally this work is done with a scroll saw, but I have neither a scroll saw nor do I have any proficiency in a scroll saw.  So, like everything else, I just do it the hard way.

Router

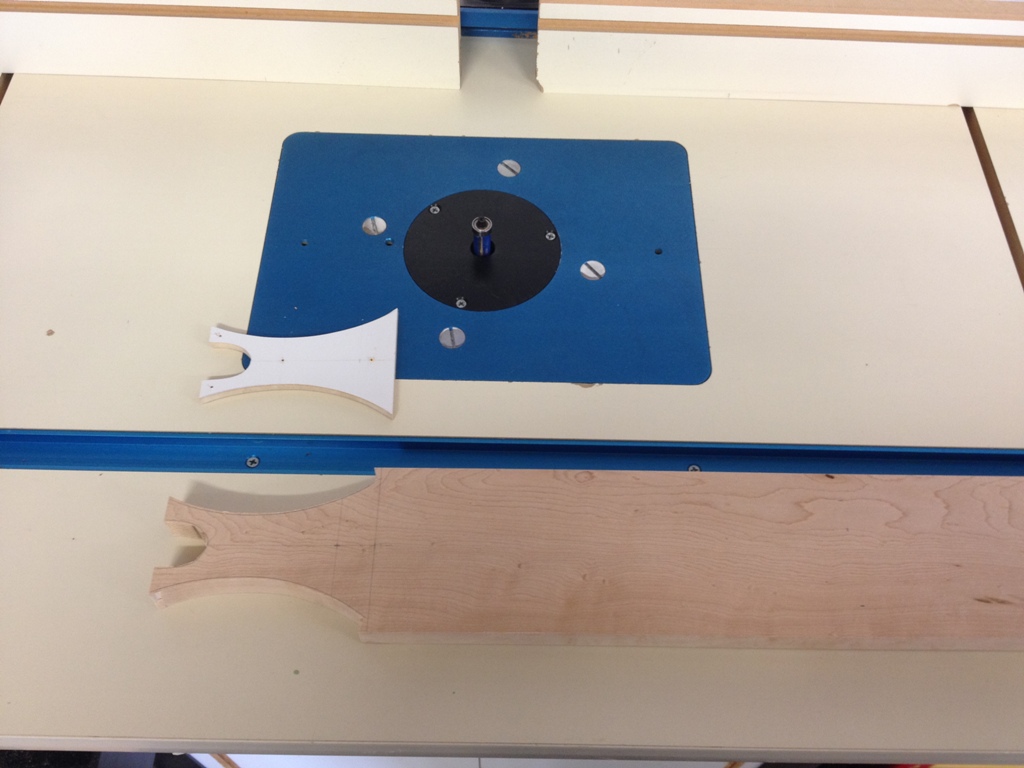
Since it’s a small piece, I work with it while it’s still attached to the main board so I can control it better over the router.  This is a tricky cut, as the bit will be going against the grain and this is very hard wood.  But the nice thing is, it makes for a very smooth and perfect edge, and it’s repeatable.  You can make the exact same shape over and over again, until you run out of wood.

Tenons

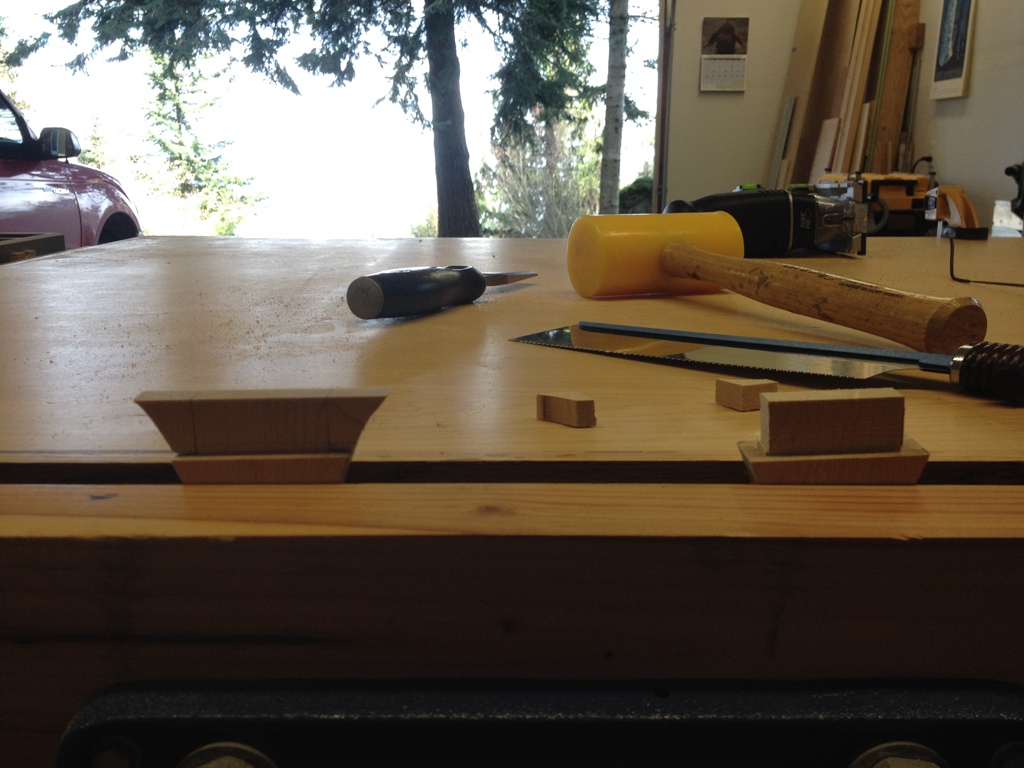
I had to remember how to cut tenons, it’s been a while.

A Real Sword

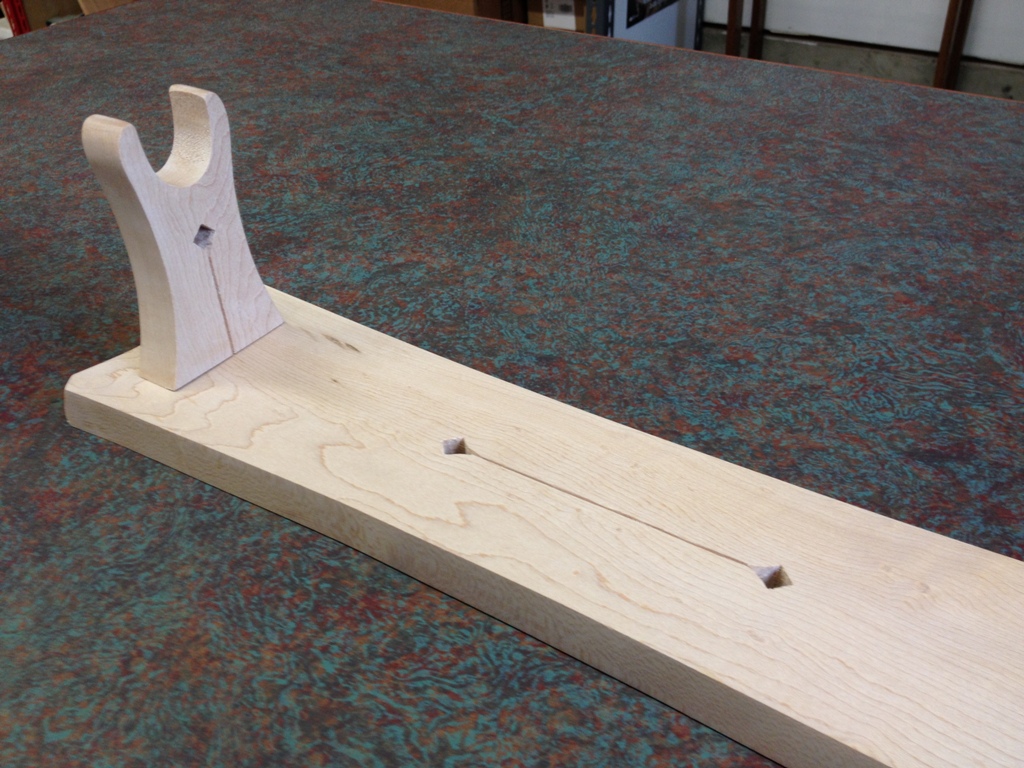
With the tenons cut, I begin work on the base.  I wanted to give it a nice gentle curve on its sides so it’s not just a slab of wood.  Now there are ways to make these curves using special equipment, or (if you’re a cheap bastard like me) you tie a string to a pencil and draw out the radius you want, or (if you’re cheap and lazy) you look around for something that has the exact curve you want to cut out.  In this case, I followed the curve of a real Japanese sword.  The curve is gentle enough I didn’t have to smooth it on the router, I was simply able to take a sander to it.

Mortisses

I thought it was a good idea to cut out my mortises before I cut out the curves.  It’s a lot easier working with a square piece of wood.

Dry Fit

Mortises cut, curves all cut, and everything fits together.  Still, I wanted to give it a little detail.

Dentist Tools

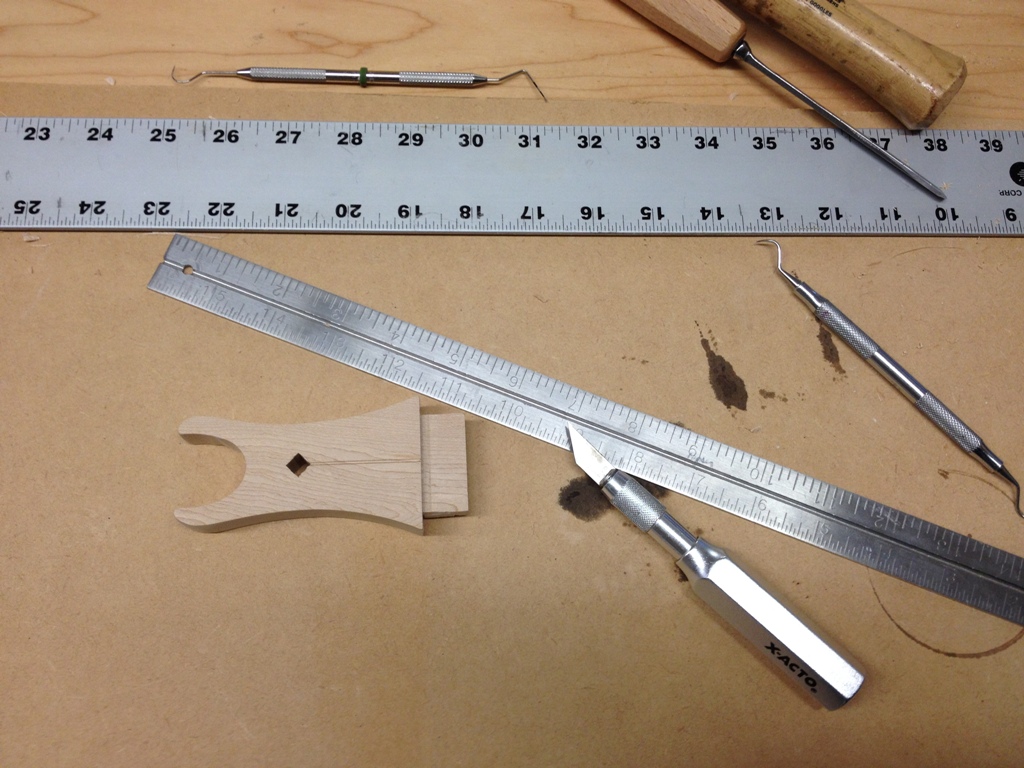
I gave it a few more square holes, cut out a groove with an X-acto knife, and threatened it with dental picks until it was good and frightened.

DetailsThese details really made a difference, gave the piece a little interest.

Innovations In Clamping
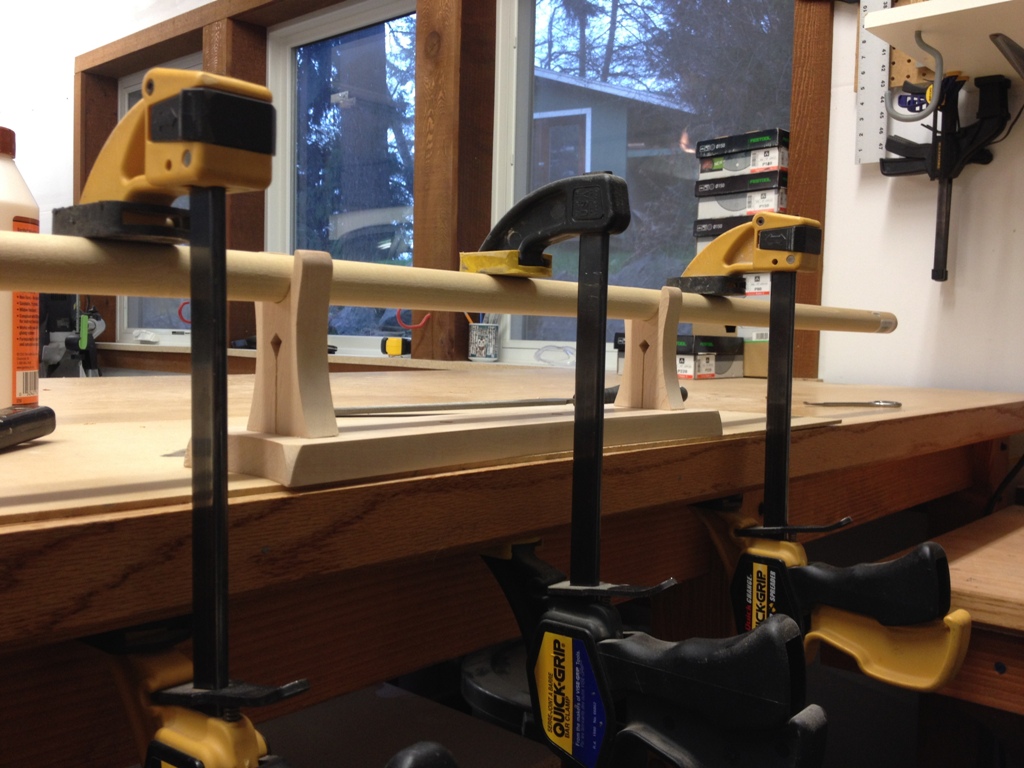
To clamp it for the glue-up, I used one of my many dowels.  I seem to buy a dowel about every week and I will soon have every size they make. The tenons were a nice snug fit, and this thing won’t really see a lot of turbulence except for me picking the sword up and putting the sword down.

Stain

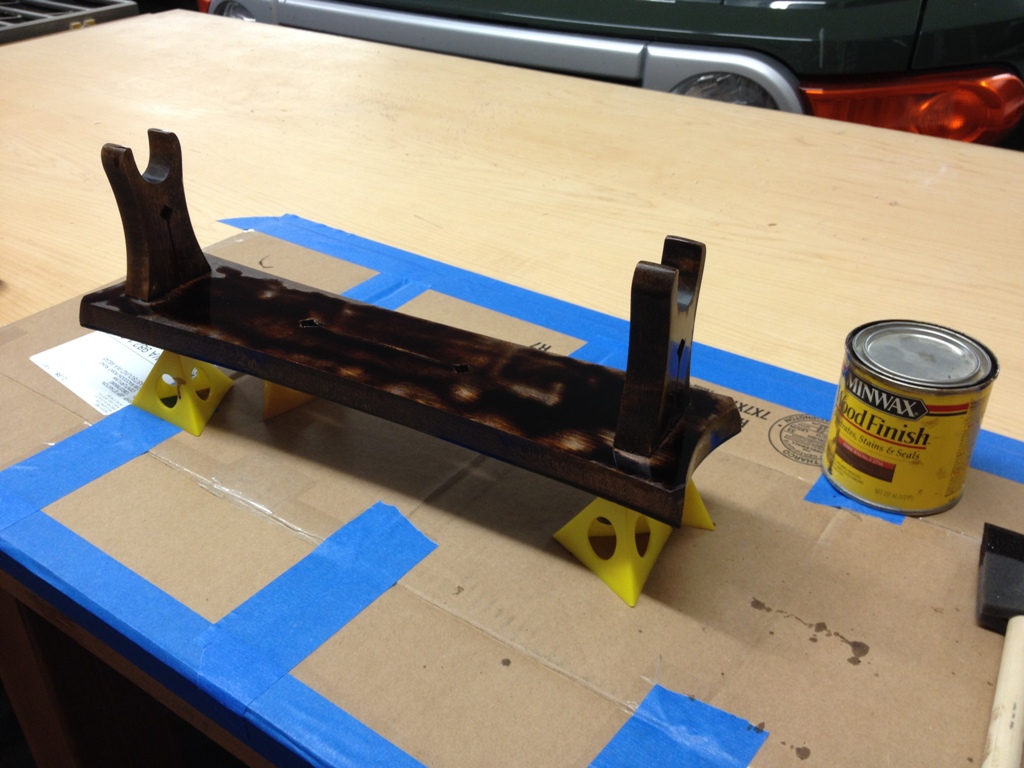
I bathed it in a dark stain.  I don’t normally stain maple but in this case I wanted a darker color.

Finish

A little polyurethane, and Bob’s your uncle!

Lousy Pictures In Bad Light

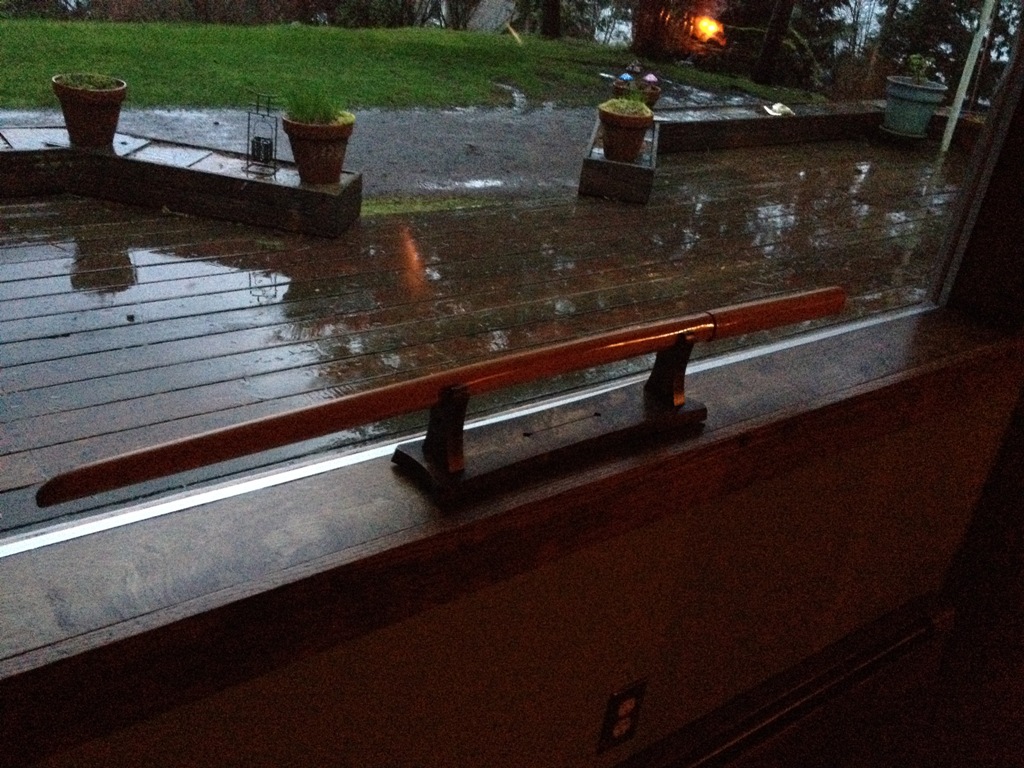
And it works.  It successfully holds a bokken a few inches up from the windowsill, defying the force of gravity, and making the house look less littered.  Maybe now my practice sword won’t end up in the firewood rack anymore.

Trap Door!

open

Now it’s open…

shut

… and now it’s shut.  Check it out!  Our very own locking* trap door storage, ingeniously located under the stairs.  How many houses come with a trap door storage area?  How cool is that?

8 cubic feet

That is eight cubic feet of storage space that was completely unused and wasted, and now we can hoard pirate treasure in there if we want to.  When you live in a small house, storage space is really valuable.

landing

That bottom riser needs to be replaced at some point.  I used some T-111 cedar paneling that I had, which I think looks great, but the bottom one has kind of a defect on the right hand side that wouldn’t take any color.  I’ll use it for now, but only because the alternative is to buy a whole 4′ x 8′ sheet just so I can cut a 5″ x 28″ strip out of it.  Nah, I’ll wait until I do the rest of the stairs.  It’ll work for now.

staple madness

I’m telling you, whoever stapled the carpet down to the original treads was a madman.  Staple holes galore.  I could have put wood putty in the holes but then they’d stick out white instead of black.  I think this way, the treads look finished but distressed, and not artificially distressed like what you pay extra for at pottery barn.  No, this is the real thing.  This wood was not only distressed, but beaten, mugged and left for dead.

ecclectic

So, the house has got a lot of different colors and textures going on and I think overall it’s working great.  We don’t like everything to be matchy-matchy, we like to have a little variety of styles going on.  Again, it’s a small house, and if we did everything in one color set and one style, it would dominate the entire house.  A little variation is a good thing.

front

* so yeah, the trap door doesn’t actually lock just yet.  Due to a math error by the designer (me), the key is about 1 centimeter too short to engage the lock.  The beam ended up being a little thicker than I intended it to.  Well, it’s not like that lock would stop anybody, and it’ll take more than a stiff wind to open the trapdoor anyway.  It’s pretty heavy and manages to stay in place by itself.

side

So with this project completed and the weather outside getting nicer, I think I’m going to spend the next few weeks doing some landscaping and outdoor cleanup and just generally finding other things to spend money on.  I’m anxious to continue remodeling up the stairs (you can see those atrocious wooden spindles in the above pics; they must die) but the next phase is going to be pretty big.  It’ll probably turn the house into a war zone for six weeks.  The more prep work I do before demolition, the smoother it will all go.  So I’ll take my time before I get started with it.

Next: Front Door

old

Before – old front door, probably taken from the set of the Brady Bunch.  Its diamond shaped panes of glass were impossible to clean.  From the outside, the wood was about the same consistency as year old driftwood found on the beach.  You could carve it with your fingernail.  But it was sturdy and sat correctly on the hinges and closed reasonably well, and it only had one bullet hole in it.

Yeah, time for a new front door.  We commissioned a local artist and master woodworker, Todd Spalti, to make us a new front door.  There are people who would argue that I’m a woodworker too and I can make a front door myself.  Well, maybe si and maybe no, but Todd came very highly recommended and I completely trusted him to make a magnificent front door for us.  Besides, I got enough projects of my own right now.

Check out his website.  He does really great work.  http://www.toddspalti.com/

new

The new door is absolutely amazing.  Solid oak.  No bullet holes.  Clean lines.  Clean windows!  We got a nice handle and lockset as well, not to mention new hinges (completely devoid of rust, I might add).  You may have noticed there is some new trim around the door, and drywall has magically appeared on the left hand side of the door.  Yeah, we’ve been busy.

front door areaI’ve been working on the stair landing on the left.  I really only wanted to do the drywall on that side but in order to rip out the paneling I had to rip out the stair landing too.  Gee, may as well just work on that while I’ve got it all torn up.

And yes, that’s a hockey game on TV in the reflection.

stair treads

We’ve oscillated quite a bit about whether to get new stair treads or work with the existing 2×10’s that someone sawed up and put down.  They were really in horrible shape, having had carpet installed over them for decades.  Whoever installed that carpet when nuts with the staple gun.  Seriously, it was Beavis after two quarts of espresso, driving staples into every square centimeter of those treads.  After I sanded them I didn’t think I wanted to use them, but after some dark stain I think they’ll turn out good.  They definitely have the distressed look to them.

windowsill


The garage is again full of trim pieces and windowsills and window aprons with stain and polyurethane drying atop their surfaces.  I think I’ve got about half of the trim in the house replaced, which means I have half to go.

stair landing


There’s the stair landing with temporary treads and a temporary landing.  They used to be shelves in the kitchen cupboard.  This is one of those instances where my packrat instinct to keep everything that might be useful someday paid off.  They’re even sticky from whatever goop accumulated on them during their life as a cupboard.  The stickiness makes them safer, less chance of slipping and falling out the adjacent window.

keyholeI’ve had this bronze keyhole escutcheon for about fifteen years, just waiting for a project.  Hmm, what could it be for?  Maybe we’ll find out next week…