Fittings

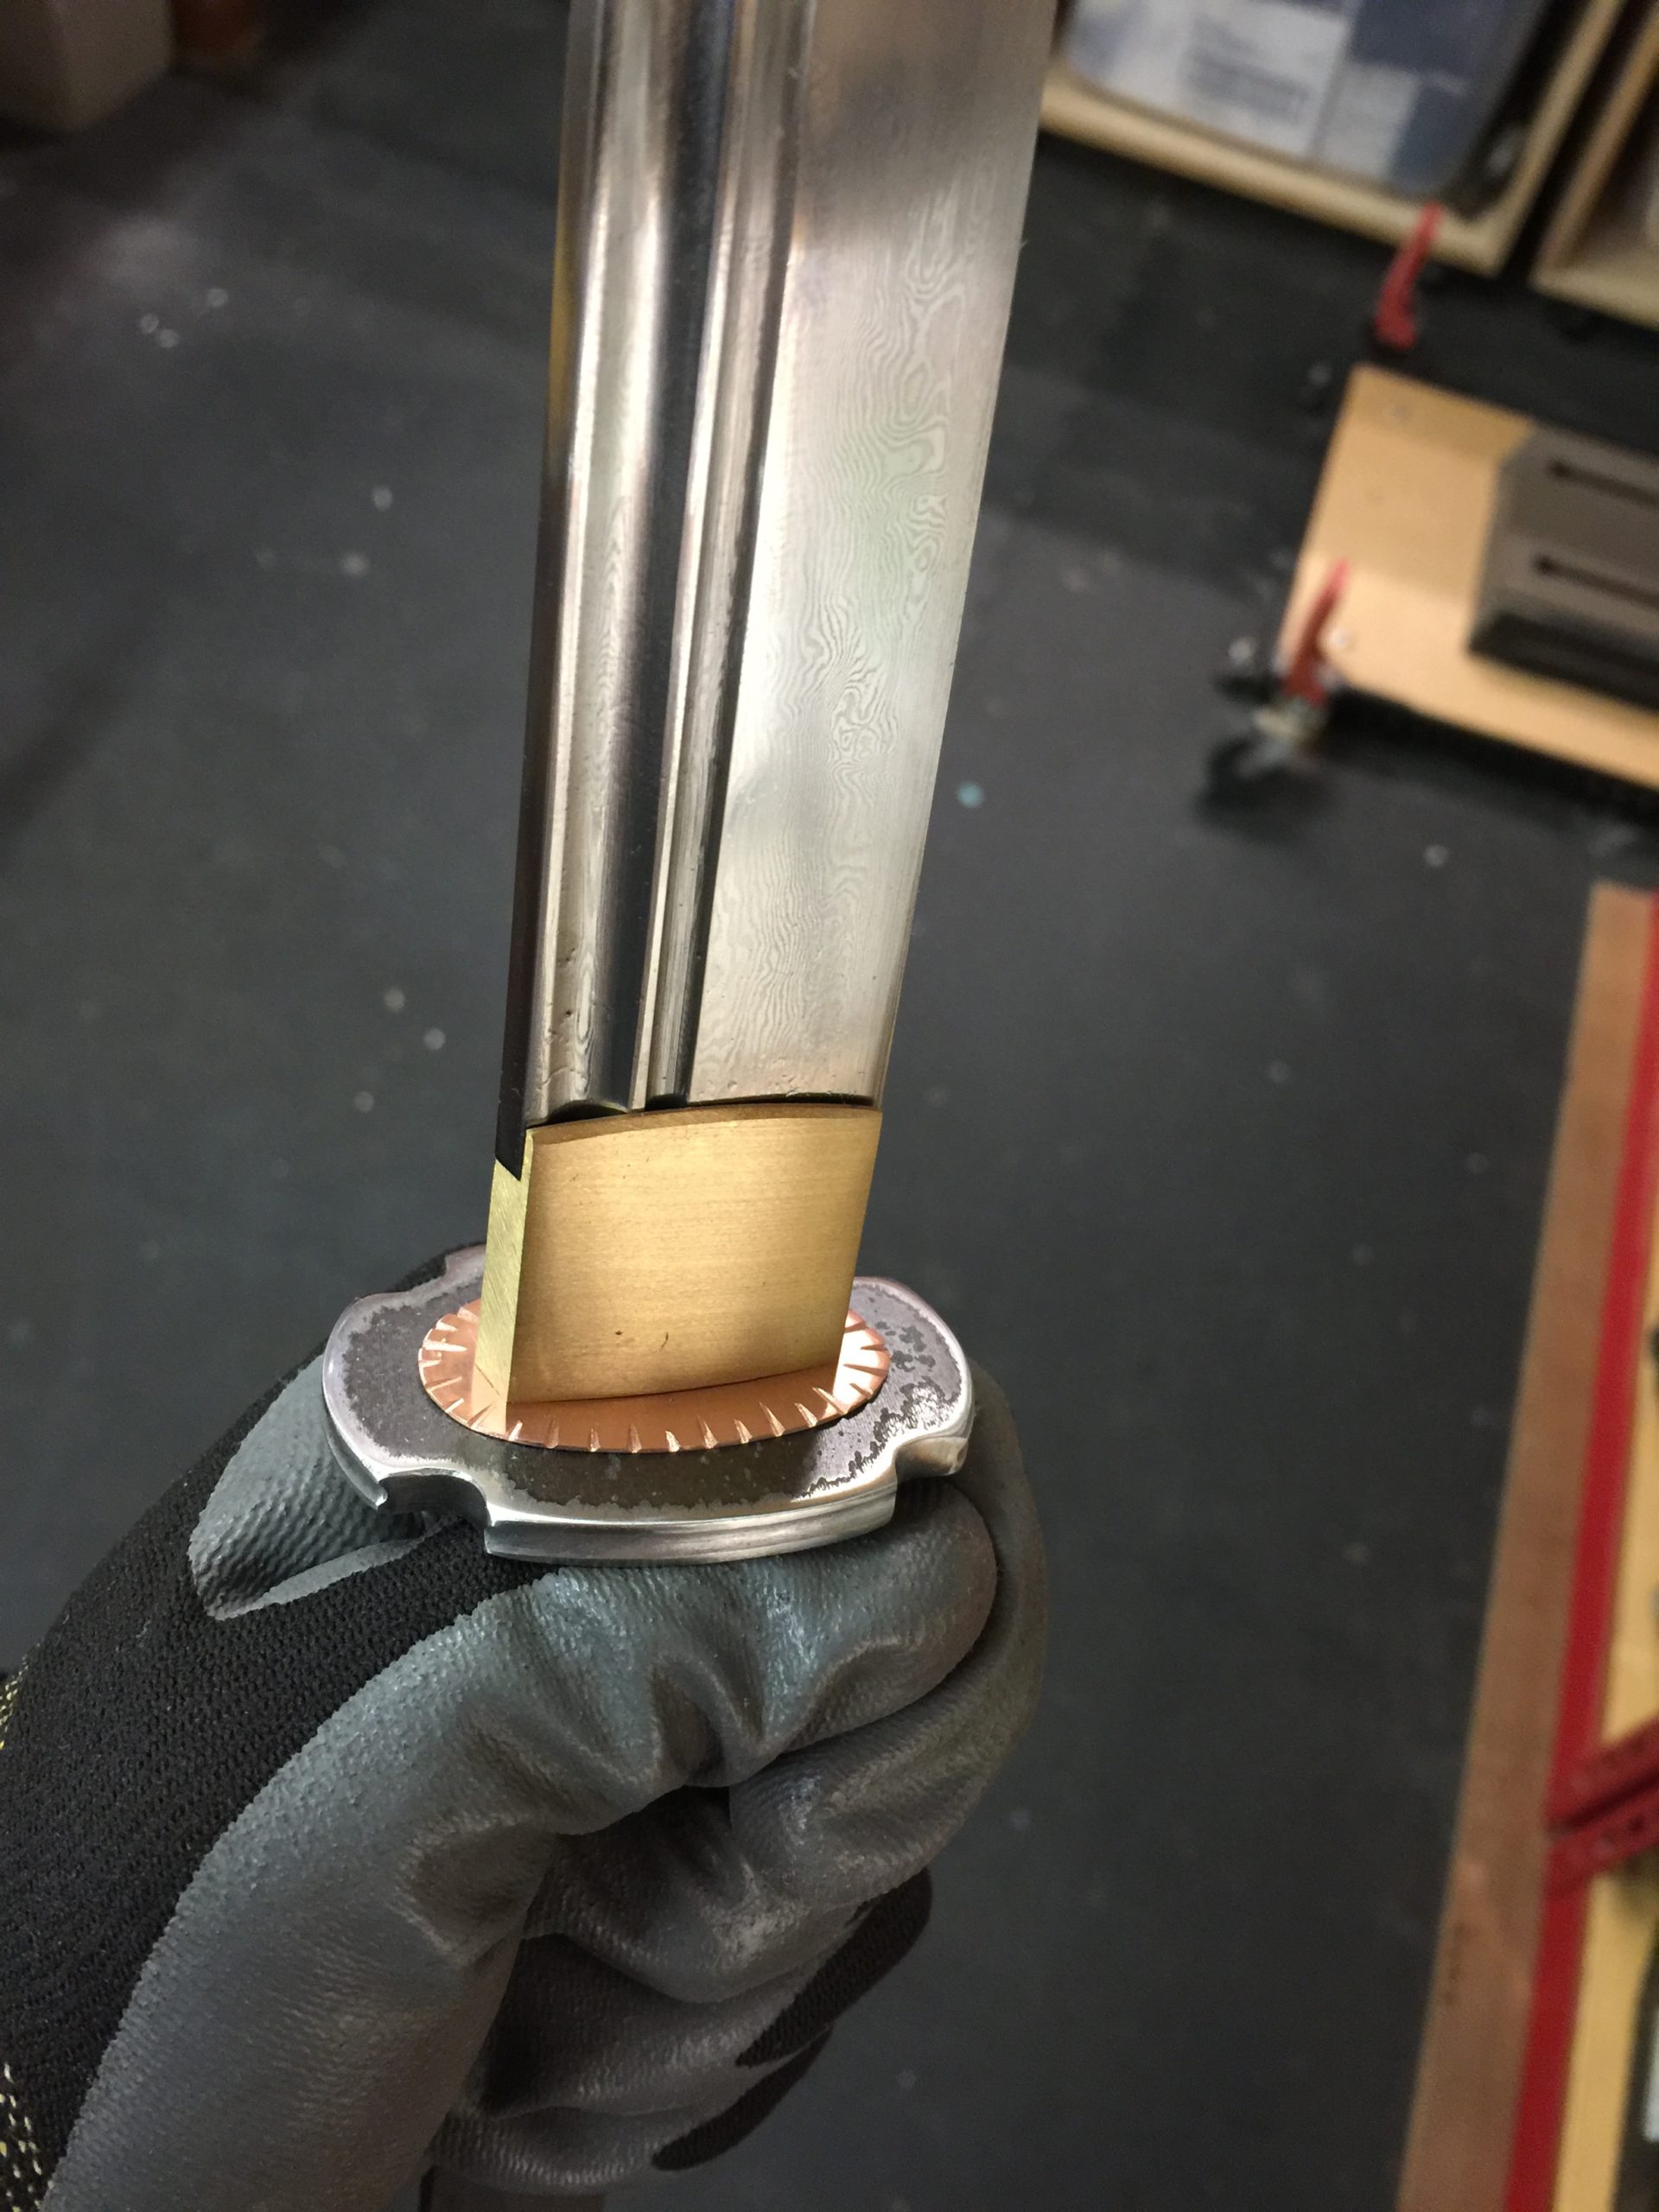
On the left is the brass habaki, the collar that holds the tsuba in place on the blade. To its right are the fuchi and koshirae, which cap the top and bottom of the handle. The habaki came with the blade and is fitted. The fuchi and koshirae are from Japan and I even had to pay for them in yen. You can find cheap ones on the internet and they are almost always of low quality, gaudy, made of crappy metals and full of flaws. These were not cheap but they are perfect. I like the black and silver color scheme and I love the waves. They will help give the sword its spirit.

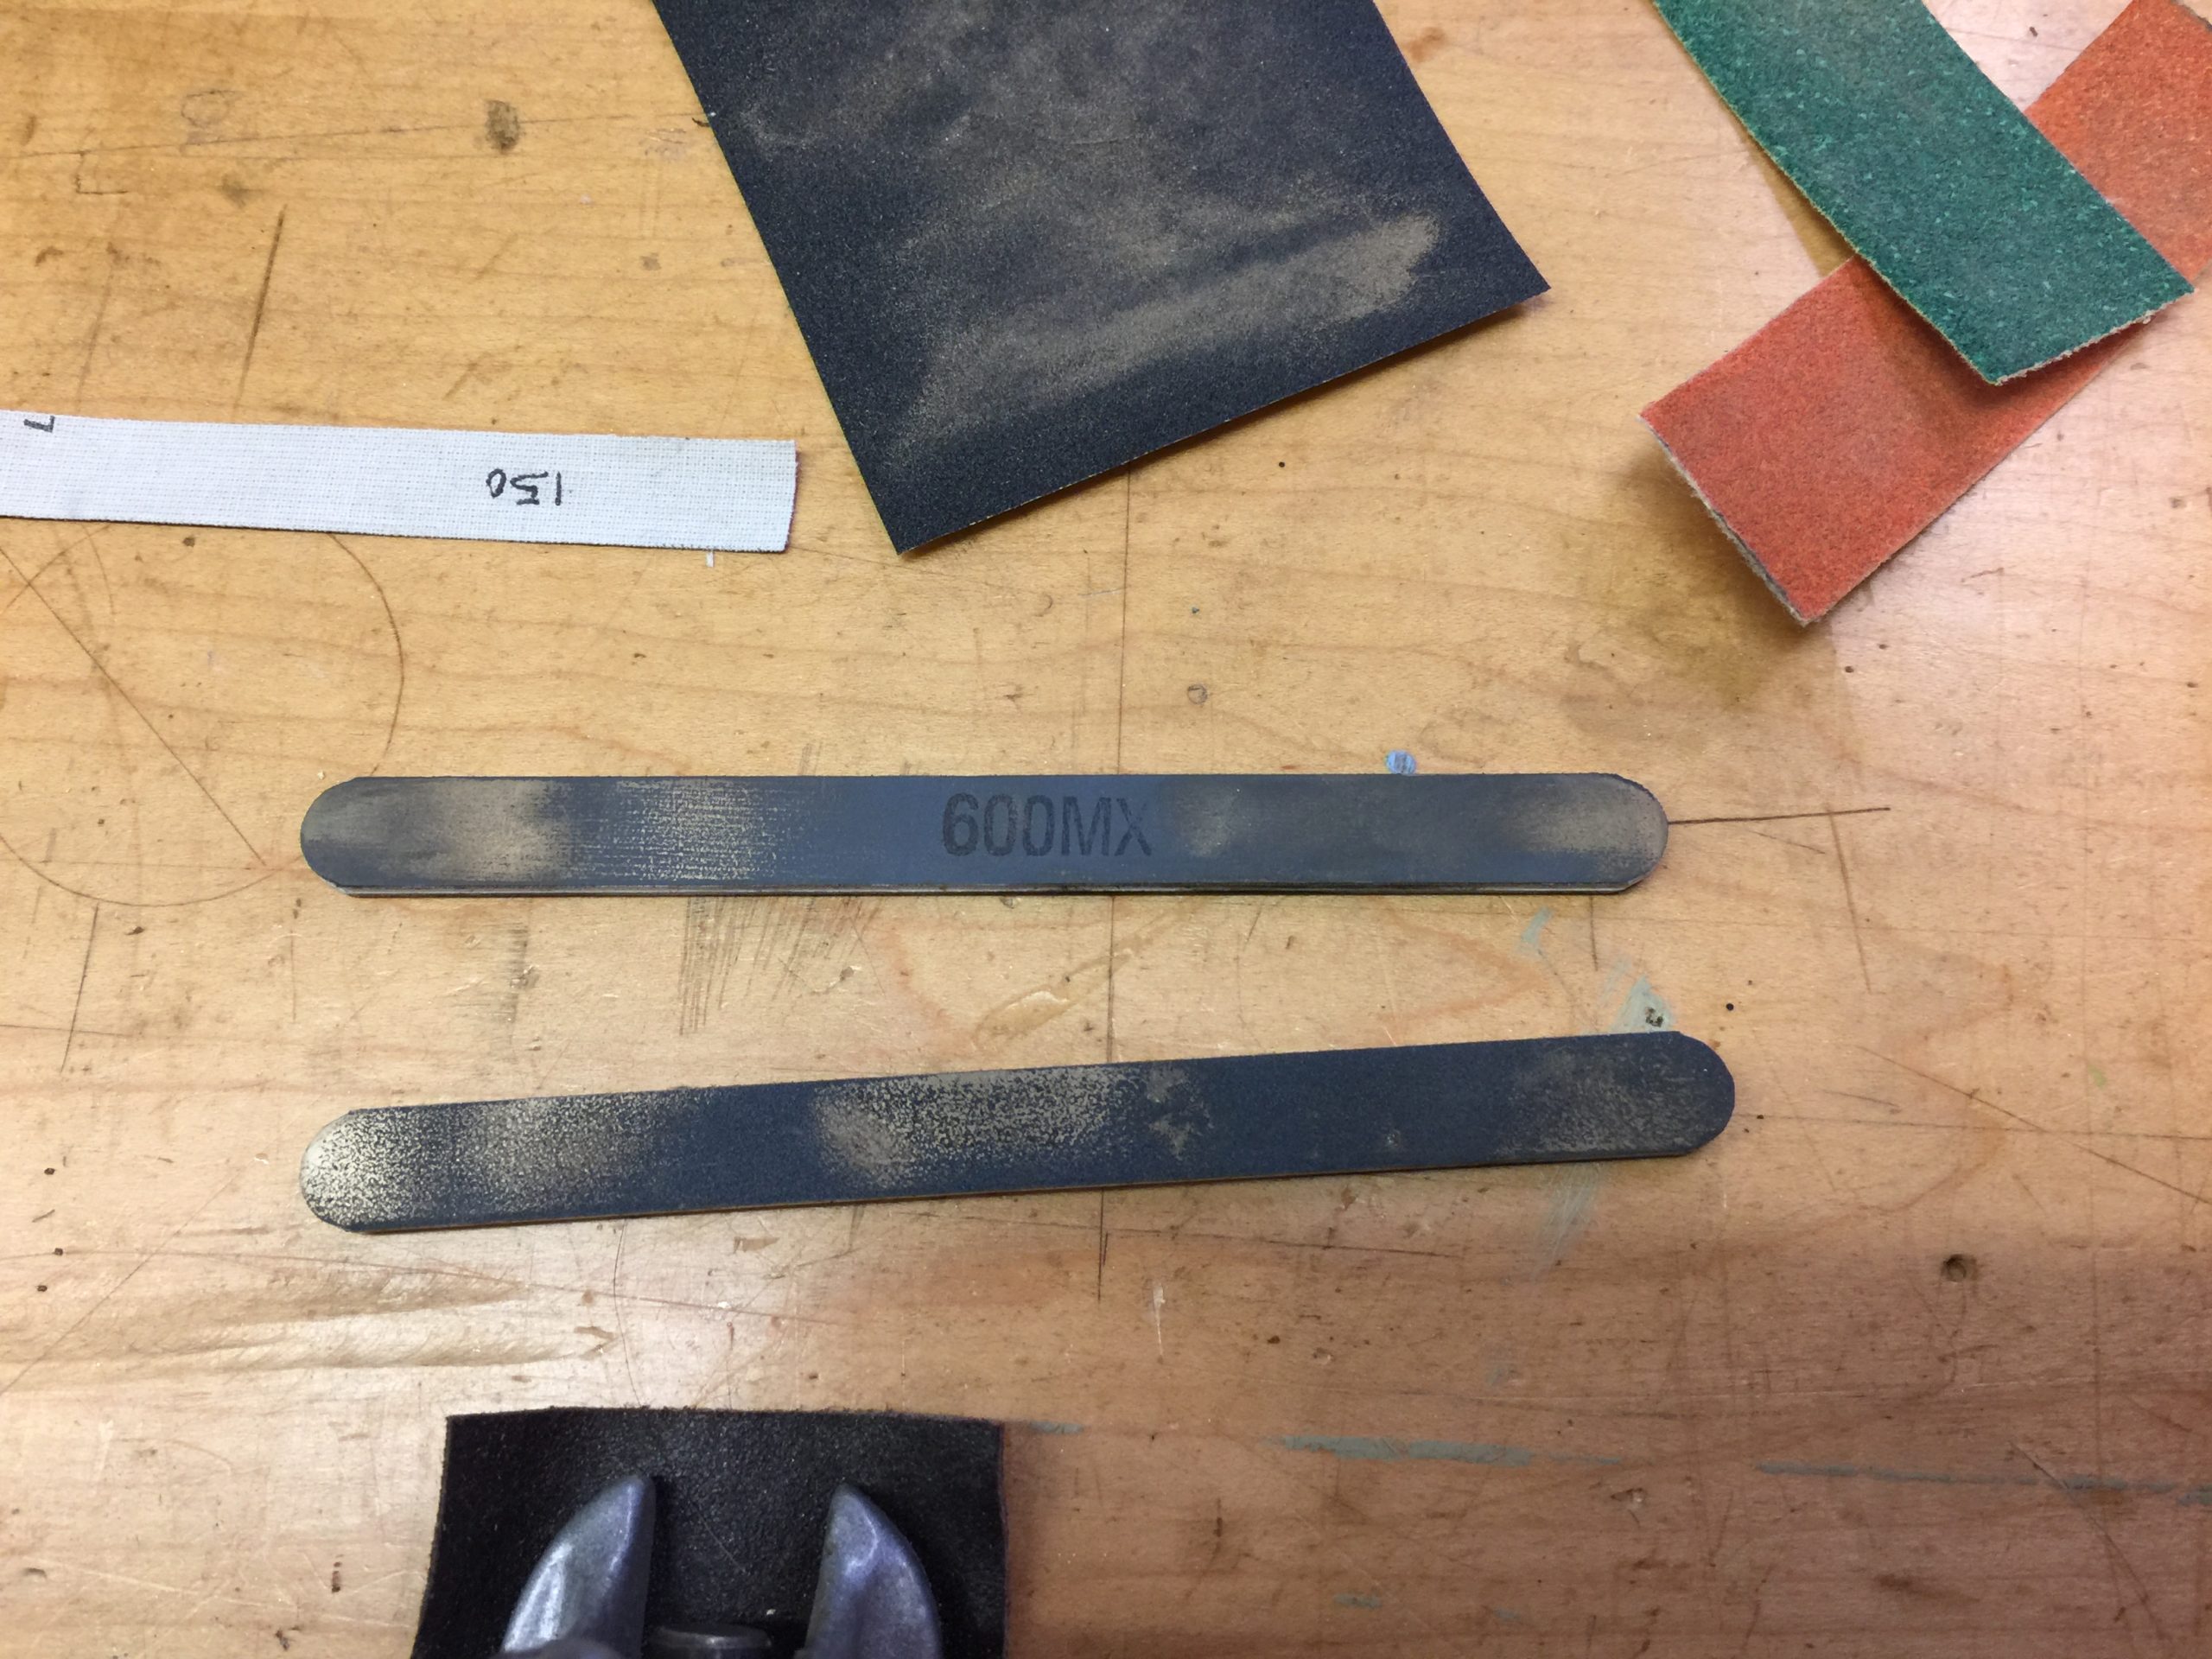
The brass habaki tends to rub on the saya (the wooden sheath) a bit when the sword is drawn, so it will take some wear and if you use your sword this is normal. So I don’t put a lot of polish on these, but I do some. Here I sand it with some coarse sandpaper in a diagonal grain.

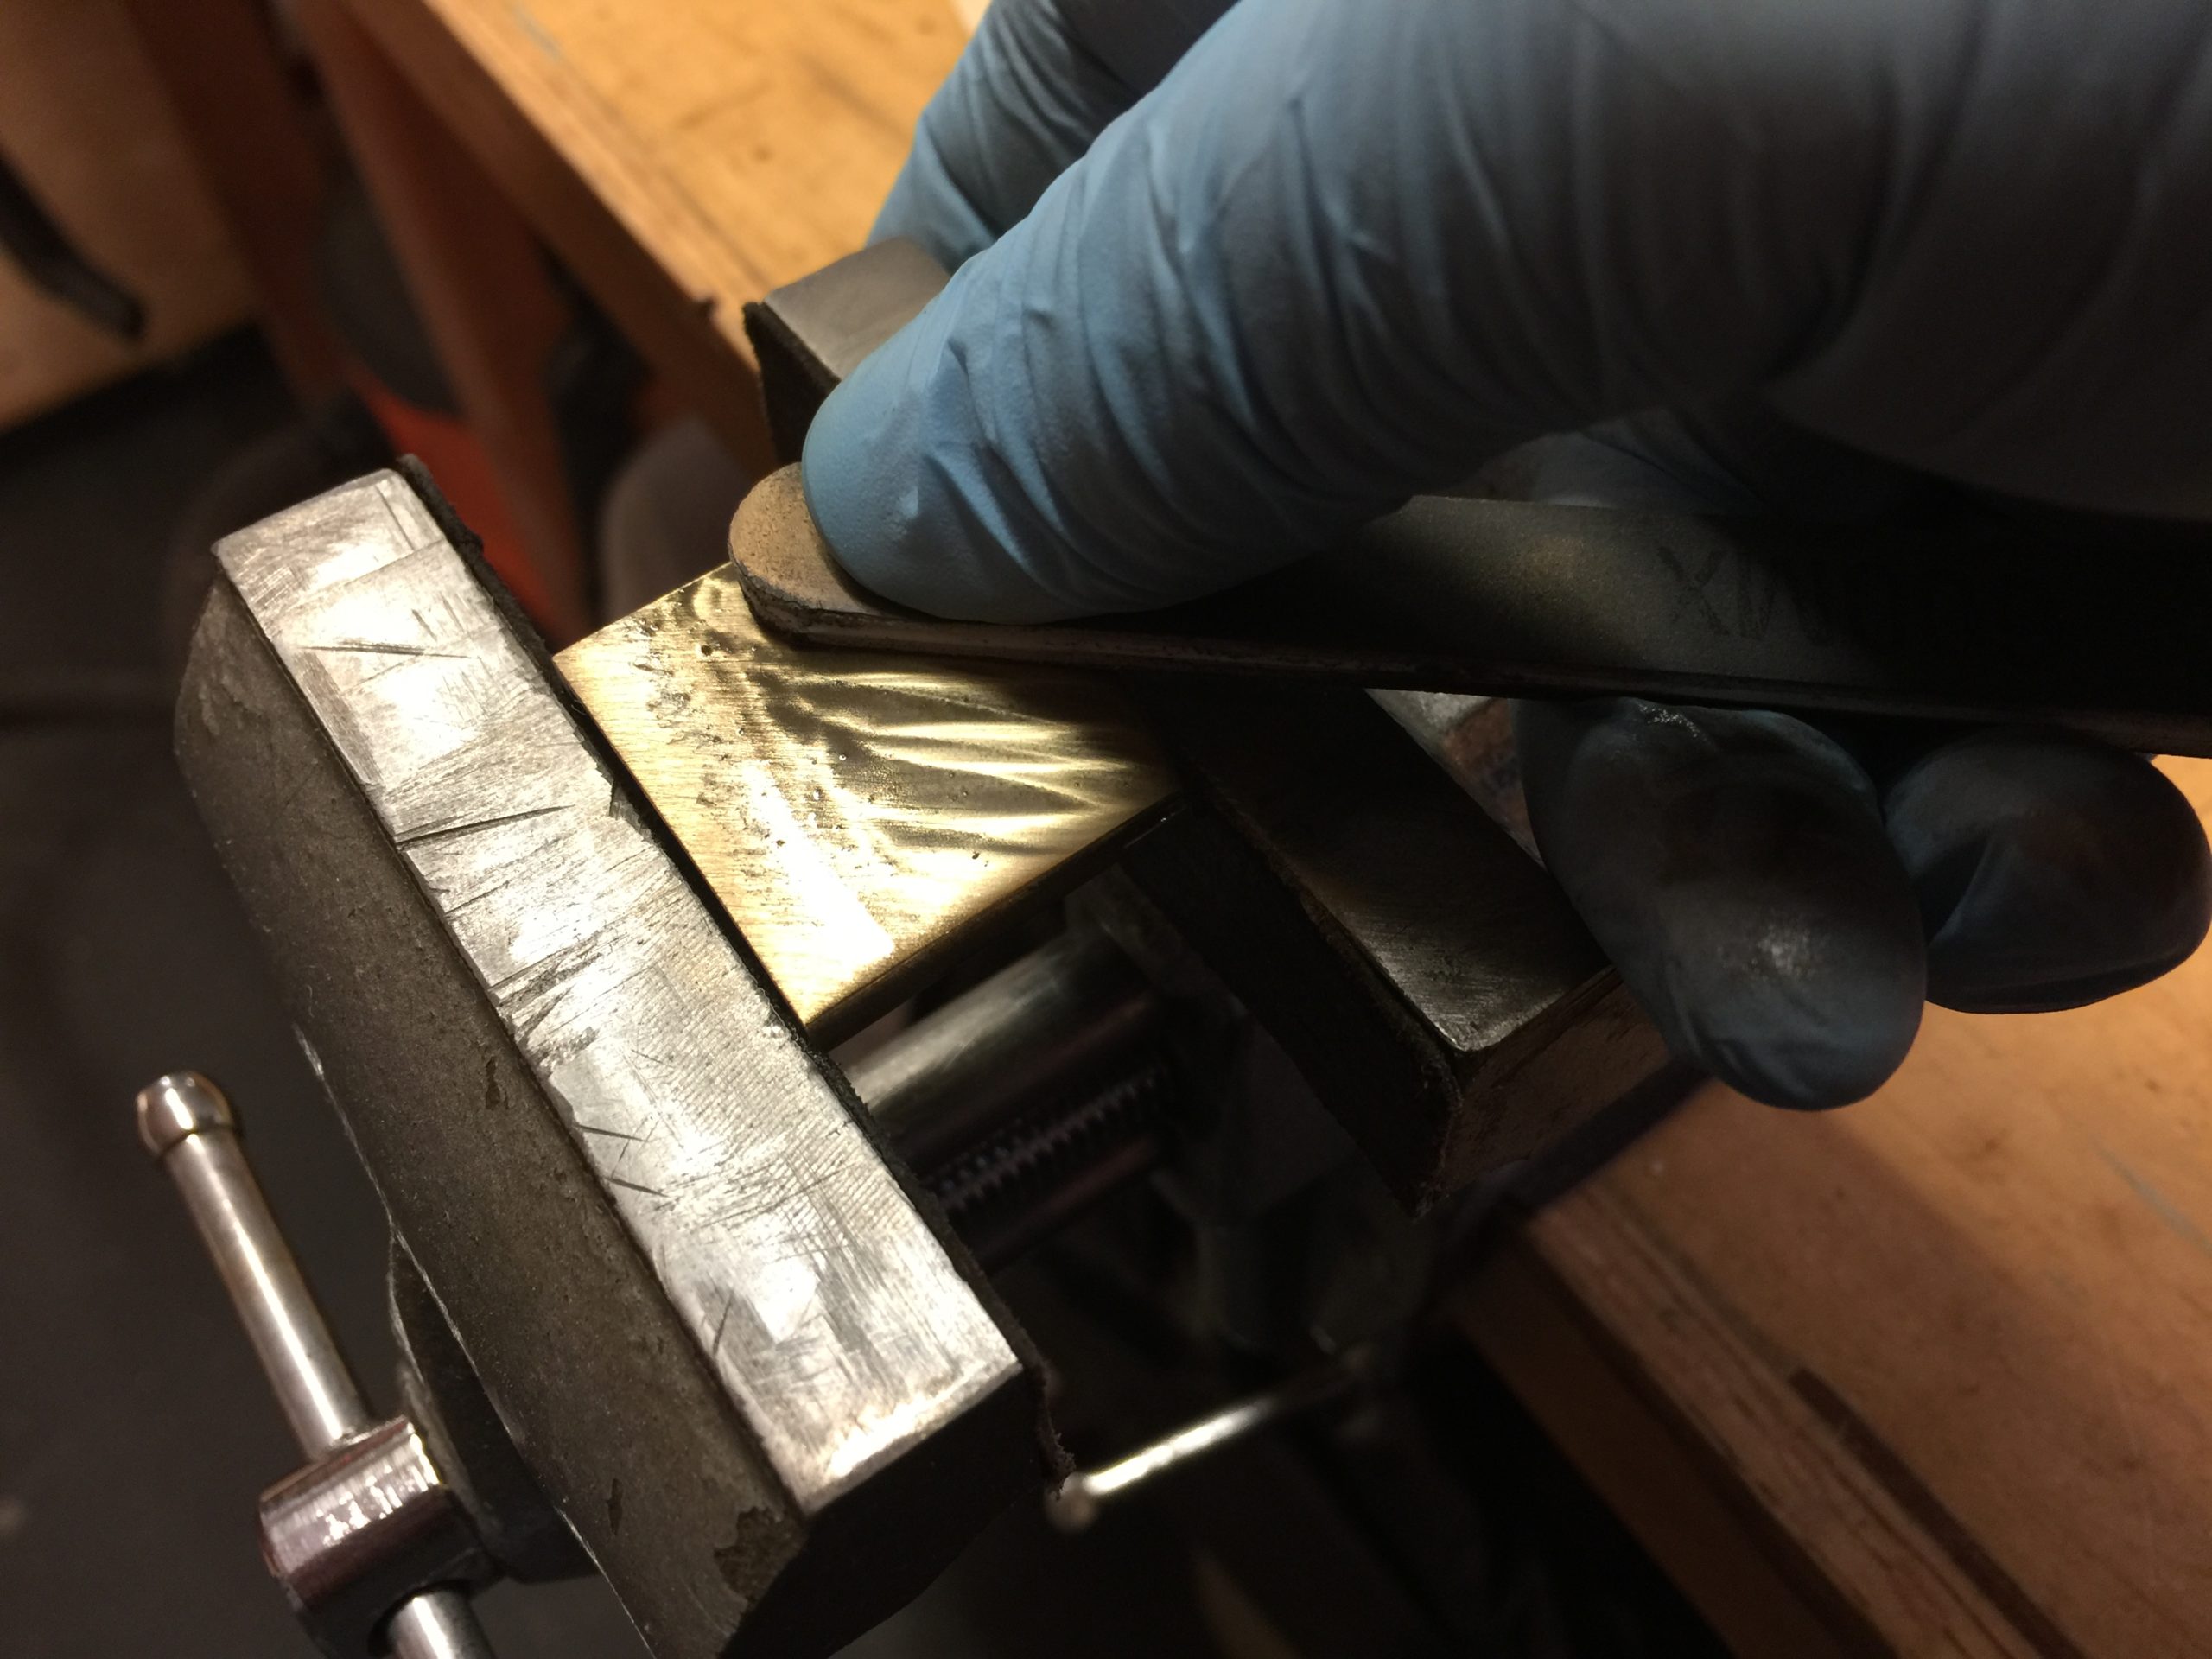
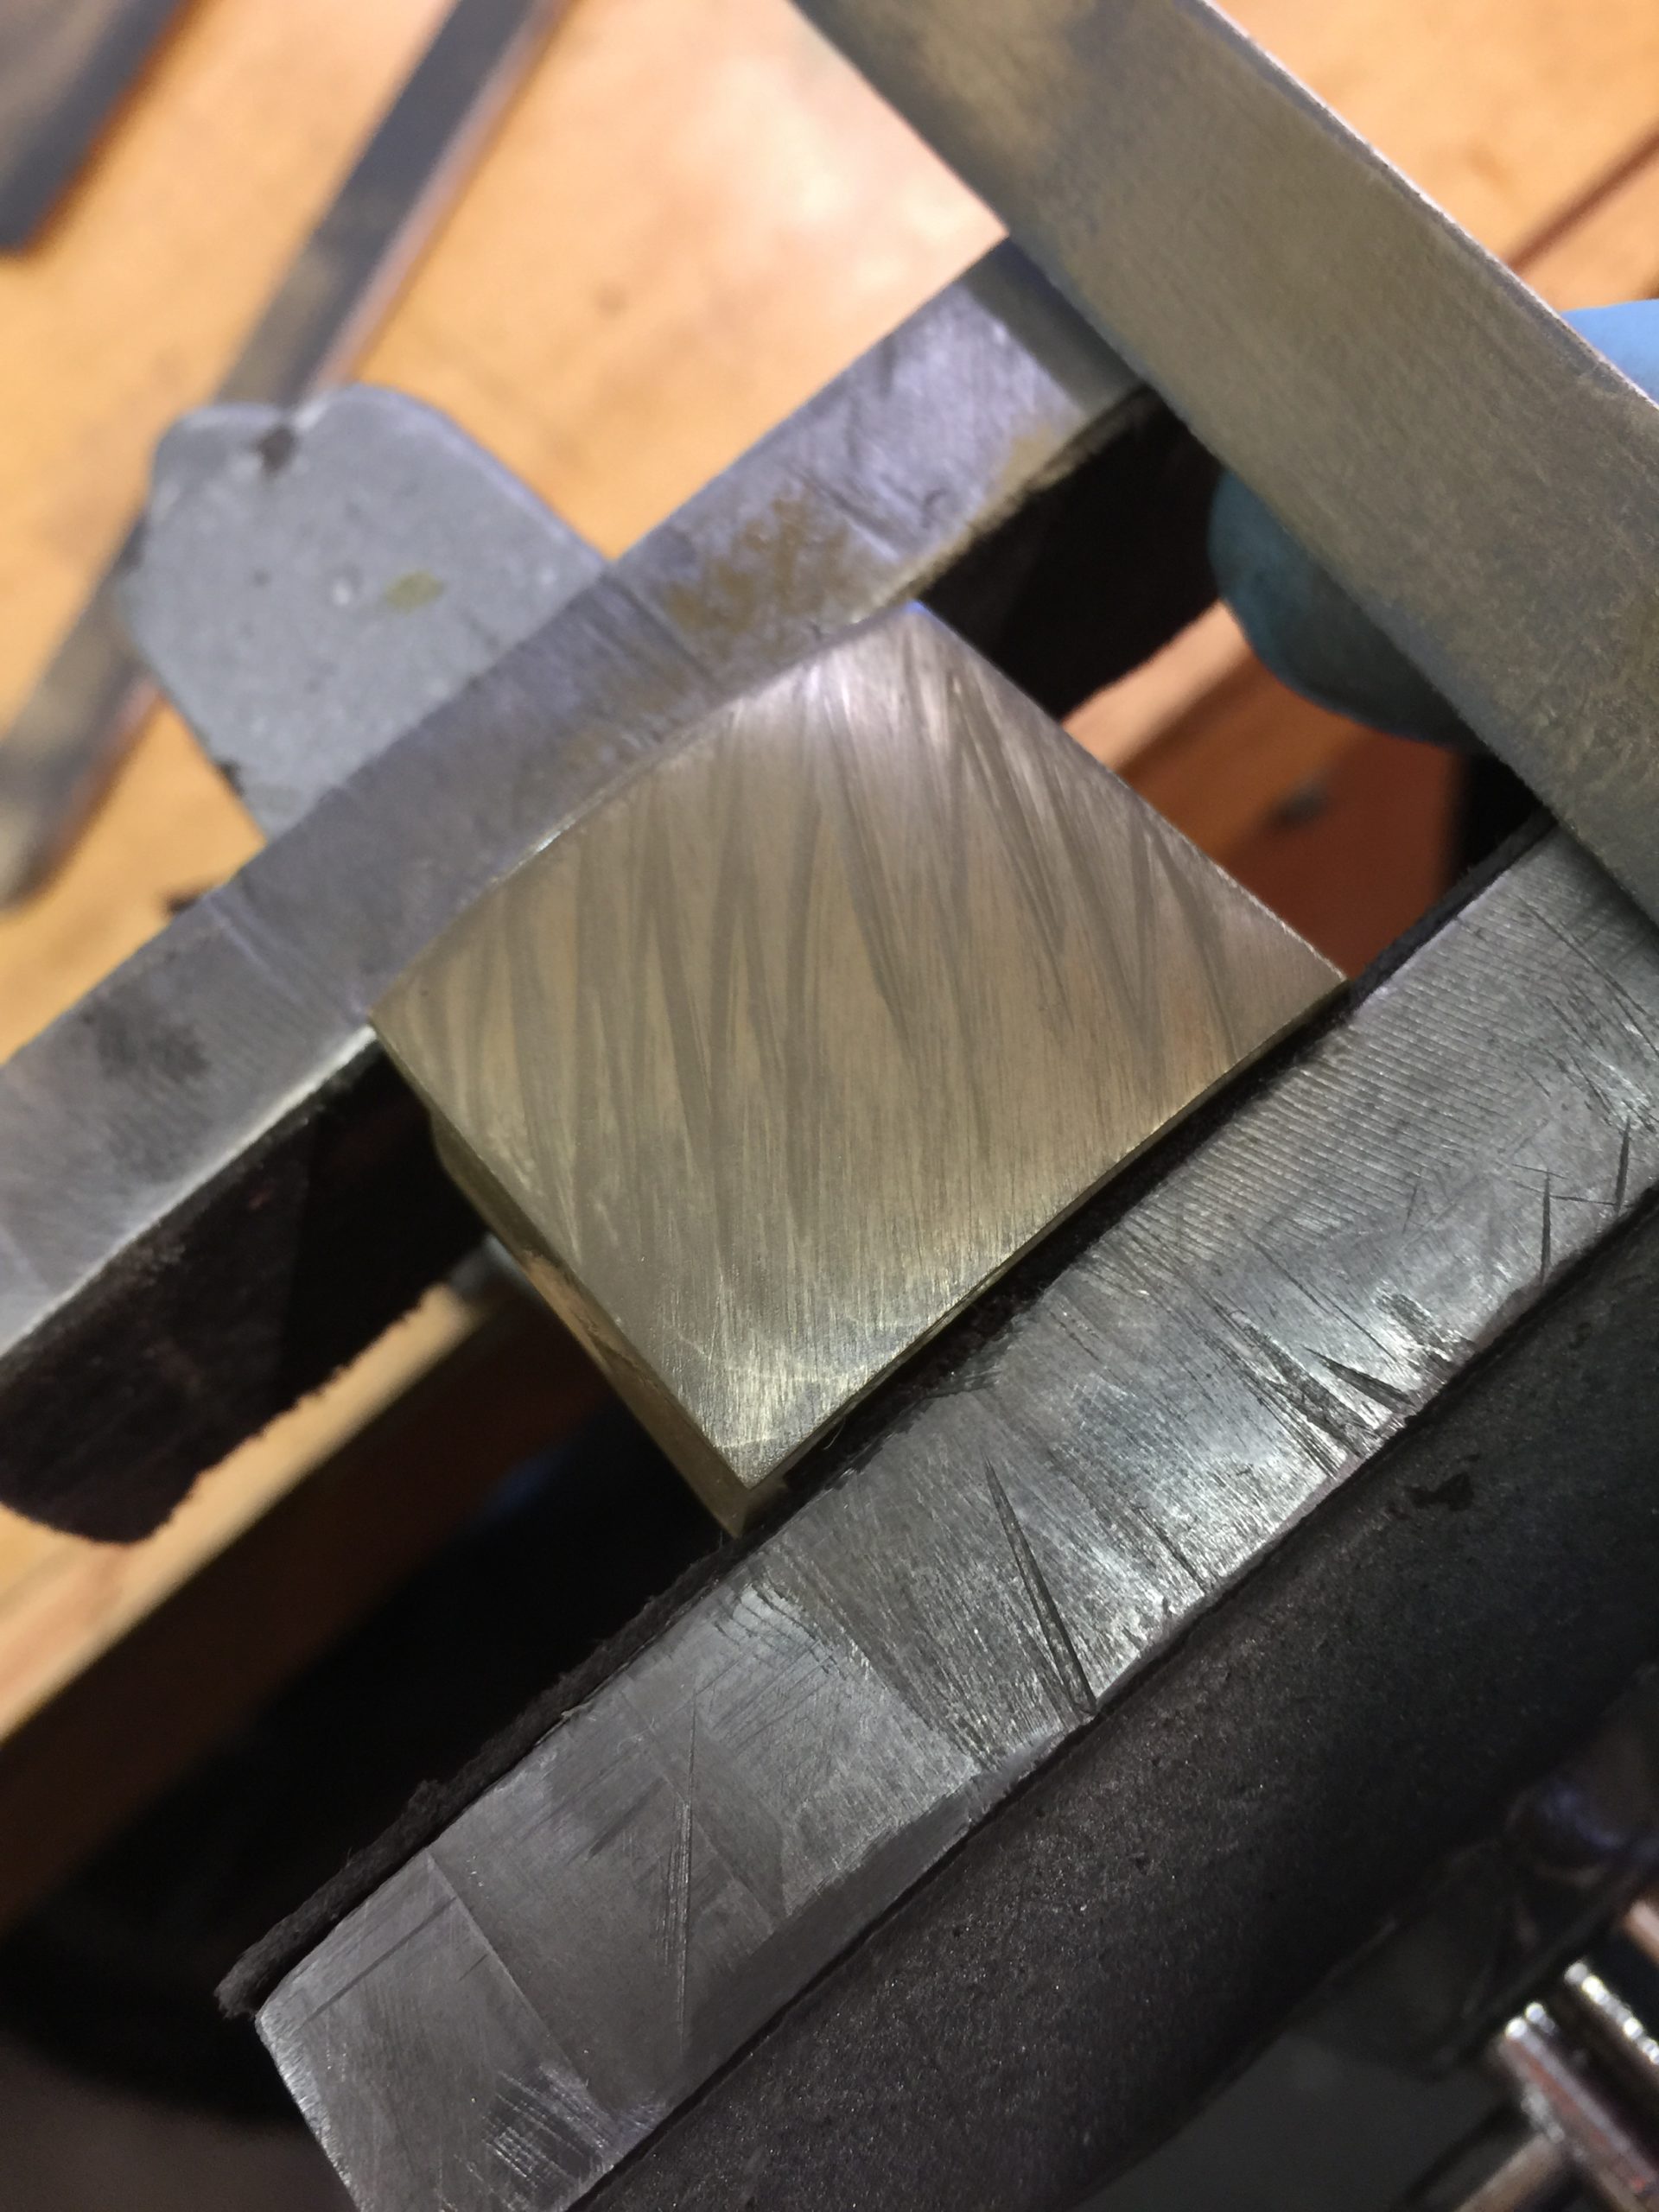
I polish off the diagonal scratches on the top only, leaving them on the bottom to give it some interest.

Brass is a nice soft metal and is fairly easy to tool and polish, but it does burn through a lot of sandpaper!

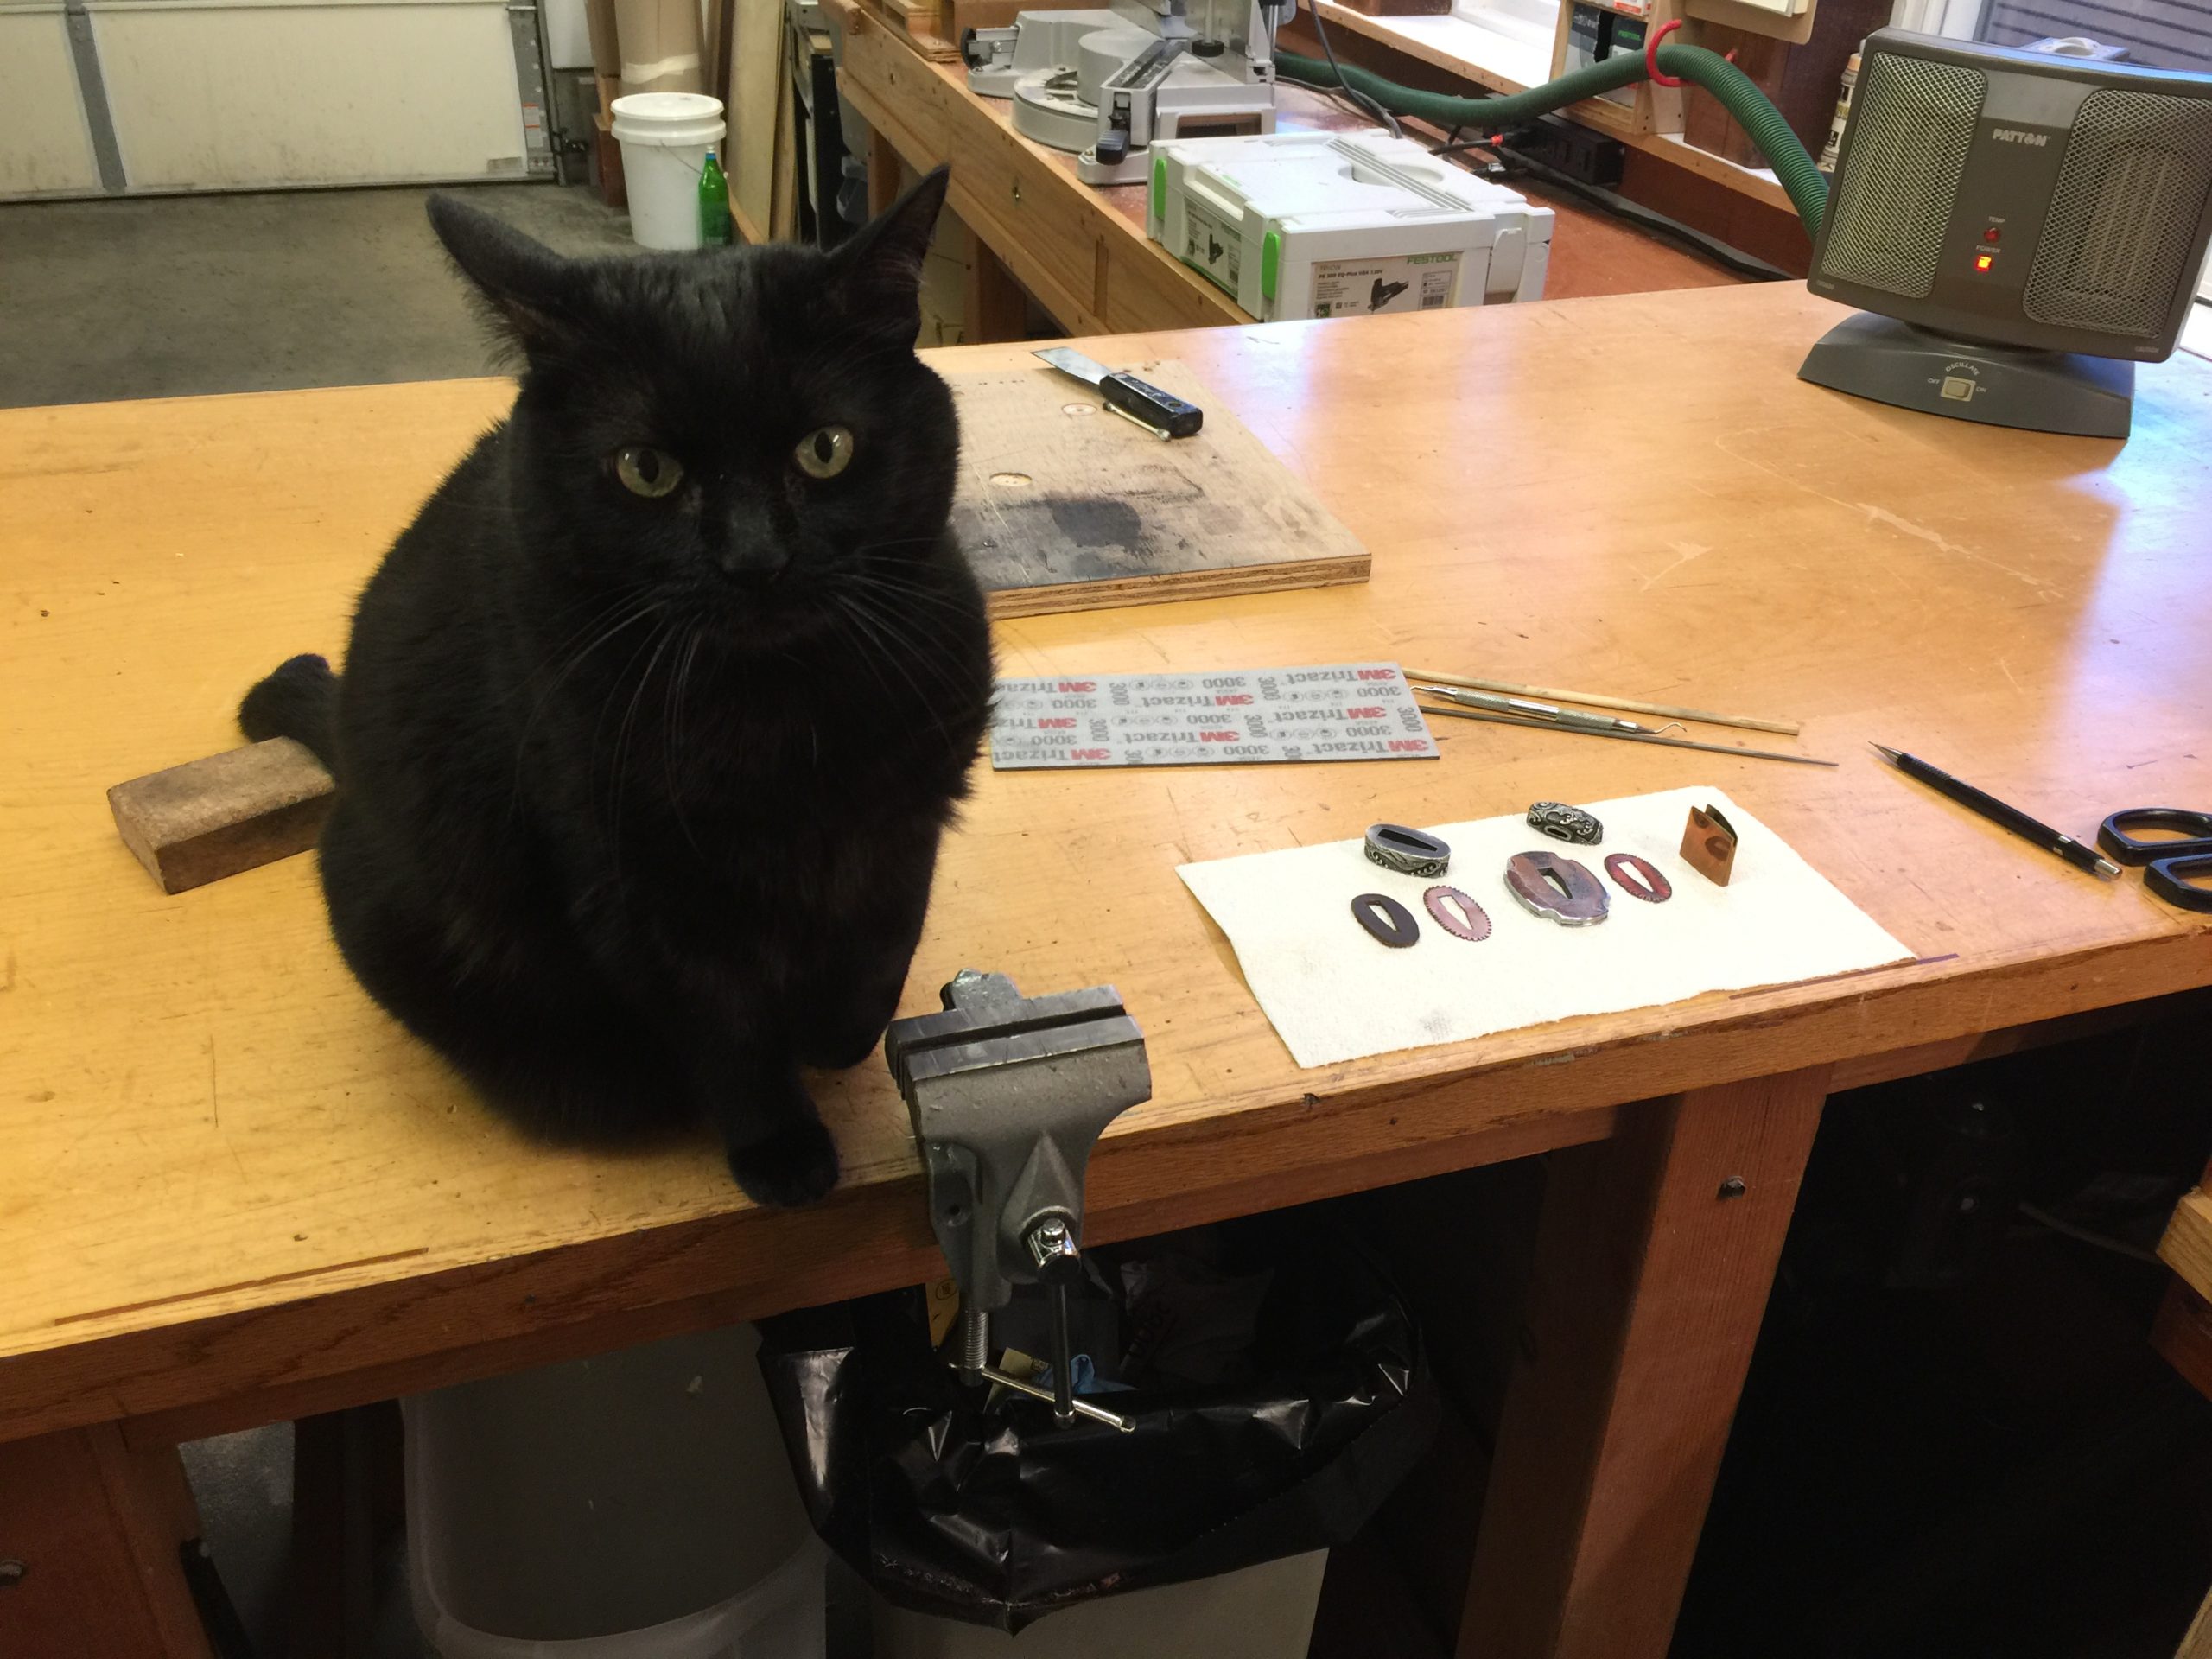
My assistant thinks they need a little more work, but I think they’re ready.

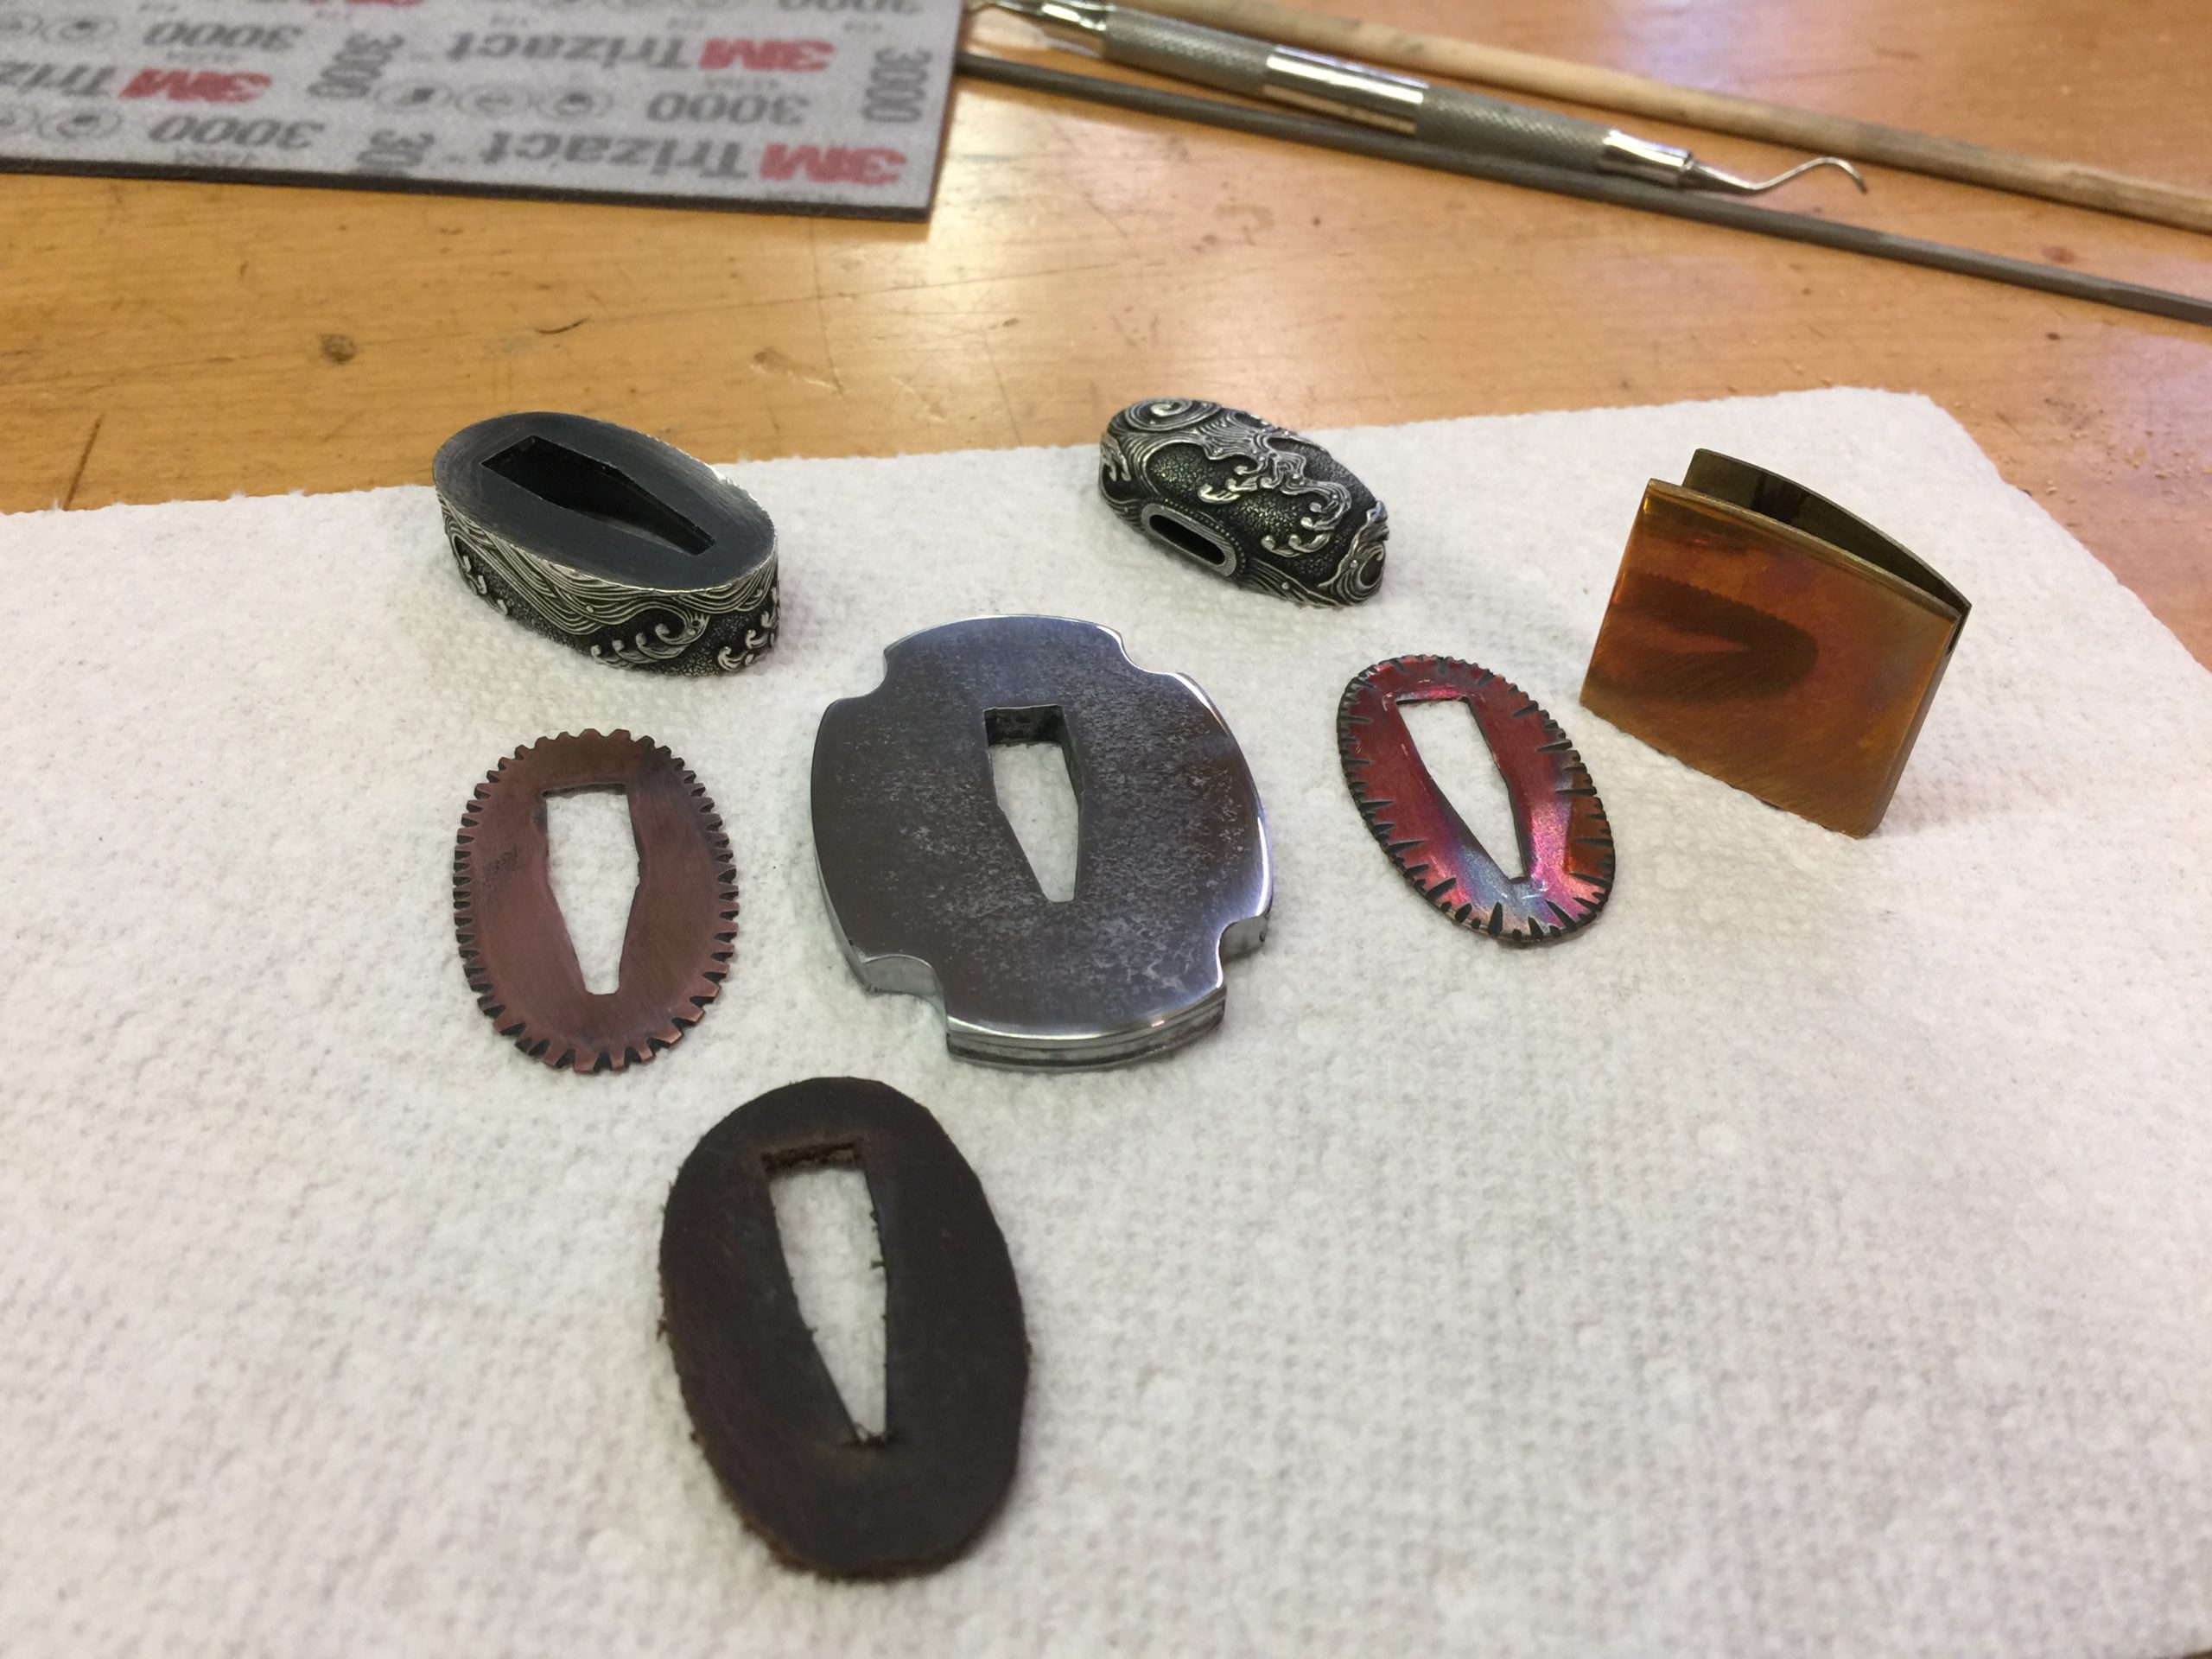
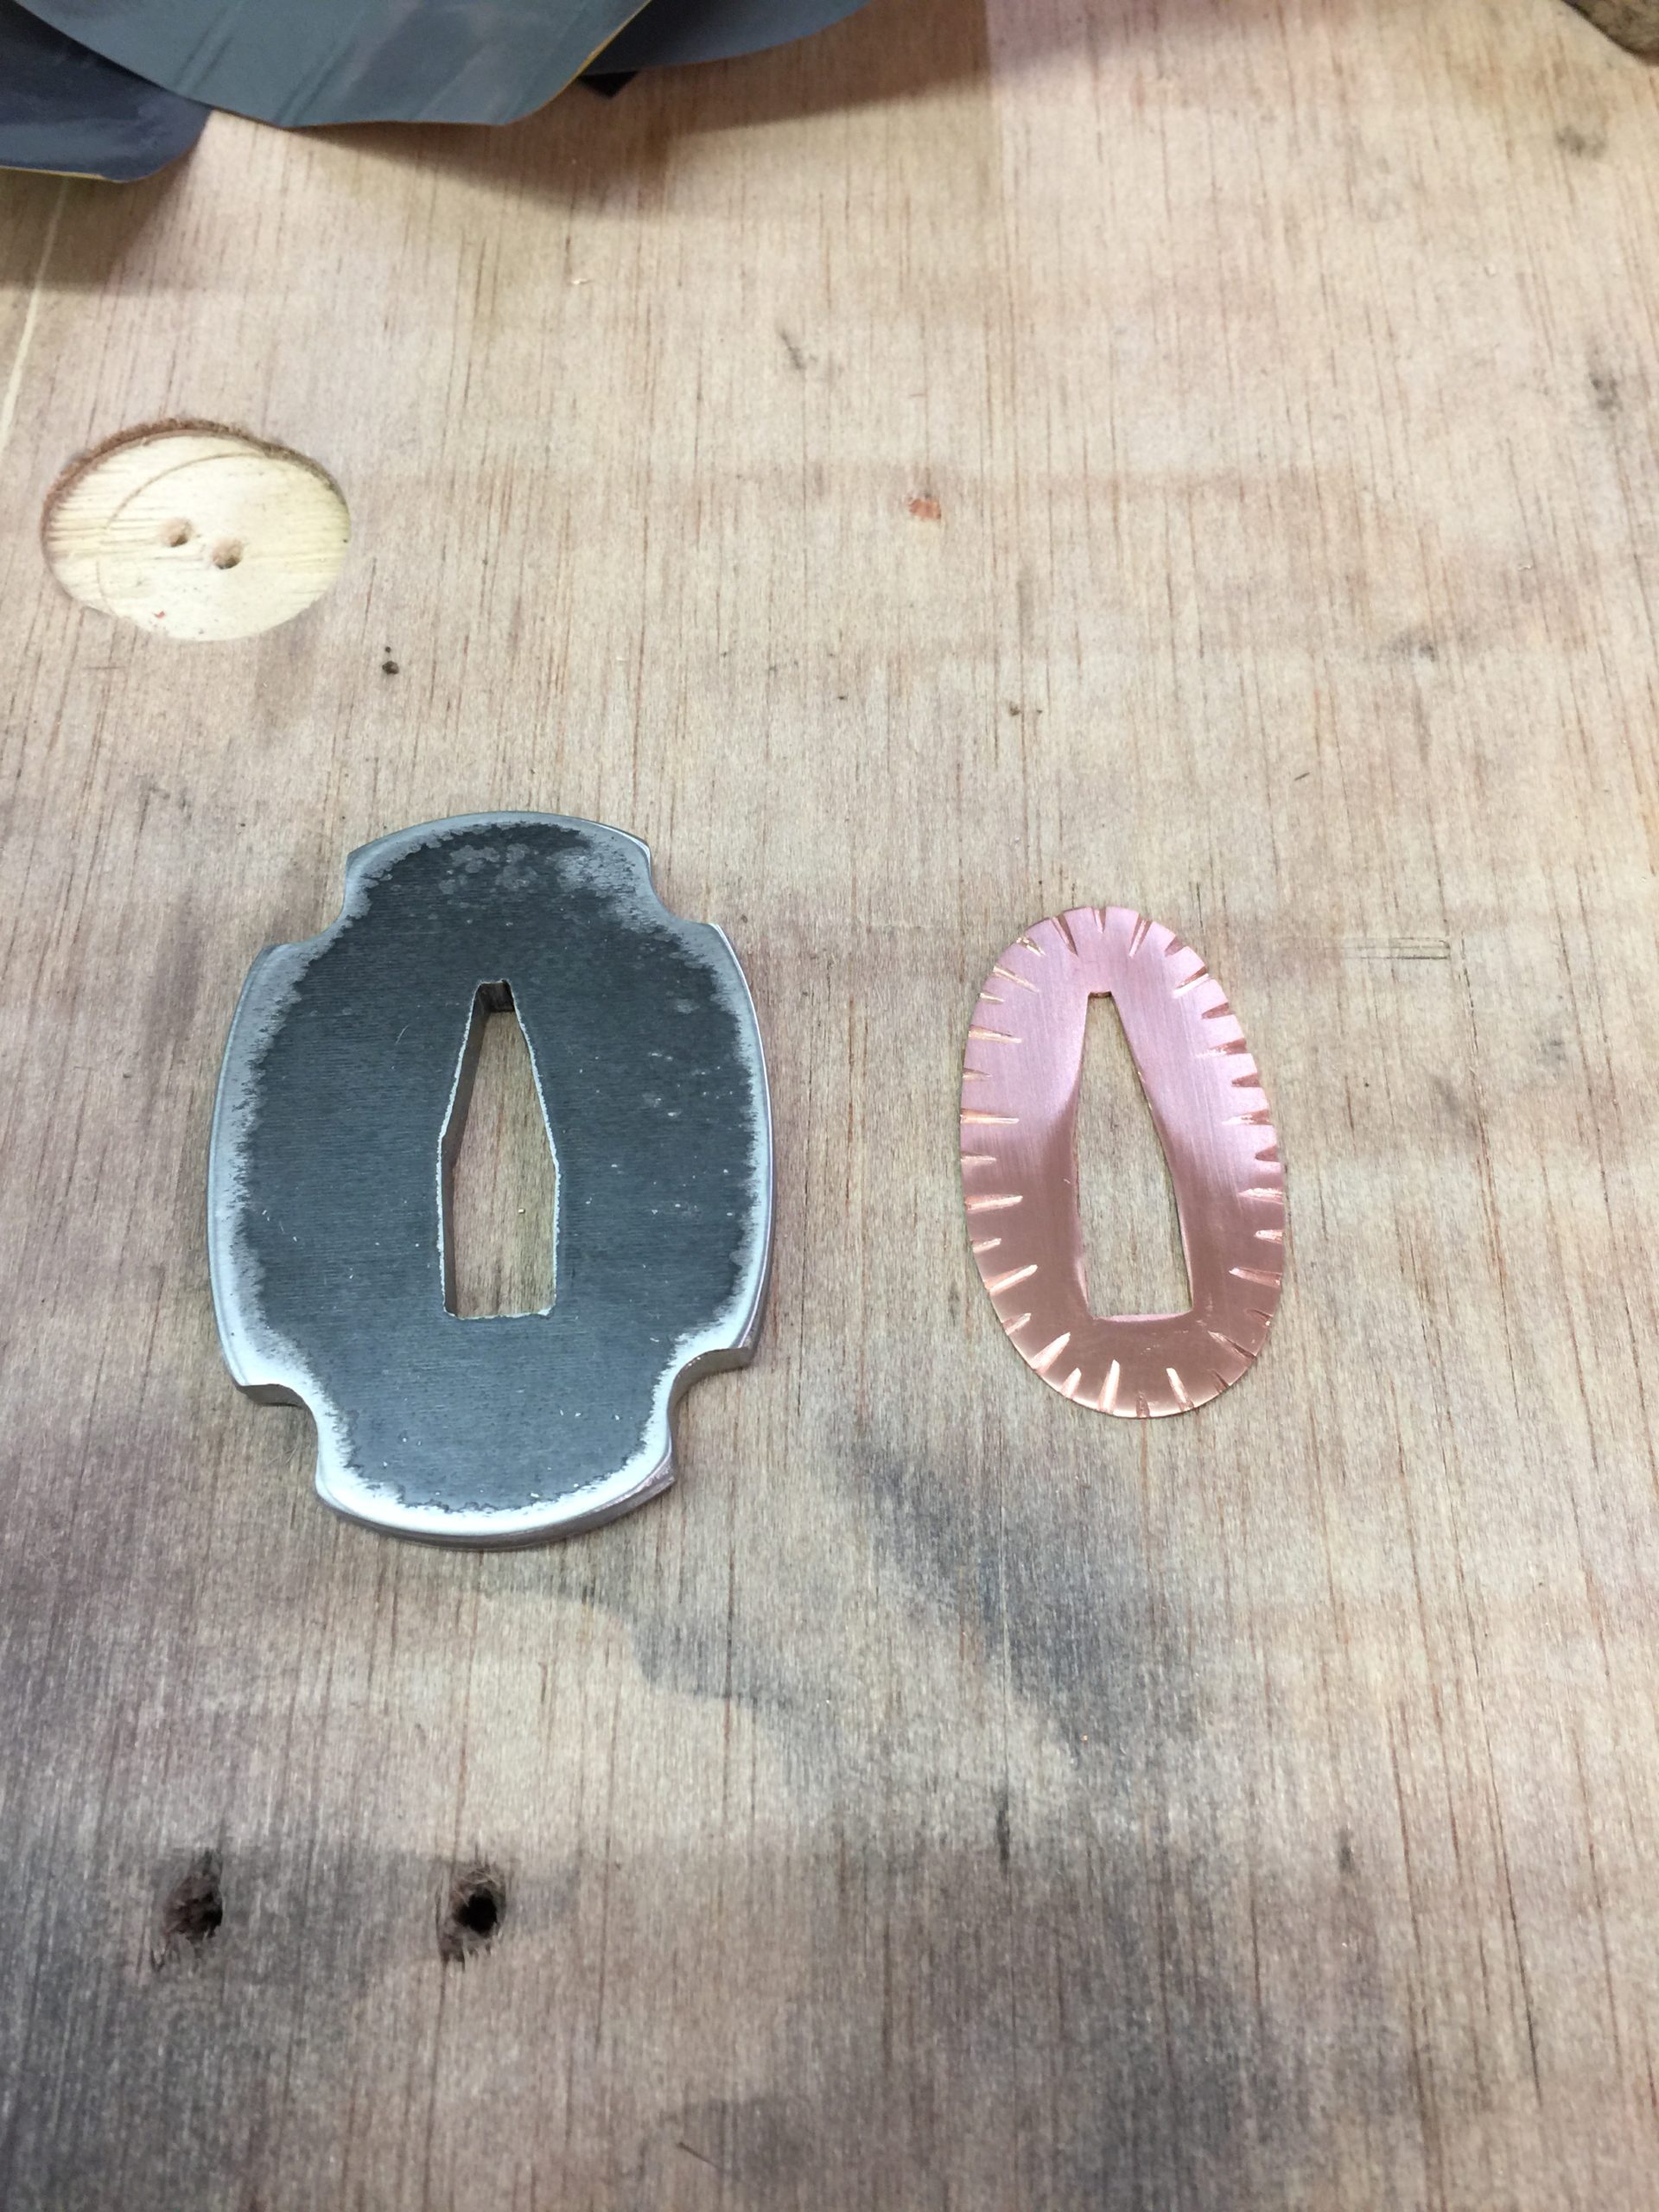
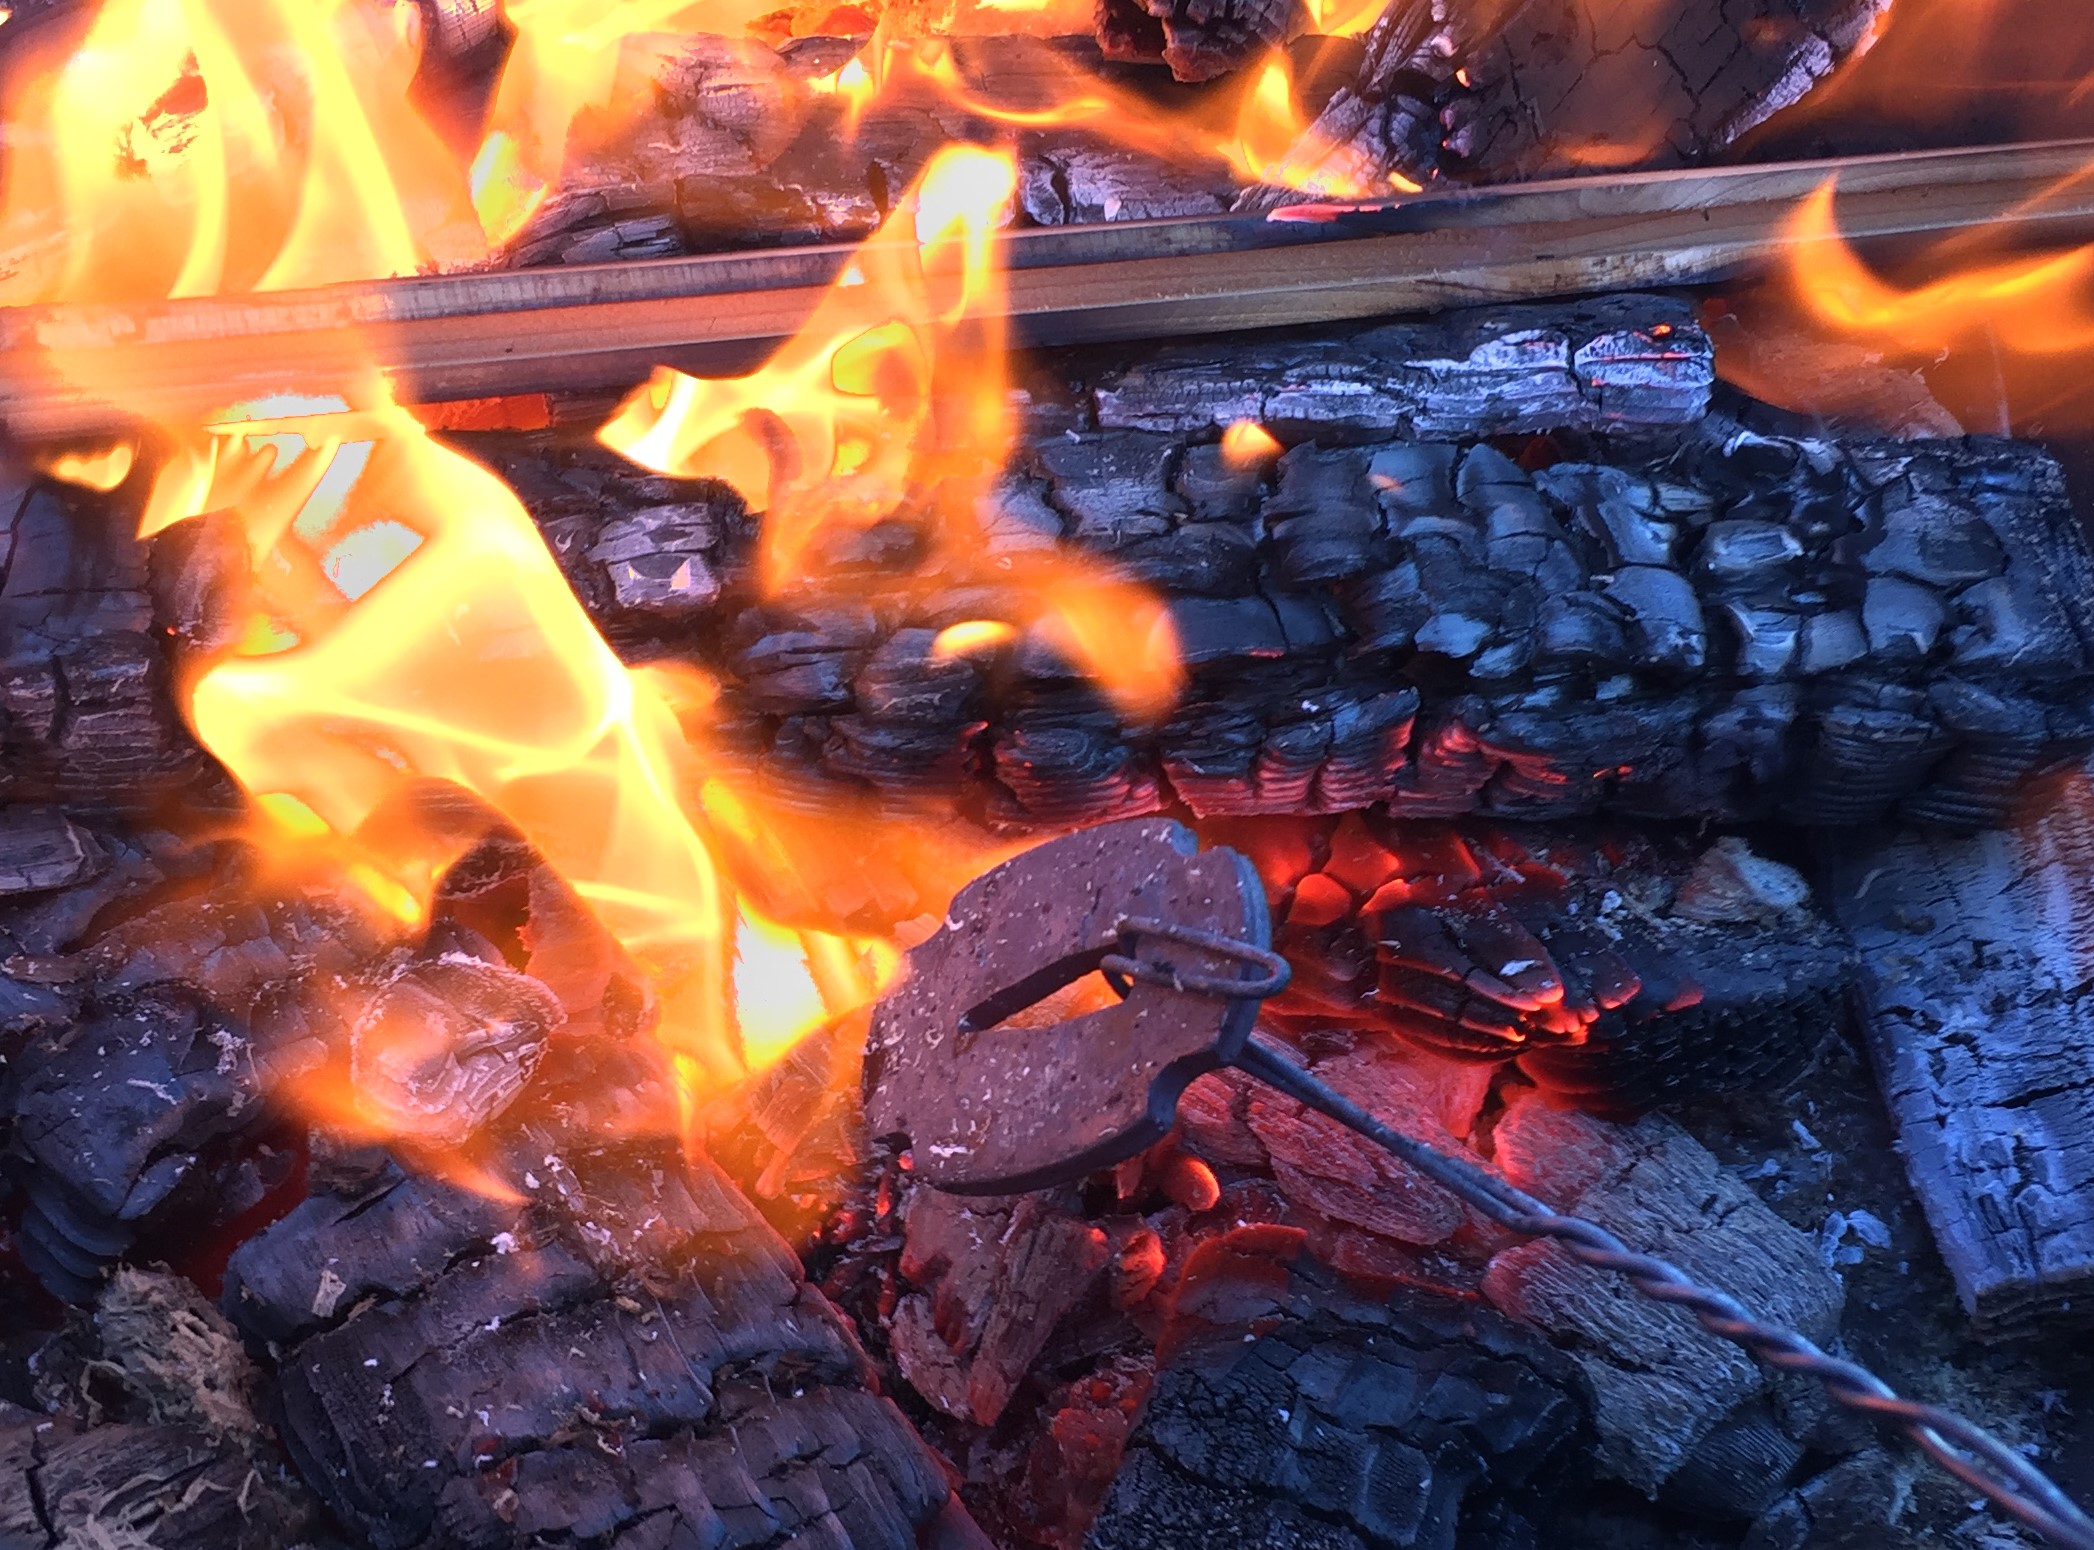
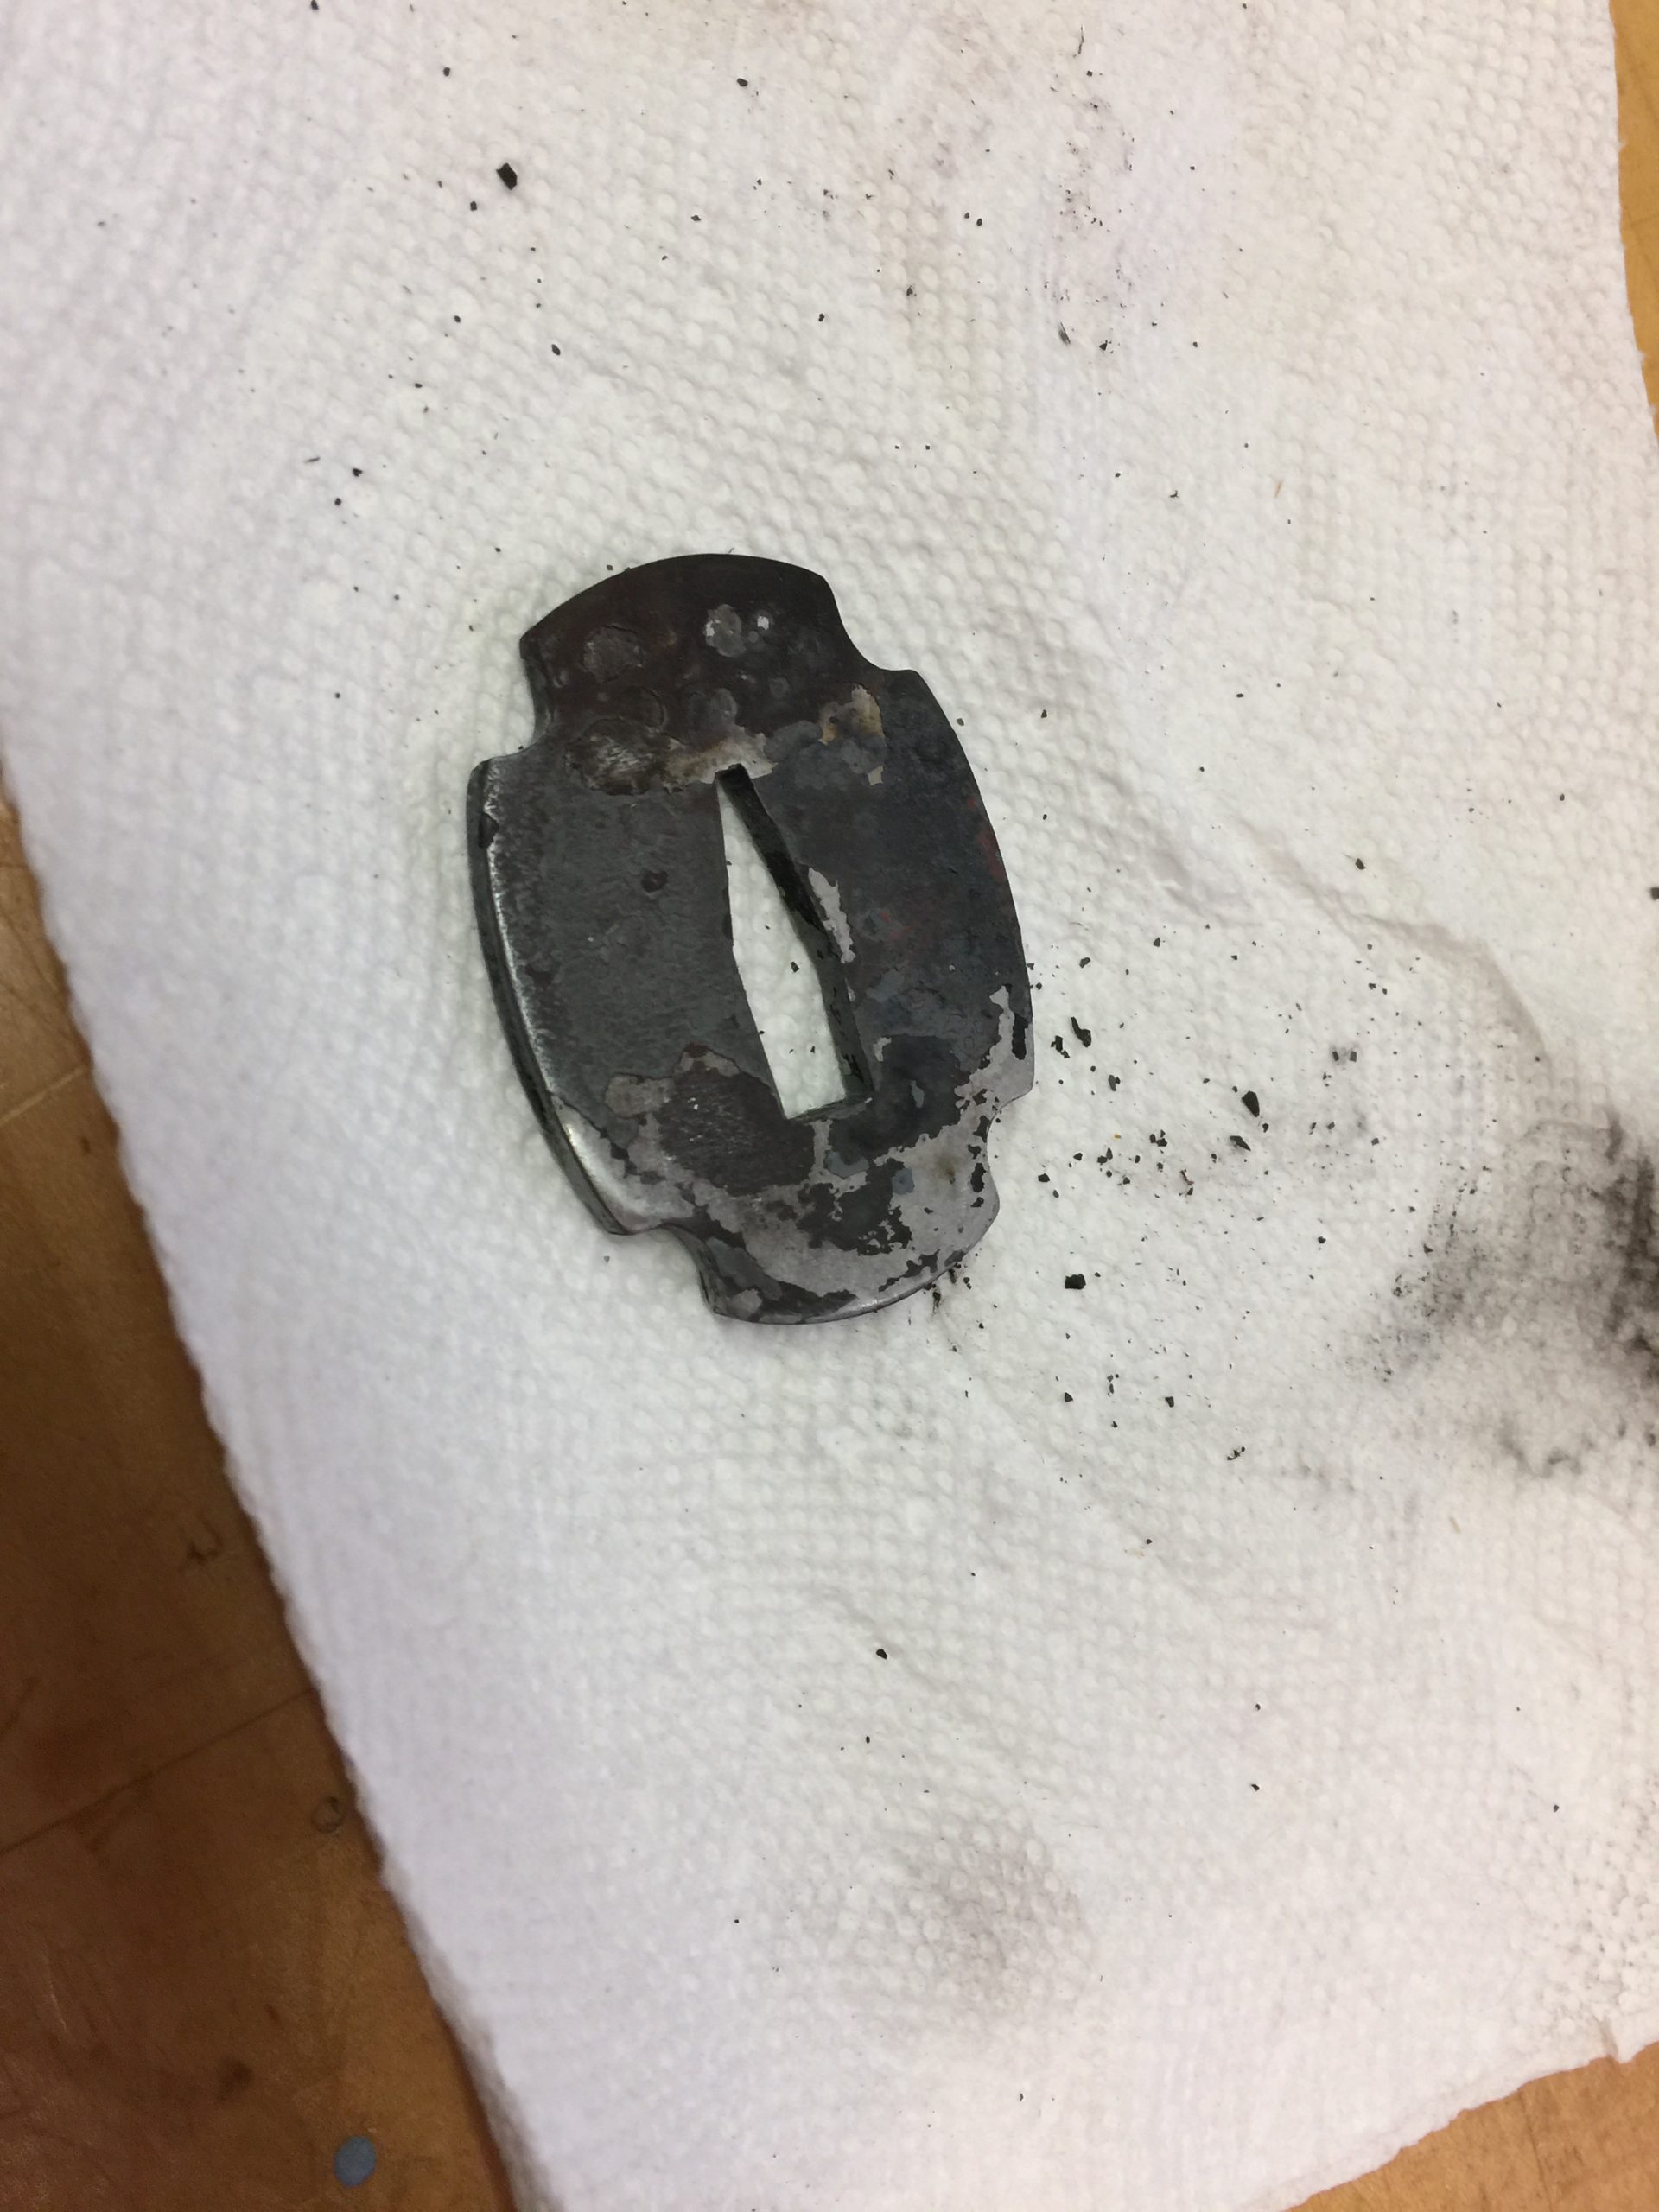
After polishing, I gave the habaki and the two copper seppa a little patina using sulfur and boiling water. The copper was absolutely blackened, which I had to polish off a little, but the brass habaki took on a complex reddish hue, which I thought looked nice. I also make a leather seppa, which is non-traditional, but it’s kind of nice to have between the handle and the tsuba, seems to absorb some shock and helps make a tighter fit.

Now I’m ready to make the handle.

Tsuba

The tsuba is the hand guard that sits between the handle and the blade. It gives the hand a little protection against an opponent’s blade and also prevents your hand from slipping up the handle to become injured on your own blade. Most traditional tsuba are a little bigger than this, I like mine smaller as it keeps the blade a little lighter and has less momentum near the handle.

I lay out what I think I want it to look like on a slab of 5/16″ steel.

I decided on four corners and not six. The hole for the blade should be well fitted. Many historical tsuba had copper welded in there at the ends, as the soft metal provided a good fit that wouldn’t damage the blade if it rubbed a little. I’m not that studious, nor do I think my sword needs it.

A little shaping and grinding to get the look I’m going for.

I give it some sanding but not too much yet. It still needs to be heat treated, and it will need to be fully sanded after that. I just get the edges the way I want them. The copper piece on the right is called a seppa, and it’s a spacer that goes on either side of the tsuba. I need to make two of them.

The fit is great, very tight.

Heat treating is the fun part, and not without some risk. The tsuba is heated in these embers until it’s glowing hot, and then quenched in water. This sudden cooling will harden the steel quite well, but if there are flaws in the steel, it may crack or deform, and then I’d have to start all over.

This one made it fine, a little dirty and with a thick glaze over it that will need to be broken off, then final sanding. I considered getting a little more decorative but I like them simple, as they do a simple job.