The Last Undone Room In The House

One room left in the house that I need to finish:  the bedroom.  It’s a tough one because there’s a lot of work that needs to be done, and it needs to be done quickly.  I want to minimize the length of time that the bed is out in the living room in front of the TV.  Though that could be kind of fun.  Anyway, I’ll tackle the bedroom in phases, and the first is the closet.

Look at that lovely sea of birch paneling and fir trim.  Waking up to all that orange is like waking up in a can of orange soda, only it smells like old shellac.

These drawers never opened or shut right.  I replaced the pulls with some nice bronze antique-y pulls I’ve had for a while, and they’re still hideous.

I like the idea of built in drawers, though, but I don’t think there’s anything I can do with the existing drawers to make them better.  Plus, we’re going to do barn doors for the closet doors, which will extend them out a bit and make our closet bigger.  So I’m rebuilding the drawers from scratch.  May as well; I’ve rebuilt the whole damn house from scratch so why do something different now?

There’s the frame.  These drawers are going to be HUGE!

Two full sheets of plywood are going into this, and I think I need one more sheet to do the top.  Seriously, I need a plywood tree.

You could hide a dead body in this drawer.  It’s absolutely massive.  I’m starting to wonder how I’m going to get it in the closet.  That’s as far as I got this weekend, and as usual, a project I thought would take me a couple weekends or so will probably take me two months.

Solutions for Every Closet!

solutions

The pictures on these magazines crack me up.  You know, if my closet only had to store twelve items or less, it might look so picturesque too.  Yeah, all I need to store is a pair of antique tennis rackets, a cyan volleyball, the world’s cleanest baseball, and a basket that has no use and serves no purpose.

real closet

Sorry, but my closet is not a shallow set of cubbyholes designed to hold yellow galoshes in singles.  Mine is more like the Black Hole of Calcutta.  The area behind where those coats are hanging?  Astronomers call that the Event Horizon; beyond that point, nothing can escape, not even light.

bare light bulb

The bare bulb is actuated by a pull string so worn and frayed that it quietly sobs “kill me” whenever you grasp it.  No effort has been made to conceal those exposed wires, or insulate them, or even bring them up to code.  There is no code in the Closet of Doom, only a deep, eternal blackness that smells like dog pee and cigarette smoke.

interior

The pitted backside of the paneling is what rubs up against whatever clothes you deem fit to hide in here.  You don’t store things in this oubliette as much as you just forget about them.

unfinished

Definitely a tripping hazard.

holy

Reluctantly, daylight creeps through the various cracks and holes from the outside, but the deeper down it goes, the darker it gets.  The unwritten horror stories of HP Lovecraft are down there somewhere.  I should seal it off for the safety of us all.

just before demo

I’ve been staring at these awful stairs for years now, and the time has finally come for a little remodeling.  Out with the paneling, in with new drywall.  This is going to be a lot of work in a small tight space and it may not turn out like the front cover of anyone’s magazine, but anything will be an improvement.

Finished Kitchen Remodel

Before Too

Let’s take a moment to let the above picture sink in.  The lovely paneling.  The yellow linoleum floor.  The pencil sharpener.  You see how those cabinets look like they lean in a little?  That’s not a trick of the camera, they actually did lean in a little bit.

Before One

There isn’t much in the way of fast food on this island, so we cook a lot.  Getting this kitchen fixed up was a huge priority, and it was also a huge undertaking.

Kitchen

Here we go, all finished.

Part of the challenge was having to use our kitchen while it was being worked on.  As much as I wanted to gut the whole thing down to the studs and start fresh, that would have left us without a working kitchen for days at the very least, if not weeks.  So, I ended up doing it the hard way, just a little bit at a time, as budgeting and timing permitted.

Pass Through

I like how the woodwork came out.  The half wall cap looks really nice.

Half Wall Cap

Definitely an improvement, anyway.

Counter

This used to be a wall covered with big boxy cabinets.  And while the extra storage space was nice, it just made the kitchen look like the inside of a matchbox and, even worse, obstructed the view of the hockey game.  That’s unacceptable in our house.  We go to great lengths to be able to see hockey.

Side Door View

You can even see hockey as you walk in the side door.

Backsplash

The copper backsplash is one of my favorite additions to the kitchen.  It adds some really beautiful color.

Stuff

Lots of deep, island-y colors going on in our kitchen.

Well Used

This is a pretty hard working spot, sometimes cooking two or three meals a day here.  The wall mounted spice racks are pretty tight; I had a hard time determining what my twelve favorite spices are, and we had to fit in a thirteenth in there anyway.

Garbage

Here’s our super clever trash can solution.  It’s not as cool as it looks.  In fact, it’s kind of a pain in the ass.  But it works, and it keeps the trash can out of sight when you’re not using it, or right next to you when you need it.

Cabinet Butchery

Here’s a close up of the work I had to do to get the sink to fit.  Those doors used to be inset, but I had to make them flush with the front surface.  For the new gap in the middle, I just put some of that copper backsplash.  Looks great.

Windowsill

The old countertops used to go all the way to the window, but we couldn’t do it that way this time because (1) the new countertops are thicker and the window would not be able to open or close, and (2) eventually that window is going to get replaced, and I can’t install a new window on top of the new contertops.  So I just put a piece of wood back there.  Quartersawn white oak, so it’s pretty stable, and it’s got a few coats of poly on it and some caulk in the joints but it’s otherwise floating and can be removed.  I’m so clever, huh?

Detail Work

That banded trim piece up there was one meticulously cut piece of wood.  It had to be carefully fitted to attach, all hand cut.

HUGE sink

You could fill this sink up with water, put toy boats in it and have little pirate ship fights in there.  The new sink is just HUGE!  I put dirty dishes in it and I forget them because I never see them.

Window

And Inky still has her catwalk up there, so she can get from the top of one cabinet to the other.

Cabinets

Still not my favorite cabinets, but with new hardware and a contrasting stain color they turned out alright.

Finished

It’s definitely come a long way.

The Cabinet Butcher

Cabinet Butcher

The cabinets directly under the sink have recessed doors, so you can comfortably stand at the sink all day long washing dishes or doing laundry or performing whatever task Island Life has in mind for you, and there’s plenty of room for your knees and shins and feet.  However, the new kitchen sink that we selected is too big to allow for this recess.  There won’t be enough room to install it unless the cabinet doors are made flush with the front surface.

Recessed Cabinets

That’s where I come in.  The Cabinet Butcher.  I can take that recessed frame and reconstruct it so that the doors are flush and there is room for the sink, at the obvious expense of one’s comfort while standing there doing dishes.  Since that’s usually me, well, who cares if I’m inconvenienced.  We have a new sink to install, after all.

Now, the new configuration of the cabinet doors down there makes the opening wider, by a total of six inches.  So, we need a strip of wood 6″ x 24″ to put in there between the doors.  This is a pretty good opportunity to go down to a salvage store and find some odd scrap of carved wood that I can integrate into the cabinetry!

Pick Me

“Pick me!” squealed these two pieces.  No, you’re both the wrong size, and you’re both ugly.

No Pick Me Instead

“Pick me!  Pick me!”  Okay, you’re the correct size but you’re still ugly.  No dice.  I’ll keep looking.

No Doors

Yeah, well, while I ponder my newest conundrum, I must pry the remaining cabinet doors off their hinges so I can replace the hinges (with less-ugly hinges) and resurface them and stain them and make them pretty.

War Zone

I did replace all the cabinet shelves with melamine.  I’m no fan of melamine, but I am a fan of sanitary kitchens, and the melamine shelves were far cleaner than the greasy, sticky, cigarette-smoke infused cabinet shelves that we had.

Mountain Climber

Aprupt change of topics, but Inky is a mountain climber.  Here she is atop a rock that’s about 30′ above the road below.

The 2 x 4 Door Project, Part 1

More Plans

I have this small closet door up in the loft that I completely hate and I would like to replace.  Well, I’d like to throw bladed weapons at it, then burn it down, then replace it.  It’s one of those ugly hollow core doors but this one has been cut down to fit an unusually small door frame, some 25″ x 58″.  I was hoping to find a salvage door that I could saw down and fit but no luck there.  If I want to replace this thing I’m going to have to make it myself.  (I’m acutely aware that non-woodworkers don’t think this way) (and maybe even other woodworkers don’t think this way) (it’s possible that it’s just me).

2 x 6 x 16

I don’t want this to cost a lot of money.  In fact, $0.00 would be a great price, but I’m prepared to spend as much as fifty bucks including hardware.  Well, it just so happens I do have a few spare 2×4 and 2×6 leftover from other projects.  Hey, this one here is like 16 feet long.  If I leave it outside any longer it’s just going to grow mushrooms so I may as well make something out of it.

Weathered

And so, the 2×4 Door Project has now commenced!  The lumber I have has been left outside with the spiders and the salty sea air for longer than it should have been, but it is still solid and durable, and I think all its dings and dents and gouges and wormholes just make it look that much cooler.

Distressed

I’ll sand it down and stain it and stuff, but I’ll make no effort to fill or conceal or do anything at all about the nail holes, the saw marks, the boot prints.  This is going to be a traditional door with mortise and tenon joinery and solid wood.

Cut and Jointed

The challenges will be many.  Construction lumber is not usually flat enough to cut into a nice flat door (and doors have to be perfectly 100% flat or they won’t open or close right).  I don’t want to do too much planing or jointing because that takes away from the distressed look that I’m hoping to preserve.  But I think this door is going to be completely awesome when it’s all said and done.

That Hooman Is Crazy

I can’t say that everyone is convinced.

A to Z Plans

A brief glimpse into the mind of an Orcas Island Homeowner.

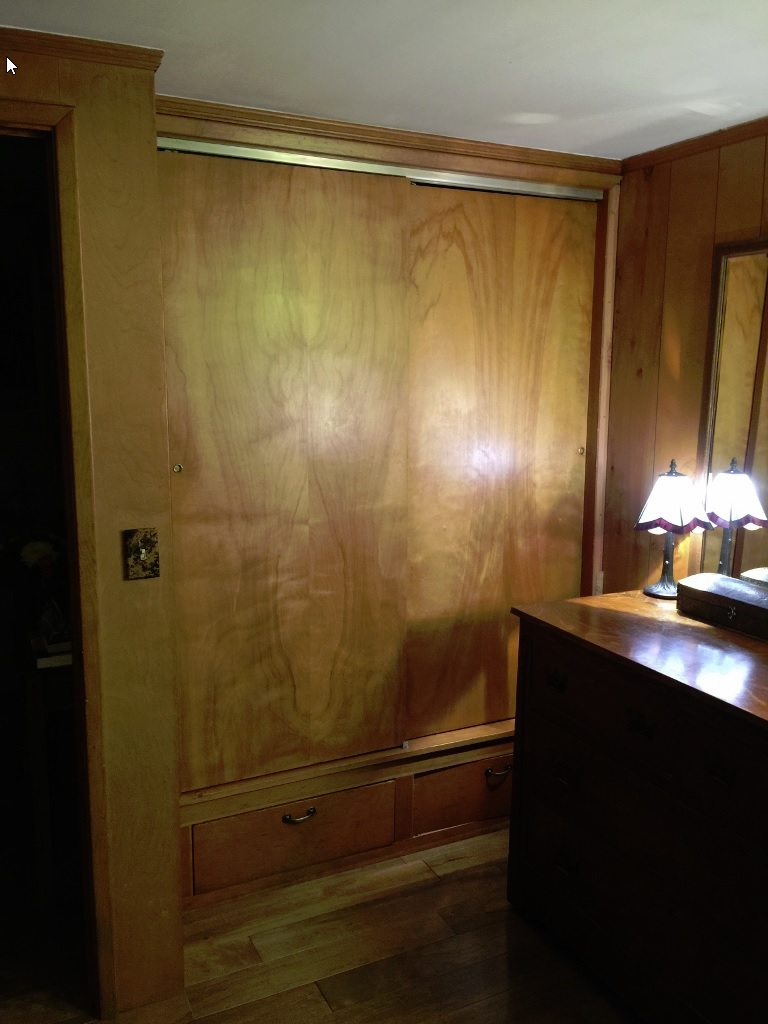
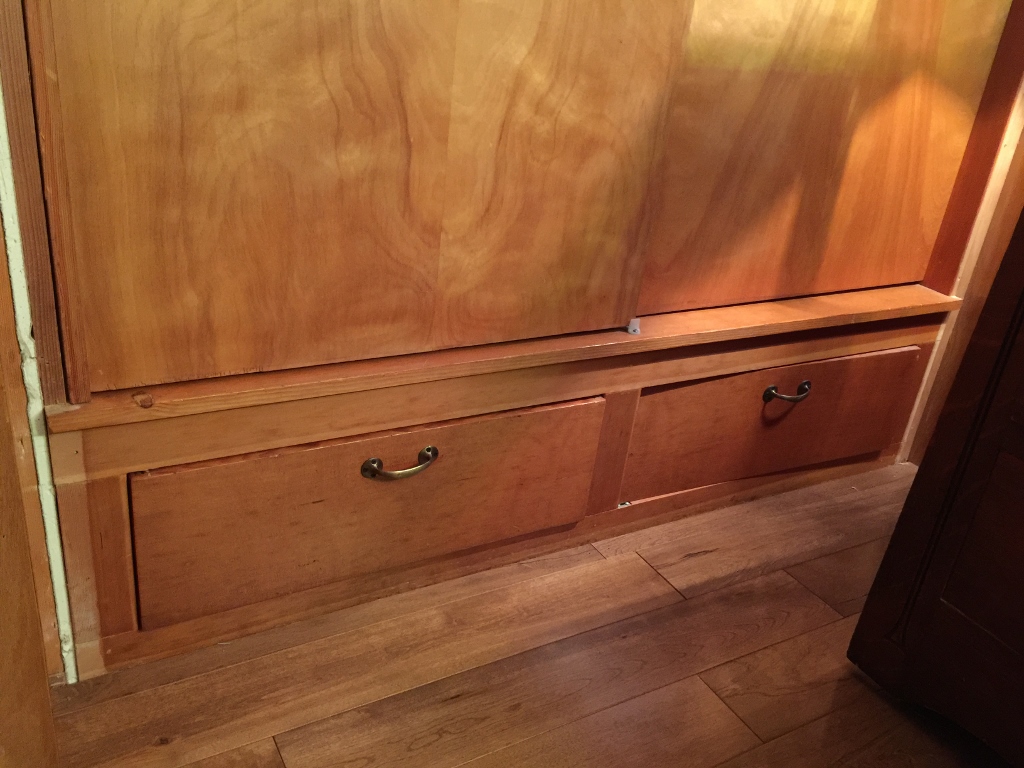
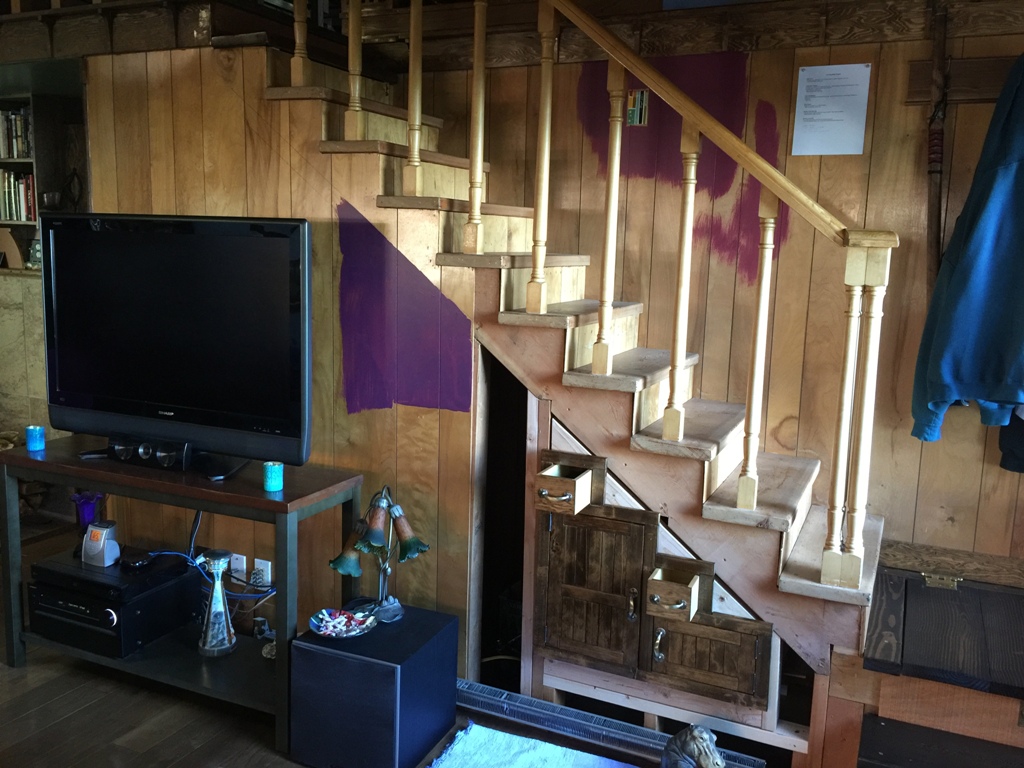
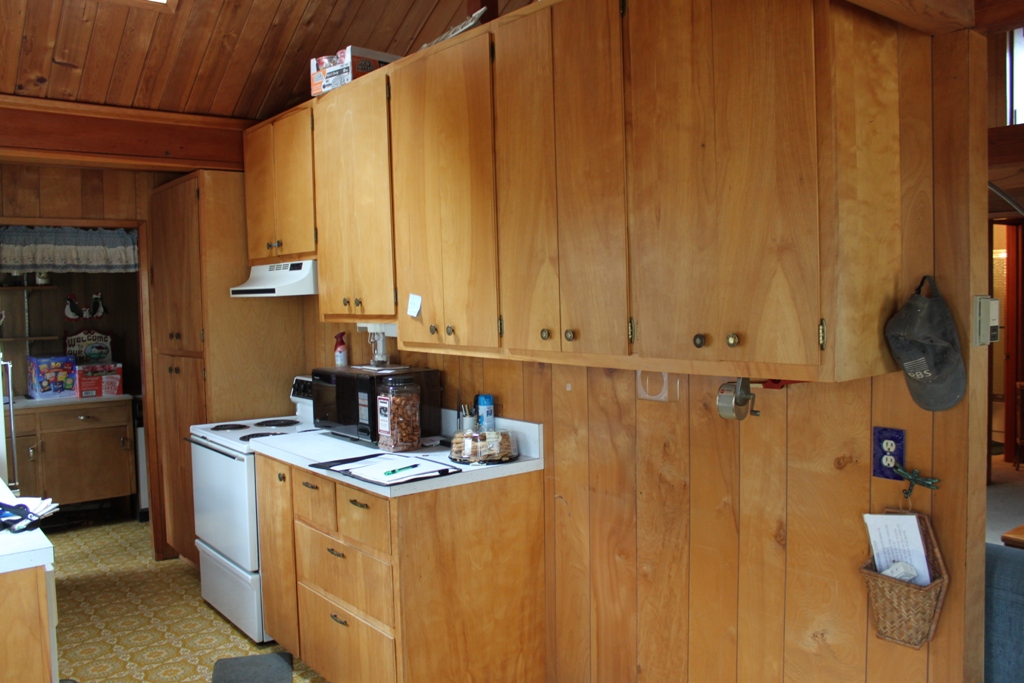
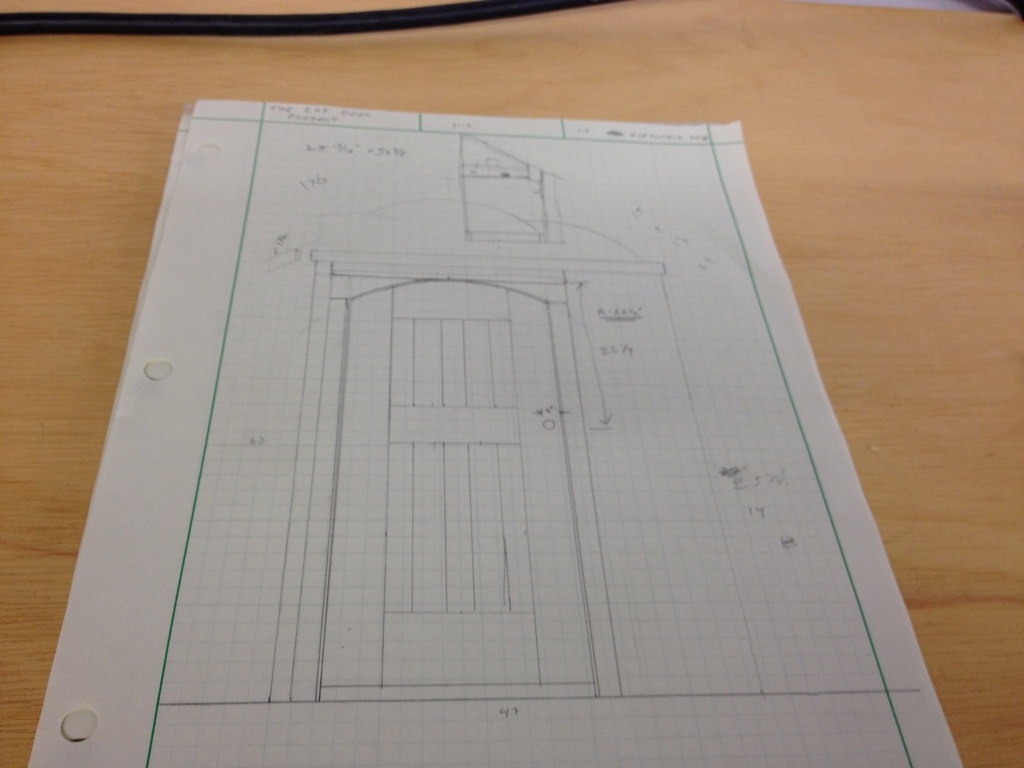
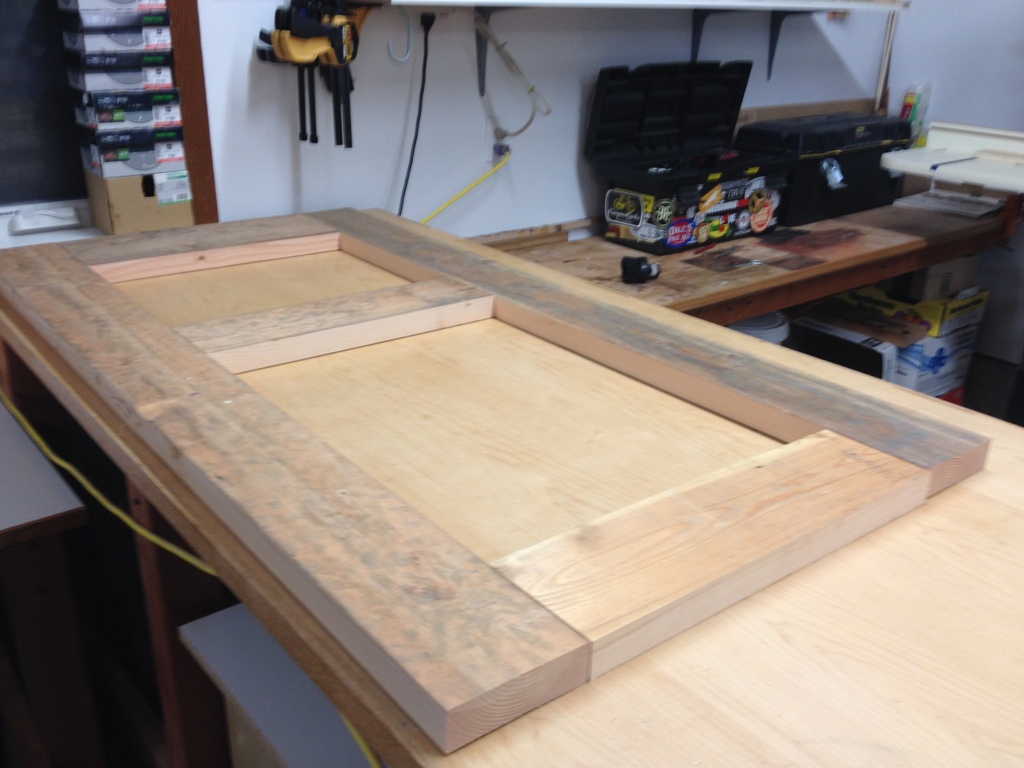
So, about a year and a half ago I installed some big 24” pieces of ceramic tile around our wood stove.  It looked lovely and was nice and fireproof but area above the tile has remained unfinished.  In fact, it’s on a long, long list of unfinished projects.  As with every project, it goes through a number of iterations before it reaches its final state.

Wood Stove Before

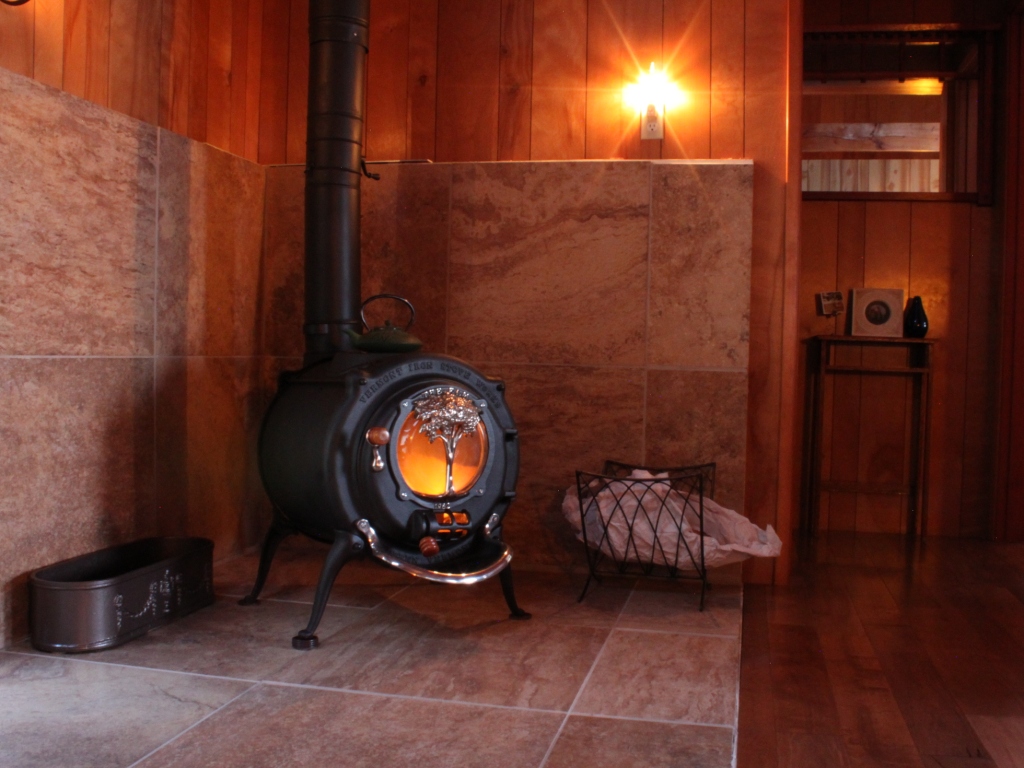
Plan A:  I’ll just drywall it.  Put a little wooden shelf over the tile and put drywall on the wall behind it.  Problem:  Okay, that area gets hot.  I put my hand on the wood paneling above the stove when it was burning and it was almost too hot to touch.  I’m surprised that wood paneling hasn’t ignited by now.  It’s a deathtrap the way it is.

Plan B:  Okay, not a wooden shelf but a stone shelf.  Long blocks of cultured stone set into place right on top, and we’ll figure out a wall surface later.  Problem:  Never did find stone that I liked.  I’d have to find something that matched the ceramic tile, which isn’t as easy as it sounds.  And attaching it would be problematic.

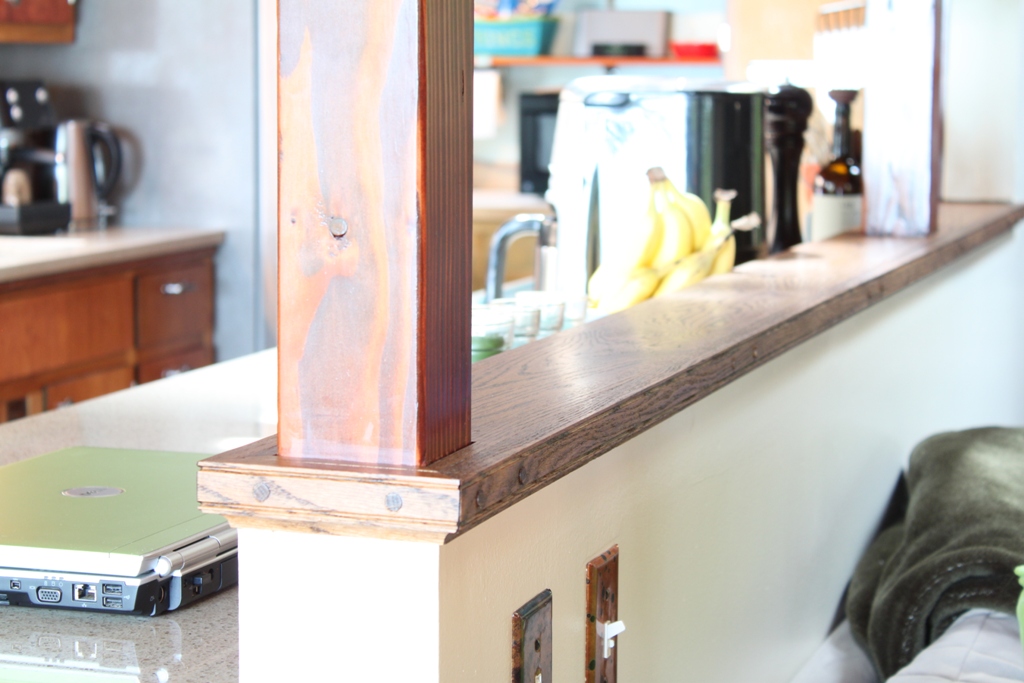
Plan C:  Build a hardwood shelf since I think that would look best.  But treat it with some kind of fireproofing compound.  Problem:  Good luck finding a fireproof compound that doesn’t stink or look horrible.  No point making a nice wooden mantle just to ruin it with the fireproofing agent.

Plan D:  Build a metal shelf.  I have stacks of roof metal sheeting left over from the prior owner’s project.  I could strip that down, paint it whatever color I like and it would be completely fireproof!  Problem:  Okay, I spent about six hours cleaning, cutting, bending and filing that crap and the final product looked awful.  Absolutely cheesy.  Stupid.  I hated it.  Can’t I just make the mantle out of wood, a material I know how to use?  No!  Wood is flammable.  Choose something else.

Plan E:  Fine.  I have a bunch of leftover ceramic tile from the wood stove surround.  I can rent a tile saw, cut them into strips, and make a shelf and a little runner to go along the front so it looks like it’s a little sturdy.  Let’s just do that.

MantelPlan F:  The idea of renting a tile saw when it’s 36° F outside just horrifies me.  It sprays water everywhere.  Your hands get drenched in it and they will freeze.  So I’ll just use some edging pieces that I have that don’t look as nice but I don’t want to cut big pieces of tile in this weather.

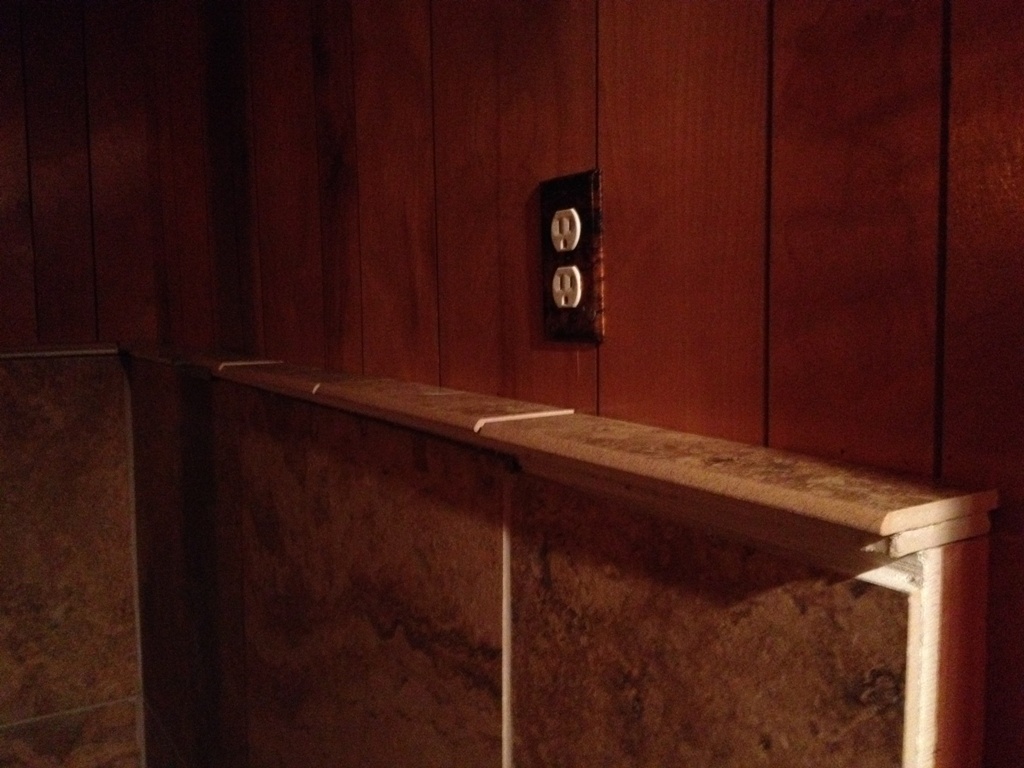
Plan G:   No front strip either.  Hey, I can use a piece of window flashing to at least make a metal lip that will cover the backerboard.  I can even paint it copper.  I have some hammered copper spray paint that looks great.

Plan H:  The copper spray paint isn’t made for hot applications.  Need to special order high heat paint.

Plan I:  How about the area over the tile?  Painted drywall would probably work ok, as long as you get the special stuff with no combustible paper.  Hey, how about copper sheets!  That would look so freaking cool!!

Plan J:  Copper sheeting would run about $800.  A pity, that’s $700 more than I wanted to spend on this crap.  Maybe I can cut up some of that metal roofing material I have in surplus.  I have enough to roof a small airplane hangar.

Plan K:  No, that would look hideous and take way too much work.  Hey, the hardware store sells these 24” steel sheets for like $6 each.  I could buy a bunch of those, paint them copper, set them in a diamond pattern and it would look great!  Like a copper backsplash.

Plan L:  Sorry, they’re $16 each.  And they only had enough to do most of that wall.  Not all of that wall.

Plan M:  I can do a built in bookshelf on the section of wall it won’t cover.  It’s in an area that doesn’t get hot at all.  Problem solved.

Plan N:  Alkyd based paints will not adhere to galvanized steel.  F#@&^#!

Plan O:  They sell primers that adhere to galvanized steel, but they’re water based latex.  I’m not sure how they will take to heat.

Primer

Plan P:  High heat engine paint is proof up to about 800°.  As long as they’re not exposed to direct flame they are good.

Plan Q:  High heat paints should not be used with a primer, so sayeth the label.  HOWEVER – they are toluene based which means they will adhere to galvanized steel without a primer!!  I can just paint the stupid things.  This is the first thing that has gone right on this project since its inception.

Plan R:  Some of the tiles are coming loose from the wall.  The temperature variation is not good for them.  Get some epoxy resin that will take the heat, and attempt to fit it into the cracks to keep them affixed.

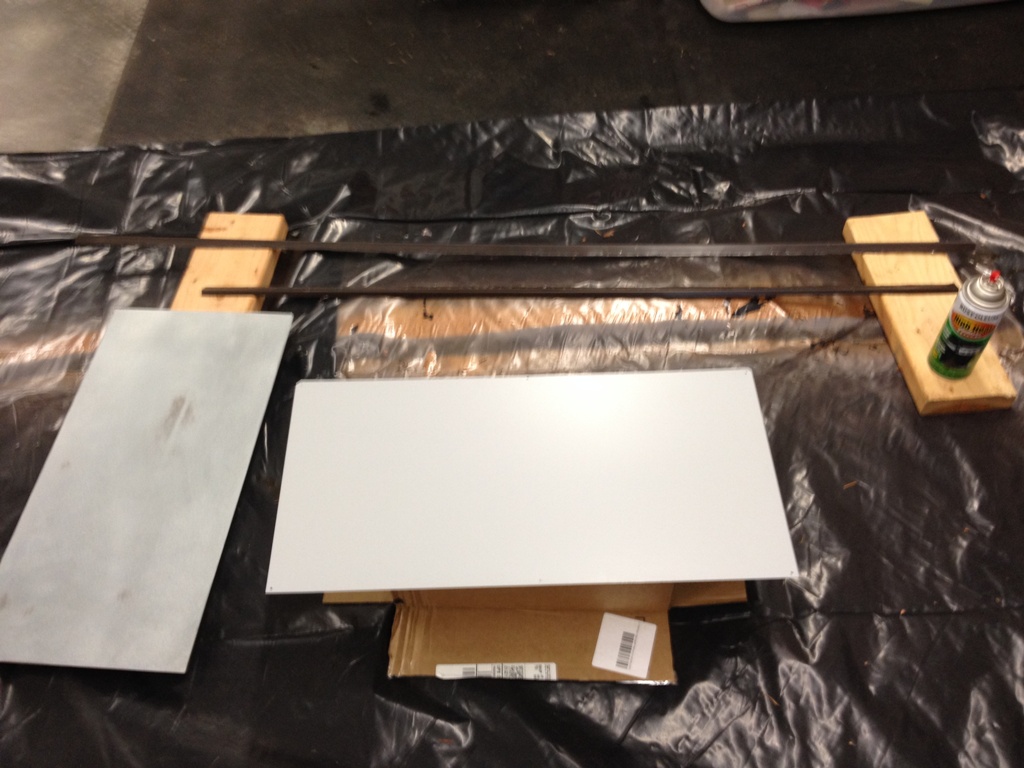
Plan S:  Paint some test sheets of galvanized steel with my high heat paint.  One was primed, the other was not.  The two strips of flashing are not galvanized and I actually don’t care if they rust, melt, rot or jump out of the wall.  I’m using them and that’s that.

Will Paint

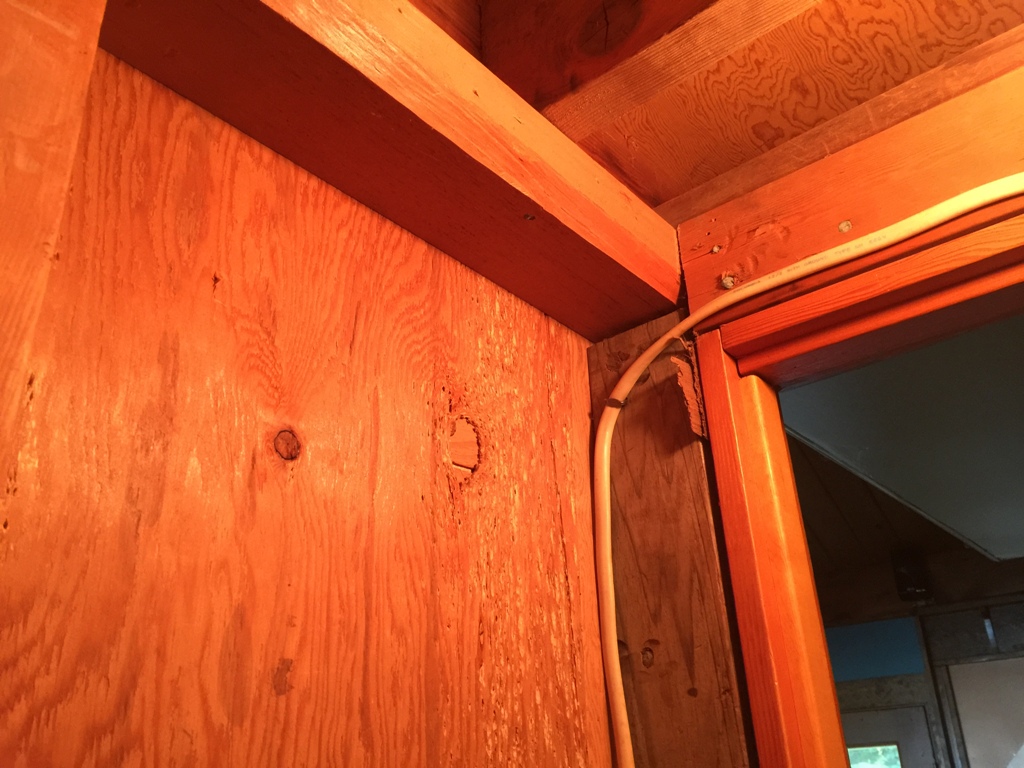
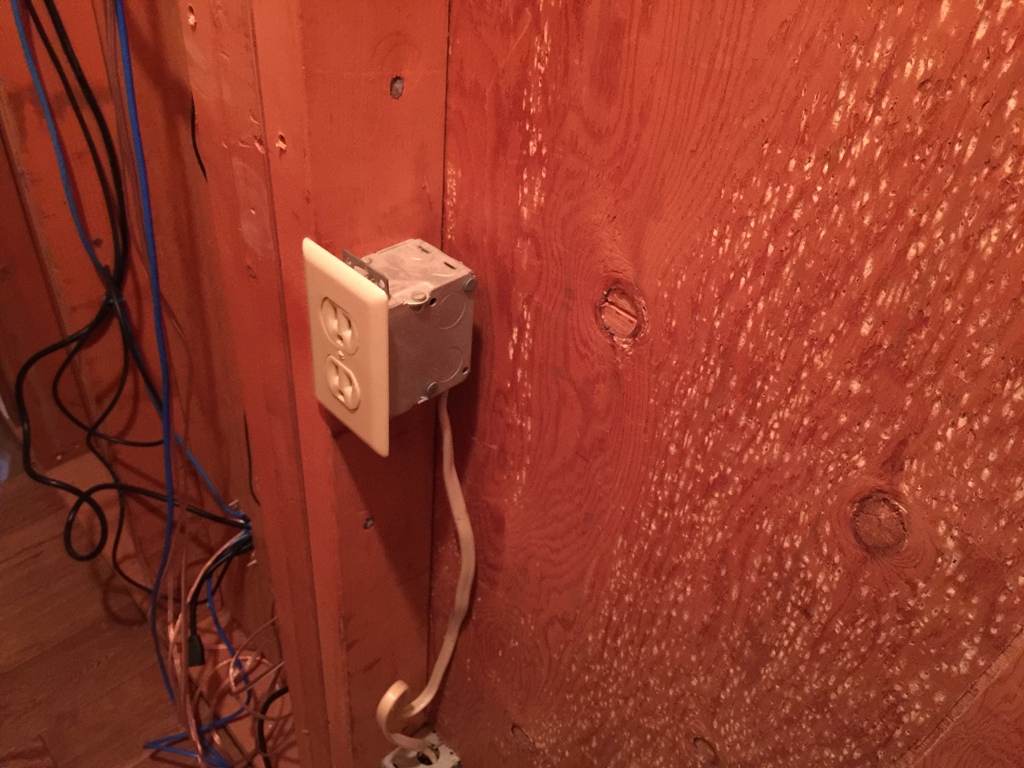
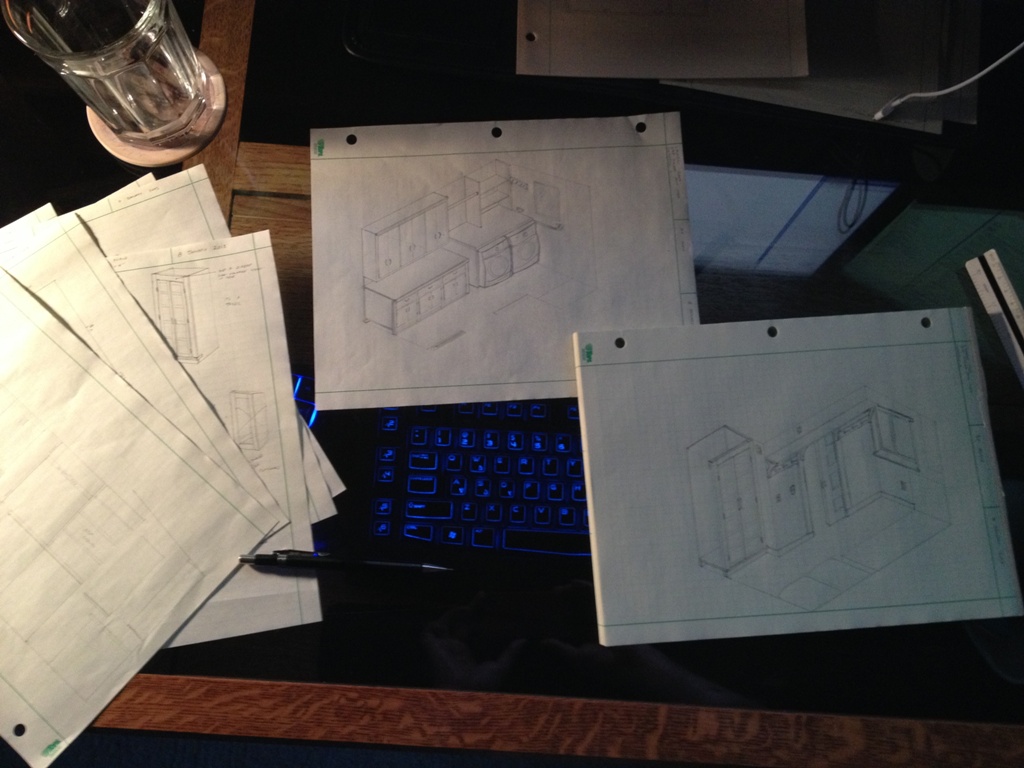
That’s where I’m at now.  Maybe in a month or so it will all be finished and I can show you how it turned out. Still need to move some electrical, mill some trim pieces, and get everything situated so it’s safe and fireproof and doesn’t look embarrassing.

Plan Z:  If all of the above fails, I will just order the stupid copper sheets for $800 and nail it to the wall with a nail gun.  By the time we get to this letter of the alphabet, I won’t care what it looks like or how much it costs anymore.

Laundry Room Plans

sIMG_0332Yeah, it’s just the laundry room.  Nothing exciting.  It’s currently 72 poorly arranged square feet that are working way harder than they should be.  In fact, this room does so much that we’ve decided to start the renovation here.

Currently, the washer and dryer are arranged perpendicular to the existing cabinets, which wastes a lot of space.  There’s an entire corner that we can’t even get to.  We just kind of drop things down into the hole, bulky storage items that we don’t have to retrieve often.

Speaking of the existing cabinets, we’re pretty sure they were born in someone else’s house.  Then, when they were taken to the dump and thrown away, someone saw them and said ‘hey, I bet those would fit in my laundry room.’  Now they’re here.  They’re very poorly built; when you open one door it kind of twists the whole frame of it so all the doors open simultaneously.  I hate them.  When I get rid of them, I will burn them to the ground so there’s no risk of them ever being used again.

sIMG_0363Oh, and check out these wonderful shelves.  Those steel racks only found at places like ace hardware, that can transform any old, rotted, trashy slab of wood and turn it into a beautiful, efficient, adjustable shelving system.  These too shall burn.  The steel shall sink to the bottom of the sea, I swear it.

This tiny little 5 x 10 room has a lot of functions.  In addition to laundry, it’s got to have a place for a cat litter box, the microwave and coffee pot, cat food, and quite a bit of miscellaneous utility storage.  It needs to have a hanging wardrobe of sorts, a place to hang clothes fresh out of the dryer, have hooks for mops and brooms and crossbows and whatever else needs to be hung up.

sIMG_0362One reason we’re somewhat motivated to tackle this room first is that there’s a bank of cabinets in the kitchen that is going to get taken down.  These are good cabinets, actually, and they’ll be a nice fit and give us a ton of storage in there.  Once those cabinets are down, we get to knock out a wall and open the kitchen up a little bit.  Looking forward to that.

Construction and demolition may not start for a while.  Still deciding on things like flooring and how to make the new cabinets.  But I’m hoping to get this finished before summer, because then I’ll be outside doing landscaping.

Island Time

When we were looking at houses here on the island, our realtor kept asking us “so, does this house say Island Living to you?”  Predominantly, the answer was no.  Whether it was the Deliverance House or the Pot House or the  Fire House, we really didn’t see a lot of houses that really even hinted at island living to us.  Until we saw this money pit house, with the beautiful view and the little cottage feeling to it.  It took us a few days to think about it, and we very nearly passed it up. As a house, it does not meet our needs.  But the location is something we just couldn’t beat.

We wrote an offer on the house about four days after we saw it.  From that point on, we were on Island Time.  Now realize, we’re both big city slickers who work in the commercial real estate industry where everything is a tight deadline and every comma has to be in place.  Well, that’s not the case here.  On Orcas, people are on their own time.  They may call you back right away, and they may not.  If they need to get a document to you by a certain time, maybe they will and maybe they won’t.  Waiting for the inspection report or the appraisal?  Ha!  A watched email server never dings, especially not on ISLAND TIME ha ha ha.

At first it frustrated us, but now, it’s just the way it is.  Contractors that should have finished a job weeks ago are just now finishing up.  The washer and dryer set I ordered in April (yes, April) is still not wholly resolved.  I should have had the floors done in June, but the place we bought the flooring from doesn’t even have it in stock yet.  And once they have it, we have to haul our wheels to the mainland to go pick it up.  Let me assure you, a trip to the mainland is about as pleasant as being beaten, buried alive and left for dead in Hoboken.

It’s called Island Time.  Things happen when they happen.  This house is getting renovated about 1/3 as fast as I’d like it to, but that’s Island Time for you.

This weekend I made a trip to the mainland.  I spent about an hour and a half (and a small stack of Benjamins) at Home Depot like a kid in a candy shop.  Went to our storage unit and excavated some more of our stuff, including outdoor furniture so we can now sit outside for the remaining five weeks it may actually be warm enough to do so.  But now, I have some materials to work with, excluding flooring.  Now I can install an electrical outlet outside the house, that’ll come in handy.  And repair some subfloor and set down cement backerboard in preparation of the tile that’s sure to come in soon.  Get to repairing that wood burning stove we have, gathering dust (and bats) in the corner of our living room.

But not all at once.  Sorry, I’m on Island Time now.  And now that I’m here, I’m not going to kill myself fixing this place up.  We moved up here so we can enjoy life a little more.  So it’ll happen when it happens.