Finished Kitchen Remodel

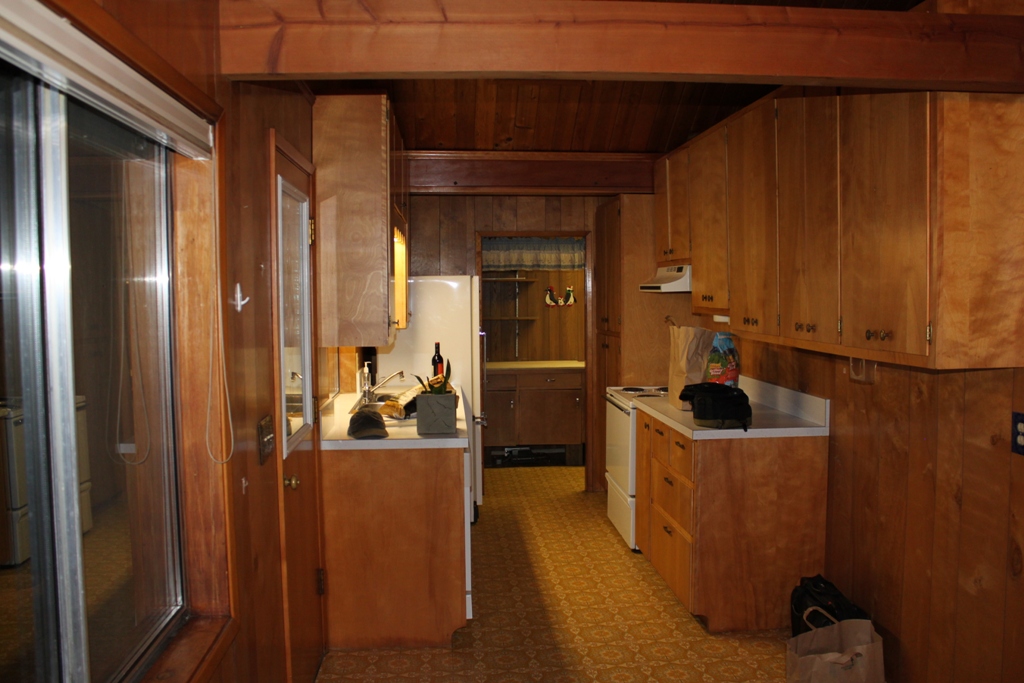
Before Too

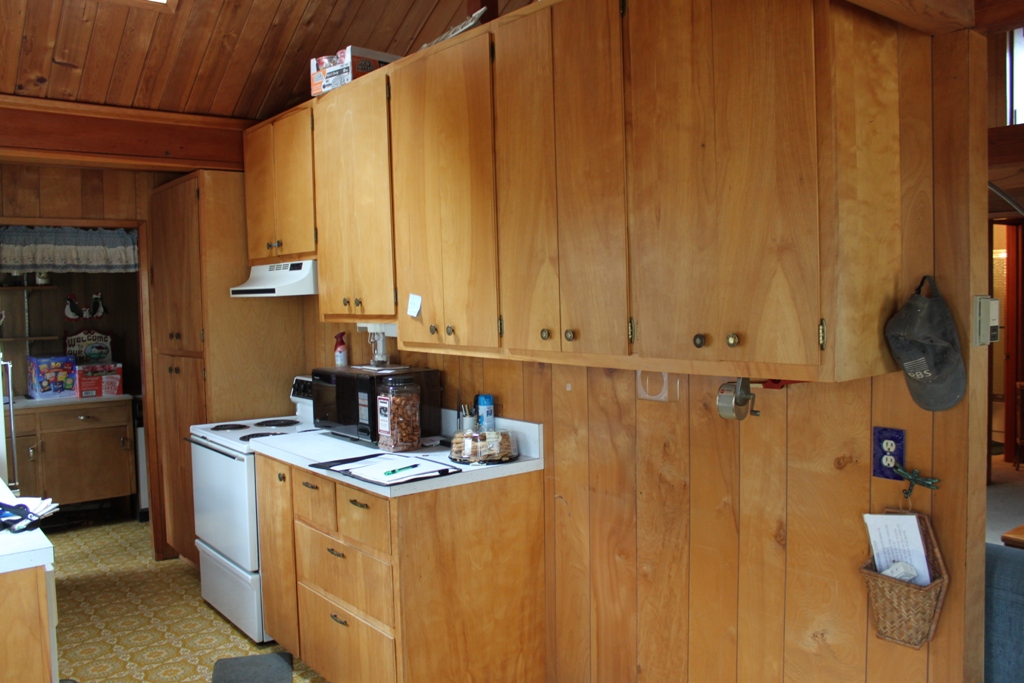
Let’s take a moment to let the above picture sink in.  The lovely paneling.  The yellow linoleum floor.  The pencil sharpener.  You see how those cabinets look like they lean in a little?  That’s not a trick of the camera, they actually did lean in a little bit.

Before One

There isn’t much in the way of fast food on this island, so we cook a lot.  Getting this kitchen fixed up was a huge priority, and it was also a huge undertaking.

Kitchen

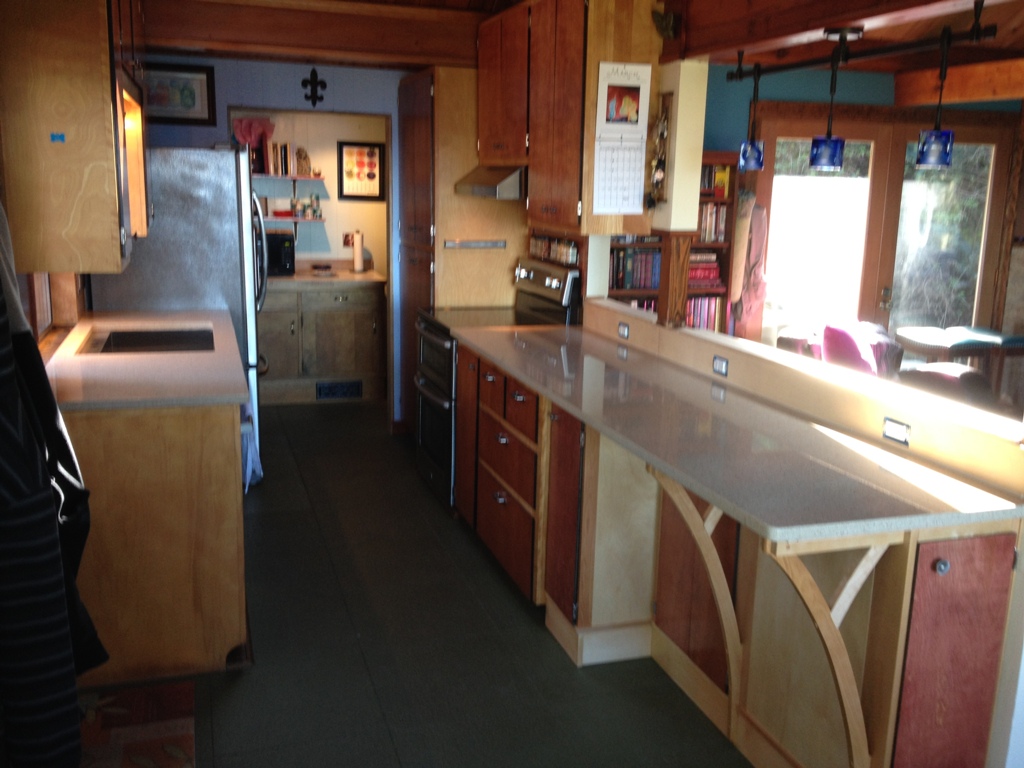
Here we go, all finished.

Part of the challenge was having to use our kitchen while it was being worked on.  As much as I wanted to gut the whole thing down to the studs and start fresh, that would have left us without a working kitchen for days at the very least, if not weeks.  So, I ended up doing it the hard way, just a little bit at a time, as budgeting and timing permitted.

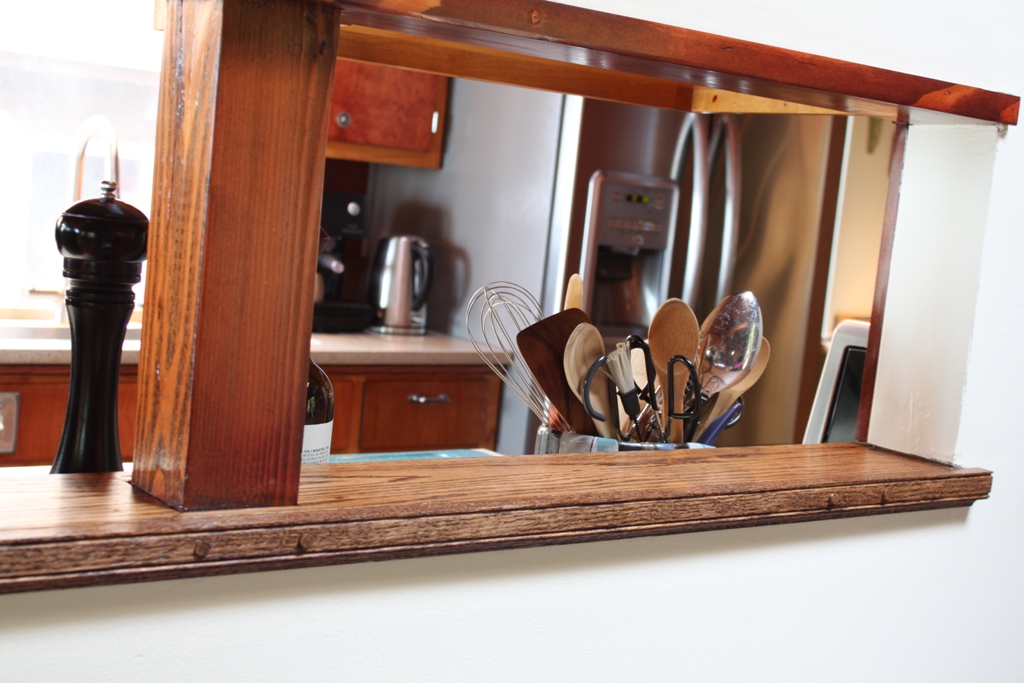
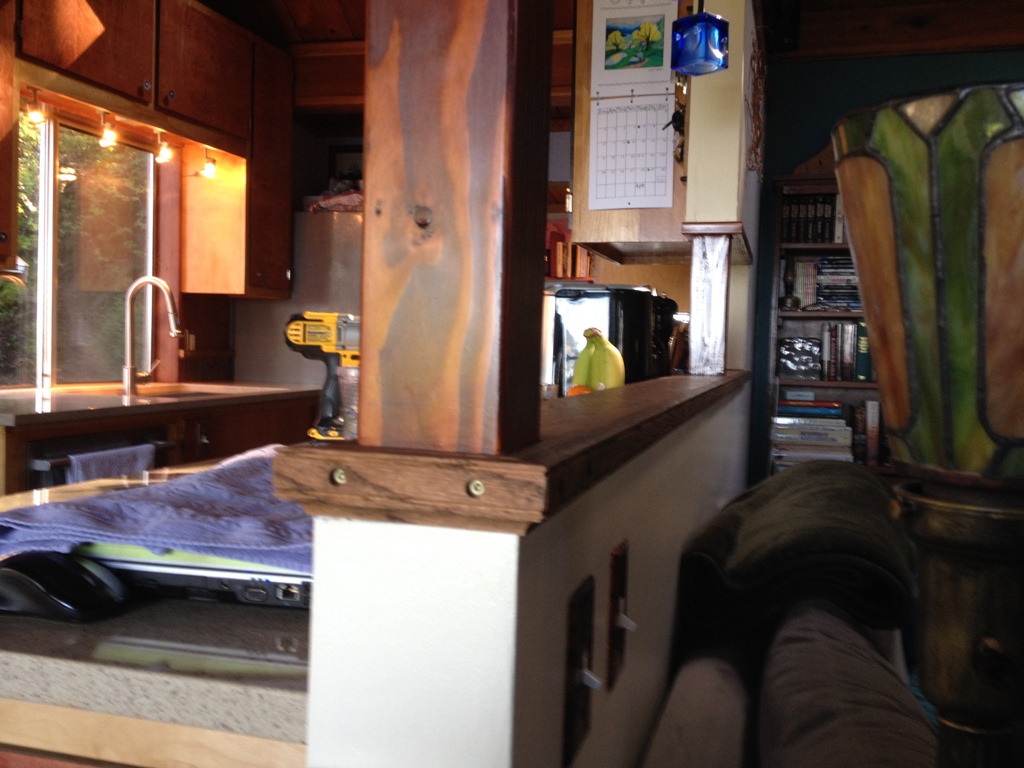
Pass Through

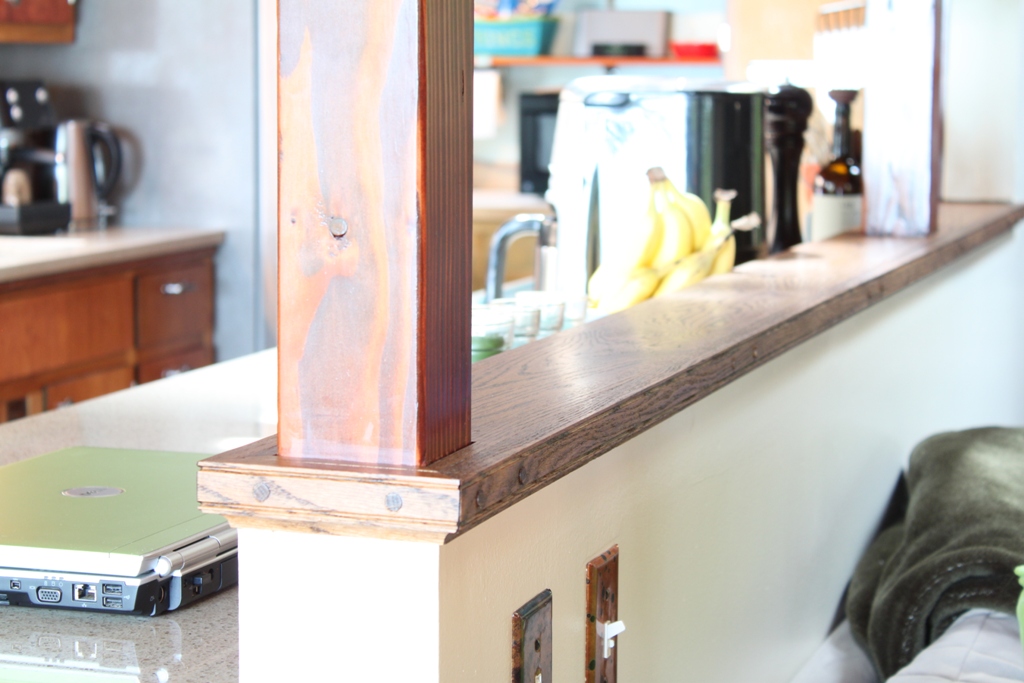
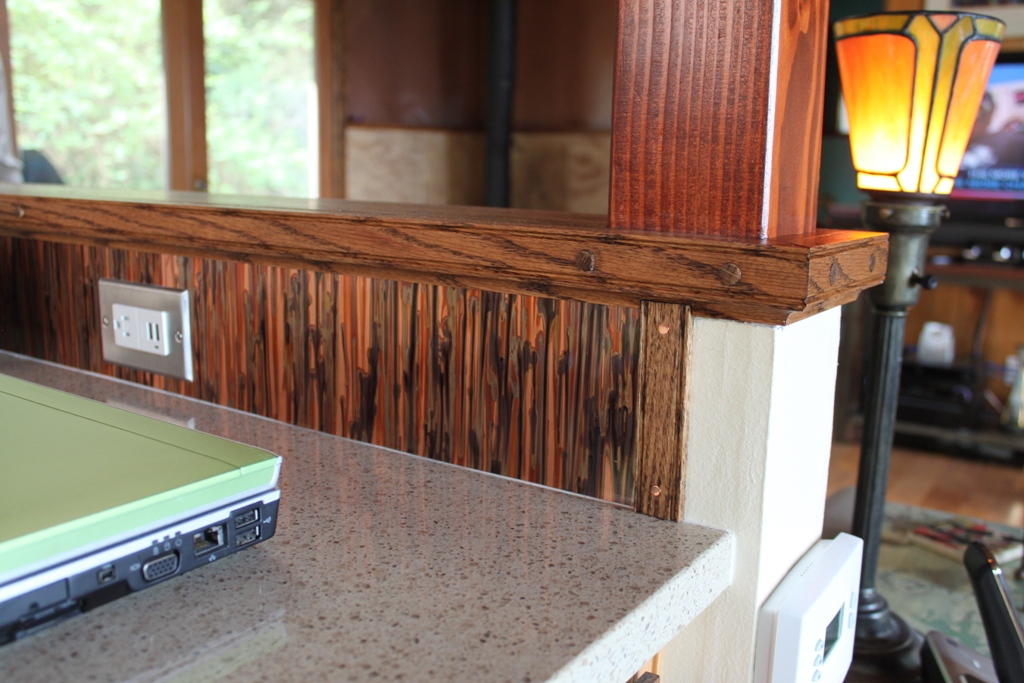
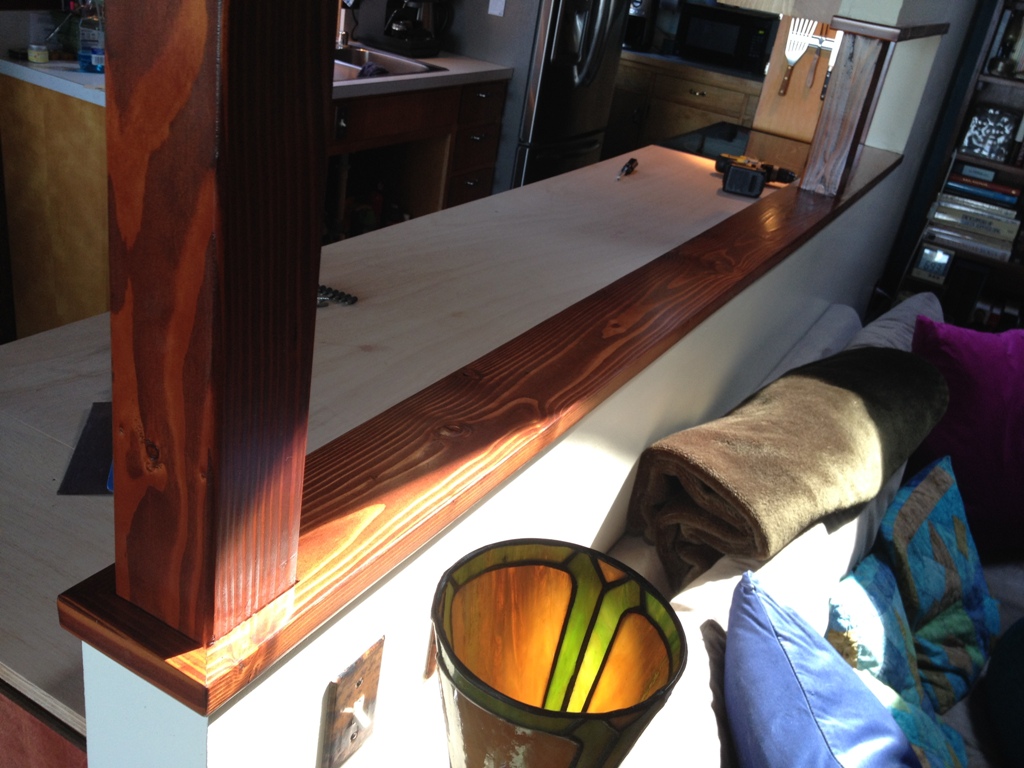
I like how the woodwork came out.  The half wall cap looks really nice.

Half Wall Cap

Definitely an improvement, anyway.

Counter

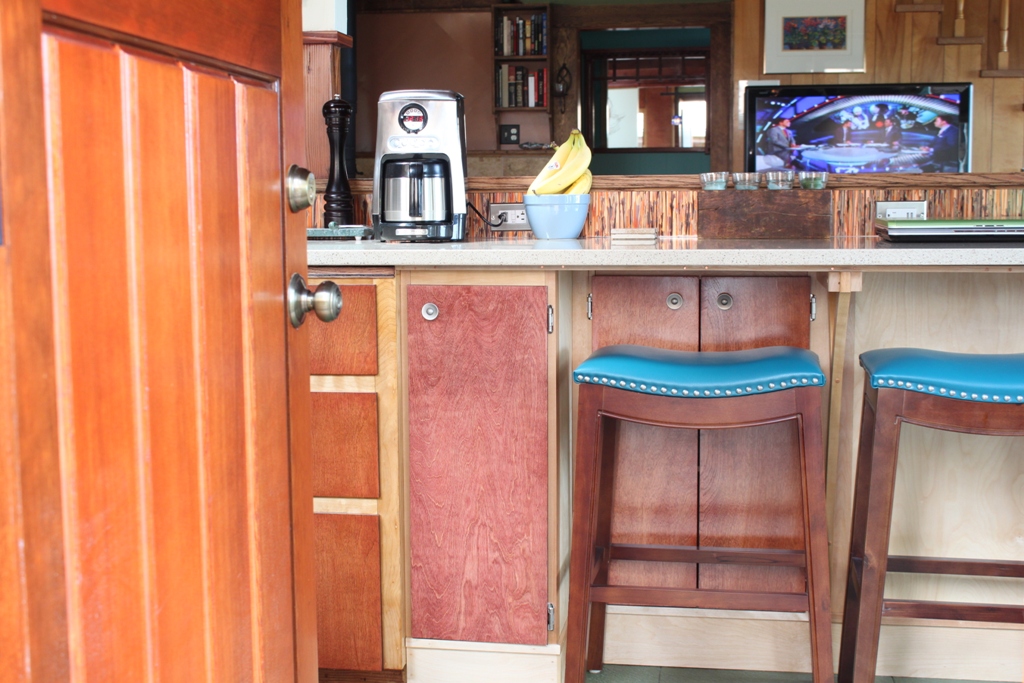
This used to be a wall covered with big boxy cabinets.  And while the extra storage space was nice, it just made the kitchen look like the inside of a matchbox and, even worse, obstructed the view of the hockey game.  That’s unacceptable in our house.  We go to great lengths to be able to see hockey.

Side Door View

You can even see hockey as you walk in the side door.

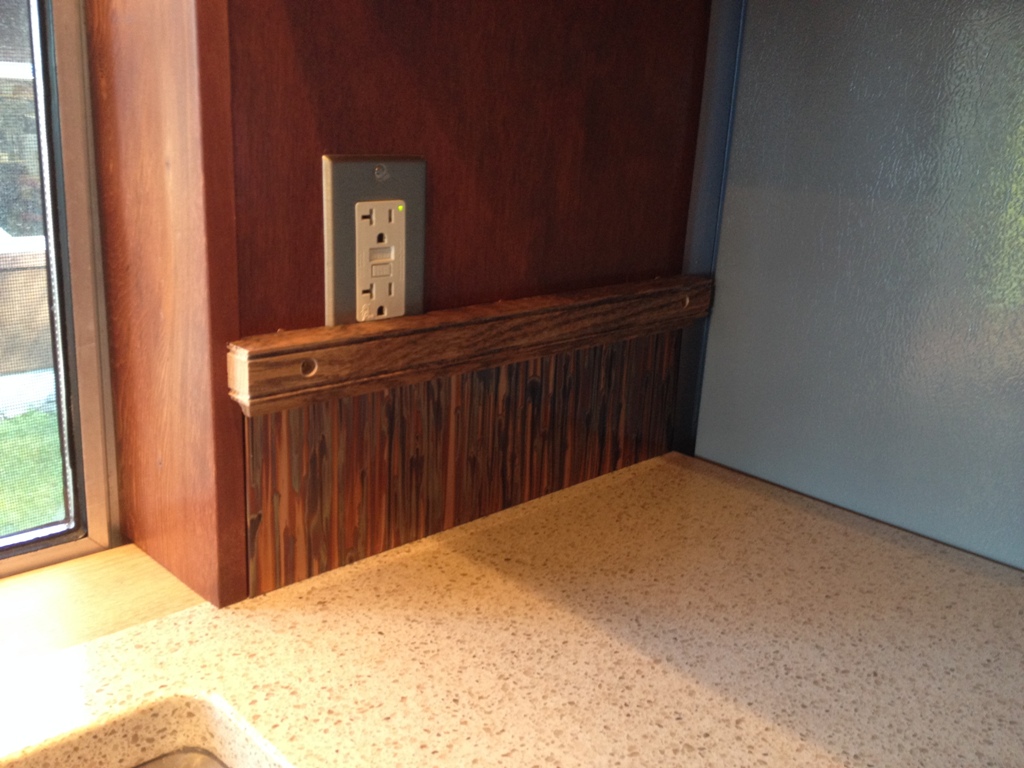
Backsplash

The copper backsplash is one of my favorite additions to the kitchen.  It adds some really beautiful color.

Stuff

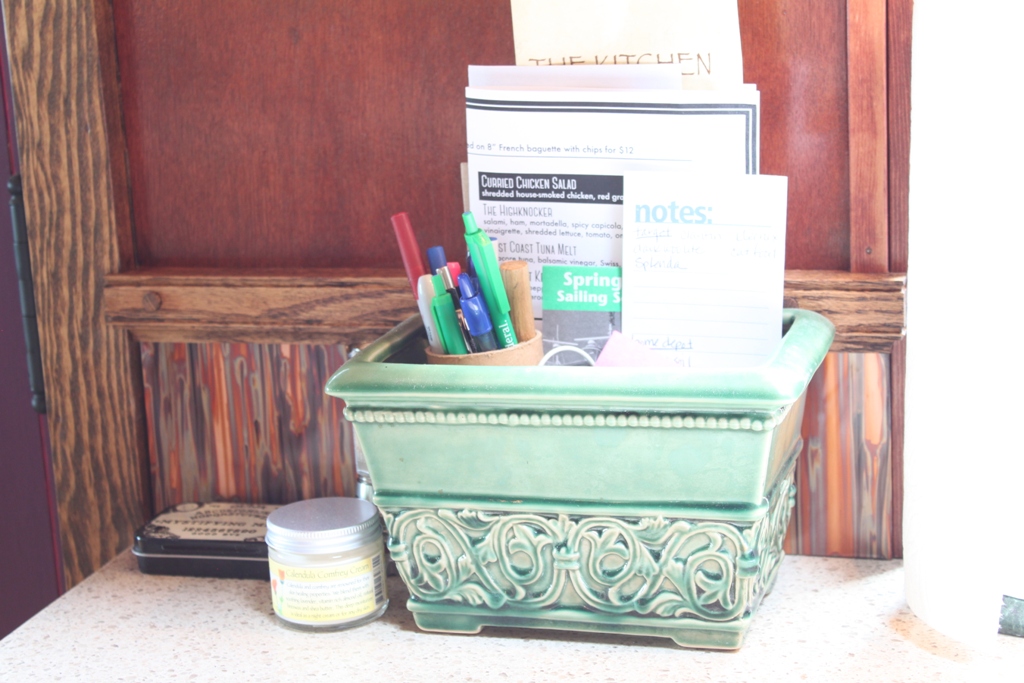
Lots of deep, island-y colors going on in our kitchen.

Well Used

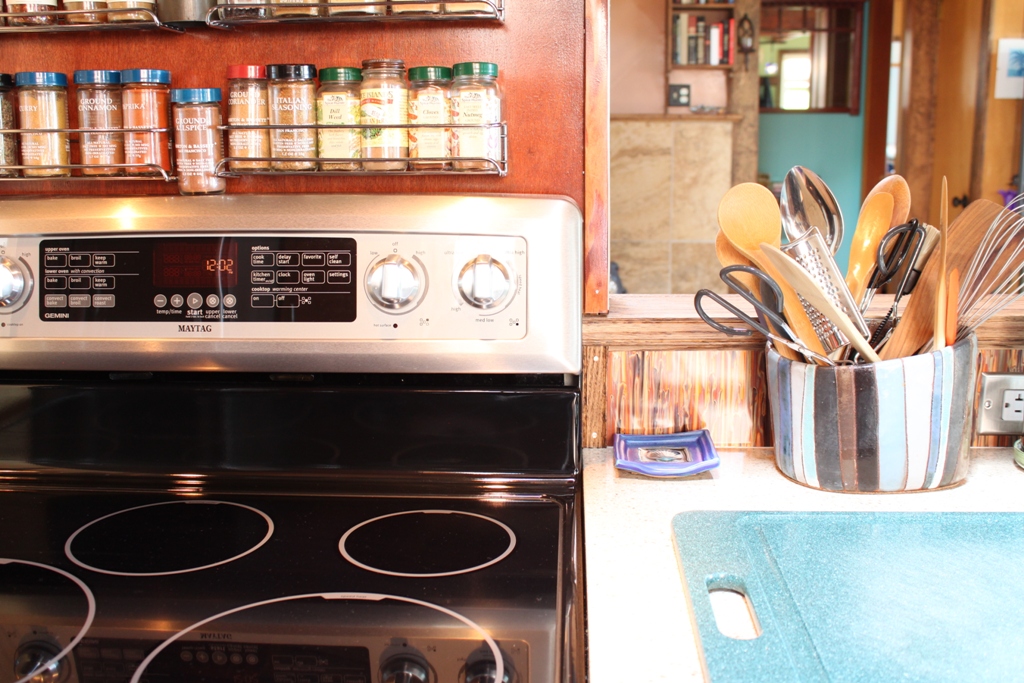
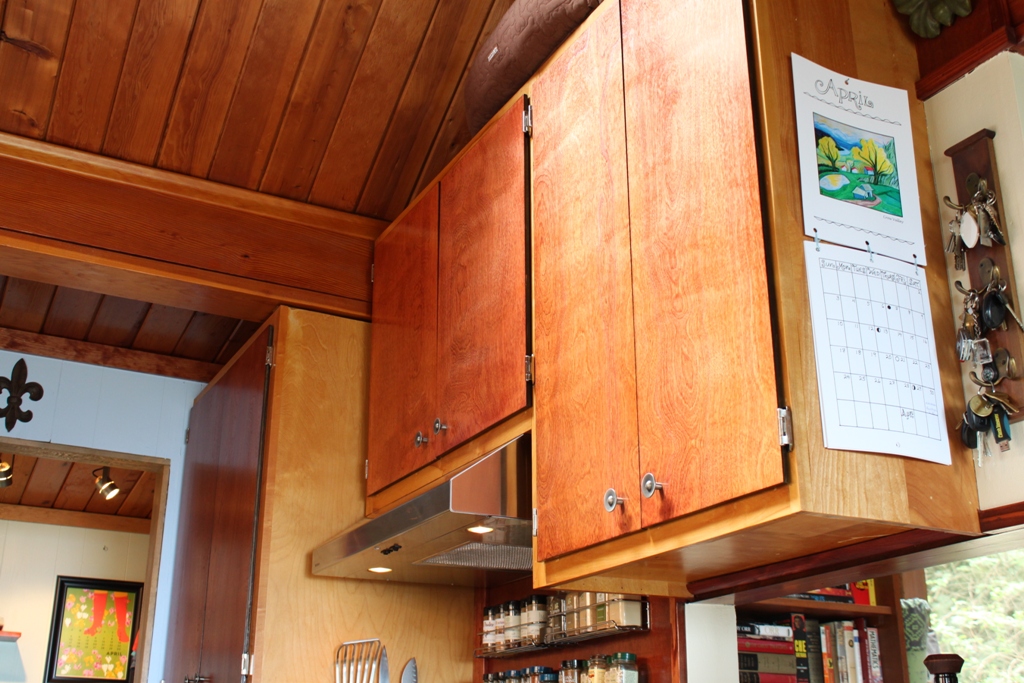
This is a pretty hard working spot, sometimes cooking two or three meals a day here.  The wall mounted spice racks are pretty tight; I had a hard time determining what my twelve favorite spices are, and we had to fit in a thirteenth in there anyway.

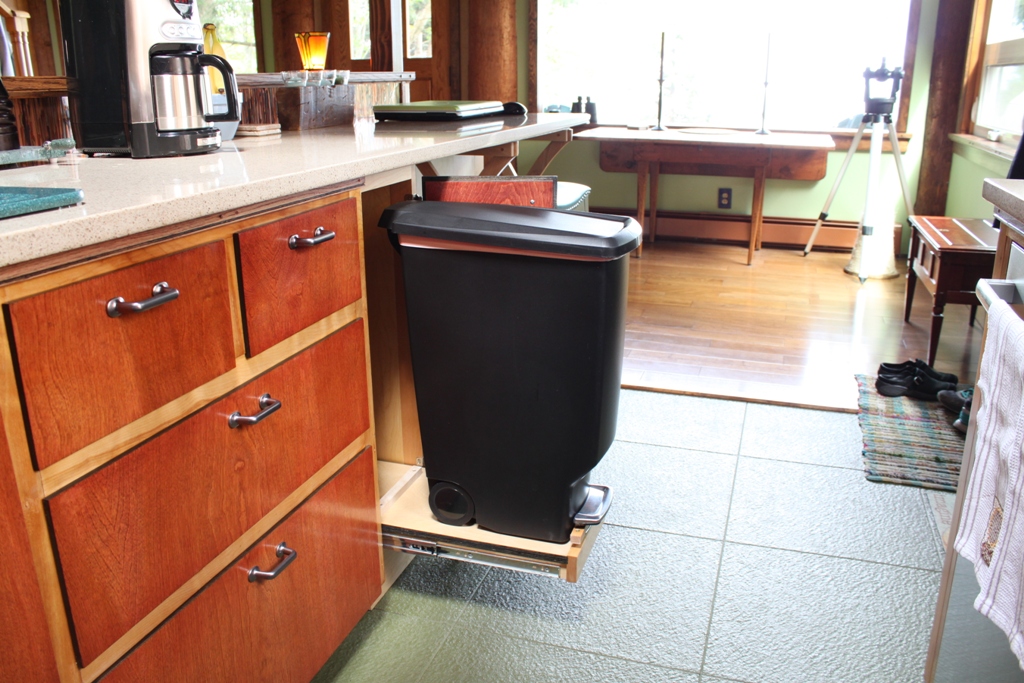
Garbage

Here’s our super clever trash can solution.  It’s not as cool as it looks.  In fact, it’s kind of a pain in the ass.  But it works, and it keeps the trash can out of sight when you’re not using it, or right next to you when you need it.

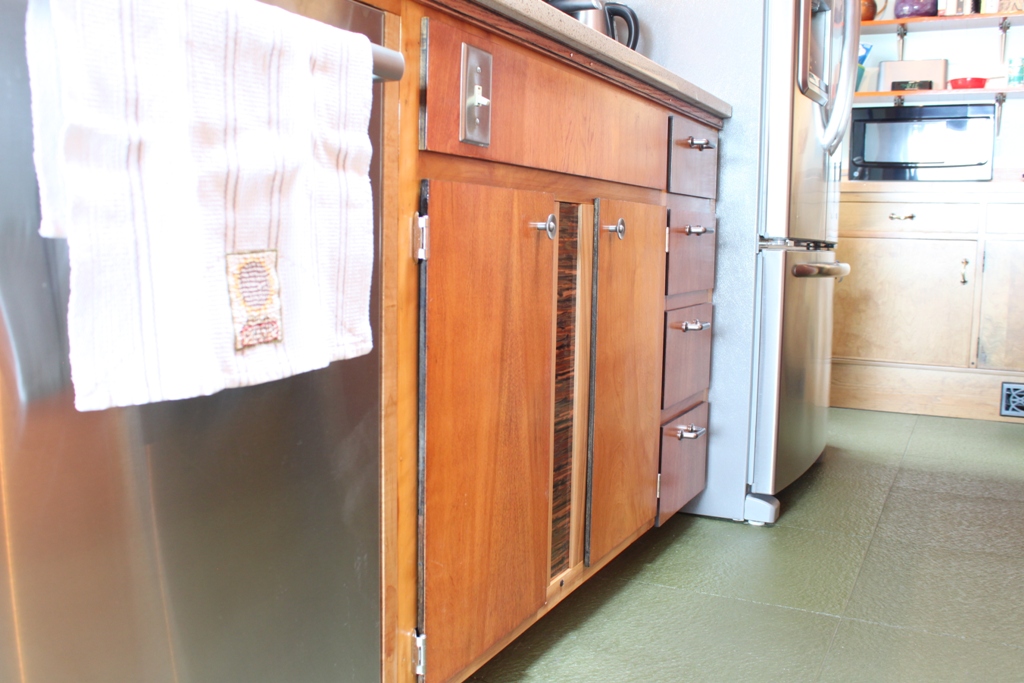
Cabinet Butchery

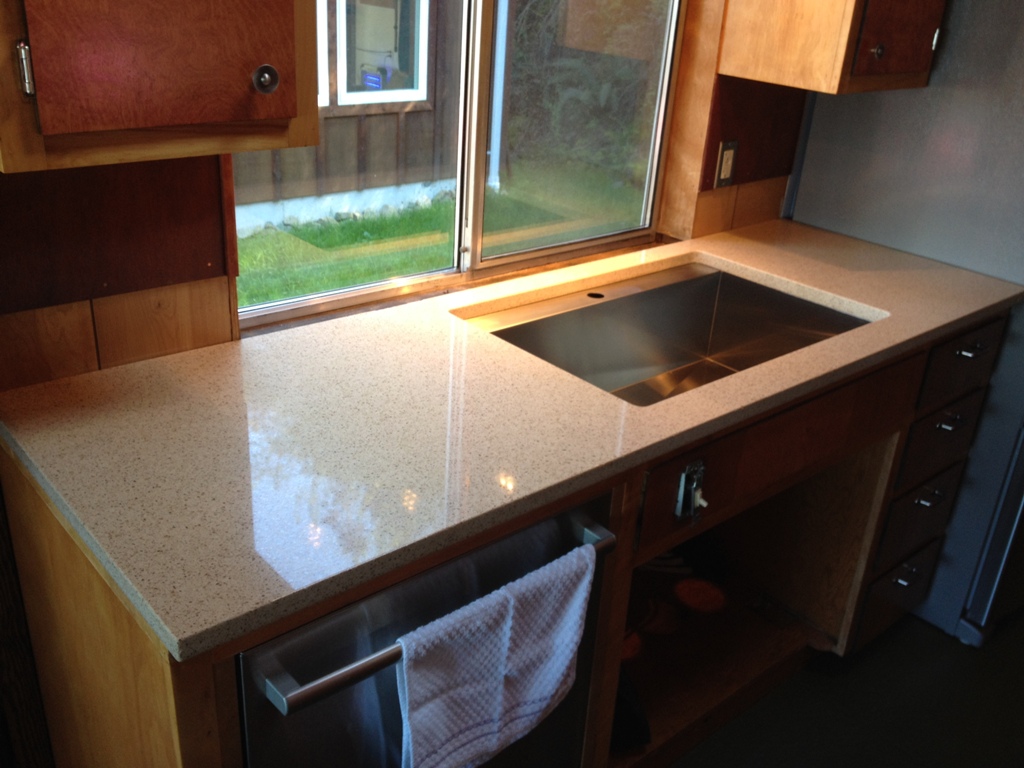
Here’s a close up of the work I had to do to get the sink to fit.  Those doors used to be inset, but I had to make them flush with the front surface.  For the new gap in the middle, I just put some of that copper backsplash.  Looks great.

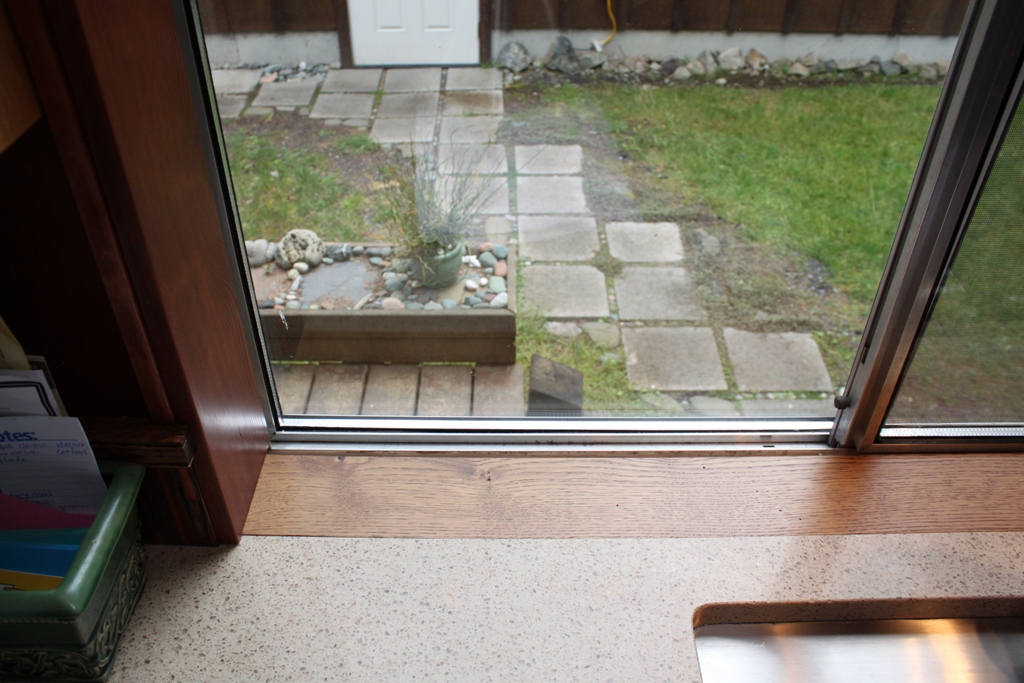
Windowsill

The old countertops used to go all the way to the window, but we couldn’t do it that way this time because (1) the new countertops are thicker and the window would not be able to open or close, and (2) eventually that window is going to get replaced, and I can’t install a new window on top of the new contertops.  So I just put a piece of wood back there.  Quartersawn white oak, so it’s pretty stable, and it’s got a few coats of poly on it and some caulk in the joints but it’s otherwise floating and can be removed.  I’m so clever, huh?

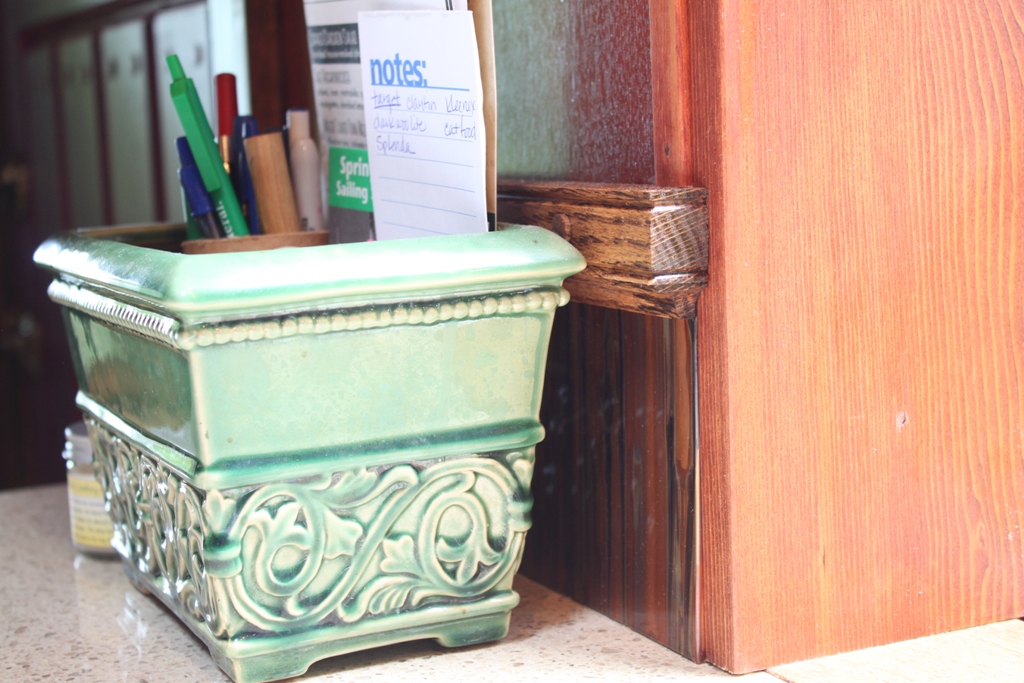
Detail Work

That banded trim piece up there was one meticulously cut piece of wood.  It had to be carefully fitted to attach, all hand cut.

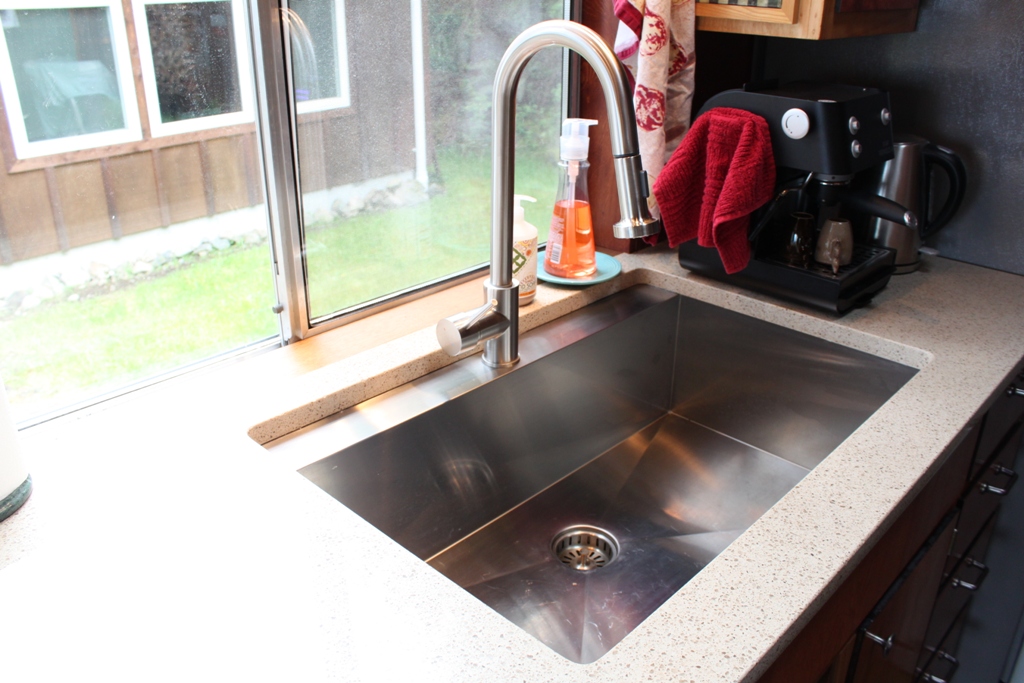
HUGE sink

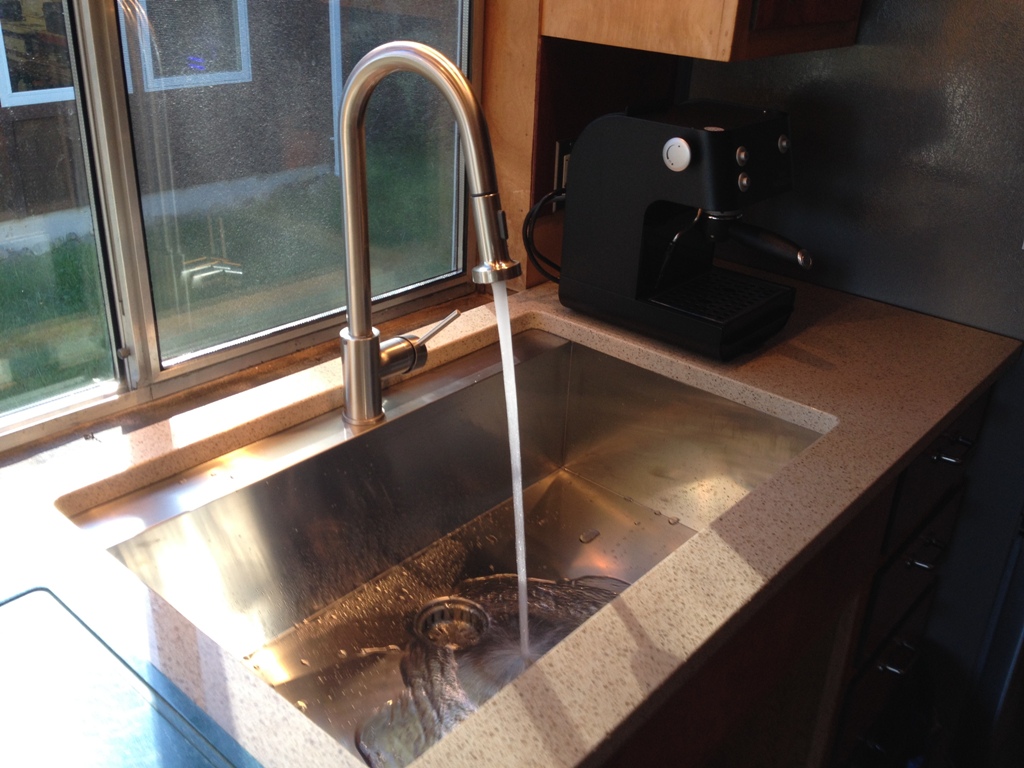
You could fill this sink up with water, put toy boats in it and have little pirate ship fights in there.  The new sink is just HUGE!  I put dirty dishes in it and I forget them because I never see them.

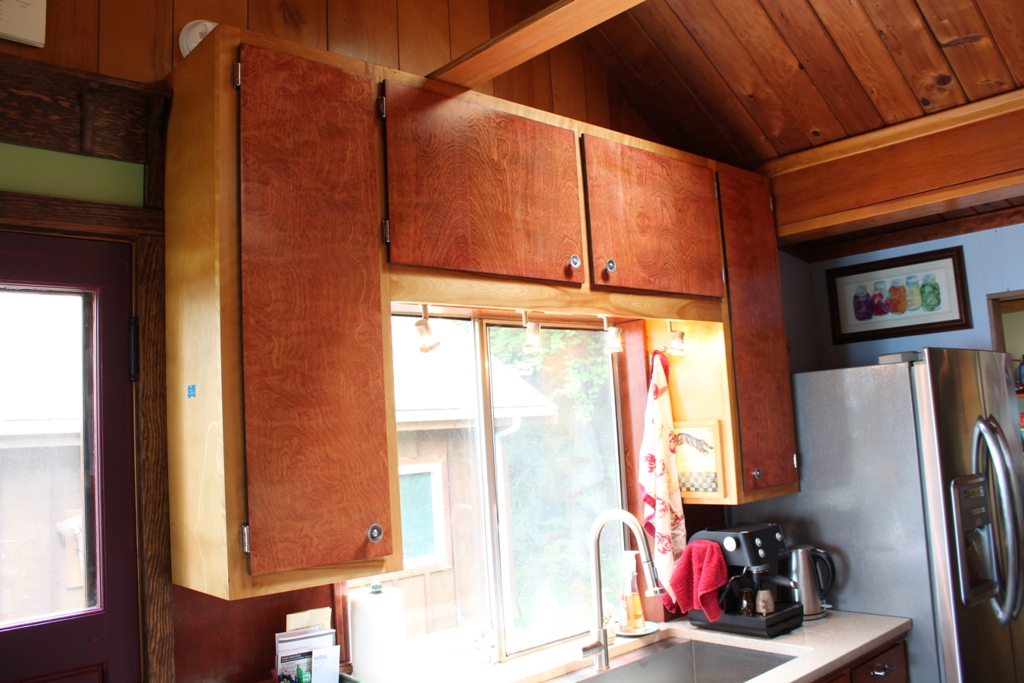
Window

And Inky still has her catwalk up there, so she can get from the top of one cabinet to the other.

Cabinets

Still not my favorite cabinets, but with new hardware and a contrasting stain color they turned out alright.

Finished

It’s definitely come a long way.
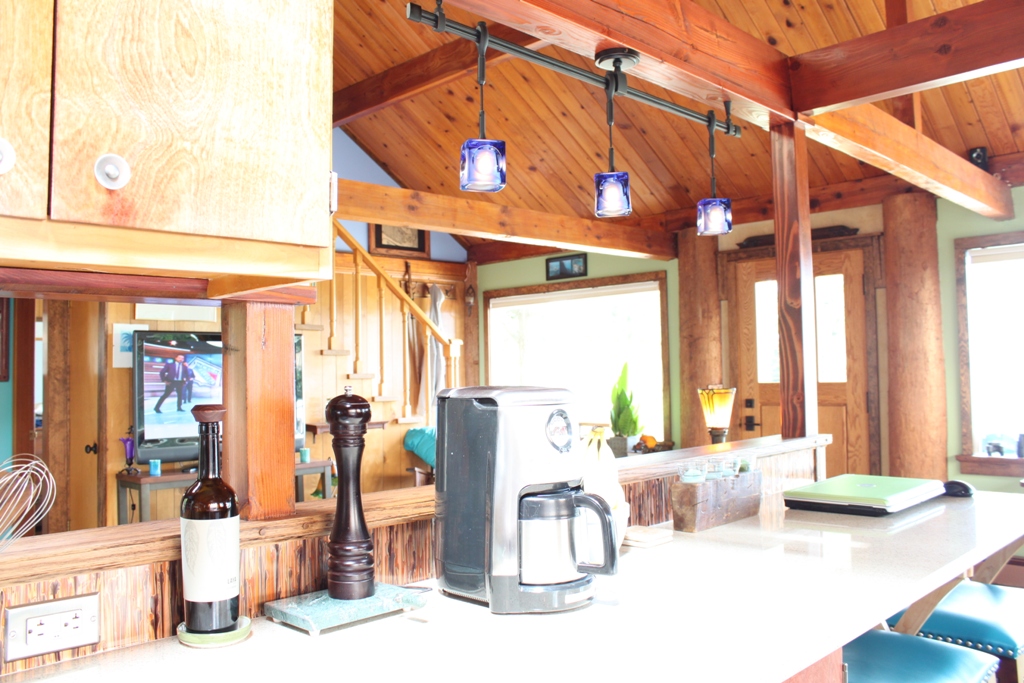
It’s the detail work

Cap

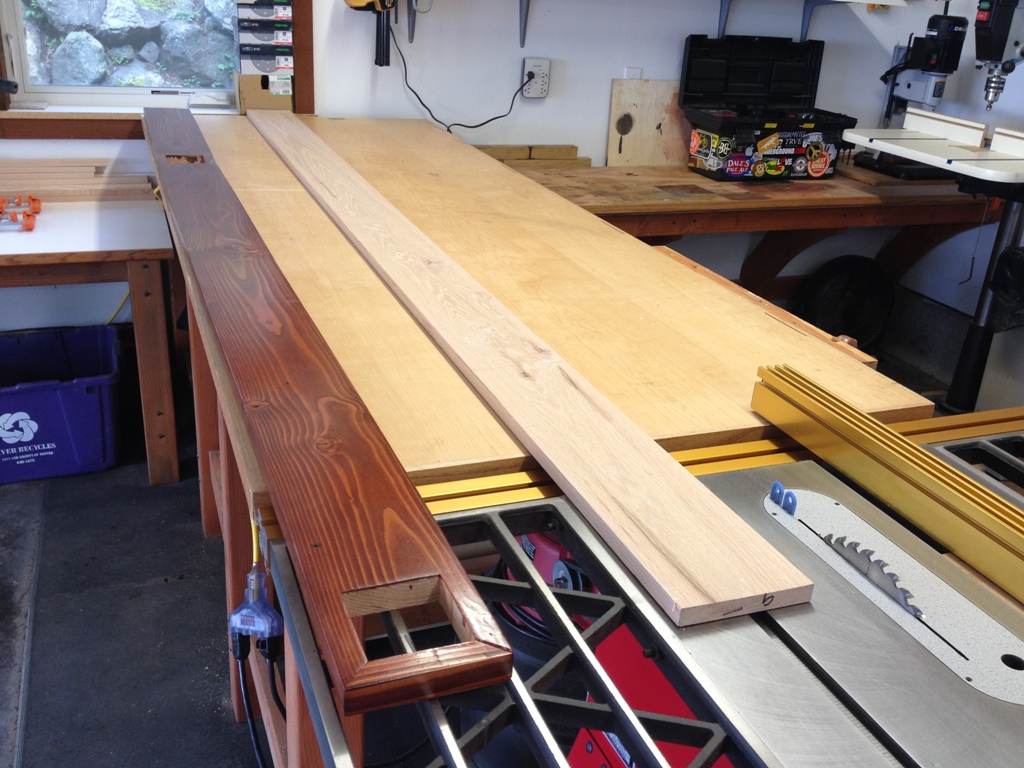
When I opened up the kitchen wall, I made this little half-wall between the kitchen and living room.  I capped the half-wall with this 2×6 that I planed down and smoothed out and stained until it was passable.  Nothing fancy, as you can see, which fits in well with this “nothing fancy” house.  But now that the kitchen is getting a little fancier, I thought this piece might need to go.

New Cap

The backsplash over the new countertop will be something pretty cool, so to replace this cap I wanted to use something nice.  Hardwoods can be hard to find on this island, but I did find this piece of milled oak that was just long enough (seriously, within one inch) to do what I needed it to do.

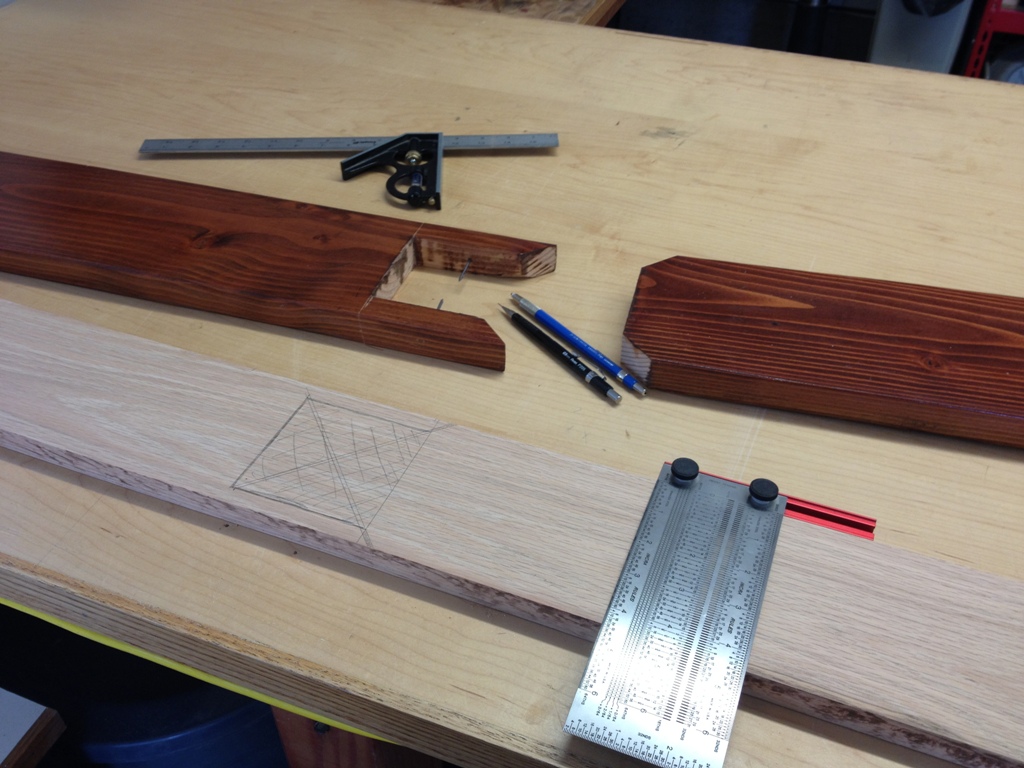
Measure carefully

Measurements are very carefully marked out before I start making sawdust out of it.

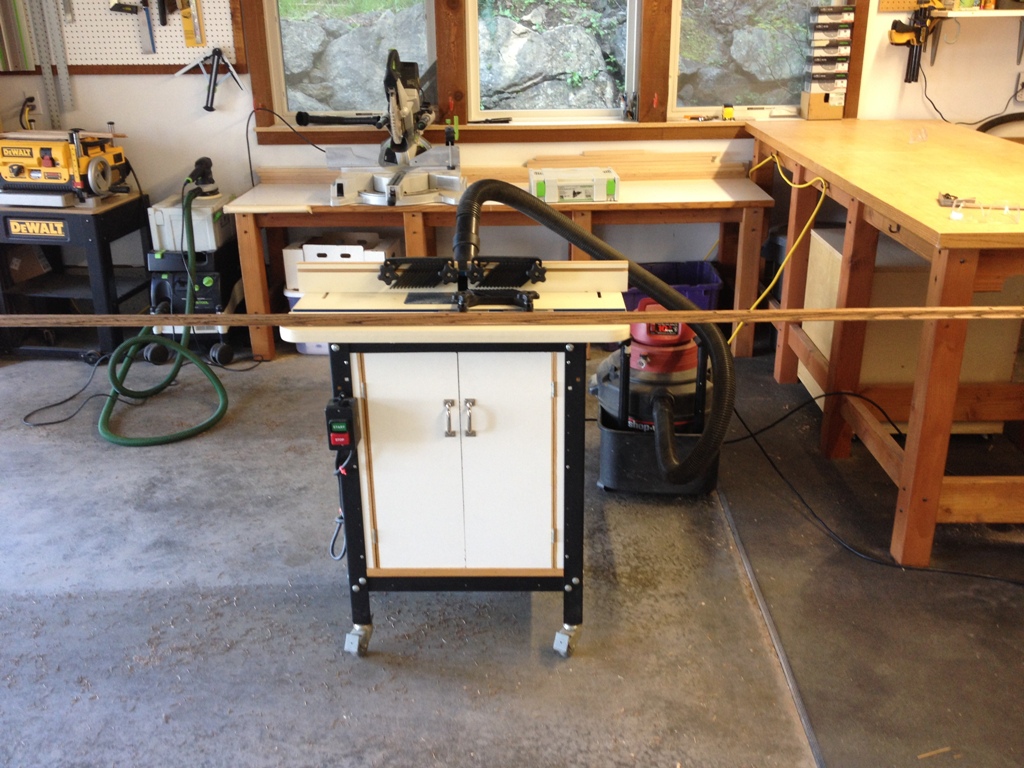
Router work

Making the band that goes around the edge is a little tricky, as the kind of banding I use in this house takes at least four passes over the router, and some of those oak 1×2’s were 12 feet long.  My shop isn’t set up to rout lengths of wood that big, so I had to move the router table out into the middle of the garage, and carefully feed each piece through featherboards to clamp it down against the fence and the router bit securely.  That length of wood tends to get a little springy and unwieldy unless it’s adequately supported, and I don’t have the bench length to do that… anyway, enough boring woodworker talk.

Too Long; Didn’t Read:  It was a really tricky cut.

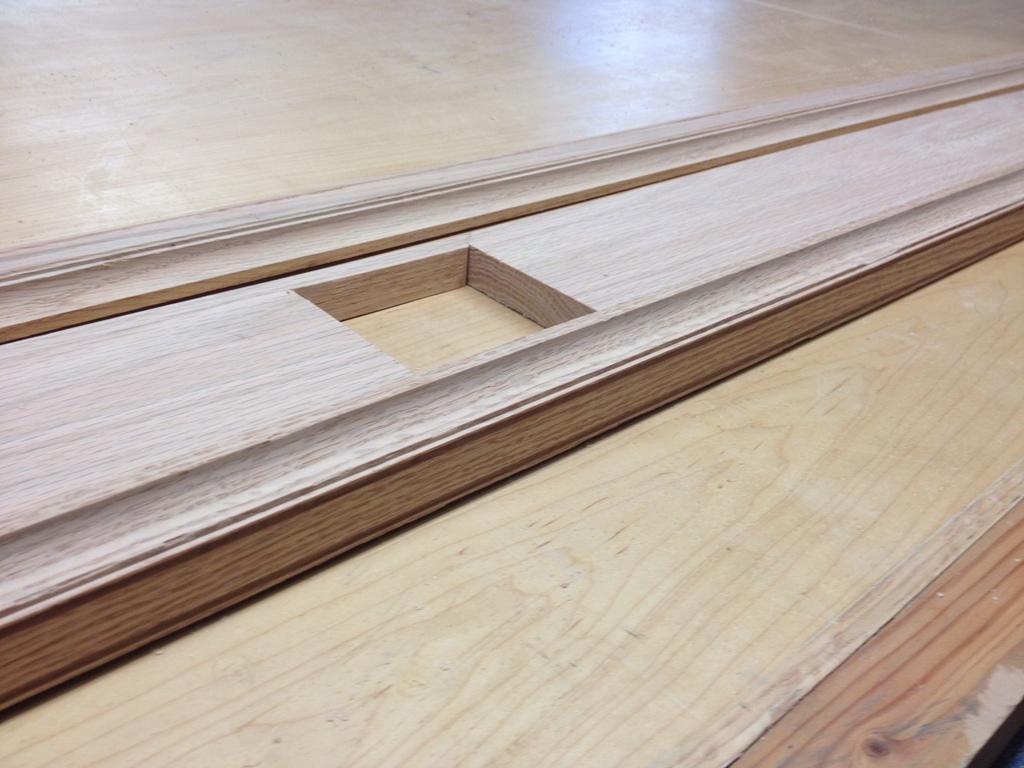
Cut carefully

The successfully routed bands fit well against the cut cap.

Tricky

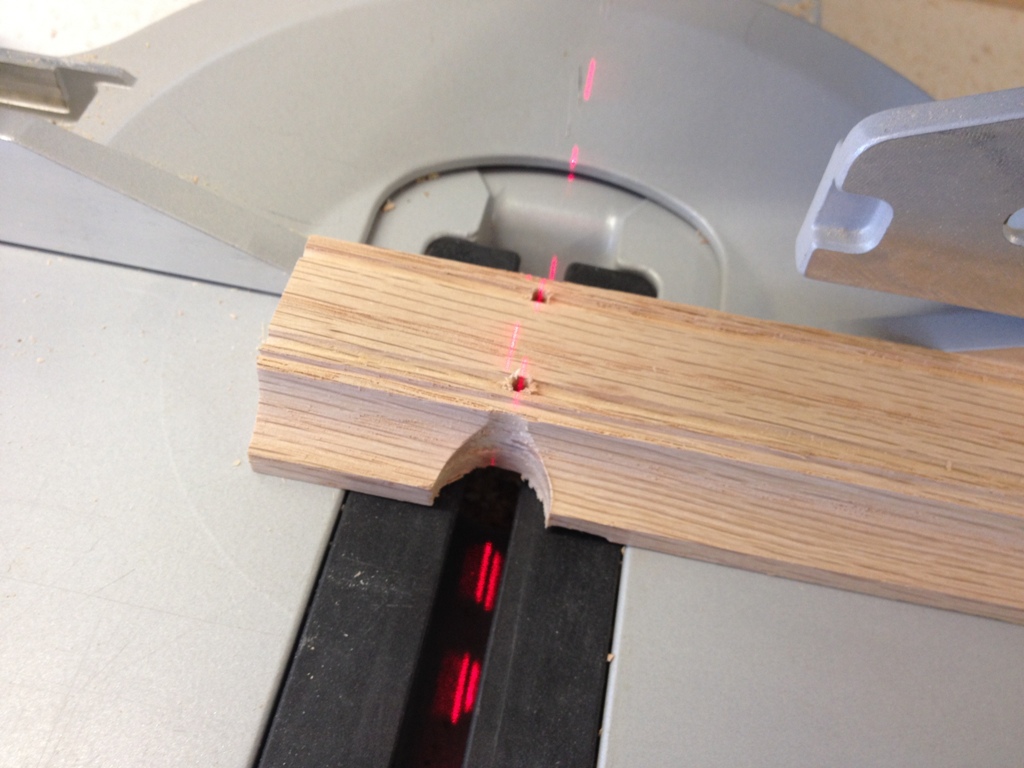
Shaping the edge is a little tricky too.  You can shape the length of it on the router, but against the grain it needs to be sawn by hand.  However, since most of the routs are circular, I could use a drill to make those circular cuts against the grain, and then just cut it on the miter saw.

TL; DR:  Another tricky cut.

Shaping

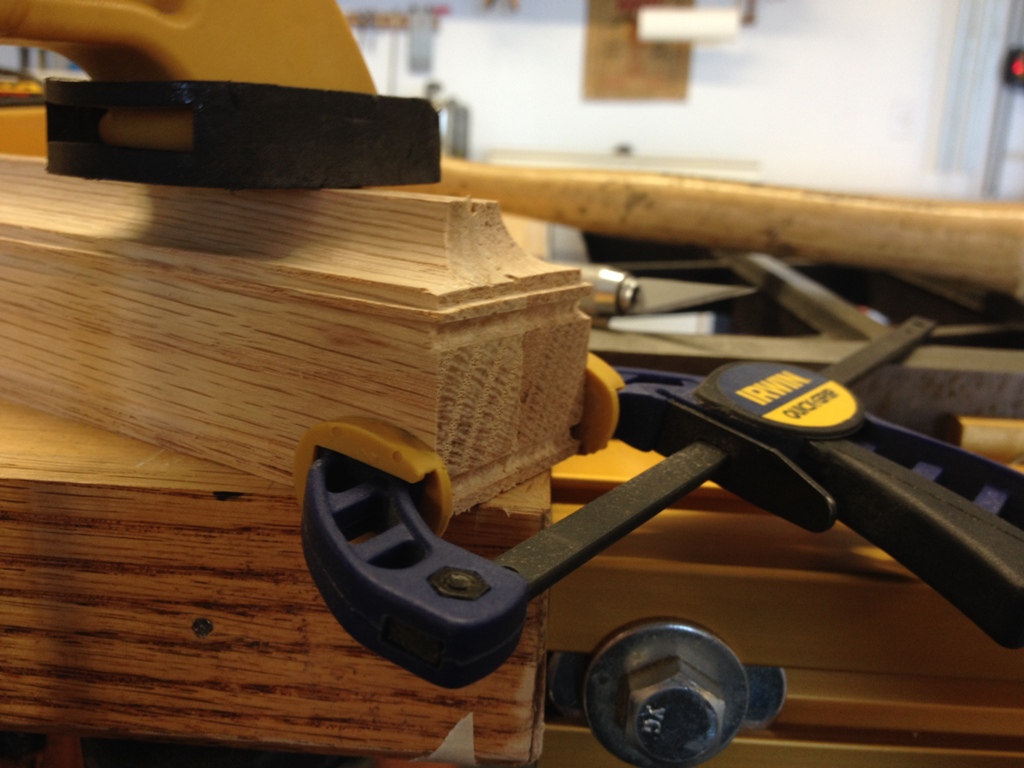
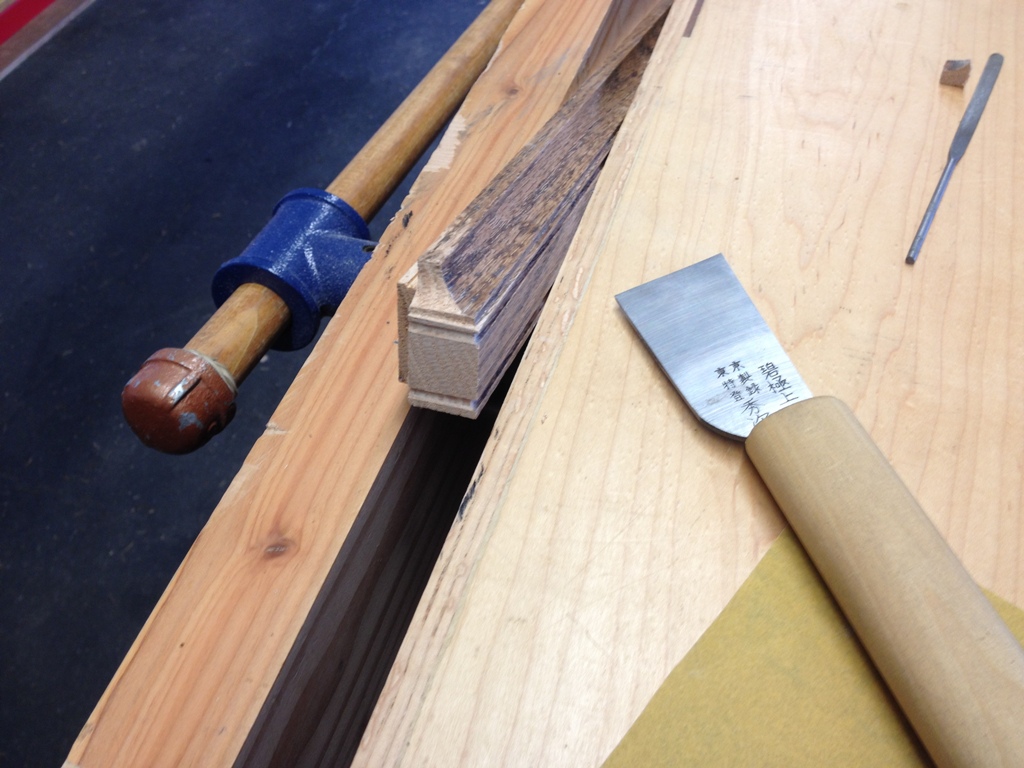
I then clean up the edges by clamping two sides together to ensure symmetry.  I use sharp scrapers, files, x-acto knives and a little bit of sandpaper wrapped around a wine bottle cork.  Got plenty of them laying around the shop.

TL; DR:  Just stop reading and look at the pretty pictures.

Edge

Even after shaping the edge, each piece had to be further cut and fitted very precisely to fit along the wall nice and flush.  The devil was in the details on this one, and she was one really mean devil.

Copper

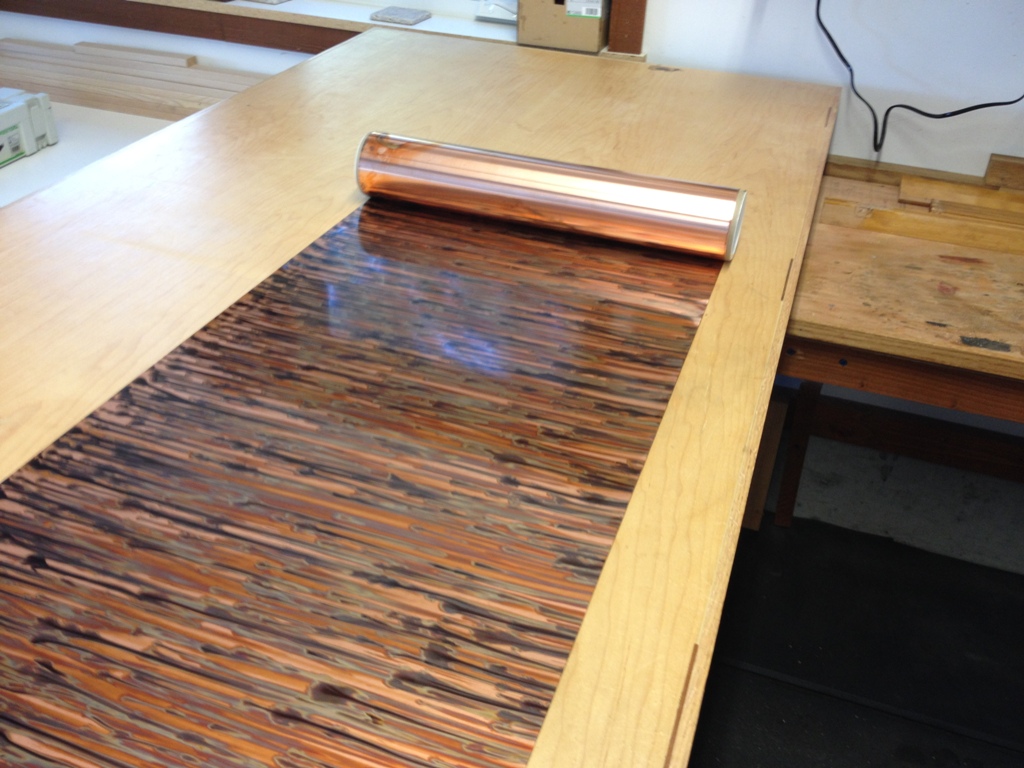
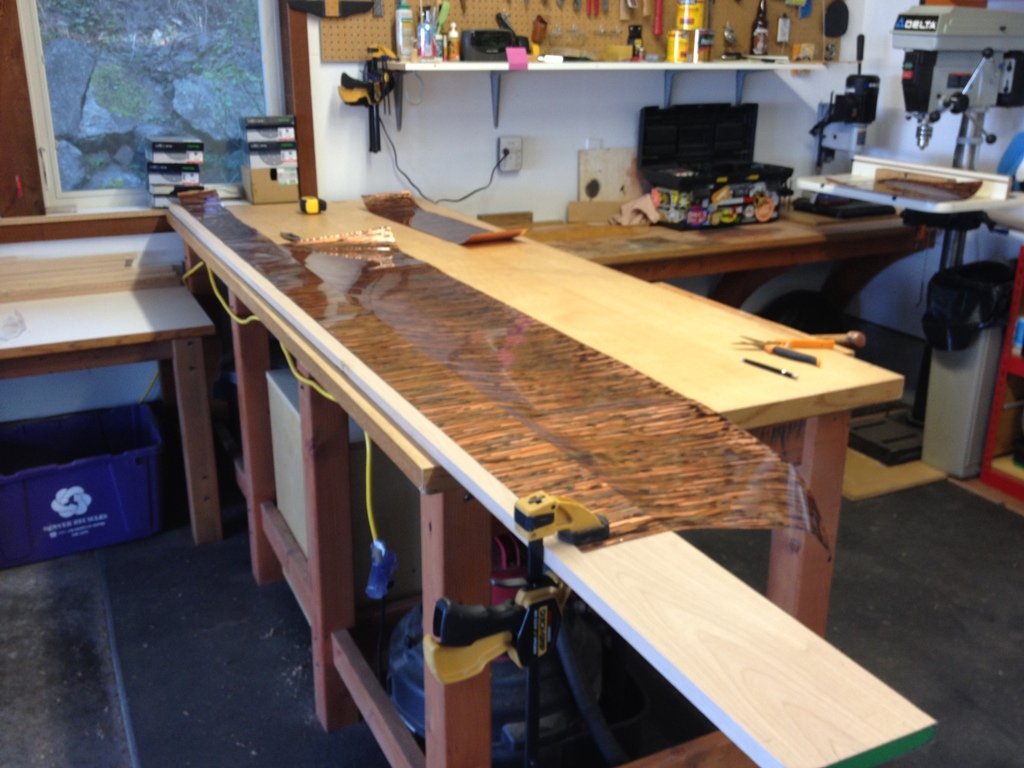
This is a roll of 36 gauge copper.  One side has been specially pigmented with an interesting pattern along its length.  We’re going to use it for the backsplash.  I told you we were doing something cool in here!

Laying out

I had to lay this thing out on a nice flat board, some of the leftover birch from the cabinet extension project.

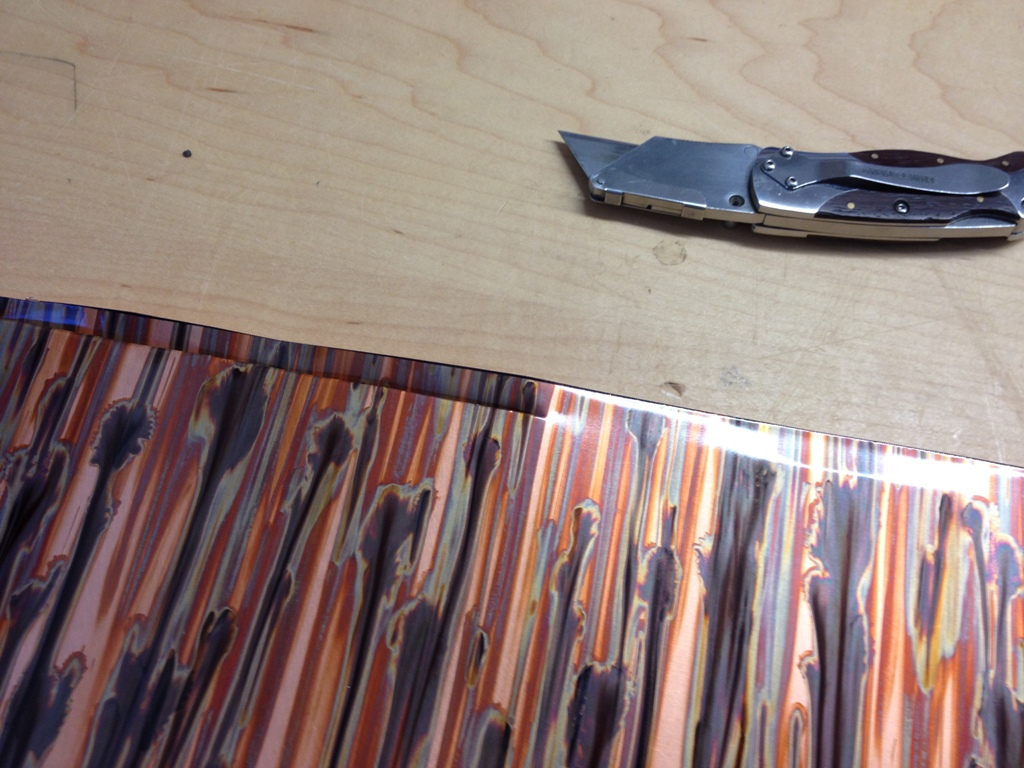
cutting copper

It cuts pretty easily.  Once you get the cut going you can just pull a utility knife across it and slice it in a straight line.

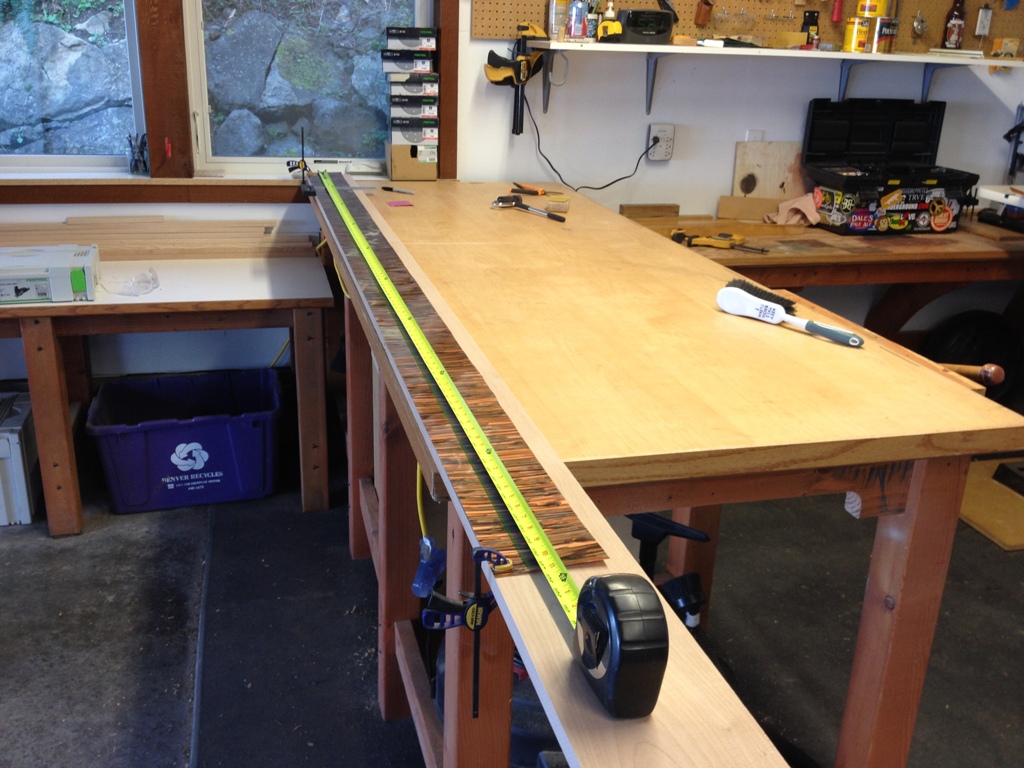
Measuring Copper

Cutting the holes for the electrical outlets was also tricky.

Backsplash

So, a little contact cement, a lot of work with a roller, and some carefully cut trim pieces, and the copper backsplash is now installed!  The copper is adding some very unique character to our kitchen and everything is coming together very nicely, even if we’re over budget and it’s taking several weeks longer than I wanted it to.  Hey, this is our kitchen.  We cook in here every day.  I want it to be nice.

Installed

The new cap is installed and looks great.

Sorry

I did take one shortcut in this whole kitchen.  I didn’t move this electrical outlet, and just installed the trim banding over it.  Call it laziness, call it what you will, but I took a quick look at that box in there and it was in such a tight space that I didn’t want to mess with it.  So, I apologize to the future owners of this house, this kind of stuff drives me crazy too.  But I’ve been busting my ass in this kitchen for weeks now and I have attained the point at which I just don’t care anymore.  Be glad you can still plug two things into it, for I’ve seen worse in this house by whoever did the prior work.

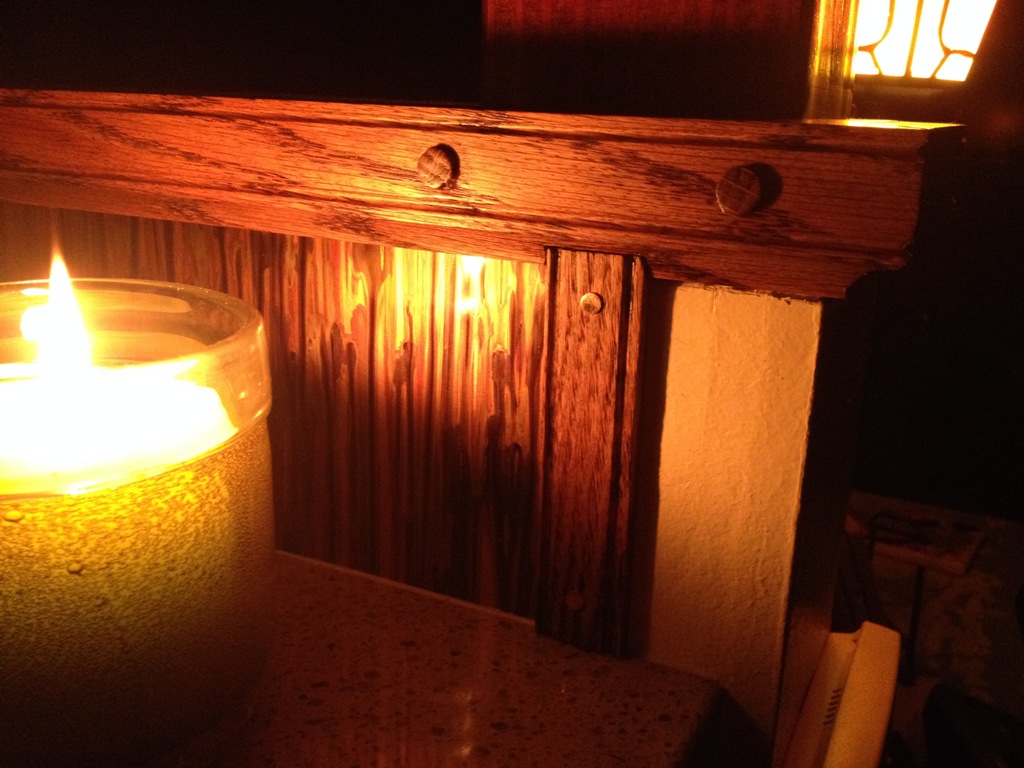
Candlelit

And if you don’t think it looks cool, well, you’re in the wrong house.  Go away.

At the beach

Inky went to the beach, of all places.
 

The War Zone

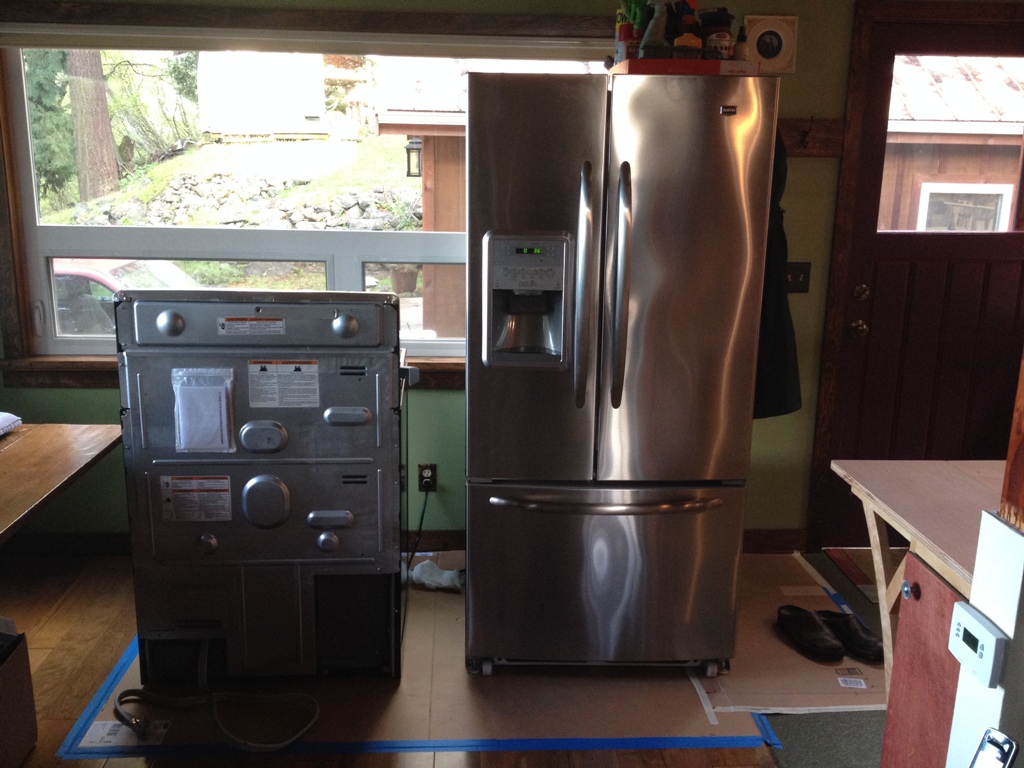
Fridge in Dining Room

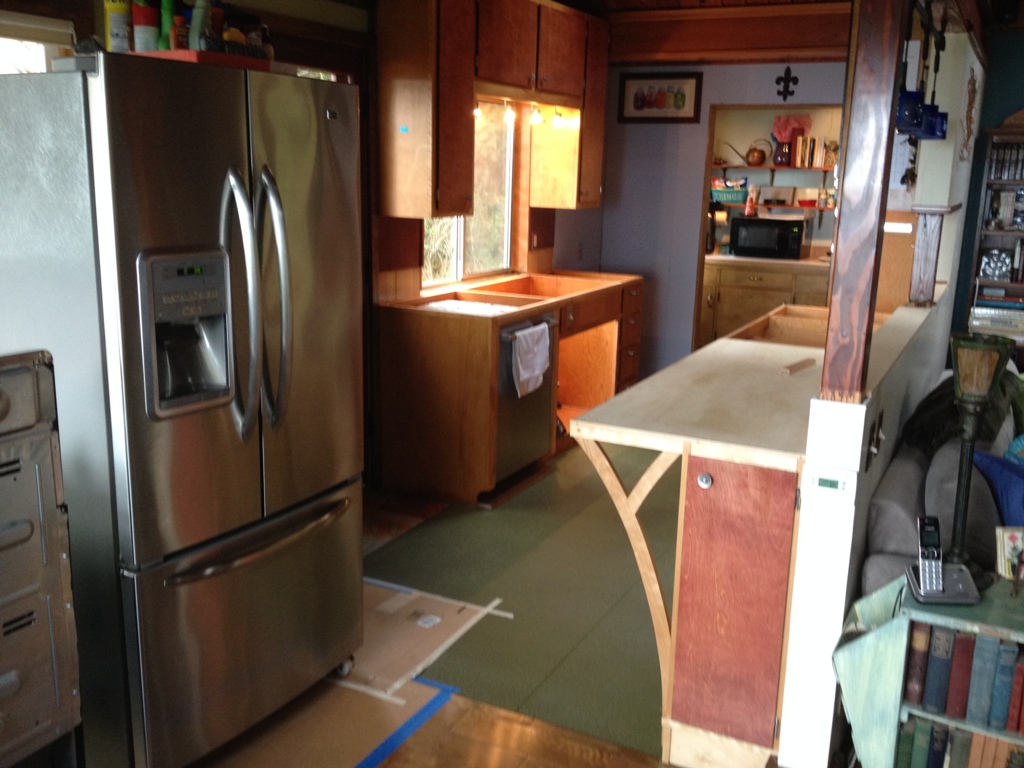
Okay, when your fridge and oven are in the dining room, it’s safe to say that your house has become a War Zone.

War Zone 2

Yup.  Cardboard taped to the floor, no countertops on the cabinets, nothing is where it’s supposed to be, nothing is in its place.  Looking for the coffee?  I think it’s over by the cat litter box.

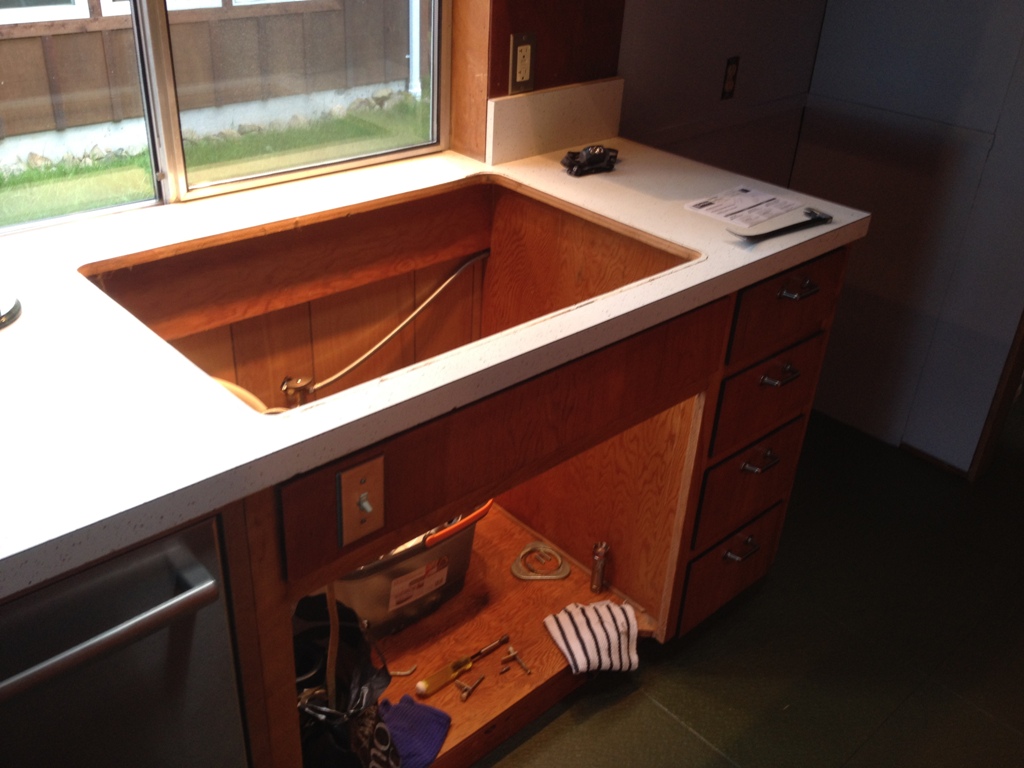
Where is the sink

Here’s the old countertops on their last day in the house.  They didn’t put up much of a fight coming out, though the old backsplash had to be cut away with hand saws.

Demolition

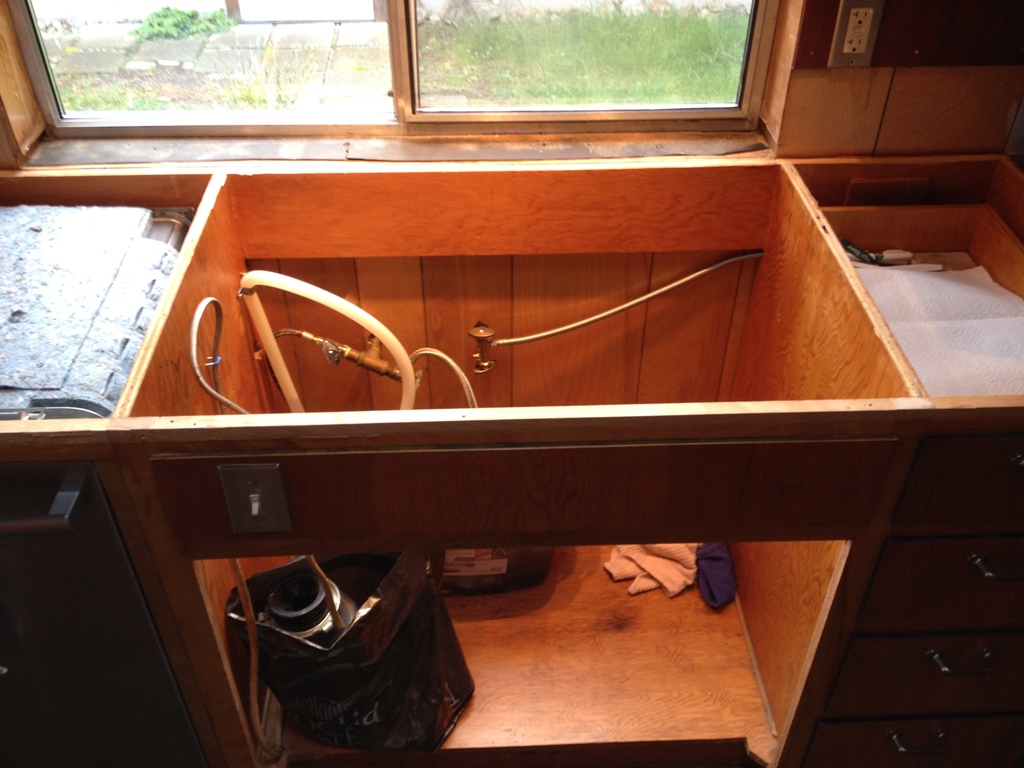
Yeah, we had no running water in the kitchen for a couple days while we waited for the new countertops.  Well, the leaky hot water valve down there wouldn’t stop dripping, but that still doesn’t count as ‘running water’.

Here it is

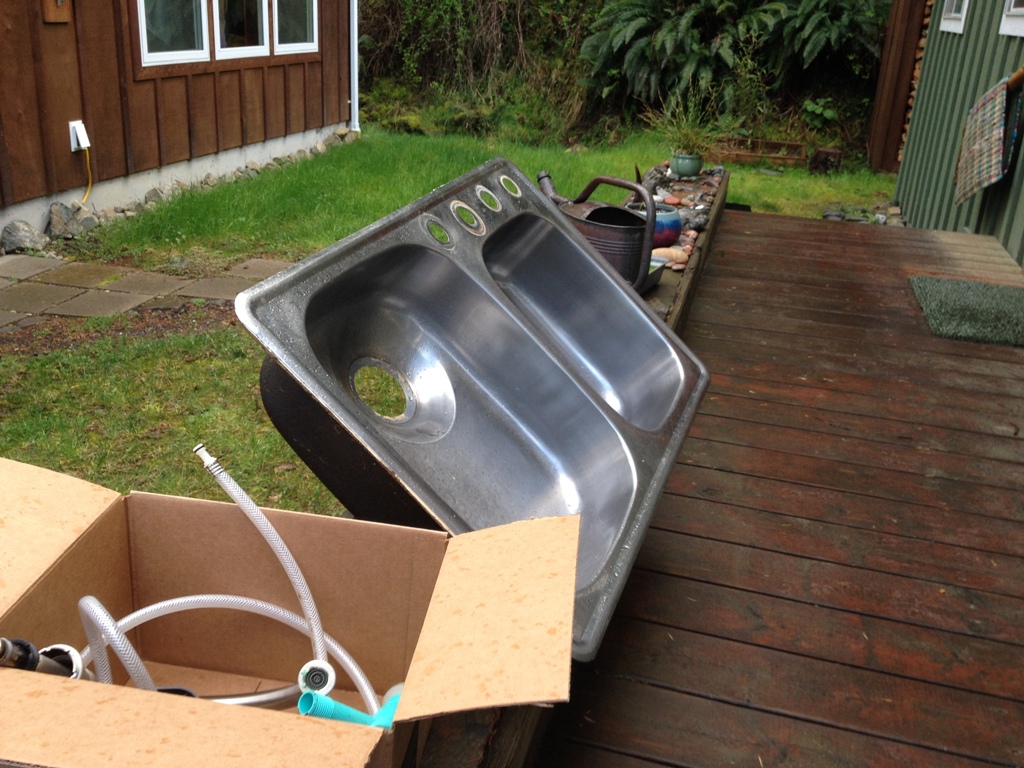
The old sink.  May it rust in Hell.

Ready for Countertops

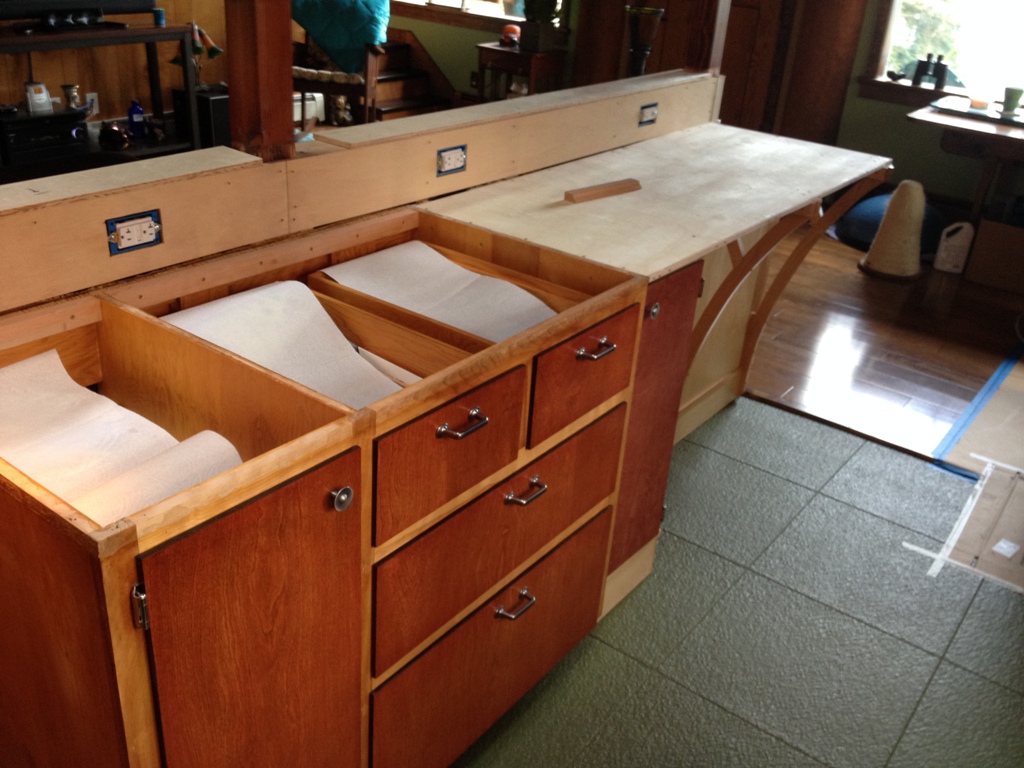
I can’t say I like these cabinets, but resurfacing the doors and drawer fronts sure helped.  New knobs, new hinges, new polyurethane, I guess I’ll keep them now.

New Countertops

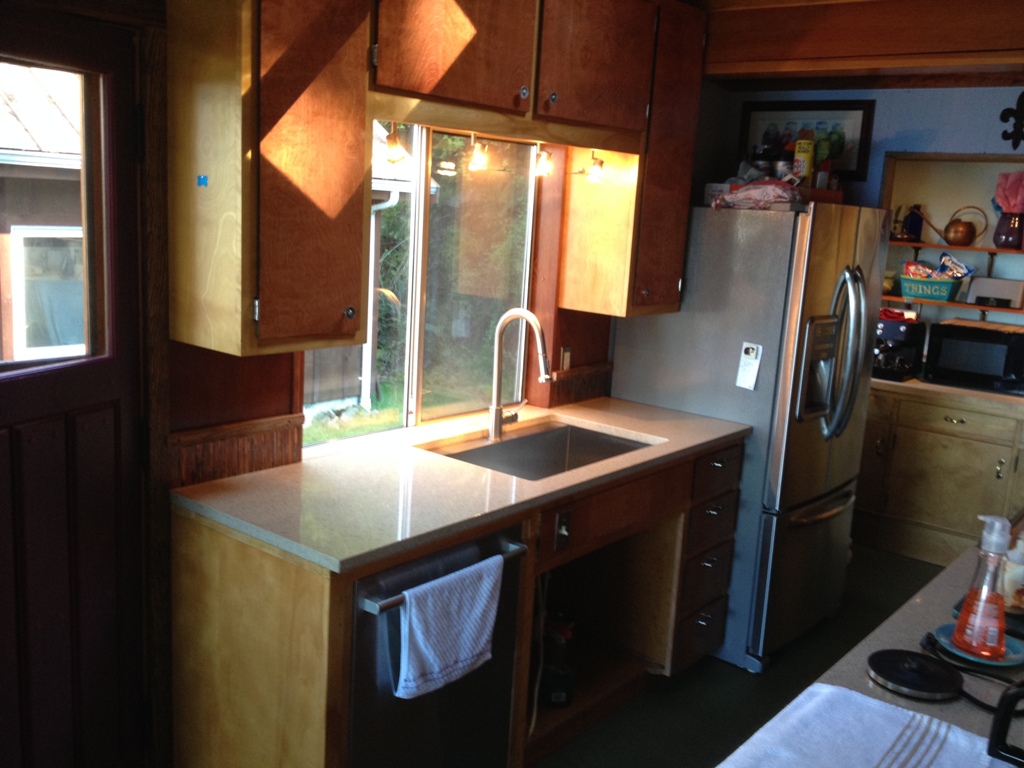
And here’s the new countertops installed.  It’s quartzite, which has a really nice texture and is very, very durable.  You could smear grape jelly and red wine all over it and it would never stain.  Oh, look, and the fridge is back in its correct place, too.

Just Add FaucetThe new sink is HUGE.  You could take a bath in that thing.

Huge Sink

And now we have running water, and a fancy new faucet.  I’m loving this sink.  You can leave dirty dishes in it and it’s so deep that you never really see them.  Out of sight, out of mind.  Seriously, you could wash a goat in that sink.  It’s huge.

Nice Day

I love the colors in this picture.  The sky is bright, the water is reflective, the trees have many shades of green, and the houses and decks add little spots of their own color to the mix.  You may notice our kitchen has a myriad of colors and textures, and not all of them really ‘go together’, and that’s quite deliberate.  Living where we live, it really fits in.