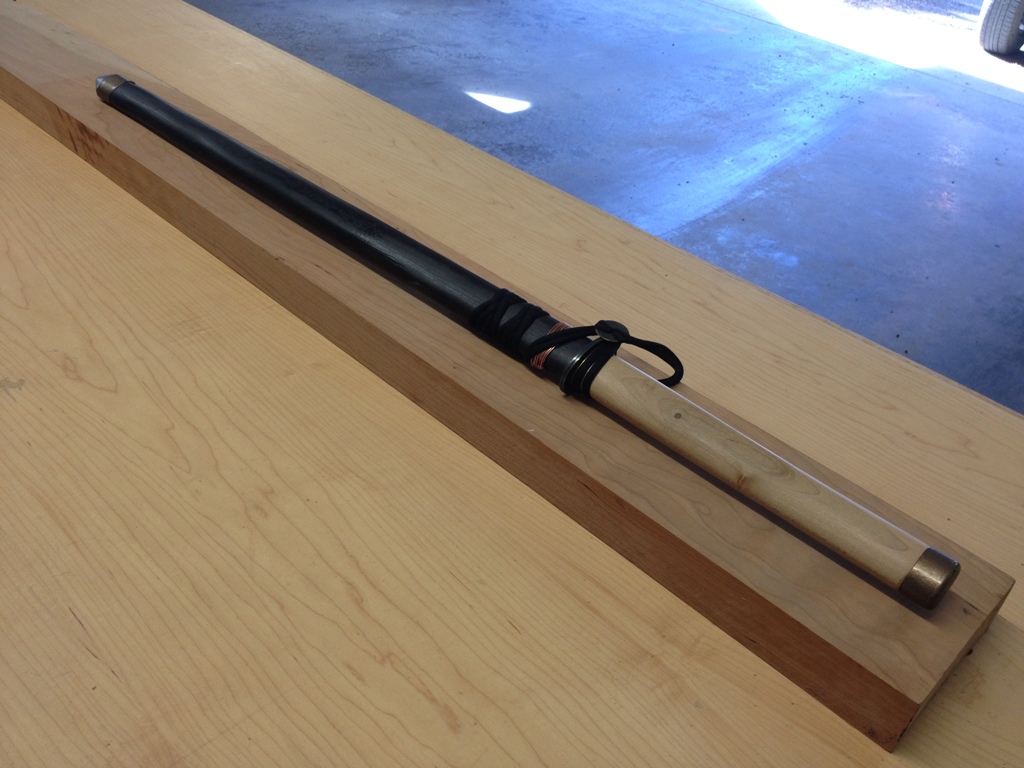
When I practice Iaido, this is the sword I use.
The handle is rock maple. I never finished it with anything and it never needed it, just kind of took on a glossy sheen in the places I gripped it. That wood is bulletproof. But the saya (sword scabbard) is made out of cheap construction lumber and I made it like 15 years ago. It works okay but it was getting a little worn around the opening from when I sheathe the blade. I’ve wanted to make a new saya for a long time, but knew that I’d have to do the whole thing and make a new handle as well. The more things sound like they will be a pain in the butt, the more I procrastinate them.
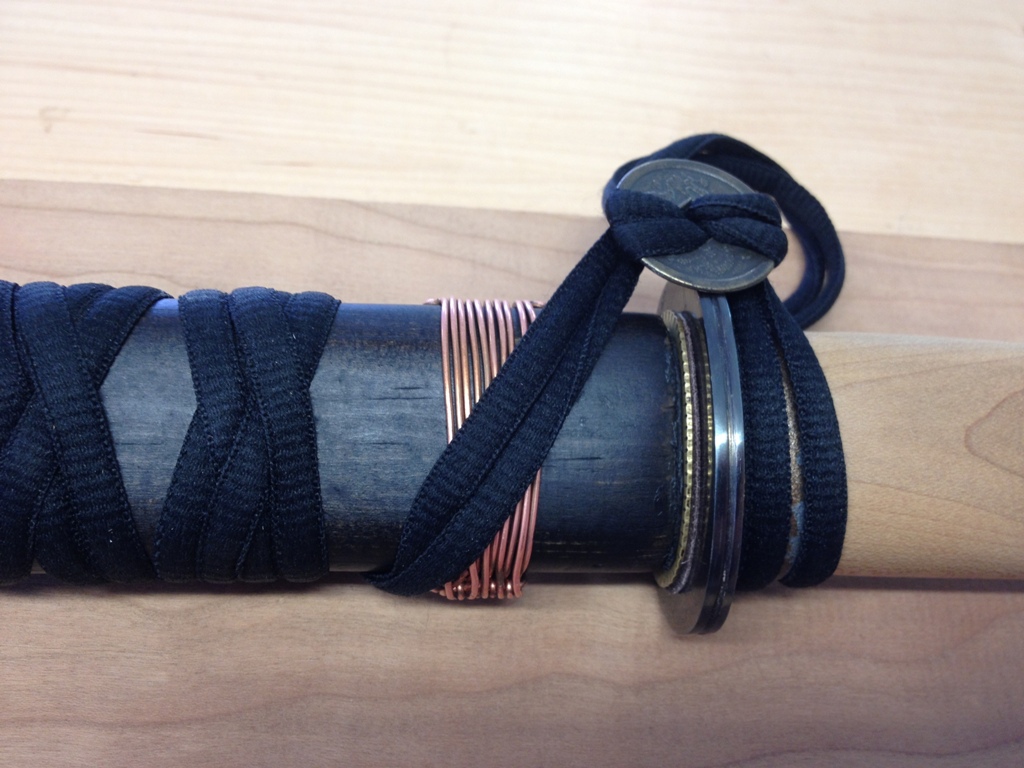
Here’s a close up. The copper wire was wrapped around it to help control a split in the wood. It worked very well, actually, keeping that split closed for years without any problems.
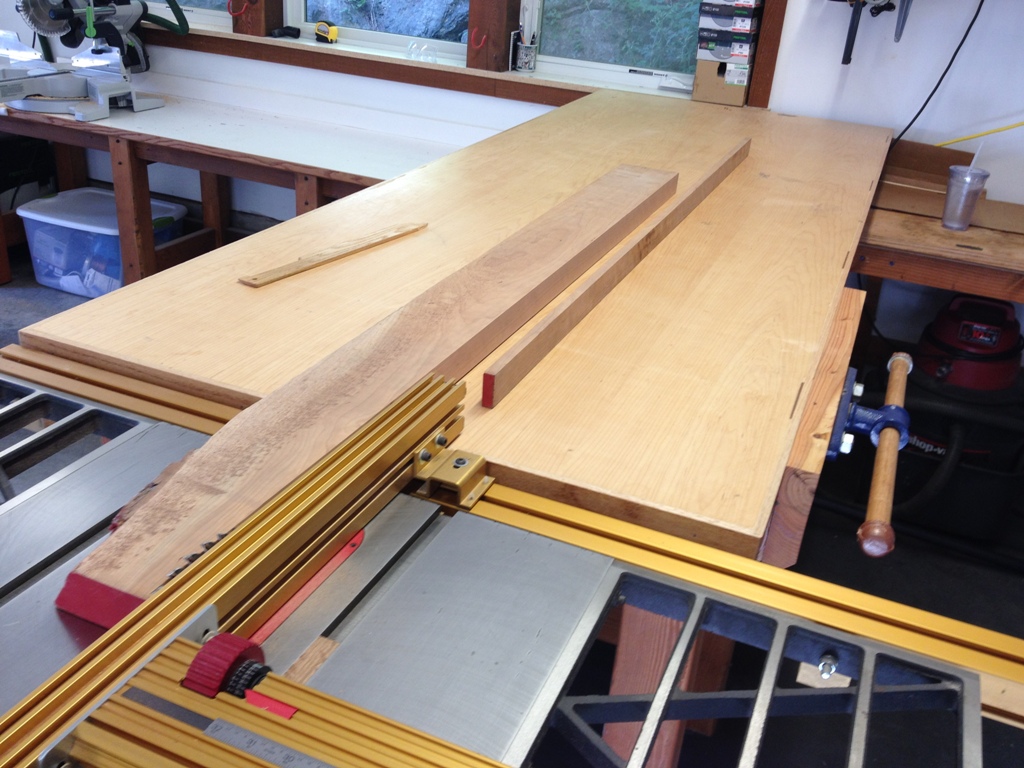
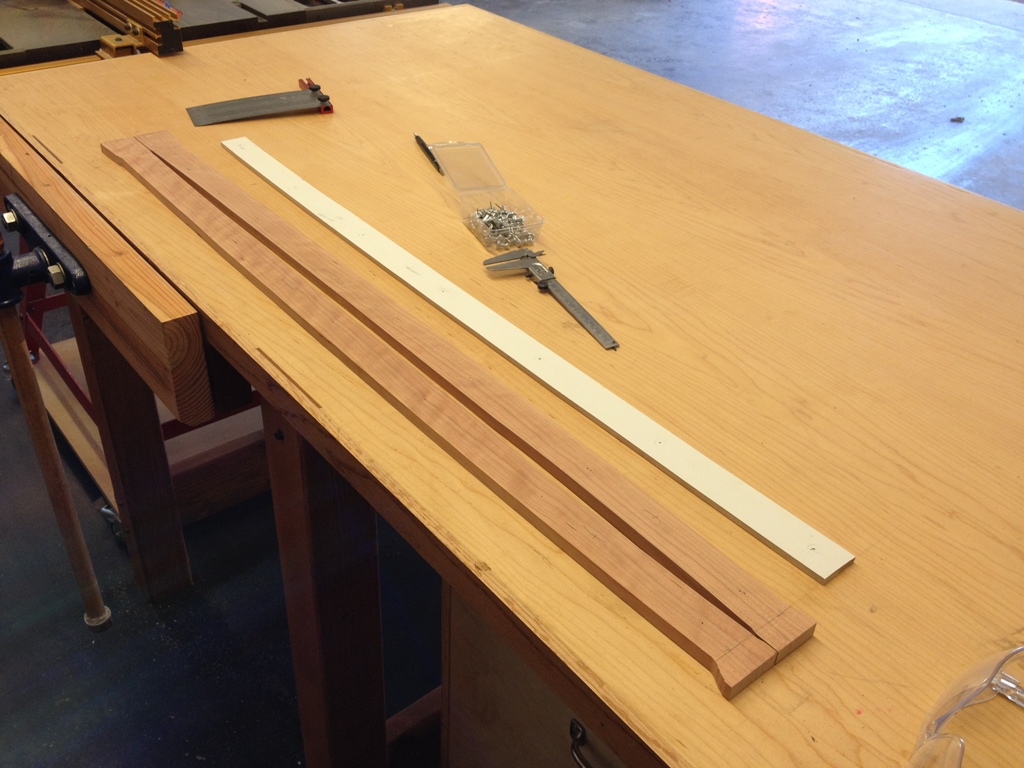
I’ve had a thick slab of cherry left over from an old project that I thought would work very well. It’s a little lighter than the rock maple but it’s a good hardwood and would make a good handle.
The sword has a very slight curve to it. I did the math, its radius is around 125 feet. The old saya and tsuka (handle) were straight but this time I wanted to follow the curvature of the blade. Traditional Japanese sword handles do not necessarily follow the sword’s curvature, but this is not a traditional sword and I did not use traditional techniques. Just not the kind of craftsman I am.
With the two cut halves next to each other, you can see the very gentle curve.
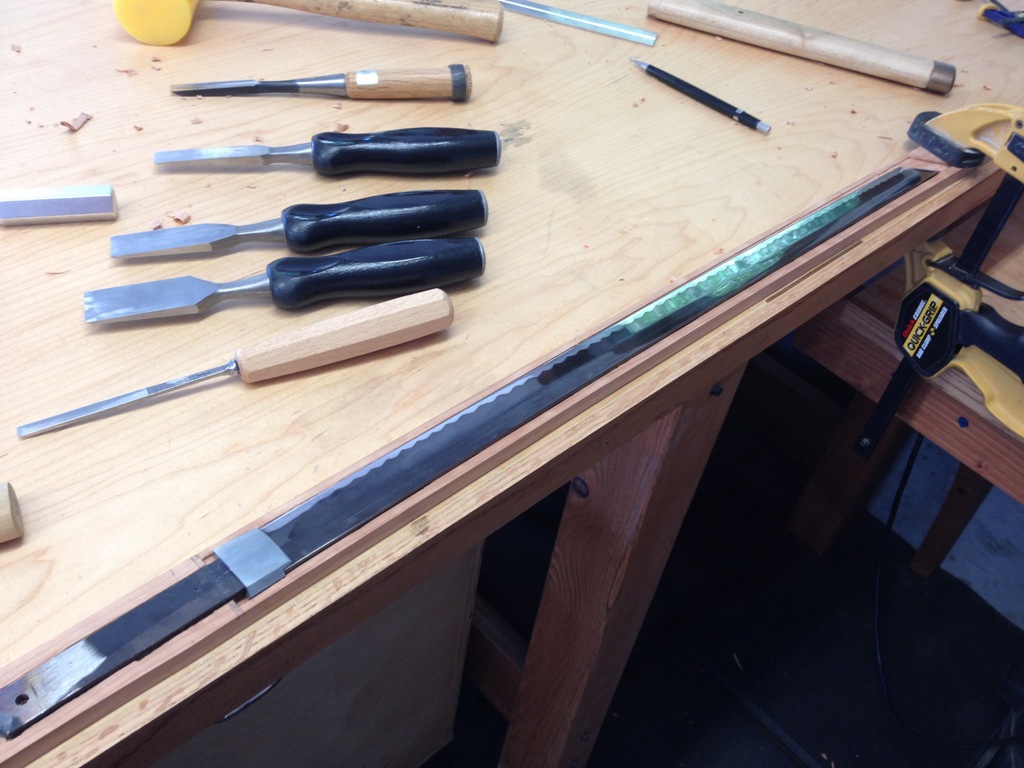
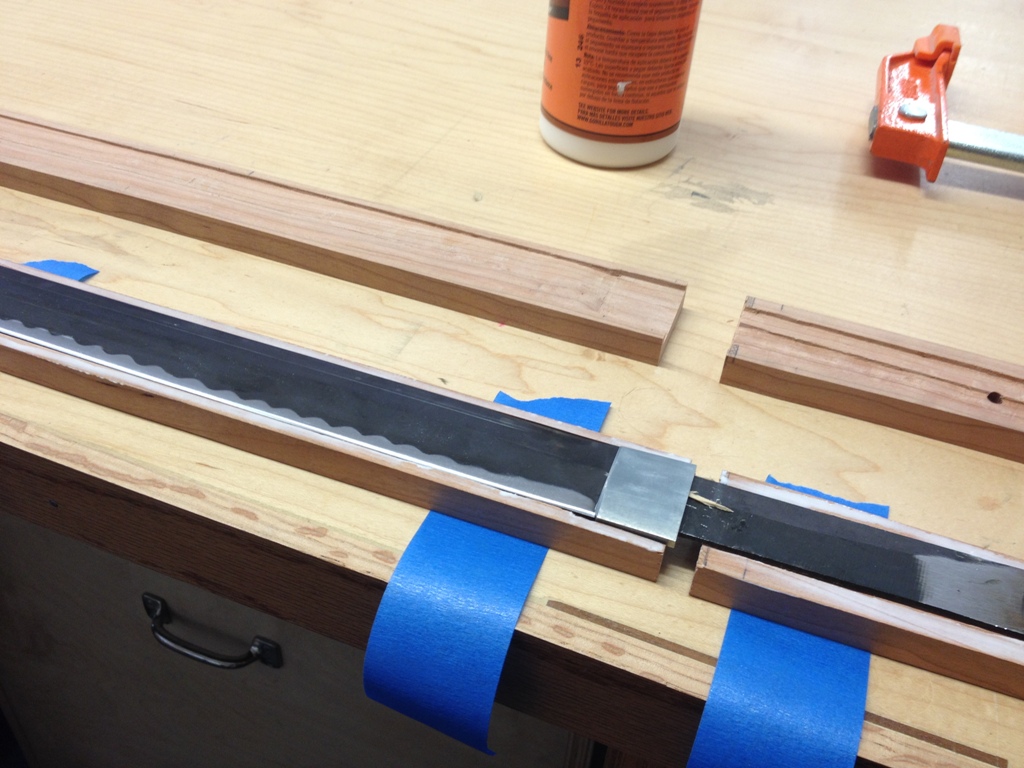
This part kind of reminds me of an Egyptian sarcophagus, because you’re hollowing out the two sides such that the sword fits in exactly. The saya must be a little loose to allow for a quick draw, but should be firm around the habaki (that little gray collar between the blade and the tang) so the sword does not easily slip out.
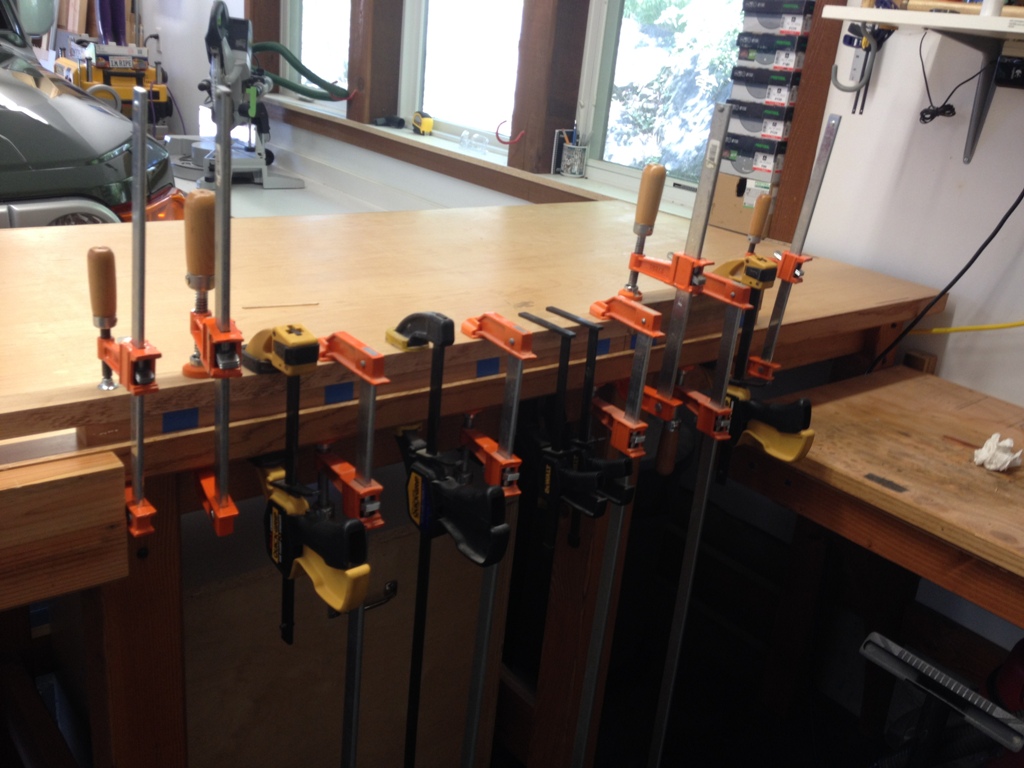
Tape works really well for the dry fit, as well as helping to glue it together. It keeps the wood from shifting as it’s clamped and does add a little bit more pressure while the glue is drying.
Every clamp I could fit.
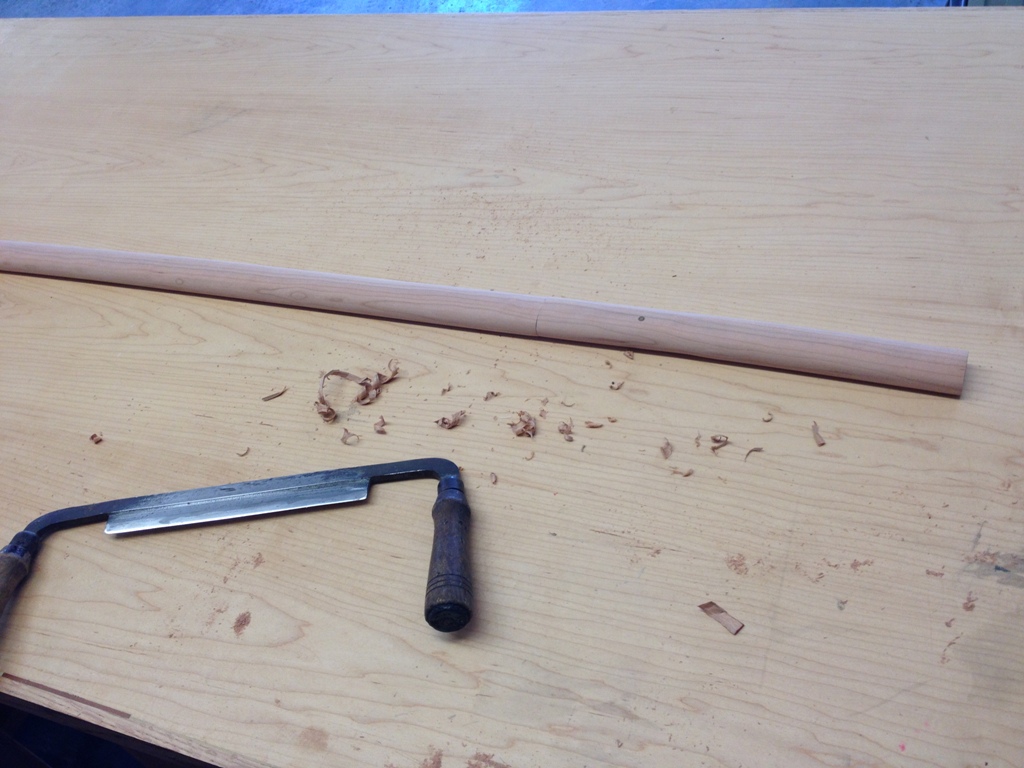
Shaping is the fun part. I’m not particularly good at it and don’t really own good tools for it but I use what I have – rasps, files, draw knives, and lots and lots of sandpaper – but I really enjoy it. It’s kind of funny, when I was first making these I always wanted more and more power tools to help make them better. I thought a good router and good forms would help make better sword fittings. But now that I own all that stuff, I really go back to doing a lot of work by hand with these. It may not be factory perfect, but I feel like I have more control of how it turns out.
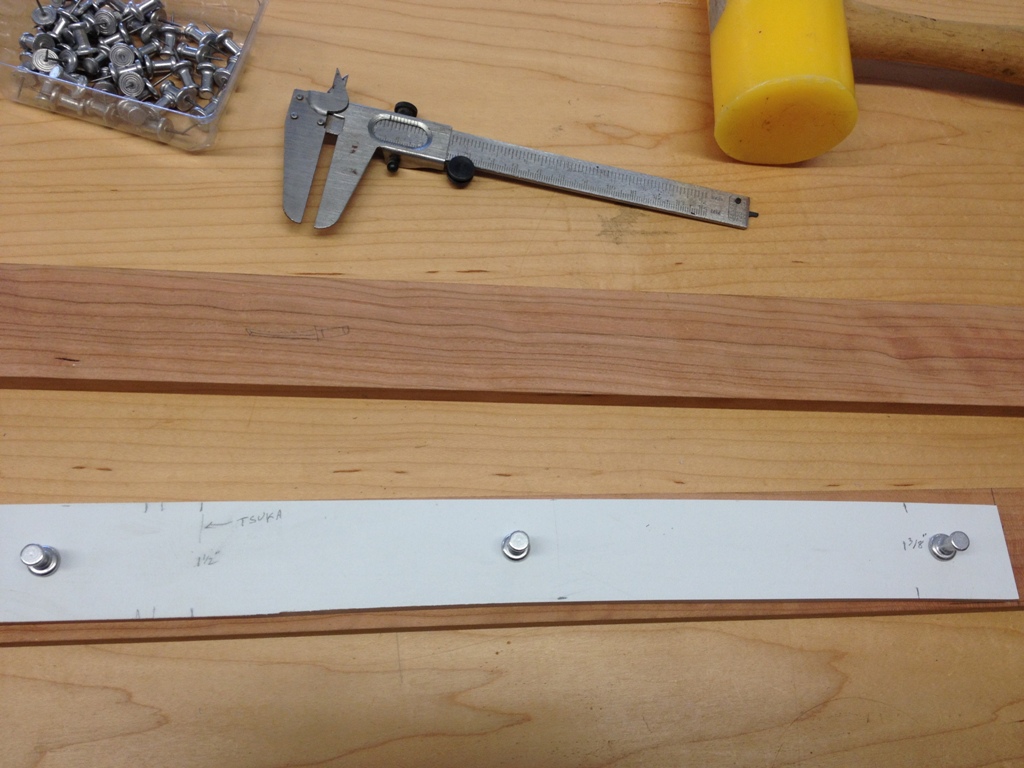
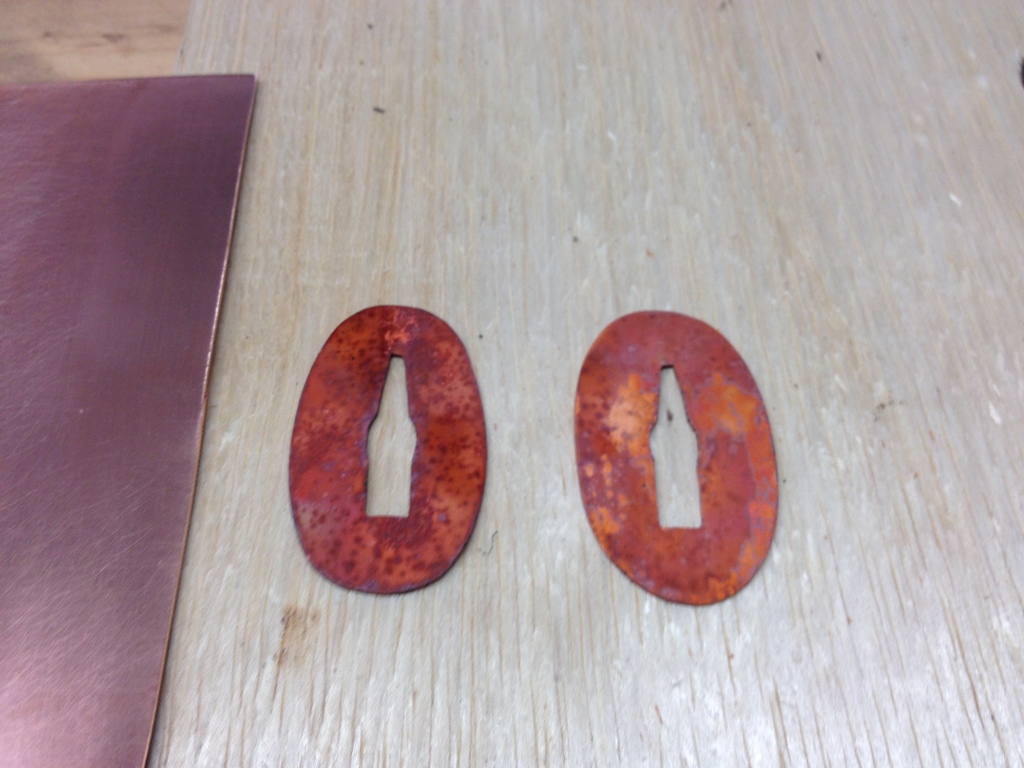
I cut new seppa (spacers) out of a copper sheet, and on a whim I thought I’d heat treat them to bring out some color. They took on a very bright orange hue, almost a rust, and became about as soft as lead. On the left in that photo is the original piece of copper I used, so you can see the difference.
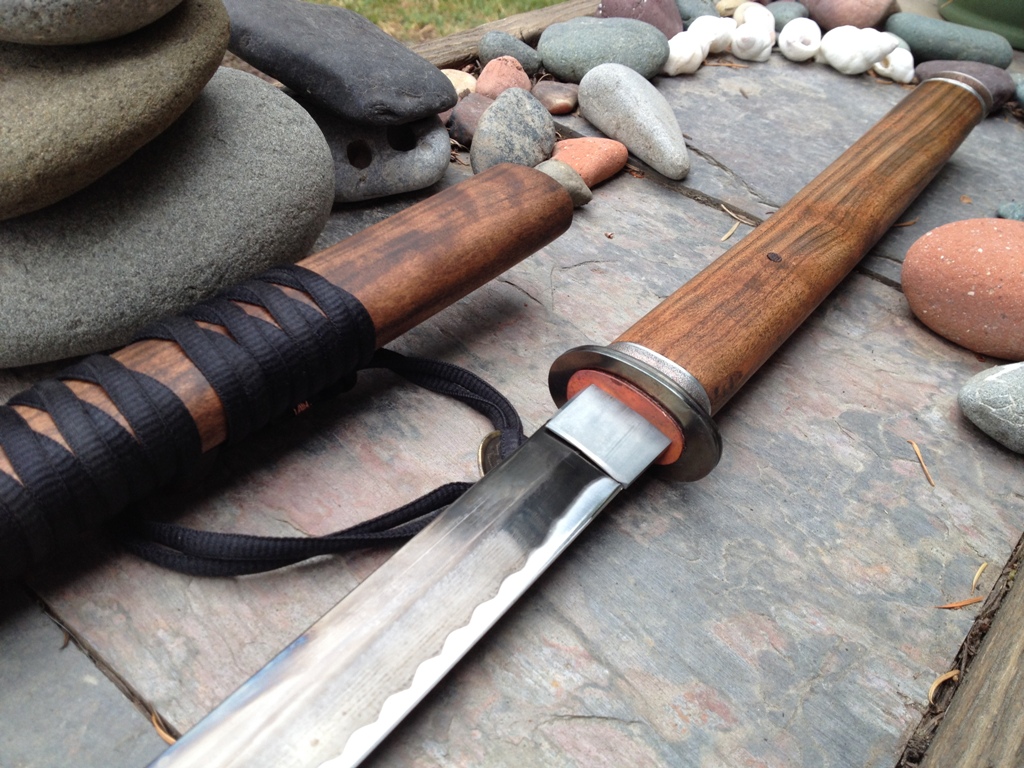
All finished. I may do something different with the wrap around the handle, I’ll have to practice with it a bit to see where I want it (it’s nice to have something to grip when drawing the sword). Again, not a traditional sword at all and that’s deliberate. There’s an old adage that says “do not seek to follow in the footsteps of the wise; seek what they sought.” It’s one reason that I avoid tradition.
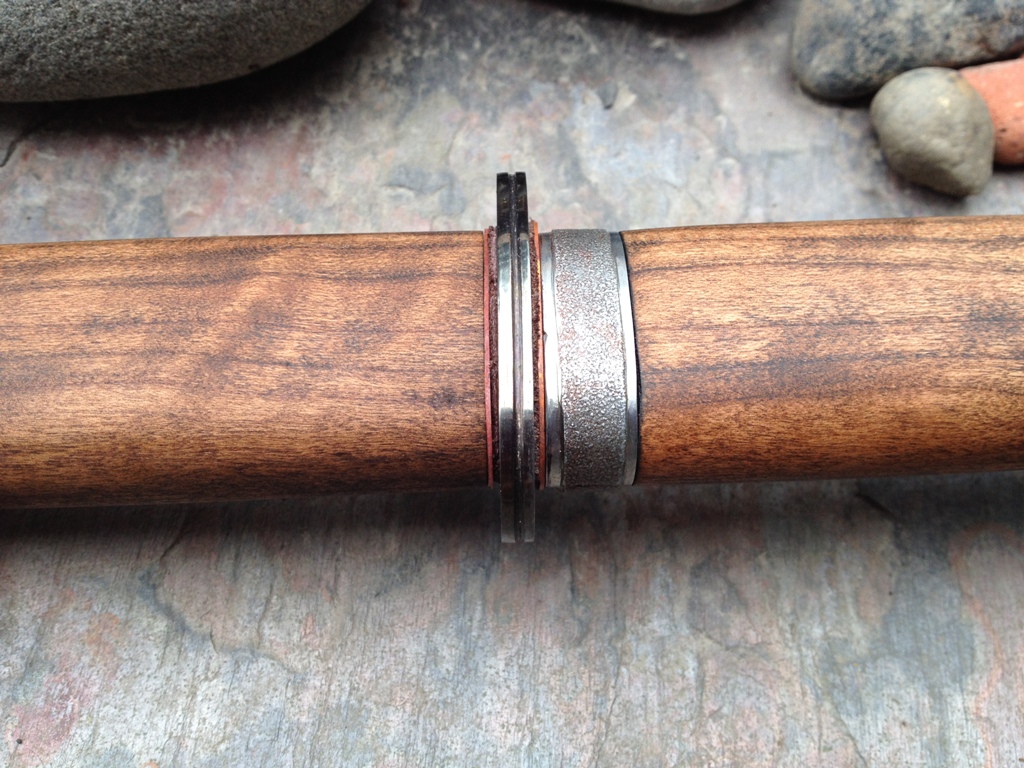
Everything polished up nice and fit remarkably well. There is no play at all in the handle, it is very solid.
Traditional Japanese swords have wrapped handles and painted, laquered saya. To me, this is a woodworker’s sword, letting the wood grain remain exposed. Just some wood stain and tung oil is all I used. I can tell it’s a little lighter which generally means it will be a little faster, and the handle shape is very much what I’m used to practicing with. This was a great, fun (and free! I had everything I needed!) project and if anyone out there reading this needs new fittings for their sword, I’d be happy to help you out.

