My First Screen Door

It Fits

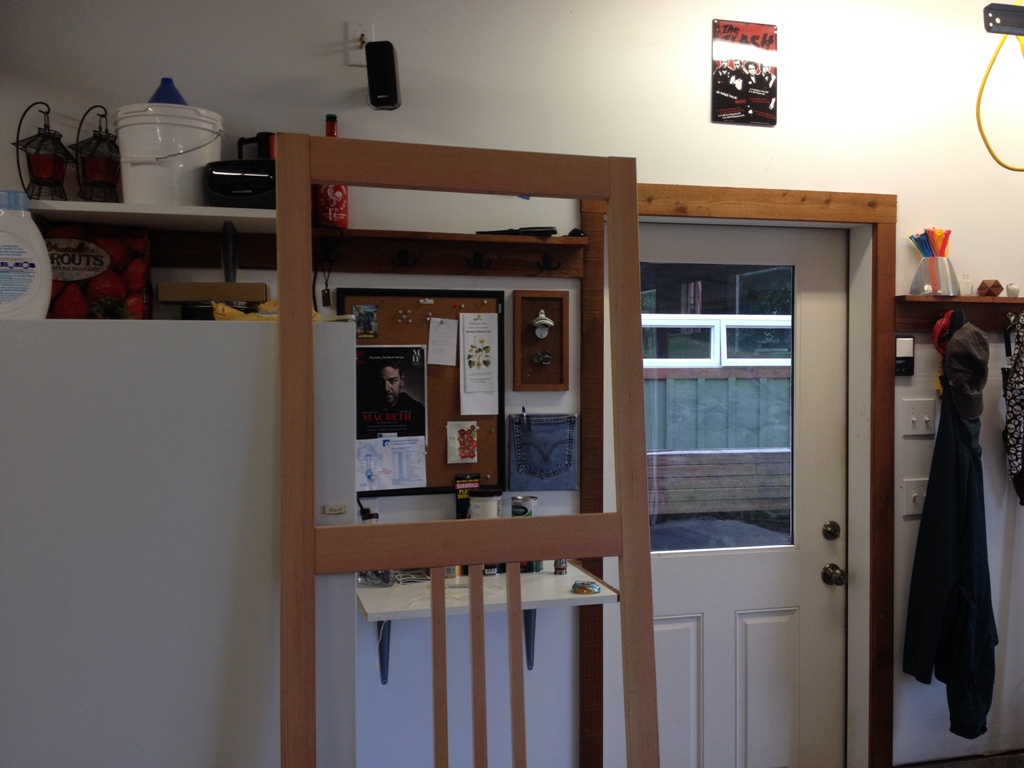
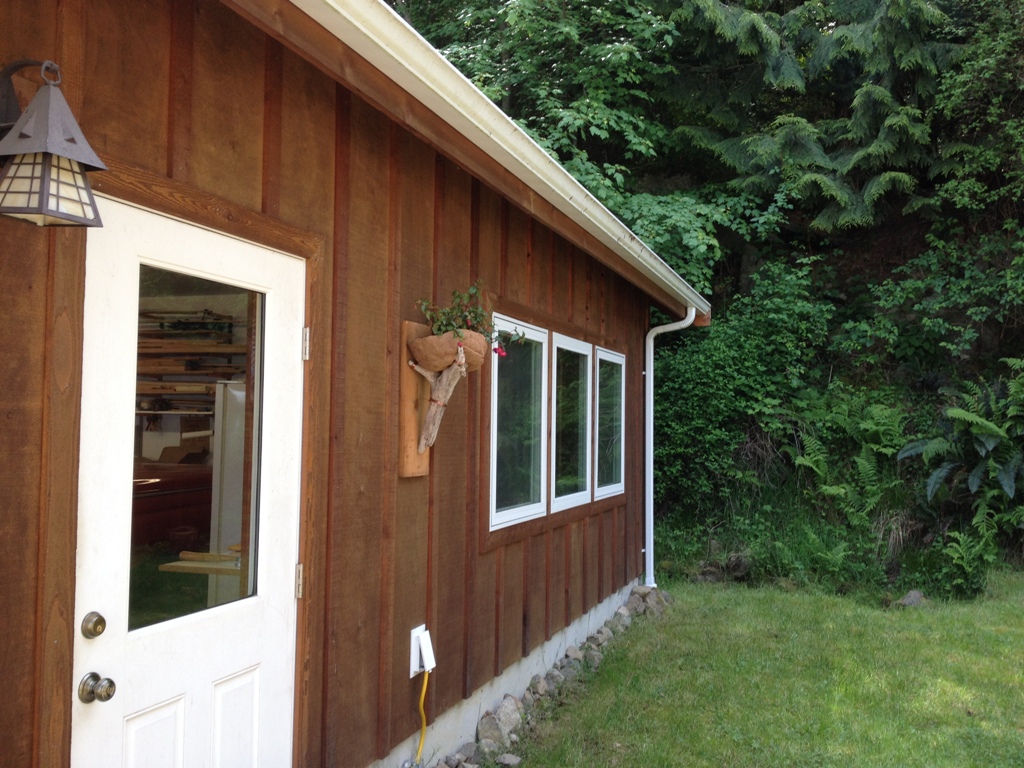
I love a finished project.  Now the door is stained and has a couple coats of spar urethane on it and I even put a little brass handle on it so we can open and close it.  It’s everything one would want in a screen door.  The only thing it lacks is hinges, I had to order them and they have not yet arrived.  But other than that, it rests in the frame and is held in place by magnetic catches and as far as I’m concerned it’s done.

Screen

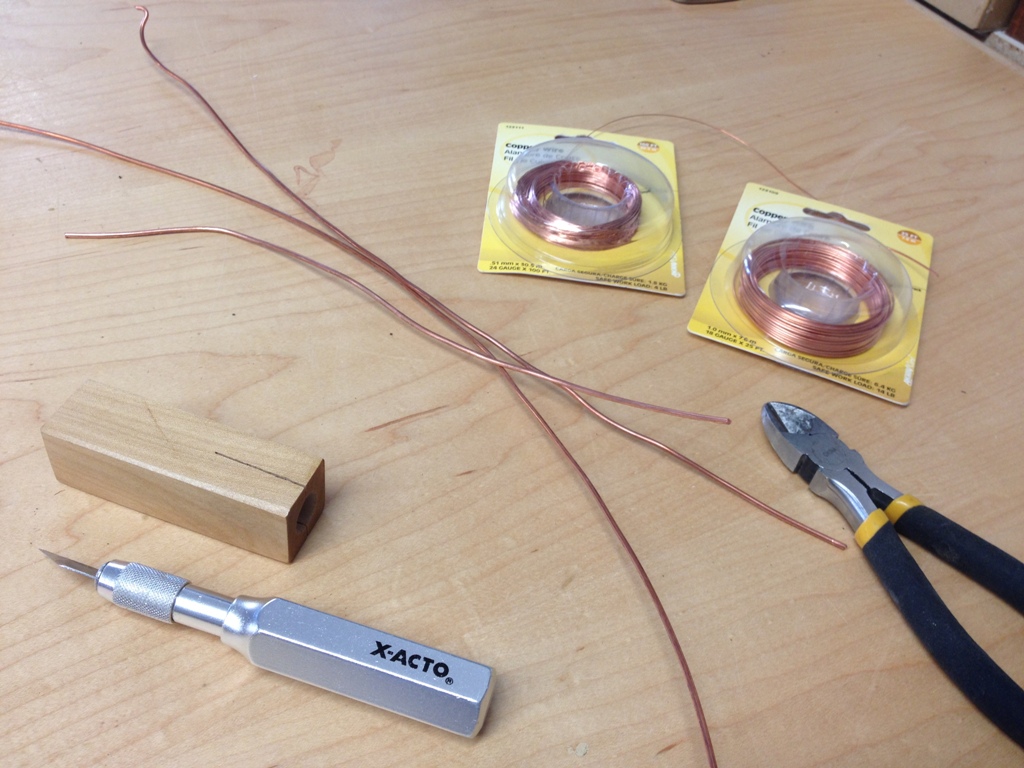
Screen technology has come a long way.  It used to be a big pain in the ass when you needed to make a screen, often involving special tools and working with aluminum frames and steel mesh that all had jagged pointy ends to cut yourself on.  Well nowadays, it’s still a big pain in the ass.  But at least the screen fabric isn’t steel anymore, I think it’s nylon.  The old steel sheets were awful to work with.

Fittings

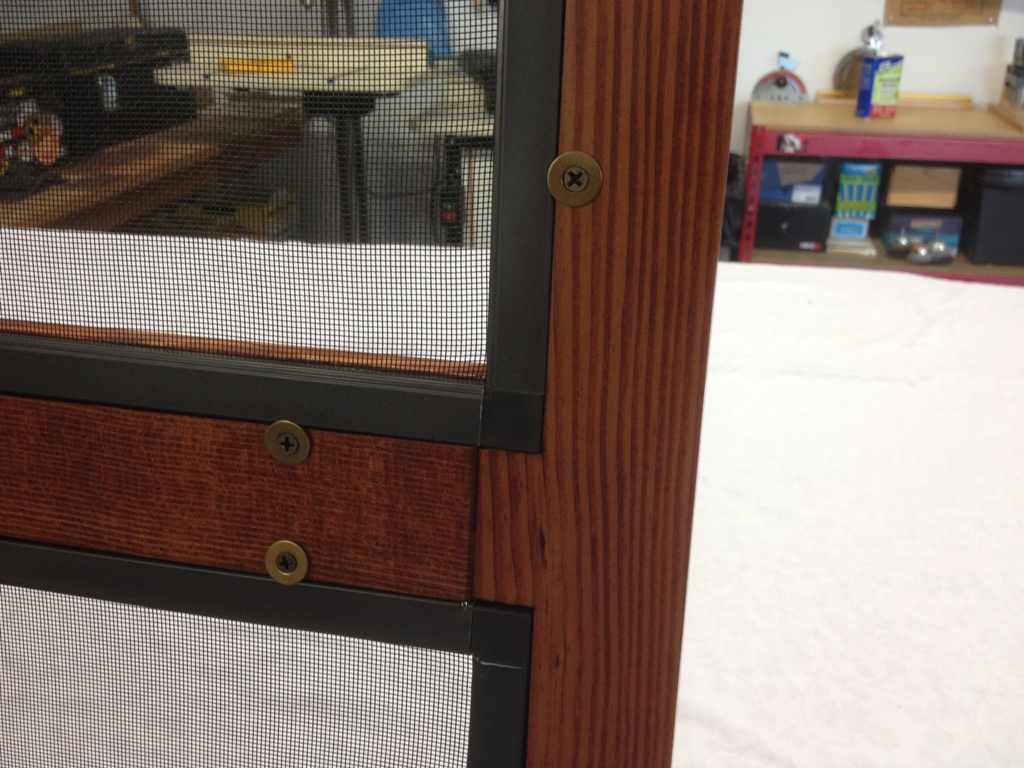
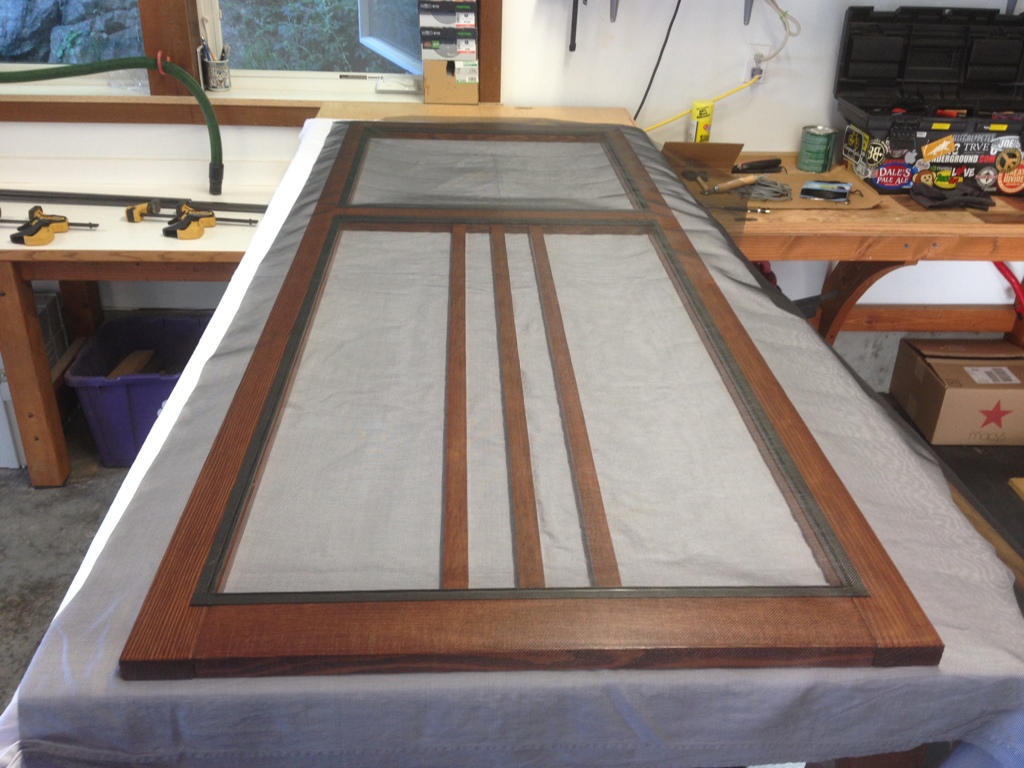
I got the screens in the frames and affixed them to the door with brass washers and screws.  The brass washers came super shiny and bright, but here’s a trick.  Put them on a metal wire and hang them over the flames in your barbecue grill.  Let them cook for a while, get them as hot as you can.  These cooked to about 700 degrees, and at that temperature the brass takes on a nice antiquated patina.  (I actually didn’t want to use washers, they sell special brackets that hold these things in place, usually used for mirrors or glass panes in cabinet doors.  But good luck finding those on an island.)

Shaping Up

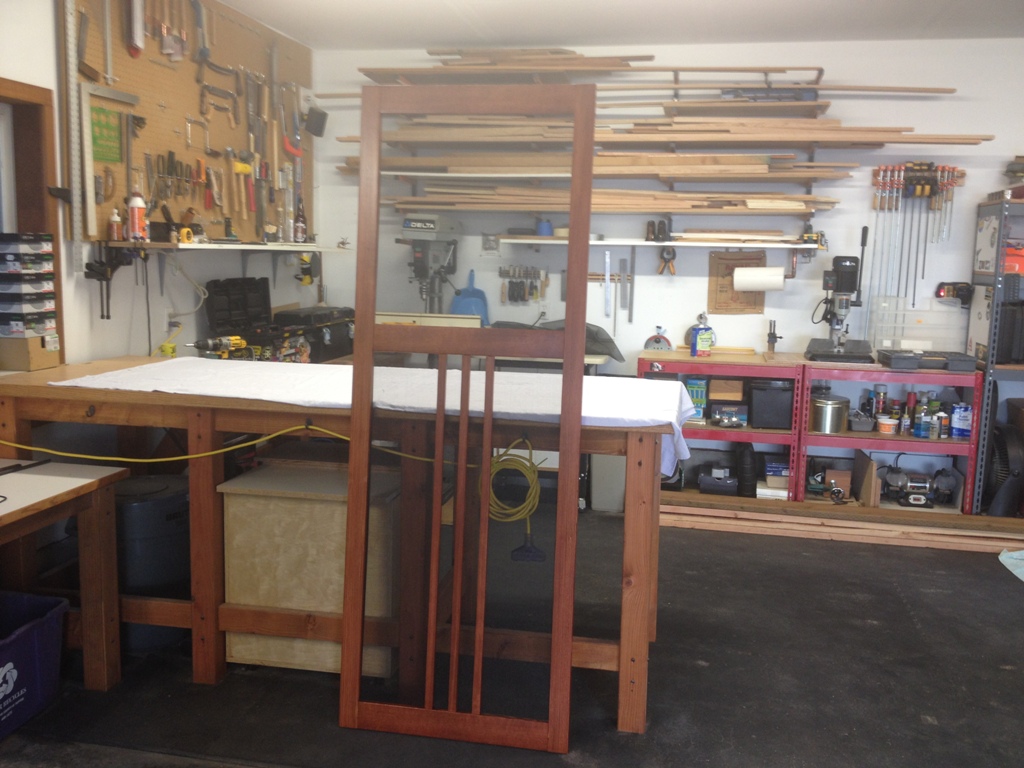
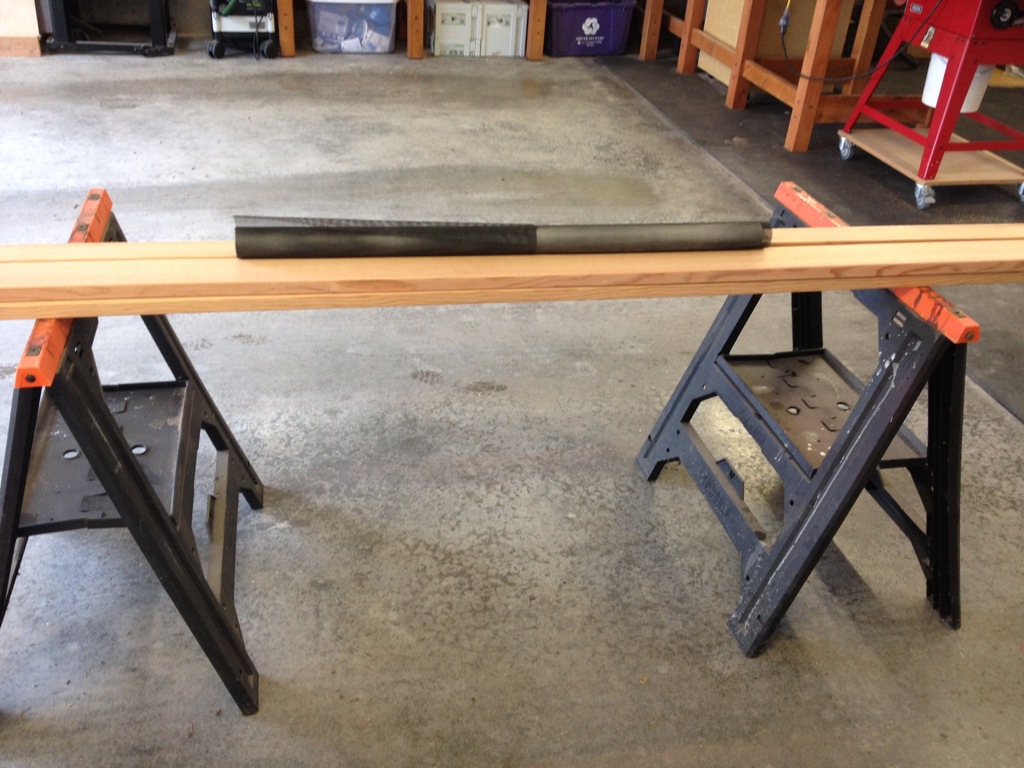
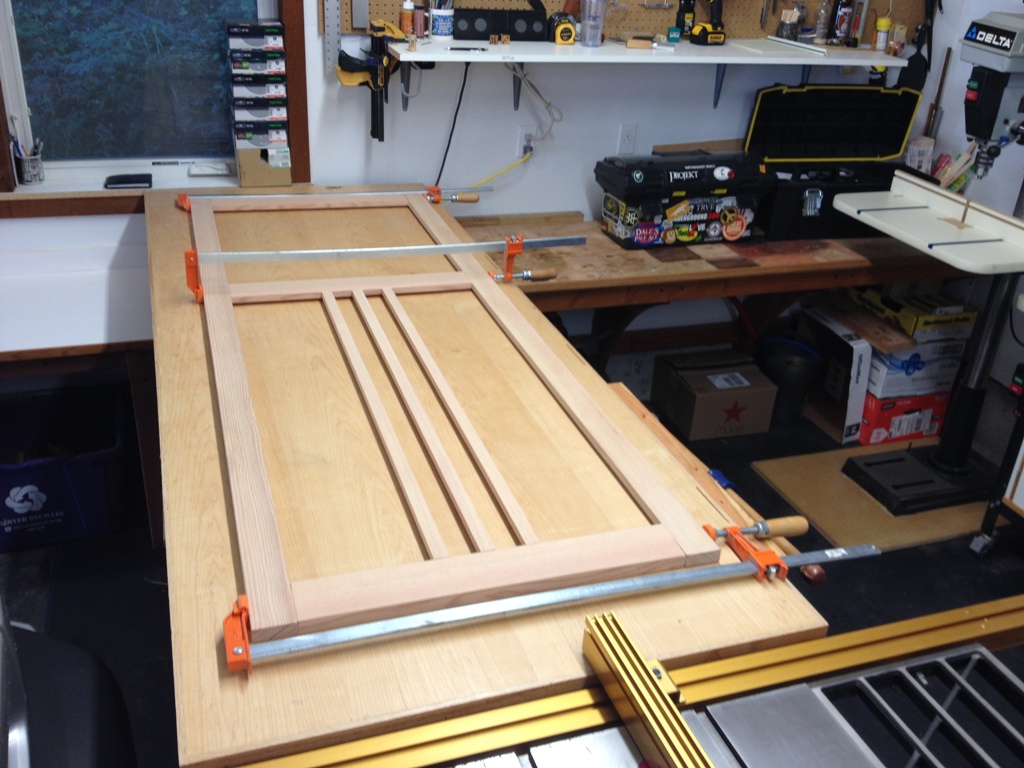
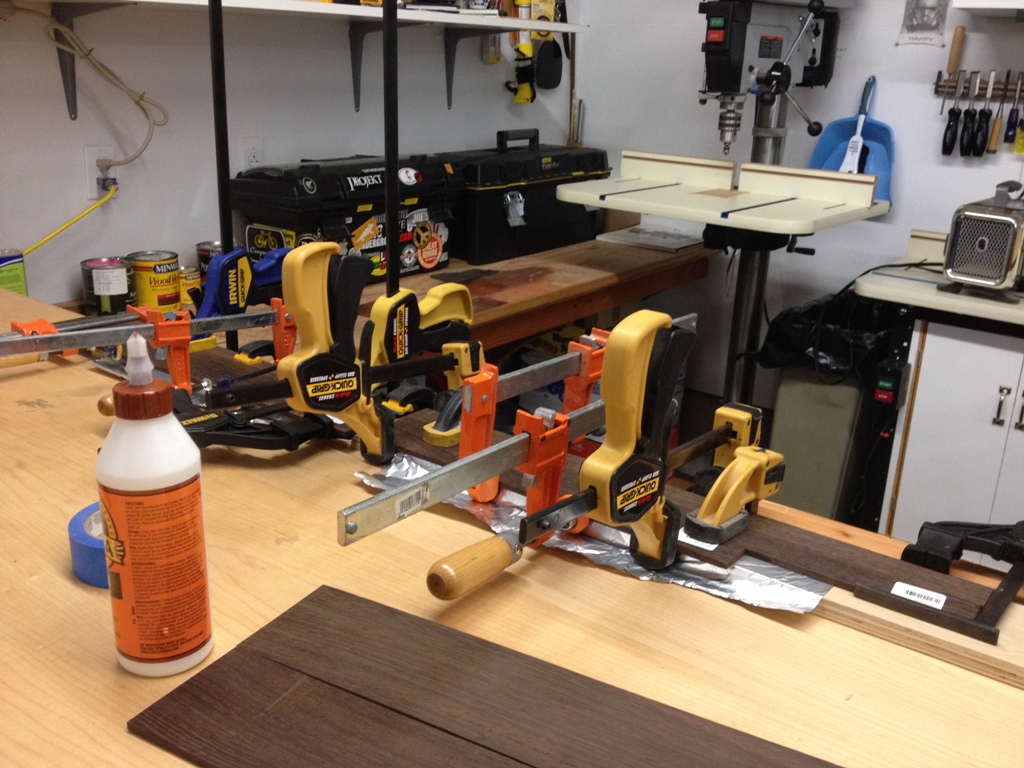
Here’s the finished door.  I’m glad to have some room to move around in my shop, makes projects like this a lot easier.

Plans

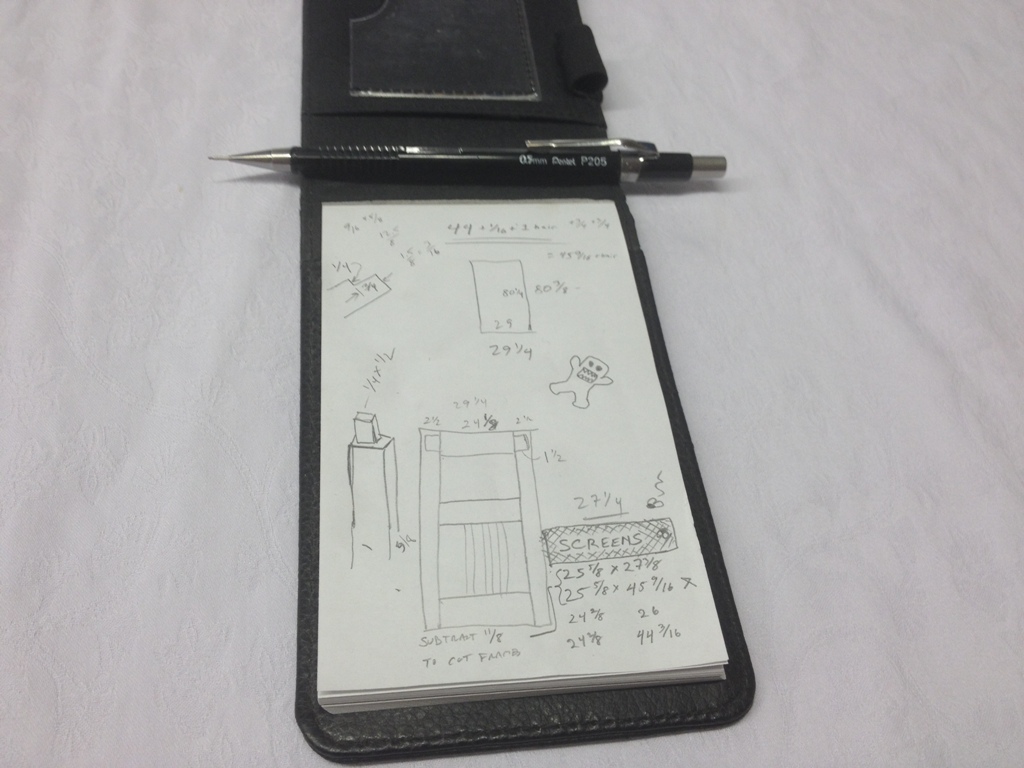
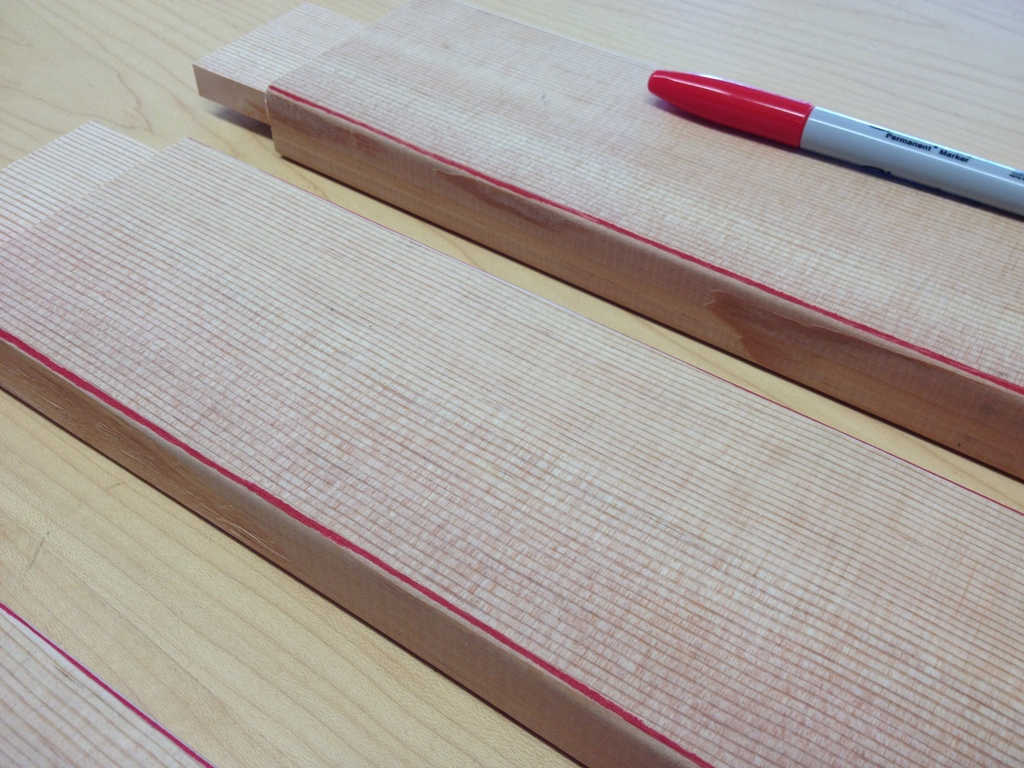
These are the full extent of the drawings I used to make the door.  On some projects I draw everything from every angle but on this one I just kind of winged it.  Didn’t even need to do much math.

Let’s Make A Screen Door


No point buying an air conditioner up here for the one month you might need it, but it is really nice to be able to leave the door open in the summer without every yellowjacket, bumblebee and winged carpenter ant flying inside looking for something to sting and bite.  Trust me, we are on Critter Island, and we are outnumbered.

Some Assembly Required


So, let’s make a screen door to let the outdoor air in and keep the critters out!  Yeah, you can buy a screen door.  But I’m a cheap bastard, and I like my things built correctly and made to last.  So I picked up some douglas fir and started making sawdust.

Cutting Tenons

This will all be mortise and tenon joinery.  This door will have three rails (the horizontal pieces of wood that go on the top, middle and bottom of the door) so it’s pretty much going to be as simple as it gets.  First I start cutting tenons for the rails.

Almost Clean

The tenons cut very clean.  My jig left just a tiny bit of work to do in the corner.

Nice Tool

My “Magic Chisel” makes short work of it.

Clamp

I finish up the tenons with a hand saw, and again clean up the surface with a sharp chisel.

Dust Collection

I cut the mortises with a mortising machine, which takes a tedious job and does it adequately.  Once this thing is done, I’ll have some nice rectangular holes to fit the tenons into.  Note my fancy dust collection (the shop vac hose dangled over the paper towel holder).

Fitting

The mortises are now cut and it’s time to dry fit everything.  I’m putting in some vertical slats to give it a bit of interest.  I’d say they help keep the raccoons out too but they won’t.

More Fitting

Here’s the slats fitted into the bottom and middle rails.

Even More Fitting

And here’s the dry fit.

Marked with Sharpie

When I’m working with pieces that need to be routed, I like to mark plainly the edge I need to rout away.  This prevents me from screwing up a piece by feeding it over the router bit the wrong way.  Oh, gosh, I’ve “never” done that before.

Ready to Assemble

After about 3 hours on the router working with dull, worn out bits, I finally carved out the area where the screen will fit.  Now it’s like a big jigsaw puzzle that just needs to be sanded and glued together.

Jenga

This is literally all of the scrap wood left over from this project, stacked here Jenga style.  See if you can spot the two deer outside.

Glueing

Now it’s all sanded, glued and sitting in my shop drying up.  I only needed three clamps to put this together, yay!  Most of my glue-ups take about twenty clamps so that was gratifying, at least.


No Man’s Land

terrain

Most of our land looks like this.  It is rugged terrain, rocky and overgrown, where few bipeds will ever roam.  The rocks are covered with just enough moss to make them slippery, and they’re still jagged and hard enough to break bones if you fall on them.  Many of the plants are barbed or spiny and if they touch your skin they will sting all day.  And so will the bees, and so will the wasps.  The legion of carpenter ants are actually the most benign denizens of the jungle.

stump

This is an old, decomposed tree stump that is so big that two trees are growing out of it.  Read that again.  Two trees make root in this tree stump.  And not just little saplings, they’re 40′ cedars.  Growing out of a tree stump.

gardening tools

These were my gardening tools today.  My big saw, the Fiskars trimmers and a $5 machete.  Against the jungle, they just didn’t seem sufficient.

More Driftwood Projects


Driftwood.

DriftwoodMesh plant basket.

Bowl

Copper wire.

Copper

Yes, on occasion, I go down the artsy-craftsy path where it’s not always easy to tell the good ideas from the bad.  Sometimes you just have to follow it and see how it goes.  In this case, I think it went well.  The driftwood I found looked like it could hold a potted plant, maybe something that trails down the sides.  I initially thought to embed it in the ground but it would basically be a ground mounted deer feeder.  That’s when I figured I could mount it on the wall, like a sconce.  I just had to affix it to a slab of wood.

Wired

That’s where all the copper wire comes in to play.  It weathers well outdoors, like driftwood, and the 12 gauge stuff is plenty strong enough to hold it in place.  Just drilled through the wood in a few places to get it started and wrapped it tightly around the ends.

Staples

On the backside, the copper wires go through holes and are held in place by staples.

MountedThere.  Now the prongs can hold a basket.  I did wire the basket firmly in place and gave it some support so it wouldn’t deform too badly when I put dirt in it.  That’s the last thing I’d need.

Installed

I nailed it to the side of the garage with copper colored boat nails.  The slab of wood will protect the garage wall from getting wet.  We put some kind of fuchsia in the basket and I think it will do well.

Flower Sconce

And it holds the plant well above deer level so it shouldn’t turn into chow anytime soon.


Bathroom Cabinets Completed

There’s nothing like a finished project.

Finished

Finally have the bathroom cabinets all finished and the bathroom trim is painted to match.  I’m not terribly happy with the paint job on the cabinets, no matter how much I sanded it and tried to get it smooth it just came out a little lumpy.  It’s fine.  I’ll live with it.  It’s much improved from what was there.

Need More Clamps

I had some nice, dark brown wenge leftover from a previous project and I just needed to order a little more to make shelves for the entire cabinet.  But even after I ordered more, I still didn’t have all that I needed.  I had to join some narrow strips together to get the 4 1/2″ width I needed to complete the shelves.  I’ve never joined an exotic wood like that; I’ve heard this wood can be a little oily and that sometimes interferes with the glue bond.  That, and these are going to live in a damp environment and if they start to warp or deform at all they’re going to split right apart.

Shelves

They seemed to glue together just fine and I think it’ll work.  I would have preferred solid slabs but the wood is so dark and evenly grained that you can’t really tell that some of the shelves are joined.  Here they are in place.  Great fit, very sturdy.

Driftwood Handrail

Handrail

We’ve had this handrail on the side of our house since we moved in.  I guess building codes require a handrail next to the stairs because they care about people, or something.  It was installed at the last minute and at a very low budget. It wasn’t much to look at but I guess it got the job done.  Well, I finally found something pretty cool to replace it with.

New Handrail

I’m not really a fan of making everything out of driftwood, but I found this piece a while back that would make Gandalf proud to use it for a wizard’s staff.  It looked like it would fit well at the side door so it didn’t take me long to rip out the old handrail and affix this one to the wall.

Handrail 2

I was going to make or buy some nice brackets to affix it but I discovered it was faster to simply use lag bolts and plug the holes with dowels.  Actually fits fairly sturdy that way.  I think it will work nicely.

Path

Landscaping is coming along slowly but nicely.  It’s cool to live in a place where you can use what you have on your own land for landscaping materials instead of having to go to home depot.  It’s one of the very few ways you can save a little money out here.