No point buying an air conditioner up here for the one month you might need it, but it is really nice to be able to leave the door open in the summer without every yellowjacket, bumblebee and winged carpenter ant flying inside looking for something to sting and bite. Trust me, we are on Critter Island, and we are outnumbered.
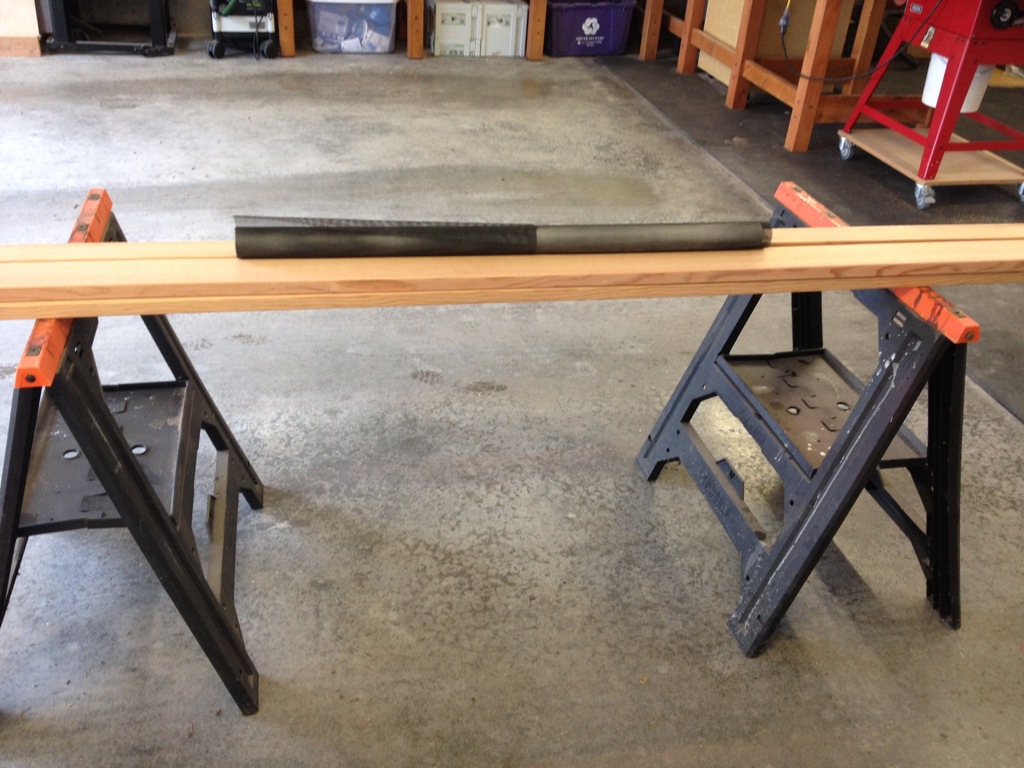
So, let’s make a screen door to let the outdoor air in and keep the critters out! Yeah, you can buy a screen door. But I’m a cheap bastard, and I like my things built correctly and made to last. So I picked up some douglas fir and started making sawdust.
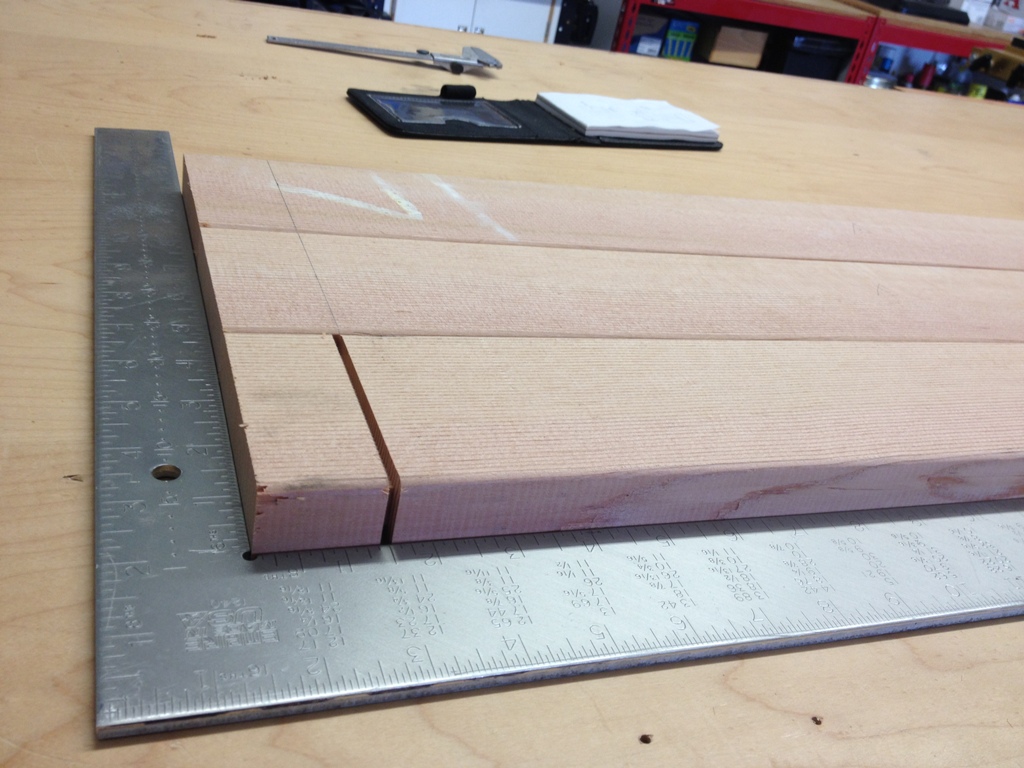
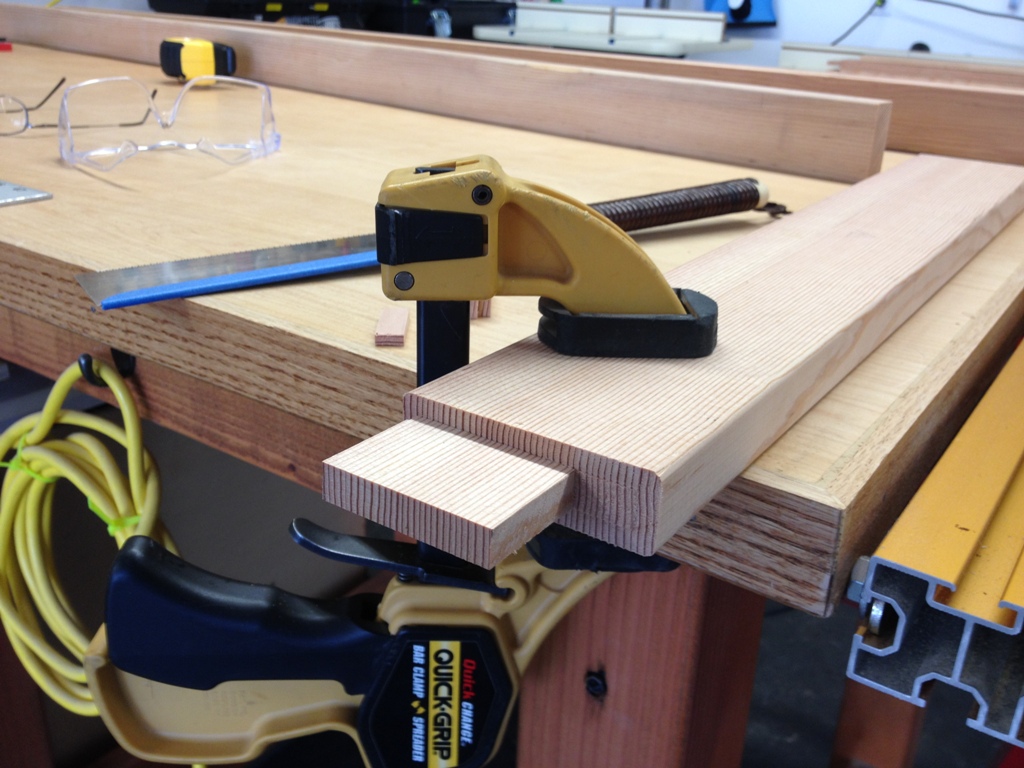
This will all be mortise and tenon joinery. This door will have three rails (the horizontal pieces of wood that go on the top, middle and bottom of the door) so it’s pretty much going to be as simple as it gets. First I start cutting tenons for the rails.
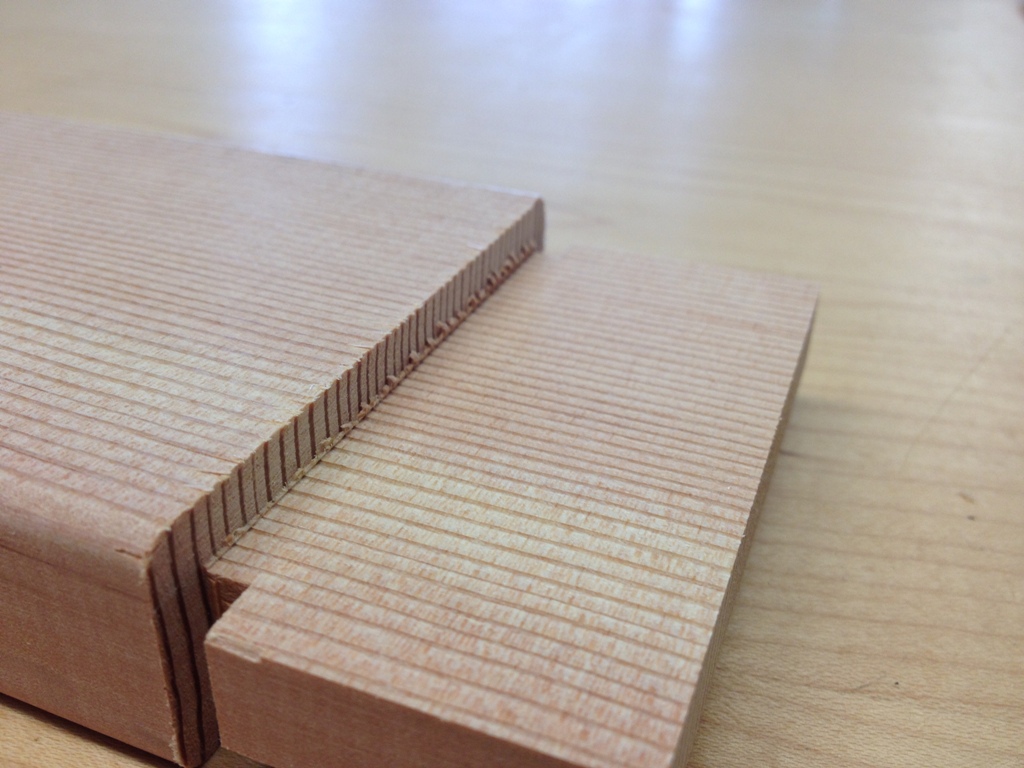
The tenons cut very clean. My jig left just a tiny bit of work to do in the corner.
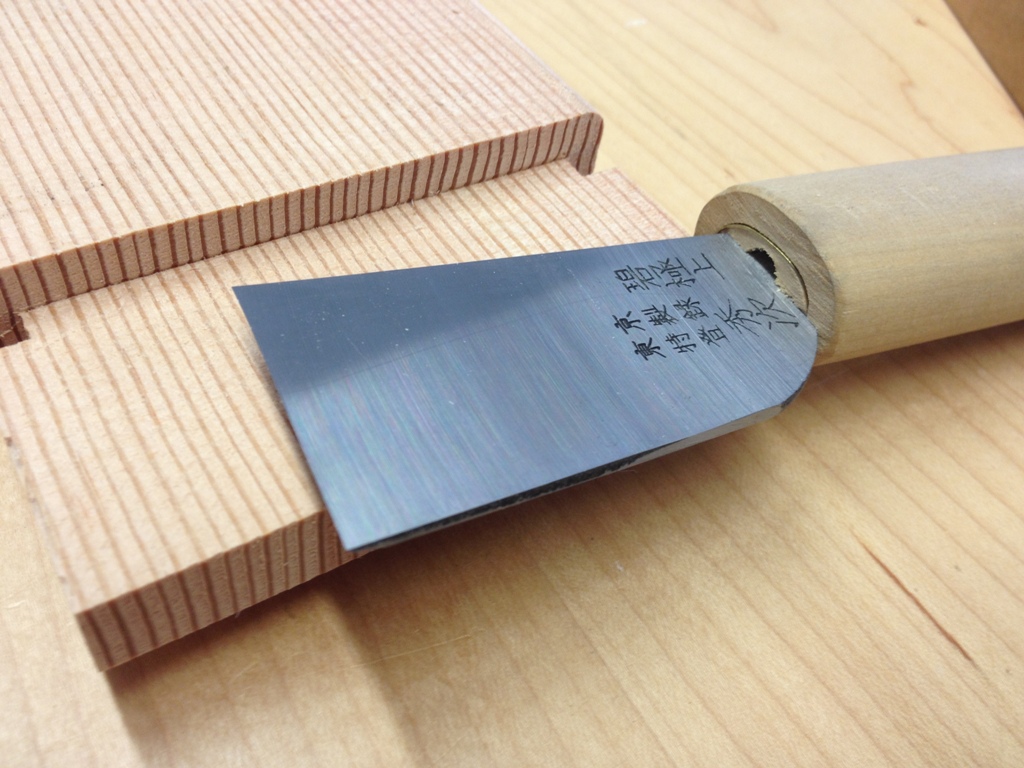
My “Magic Chisel” makes short work of it.
I finish up the tenons with a hand saw, and again clean up the surface with a sharp chisel.
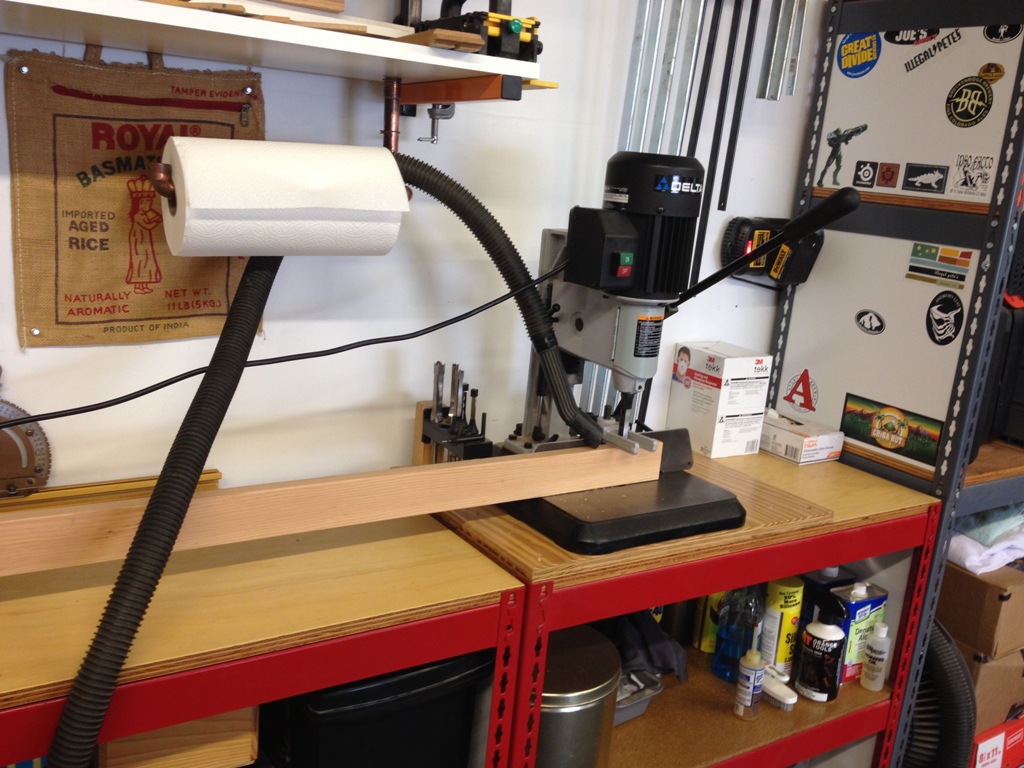
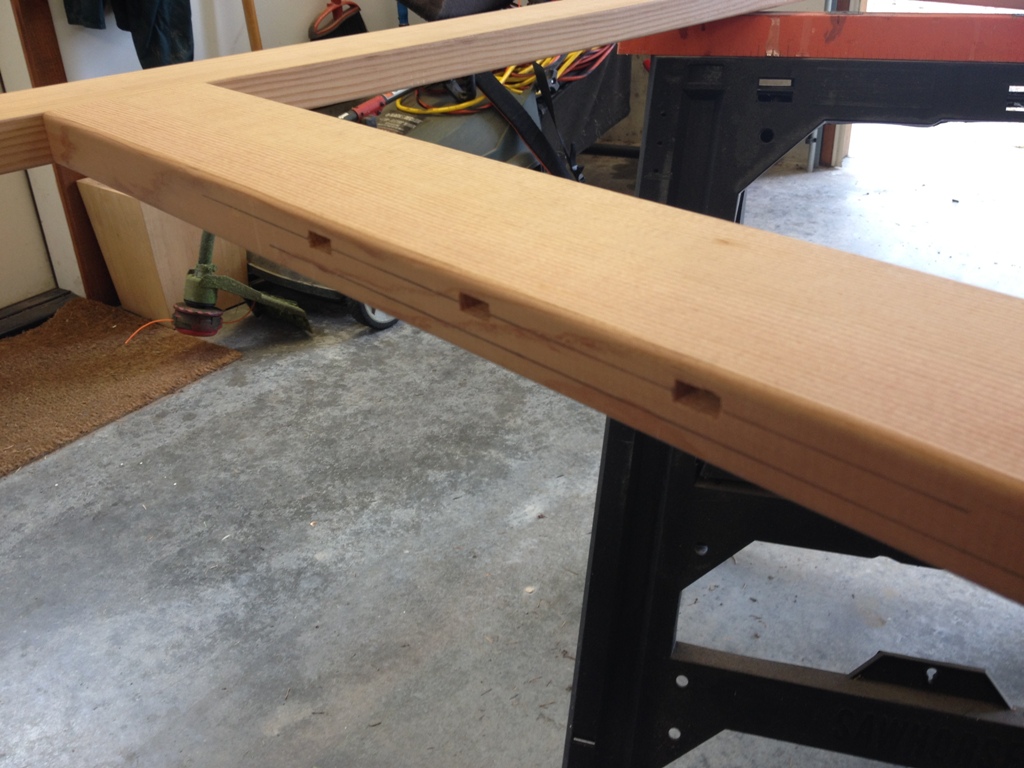
I cut the mortises with a mortising machine, which takes a tedious job and does it adequately. Once this thing is done, I’ll have some nice rectangular holes to fit the tenons into. Note my fancy dust collection (the shop vac hose dangled over the paper towel holder).
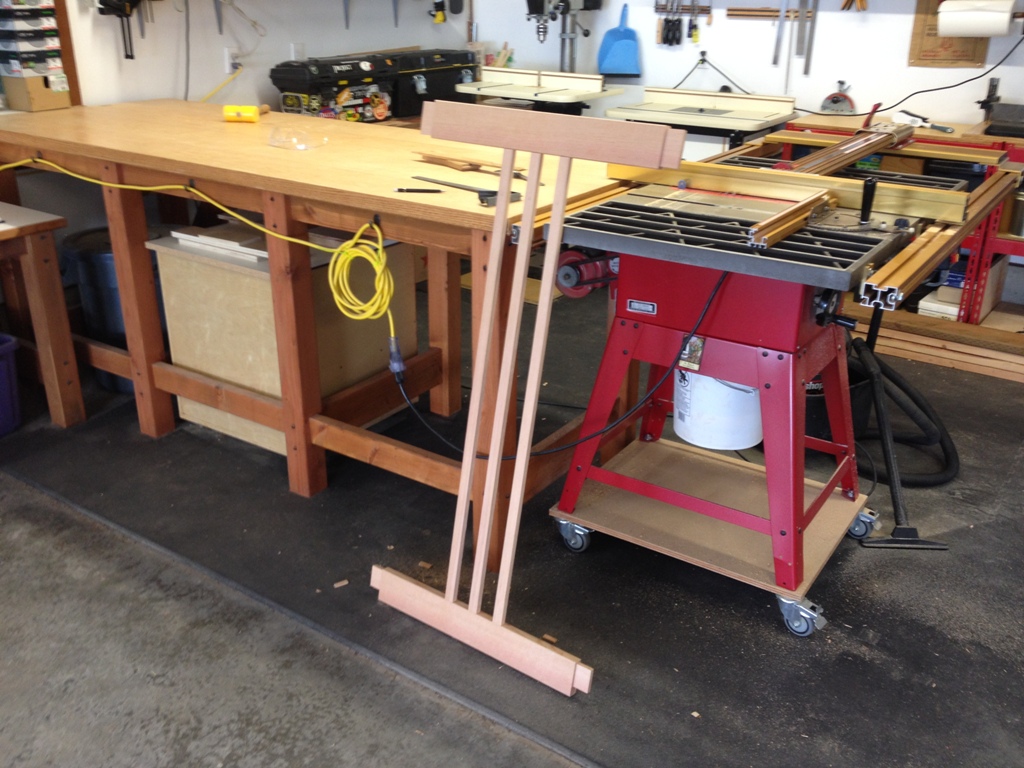
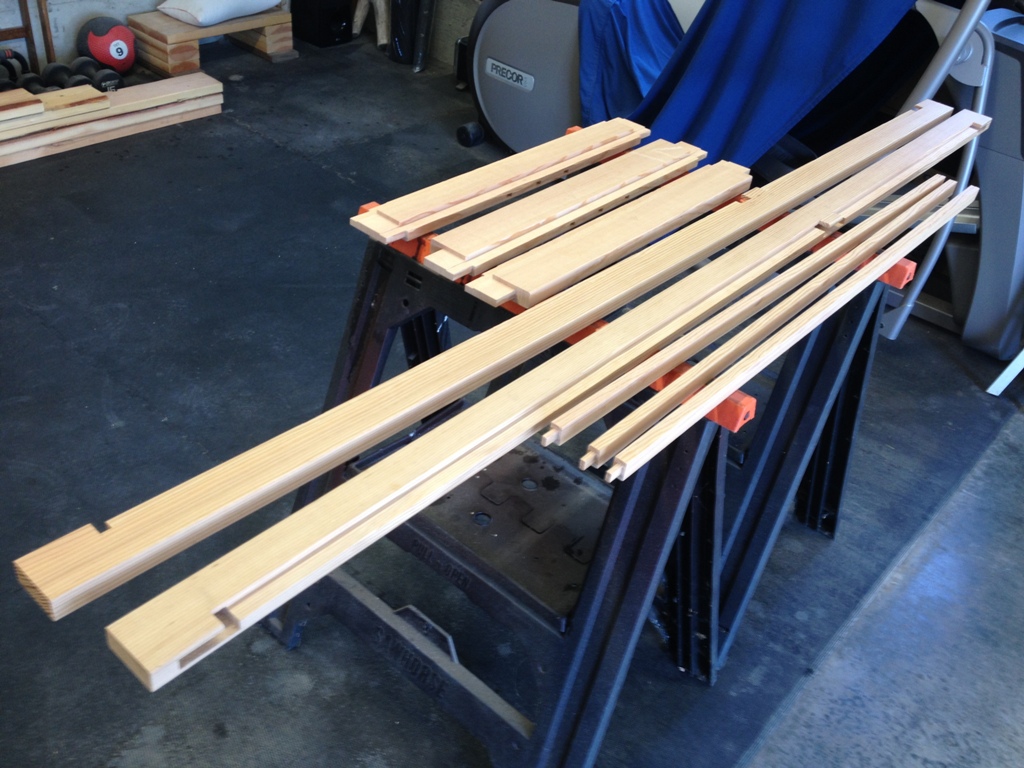
The mortises are now cut and it’s time to dry fit everything. I’m putting in some vertical slats to give it a bit of interest. I’d say they help keep the raccoons out too but they won’t.
Here’s the slats fitted into the bottom and middle rails.
And here’s the dry fit.
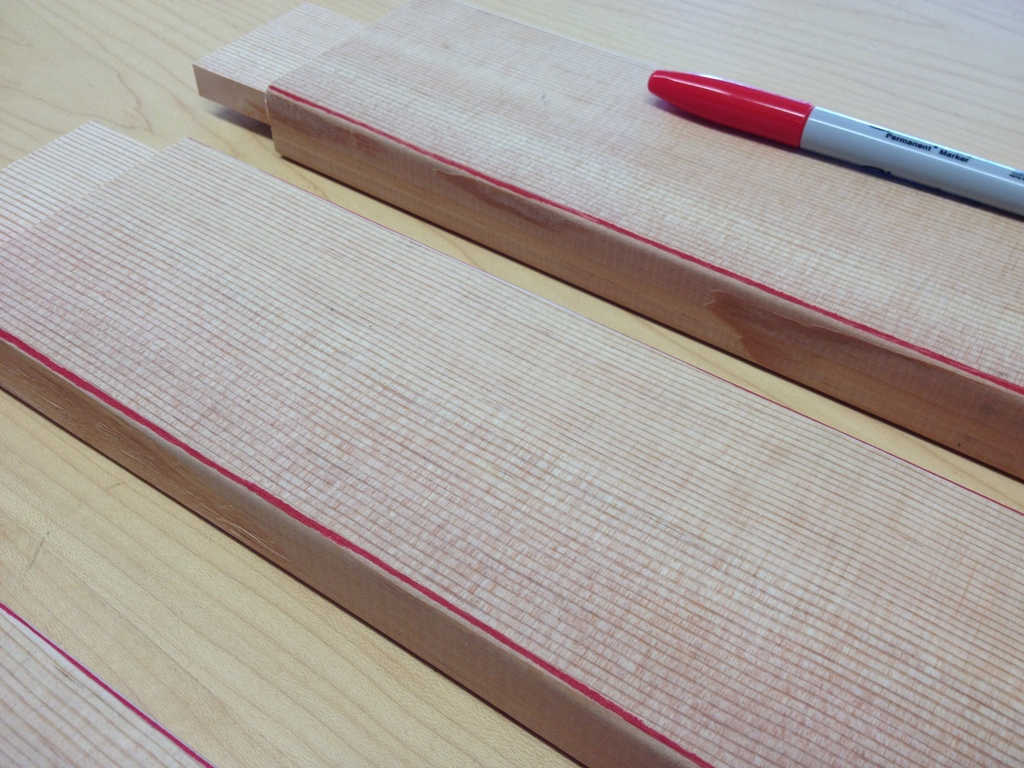
When I’m working with pieces that need to be routed, I like to mark plainly the edge I need to rout away. This prevents me from screwing up a piece by feeding it over the router bit the wrong way. Oh, gosh, I’ve “never” done that before.
After about 3 hours on the router working with dull, worn out bits, I finally carved out the area where the screen will fit. Now it’s like a big jigsaw puzzle that just needs to be sanded and glued together.
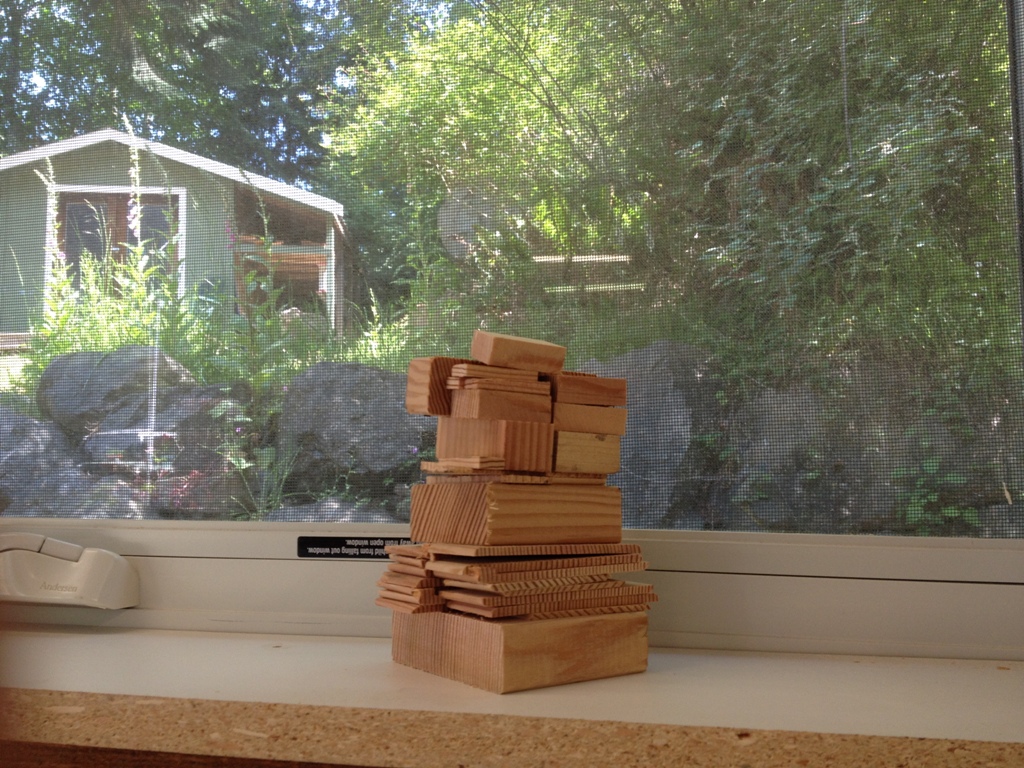
This is literally all of the scrap wood left over from this project, stacked here Jenga style. See if you can spot the two deer outside.
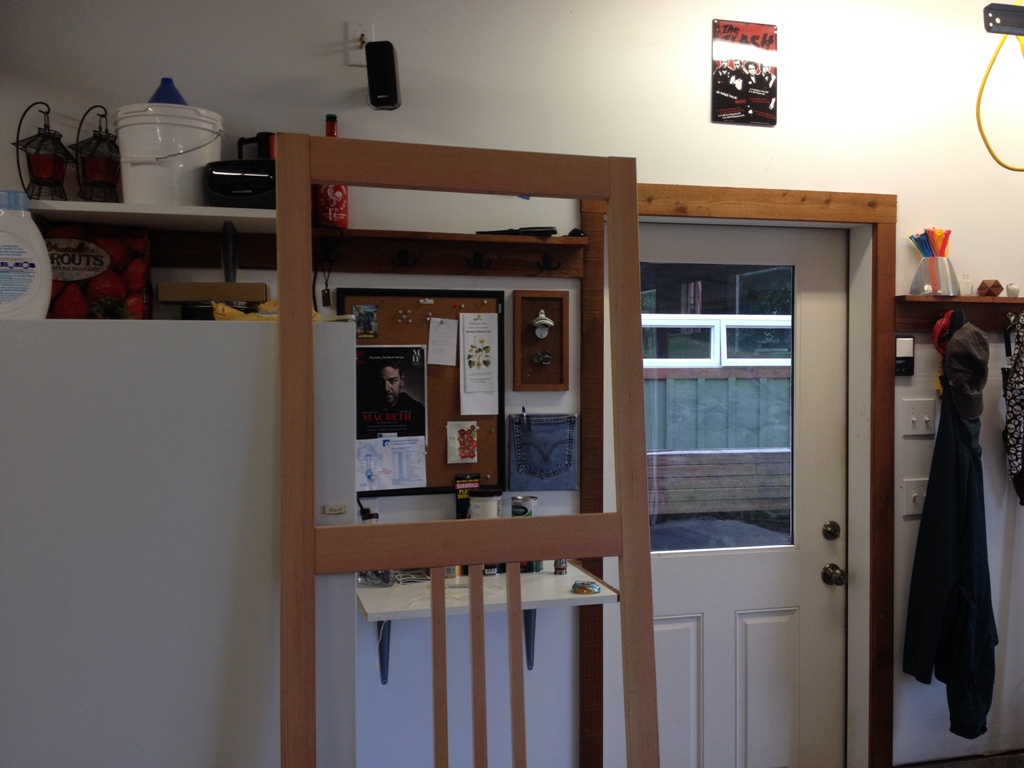
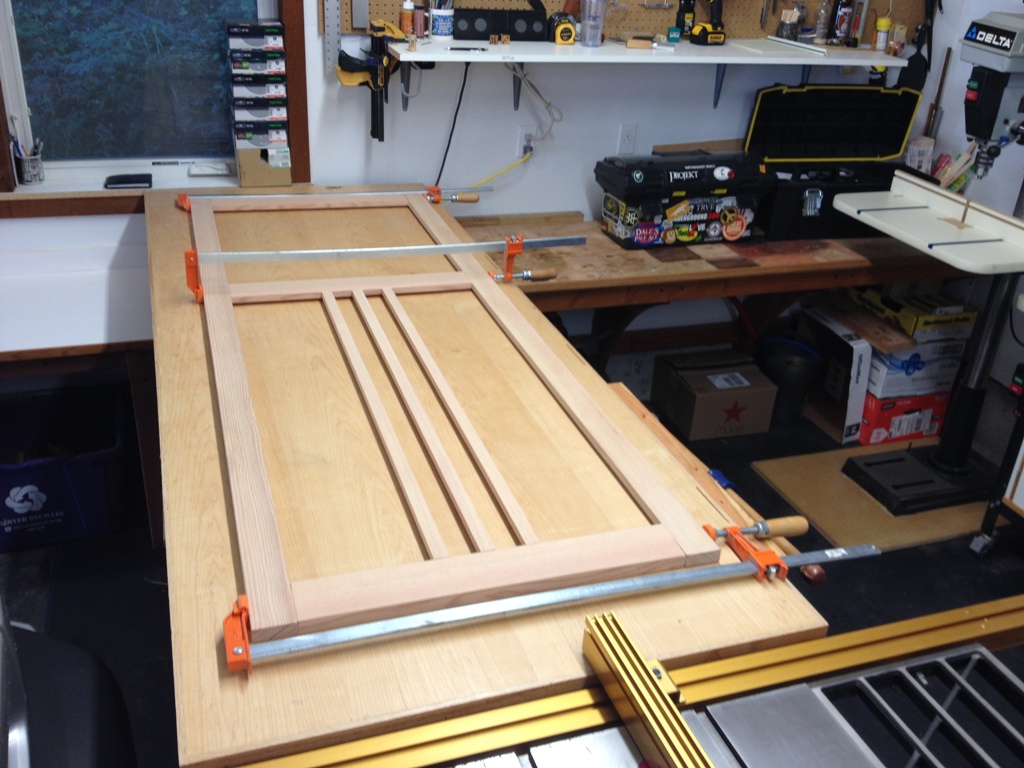
Now it’s all sanded, glued and sitting in my shop drying up. I only needed three clamps to put this together, yay! Most of my glue-ups take about twenty clamps so that was gratifying, at least.

