
Seagull Island

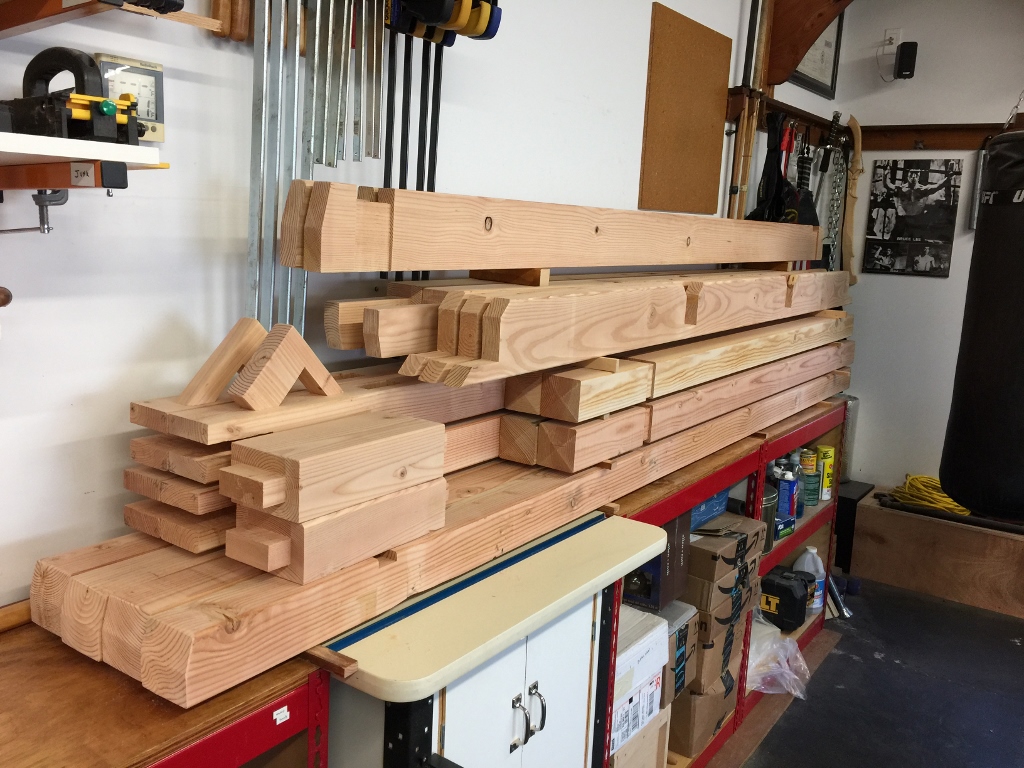
Here is my pergola. Some assembly required. I’m not really a pergola guy, and I never envisioned myself making one, but I had an empty space at the end of the deck and some kind of garden structure seemed to be the best fit for it. The garden area needed something with height, some kind of third dimension, to make it into the kind of outdoor space that we like.
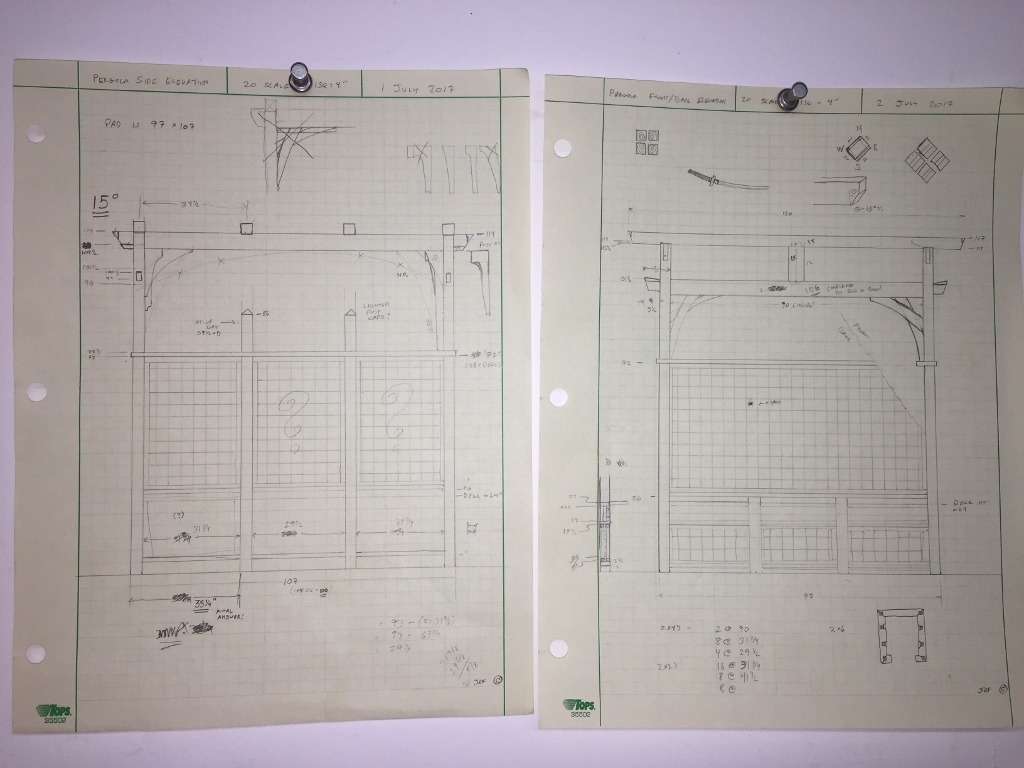
I followed very professional and detailed plans.
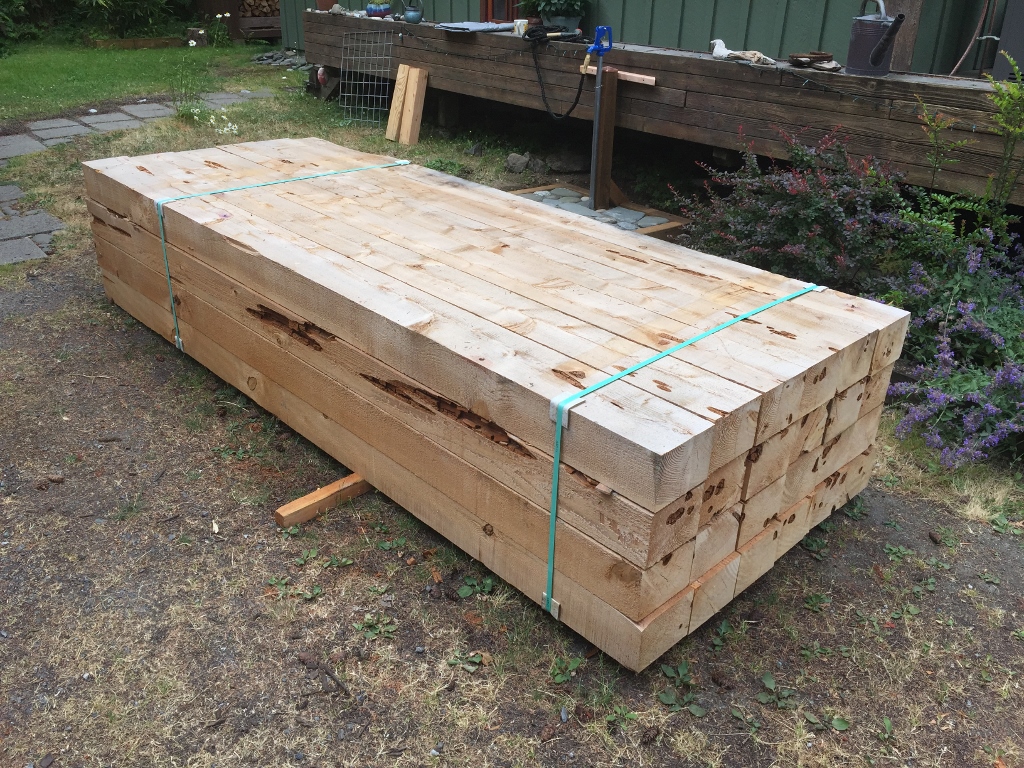
And here’s the cedar I’m going to use for the raised beds. 80 cubic feet of wood right there. As I started carrying them, they didn’t seem all that heavy, and I figured it was nothing I couldn’t handle. But the pieces on top had been roasting in the sun for a few weeks, and the middle pieces were sopping wet. Those pieces were easily twice as heavy. I’m so glad I lift weights.
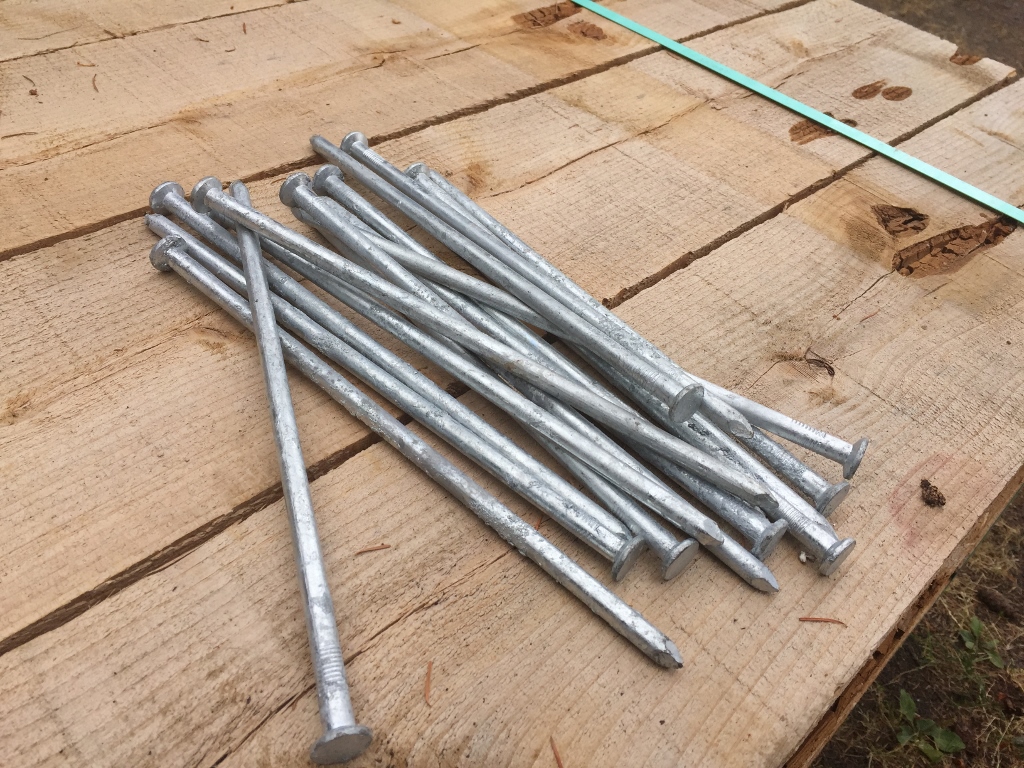
Biggest nails I could find.
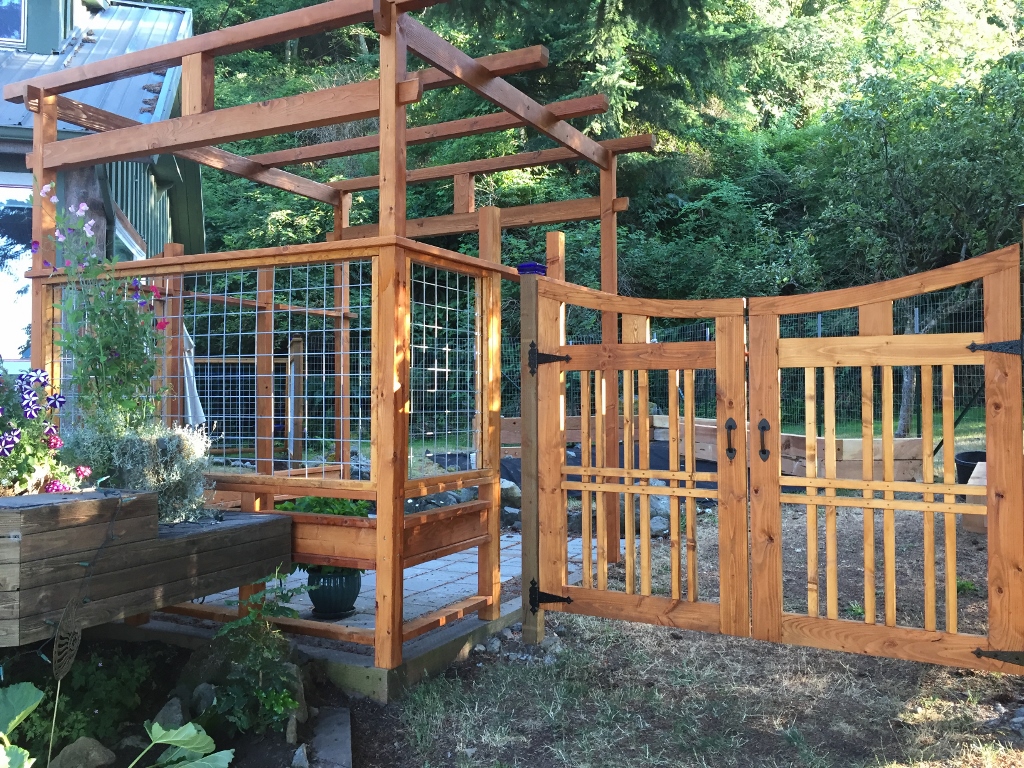
All put together. The pergola goes very well with the garden space. It ties into the fence and the gates around it, and (most importantly) keeps the fricking deer out.
Outdoor living space is really important to us. The pergola and the gates will open up into a small patio area (which is about 1/3 finished right now) and the garden with the raised beds.
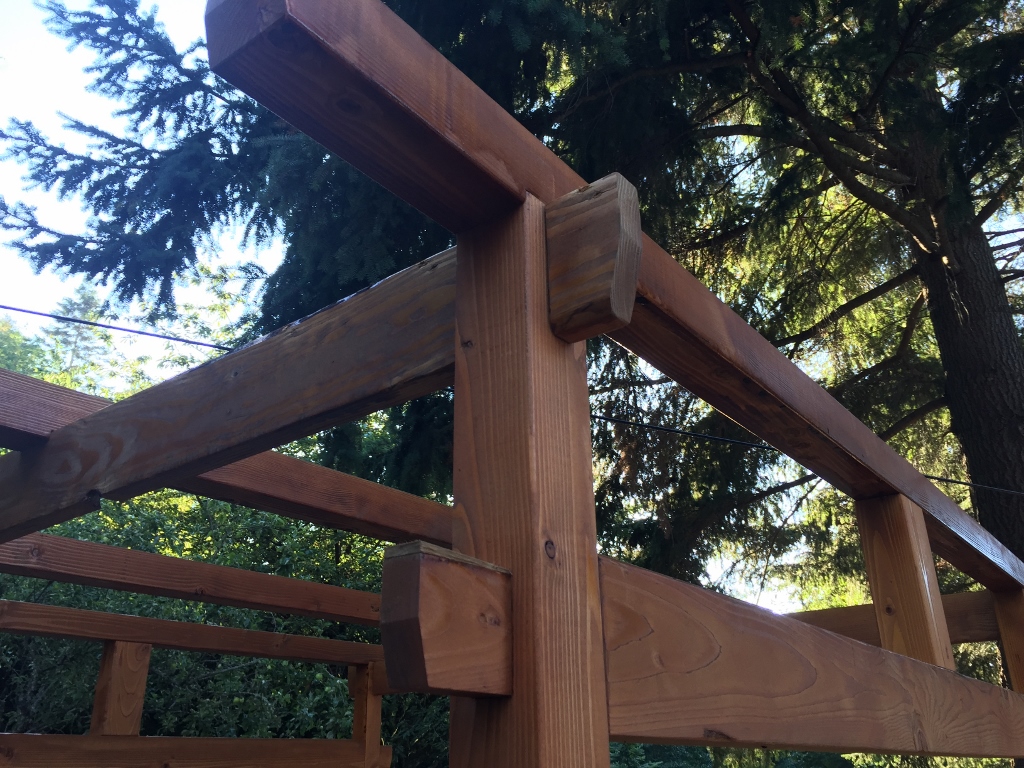
It’s all traditional joinery holding this thing together. I even got to do some wedged tenons, my favorite!
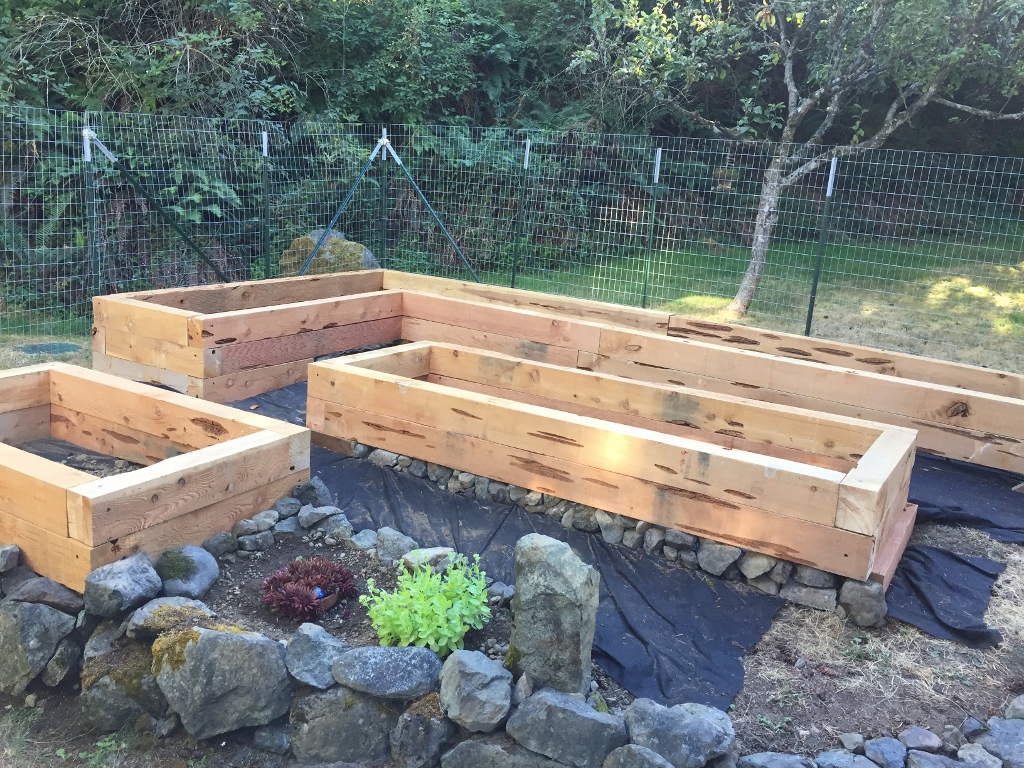
The raised beds make the foundation of a tight little planting area with lots of paths like little streets and avenues. I might even name them. Put in a traffic signal, some stop signs, etc. Most of this area gets full afternoon sun but we have some shaded areas as well, and once we get things planted and growing it should make for a nice place to spend time. The fence in the back is temporary, I’ll put in a good post and frame fence now that the beds are in place.
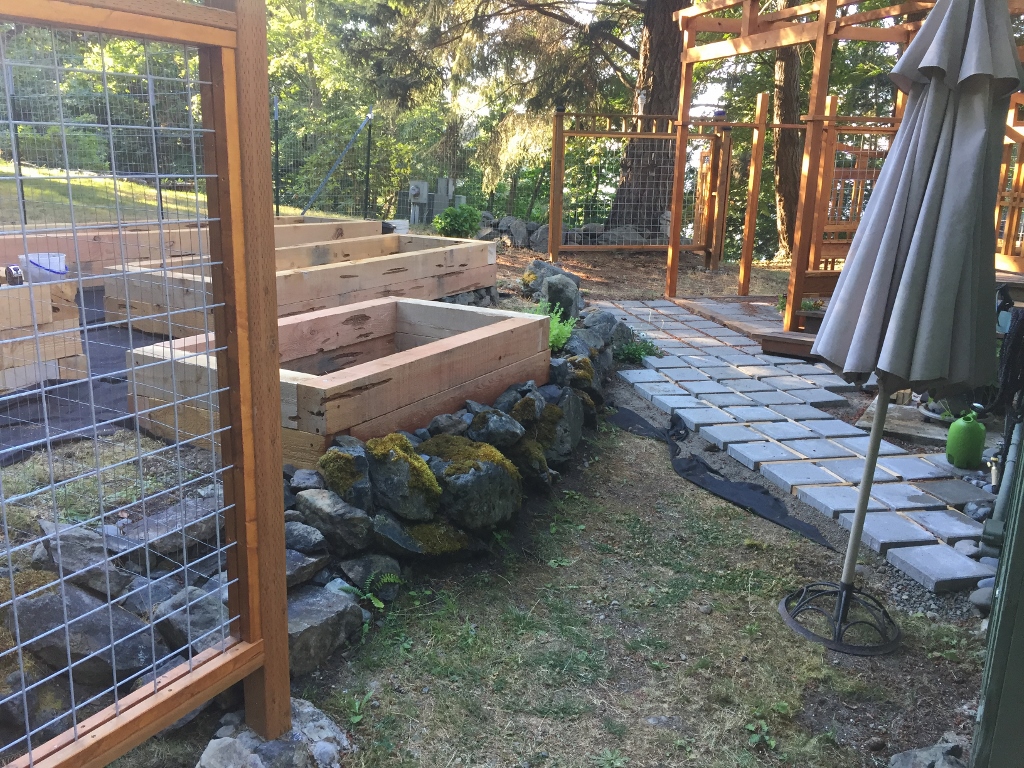
It’s still a bit of a war zone. We probably won’t start planting things until next year. Need to get gravel, dirt, sand, all sorts of landscaping things. At least we have rock, as much as we could possibly want.
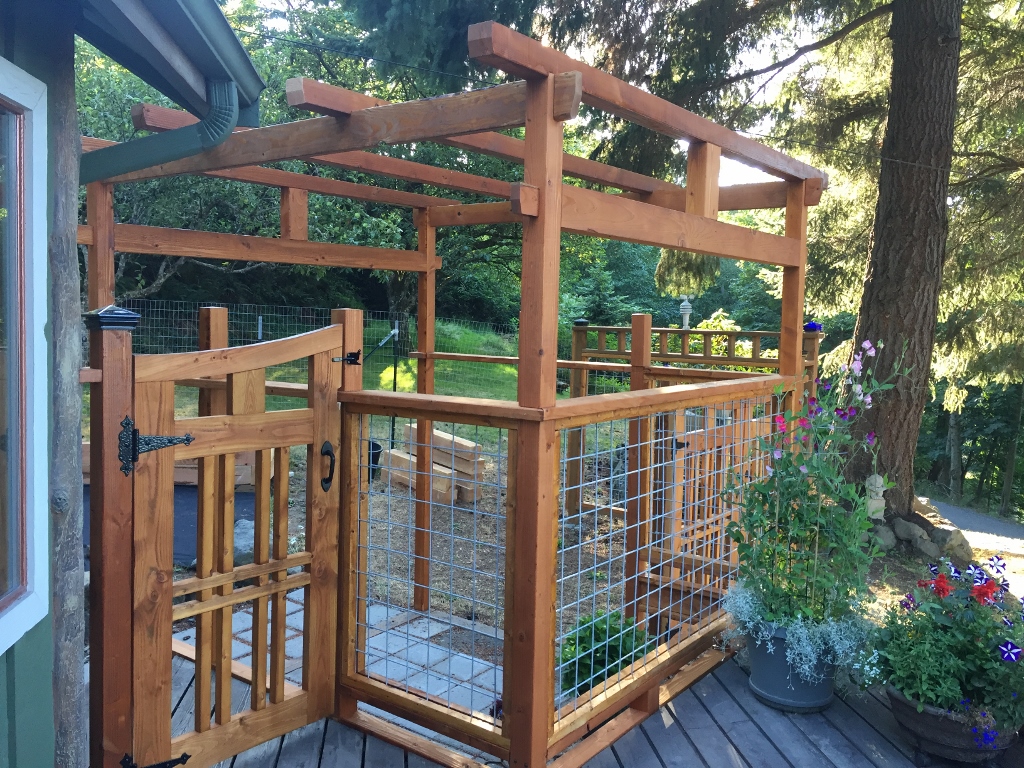
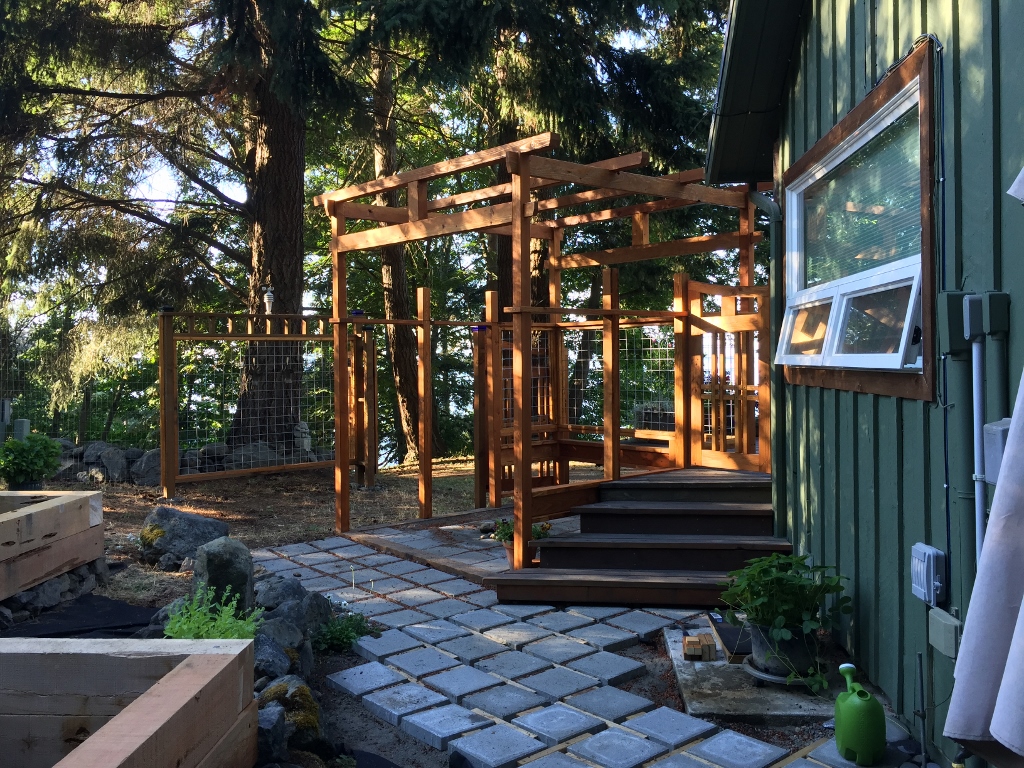
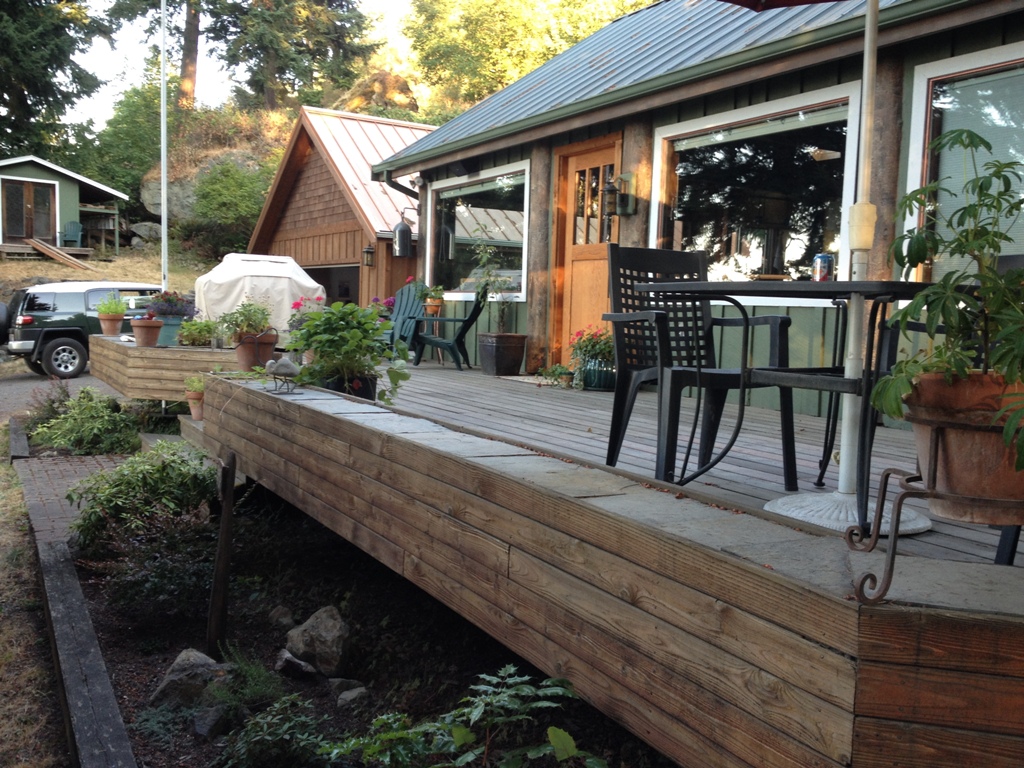
The view from the deck is nice. The pergola right now is just a skeleton, a frame of what it’s going to be. We’ll add pots and plants to it, maybe hang some kind of artwork, put in some patio furniture inside (somewhere to sit and roast marshmallows, maybe). It’s just going to be another space that we can enjoy.
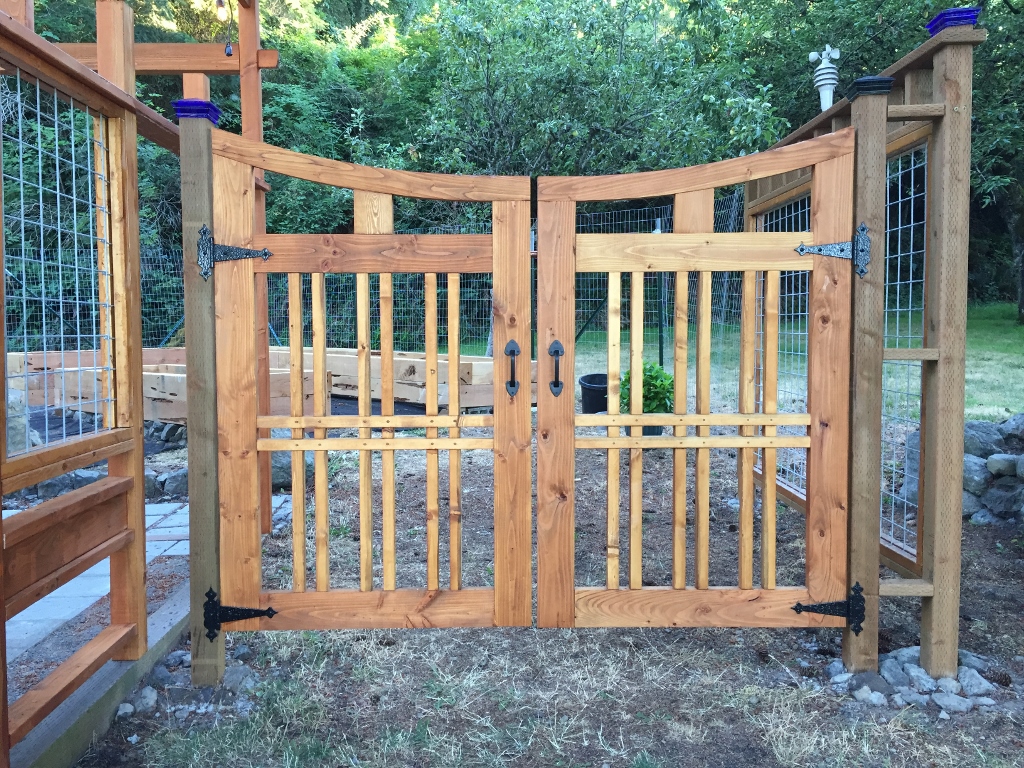
I’ll probably call it the Garden of Seven Gates when it’s all finished.
Lots going on here as usual. No finished projects to report on so I’ll just share with you a little slice of Orcas summer.
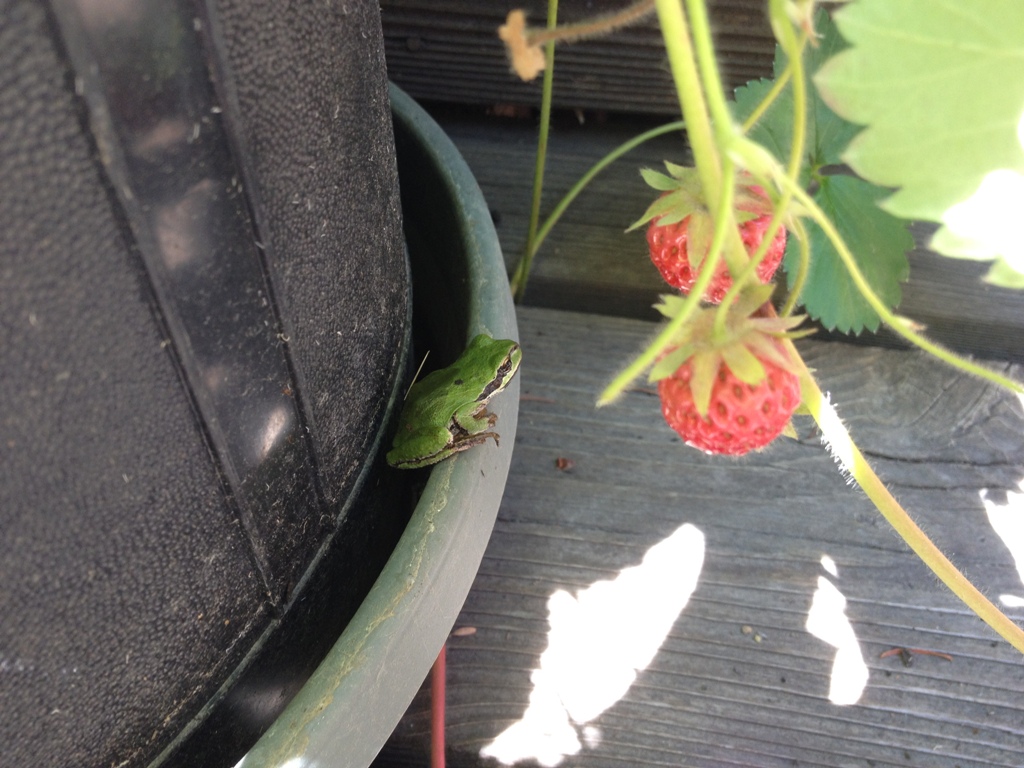
Frog in our strawberry plant. I think he wants to eat a strawberry, but they are bigger than he is so it poses a logistical issue.
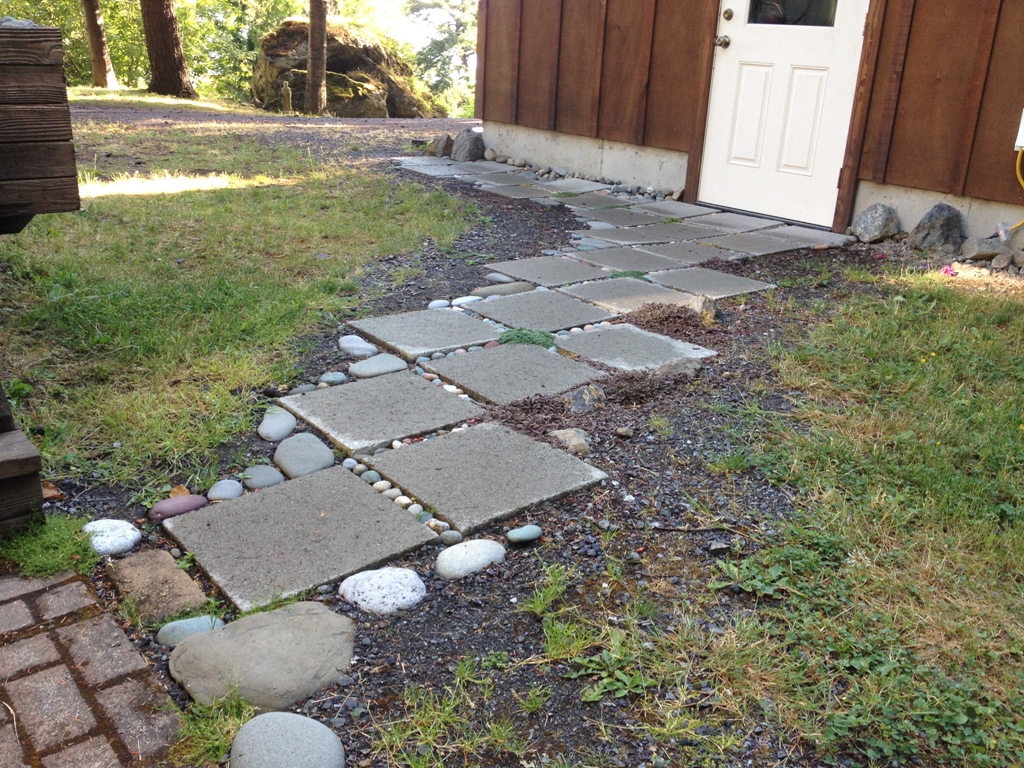
How the path has grown. I just keep adding stuff to it: rocks, moss, plants, whatever.
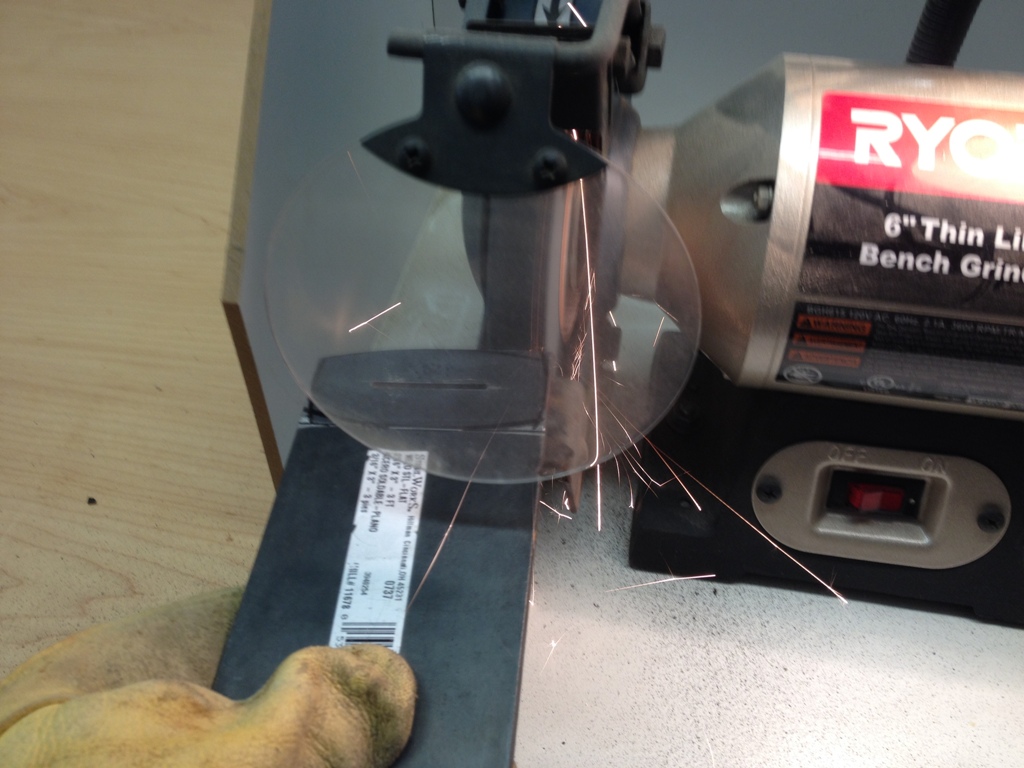
Sparks flying in the shop. I bet you wonder what I’m working on now…

Forest fires in our region have given us dramatic sunscapes. This was from shortly after sunrise.

All manner of pirate booty washes up on our shores.

Flying over Eastsound. On the island, we just call it “town”. It’s best avoided from June to September because of the tourist infestation.
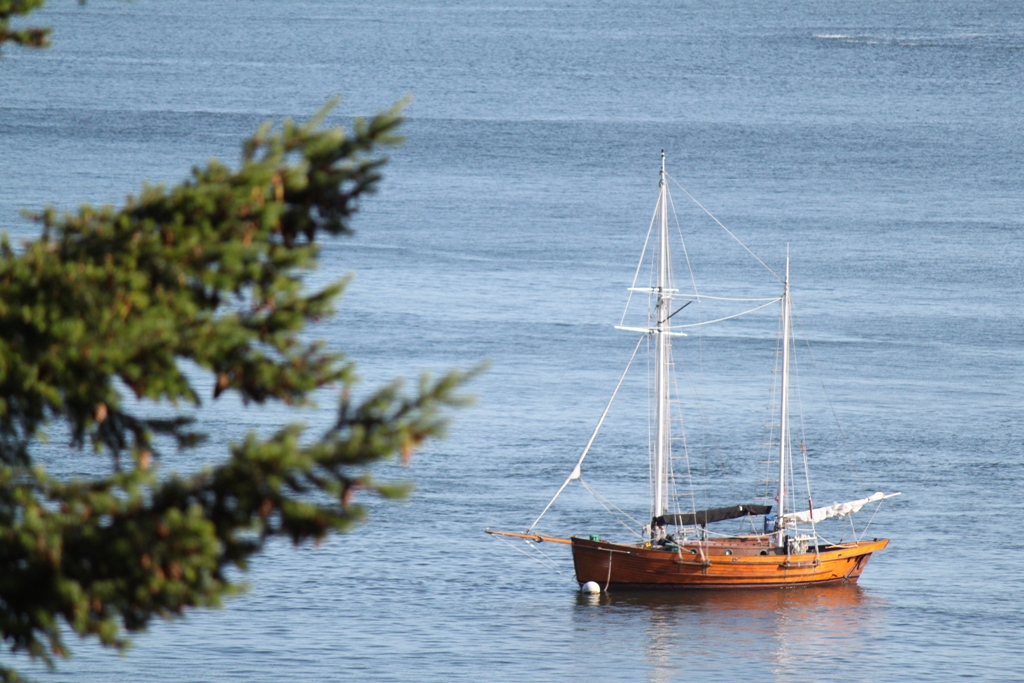
Sailing around from island to island in a wooden boat? These guys have the right idea.
This really would be a nice place to rest, if ever I would rest.
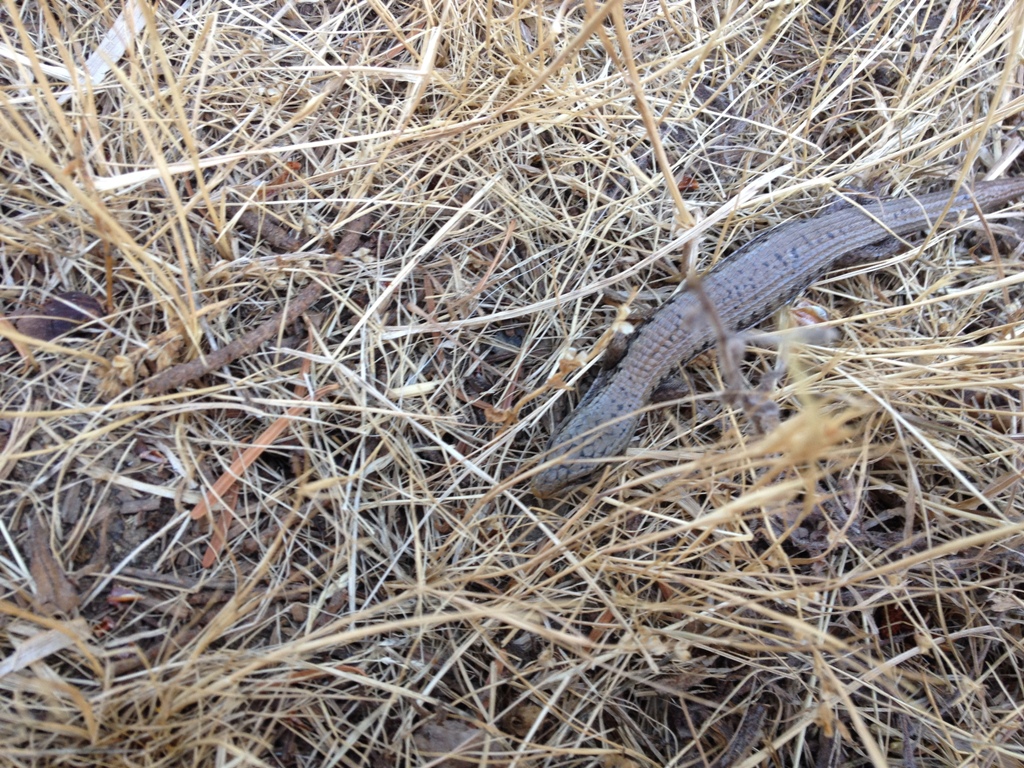
I saved this lizard from Inky’s deadly fangs. She was fairly well convinced that it was a cat toy.
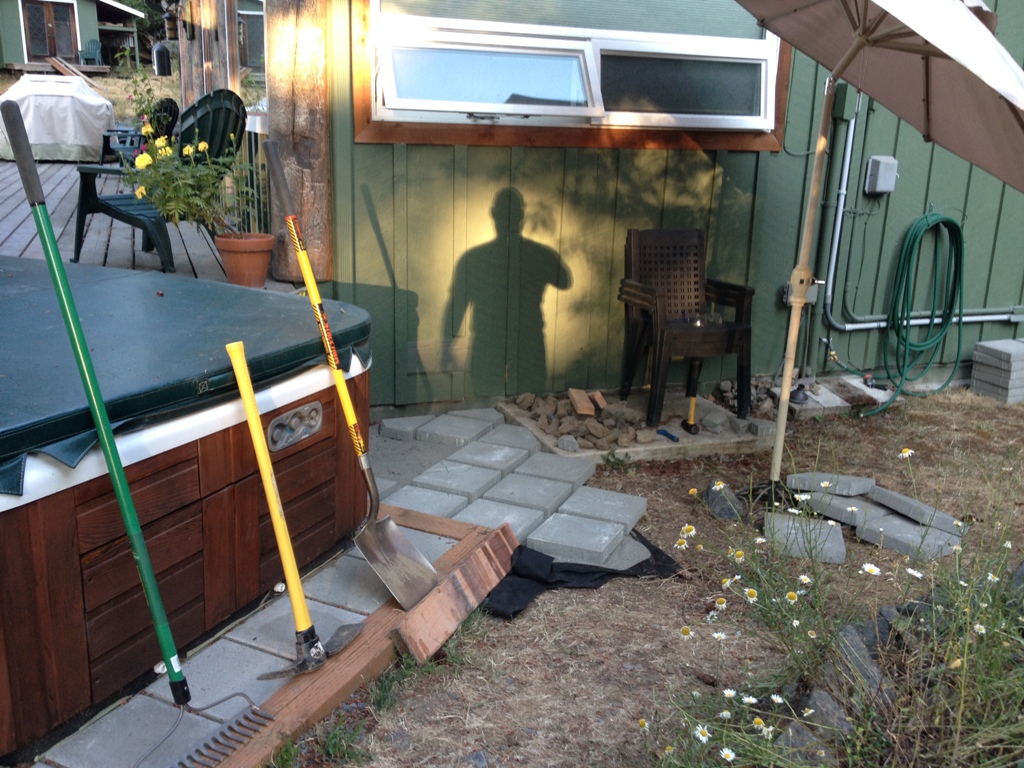 Does it look like a mess? It is. Give me a few weekends, I’ll have it all sorted out.
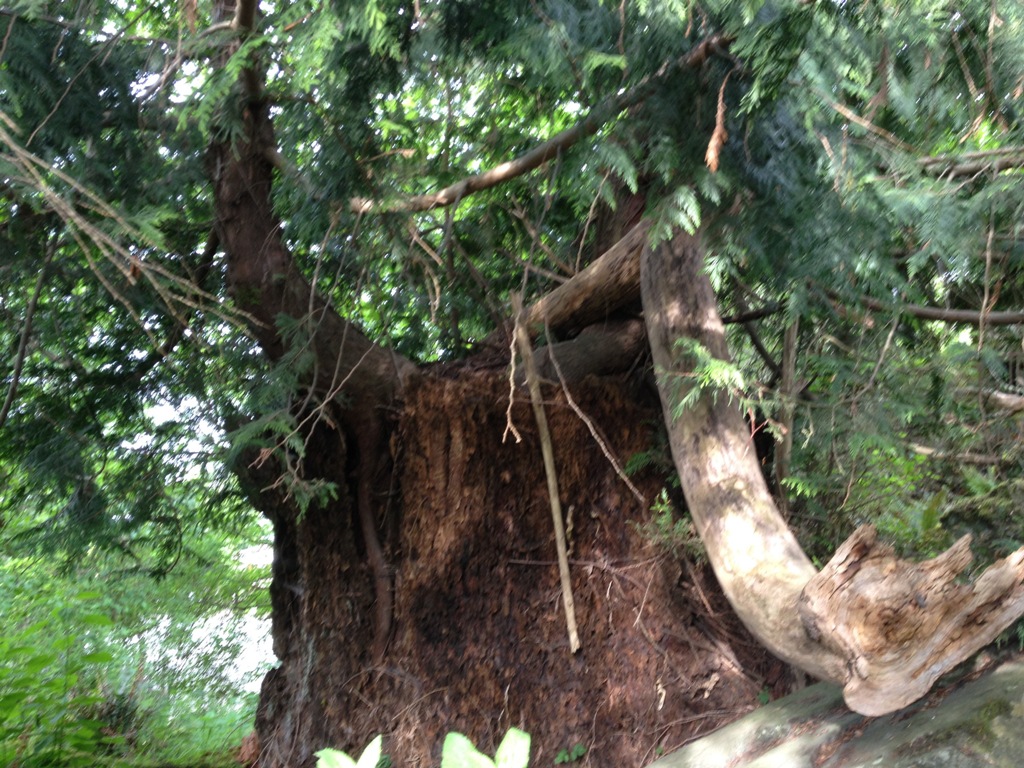
Most of our land looks like this. It is rugged terrain, rocky and overgrown, where few bipeds will ever roam. The rocks are covered with just enough moss to make them slippery, and they’re still jagged and hard enough to break bones if you fall on them. Many of the plants are barbed or spiny and if they touch your skin they will sting all day. And so will the bees, and so will the wasps. The legion of carpenter ants are actually the most benign denizens of the jungle.
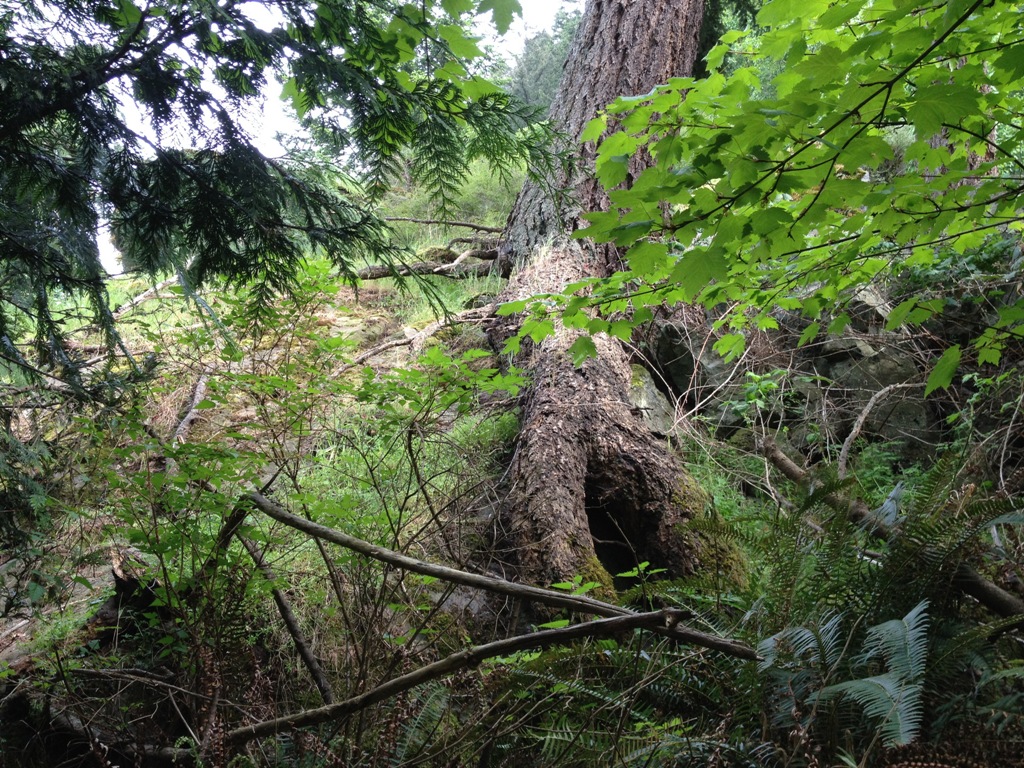
This is an old, decomposed tree stump that is so big that two trees are growing out of it. Read that again. Two trees make root in this tree stump. And not just little saplings, they’re 40′ cedars. Growing out of a tree stump.
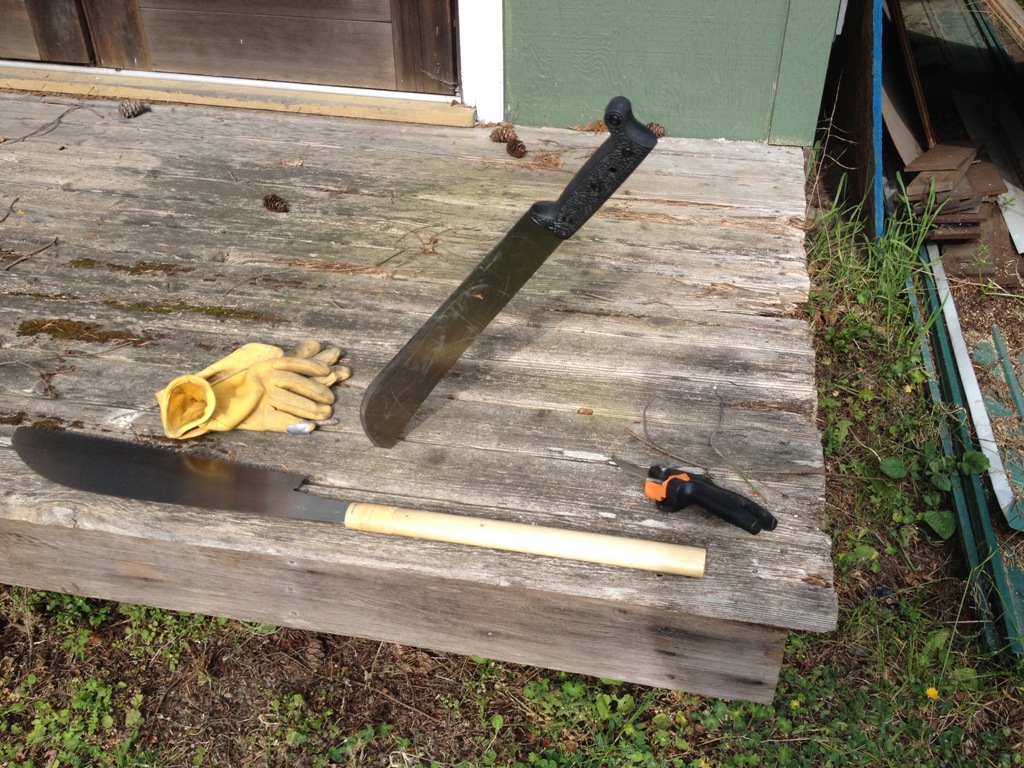
These were my gardening tools today. My big saw, the Fiskars trimmers and a $5 machete. Against the jungle, they just didn’t seem sufficient.
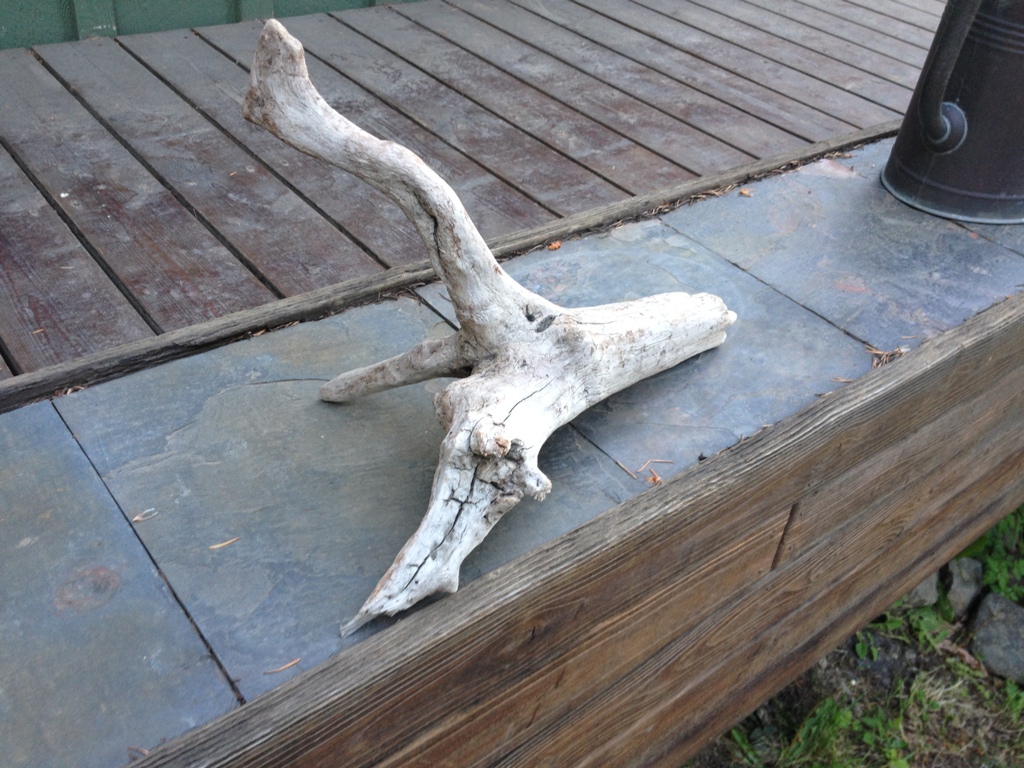
Driftwood.
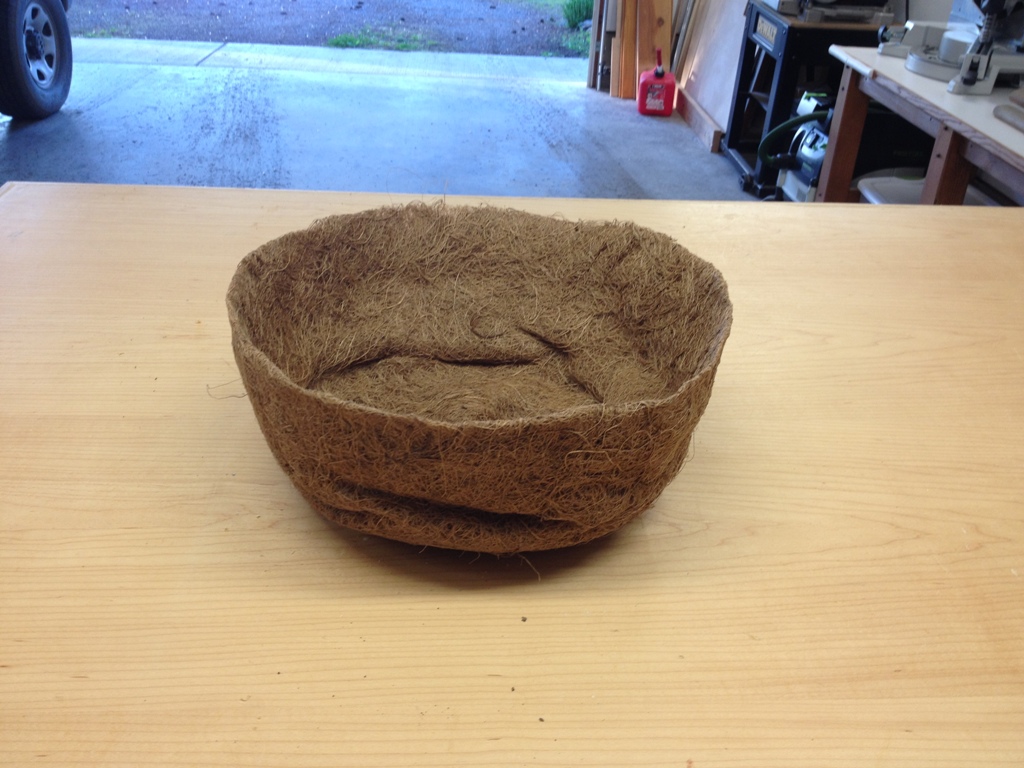
 Mesh plant basket.
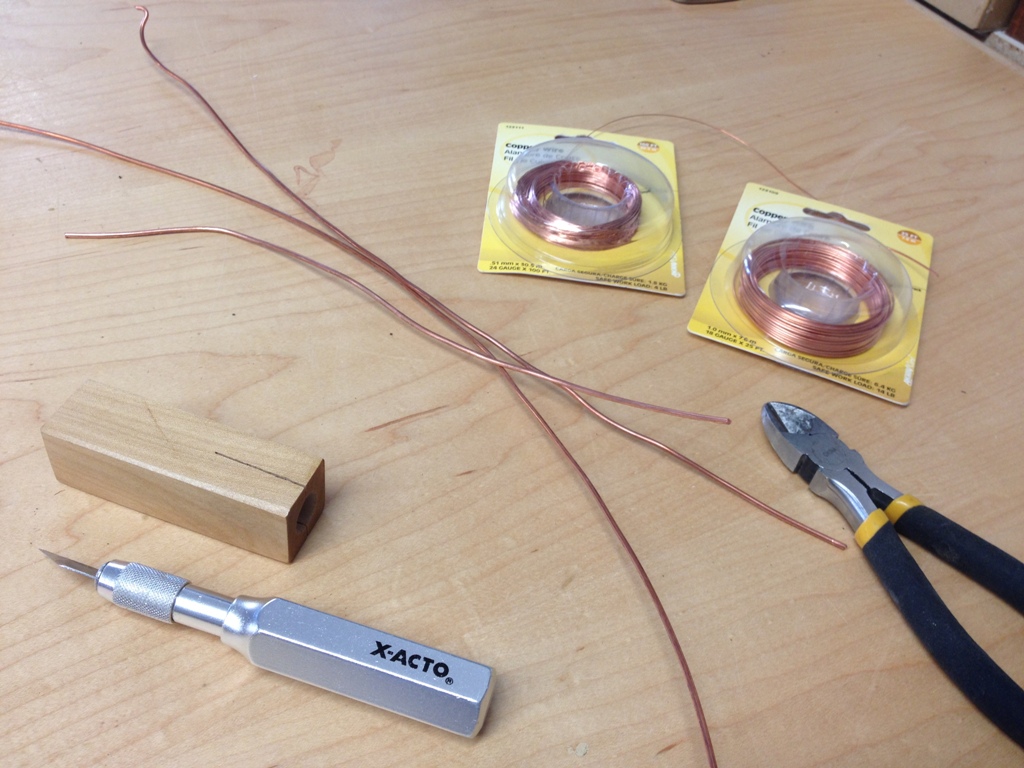
Copper wire.
Yes, on occasion, I go down the artsy-craftsy path where it’s not always easy to tell the good ideas from the bad. Sometimes you just have to follow it and see how it goes. In this case, I think it went well. The driftwood I found looked like it could hold a potted plant, maybe something that trails down the sides. I initially thought to embed it in the ground but it would basically be a ground mounted deer feeder. That’s when I figured I could mount it on the wall, like a sconce. I just had to affix it to a slab of wood.
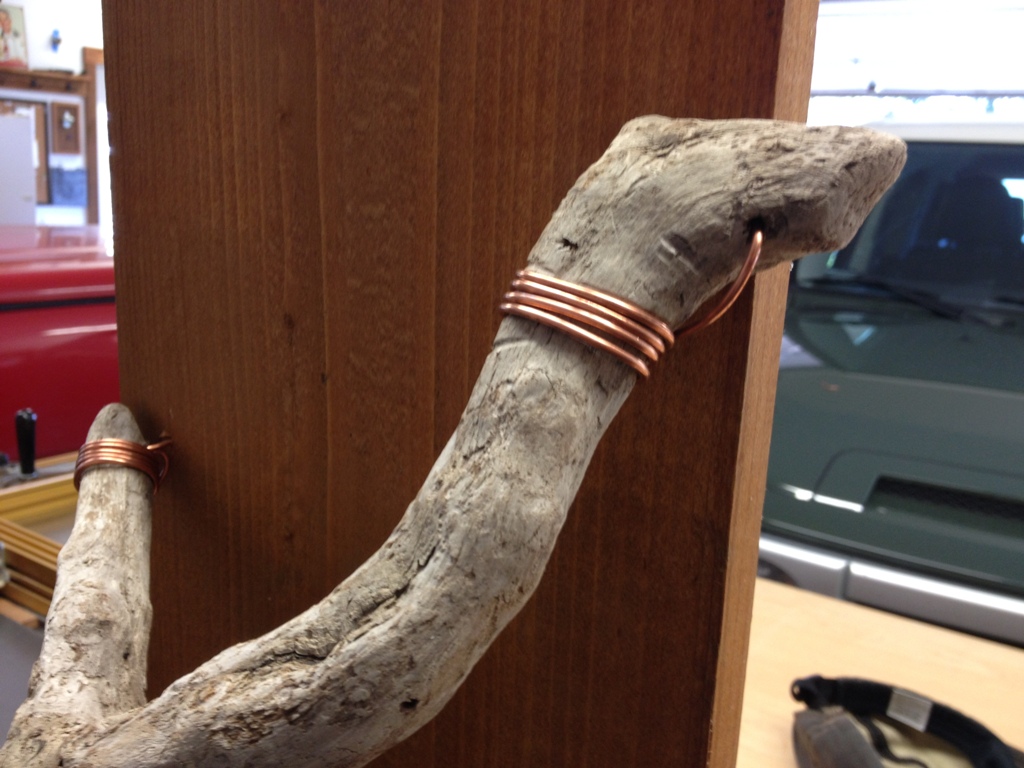
That’s where all the copper wire comes in to play. It weathers well outdoors, like driftwood, and the 12 gauge stuff is plenty strong enough to hold it in place. Just drilled through the wood in a few places to get it started and wrapped it tightly around the ends.
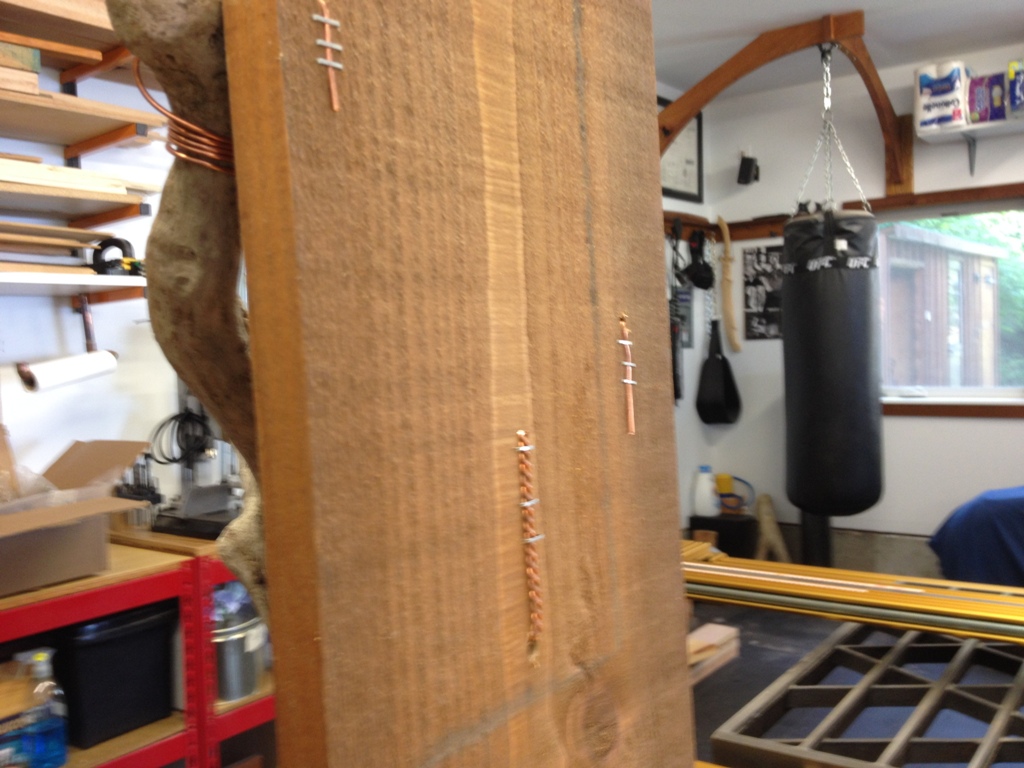
On the backside, the copper wires go through holes and are held in place by staples.
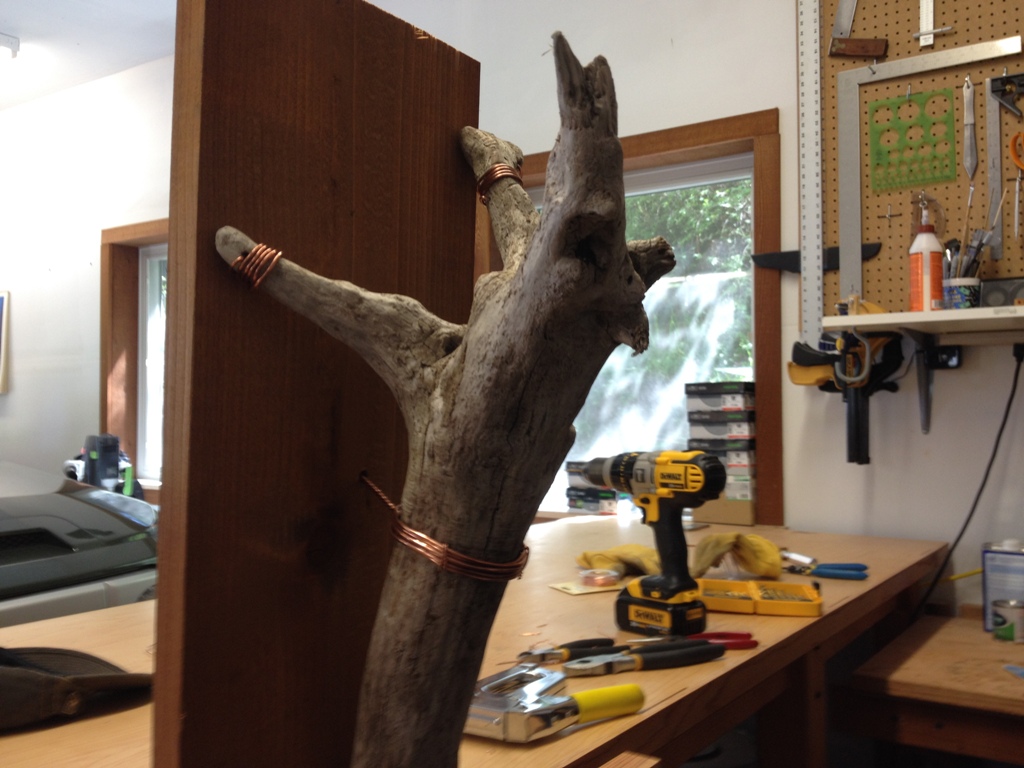 There. Now the prongs can hold a basket. I did wire the basket firmly in place and gave it some support so it wouldn’t deform too badly when I put dirt in it. That’s the last thing I’d need.

I nailed it to the side of the garage with copper colored boat nails. The slab of wood will protect the garage wall from getting wet. We put some kind of fuchsia in the basket and I think it will do well.
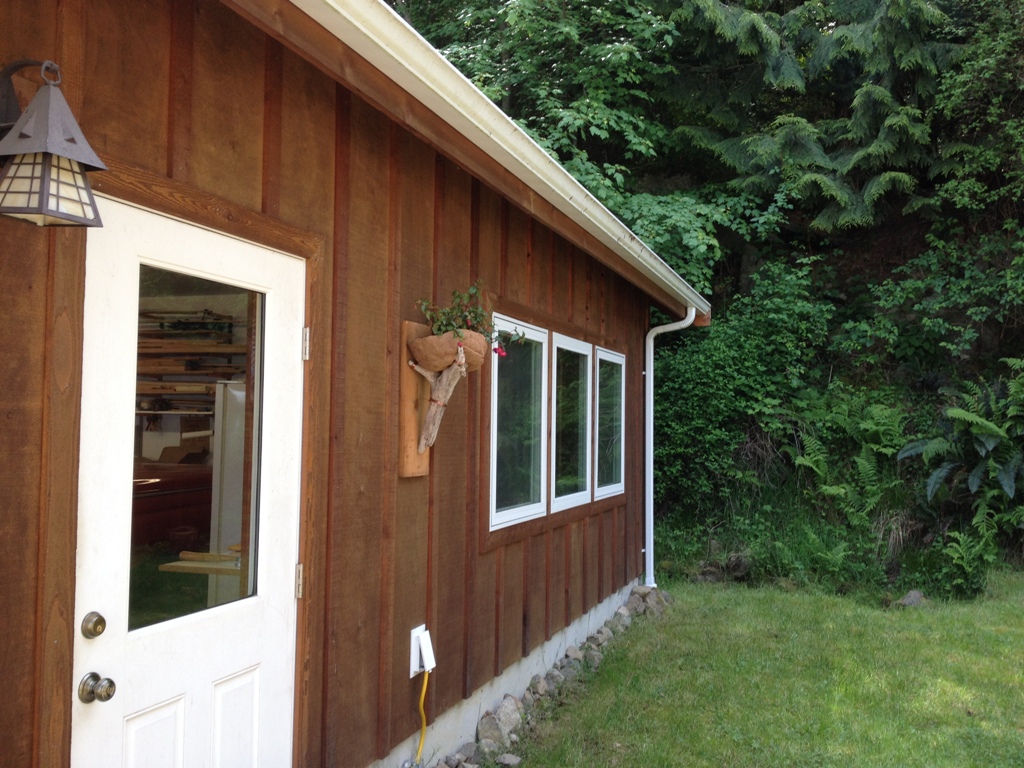
And it holds the plant well above deer level so it shouldn’t turn into chow anytime soon.
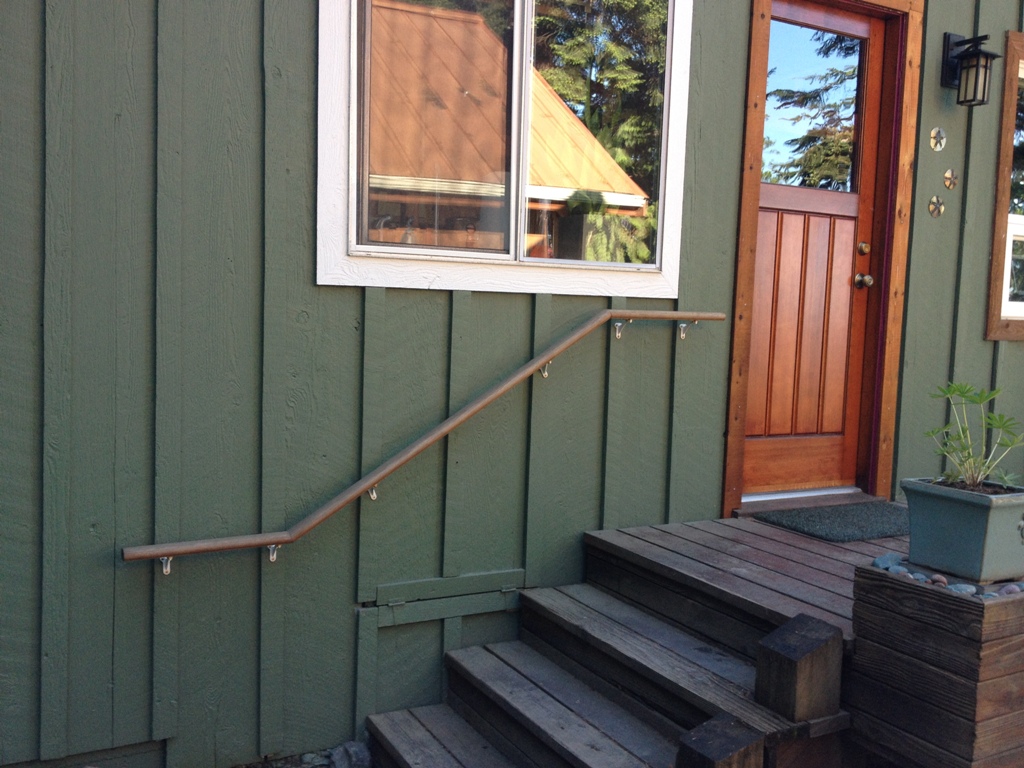
We’ve had this handrail on the side of our house since we moved in. I guess building codes require a handrail next to the stairs because they care about people, or something. It was installed at the last minute and at a very low budget. It wasn’t much to look at but I guess it got the job done. Well, I finally found something pretty cool to replace it with.
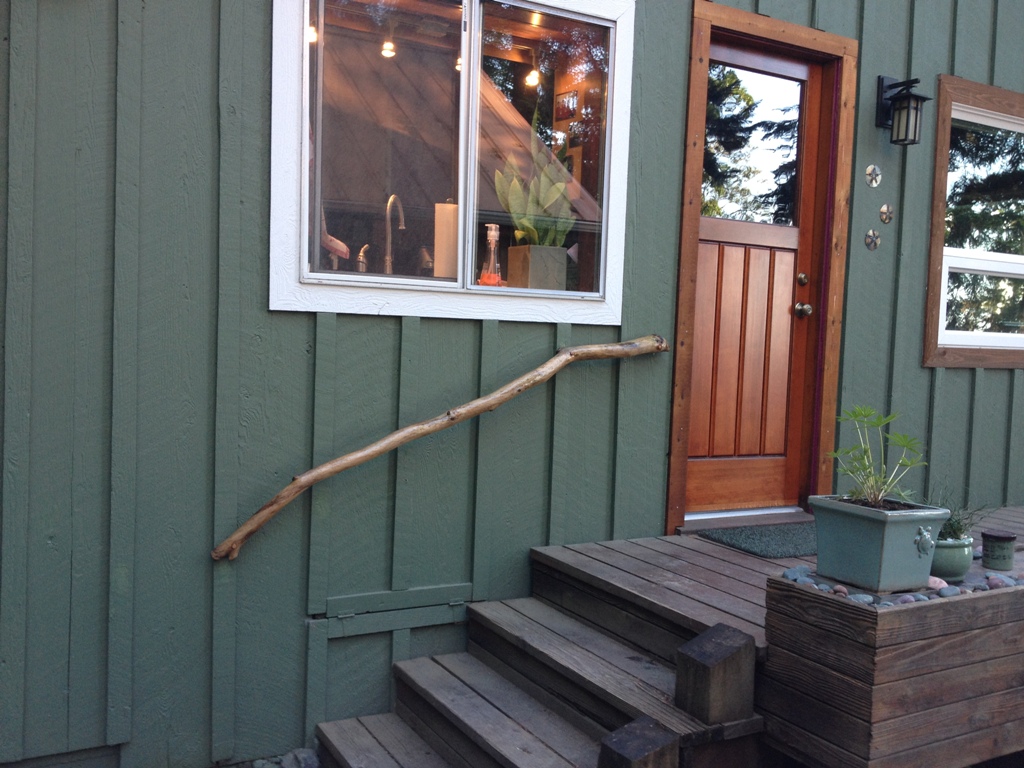
I’m not really a fan of making everything out of driftwood, but I found this piece a while back that would make Gandalf proud to use it for a wizard’s staff. It looked like it would fit well at the side door so it didn’t take me long to rip out the old handrail and affix this one to the wall.

I was going to make or buy some nice brackets to affix it but I discovered it was faster to simply use lag bolts and plug the holes with dowels. Actually fits fairly sturdy that way. I think it will work nicely.

Landscaping is coming along slowly but nicely. It’s cool to live in a place where you can use what you have on your own land for landscaping materials instead of having to go to home depot. It’s one of the very few ways you can save a little money out here.
Now, we’ve always wanted to remove the wall between the kitchen and living area. We’re really sick of having to run around the corner every time someone scores a hockey goal. With the wall out of the way, we can raid the fridge and watch hockey at the same time! And, it really opens the house up, making the tiny kitchen bigger.
And we hated the paneling. HATED!
It wan’t even real paneling, just the cheap imitation pressed cardboard stuff. Removing it took about 15 minutes. Didn’t even put up a fight. Just popped right out like it knew its time was up. Naturally, it’s what you find behind the wall that sets the tone, and budget, of the project.
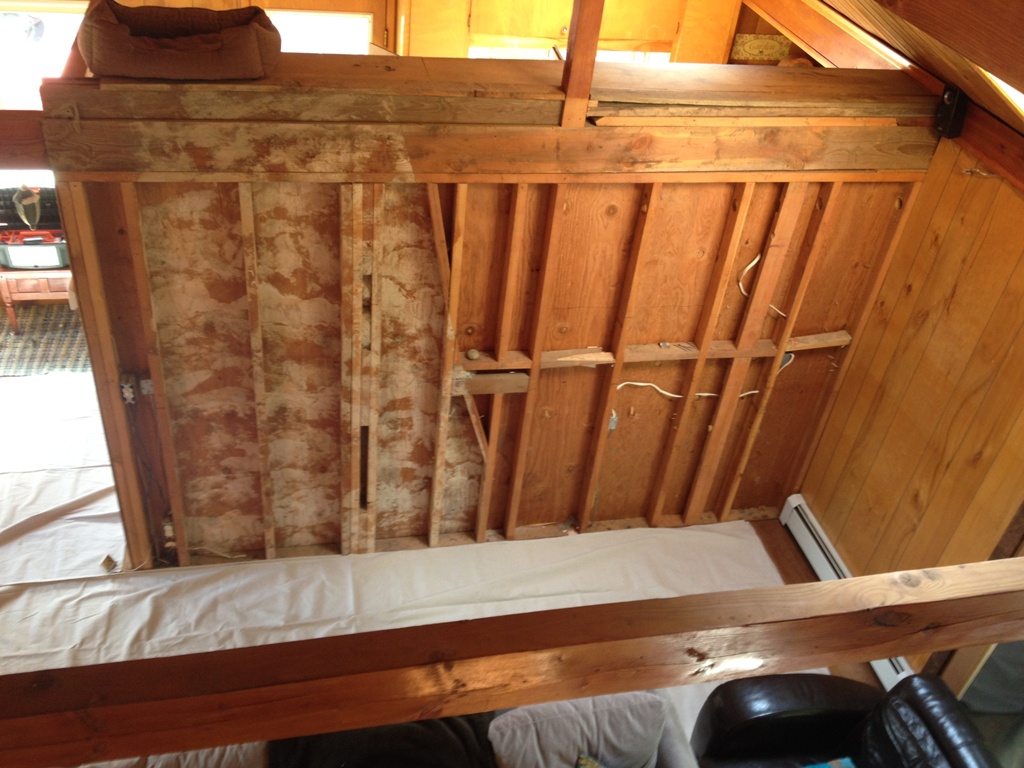
I’m not terribly sure what to make of the slanted wall area. It’s a shadow of its former self, and I think it used to be a tepee of stone and mortar. I think that’s about where the old wood stove used to be. Or an open fire pit. Or something. No idea what they were thinking.

Now the first thing we had to do is empty out some valuable cabinet space. There was about 24 cubic feet of storage area in those cabinets. There is not a lot of storage here so we had to get creative. And throw a lot of crap out, too. But once those shelves were empty, I could proceed to demo the cabinets and get working on that wall.
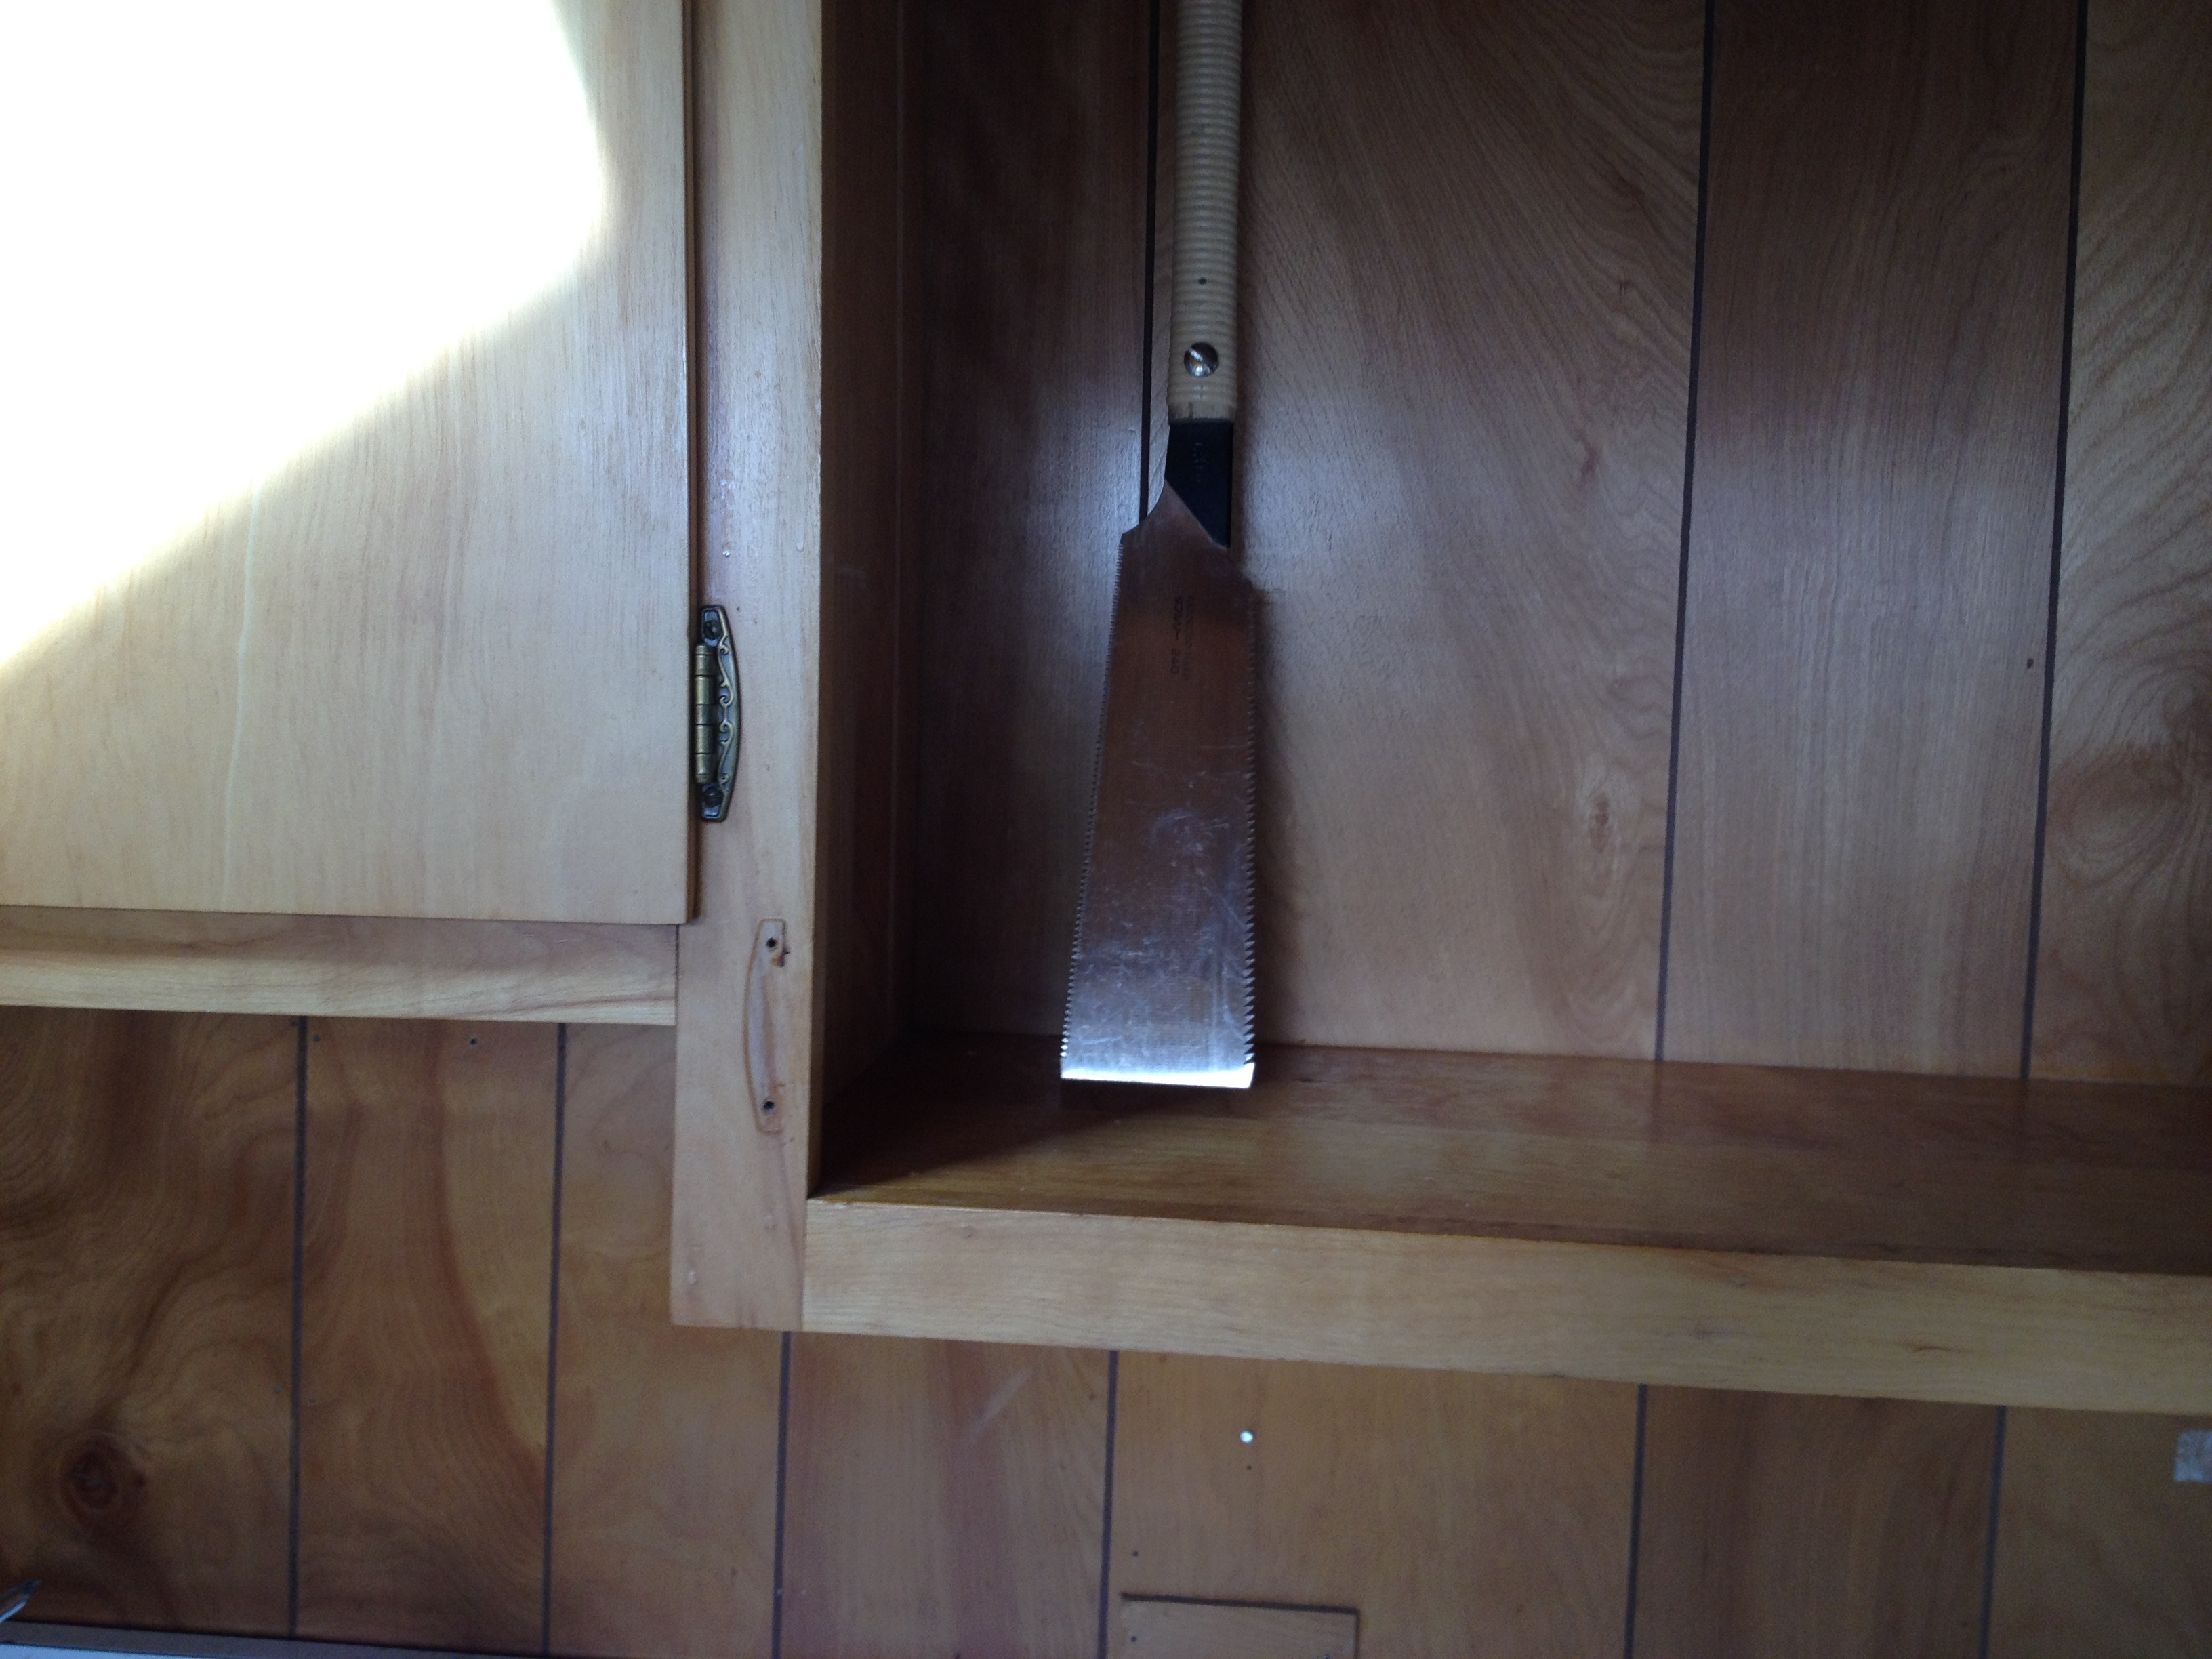
The cabinets were all one piece, so it required a little surgery to separate them.
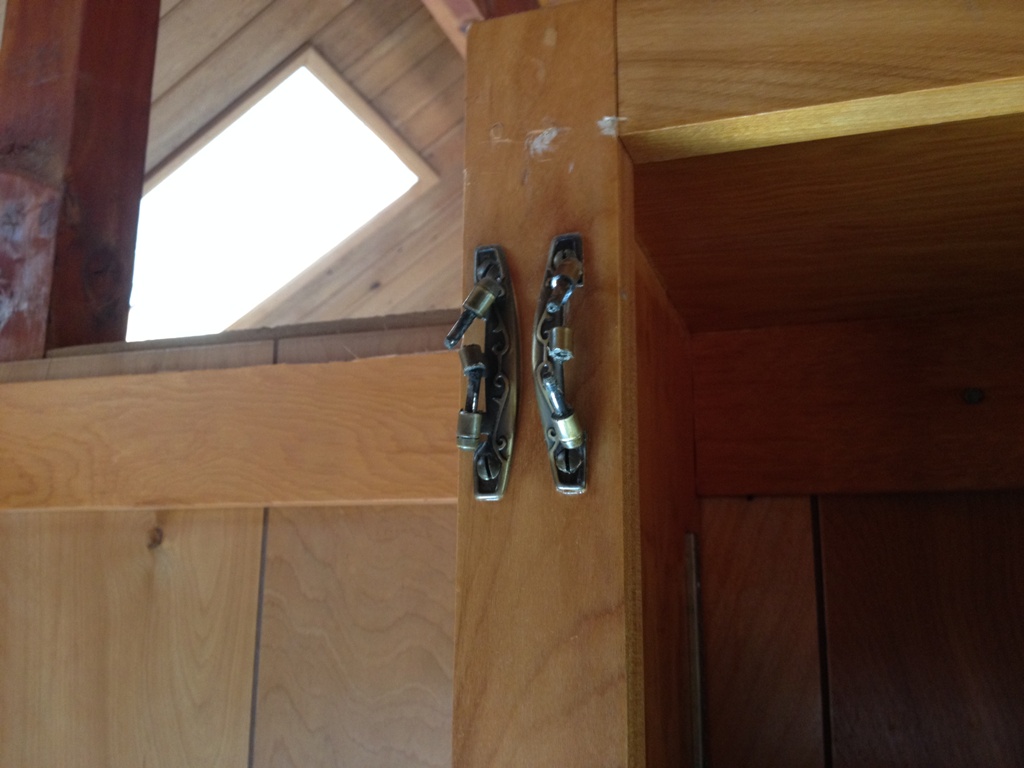
And a little brute force.
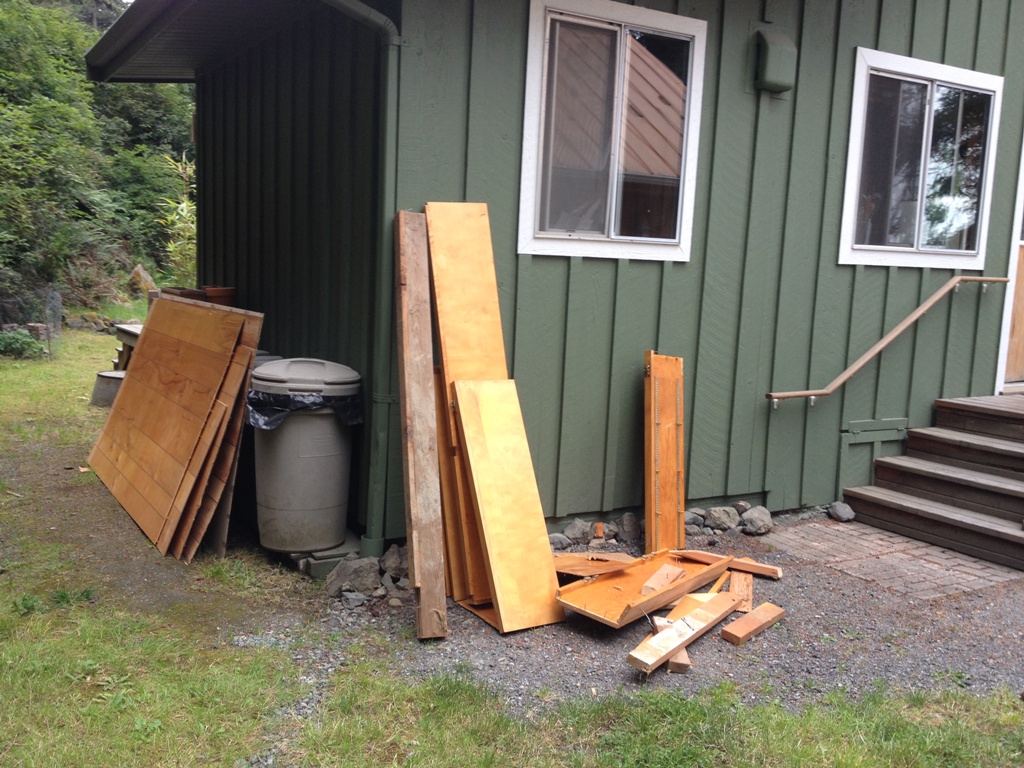
There’s about half the cabinets and most of the paneling. Out by the trash where it belonged.
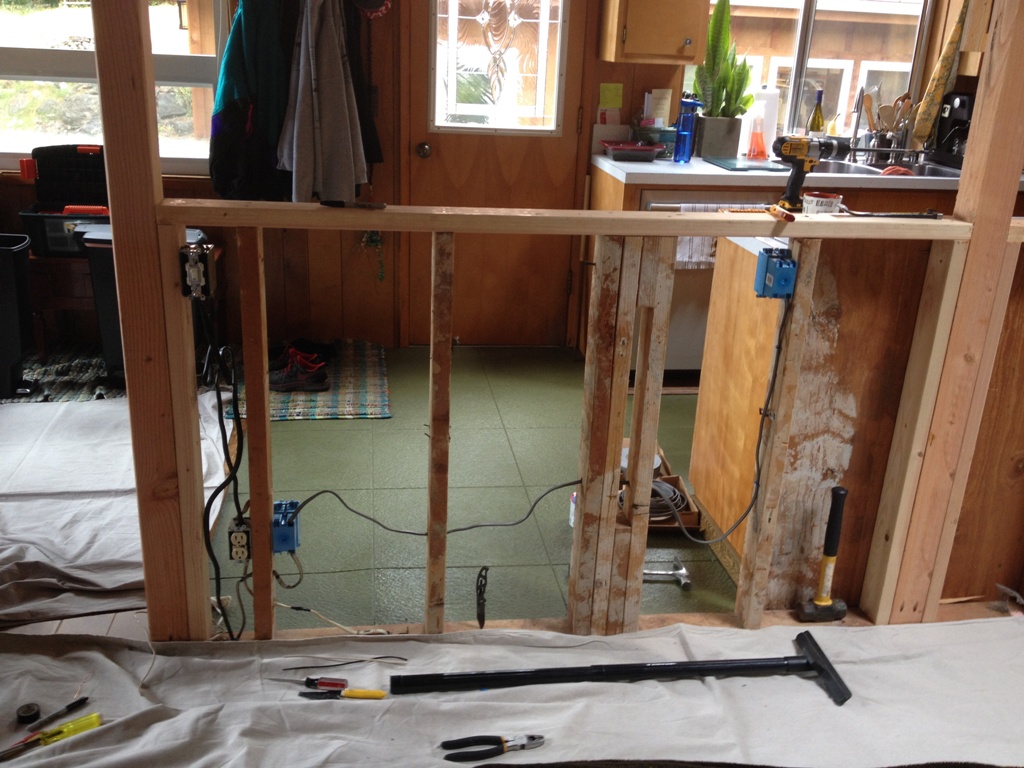
After one weekend, we’re not even close to being finished. In addition to demo and framing and re-framing, there was a lot of electrical work that needed to get done. There was an outlet hidden behind the cabinetry, a perfectly good outlet that no one could get to. We used to plug in the coffee by using an extension cord that reached behind the stove. Shameful.
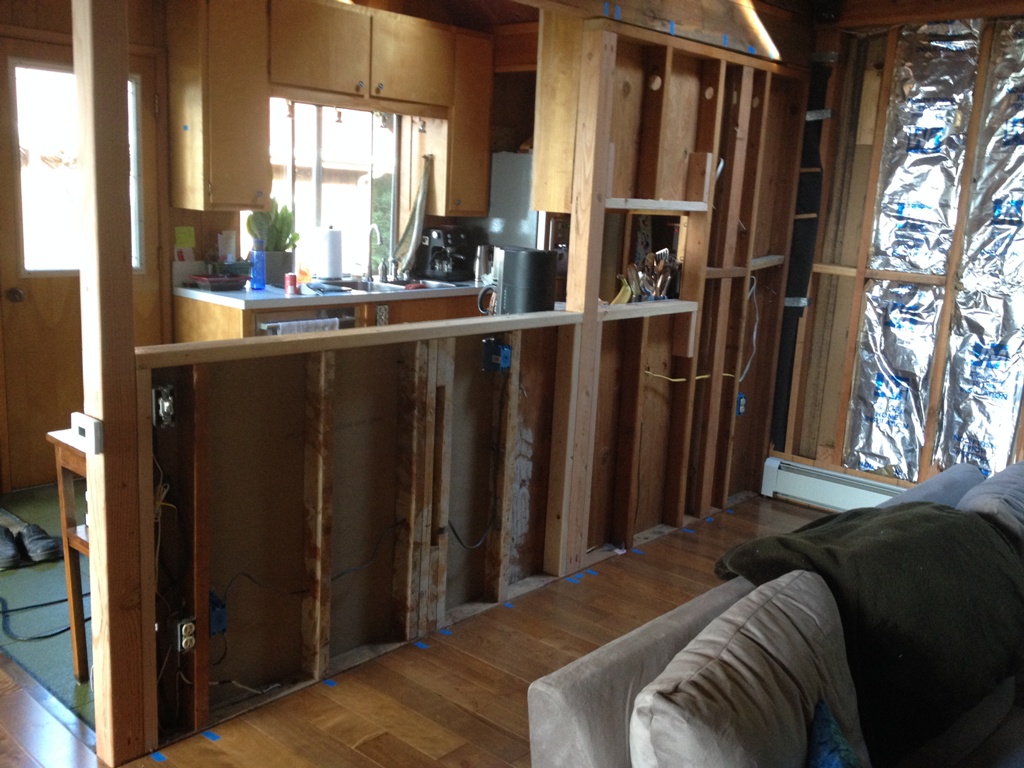
So now all the framing is complete and I have one sheet of drywall in on one side of the half wall. There’s some more drywall to put up and quite a bit of finish trim to do, but it’s coming along.
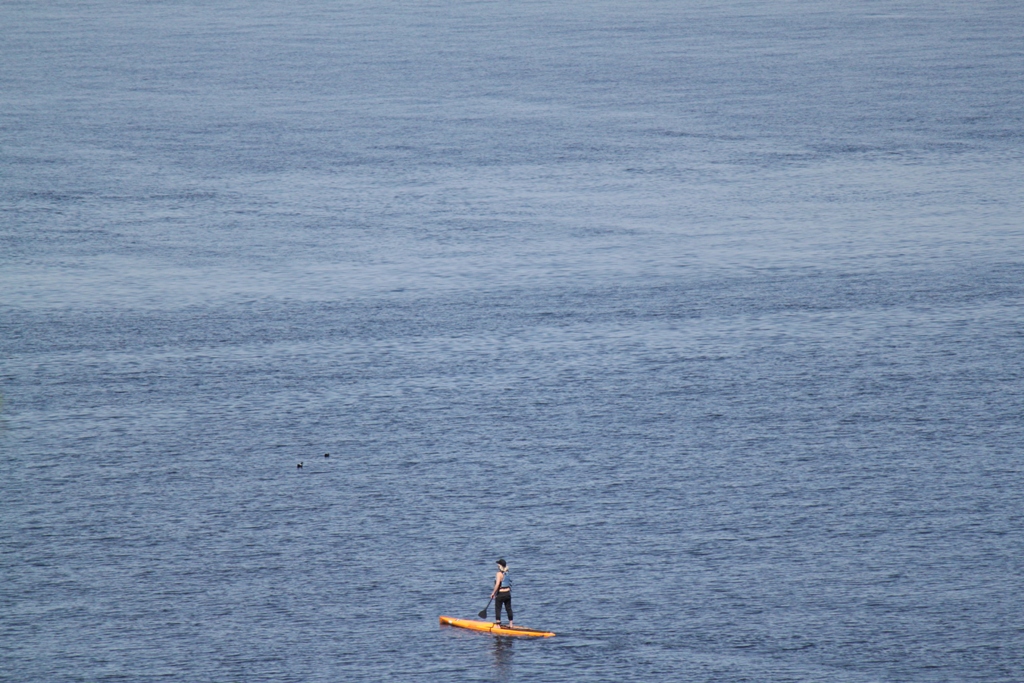
Ah, springtime on Orcas Island. Time to get out the kayaks, the paddle boards, the canoes, the sailboats, that pontoon you made out of empty 2 liter soda bottles. Whatever floats your boat, literally. Time to get out in the water and go fishing, go sailing, go floating around the island and seeing all the wildlife. The weather is beautiful, warm but not hot, sunny and sometimes a little cloudy. The wildlife is abundant. Time to go out and just enjoy the world.
UNLESS YOU’RE ME.
If you’re ME, you spend every waking moment in your troll cave, making sawdust with your saws, rasps and sanders. You avoid bees as you run up to the shed to get more lumber. You spook a bunch of deer as you head back to the other shed where you store all the paint supplies. You pay no heed to the tourists driving in their strangely clean cars, completely devoid of mud, rust and dents, staring at you as if you’re a Bigfoot sighting. If you’re ME, you toil in your shop, listening to playoff hockey or reggae music or whatever your little device will pick up without dropping its signal.
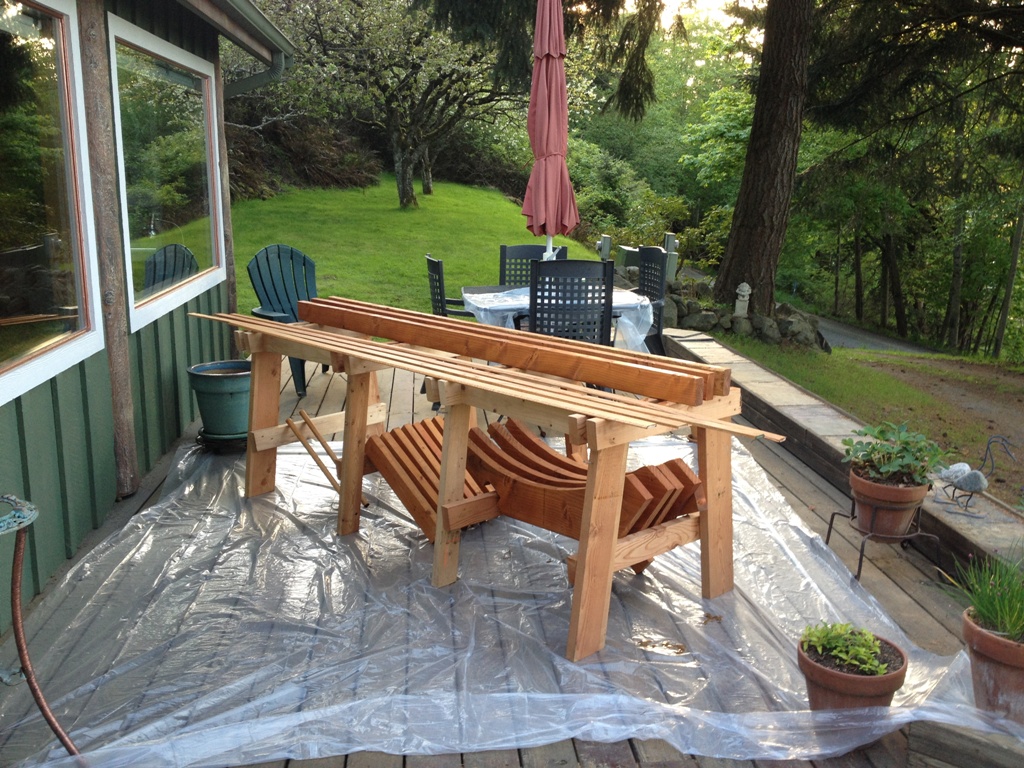 My deck becomes Stain Central, where I can set up sawhorses and drop cloths, and slather linseed oil onto all those little shapes that I made in the shop. They’re like big puzzle pieces at this stage. One thing I really enjoy up here is the space, the almost limitless amount of places I can spread out into. I don’t have to cram this into my shop and stink it up with oily fumes for 48 hours. I can do this on the outside deck, and gaze out to the sea when I take breaks.
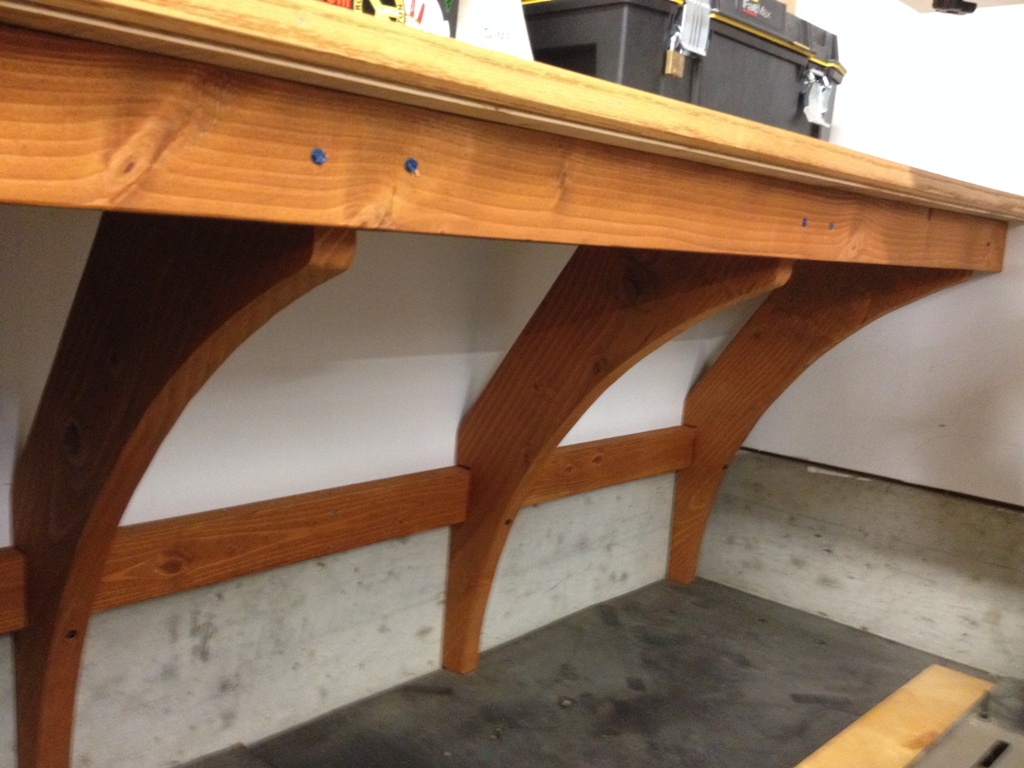
This install was really tricky. I had to hold the bracket in place with one hand and the 2×4 in place with the other hand while driving the screws in with my third hand and making sure everything remained level with my fourth hand. The worst of it was one of the beams ran along the exact same path as the electrical wires behind that drywall. I had to screw it into the studs without screwing into a live 220 volt wire. Call me a chicken, but I actually wore rubber gloves when I drove those screws in. Well, they’re all in, and those brackets now hold up a little side bench that is about as sturdy as bedrock. The best part is the top is just a sheet of 4×8 plywood ripped down into two 2×8 sheets and screwn together. So I can pound on it, drill through it, spill crap on it, and for $32 I can replace it and it will look like new. To me, that’s a really good quality to have in a bench surface.
So there’s the side bench. It’s just a little lower than the big bench, and it’s made to be the exact same height as my Festool radial arm saw surface, so if I have long strips of lumber or trim to cut, I can rest it on this side bench when I’m cutting it.
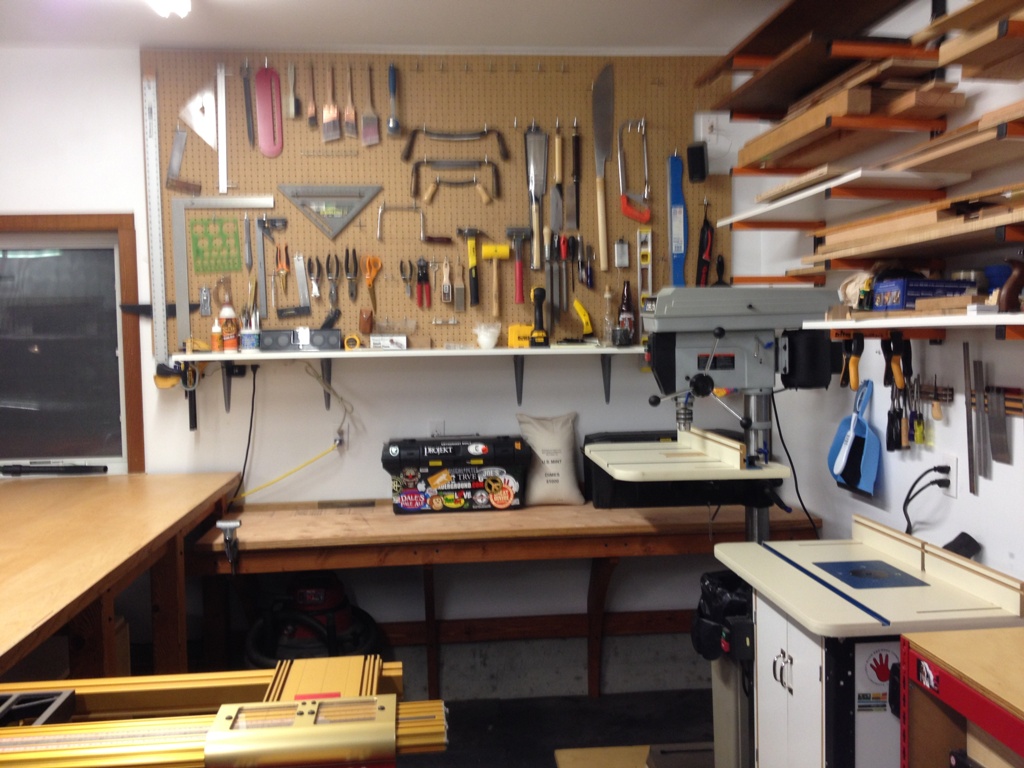
I also took some time to rearrange a few tools on that pegboard back there. You know, I have this obsessive-compulsive disorder, and I’ve learned that I shouldn’t resist it. I just run with it. When my brain tells me my tools need to be in a certain order, I just make it happen. No point even trying to prevent it.
The shop is almost done and I’m going to post a bunch of pics and a nice little tour of it soon. Then it’s back to working on the house, which is nowhere near to being almost done but we’re happy with every improvement we make. Soon I’ll be making cabinets, and furniture, and doing finish carpentry just the way I like to be doing.
Maybe I’ll buy a boat someday. Maybe I’ll build a boat someday. In this shop, all things are possible.

It’s snowing. No better time to make sawdust.
Okay, I finished a corner of the house. The area around the wood stove. The mantle is done, the trim work is done, and I’m ready to declare that one eighth of the house is now completed.
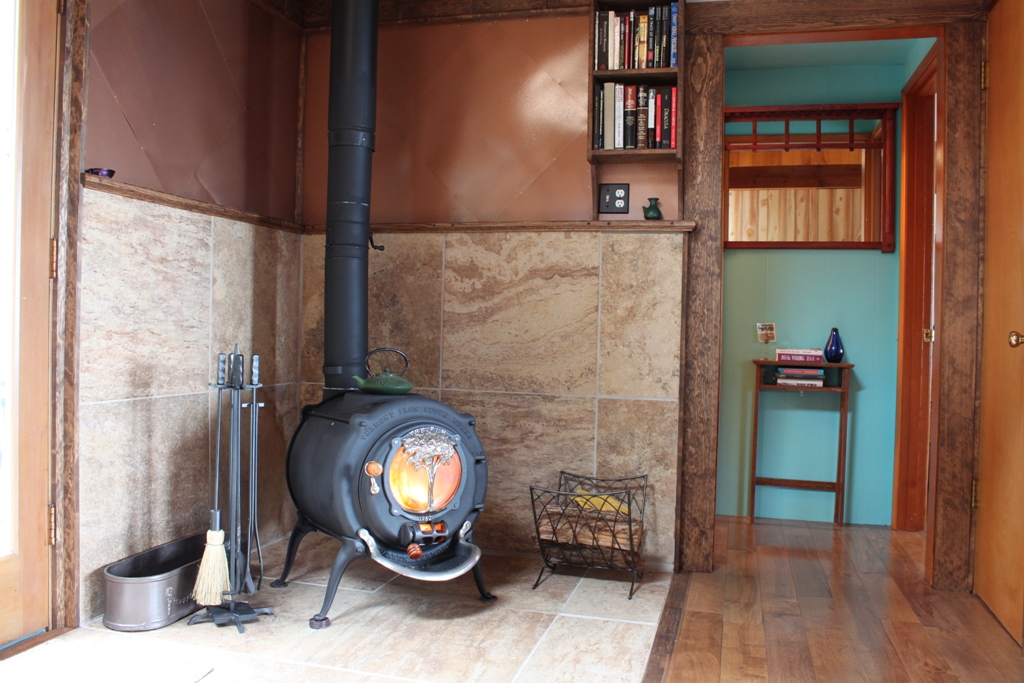
The wood stove has a mantle. Solid oak. I set sheets of steel (painted copper) as a backsplash on the wall above the tile. It’s painted with high heat enamel. It is bulletproof. If our wood stove explodes in a flaming conflagration that threatens to burn the house down, the metal sheets won’t help it a bit.
I built a little built-in bookshelf to help with the book creep. Oh, what’s book creep? That’s when your bookshelves are too full, and the books you’re reading start to litter shelves, tables, couches, chairs, pretty much any horizontal surface not previously occupied by a cat or a candle or anything else that takes up space. Book Creep means you don’t have enough storage space for books. Ergo, I build book shelves.
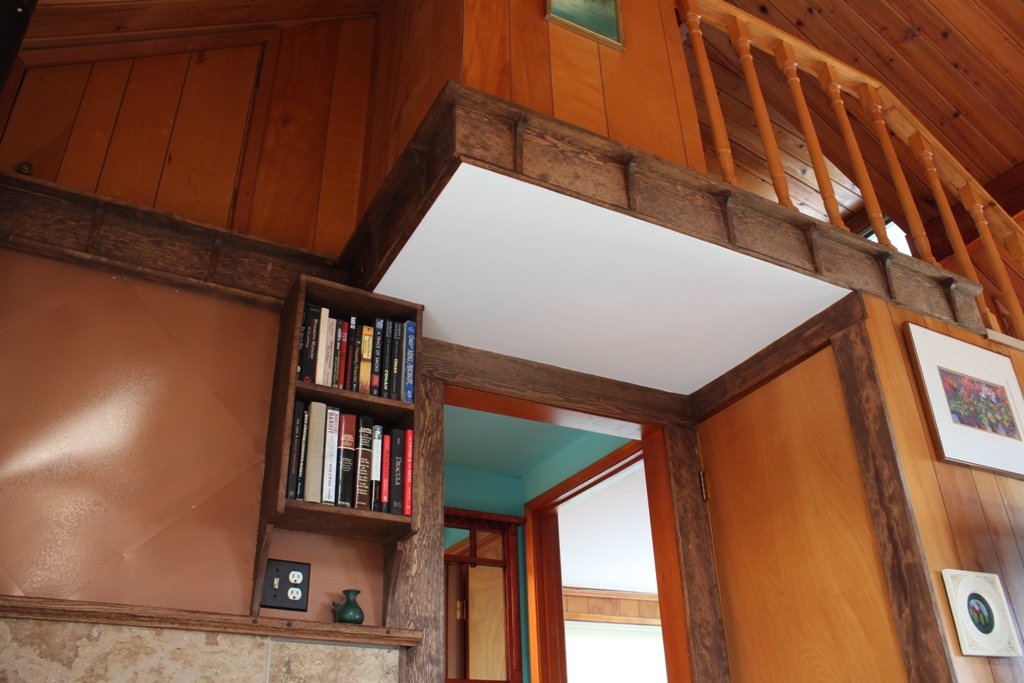
Oh, and that rectangle of drywall up there? That was wood paneling. Now it’s drywall. We cheer, seriously cheer, for every square foot of old paneling that leaves this house, never to return. We’ll paint it. It won’t be white for much longer.
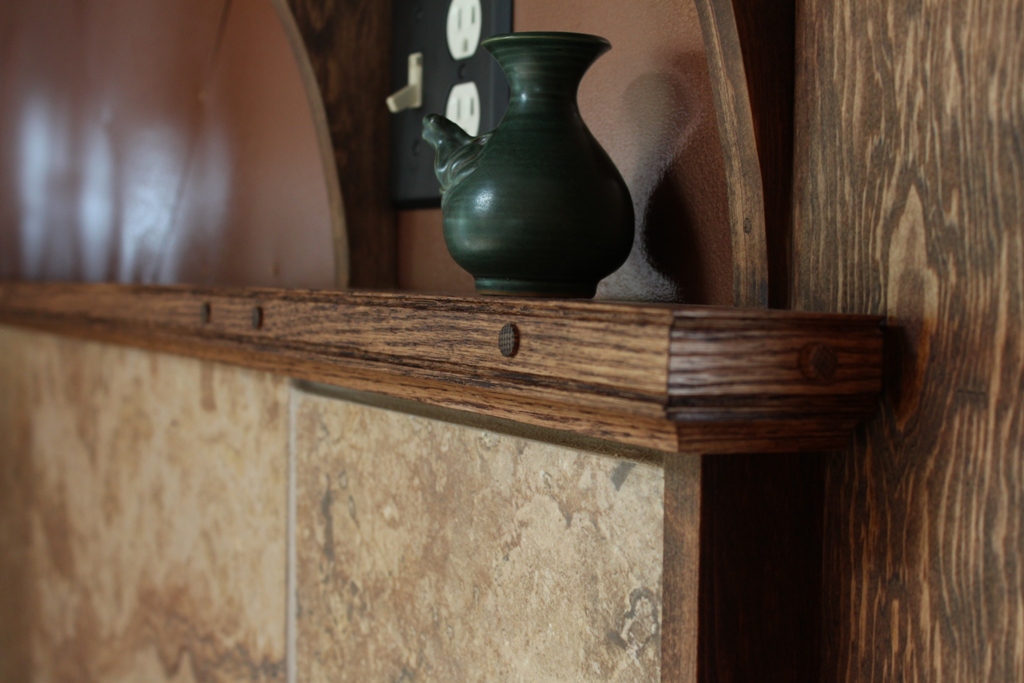
I was worried that the stove got too hot for a wooden mantle, but so far, the oak mantle has held up very well. Hasn’t even burst into flames yet, and we’ve had quite a few fires in that stove since I installed it. Those oak dowels conceal the fasteners that affix the mantle to the wall. There’s quite a few of them. That thing will never move.
Anyway, one eighth of the house is complete. Fans of the computer game Ultima will rejoice, for I have not lost an eighth.
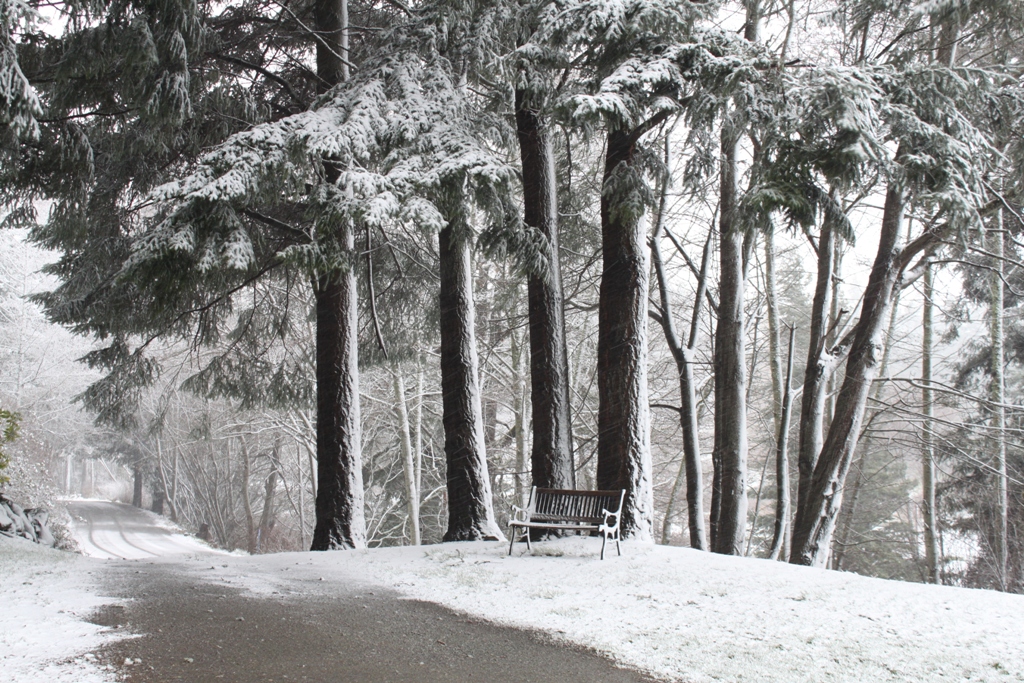

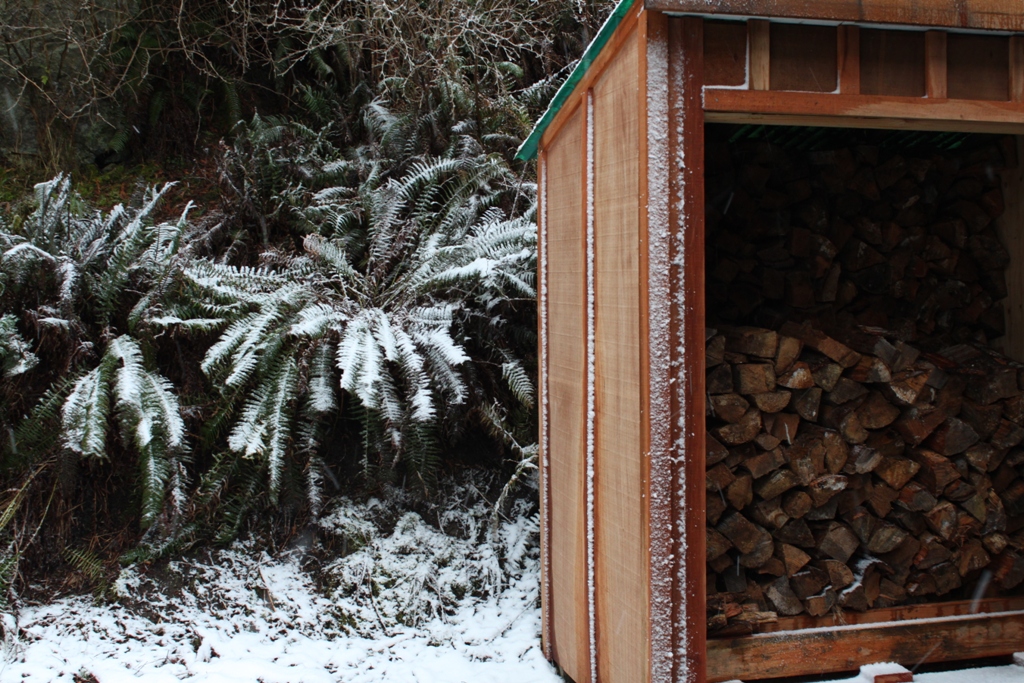
Finally seeing some snow around here. It’ll be gone by tomorrow, I’m sure, when it rains and gets a bit warmer. But for now there’s a centimeter of snow on the ground and everyone’s freaked out and staying inside.