Restored Laundry Room Cabinet

at least it is cleaner

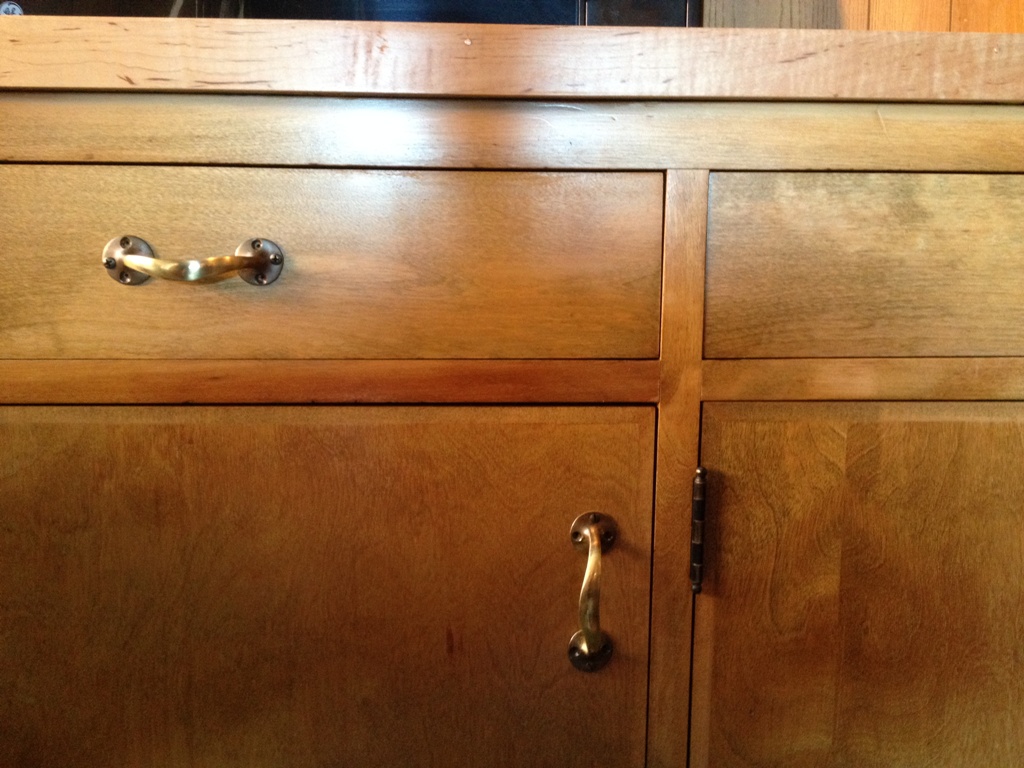
Alright, $24 for a melamine top, $28 for a register cover, $85 (ouch!) for new hinges, and I used drawer pulls, scrap wood, stain and polyurethane that I already had, and this cabinet lives another day.  Oh, and I needed to order some special cabinet screws for those drawer pulls, so another $8.  (I had existing screws but the heads kept popping off; I have a real low tolerance for that.)

little trick

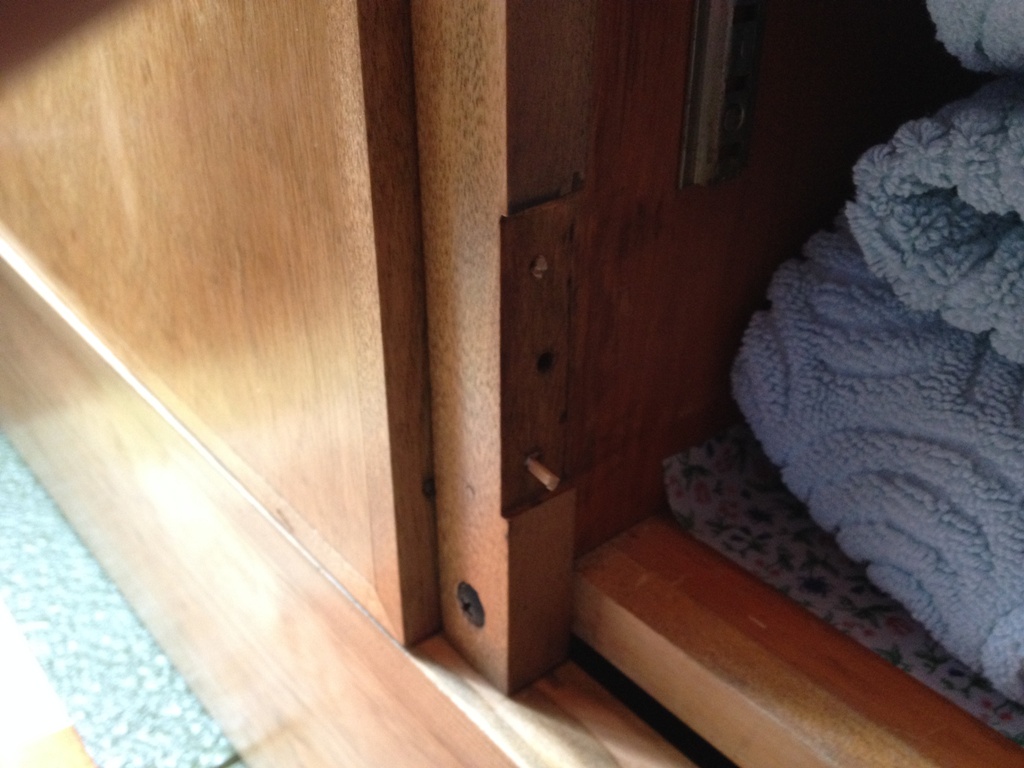
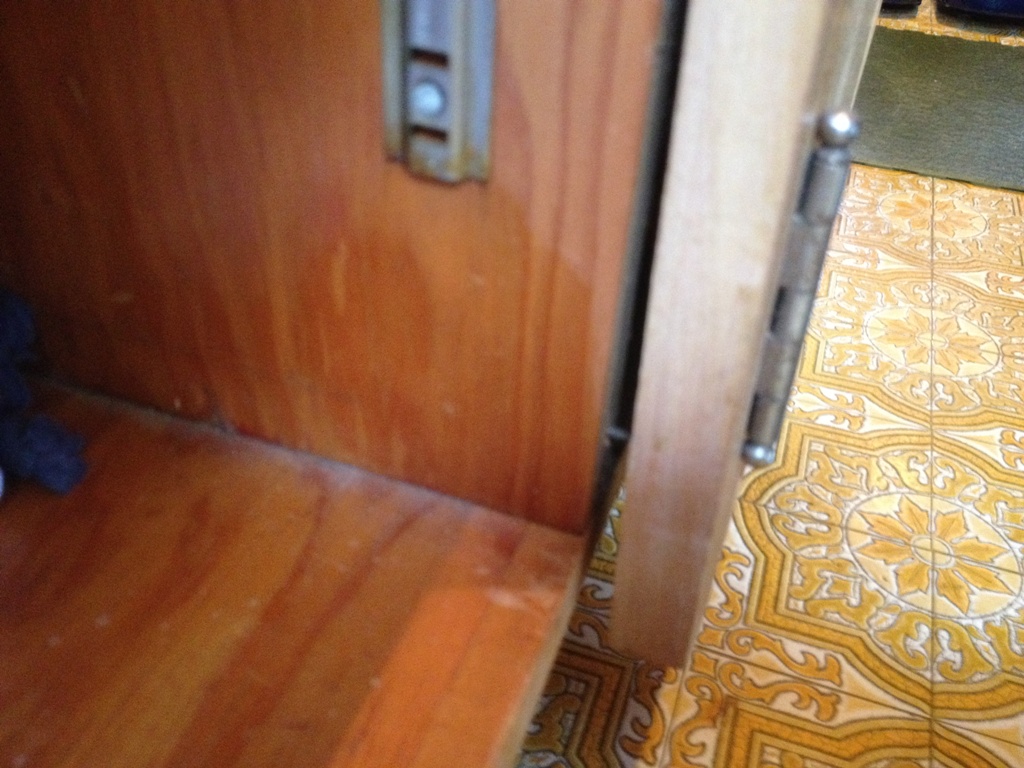
Here’s a little trick for when the holes for your new hinges don’t line up with the old holes.  Now, you’re going to drill new holes in new locations and that’s fine.  But this is such a small area that if you leave the existing holes alone, the wood gets really weakened.  So you want to stuff something into that hole, a little dowel or even a couple toothpicks and wood glue will seal it up fine.  Maybe it’s overkill, but it does prevent the new screw from trying to wander into the old hole, making your hinge install go wonky.

new hardware

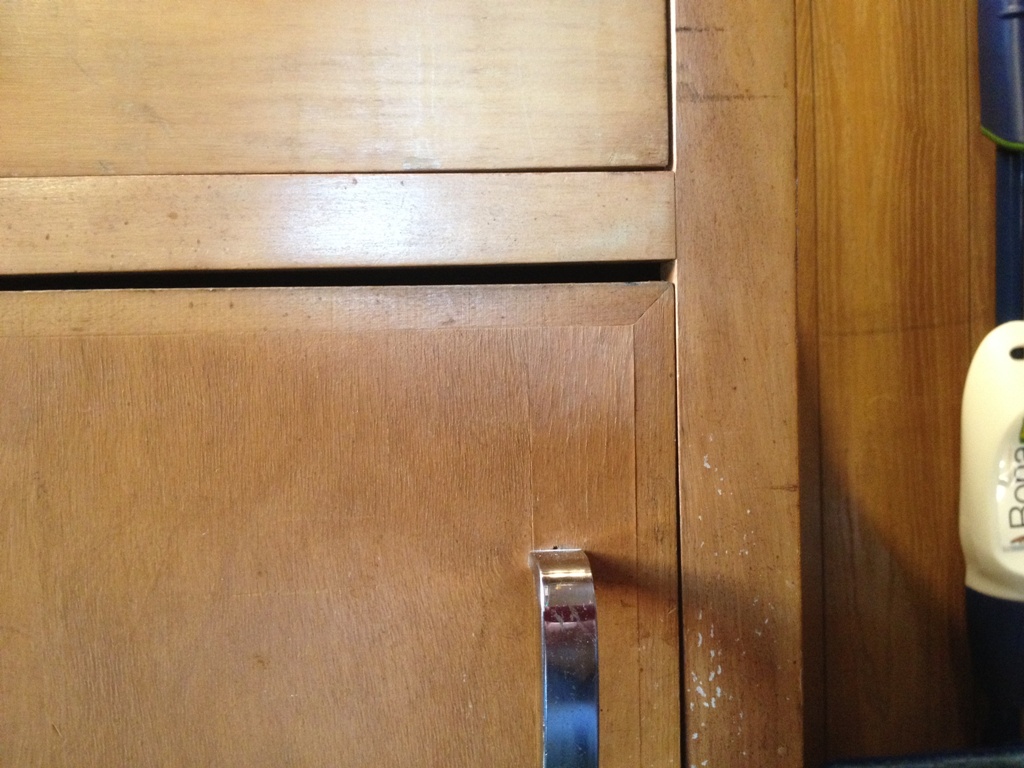
One challenge I faced is that the door frames were all skewed.  I think when this cabinet was moved, the whole thing kind of slanted over, making distinct parallelograms where you really want rectangles.  Oh well, huh?  So no matter how I cut and trim and shim the cabinet doors, they’re not going to close straight.

BUT THEY DO SHUT!  And they shut cleanly, That alone is an improvement.

still from hell

Nonetheless, it’s still the Cabinet From Hell.  It’s just less of an eyesore now, and it will serve and function until such time as I decide to make a new cabinet for the laundry room.  A task that I can now put off another few years while I work on fixing other broken things around here.

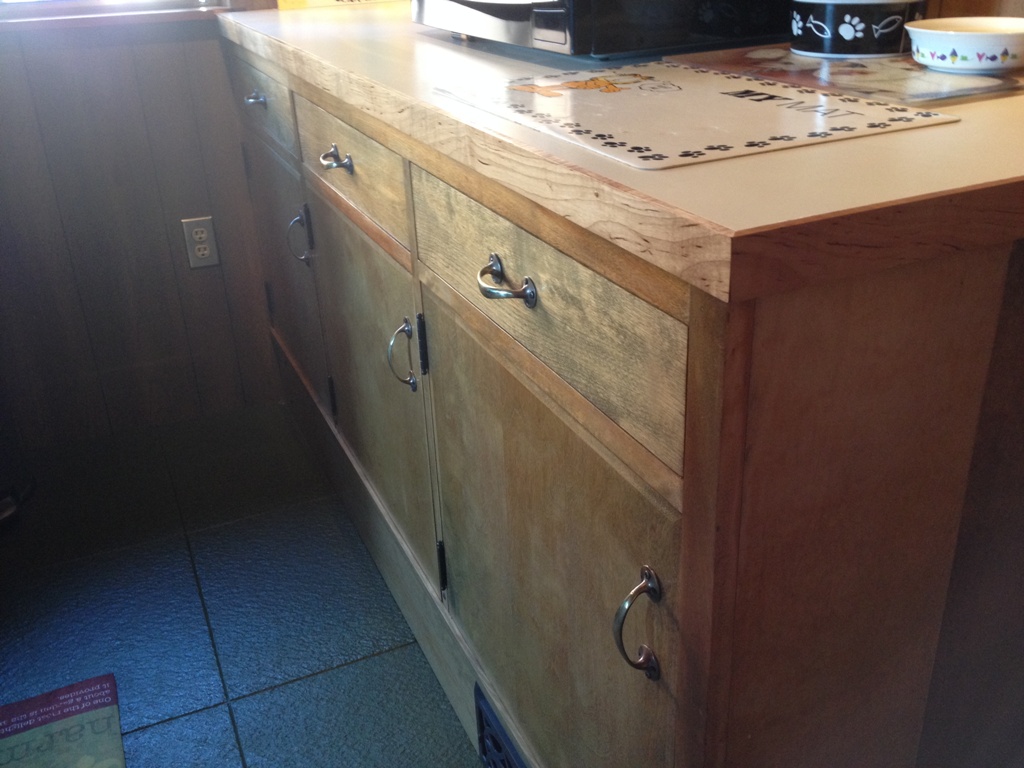
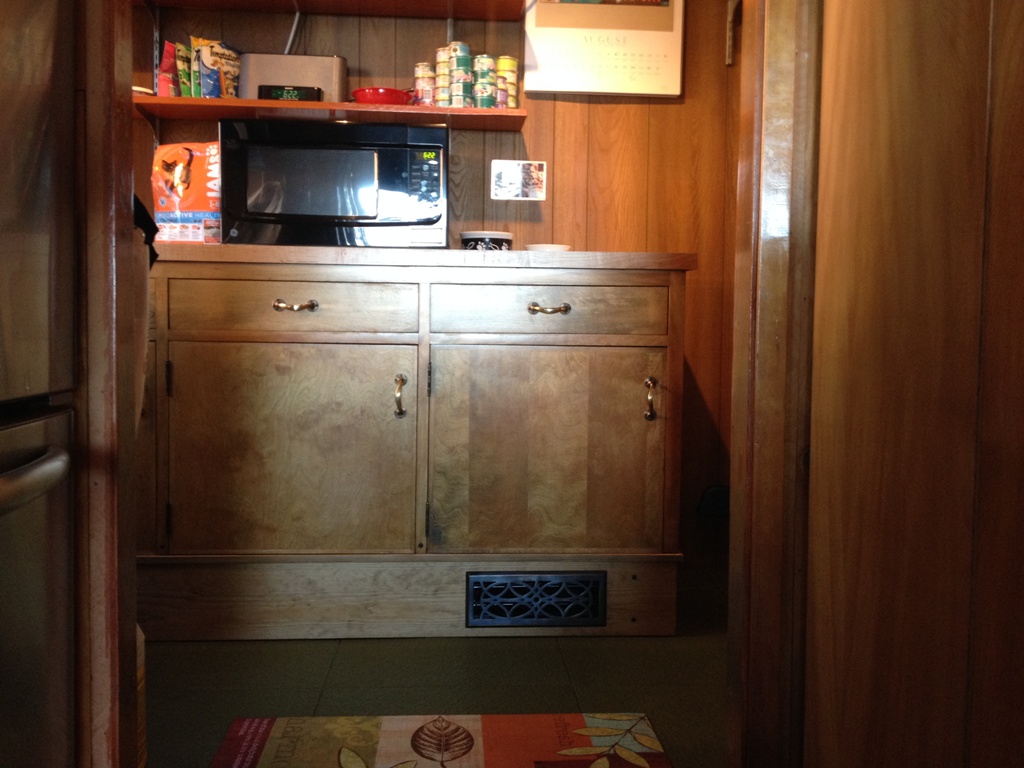
The melamine top is the biggest difference by far.  You can clean it.  You can spray it with windex and it actually comes clean.  Amazing.

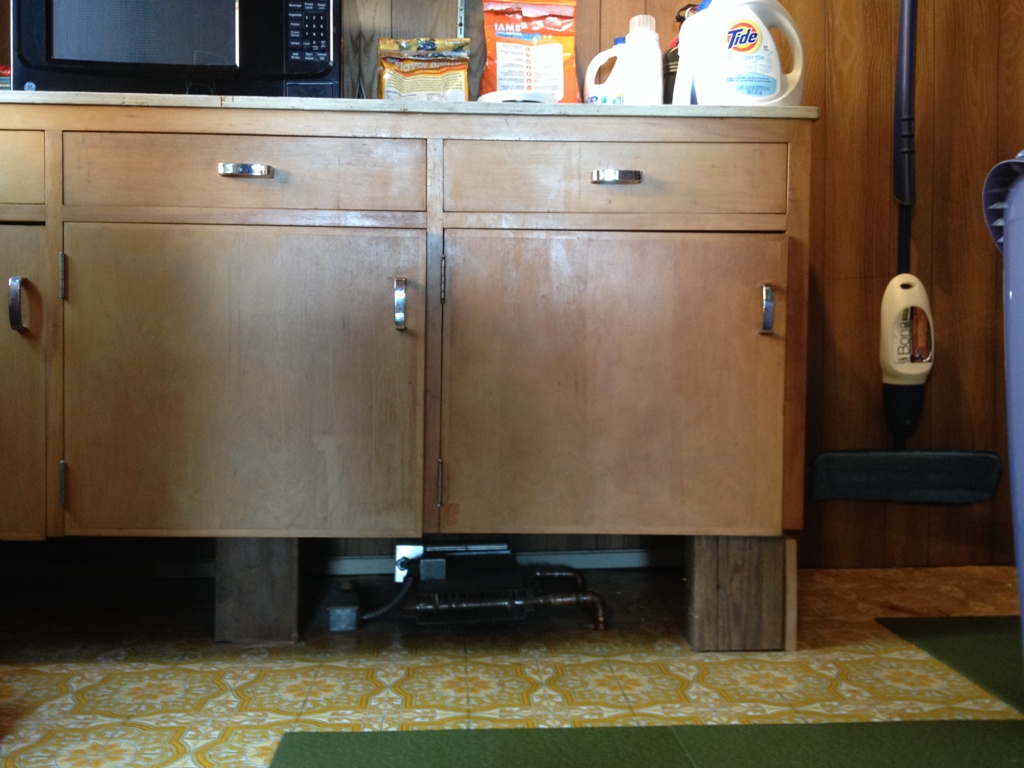
Our laundry room is a hard working room.  A lot gets done in that small space; not only laundry but storage, cat dining area, and the only place in the house that the microwave will fit.  And now it’s just a little less embarrassing.  New flooring too, but I’m holding off on pics until that’s finished.

cat pic

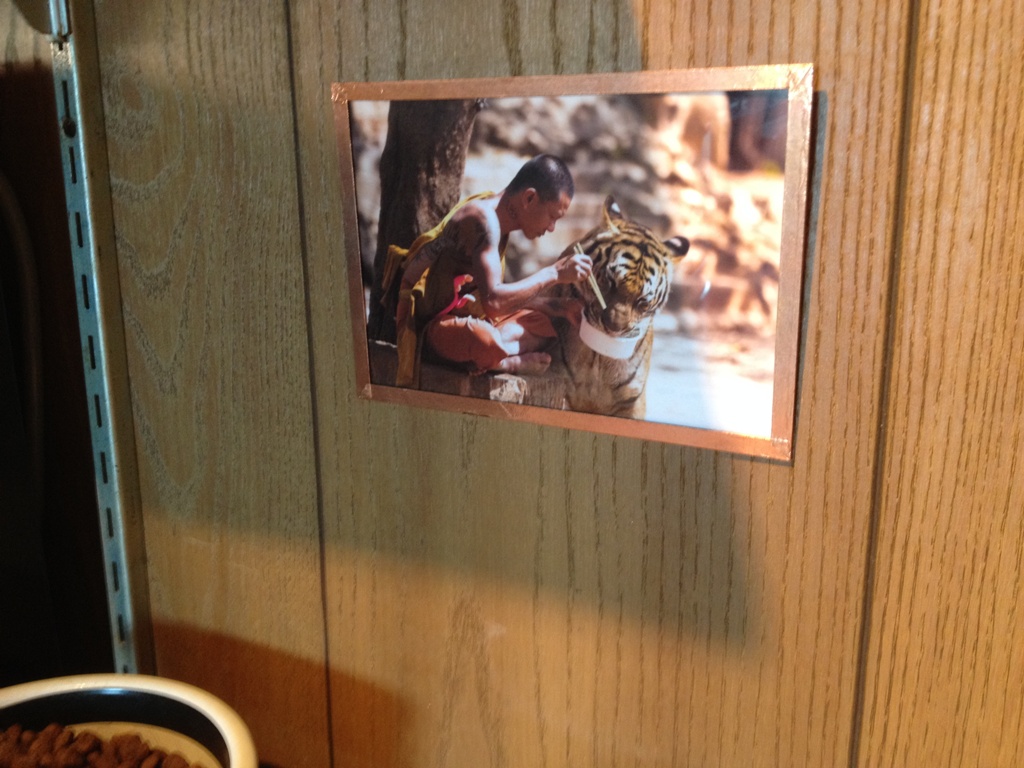
If I owned a cat restaurant, that’s the pic I would put on the wall.

The Cabinet From Hell

attractive

It’s time to face facts.  We can do whatever we want to make the kitchen look better, but this hideous cabinet is all you see whenever you’re in there.  All the new appliances and knobs and flooring in the world won’t hide this demonic thing.  I’ve considered covering it with a drop cloth but then Inky wouldn’t know where to eat.  I’ve considered destroying it with a flamethrower but I doubt I could keep the rest of the house from burning down with it.

This cabinet is old, and it rests on scrap 2×4 pieces the way an el camino rests on cinder blocks in someone’s front yard.

precision

Nothing meets at a right angle.  The doors do not stay closed without the aid of a rubber band or a thumbtack.  I’d love to get rid of it but that’s 24 cubic feet of storage I don’t have anywhere else.

craftsmanship

The frame is literally coming off the cabinet.  Look closely – you can see the frame is just held to the cabinet by a nice, smooth, bright finish nail.  I could pull it out with my fingernails if I wanted to.  The one across from this was repaired with glue, so now it’s permanently 2 1/2 degrees off.    Ugh.

style

The worst of it is the top, which is just painted construction grade plywood.  Painted a long time ago.  It does not come clean.  It’s pitted, stained, moldy and warped.  The only really good thing about old paint is that it was made before a lot modern environmental laws, so it’s generally better quality than new paint.  Plus it’s fully cured so it forms a hard shell that’s arguably stronger than the plywood it envelops.  Other than that, it’s disgusting.

Do not ask me why, but I decided to restore this thing rather than smash it to bits with a fireman’s ax.  The drawer pulls are easily replaced, and I even have some good pulls in mind for it.  And replacement hinges are affordable, right?  (answer:  no.  $25 per pair is not affordable, but that’s what well machined hinges cost).  What else would need to be done?  A melamine top is not hard to do.  A band of wood around the bottom wound conceal that weird heating apparatus underneath so we don’t have to see it.  And I can take the doors off, sand them down, stain them and polyurethane them and they would look significantly better.

restoration

And so, it’s come to this.  50 year old cabinet parts are in my shop, sanded smooth, re-squared, fitted, stained, and ready to go.  The cabinet will live again.  It’s still a piece of crap, but at this point, it’s like a personal challenge.  See how long I can keep this box limping along, serviceable, and in working order.  See if I can get the doors to close straight, or close at all.

I love making cabinets, and sometimes restoring the old ones teaches you a thing or two about making new ones.  But that’s really not the case here.  This Cabinet From Hell is a textbook example of all the things not to do when you’re making new cabinets, from the materials and hardware not to use to the way not to join wood together.  Well, let’s see how long I can keep it going. I have to move it out when I drywall the laundry room, then put it right back in.  If it survives that, it can probably last a while longer.

Even More Shop Work

One thing I’ve always wanted to do with my table saw is really seal up the interior so sawdust doesn’t get all over the place.  In my former shop, I used to have it boxed in and connected to a vacuum hose, but that was really ineffective and I kept tripping over the hose.  So now I basically have the housing all sealed up and I put a bucket underneath it.  It actually works really well, except that I never did seal up the backside.  That’s where the motor and the pulley pokes through making it difficult to really seal up.

Well, I finally got around to making a back plate that should cut down on the sawdust considerably and not interfere with the motor and pulley.  I was going to go with sheet metal but I didn’t want anything that could damage any moving parts.  I needed something soft, yet firm.  And cheap and easily accessible.  I ended up going with cardboard.

template

I marked everything really carefully so if I have to remake it (out of a different material if I so desire) it will be easy to do.  Cardboard is soft enough that it won’t damage anything should something go wrong, and firm enough to hold its shape.

Fitting

There you can see it’s a tricky fit.  The holes are for the rods that hold the motor, and that slot on the right is where the pulley goes.  Everything is looking great, but I do wish I had something I could use to make it a little stronger, to help it withstand the rigors of a shop.

what to use

Hmm.  I wonder what I can use?

how about duck tape

Hmm…

Oh, I know!  Duck tape!

panel

Handyman’s secret weapon!!  Oh yeah, now that thing is pretty much waterproof.  I’ll probably never have to replace it.  It might last longer than my table saw.

installed

I am happy to report that I can now rip down a 2×4 and not cover my entire shop floor with a spray of fine yellow powder.  This contraption cut down on the dust piles by at least 75%.  Yeah, I still get some.  That’s okay.  Wouldn’t be a shop without sawdust all over everything.

More Shop Work

Paddle board

Ah, springtime on Orcas Island.  Time to get out the kayaks, the paddle boards, the canoes, the sailboats, that pontoon you made out of empty 2 liter soda bottles.  Whatever floats your boat, literally.  Time to get out in the water and go fishing, go sailing, go floating around the island and seeing all the wildlife.  The weather is beautiful, warm but not hot, sunny and sometimes a little cloudy.  The wildlife is abundant.  Time to go out and just enjoy the world.

UNLESS YOU’RE ME.

If you’re ME, you spend every waking moment in your troll cave, making sawdust with your saws, rasps and sanders.  You avoid bees as you run up to the shed to get more lumber.  You spook a bunch of deer as you head back to the other shed where you store all the paint supplies.  You pay no heed to the tourists driving in their strangely clean cars, completely devoid of mud, rust and dents, staring at you as if you’re a Bigfoot sighting.  If you’re ME, you toil in your shop, listening to playoff hockey or reggae music or whatever your little device will pick up without dropping its signal.

StainMy deck becomes Stain Central, where I can set up sawhorses and drop cloths, and slather linseed oil onto all those little shapes that I made in the shop.  They’re like big puzzle pieces at this stage.  One thing I really enjoy up here is the space, the almost limitless amount of places I can spread out into.  I don’t have to cram this into my shop and stink it up with oily fumes for 48 hours.  I can do this on the outside deck, and gaze out to the sea when I take breaks.

Brackets

This install was really tricky.  I had to hold the bracket in place with one hand and the 2×4 in place with the other hand while driving the screws in with my third hand and making sure everything remained level with my fourth hand.  The worst of it was one of the beams ran along the exact same path as the electrical wires behind that drywall.  I had to screw it into the studs without screwing into a live 220 volt wire.  Call me a chicken, but I actually wore rubber gloves when I drove those screws in.  Well, they’re all in, and those brackets now hold up a little side bench that is about as sturdy as bedrock.  The best part is the top is just a sheet of 4×8 plywood ripped down into two 2×8 sheets and screwn together.  So I can pound on it, drill through it, spill crap on it, and for $32 I can replace it and it will look like new.  To me, that’s a really good quality to have in a bench surface.

Shop


So there’s the side bench.  It’s just a little lower than the big bench, and it’s made to be the exact same height as my Festool radial arm saw surface, so if I have long strips of lumber or trim to cut, I can rest it on this side bench when I’m cutting it.

I also took some time to rearrange a few tools on that pegboard back there.  You know, I have this obsessive-compulsive disorder, and I’ve learned that I shouldn’t resist it.  I just run with it.  When my brain tells me my tools need to be in a certain order, I just make it happen.  No point even trying to prevent it.

The shop is almost done and I’m going to post a bunch of pics and a nice little tour of it soon.  Then it’s back to working on the house, which is nowhere near to being almost done but we’re happy with every improvement we make.  Soon I’ll be making cabinets, and furniture, and doing finish carpentry just the way I like to be doing.

Maybe I’ll buy a boat someday.  Maybe I’ll build a boat someday.  In this shop, all things are possible.