The Hodge Podge Lodge

Here’s a picture of the kitchen countertop that came with the house.

tomohawk

See that?  See that deep impact wound in the top of the kitchen countertops?  That’s lovely, isn’t it?  My best guess is that was caused by a tomahawk thrown by an angry indian at a prior owner of this house.  But I really don’t know.  All I know is we’ve been staring at that ax wound in our oh-so-lovely formica countertops (with the gold flecks that look like the bottom of a bottle of Goldschlager) for longer than I care to remember.  And we want it gone.  Is it possible to hate kitchen countertops?  Yes, it is.

prep work

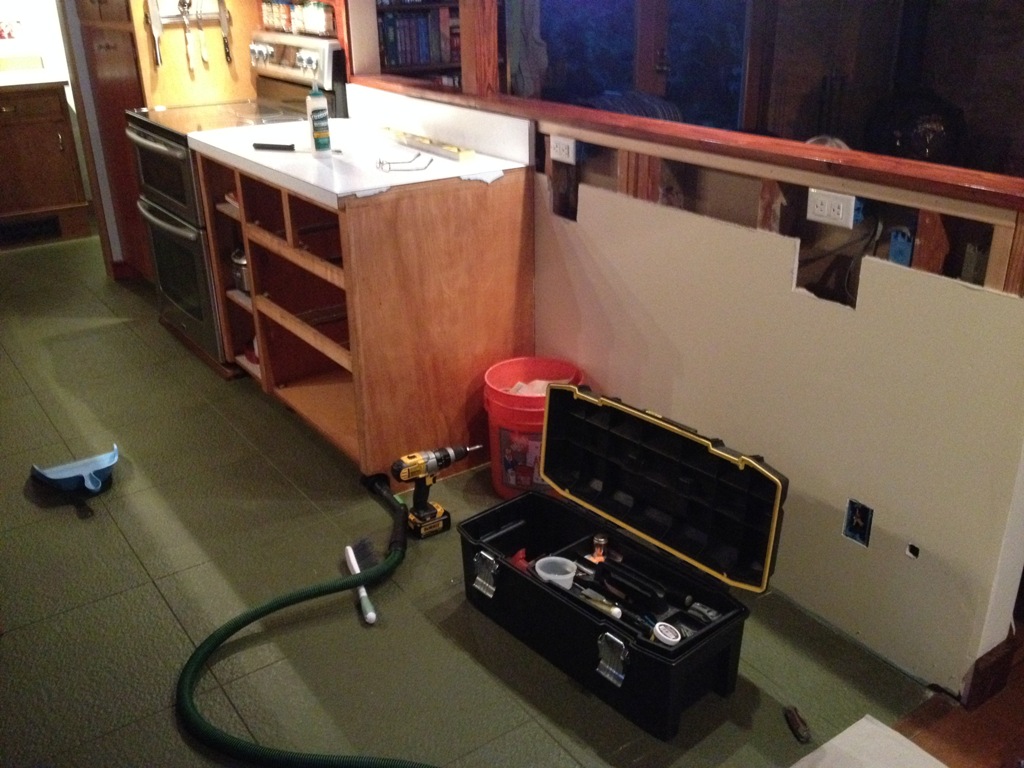
So, that’s the whole point of this exercise.  Remove the existing countertops with a sledgehammer and a crowbar and maybe a tomahawk, extend the existing cabinetry, and install new countertops atop them.

sliders

Easier done than said, eh?

kickplate

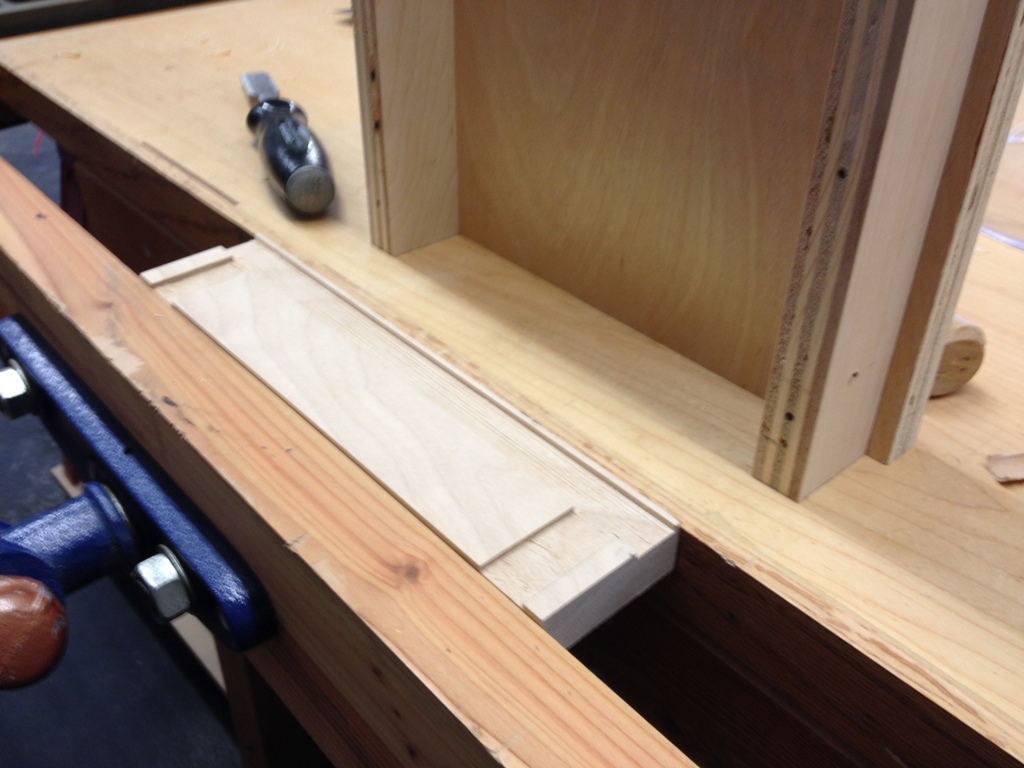
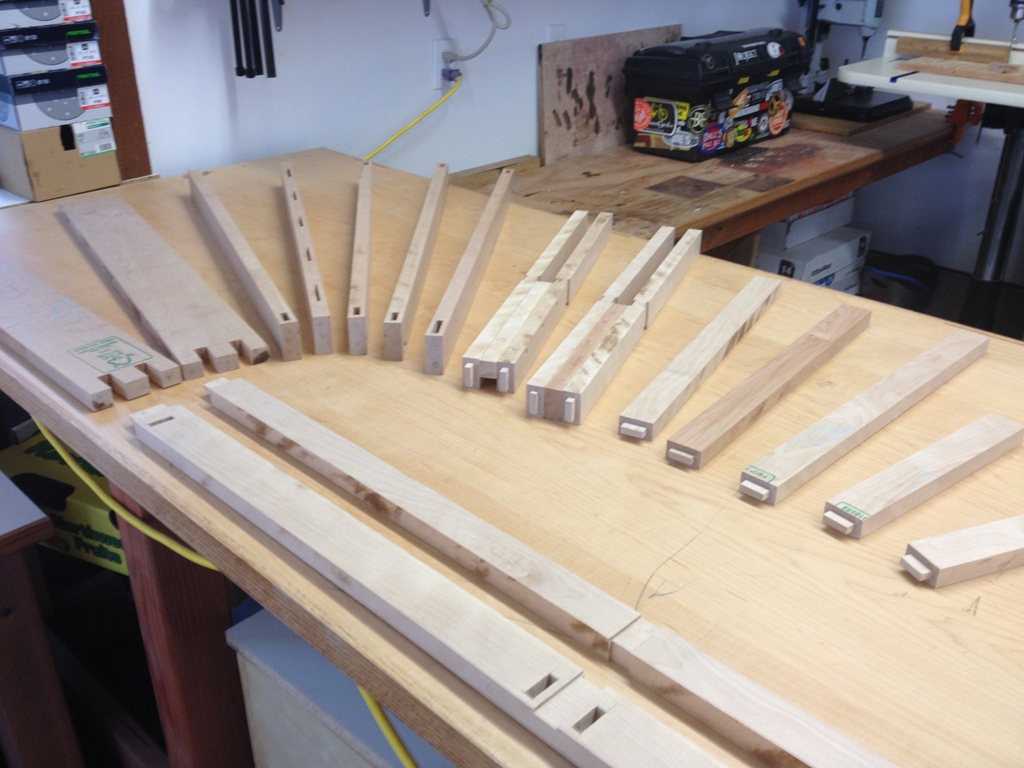
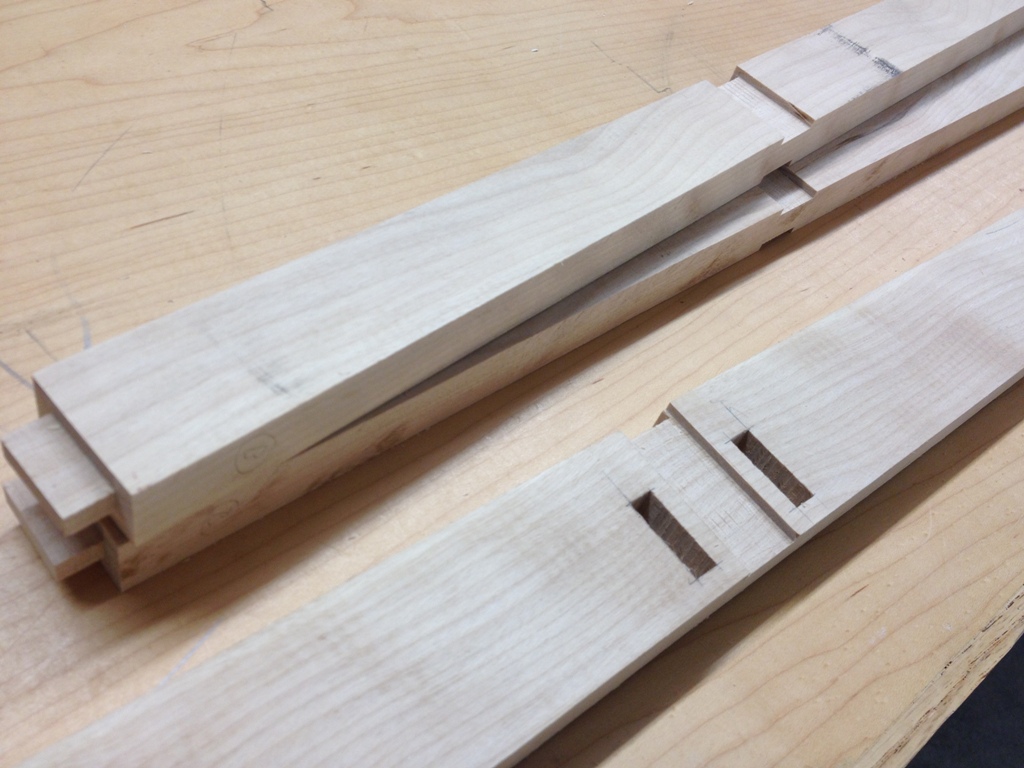
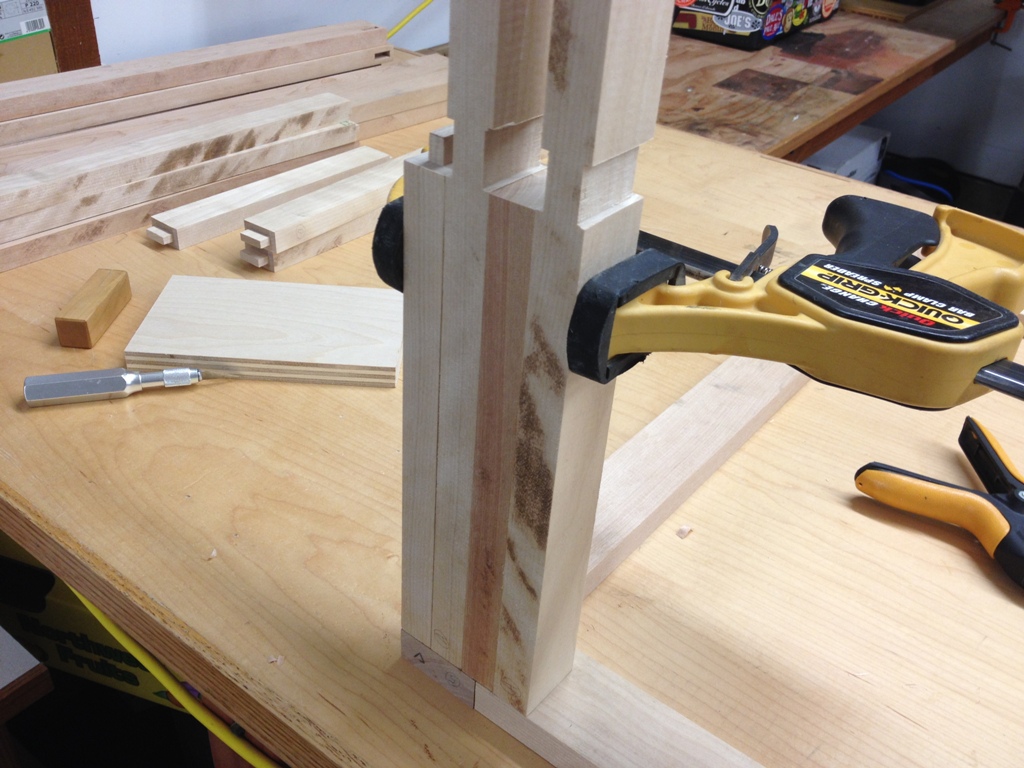
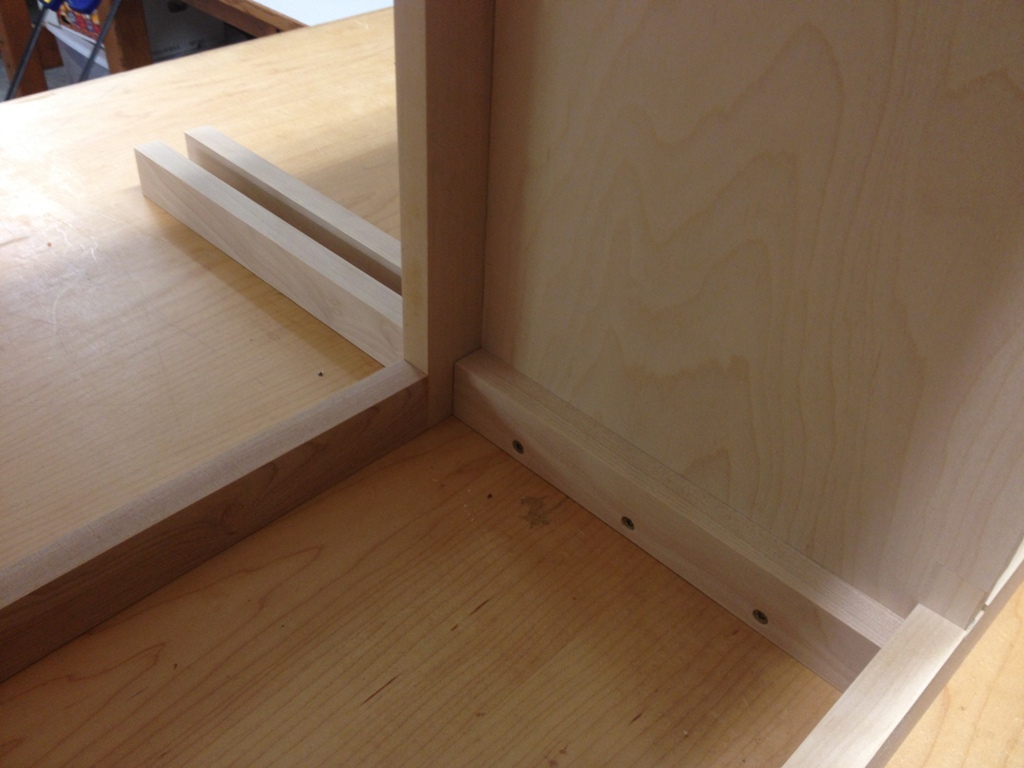
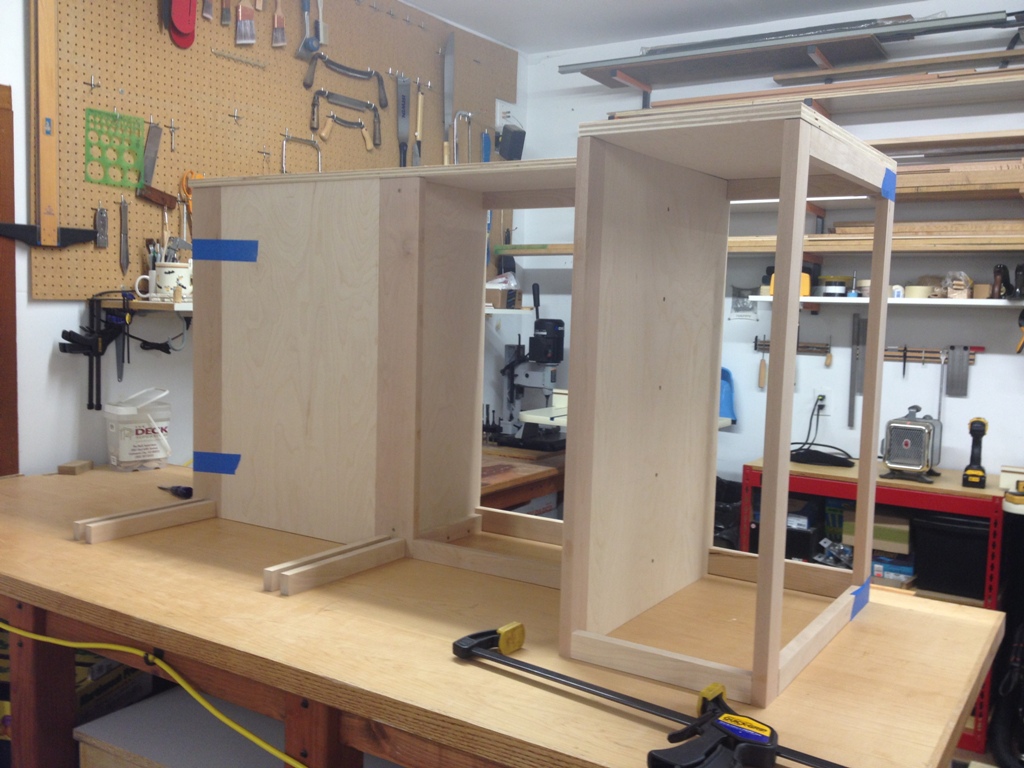
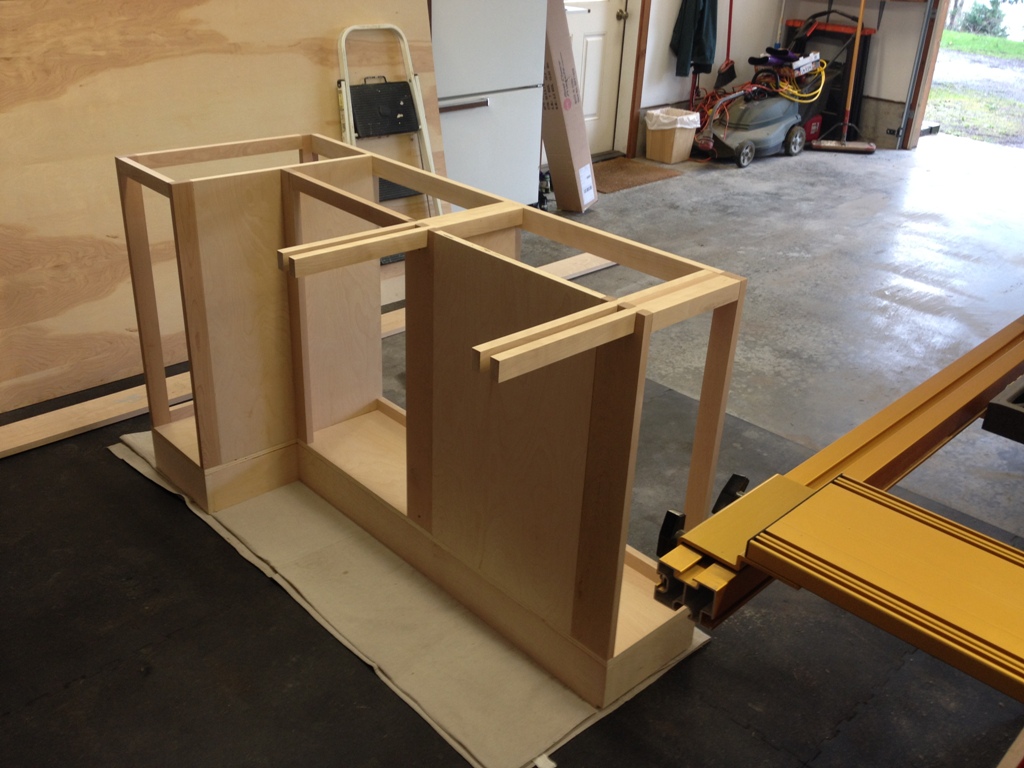
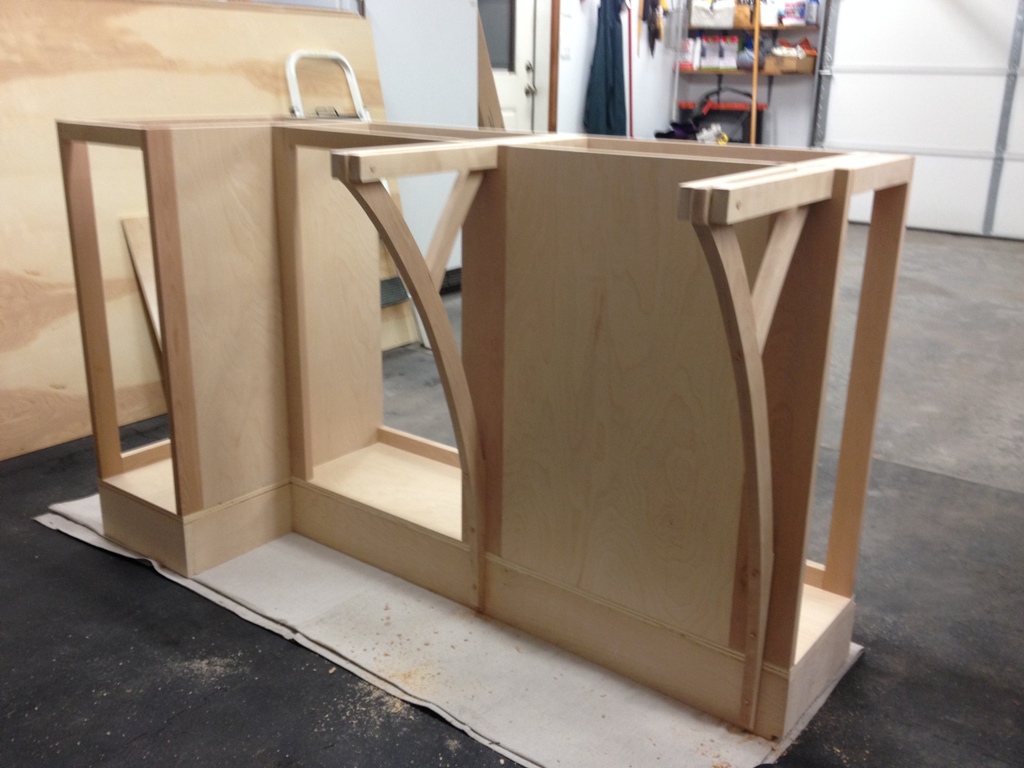
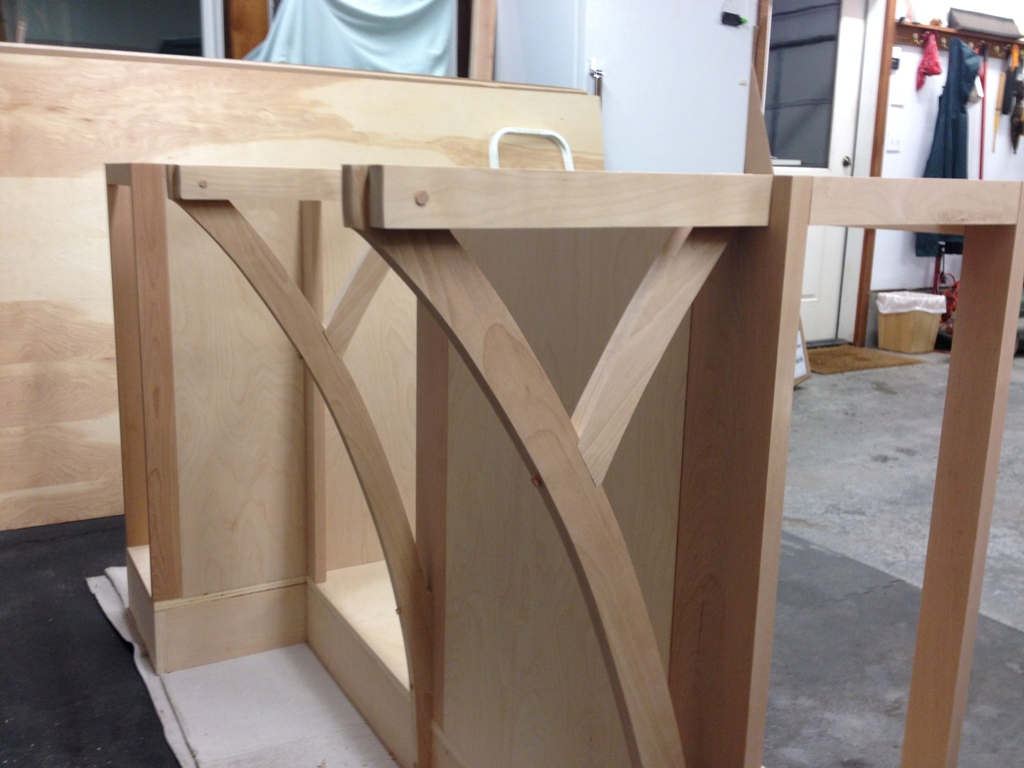
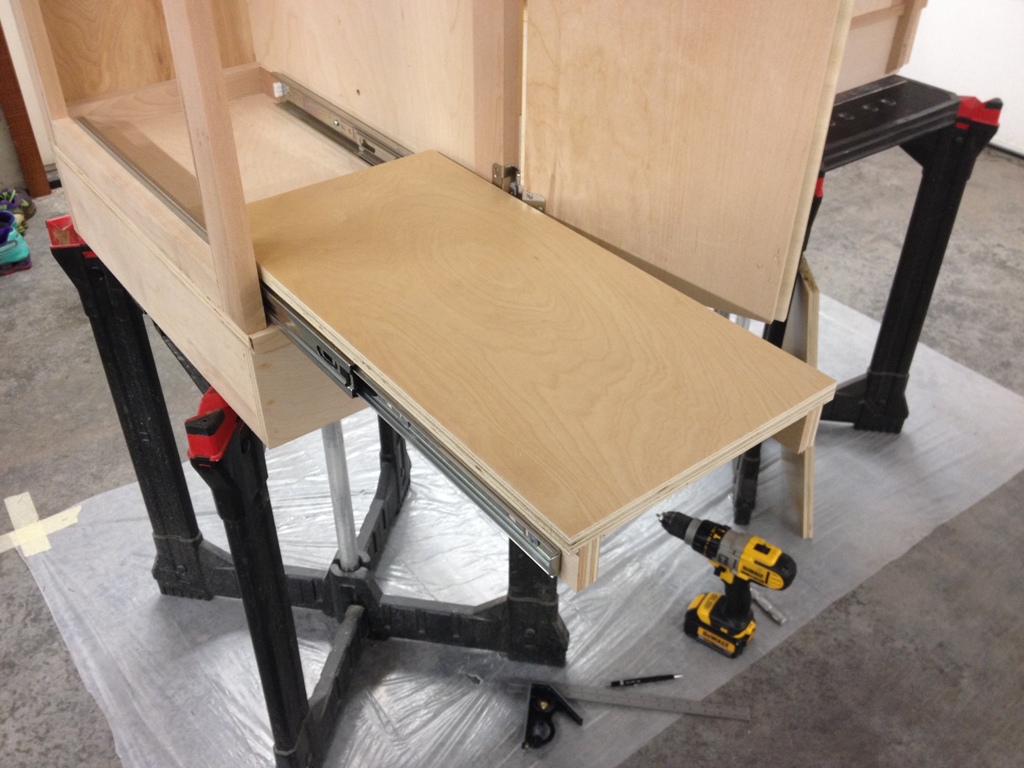
I made these platforms that will hold our trash bins.  We can pull the trash bins out on the little (and rather expensive) drawer glides and they’ll be conveniently next to us ready to accept copious amounts of kitchen refuse while we cook.  I have to admit, I have my doubts about this idea.  It looks good on paper.  We’ll see how well it does in practice.

metal

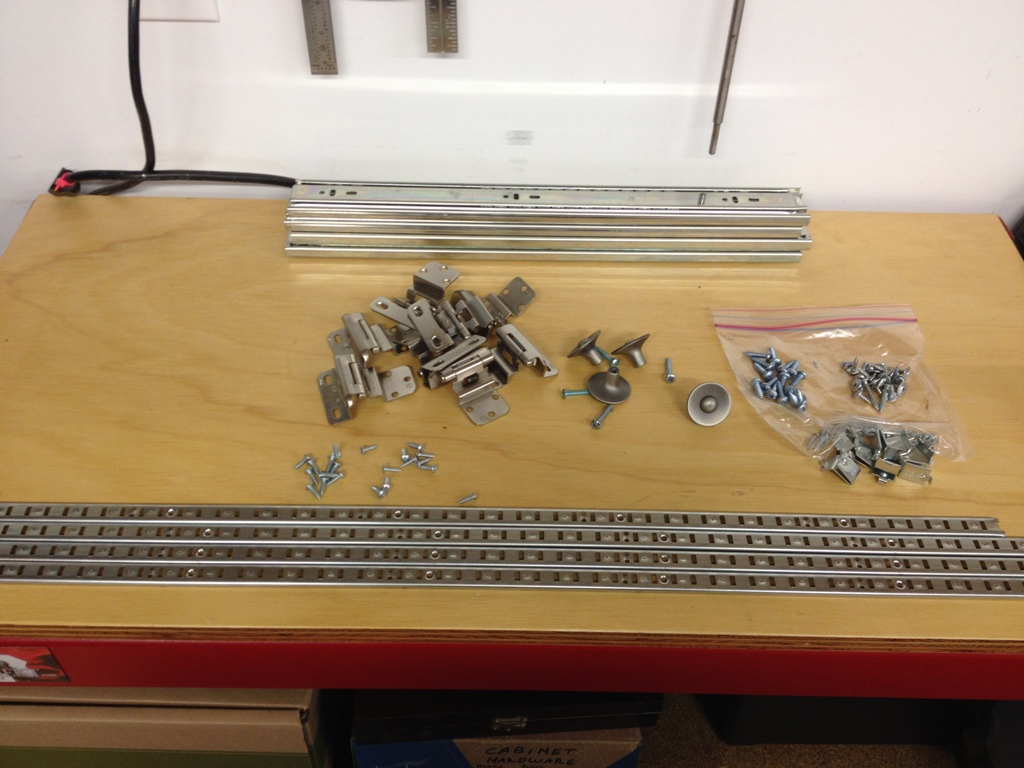
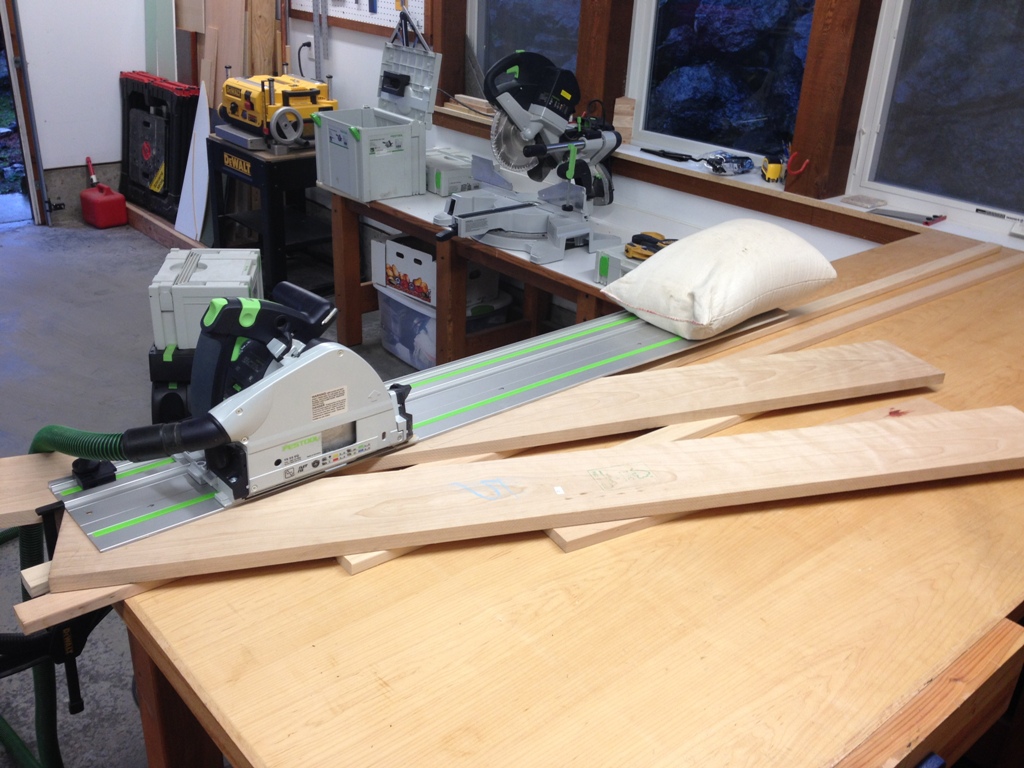
If my cabinet burns down, this will be all that’s left.

cat food

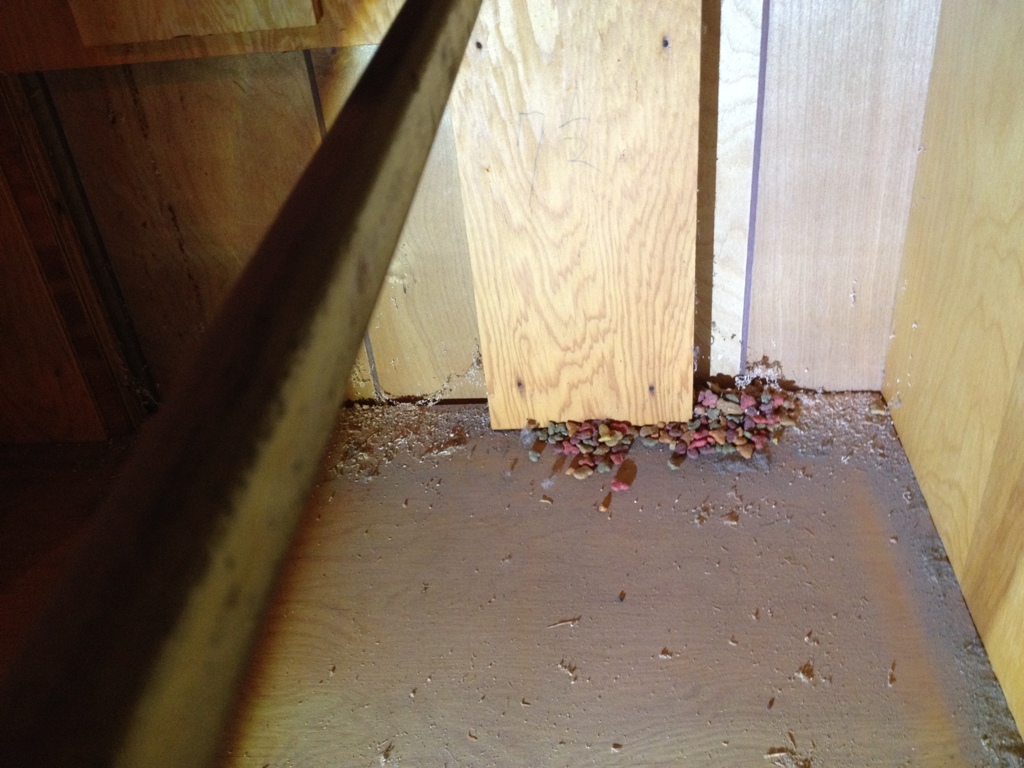
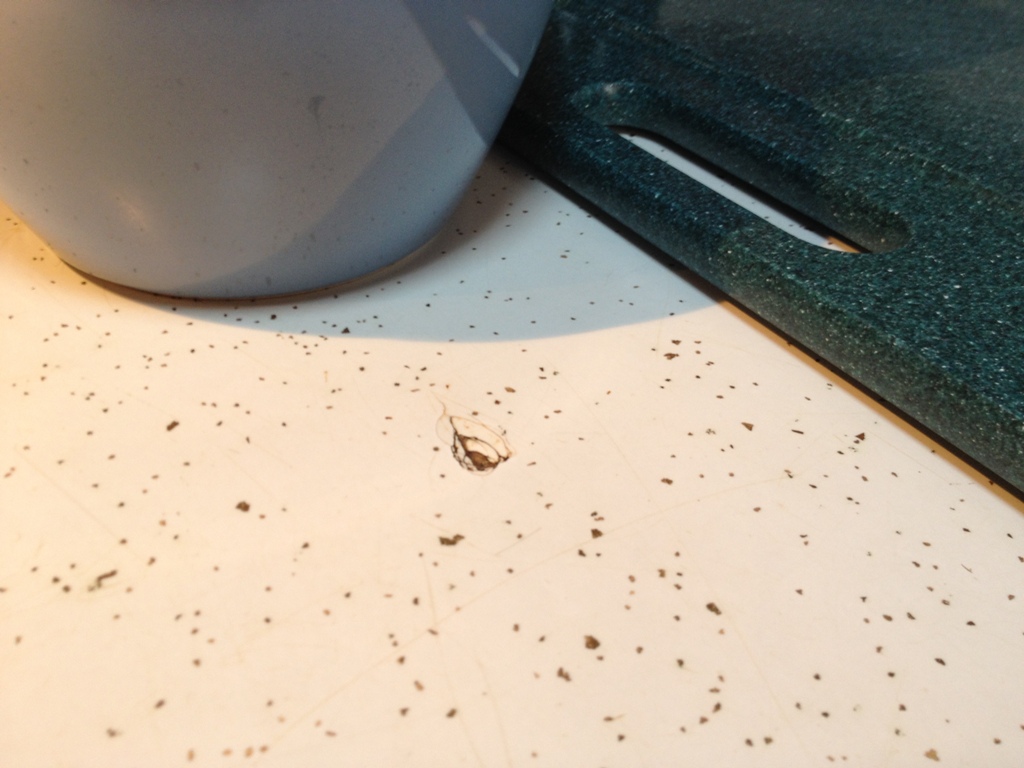
And here is photographic proof that our house is rodent free.  Because when I removed the drawers from the existing cabinets, in preparation for the install, I found this pile of spilt cat / dog / gerbil / whatever food, just waiting for the ravenous little fangs of rats and mice and other assorted vermin that can sneak into a house.  The fact that this pile has sat undisturbed for at least four years is evidence enough that nothing comes into my house that would want to eat it.

install

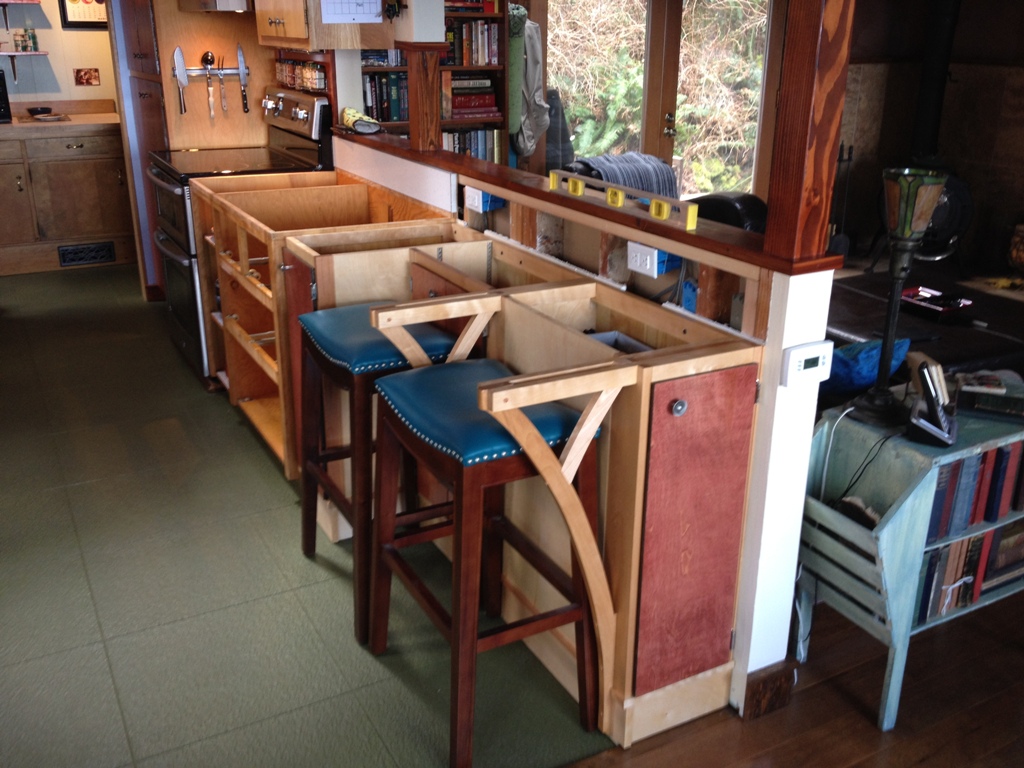
And here they are installed.  Yeah, it’s a hodge-podge of colors and textures, the red cabinet doors, the blue stools, the green floor.  This house is a patchwork quilt, which is something you get when you live on Orcas.

hodge podge

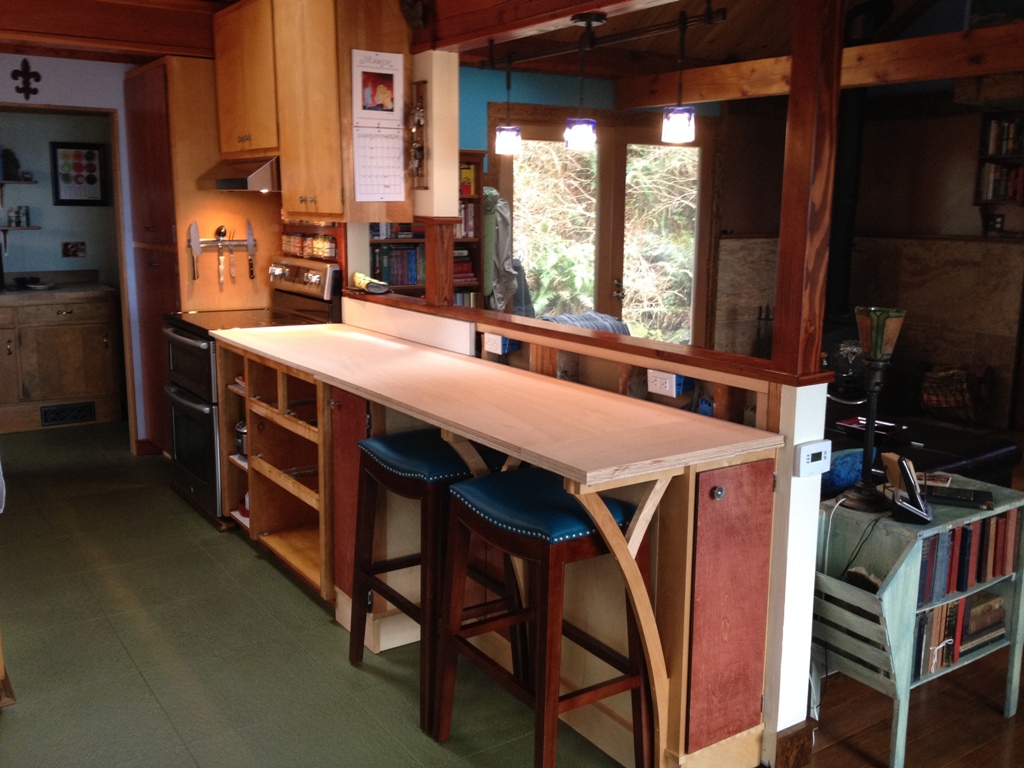
I’ve got some plywood pinned on top temporarily, as it could be months before the new countertops are installed.  Island time, you know.

It’s a Great Day to Make Sawdust

outside

It was a gray weekend outside.  Nothing but rain, and more rain, and when that was done, it rained again.  A nice day to get in the shop and make some sawdust.

puzzle pieces

All the pieces to make the kitchen cabinet extension are cut and ready to be put together.  Here they are posing for a picture.  Like a bunch of little jigsaw puzzle pieces.

joint

These beams are going to hold the weight of a stone countertop, a portion of which will be cantilevered so we can put some stools there and have a new seating area.  I over-engineered them deliberately, wanting them to be very, very strong.

clamp

Oh yeah, that will be a strong joint.

joinery

frame

I assembled the base cabinet upside down, it was a little easier that way since I had these support rails that had to stay nice and flat with the top of the cabinet.  In fact, I even made the joke “oh no, I glued it together upside down!”, acutely aware that no one else on Earth would get the humor but me.

fitting

And here it’s all fitted together.  So far this project is going very well.  I’ve screwed up very few things on it, and nothing I couldn’t fix, so I’m kind of anticipating some major catastrophe.

festool

As much as I love Festool, it can be such a pain in the ass.  I have to find a bunch of scrap pieces of wood to support the piece I’m cutting, as well as other scrap to support the rail, and then I have to clamp down the rail, and sand-bag down the other side since a clamp won’t fit, and I have to cut it in three passes since it’s such an acute angle and the wood is so thick that it would bind and try to explode if I just made one pass.  And don’t even remind me about the stupid hose that keeps getting underfoot and trying to trip me.

templates

But that’s what it takes to make brackets.  A nice bracket is a complicated piece of wood that takes about a dozen precision cuts.  When I have to make multiple brackets all the exact same shape, I make a template out of 1/4″ MDF so I can shape it and smooth it out on the router table.

router

I promised sawdust.  And sawdust there shall be.

all put together

Several hours later I finally have nice brackets made and installed, slender enough to not be an eyesore and sturdy enough to hold a crap-ton of weight.

brackets

Really happy with the way this project is coming along so far.  Well, I’m not happy with the pace, as this is taking forever and I still need to install hardware / make doors / make shelves / cut the back board / put on some trim pieces to conceal the plywood edges / find a way to carry this inside / hope it fits / install it / etc.  But the overall quality of the cabinet, I am very happy with.