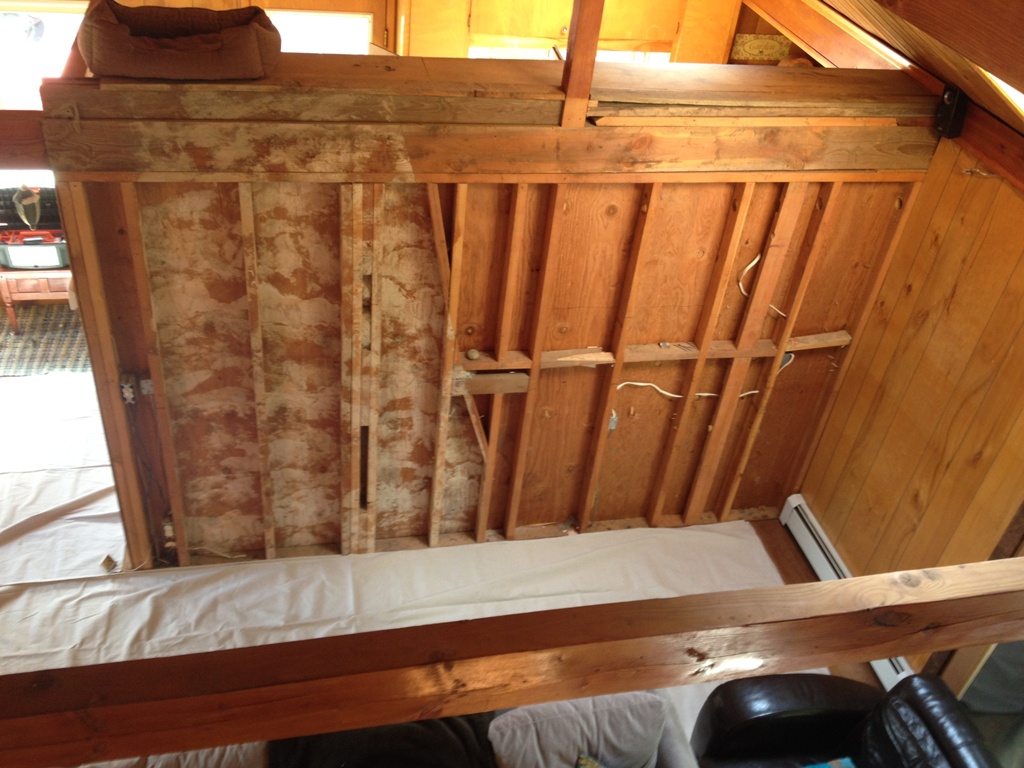
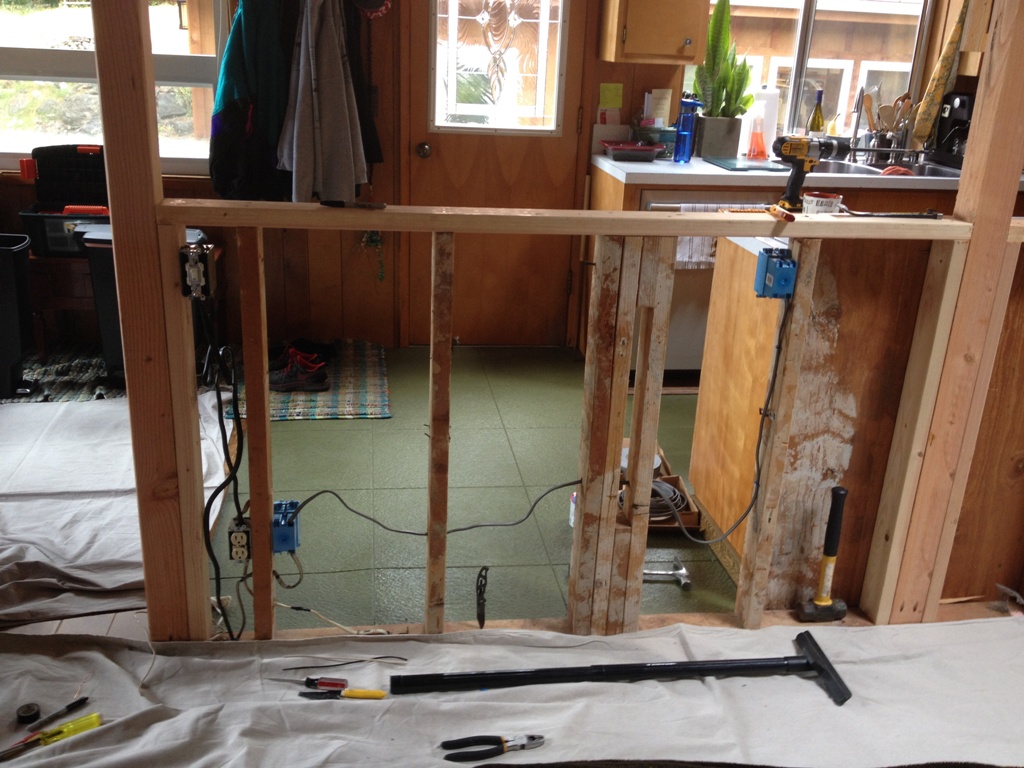
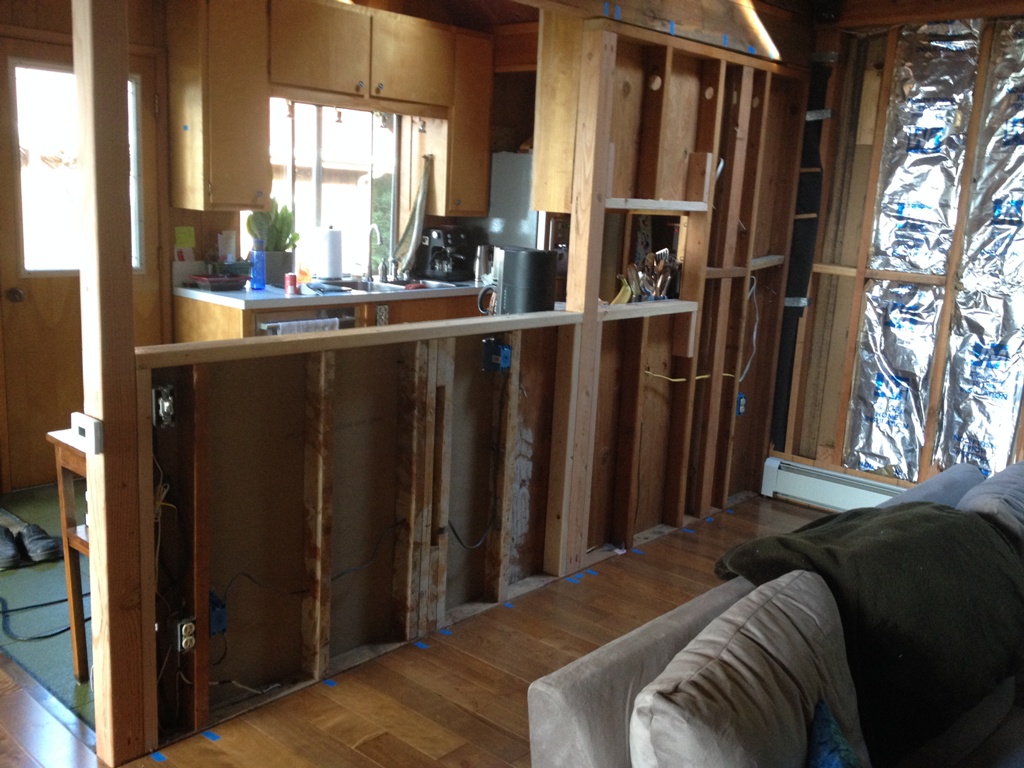
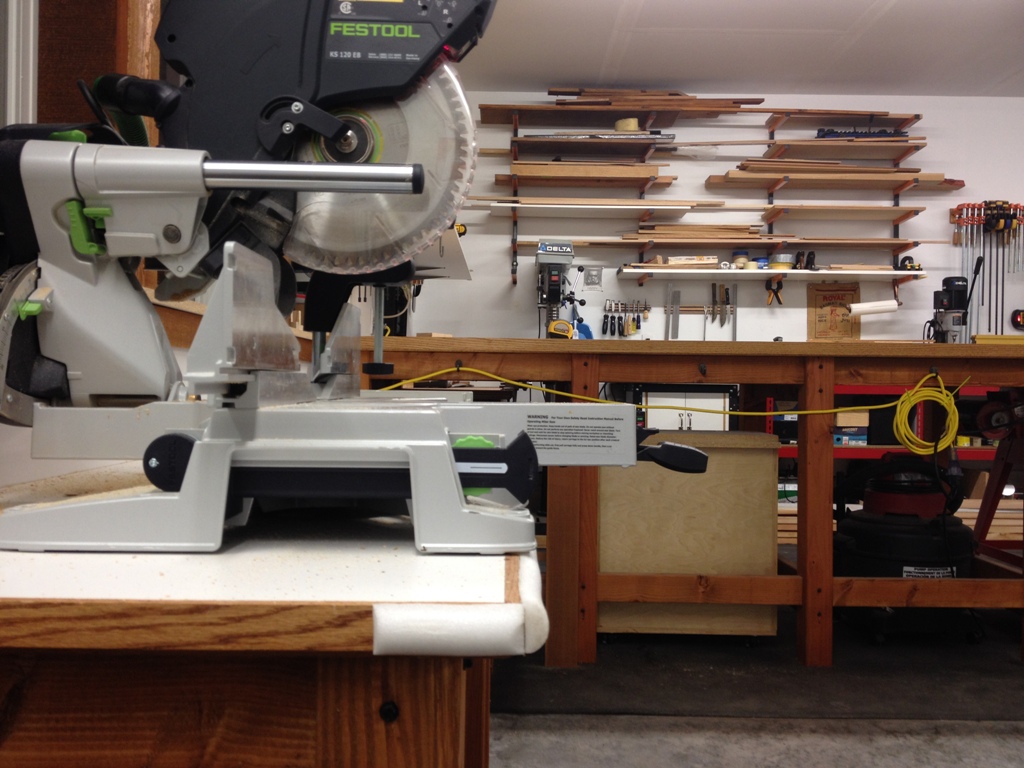
Got out of bed this morning and decided to make some sawdust. It’s been a busy week at work (which is a real, non-sawdust-related job) and I just needed some time away from the office, so to speak. Plus, I had just torn out a bunch of paneling inside and hung a couple sheets of drywall and needed to cut and fit a bunch of new trim pieces.
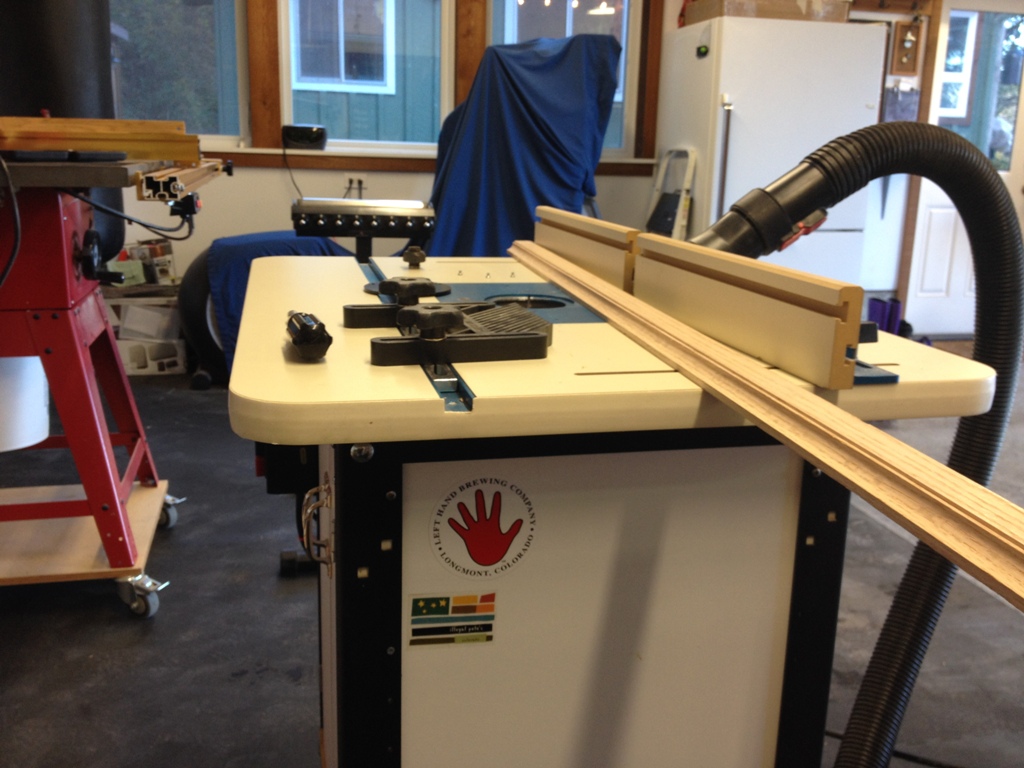
For the most part, I’m using finished hemlock for trim pieces. I don’t do much to them, just take slabs and slather it with some stain and polyurethane and nail it to the wall. It’s not real woodwork but it’s fairly economical — I have a whole house to trim and I don’t want to break the bank doing it.
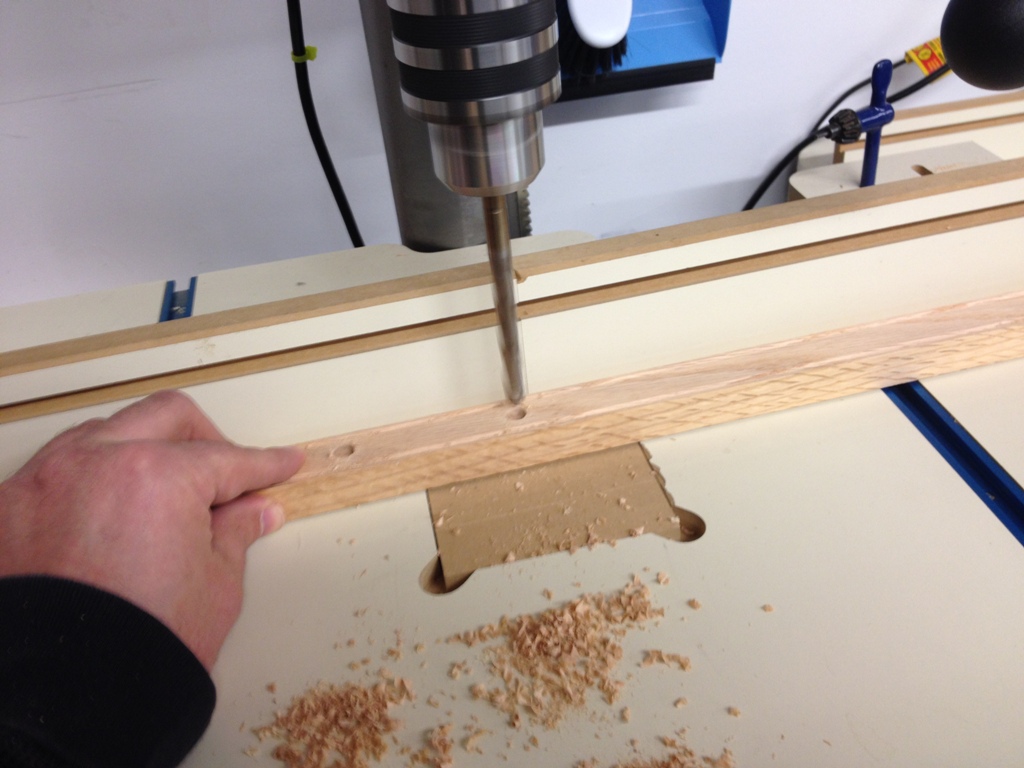
However, I am going to sneak in some shaped and fitted pieces as I can. This time, I got to make a nice windowsill out of one of my favorite hardwoods: red oak. It’s kind of an involved process. I use a 1×6 to nail on top of the rough frame, but I band it with a 1×2 that I do some shaping on over the router. The result looks like a thick plank of wood with a little cove molding across the bottom. I attach the two pieces with wood screws hidden behind oak dowels that look like little buttons going around the band. You can see me drilling out the holes for the dowels above. I know, I know, I could have joined them with hand cut dovetails or run a spline down its length or tongue and groove or some other fancy pants joinery, but I simply don’t have time. I need to get this house finished while I’m still young enough to enjoy it.
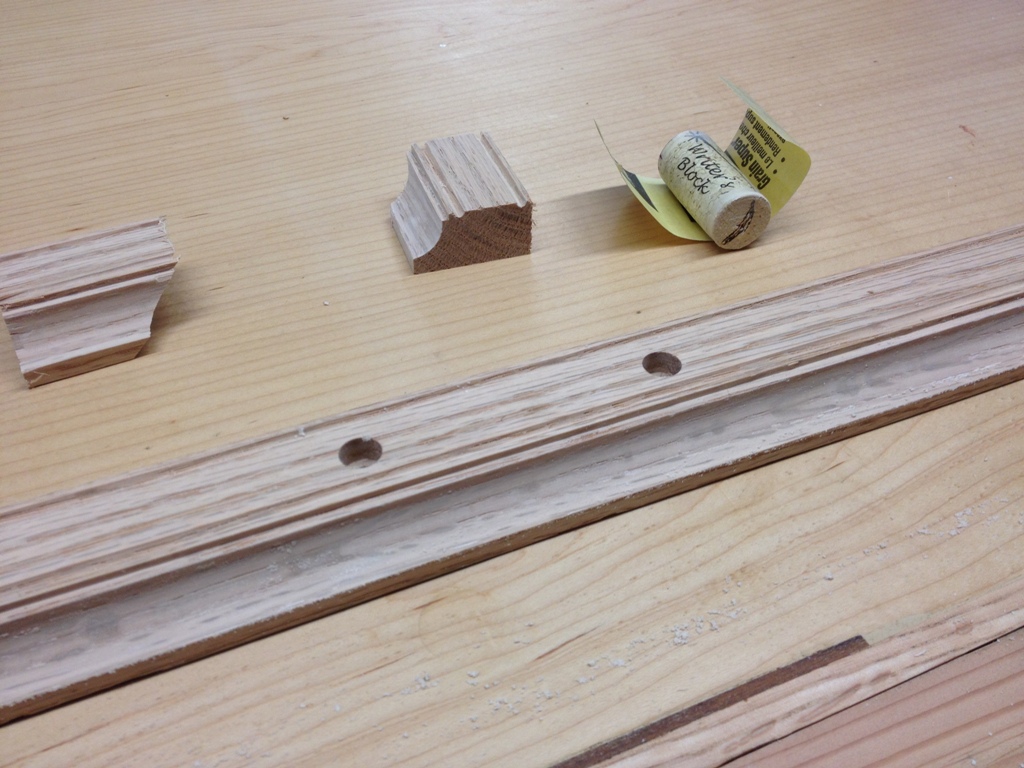
The routed piece has some clean lines that give it a little interest. You can see the profile on the end cap above. That rounded cove at the base can be sanded by wrapping sandpaper around a wine bottle cork. If you need an excuse to buy a bottle of wine, there you have it.
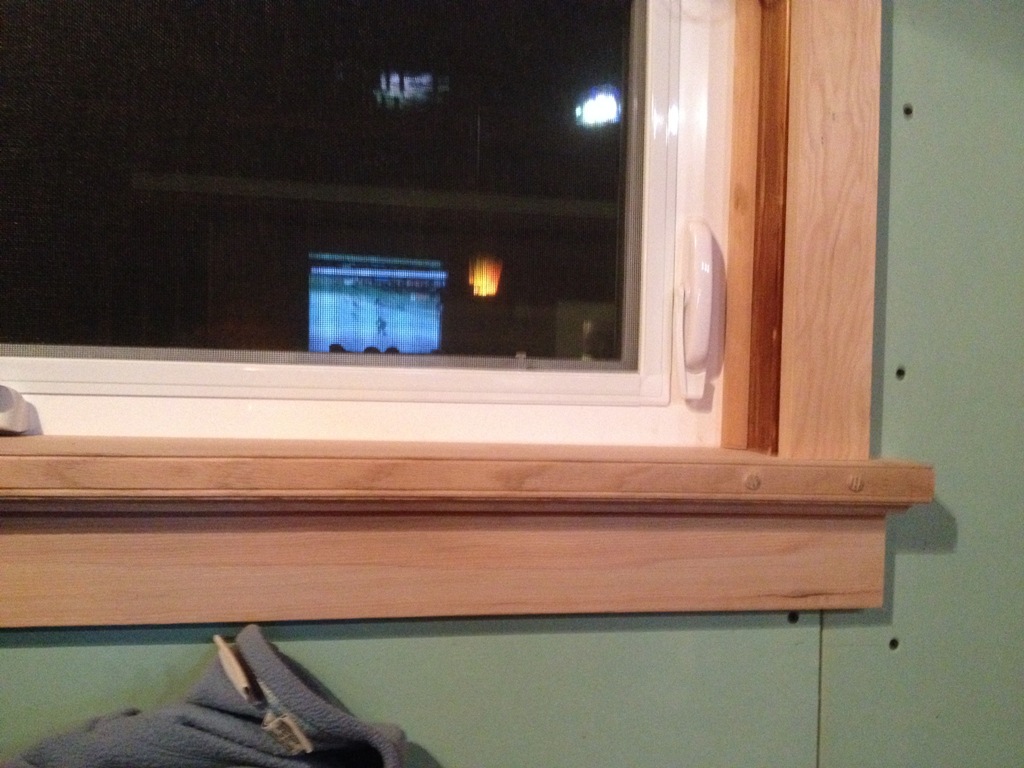
Here’s the finished windowsill fitted into place with the other trim pieces around it. They’re just pinned in place with a couple finish nails, I’ll remove them to stain and polyurethane them in the garage. Oak takes a stain very well, accentuating the light and dark color with its alternating waves of smooth and rough grain.
Not sure if you noticed but it seems like every picture I take with the TV in the background, there’s a hockey game on.
Still a lot of trim to cut and fit, and sand and stain and polyurethane and install. Not to mention I need to get some mud on that drywall and sand it and topcoat it and primer it and paint it. Yeah, never a shortage of things to do around here.