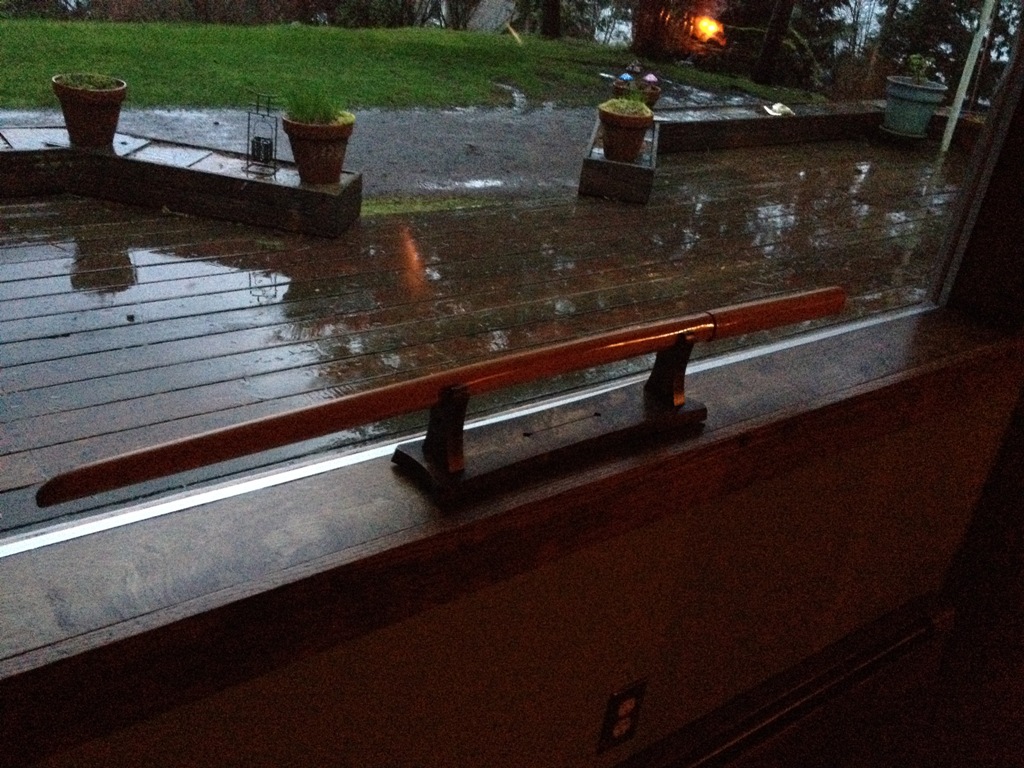
A bokken is a wooden Japanese sword used for training in martial arts. I train with mine almost daily. Lately it’s been just resting on a windowsill or against a log or sitting in the pile of firewood (who keeps putting it there?) but I’ve long wanted to make a stand for it. I’ve had this piece of rock maple leftover from an old project and it looked to be about the perfect dimensions to cut a sword stand out of.
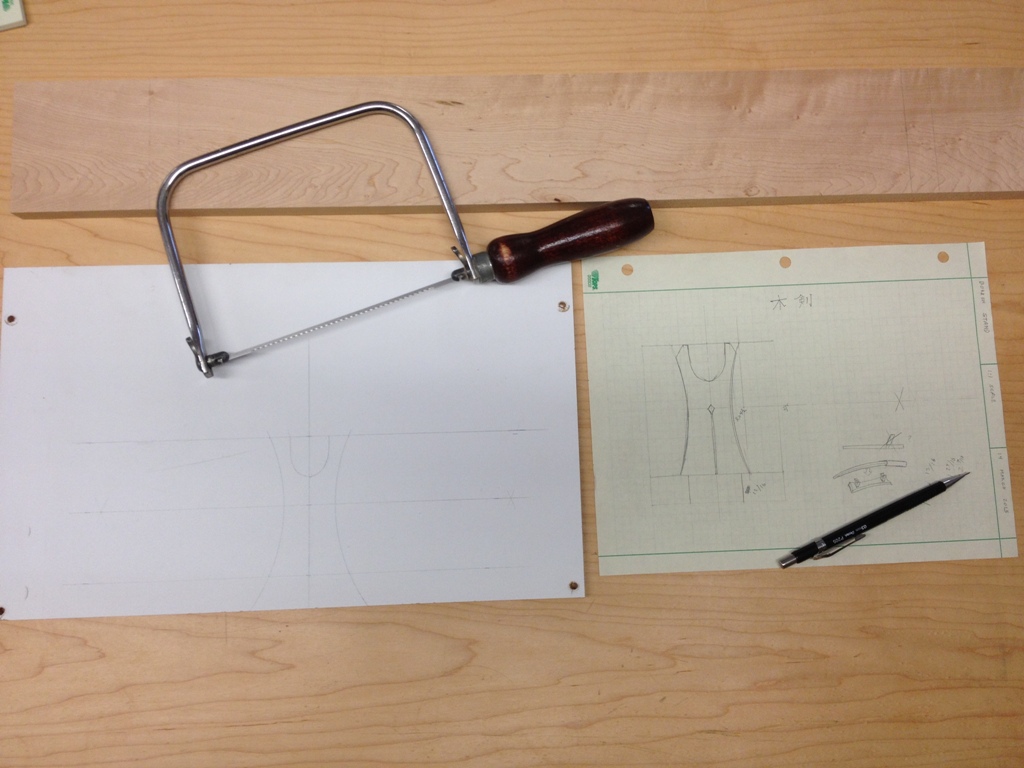
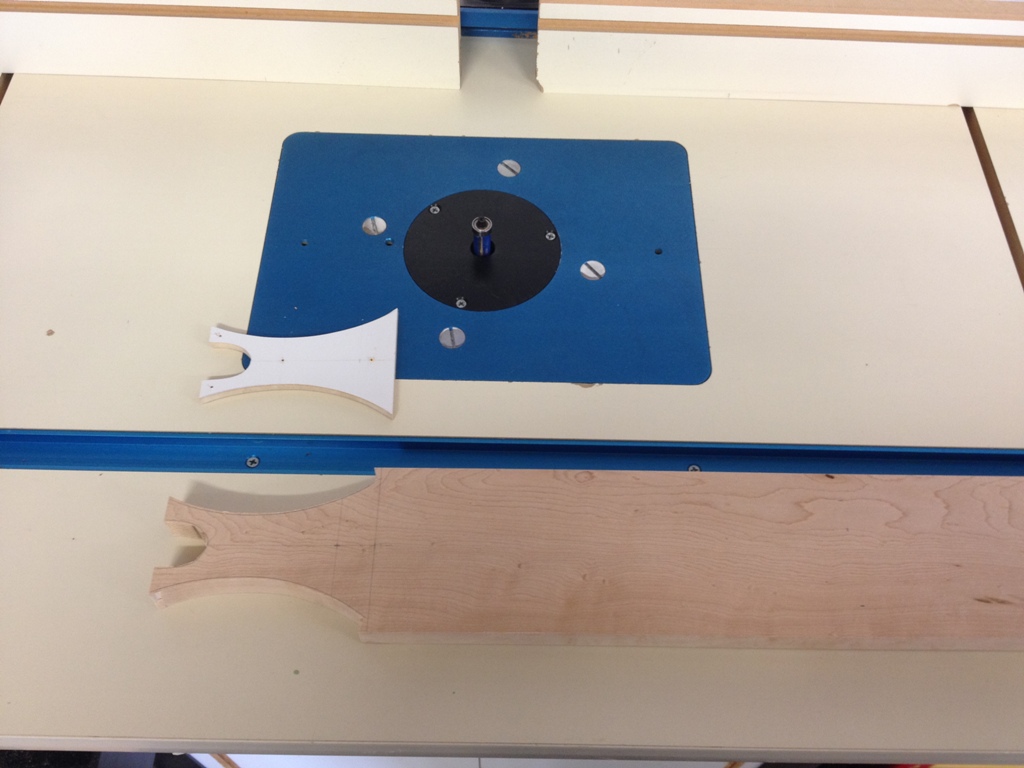
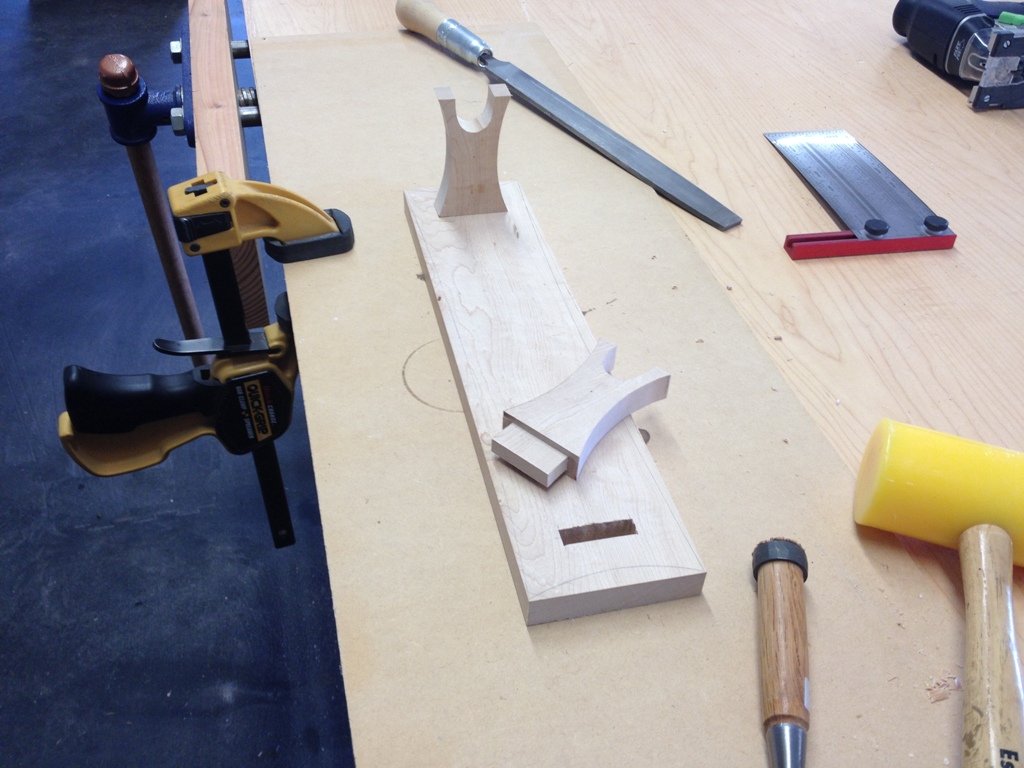
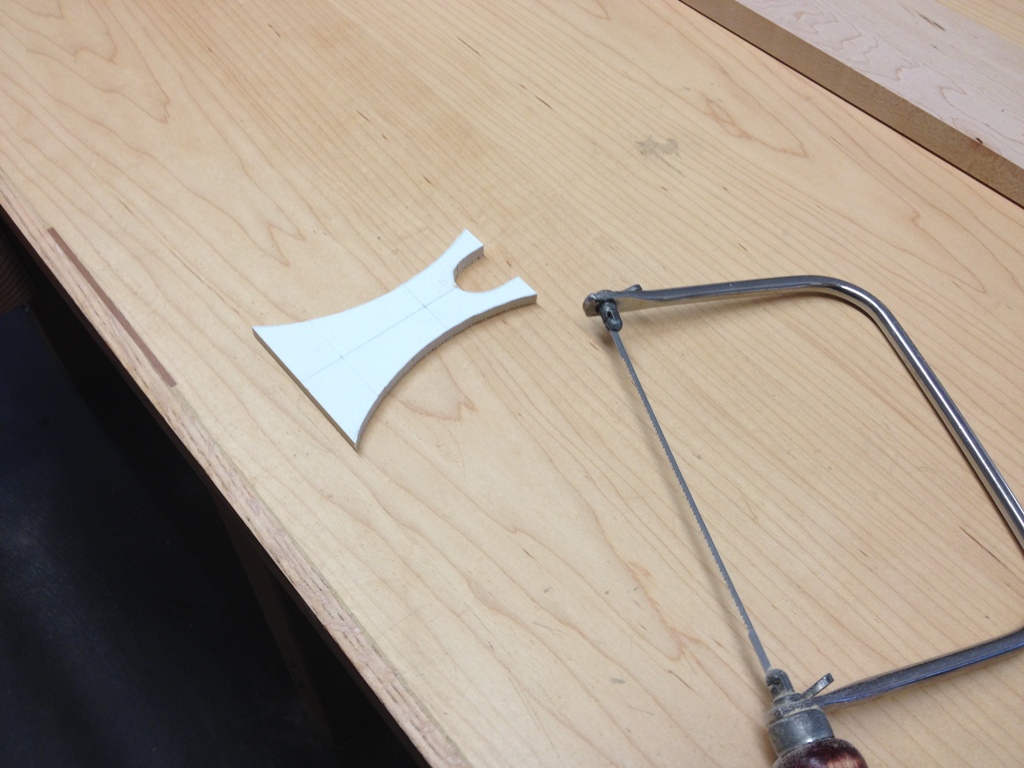 Very simple design. The stand part looks like a soy sauce dispenser, which is Asian, so I feel like I’m on the right track style-wise. I start by making forms out of 1/4″ MDF which I pin to the piece and use it as a template to cut out the shape with a smoothing bit on the router. Normally this work is done with a scroll saw, but I have neither a scroll saw nor do I have any proficiency in a scroll saw. So, like everything else, I just do it the hard way.
Since it’s a small piece, I work with it while it’s still attached to the main board so I can control it better over the router. This is a tricky cut, as the bit will be going against the grain and this is very hard wood. But the nice thing is, it makes for a very smooth and perfect edge, and it’s repeatable. You can make the exact same shape over and over again, until you run out of wood.
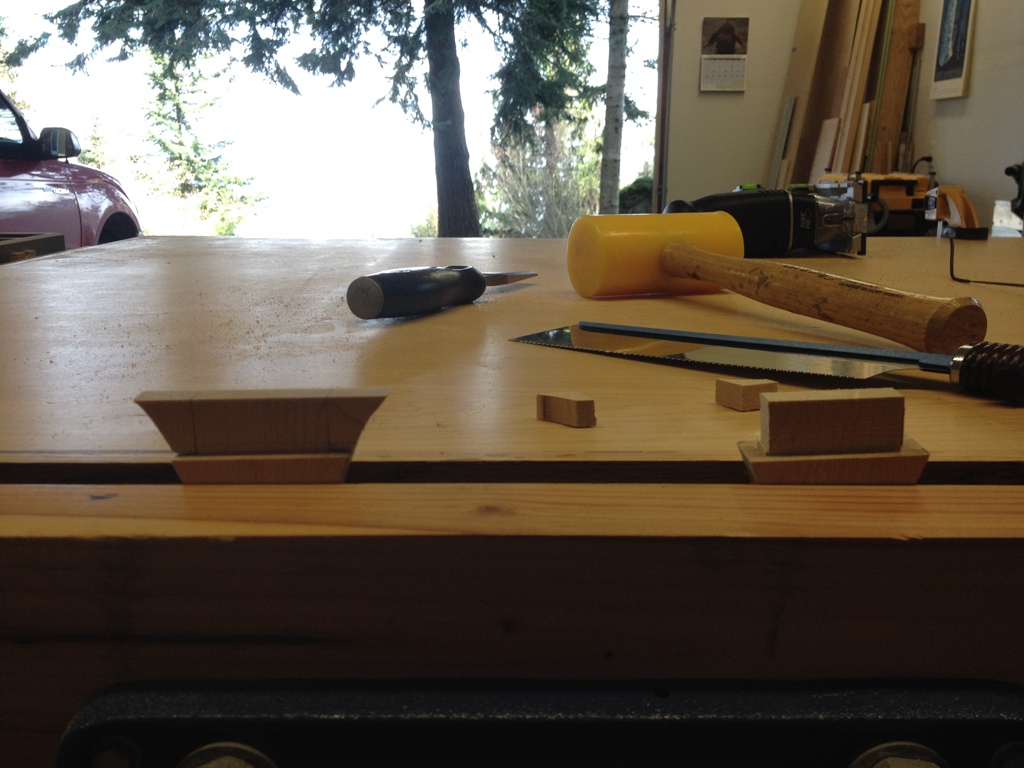
I had to remember how to cut tenons, it’s been a while.
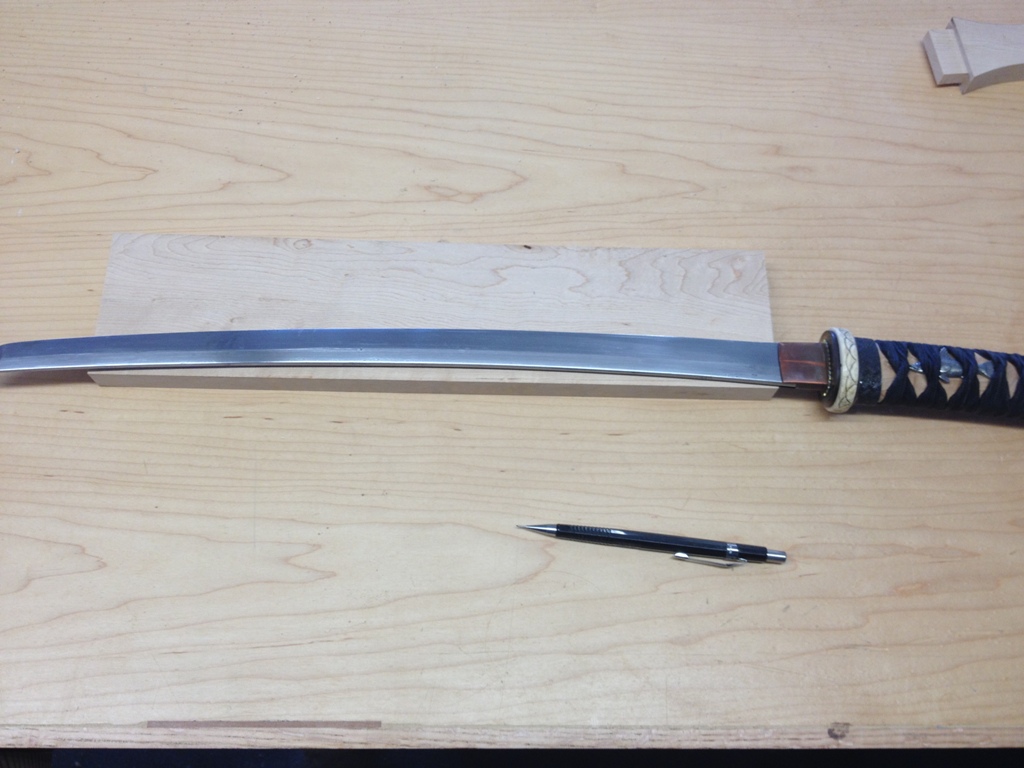
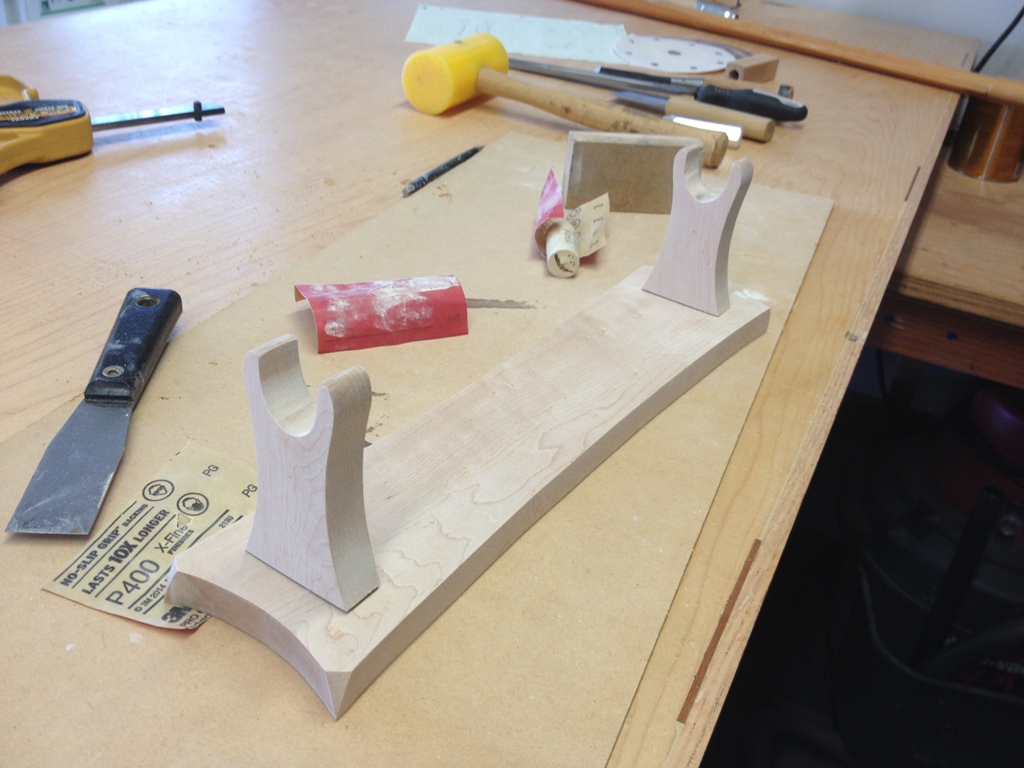
With the tenons cut, I begin work on the base. I wanted to give it a nice gentle curve on its sides so it’s not just a slab of wood. Now there are ways to make these curves using special equipment, or (if you’re a cheap bastard like me) you tie a string to a pencil and draw out the radius you want, or (if you’re cheap and lazy) you look around for something that has the exact curve you want to cut out. In this case, I followed the curve of a real Japanese sword. The curve is gentle enough I didn’t have to smooth it on the router, I was simply able to take a sander to it.
I thought it was a good idea to cut out my mortises before I cut out the curves. It’s a lot easier working with a square piece of wood.
Mortises cut, curves all cut, and everything fits together. Still, I wanted to give it a little detail.
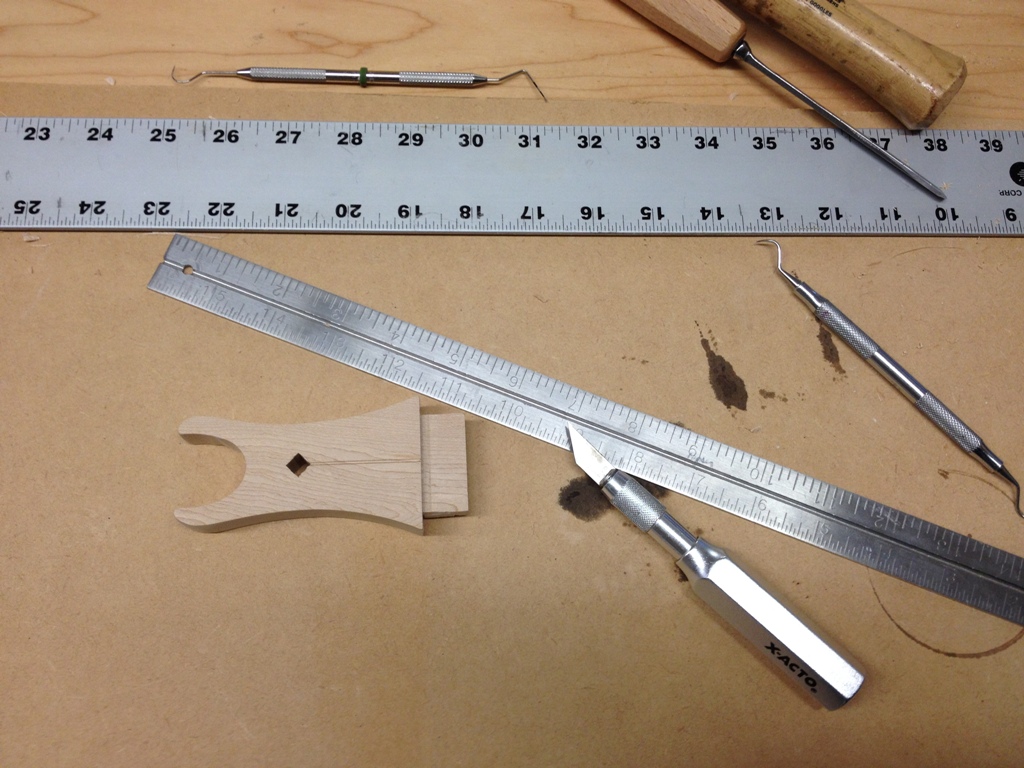
I gave it a few more square holes, cut out a groove with an X-acto knife, and threatened it with dental picks until it was good and frightened.
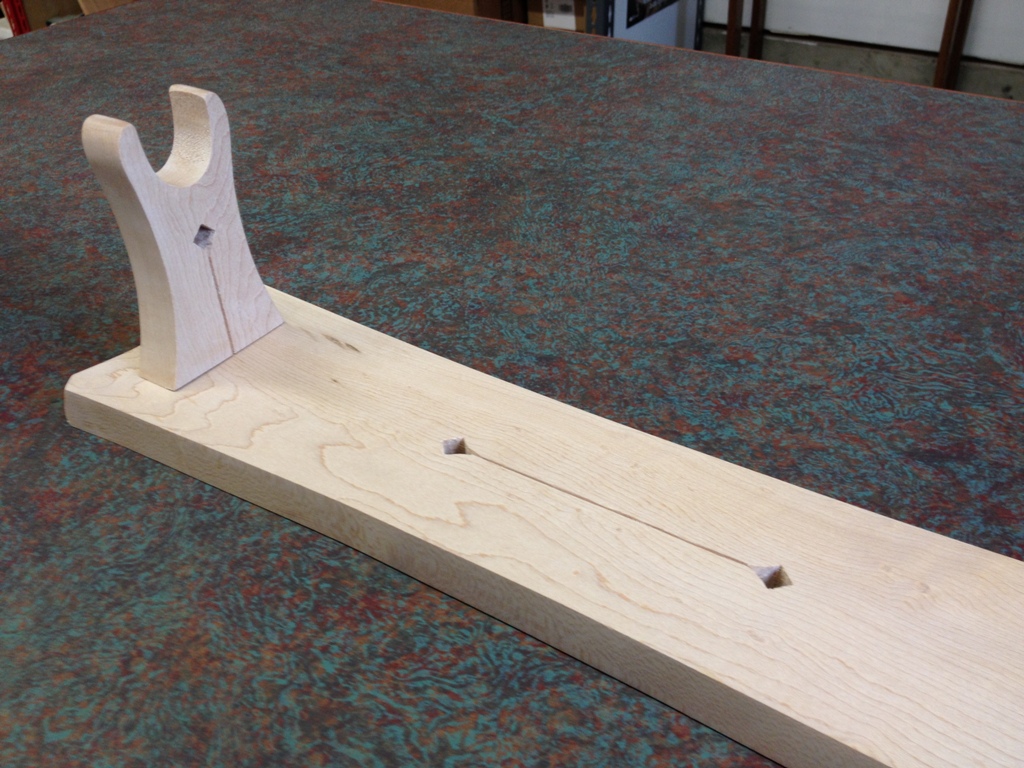 These details really made a difference, gave the piece a little interest.
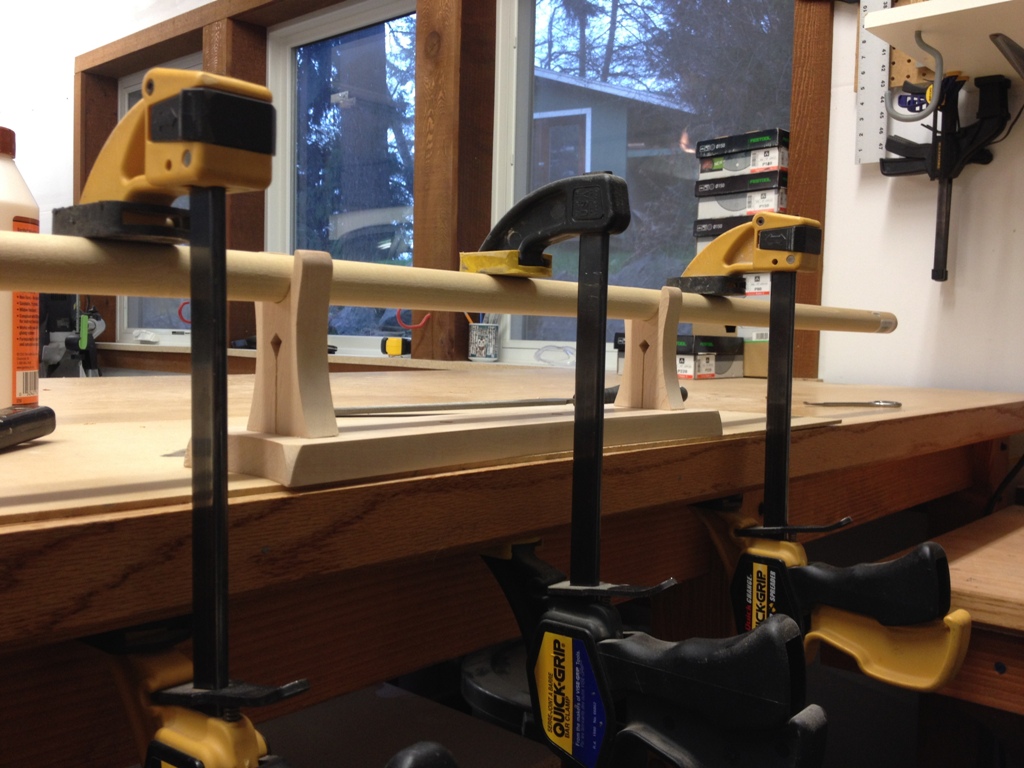 To clamp it for the glue-up, I used one of my many dowels. I seem to buy a dowel about every week and I will soon have every size they make. The tenons were a nice snug fit, and this thing won’t really see a lot of turbulence except for me picking the sword up and putting the sword down.
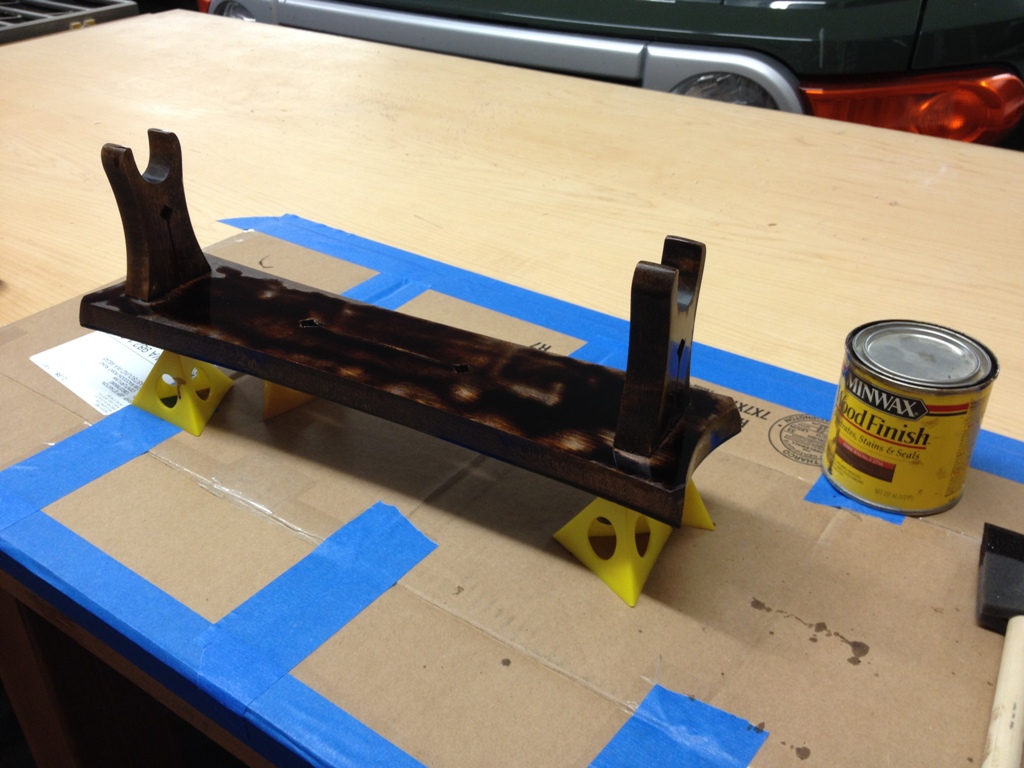
I bathed it in a dark stain. I don’t normally stain maple but in this case I wanted a darker color.
A little polyurethane, and Bob’s your uncle!
And it works. It successfully holds a bokken a few inches up from the windowsill, defying the force of gravity, and making the house look less littered. Maybe now my practice sword won’t end up in the firewood rack anymore.

