More Shop Work

Paddle board

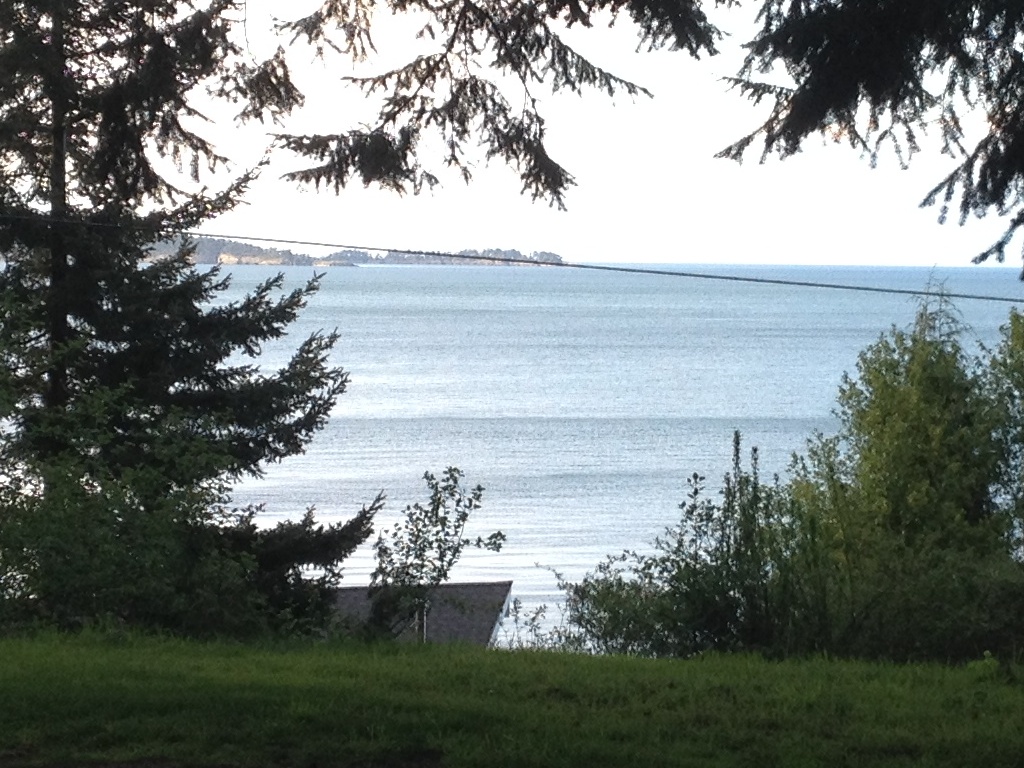
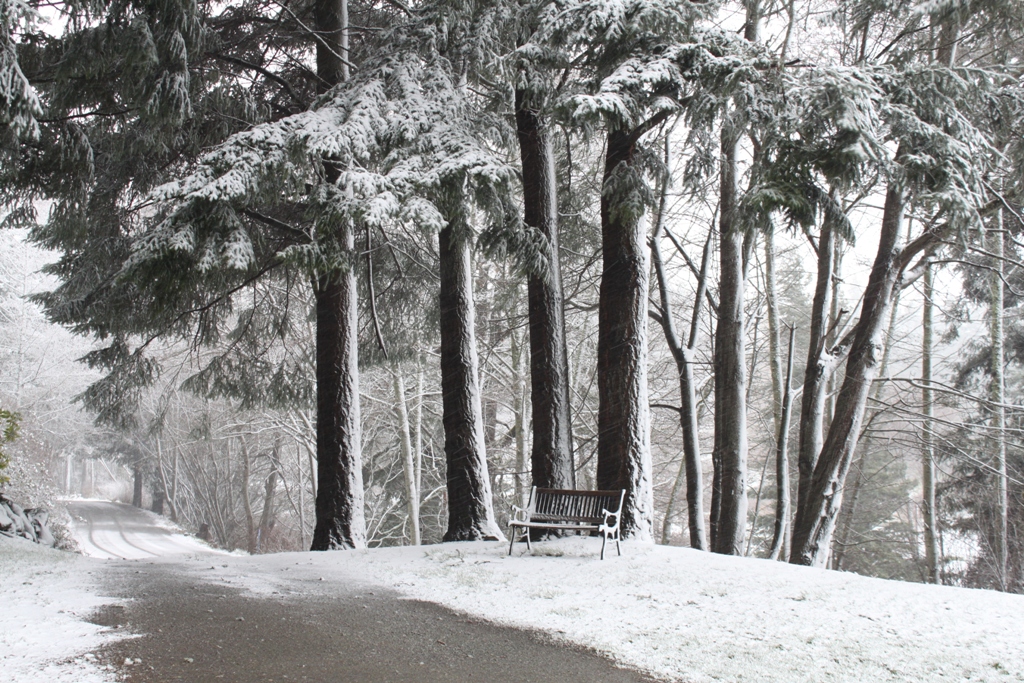
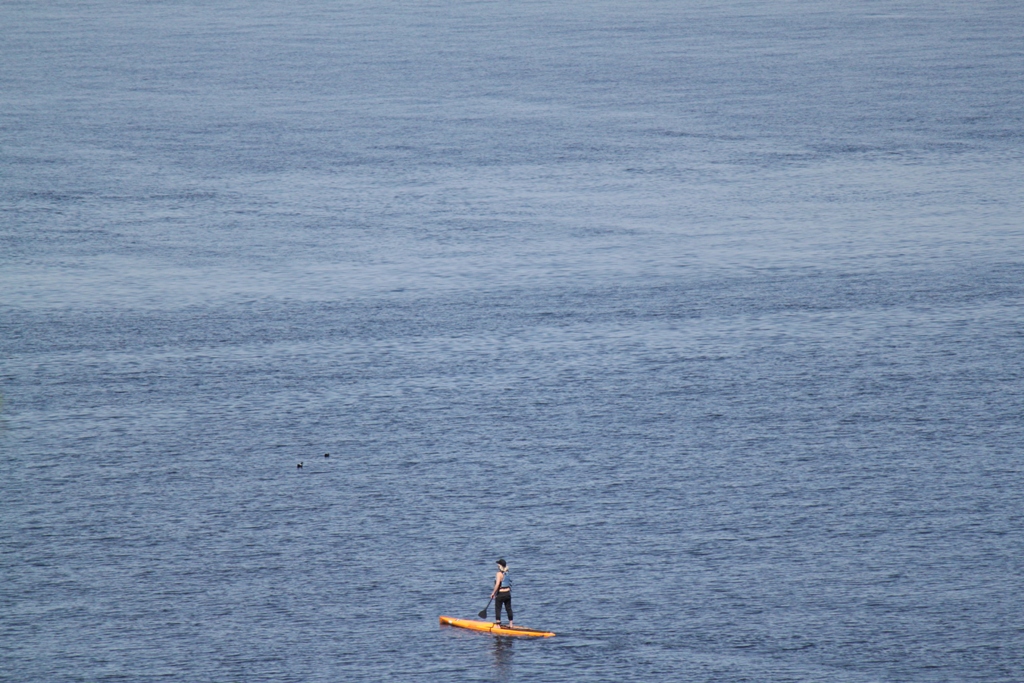
Ah, springtime on Orcas Island.  Time to get out the kayaks, the paddle boards, the canoes, the sailboats, that pontoon you made out of empty 2 liter soda bottles.  Whatever floats your boat, literally.  Time to get out in the water and go fishing, go sailing, go floating around the island and seeing all the wildlife.  The weather is beautiful, warm but not hot, sunny and sometimes a little cloudy.  The wildlife is abundant.  Time to go out and just enjoy the world.

UNLESS YOU’RE ME.

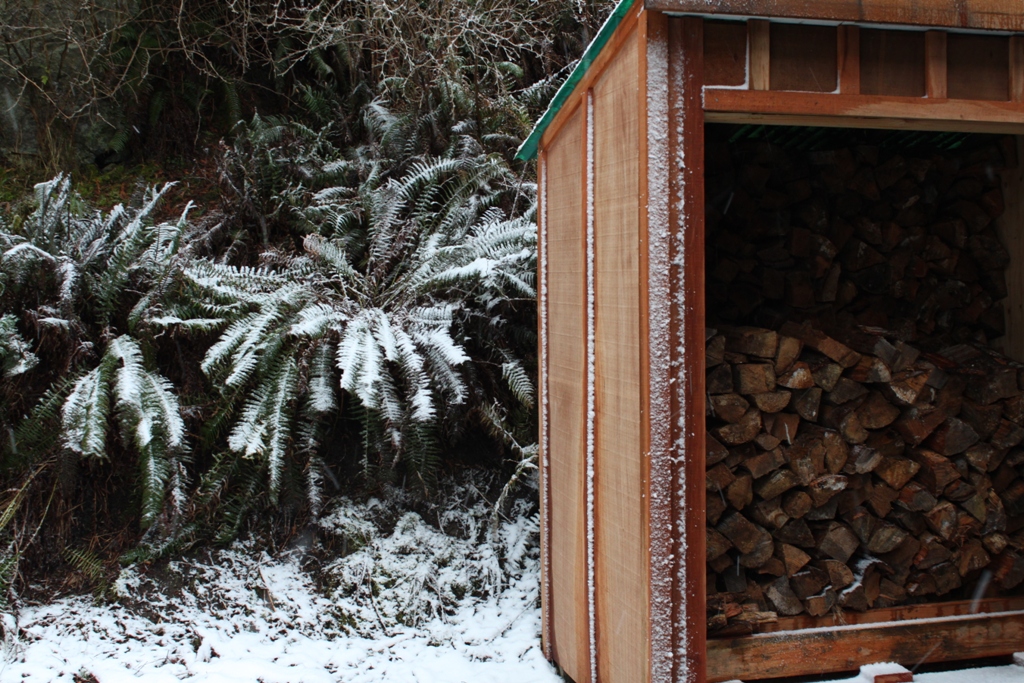
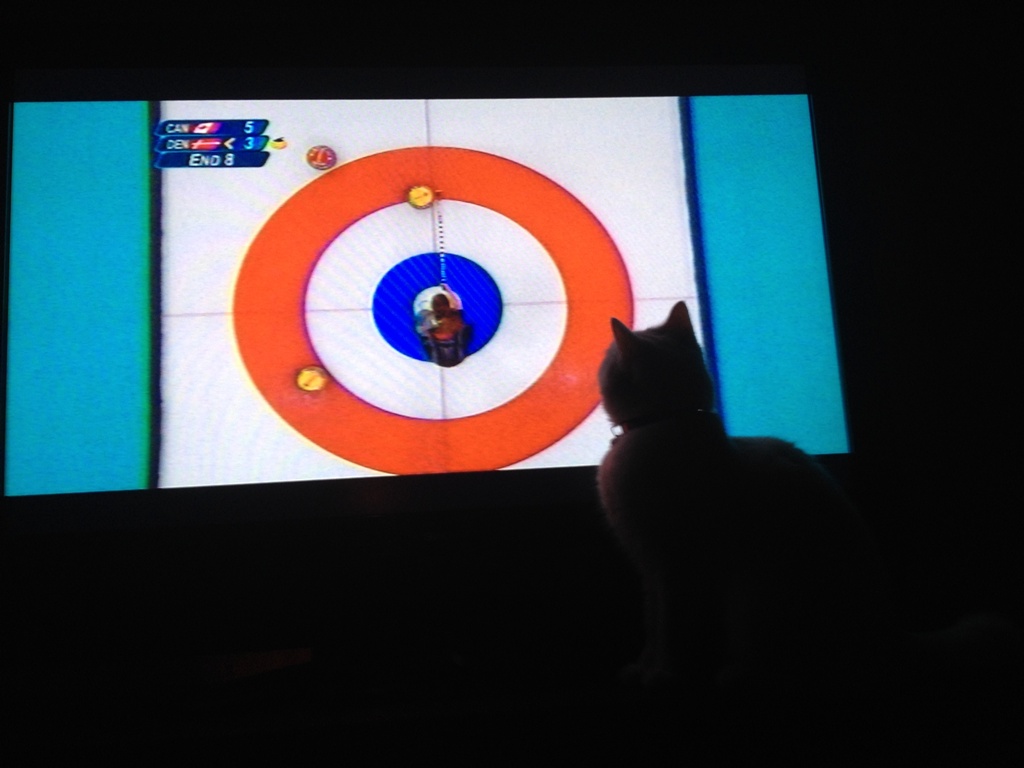
If you’re ME, you spend every waking moment in your troll cave, making sawdust with your saws, rasps and sanders.  You avoid bees as you run up to the shed to get more lumber.  You spook a bunch of deer as you head back to the other shed where you store all the paint supplies.  You pay no heed to the tourists driving in their strangely clean cars, completely devoid of mud, rust and dents, staring at you as if you’re a Bigfoot sighting.  If you’re ME, you toil in your shop, listening to playoff hockey or reggae music or whatever your little device will pick up without dropping its signal.

Stain
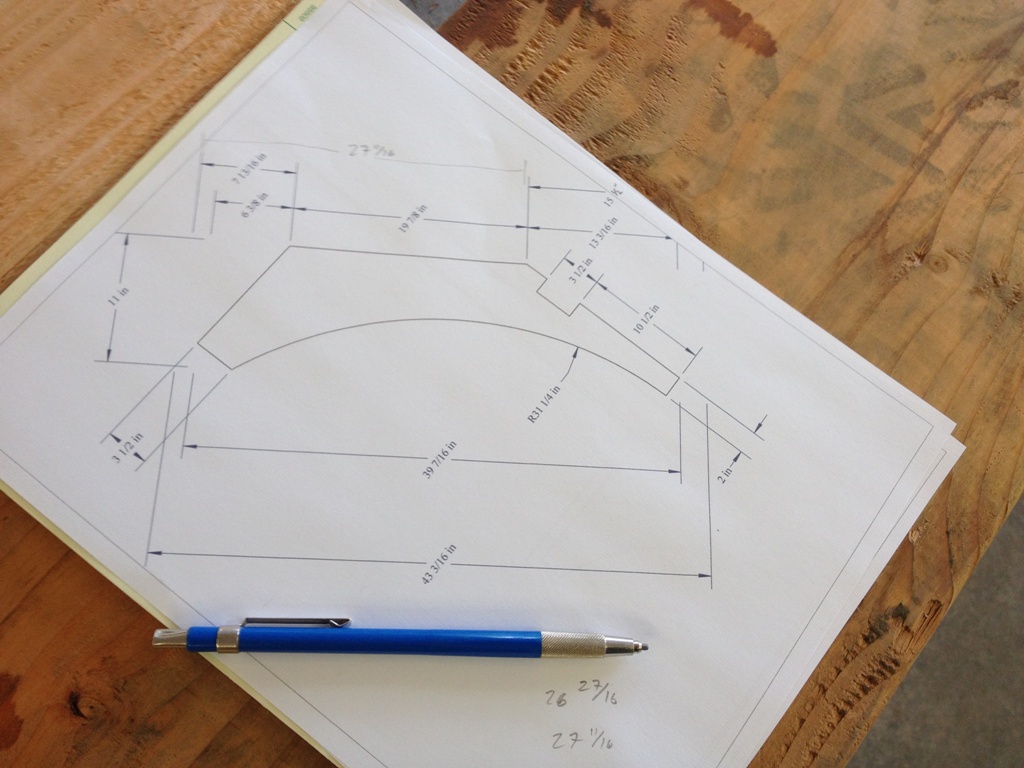
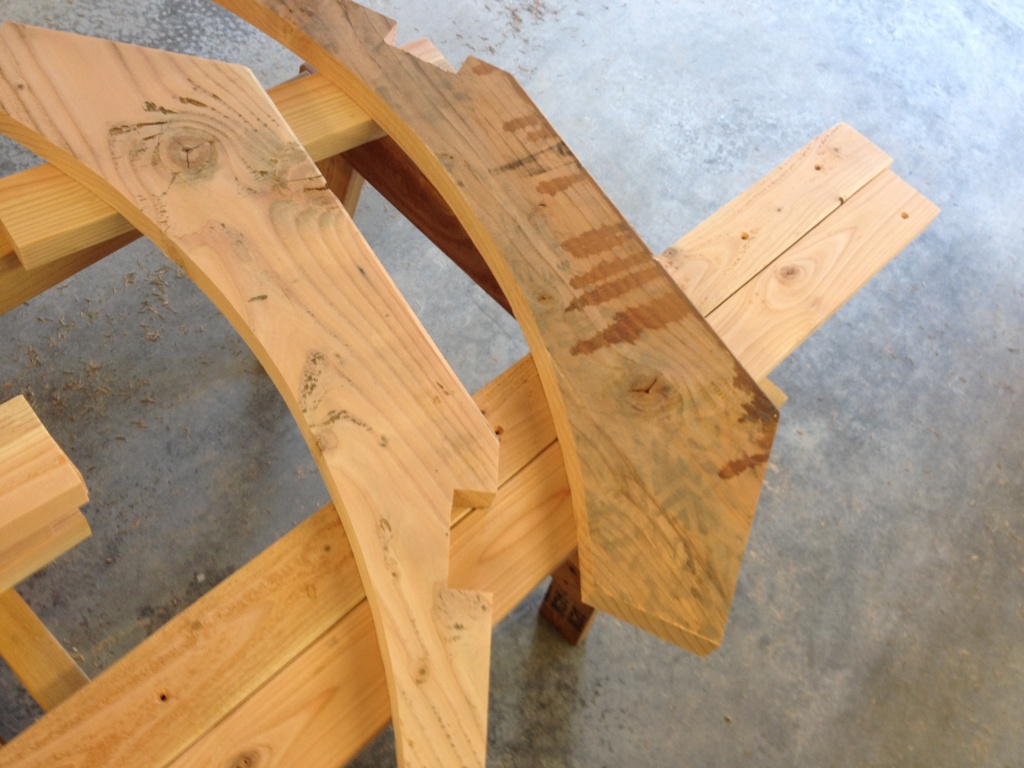
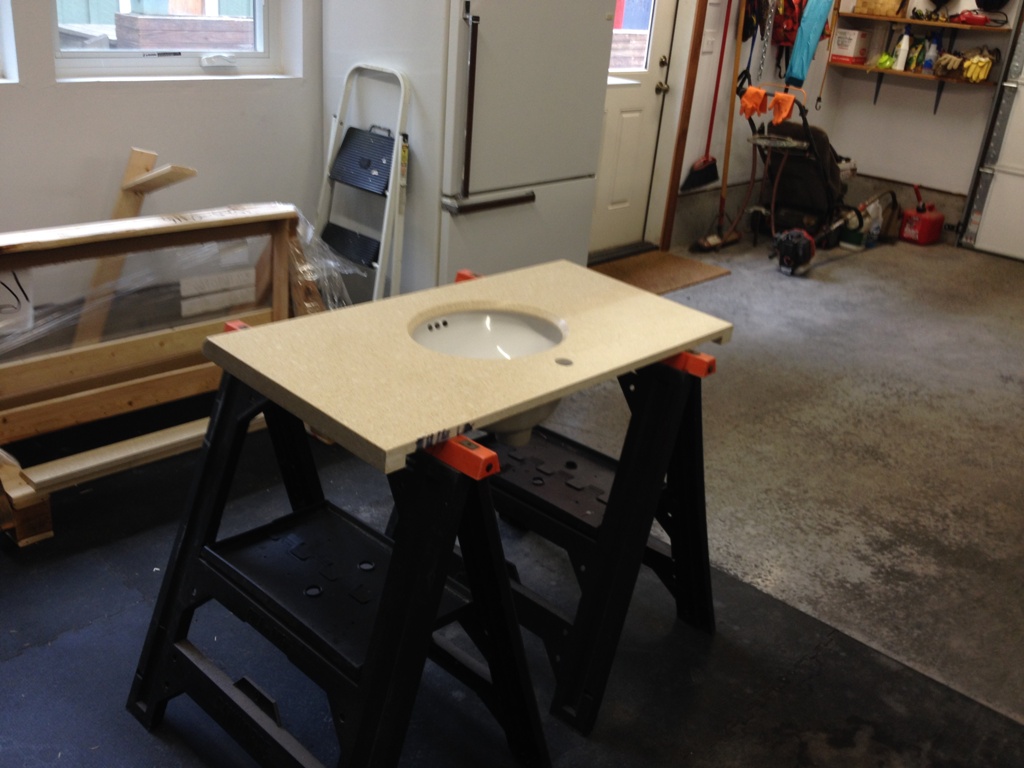
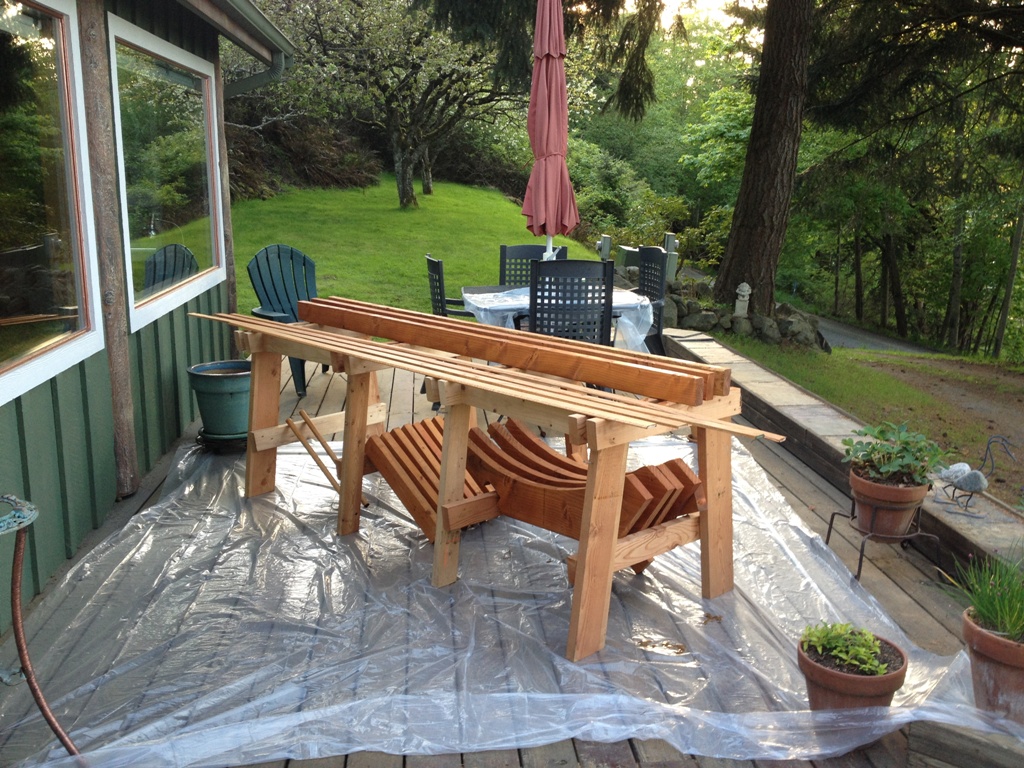
My deck becomes Stain Central, where I can set up sawhorses and drop cloths, and slather linseed oil onto all those little shapes that I made in the shop.  They’re like big puzzle pieces at this stage.  One thing I really enjoy up here is the space, the almost limitless amount of places I can spread out into.  I don’t have to cram this into my shop and stink it up with oily fumes for 48 hours.  I can do this on the outside deck, and gaze out to the sea when I take breaks.

Brackets

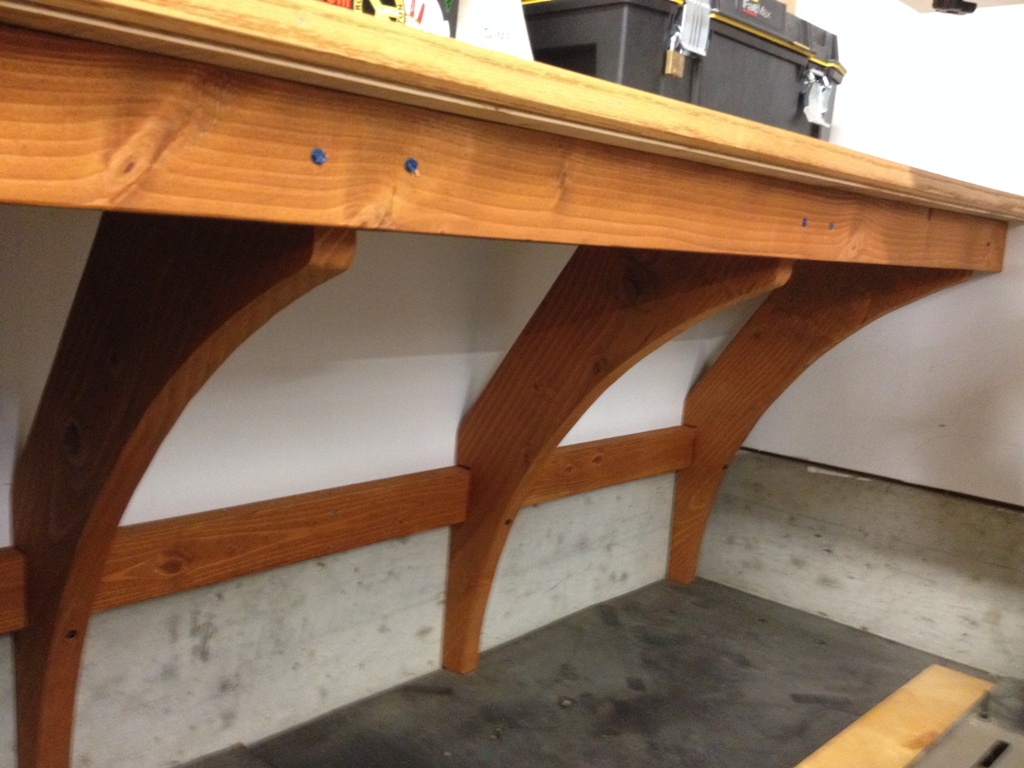
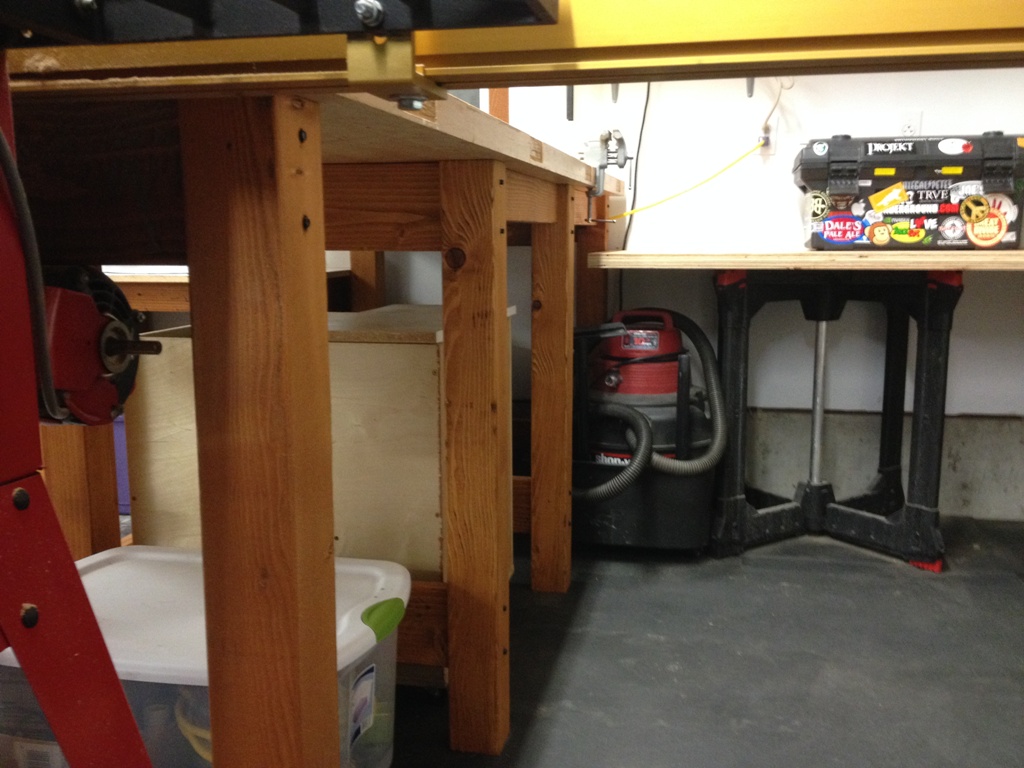
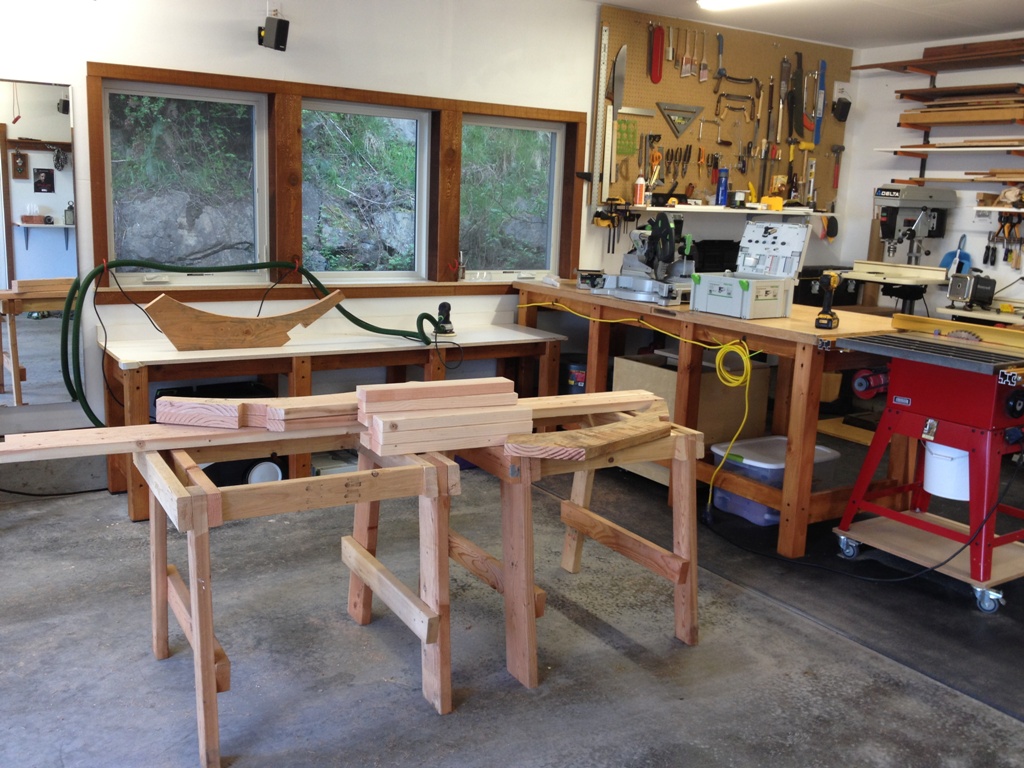
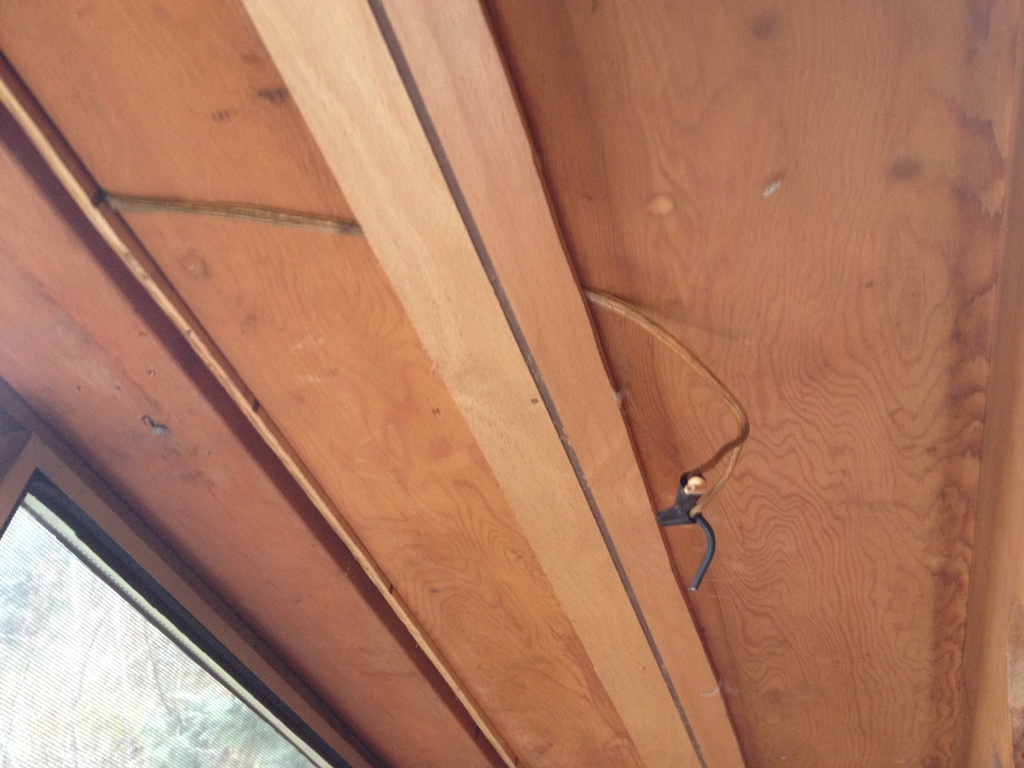
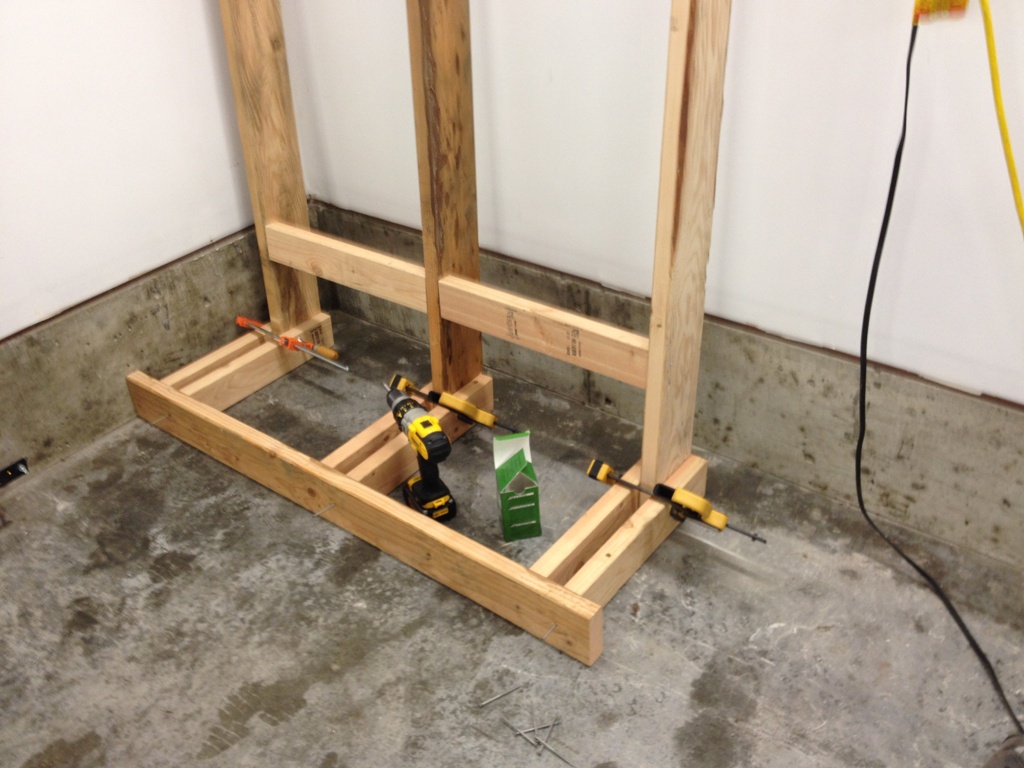
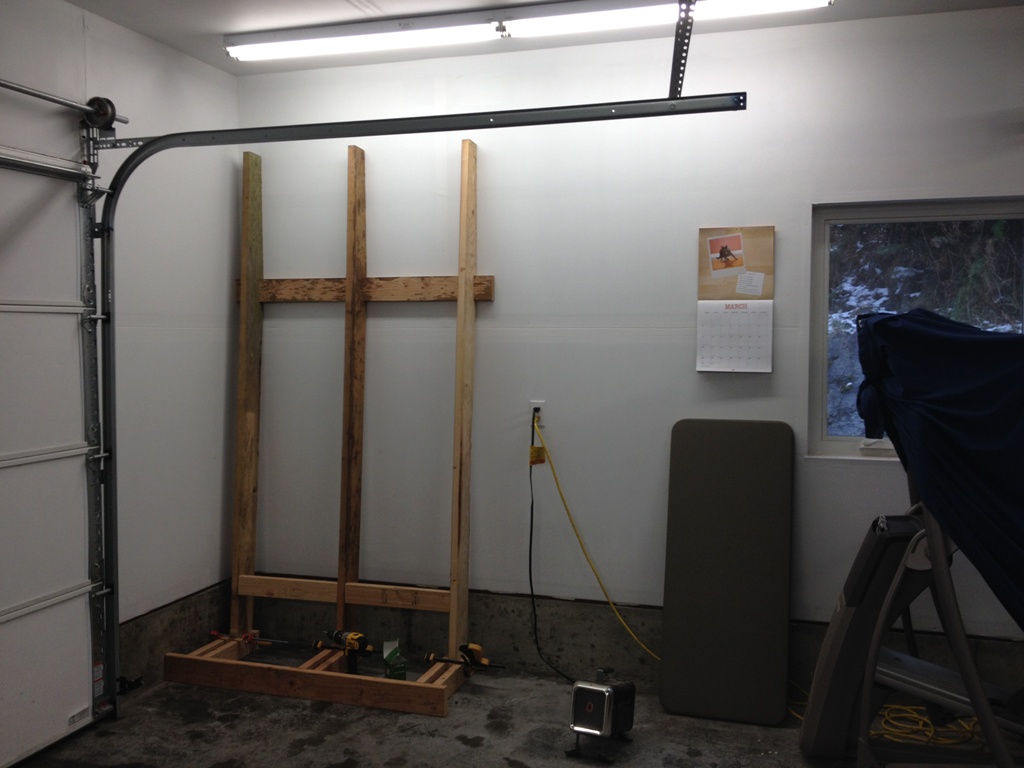
This install was really tricky.  I had to hold the bracket in place with one hand and the 2×4 in place with the other hand while driving the screws in with my third hand and making sure everything remained level with my fourth hand.  The worst of it was one of the beams ran along the exact same path as the electrical wires behind that drywall.  I had to screw it into the studs without screwing into a live 220 volt wire.  Call me a chicken, but I actually wore rubber gloves when I drove those screws in.  Well, they’re all in, and those brackets now hold up a little side bench that is about as sturdy as bedrock.  The best part is the top is just a sheet of 4×8 plywood ripped down into two 2×8 sheets and screwn together.  So I can pound on it, drill through it, spill crap on it, and for $32 I can replace it and it will look like new.  To me, that’s a really good quality to have in a bench surface.

Shop


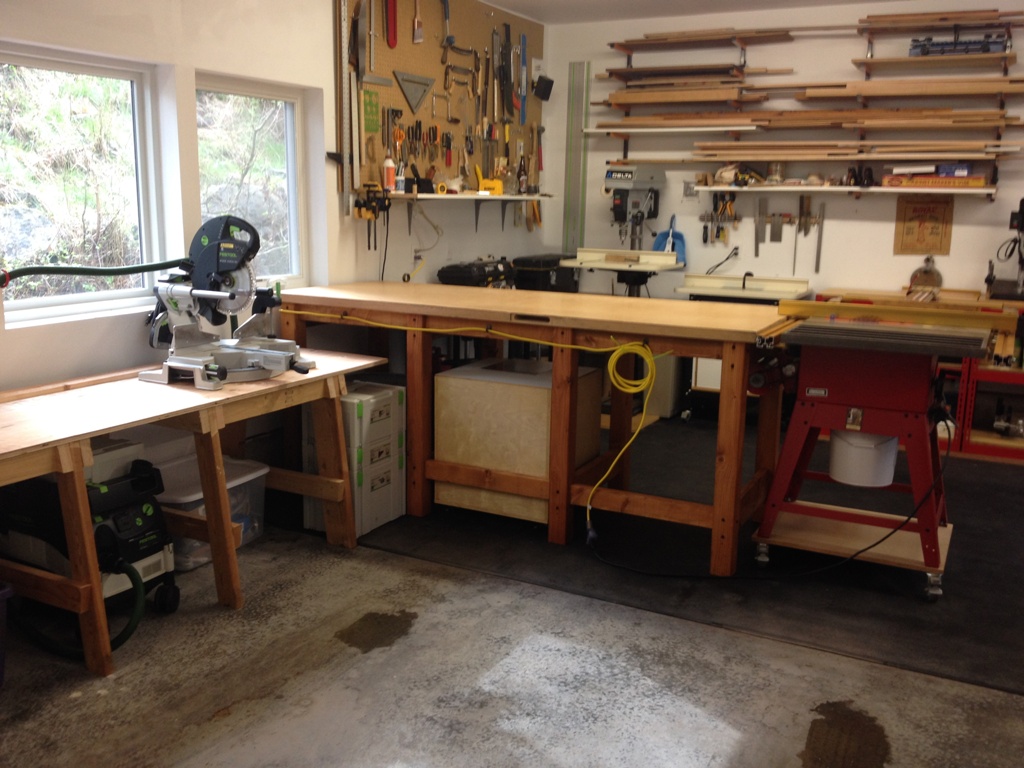
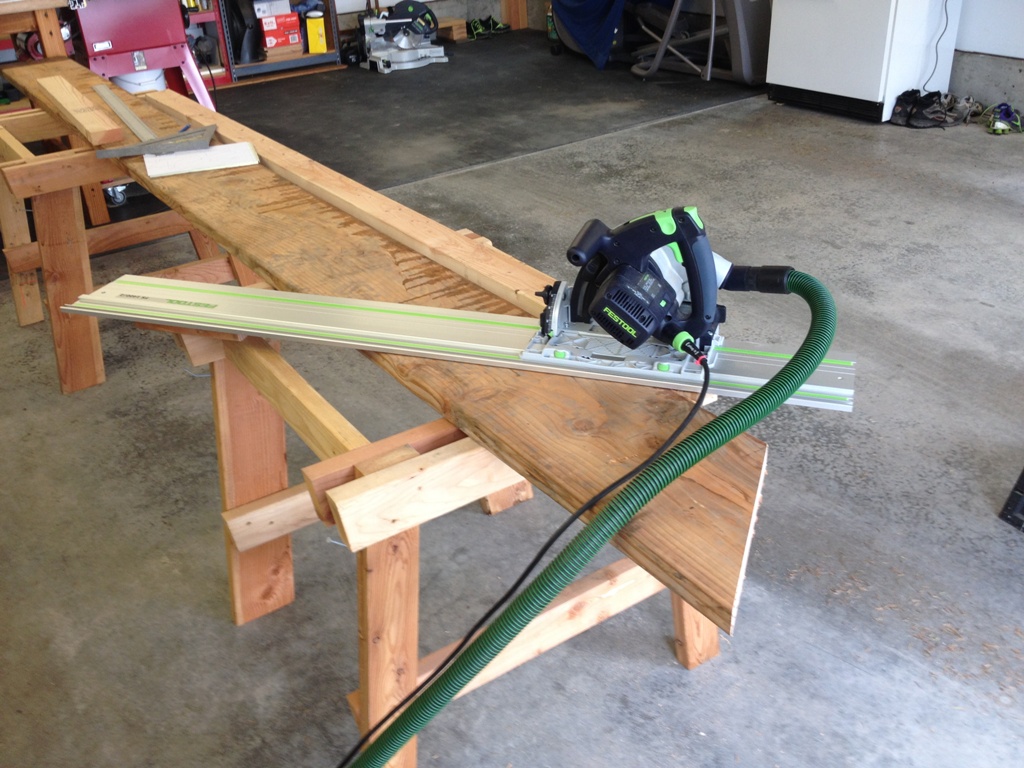
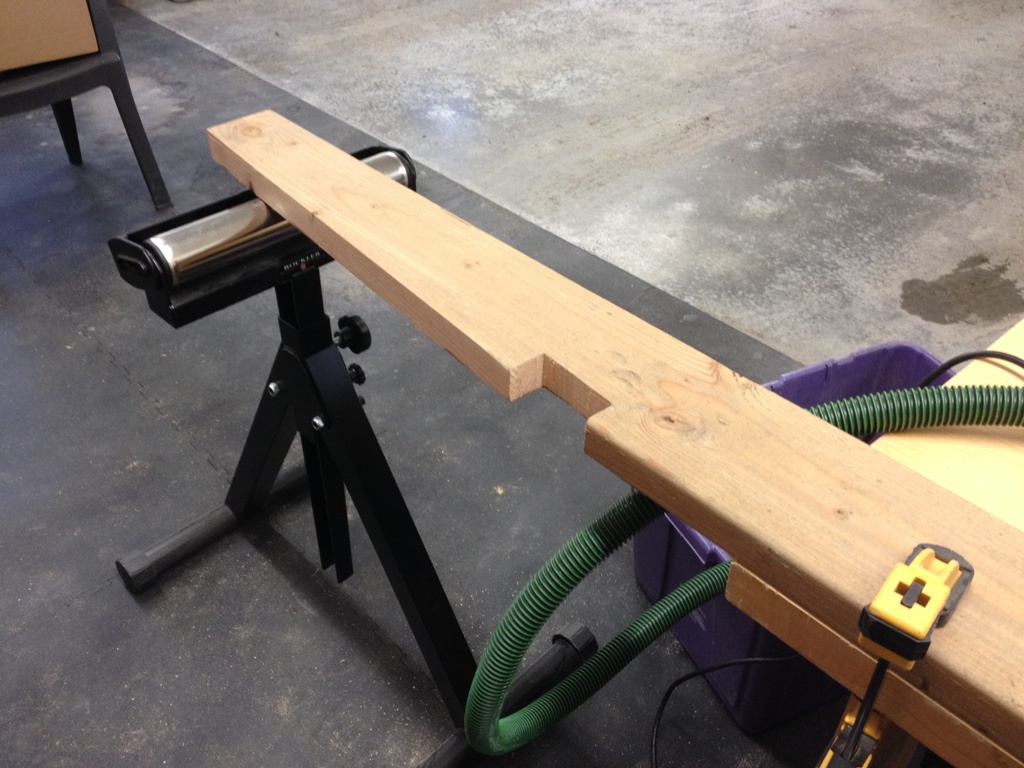
So there’s the side bench.  It’s just a little lower than the big bench, and it’s made to be the exact same height as my Festool radial arm saw surface, so if I have long strips of lumber or trim to cut, I can rest it on this side bench when I’m cutting it.

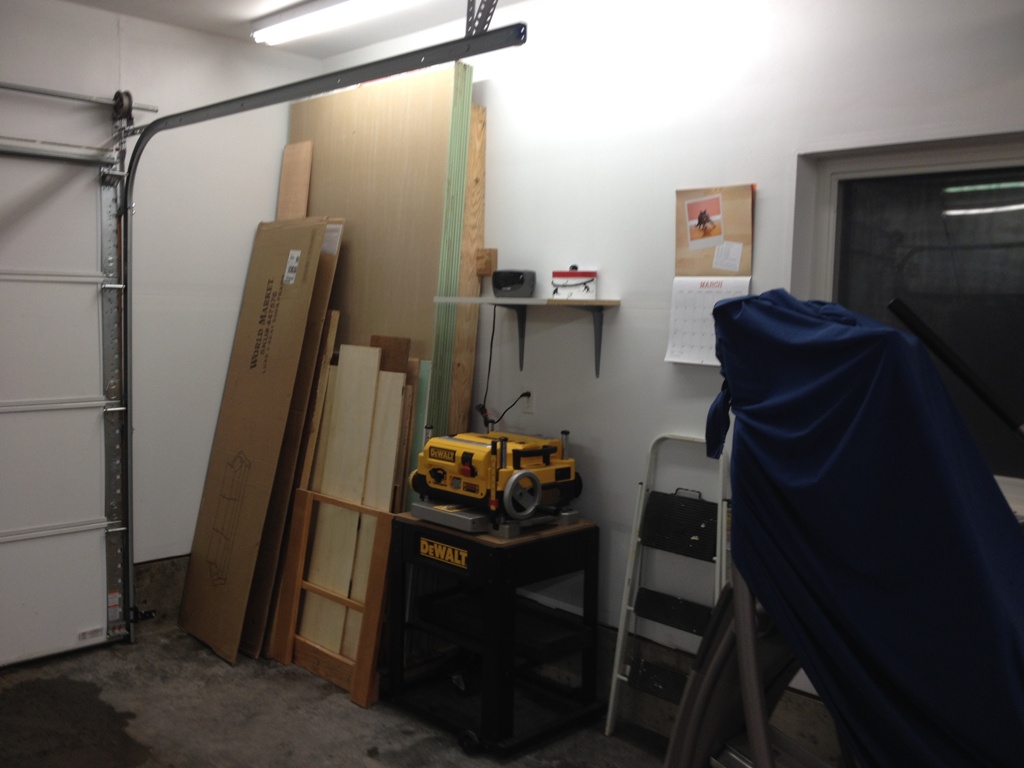
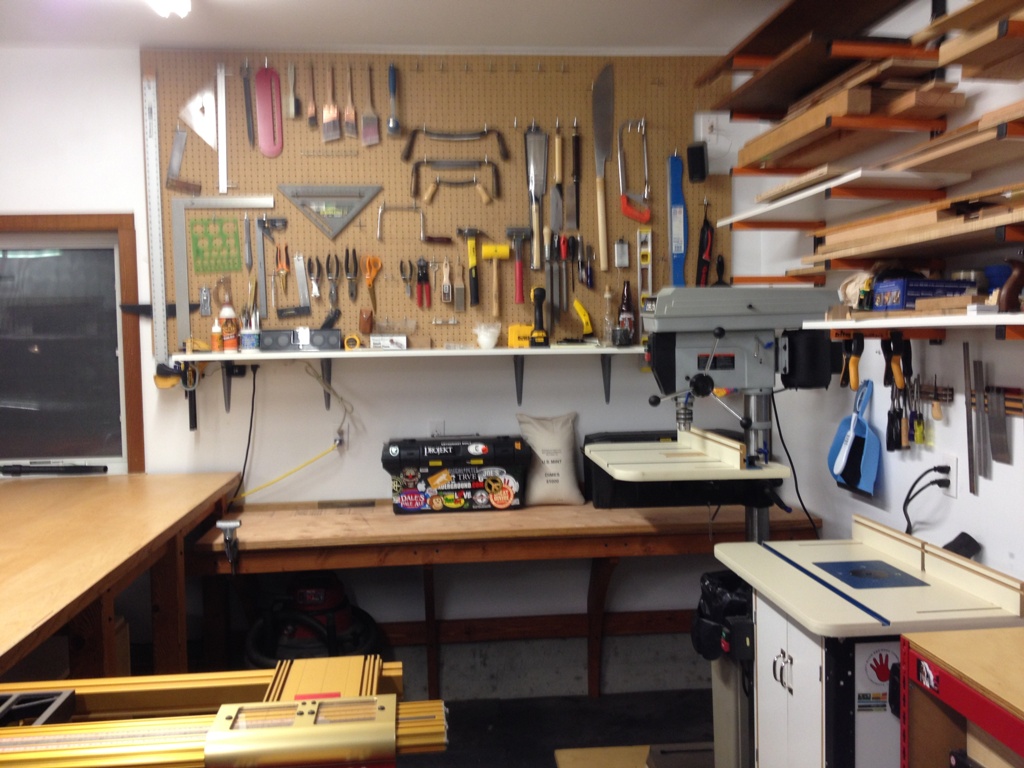
I also took some time to rearrange a few tools on that pegboard back there.  You know, I have this obsessive-compulsive disorder, and I’ve learned that I shouldn’t resist it.  I just run with it.  When my brain tells me my tools need to be in a certain order, I just make it happen.  No point even trying to prevent it.

The shop is almost done and I’m going to post a bunch of pics and a nice little tour of it soon.  Then it’s back to working on the house, which is nowhere near to being almost done but we’re happy with every improvement we make.  Soon I’ll be making cabinets, and furniture, and doing finish carpentry just the way I like to be doing.

Maybe I’ll buy a boat someday.  Maybe I’ll build a boat someday.  In this shop, all things are possible.


Shop Work

view

This is the view from my shop.  This is what I see when I look up from whatever I’m working on.  Whenever I think this house is falling apart faster than I can fix it, whenever I despair that there’s so much wrong with it that I’ll never get it all done, this is a wonderful reminder of why we moved here and why we live here.  Today is the 2nd anniversary of when we bought the house, and as much of a challenge as it’s been, I have loved every day of it.

shopSo yeah, with a view like that, it’s no mystery that I like to spend a little time working on the shop itself.  It’s my base; it’s where I go to repair old work or create new things, and practice my craft.  Here, all things are possible.  Here, there is nothing I can’t do.

table legs

It makes sense to me that I want my shop as good as it can get.  That bench used to be on some old sawhorses I made two hundred years ago.  They were sturdy enough, but I like a bench that is the exact same height as the table saw.  This way, when I cut lumber on the saw it can just slide onto the table.  That’s called a Return Feed Table.  I’m happy that I have enough space for a big one like that.  Plus, I can now work on things without my lower back complaining from bending over all day.

plans

Two years later, and I still have about 500 board feet of construction lumber up at the shed.  Some of it is exposed to the weather and it’s getting mossy and green, which I actually don’t mind.  I like the weathered look.  Today I decided to take down some 2×12’s and make them into brackets for a side table next to my bench.  Not only will this thing be nice and sturdy, but the brackets keep any table legs out of the way so I can keep things under it, and I can also clean back there a lot easier.

saw

I really need to cut these as accurately as I can.  There’s two angled cuts there, and if they don’t make a precise 90 degree angle the table is not going to be flat.  I want my tables flat.  It’s the least I can ask of them.  Working with construction lumber can be like measuring with a micrometer, marking with chalk and cutting with an axe.  No matter how careful you are, the wood is a little bowed and knotty and not all the same thickness and the sides aren’t even really straight.  Yeah, I could put it all through the planer, but what’s the fun in that?

sanded

Now, here is what I really like about weathered wood.  The piece on the right is as I found it outside, and on the left is sanded.  I don’t sand it perfect, just enough to give it some smoothness and get most of the dirt and mold off it.  It comes out looking random and naturally distressed.  And it’s still a very, very strong beam.

wood

So I got all the pieces cut and I think this week I’ll get a coat of finish on it and let it cure for a couple days before I affix it to the wall.  The shop is really coming up great, the workflow is good and there’s lots of space to spread out and get things done in there.  I’ll be ready to start making some kitchen cabinets real soon.

bruce lee

I’ve also added a lot of trim and shelves and hooks in the garage.  I’m just using rough cedar and leftover T-111 boards for the trim.  For a garage, they work great!  You may have noticed the punching bag that hangs in the corner from previous pictures.  It’s not just for looks.  About once a week, or every other week, I’m using it for a workout.  I spend some of the toughest 48 minutes of my life in front of that bag.  We use our garage for a lot of things.  I think it’s worth it to fix it up nice.


Just passing through

otter

Finally got a pic of this little critter coming up the driveway. He and another one just like him have been passing through periodically, on the way up from the beach and disappearing into the mountainside behind us.

otter 2

Not sure what they’re going up there for. Could be fresh water. Could be an otter sports bar where they watch otter playoff hockey. No idea. I’m guessing they’re sea otters as I’ve seen them frolicking out in the salt water. But they could be regular otters. I’m not an otterologist.

They are not shy, either. They’ll walk right past you, intent on their little otter destination. And if you have a fish in your pocket they’ll probably chase you.

that tail

And look at that tail! That thing looks like a weapon.

New Bathroom Countertop

Quartzite Countertop


Like most everything that came with this house, the bathroom sink and countertop was ready to be replaced.  It was one of those one piece resin things, and the resin was becoming cracked and moldy and leaking and just all sorts of awful.  We had one like that in Denver and we lived with it for ten years.  We finally replaced when we got ready to sell the house and we wondered why we had lived with the old crappy one as long as we did.

So up there is our new countertop, a nice pretty quartzite that should last about 4,000 years.  All I have to do is drill two holes in it and I can install the faucet.  I thought I had to drill three holes but it came with one pre-drilled so that was a bonus.

Template

To drill the holes, first you make a template.  You need a diamond tipped hole saw to cut through stone like that and it helps to have the correct size hole saw (unlike the one the fricking jerks at Lowe’s sold me) (“Oh yeah, don’t forget to buy a diamond hole saw on your way out, sir.  It needs to be 3/4″ diameter, sir.”  “Okay, Mr. Lowes Salesman, I’ll buy a 1″ diameter diamond hole saw just to make sure it’s big enough.” “That would be swell, sir.”)  (Then I get back on the island and realize I need a 1 1/4″ hole saw and the one I bought was too small and no one on the island sells diamond tipped hole saws.)

But I digress.

Use your correct size hole saw to cut straight through the plywood at the same distance from the edge you want your faucet holes to be.  This way, you just line up the template with the edge of the stone and you use the plywood hole as a guide.  Also, cutting through stone requires some water for lubrication, to help cut through the stone without creating so much heat that you melt your expensive hole saw.

To make sure the water doesn’t seep out of the bottom of the plywood, you take some plumber’s putty and make a snake.

Snake (named Bob)Don’t get too attached, though, because the snake will probably not survive.  So don’t give him a name or anything.  Wrap the snake in a circle around the underside of the plywood.

Snake around hole


Now, when you clamp the plywood to the stone, the snake makes a watertight seal and you can fill the hole with water.

Filled with water


This is a dirty job.  Water and powdered quartzite will splash around in a 20′ radius and cover everything with little white dots that don’t clean up easy.  Do this outside if you can.

Dirty JobThat’s what a hole saw looks like, by the way.  Take your time with this step.  Let the drill do the work, don’t press it.  You’re kind of wobbling it down, rocking it up and down to let the stuff you’re digging up work its way out.  Periodically, take the saw out and cool the tip in cold water, replace the water in the hole, and just rest a bit.  If you try to hurry this step up, you can break your expensive quartzite countertop.

Poor snakeYeah, the snake doesn’t make it.  But that’s okay, you can make more with plumber’s putty and play with them later.

Begone trash


And there’s the old one, out with the trash where it belongs.  It didn’t even give up much of a fight taking it out.  I think it knew its time was up, and it was ready.  The new one is in and it’s great.  Will post some pics of it all later.


A little kitchen makeover

You want a ‘before’ picture?  Well, if you insist …

Before


Yeah, lovely.  I know you think the floor is abhorrent but honestly it’s my favorite feature.  Even with all the cigarette burns and places where it’s peeling up, you just really can’t hurt that old linoleum.

Okay, fast forward.  We decided to spend our tax return money on new kitchen appliances.  I planned on waiting until I made cabinets and was ready to put in flooring but honestly, we just could not wait.  The dishwasher sounded like a dinosaur eating a helicopter, the stove had fewer and fewer knobs that actually worked, and the fridge is actually a good fridge but that big swinging door completely blocks off the laundry room when opened.

None ever workedNone of these grease-coated knobs worked.

We don’t have fast food on the island.  We cook every day.  We run the dishwasher every other day.  New appliances became a priority.

Cardboard Flooring

Well, as cool as linoleum floors are, cardboard flooring is completely awesome.  You can trounce on them all you want and you don’t hurt the shiny hardwood floors underneath!  Cardboard is soft on the feet, fairly non-slip, and takes a furniture dolly very well.

War Zone

Delivery day was relatively painless.  I got the fridge out to the garage (yes, I moved it myself ) (yes, it was a big pain in the butt) with all our food, and put the stove and the dishwasher on the front porch so the deliverymen could take them to appliance heaven.  If you’re on a diet, consider moving your fridge out to the garage.  It really makes you think about that snack you want to get.  Especially if it’s raining.

Last SunsetIn addition to new appliances, we decided to make a few simple changes and fixes to the kitchen.  A new light fixture to replace the 48″ fluorescent tubes over the sink.  Ships at sea would complain about that light diverting them off course.  Well, now it’s gone.  Your shipments from overseas should start arriving on time now.

Absurd

And that absurd cut-out in front of the light?  I took a machete and whacked it until it was straight.  That stupid arrangement of half-circles and triangles made me grimace every time I saw it.  We had something similar in our house in Denver, and we lived with it for ten years.  Not this time.  It’s gone.

And we decided to replace the old knobs and drawer pulls too.  What was wrong with the old ones, you ask?  Everything.

Old Knobs


Ignore the fact that the cabinets are now lopsided because they were so cheaply built, but the knobs themselves just exude tastelessness.  Fun fact:  they still sell that exact same model of knob at the hardware stores here (both of them!) for about $1.29 a pop.

Old Pulls


And here’s the old drawer pulls.  My chief complaint was that the sides acted like grapnel hooks, and they snagged my jeans, my sweats, any article of clothing they could.  When I’d try to back away from the cabinet, my pants would get pulled off me and the cabinet drawer would simultaneously open.  It was as if the house was clawing at me with its very fangs.

New Hardware


Screw you, house.  Sometimes the squeaky wheel gets the grease, and sometimes it gets replaced.  Above are the more anatomically friendly knobs and pulls that don’t claw at me like the fricking creature from the black lagoon.

New AppliancesAt long last, new appliances are in and working.  I had to put plywood under the stove to bring it up to the correct height, and plywood under the dishwasher to cover up some extensive floor damage.  They work.  They fit.  They are lovely.

Fridge

The fridge dispenses ice and water right out of the front door.  Seriously, you just push a lever and out comes the hydro of your choice, in liquid or solid form.  It’s an engineering marvel!  It has been my lifelong ambition to own a refrigerator that serves cold water out the front door.  Everything leading up to this moment has been building up to this pinnacle of achievement.  Nothing from this moment on will ever compare.  It comes with other bells and whistles (and beeps, literally) but who cares about them?  Not me.

Stove


The stove is really cool too; it has lots of buttons and lights and stuff that works.  And the dishwasher is about as quiet as those deer grazing in our side yard.  Who freaking cares?  The fridge dispenses water from the front door!!!  We can get water out of the fridge!!!  Without even opening the door!!!!  Oh man, I’ve waited my whole life for this.  I can now die happy.

Oh, in the myriad of pics above, please ignore the ridiculous countertops, the awful paneling, the crappy kitchen cabinets and the lousy floor.  If you do that, it actually looks like a nice kitchen.  Just focus on the water dispenser in the fridge door, and you’ll be happy.


Please don’t use 16 gauge speaker wires for electrical

No No Bad Bad


Just a public service announcement.  Please don’t use 16 gauge speaker wires to hook up your overhead kitchen lights.  Future homeowners who have not yet died in an electrical fire will appreciate it.

It’s probably okay for low voltage and short term applications but if you’re installing some fancy new halogen light fixture you will want wires that don’t melt and burn when a bunch of electrons go racing through them.  And seriously, for like $5 you can buy a length of the correct wire, two staples to set it into place, a pack of electrical connectors, eight inches of black tape and gas money to drive to and from the hardware store.  Just go get 12/2G NM-B indoor yellow cable.  It comes with a grounding wire that is absent from speaker wires.  Connect black to black, white to white, ground to ground and Bob’s your uncle.

Thanks.

Doing Things The Hard Way

The MasterI have become the master of doing things the hard way.  I can take any simple task and stretch it out to a two weekend ordeal.  I can make a bathroom renovation last longer than it takes to have a baby.  I over-think solutions to make the greatest use of the smallest space, over-engineer things so they serve the greatest number of purposes possible.  It’s an illness I have.  Some kind of obsessive compulsive disorder.  I don’t fight it, there’s no point in that.  I just gotta run with it.

So, woodworkers and handymen alike usually have a small collection of 4′ x 8′ sheets of things.  Everything comes in 4×8 now.  Drywall, cement board, plywood, roofing material, everything.  My collection of 4×8 was sitting in the corner of my garage like an oversized deck of cards, resting against a wall because there was nowhere else to put it.  It was obstructing an electrical outlet, which offended me but I felt helpless to do anything about it.  Until I learn wizardry and am able to just levitate them off the ground, there they will rest, held firm by gravity, forever obstructing a perfectly good 120 volt GFCI on the wall next to the punching bag.

Well, no longer!  How about I put them in the opposite corner of the garage, where there is more space!  I don’t need to access these sheets frequently, so they can go sit in the corner and collect mouse poop.  Then I can use the nearby corner for a dedicated cross cut countertop with my Festool radial arm saw.  Woo hoo!

Like a puzzleI started making a rack immediately.  I could have just leaned them up against the wall but no, not me.  I need to make a rack for them.  Why?  Because it’s harder to make a rack than it is to just lean them up against the wall!  And I want them up off the floor because when we pull our wet vehicles in the garage floor gets wet and I don’t want my plywood getting wet.  Ergo, a rack.

And the rack should be affixed to the wall.  Oh yes.  I can use 2×8 lumber, I got a ton of those things.  They’re dirty and moldy but they’ll do.  Obviously I have to taper them so they lean against the wall at a slight angle, so the sheets can rest without falling over.  Tapering them requires careful measurement and cutting but what the heck, this is a YOLO moment if there ever was one.  Oh, and hey, I can sand them and stain them and coat them with layers of polyurethane too!   (Yes, this insane thought seriously went through my head.  I even sanded a few pieces before I stopped to realize how stupid that was.)

Rack Assembly

The rack will have double joists spaced about 20 inches apart, as can be seen above.  It will easily support about 42,700 pounds of 4×8 sheets, which is some 41,700 pounds more than I’ll ever have.

Rack Assembly TooHere the rack is almost fully assembled.  I decided to rest them vertically against the wall to save space.  I have nine foot ceiling height in the garage so may as well take advantage of that.  And that way, I can access that electrical outlet pretty easily.  Those things are important.  Will the garage door rail get in the way when I’m trying to put away and retrieve my 4×8 sheets?  Of course it will!  I did that on purpose, so I can do things the hard way.

The Rack In Action

And here’s the rack all filled up.  My garage abhors a vacuum.  All that joinery and engineering can’t even be seen behind the drywall and plywood and scraps of cardboard that I’m keeping because I just know they’ll come in handy someday.

And there it will sit, until the day comes I get a better idea of where and how to store 4 x 8 sheets.  Tomorrow?  Ten years from now?  No one knows.


Alright, 1/8 of the house is finished.

Snowing


It’s snowing.  No better time to make sawdust.

Okay, I finished a corner of the house.  The area around the wood stove.  The mantle is done, the trim work is done, and I’m ready to declare that one eighth of the house is now completed.

One Eighth Finished


The wood stove has a mantle.  Solid oak.  I set sheets of steel (painted copper) as a backsplash on the wall above the tile.  It’s painted with high heat enamel.  It is bulletproof.  If our wood stove explodes in a flaming conflagration that threatens to burn the house down, the metal sheets won’t help it a bit.

A patch of drywall


I built a little built-in bookshelf to help with the book creep.  Oh, what’s book creep?   That’s when your bookshelves are too full, and the books you’re reading start to litter shelves, tables, couches, chairs, pretty much any horizontal surface not previously occupied by a cat or a candle or anything else that takes up space.  Book Creep means you don’t have enough storage space for books.  Ergo, I build book shelves.

Oh, and that rectangle of drywall up there?  That was wood paneling.  Now it’s drywall.  We cheer, seriously cheer, for every square foot of old paneling that leaves this house, never to return.  We’ll paint it.  It won’t be white for much longer.

Mantle


I was worried that the stove got too hot for a wooden mantle, but so far, the oak mantle has held up very well.  Hasn’t even burst into flames yet, and we’ve had quite a few fires in that stove since I installed it.  Those oak dowels conceal the fasteners that affix the mantle to the wall.  There’s quite a few of them.  That thing will never move.

Anyway, one eighth of the house is complete.  Fans of the computer game Ultima will rejoice, for I have not lost an eighth.