
(Formerly titled “How Posts Are Made” but I have no Earthly idea what that is. I don’t know how professional postmakers make their posts, and I don’t know what the correct postmaking techniques are or what the appropriate post-making tools are. All I know is how I make posts.)
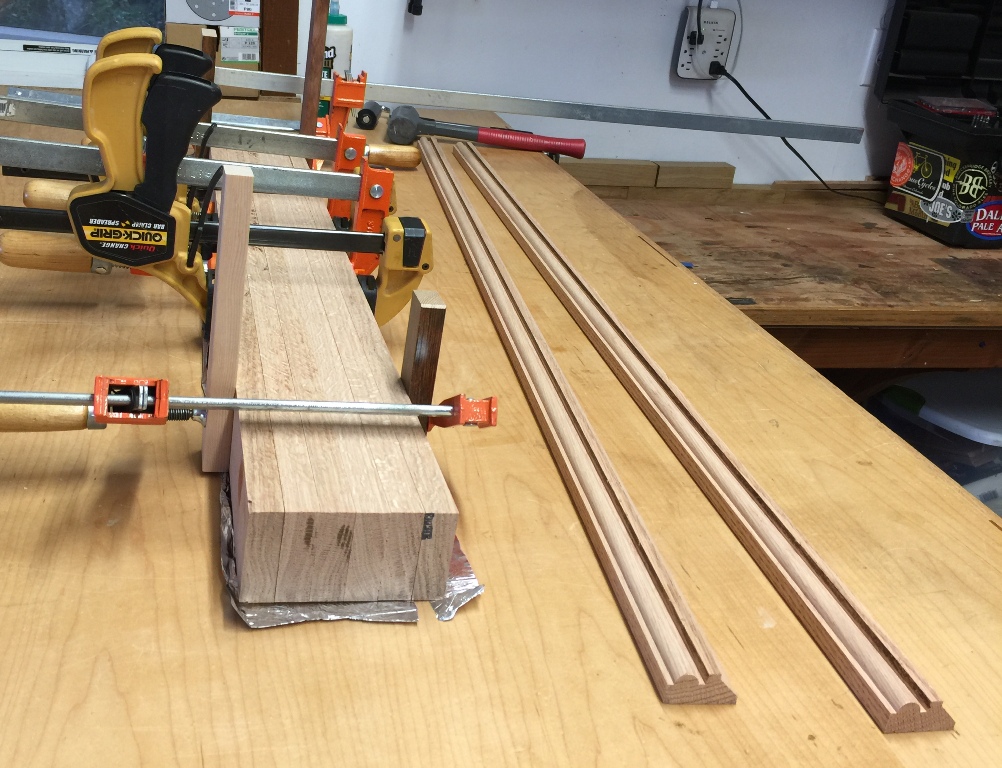
The only stock I had available was all milled to 3/4, so I had to join a bunch together to make that middle part. See, I don’t even know what post parts are called. Whatever that middle part is called, that’s what I made. Oh, and I made some strips on the router, and they’ll go around the, um, the other post parts. Whatever they’re called.
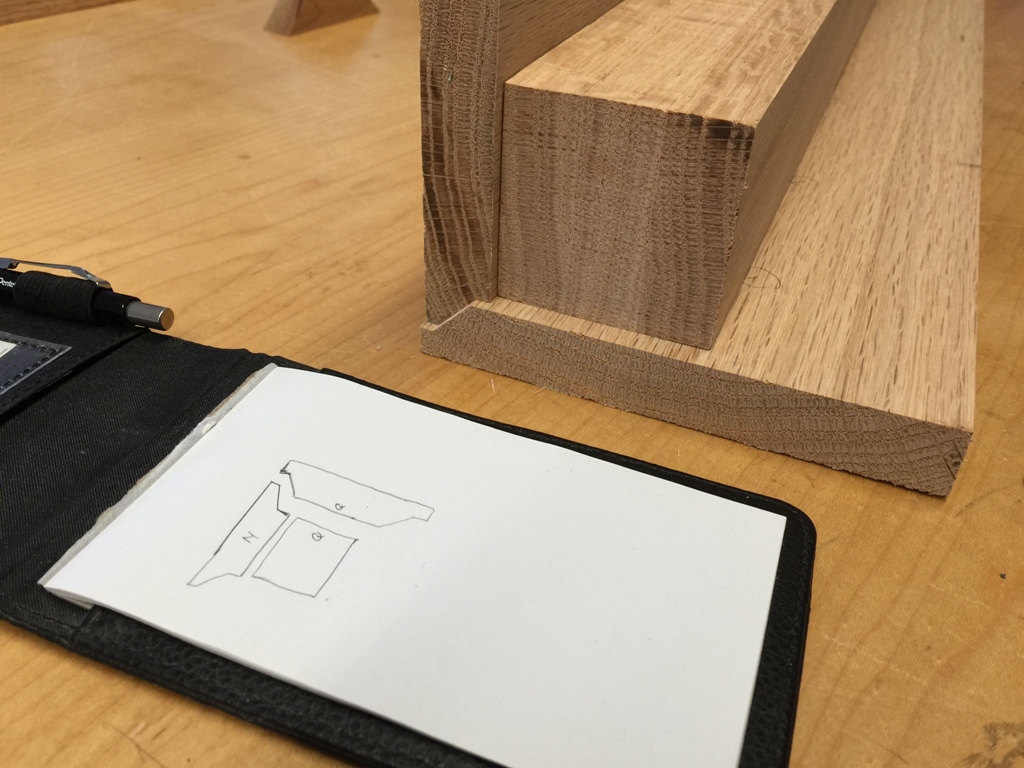
Laying out the joinery took some very careful planning.
This kind of joint is a lot stronger than just doing a simple mitered joint, and it fits together very squarely. In fact, it’s hard to make it not square. These will be for those things at the top and the bottom of the post.
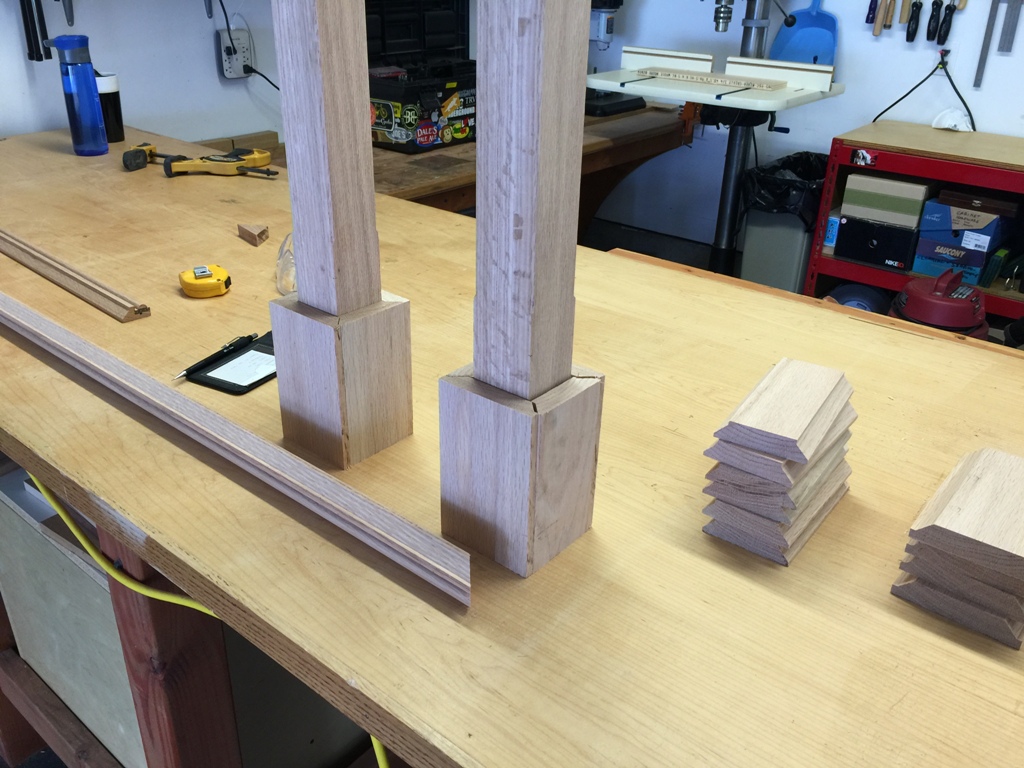
Everything’s going together very nicely.
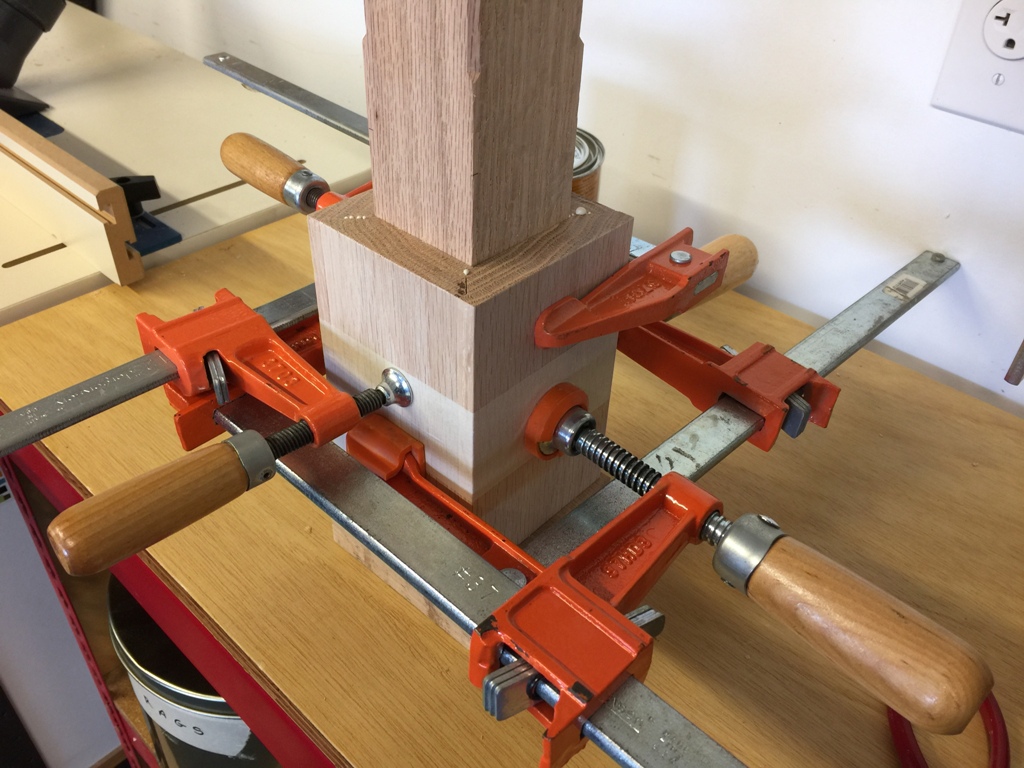
Just because there were a lot of pieces being glued, I used tape to hold them all together, then clamped them. And then I remembered what happened the last time I left clamps on tape overnight (the glue from the tape pressed into the wood and made areas that didn’t take stain very well) so I had to remove all the clamps and take off the tape and put the clamps back on. Live and learn, and forget, and re-learn.
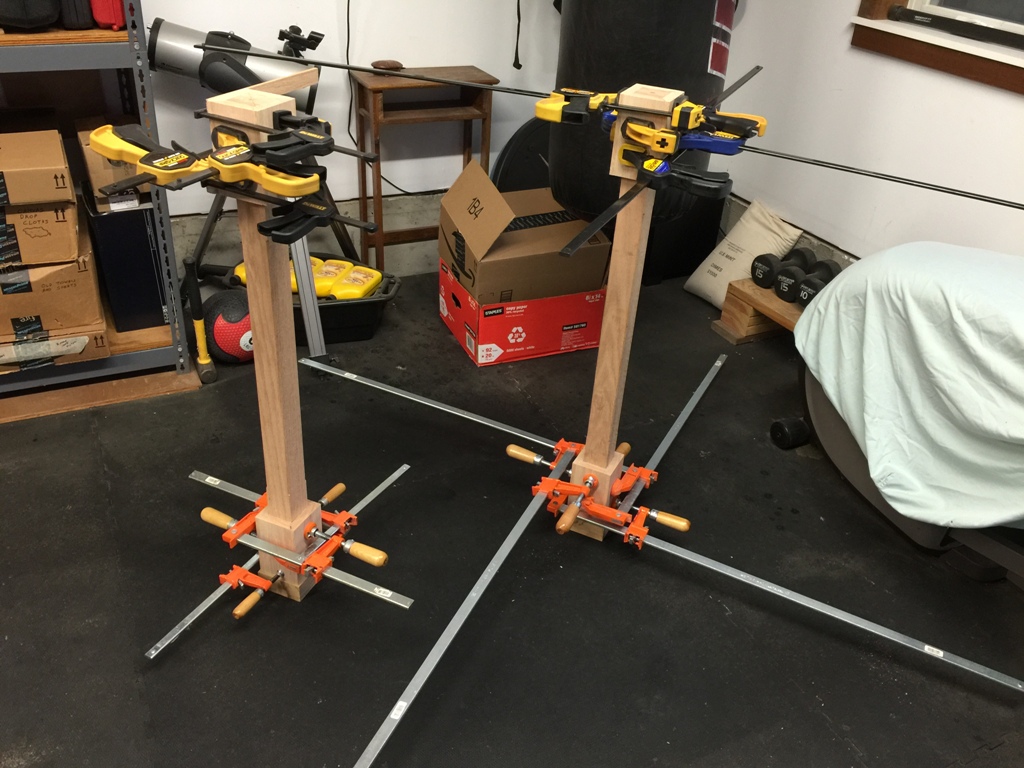
It’s a clamp bonanza! Not to mention a tripping hazard.
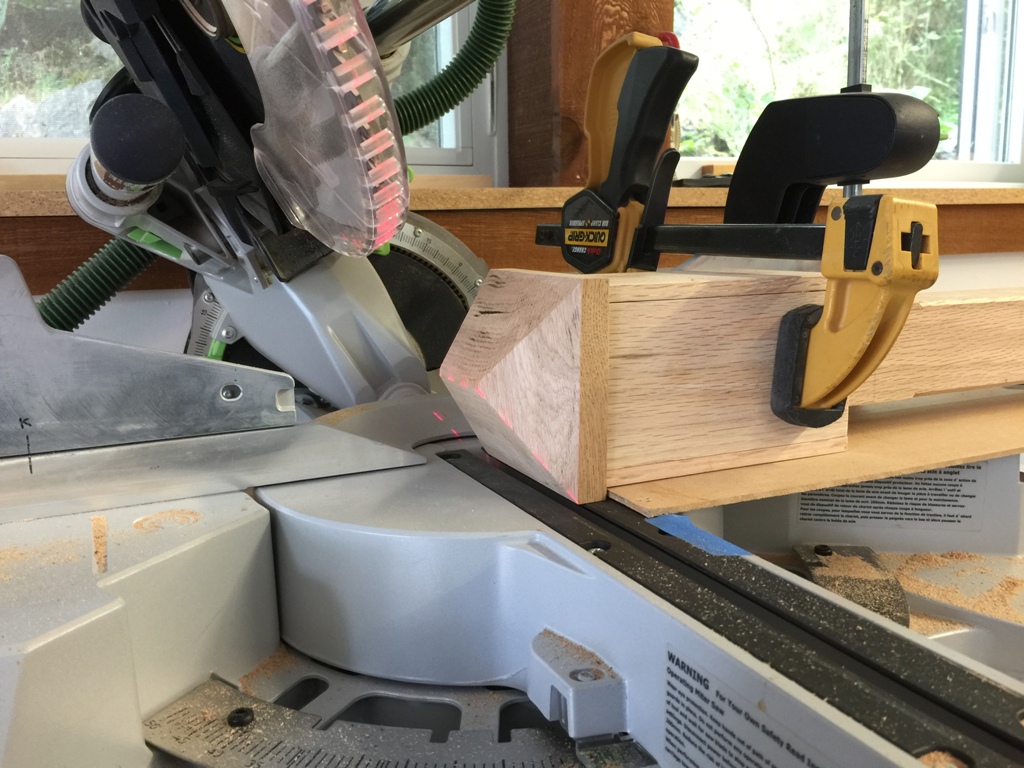
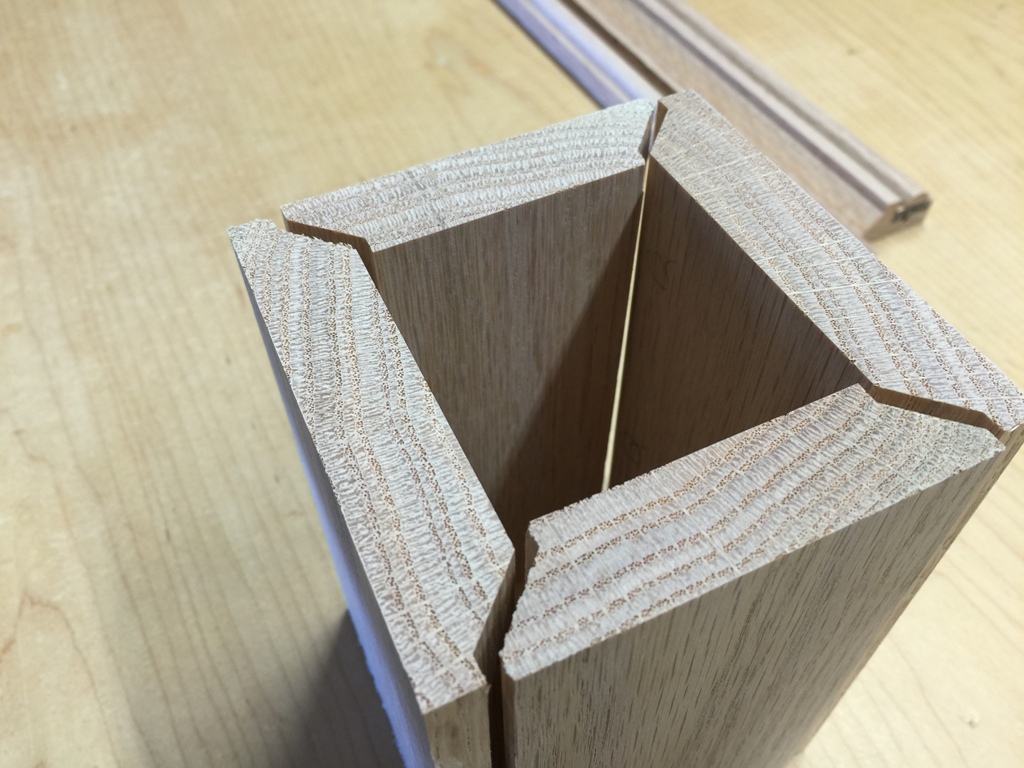
The top part thing (maybe it’s called the cap?) was a little more difficult than I wanted it to be. Took a few tries to get it correct. Plus, that wood’s just a bit too big for the saw, and there were cuts where the saw couldn’t cut all the way through. The end result looks good, though.
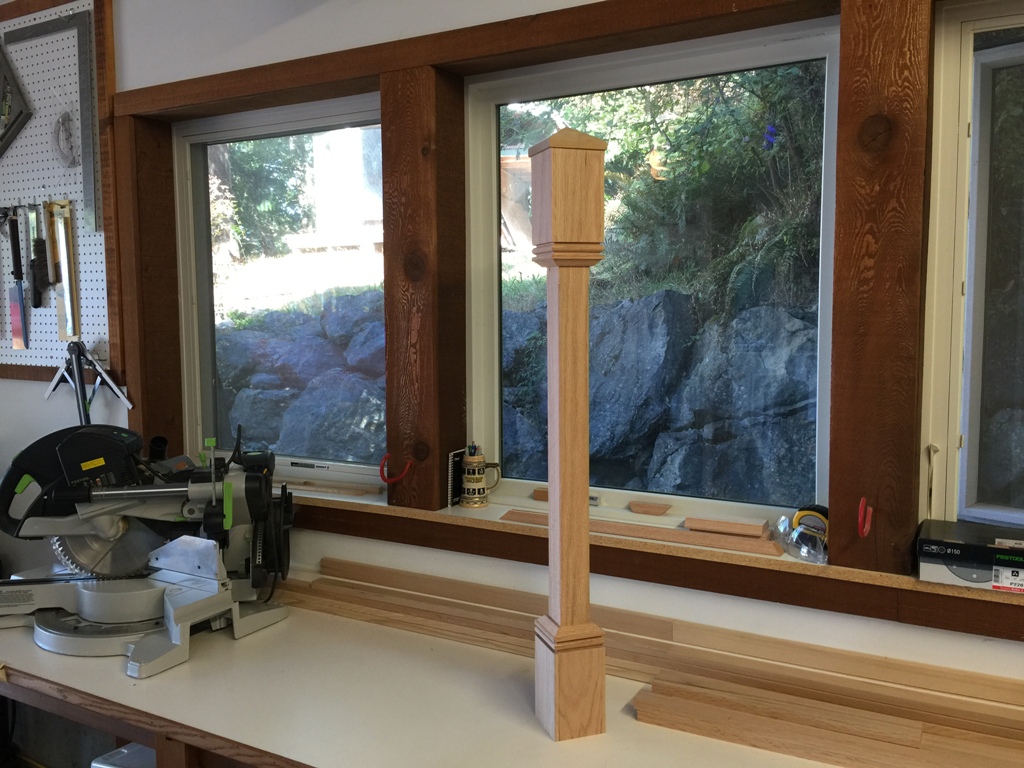
In the end it all came together. These are going on my stairs and they’ll support the handrail at the top and bottom.
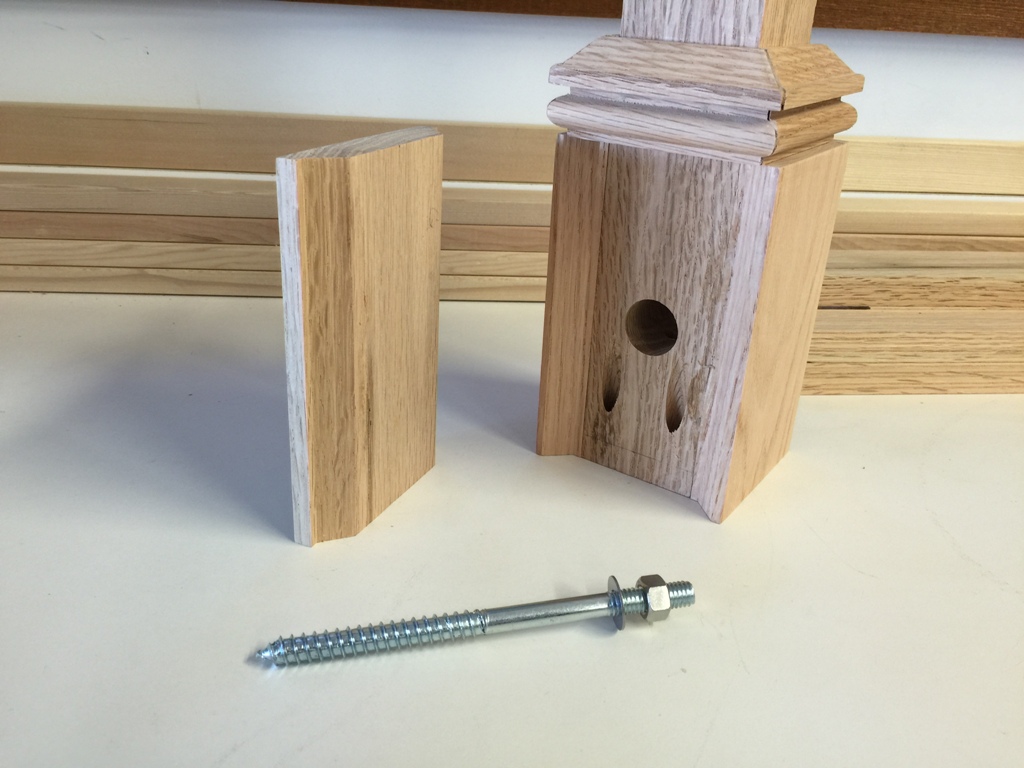
There’s one block I didn’t glue on, and that’s so I could bolt it into place and affix it with a couple of pocket screws. I’ve done this a couple times before on other projects, and it can get a little tricky to get them standing perfectly straight and tightly fitted to the floor. I’ll have to be ready for anything.

Here’s our newest toy, something to keep us toasty warm when it gets cold out. A pity I can’t use it in my shop, it would be lovely to have that kind of heat in there, but it’s an outdoor toy.