
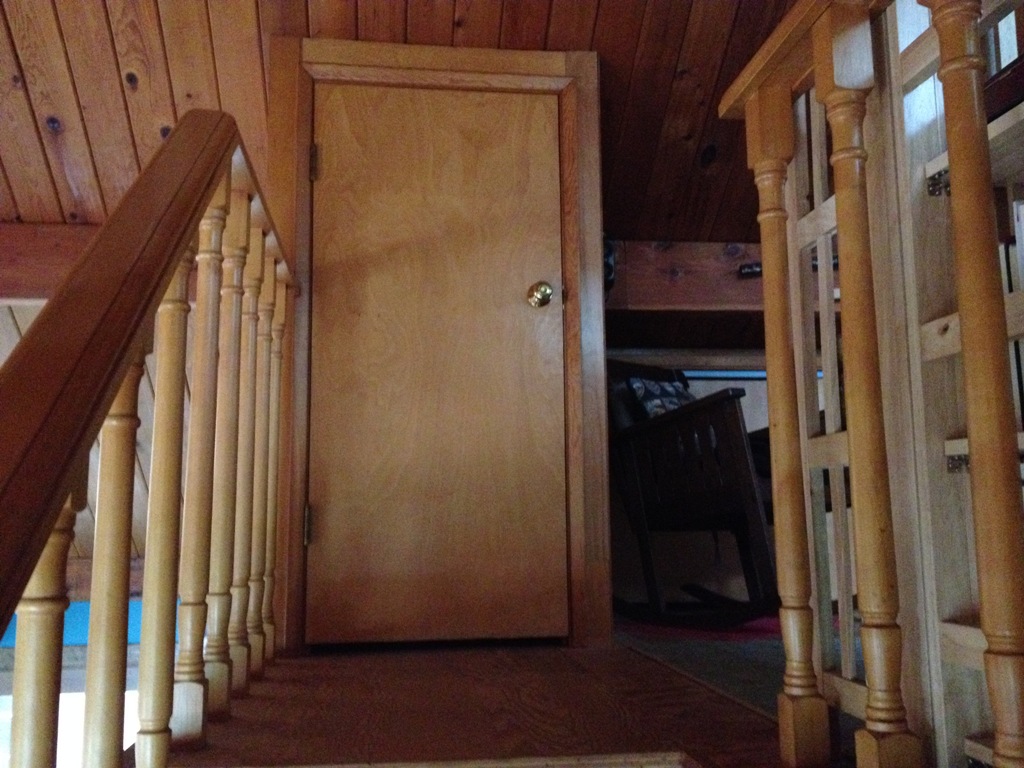
I’ve been remiss. I forgot to show you a ‘before’ picture. Above is the door I am replacing. Simple, hollow, birch plywood, stained to a color somewhere between dog pee yellow and oompa-loompa orange. It’s was once a standard door but has since been cut to fit this short door frame, and judging by the jagged edge along the bottom they used an ax or a chainsaw or something.
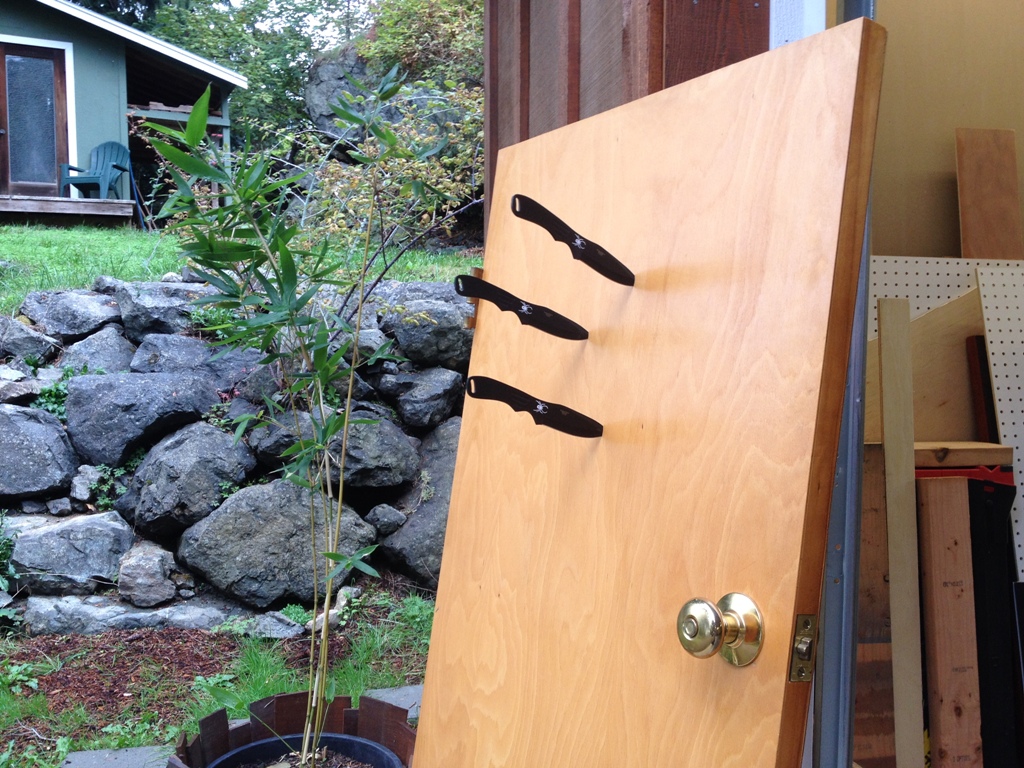
Well, the old door has been re-purposed so as to again be useful. I use it now for target practice. Let’s get on with its replacement.
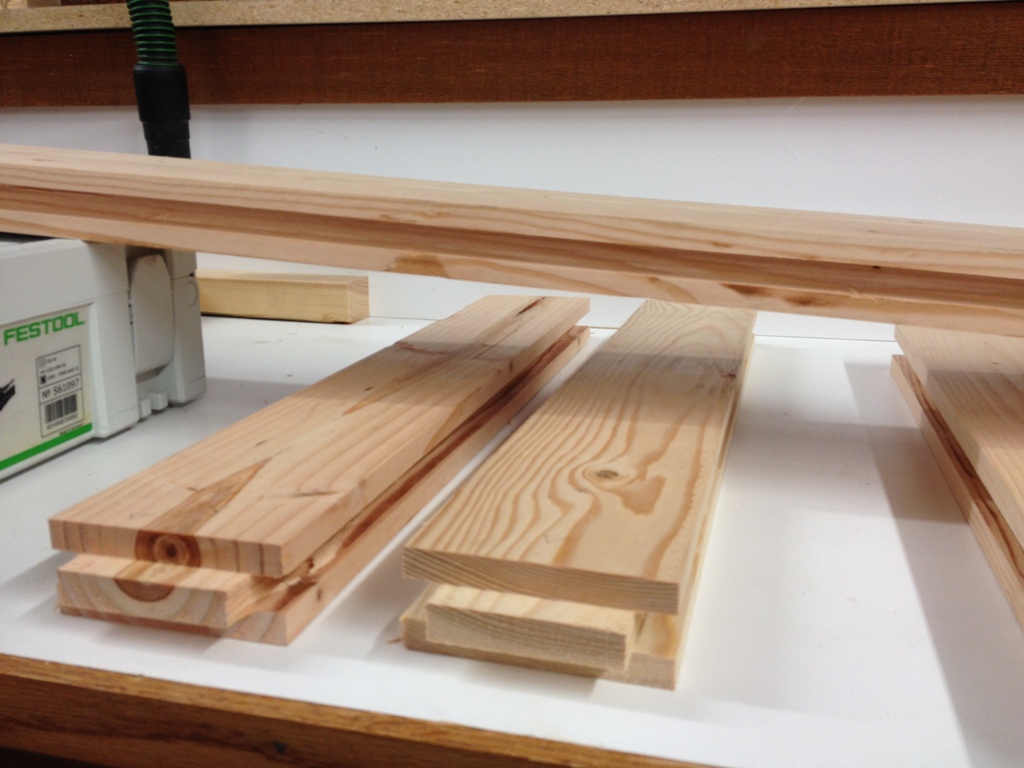
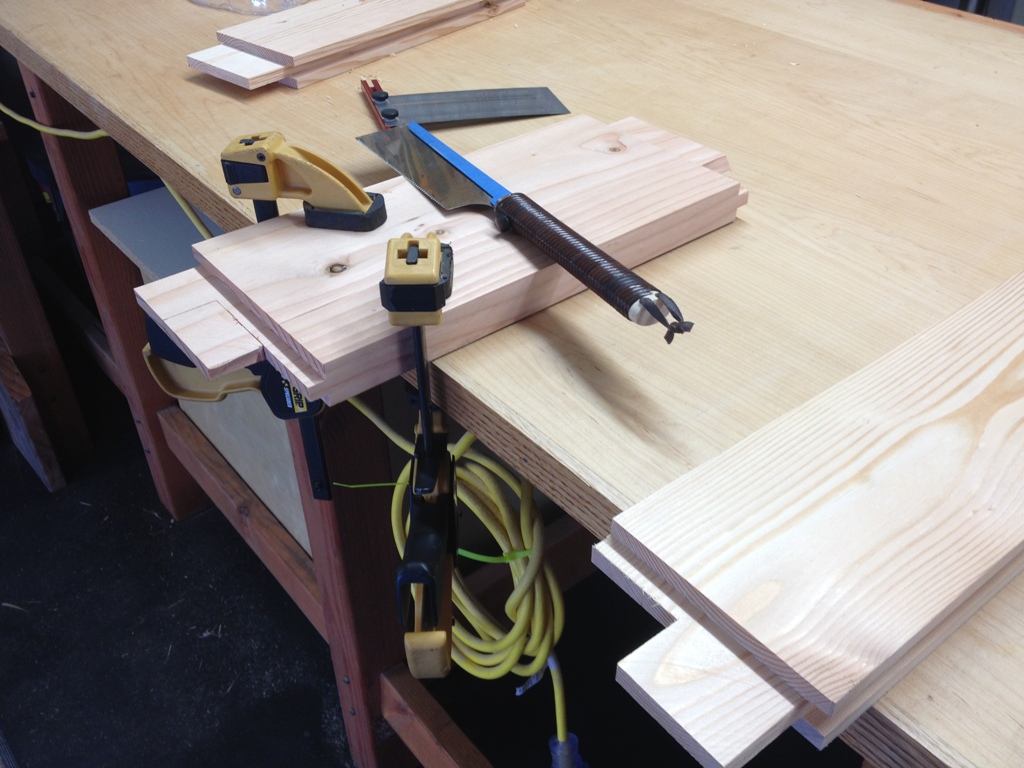
I’ve got all the boards cut and squared and (mostly) flattened and planed down to their final thickness. Now I must cut grooves. A 1/2 inch groove down the inside of each frame piece should be sufficient to hold the panels and the other frame pieces together.
Groovy. And the mullions are nicely cut.
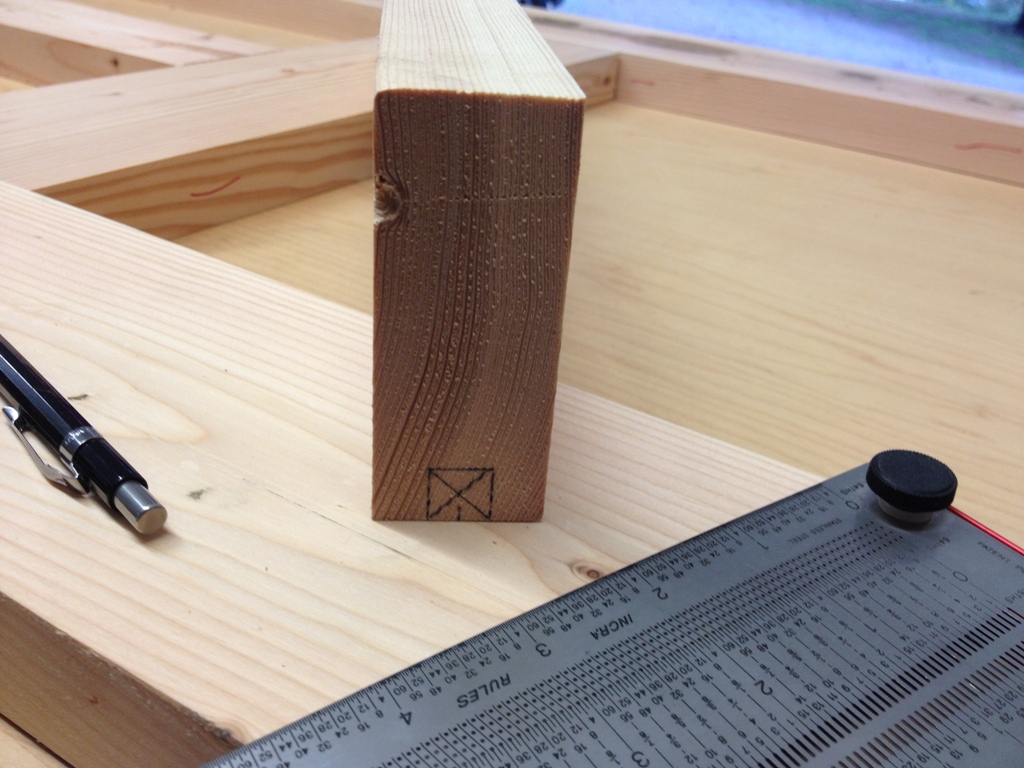
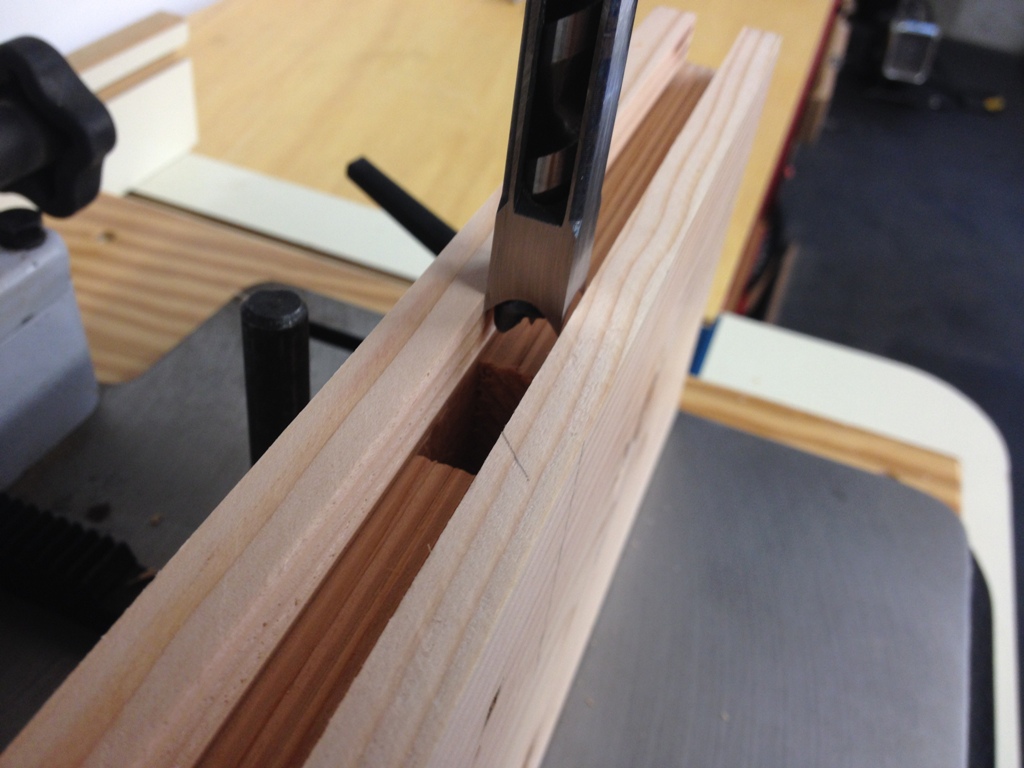
Full tenons where the rails join the frame.
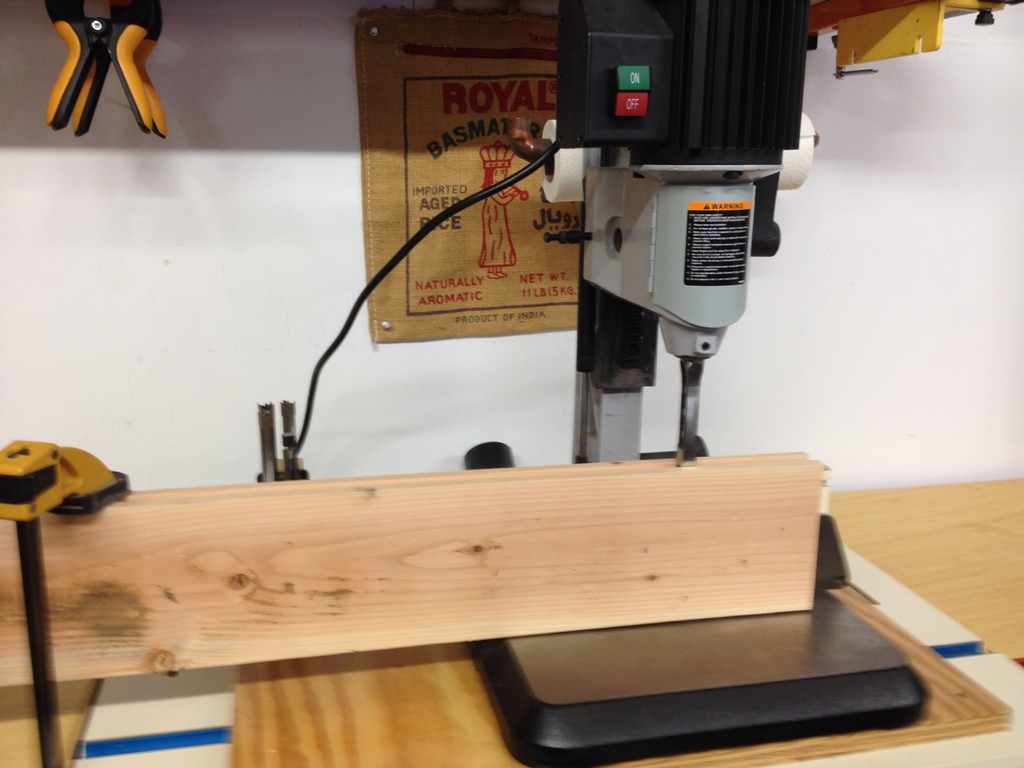
Now to cut some square holes. I had to modify my mortising machine so it could accommodate a 6″ plank of wood underneath it.
I own one of the world’s cheapest and most neglected mortise machines, but it still makes short work of this soft wood. This is 2×4 and 2×6 construction lumber, some of which has sat outside for three years. And it’s still good enough to make a door.
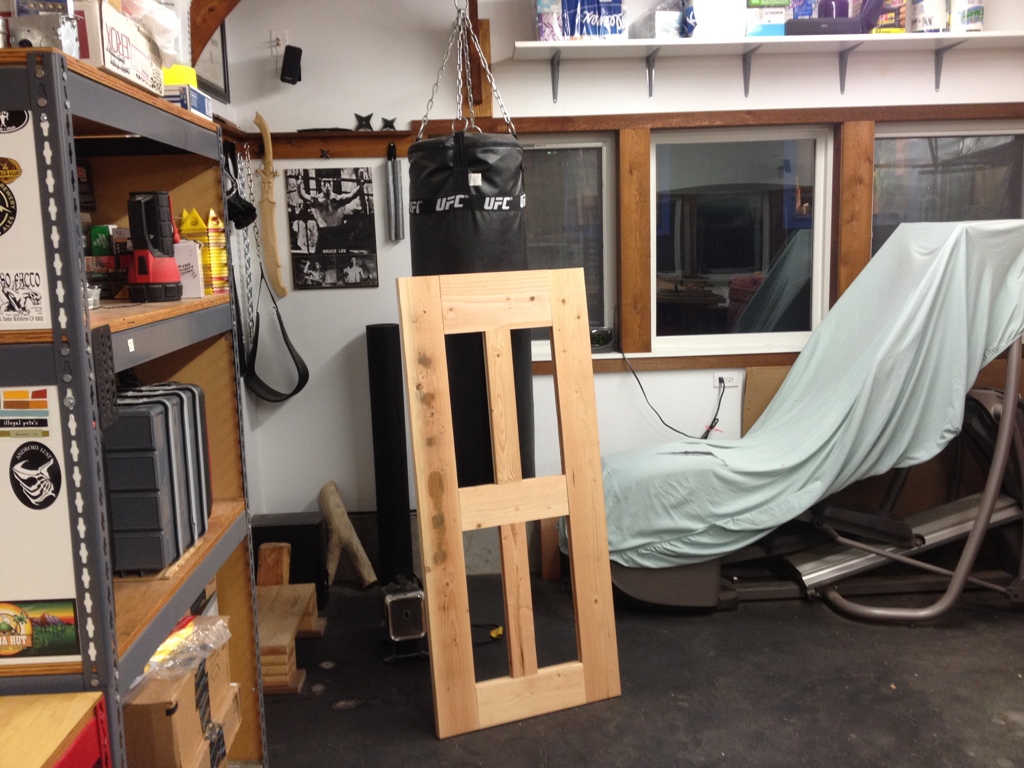
The frame fit together very well. Now it just needs some panels. I thought I might try to carve some more 2x4s down into slightly thinner sheets with tapered edges but in the interests of time and economy (translation: I’m a cheap bastard and occasionally lazy), I’m just using plywood.
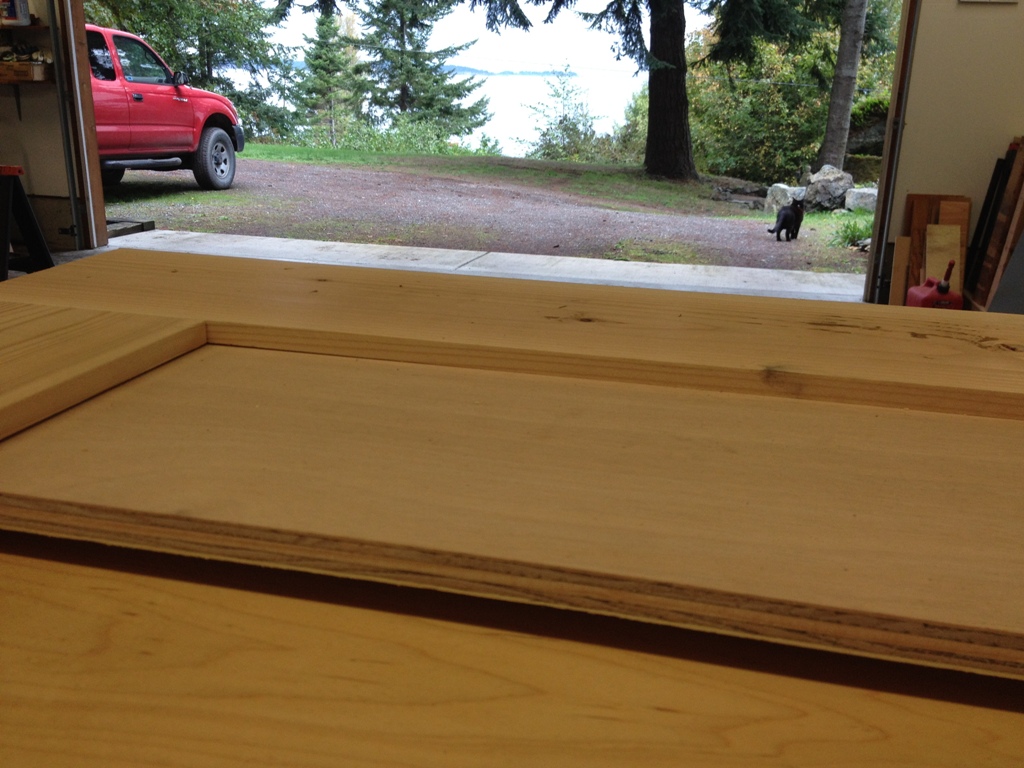
The panels fit in the frames great.
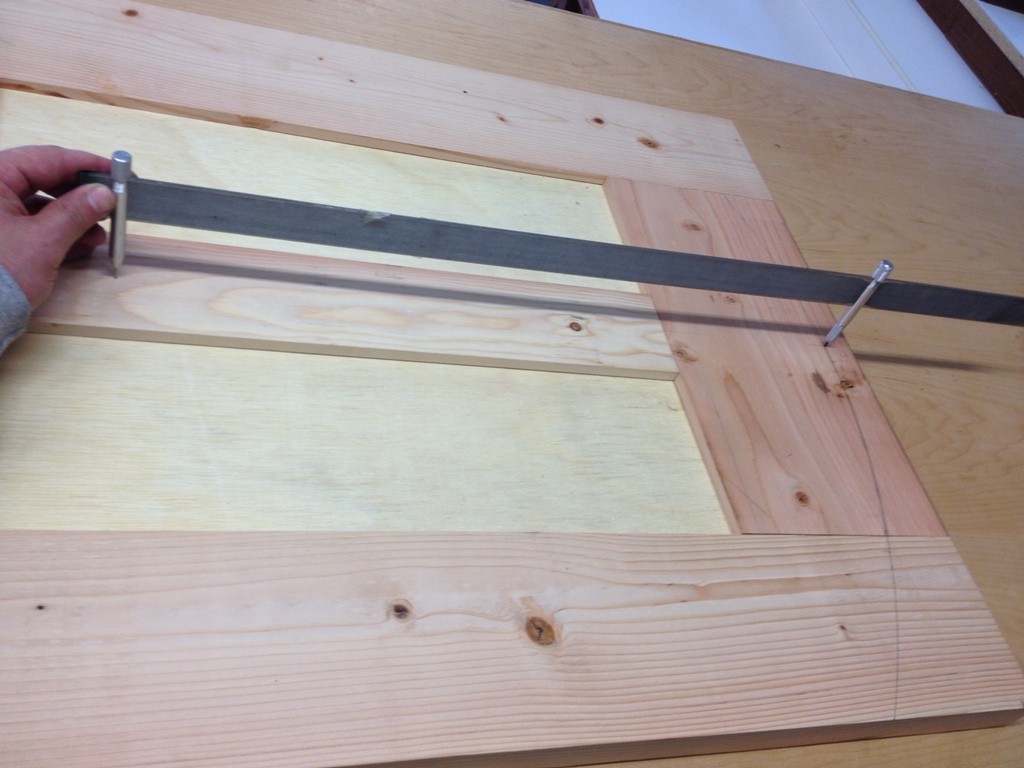
I want a curved top to this door so it’s time to scribe a line. For a compass I use a strip of metal with a pin at one end and pencil lead at the other.
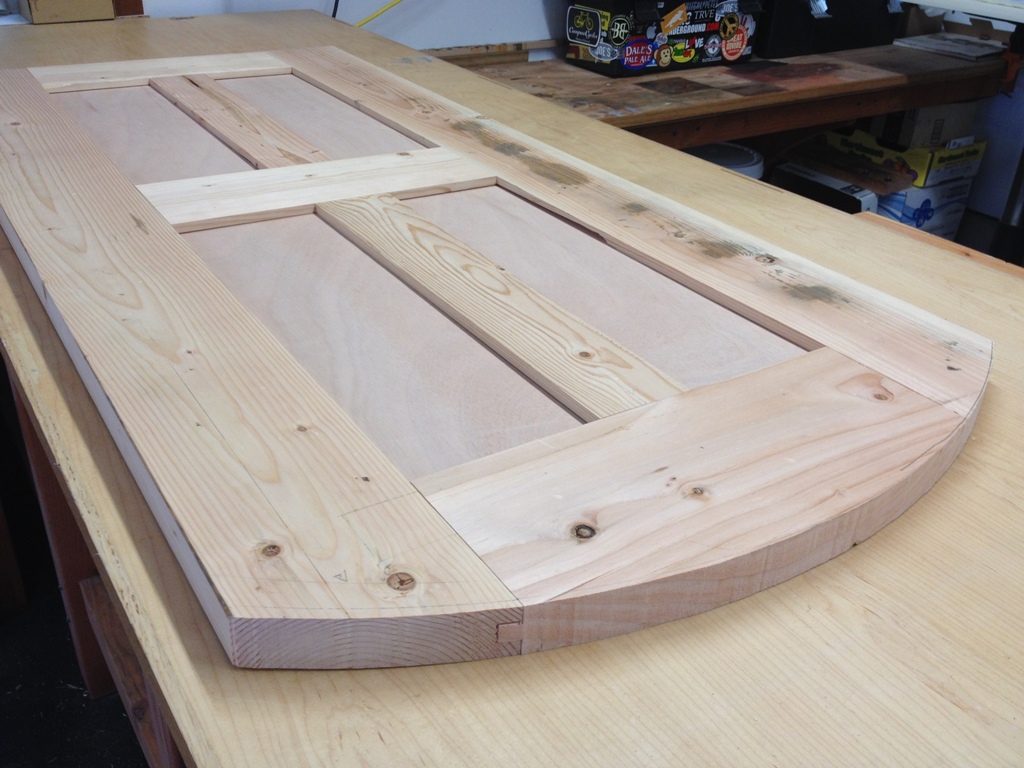
I just used a reciprocating saw to cut this arc. I considered making some forms and using a router to make a nice perfect, smooth edge but this door really has no intention of being all that perfect.
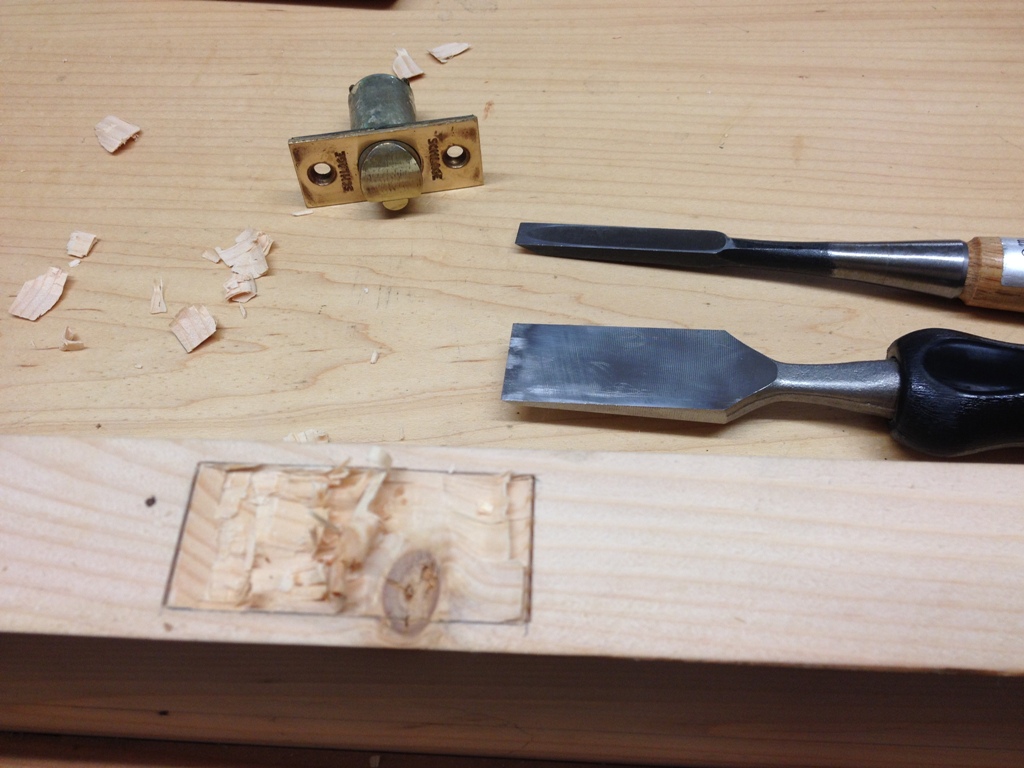
So, I ran into a bit of a snag because the location I had to put the doorknob had a tight little knot right where the latch had to be carved out. This was not an easy task. The wood grain really works against any attempt at carving this neatly.
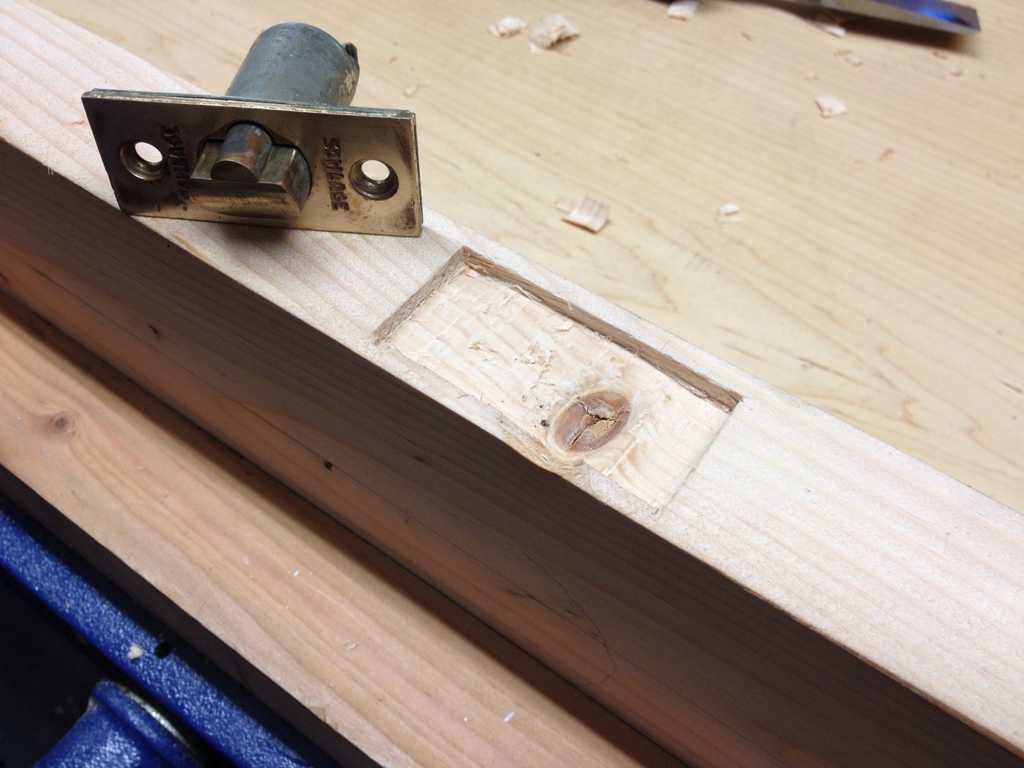
I think I did fairly well, despite the knot.
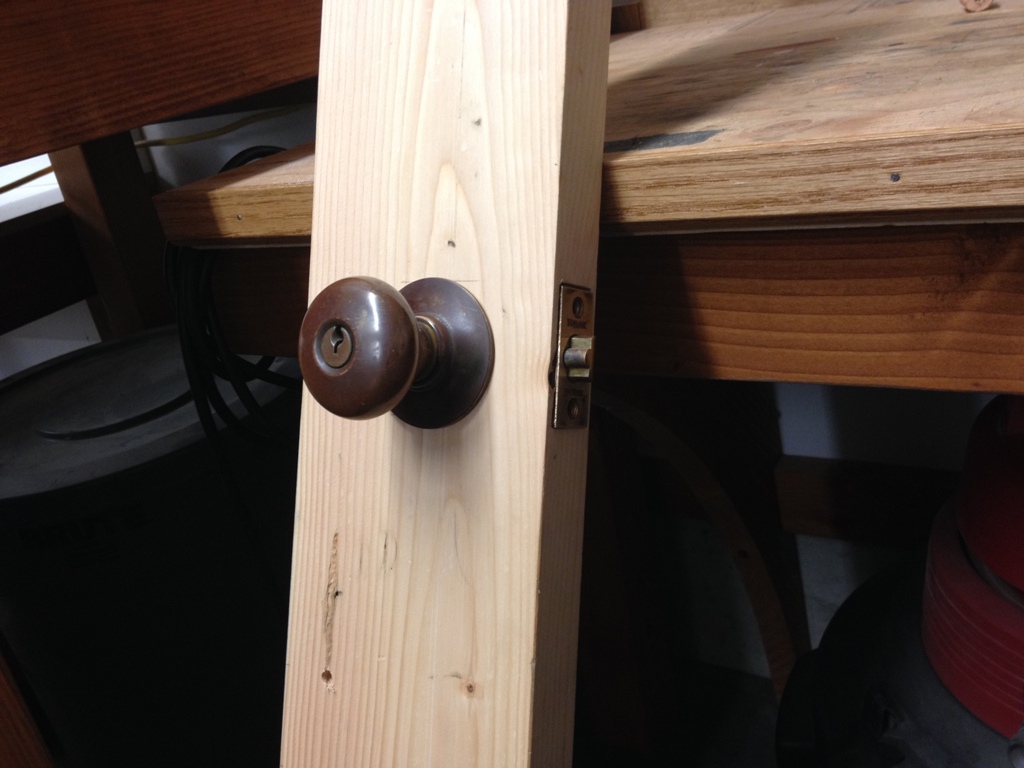
That’s an antique doorknob (a Schlage M45 probably from the 60s) with a beautiful mocha colored patina on a rather coppery brass. I may play around with the fit a little bit more but it works well .

There it is dry fit. I’m pleasantly surprised by how well this project has gone so far. Seems like I haven’t managed to screw up anything yet! But there’s still time, I still need to sand it and glue it together and make a custom door frame for that curved part, and I haven’t yet tried to fit it into the door frame. Any number of calamities can happen before this project is finished.