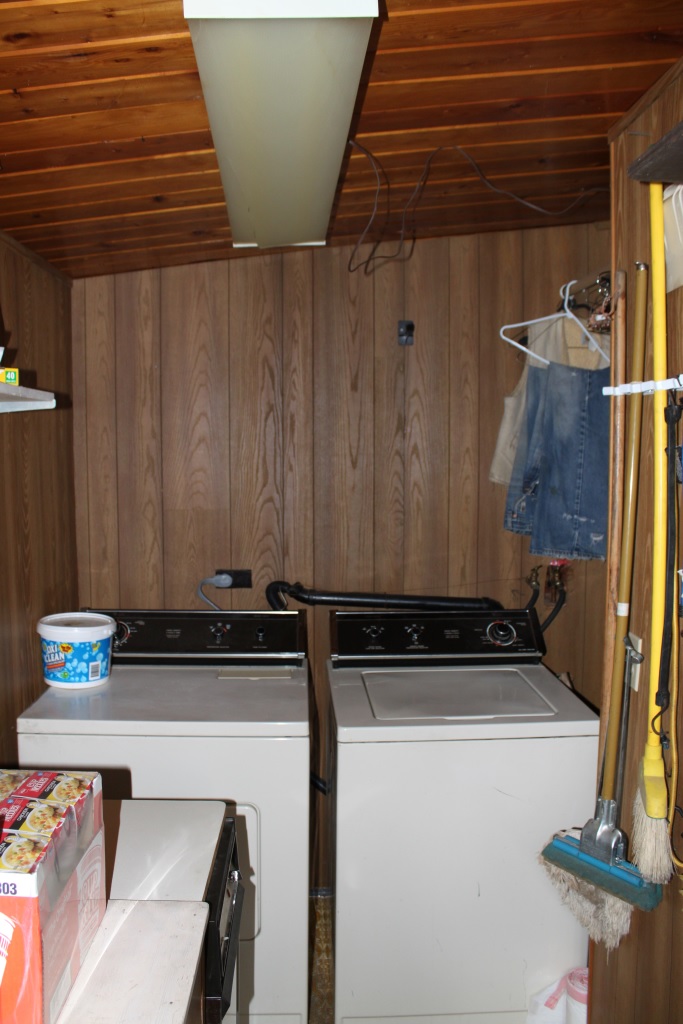
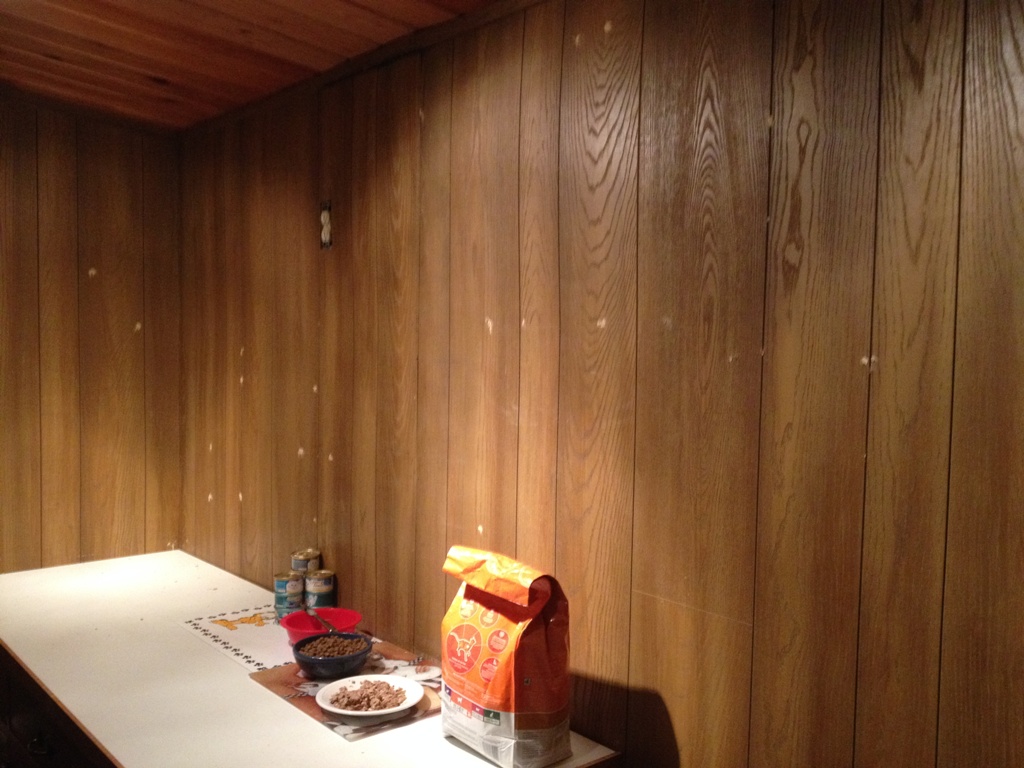
Let’s again start with a ‘before’ picture, shall we?
There. That needs few words.
So despite the fact that I’ve already spent some time (and money) in the laundry room, there were still a couple of imperative fixes before I could call it finished. I mean, I need to gut it to the studs and then replace the studs and then pour a new foundation and build new studs and reframe it and sheetrock it and waterproof it and then finish it before it’s truly completed. However, before I do any of that, I can cheaply and quickly do just a couple of things to enhance our lives and make the laundry room a little less terrifying to small children.
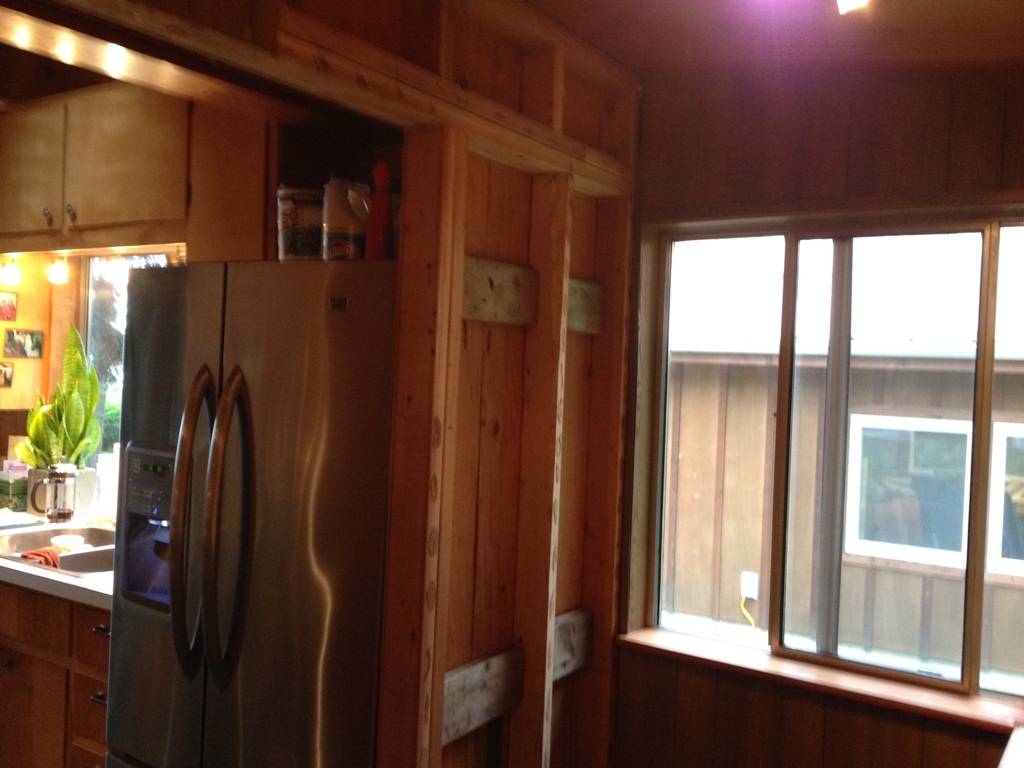
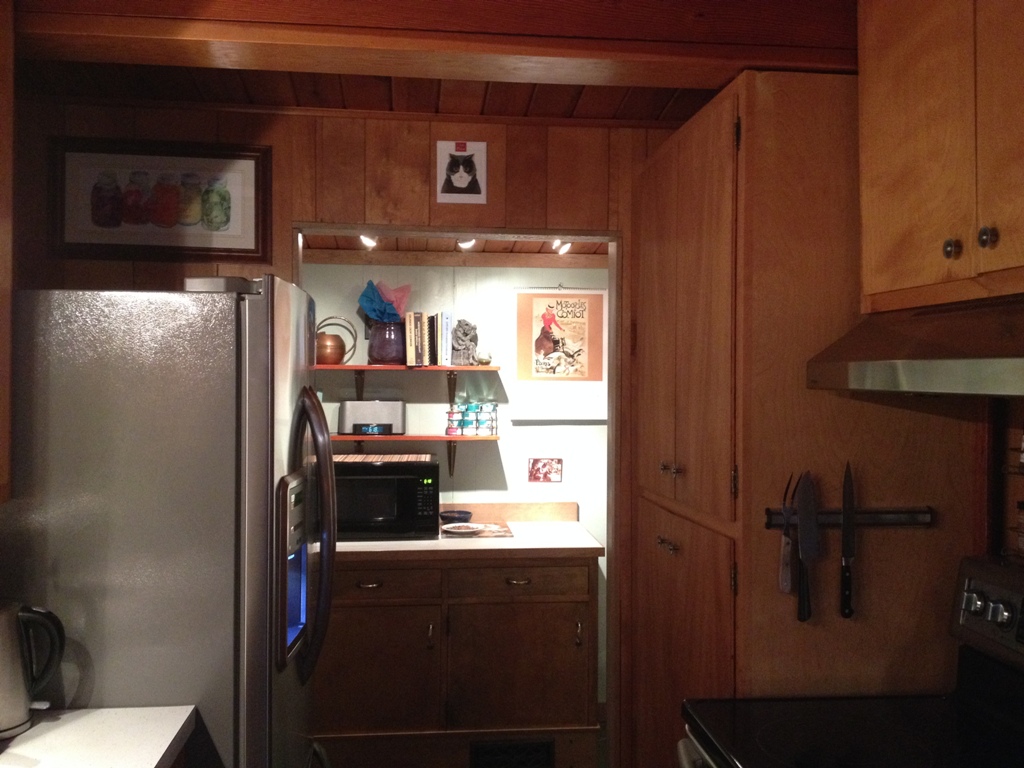
Last weekend, with Jamie out of town, I decided I would (1) paint that ridiculous looking wallboard and (2) put up some solid wood trim pieces if for no other reason than to hold it all together for a few more years. And (3) the doorway to the laundry room was too small and prevented the fridge doors from opening all the way. I had to widen the opening by about six inches so the refrigerator could open all the way. That’s kind of important to us, the ability to open the fridge.
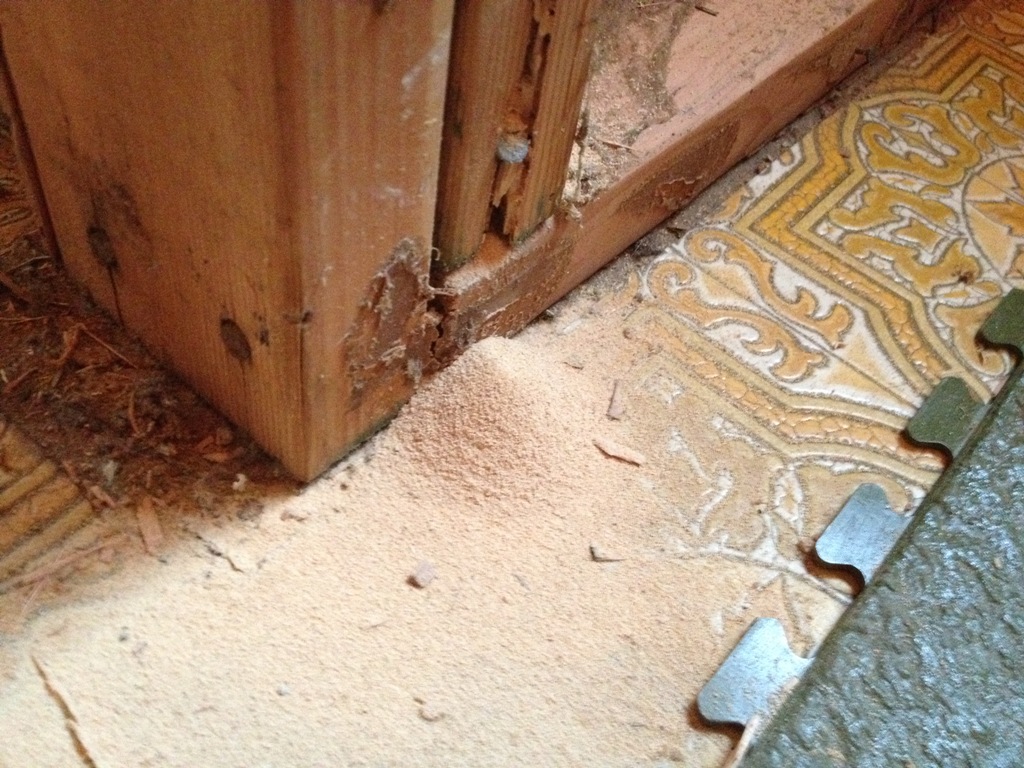
When you open up a wall, you never (and I mean NEVER) know what you’re going to get. It’s like rolling the dice. This time, the dice came up Termite Damage. Yay! Pounding on the damaged stud not only produced a little hollow sound and revealed wood that had been eaten through from the inside, but also produced a little pile of very fine powder.
That’s more sawdust than my table saw makes in a cut. Luckily, I observed no living termites and we do have pest control spray for the six leggers every few months so I’ll just mention this to him when he comes around again. I dutifully ripped out every damaged board I saw, replaced them, and moved on.
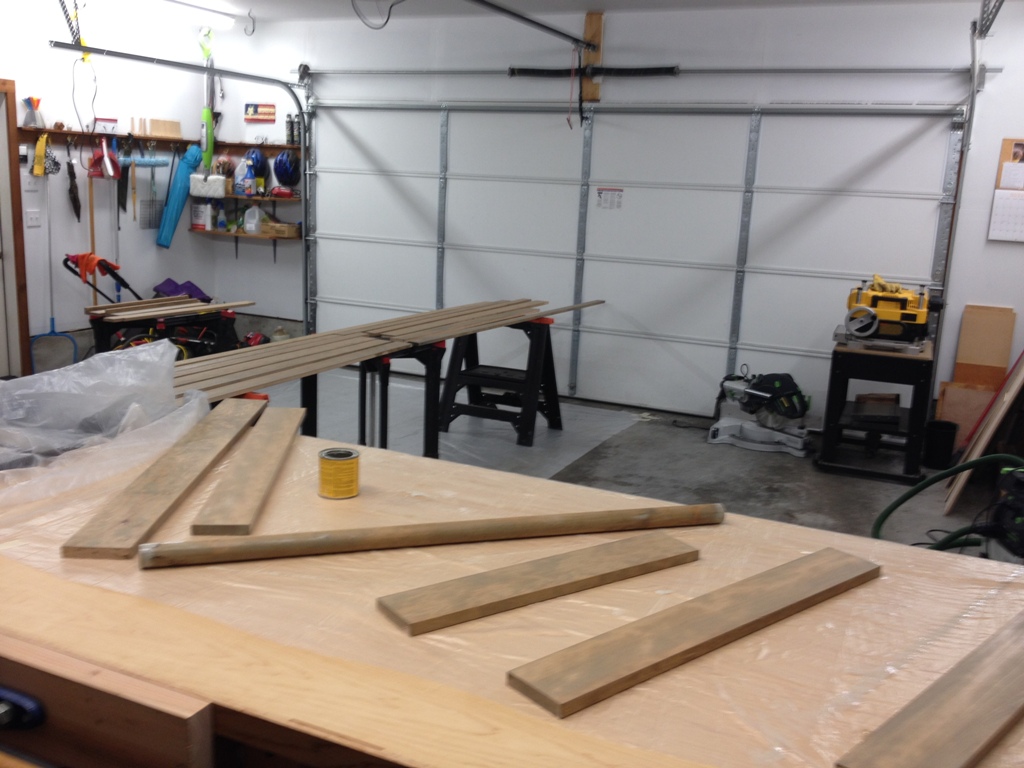
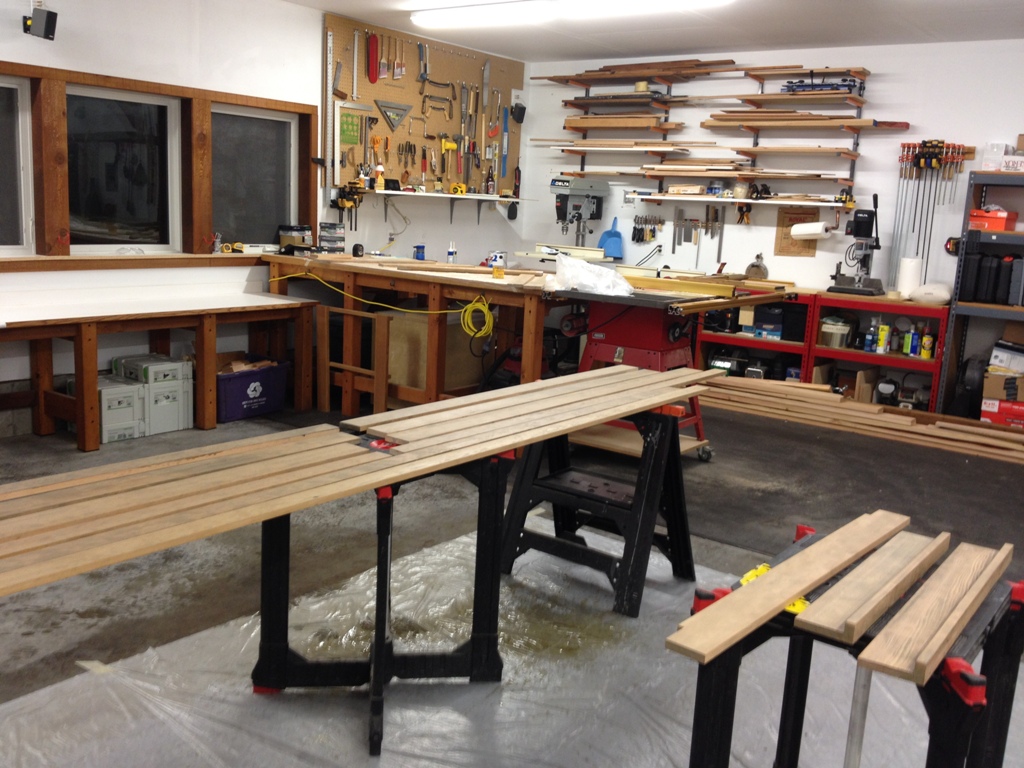
Catastrophe befell when I was staining the trim pieces. I had everything laid out, and was just starting to slop the stain on when I did a little internal math and realized I had barely, just barely, enough wood stain to treat every board. Okay, then, I reminded myself to be a little conservative and spread it as far as I could. That’s when a board slipped from my tired, oily hands and impacted on the can of wood stain, sending its contents flying through the air and all over the concrete floor of the garage. Not only was my entire can of stain wasted, but a large puddle of it splattered over several boards, saturating them in the thick pigment that usually settles at the bottom of the can. These boards were likely ruined, for I could never mop the stain off them fast enough not to leave a dark inkblot.
The hour was later than I’m comfortable admitting on the internet. I was exhausted to the bone and just needed to finish this one final task, to let the stain dry before morning so I could polyurethane them, and all my boards were completely ruined. What did I ever do to deserve this? How had I offended the woodworking gods to deserve their bitter enmity?
This is Orcas Island. We don’t have a home depot open 24 hours a day. If you’re out of wood stain and it’s the middle of the night, then you’re just out of wood stain. Fatigued as I was, I had to think fast, and I ran to my paltry collection of other wood stains and selected the color closest to what I was trying to accomplish. I mopped the spilt stain off the concrete floor (not my proudest moment) and combined it with a can of what I had, and began recoating all my boards. They looked hideous at first, but with a bit of rubbing and soaking I finally got to a color that I can live with.
You’ll see the results. I’ll let you be the judge.
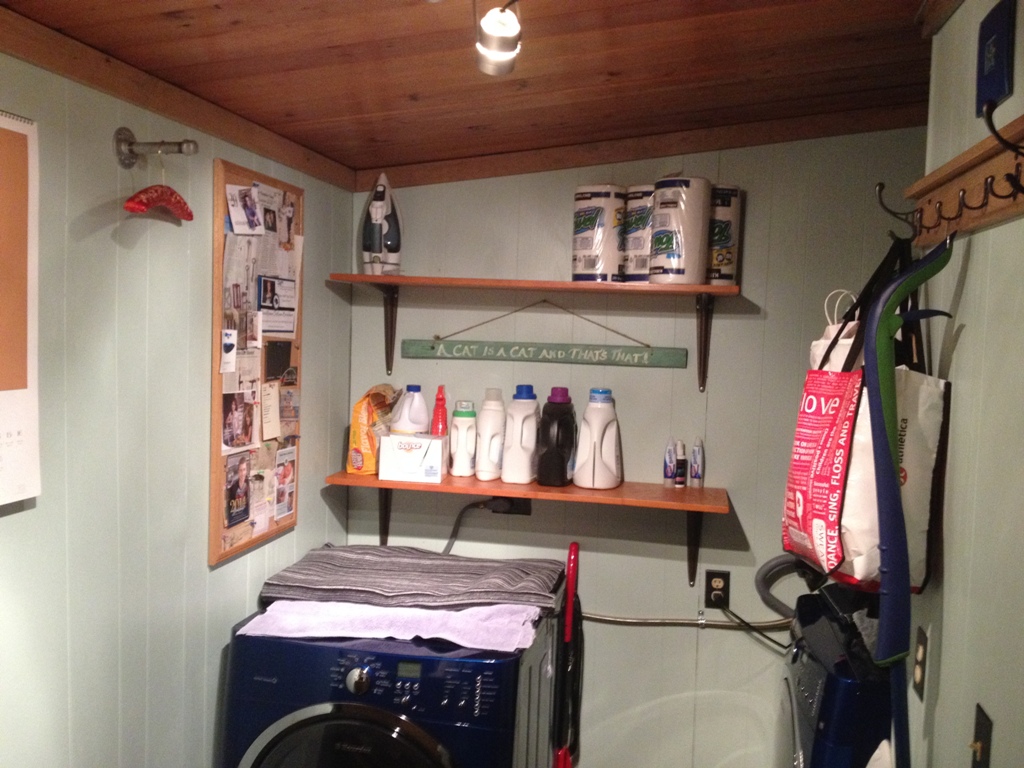
After two coats of Killz (that didn’t stop stains from seeping through) and two coats of the most expensive cans of Valspar paint I could find, I think the color is going to finally stick to the wall! This wallboard was very damaged, and peeling off the studs so badly that nails and screws could not correct it in places. I managed to at least get it coated so it’s no longer the Toxic Waste Sepia color it used to be, and now it’s a nice shade resembling the frothy green sea.
Look, it’s a laundry room, it’s not the Green Tea Reception Chamber at Buckingham Palace. It’s tight and small, it stores a myriad of cleaning supplies and underused implements, and is pretty much a catch-all of orphan possessions that have no other place to live. But that doesn’t mean it has to look like a root cellar with carpenter ants crawling up the timbers.
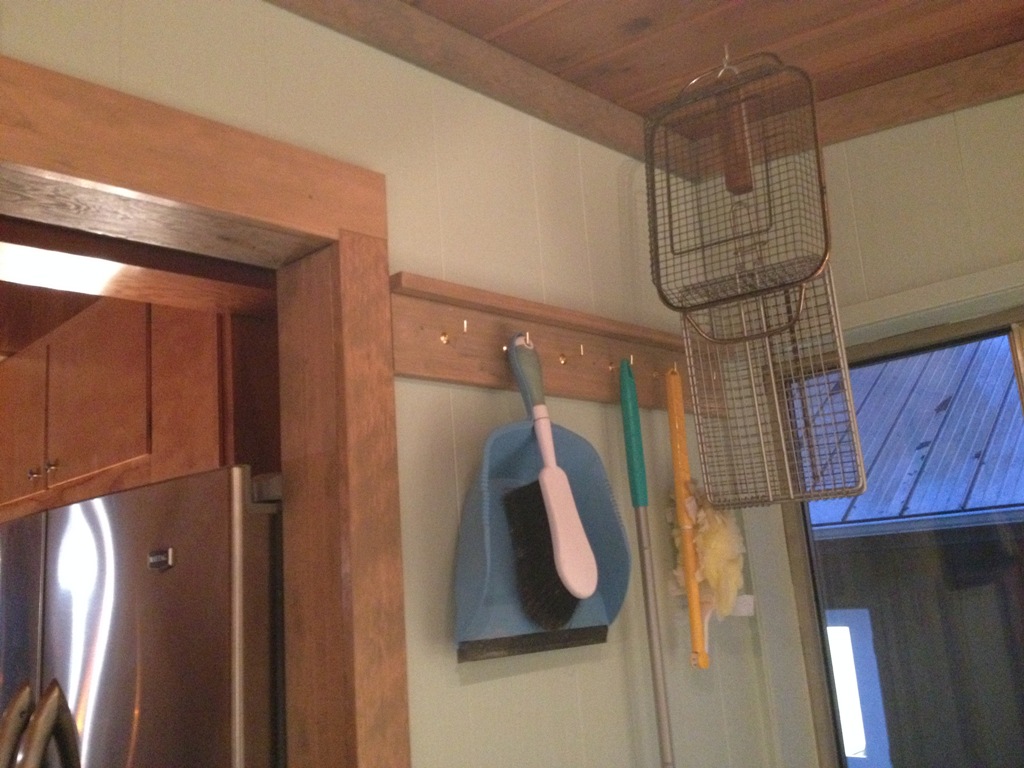
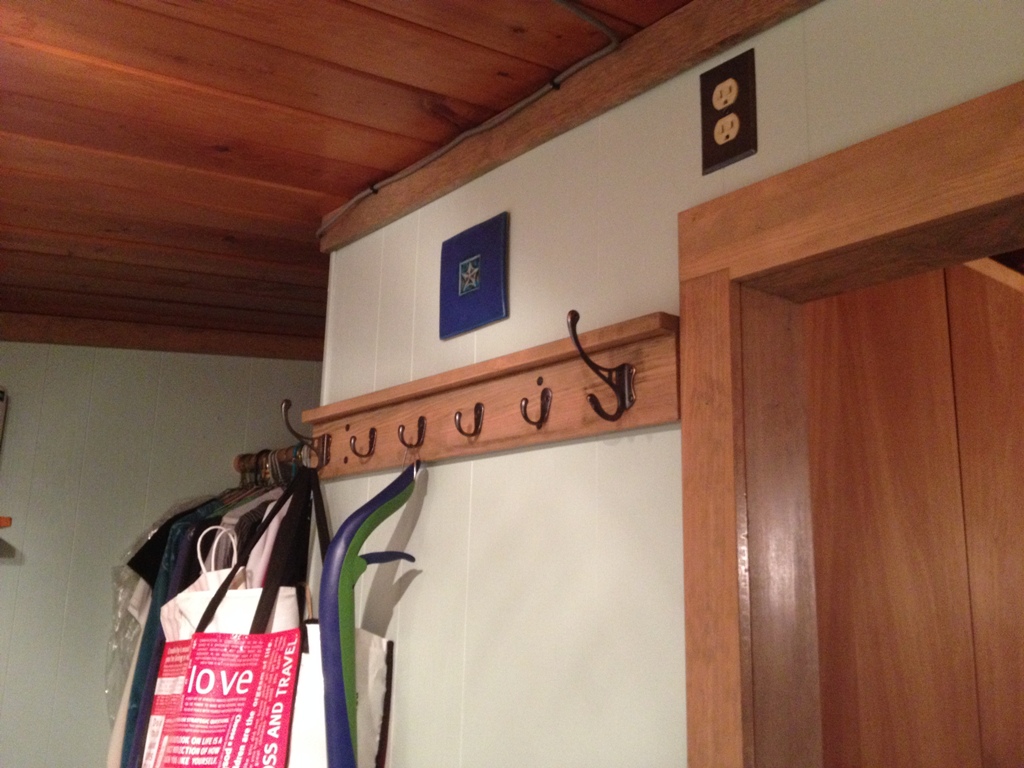
I kept the woodwork really simple, using readily available and relatively cheap pre-milled hemlock to get the job done. Lots of hooks and pegs for the tools of the cleaning trade. I didn’t do much to the window area for a number of reasons, not the least of which we’re planning on replacing that window eventually so why bother doing work when I’m going to tear it all up within a year.
This laundry room has five power outlets, four of which work, and I replaced them all with oil rubbed bronze covers. Bronze and copper seem to be the metal fitting of choice in our sea green laundry room, with trim the color of driftwood. It’s just like being on a boat!! Except that you’re not out to sea and you still have a mortgage and have to pay property tax.
The finished room is dramatically different. I cannot overstate how oppressive that old wallboard was, nor can I exaggerate how excited I am at my newfound ability to open the fridge doors all the way. One minor disadvantage from all this renovation is that now you can see a lot of the flaws and cracks and areas of water damage that were once hidden and concealed. In that respect, it’s not that much different than other old-house laundry rooms. These are hard working rooms! It’s not a bad thing to give them a little love once in a while.
Inky’s hobby: trying to fit herself into the smallest sized box possible.

