Sword Rack

fogIf you’re like me, you have a large number of Japanese swords cluttering up your house.  All manner of Nihon-to, katana, bokken and shinsakuto edged weapons just leaning against walls or lying on the floor like a trip hazard. I really needed to do something about this.  Storage space is hard to come by in this house so I thought my best bet was to design a wall mounted sword rack.

The PlansThere’s not much wall space in the house either, but there’s a few spots I can mount at least one or two of my better blades as long as I keep the mount a little compact.  I didn’t want a traditional Japanese design either, and I came up with my own, something a little more modern.  Simple, though.  Fit and function are a lot more important than looks.

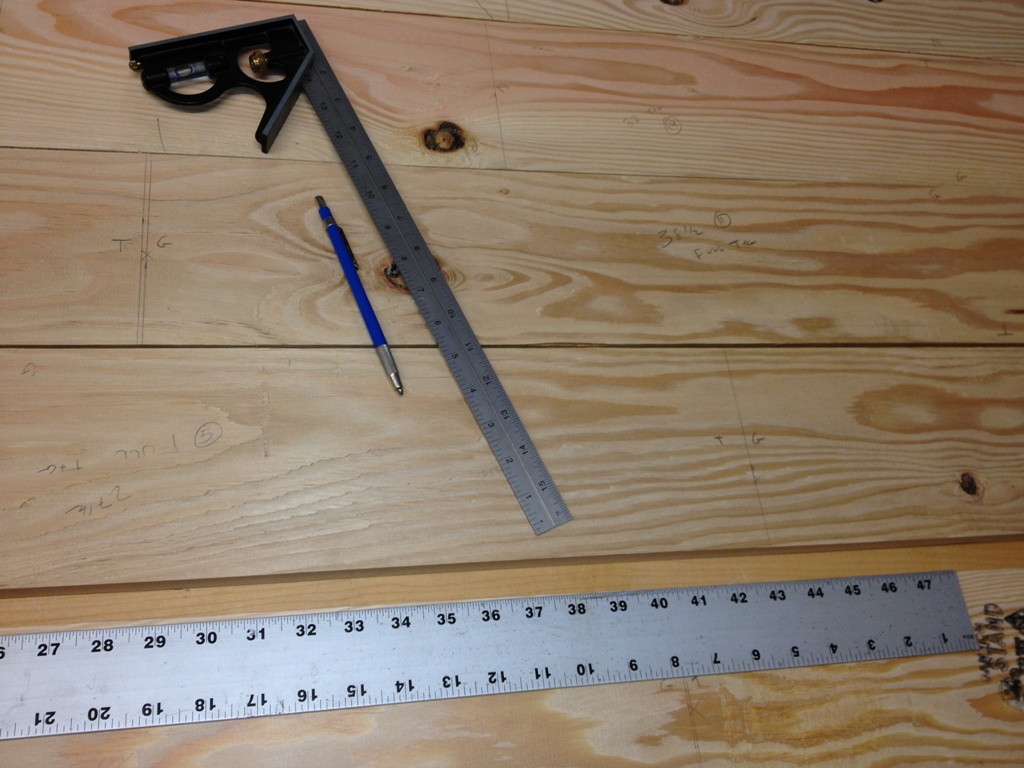
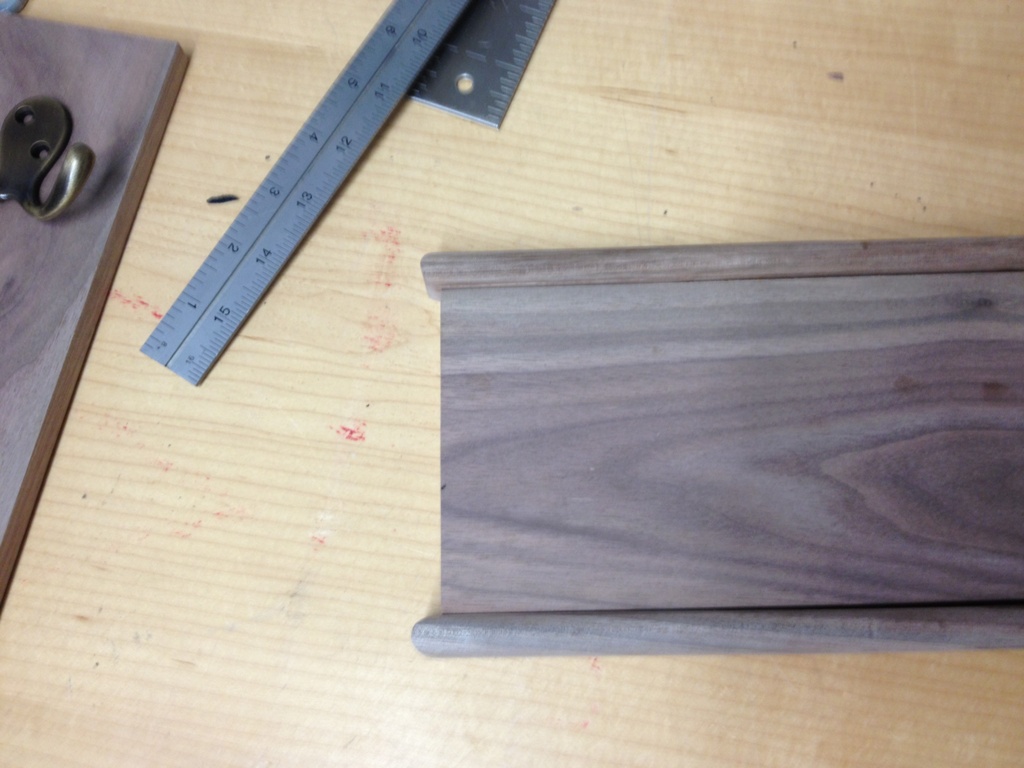
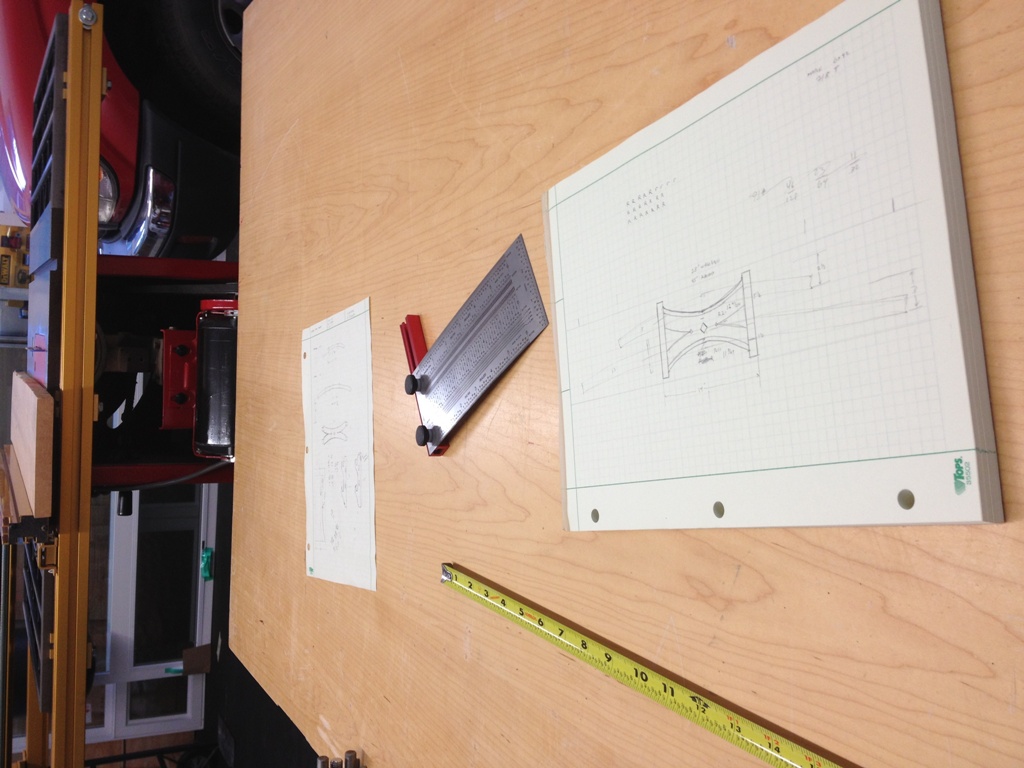
When designing something small, it can be helpful to make a full scale drawing of what you’re trying to make.  Drawing it out full scale really helps you see exactly what you have to cut out of wood.

More Plans
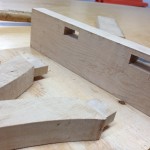
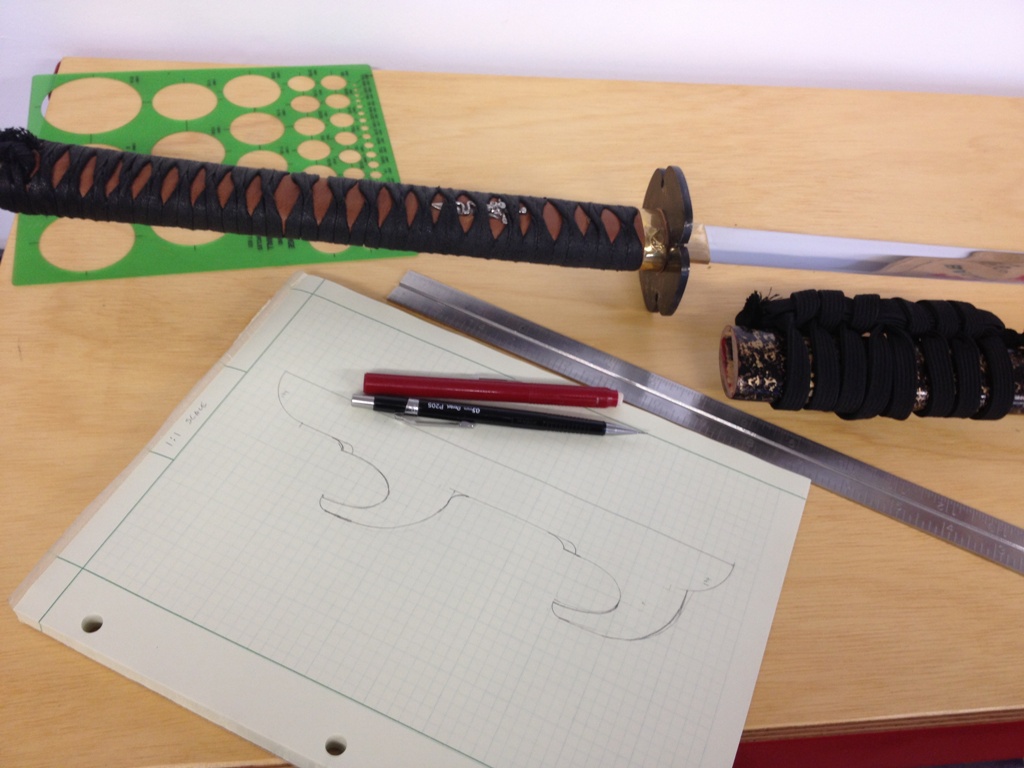
I used a slab of 7/8″ burled rock maple.  It is not easy to saw and not very forgiving, but it is bulletproof.  The prongs that hold the sword tend to be the weak point of any sword rack – if the sword twists against that prong, it can easily snap.  This is why I like to use a really hard wood.  When you draw it out life size, you start to realize there are things you may not be able to do, and you adjust your design accordingly.

fit


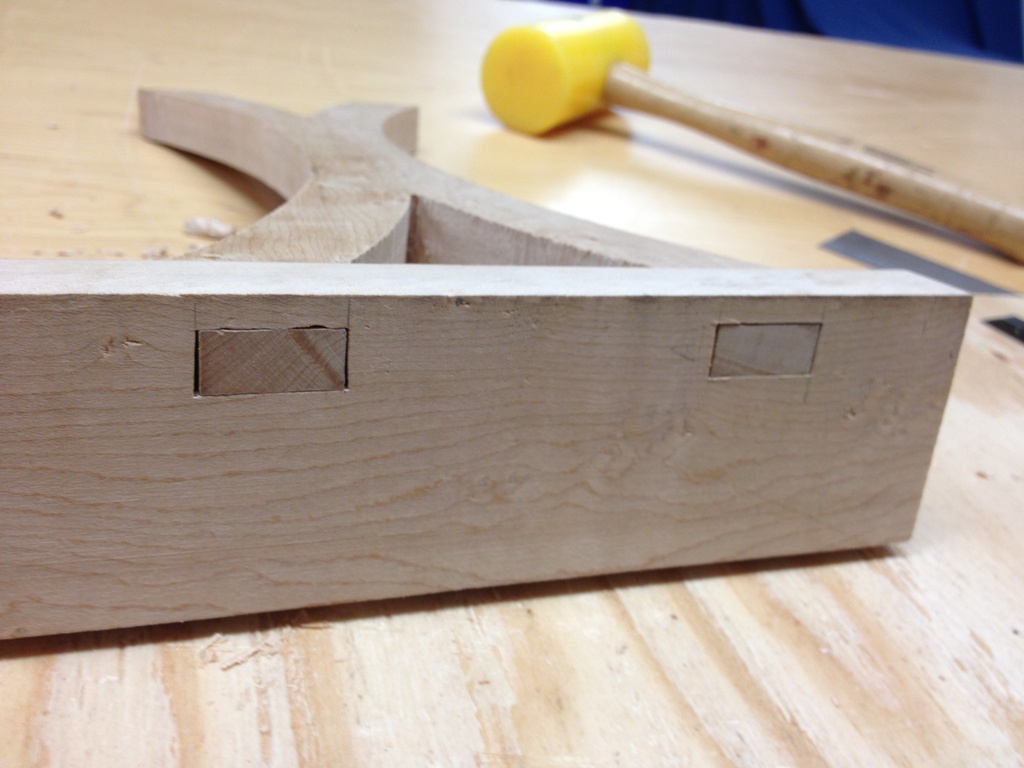
I have a mortising machine that cuts square holes like that, but it broke on the first mortise.  Haven’t used it in over a year and I guess it was mad at me.  So I had to cut all four mortises by hand with chisels I haven’t sharpened in over a year.  I probably should have stopped and sharpened them but I know me, that would have taken all day.  I wanted to get this project done before moving on to another project.

village of tools
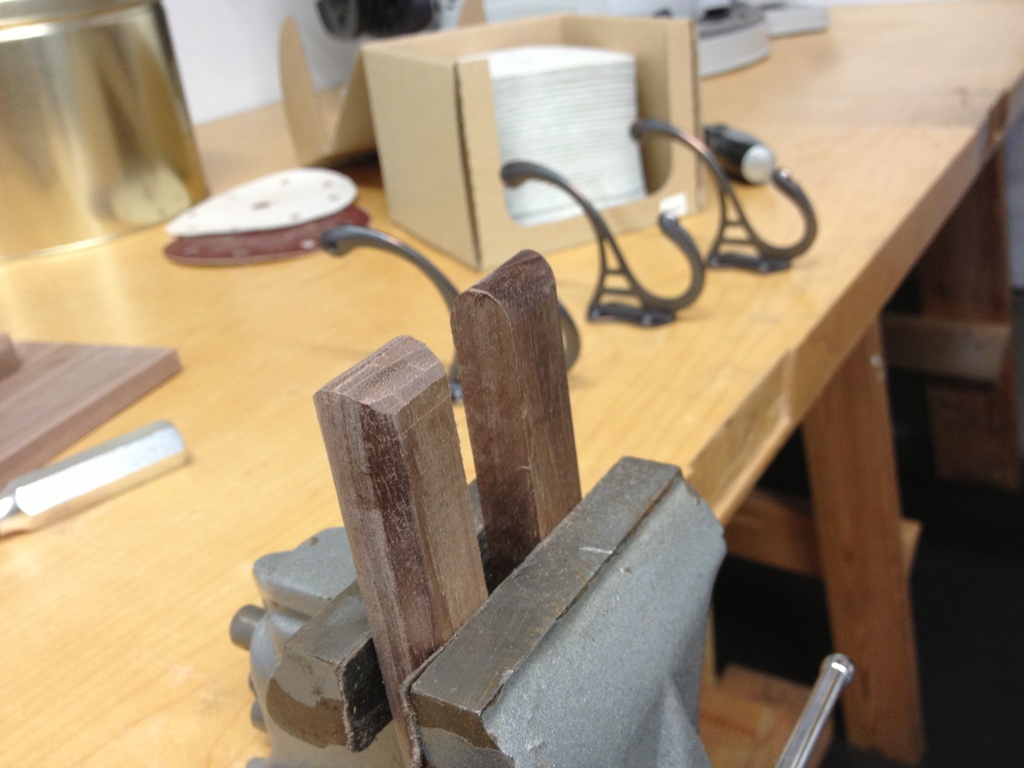
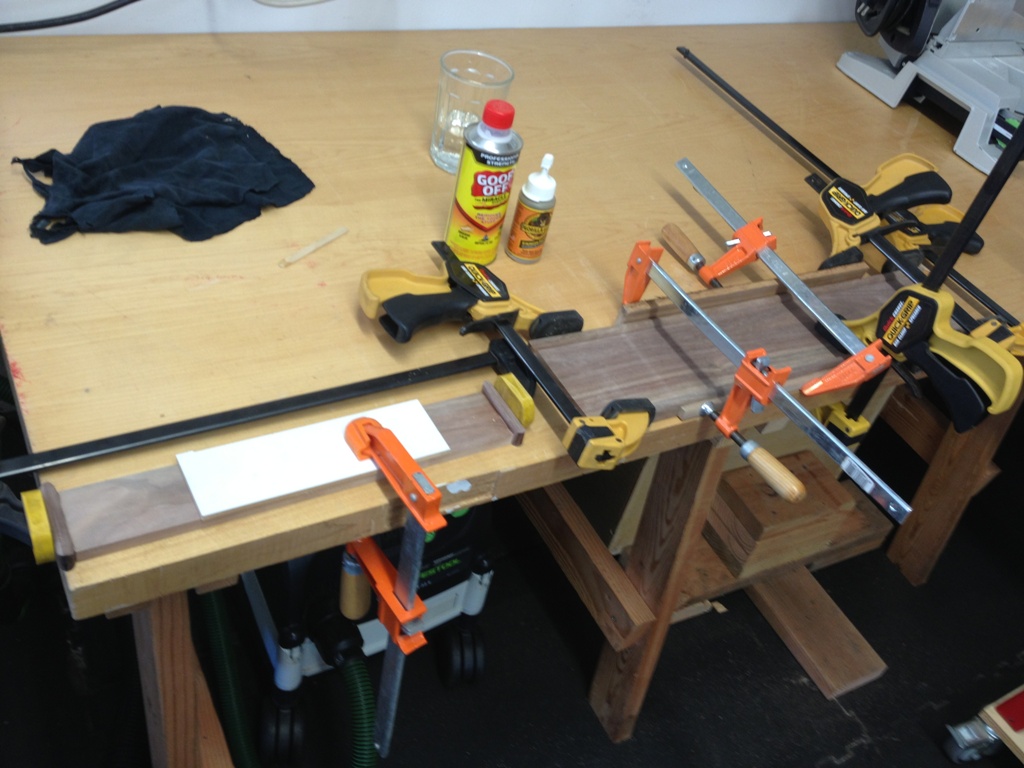
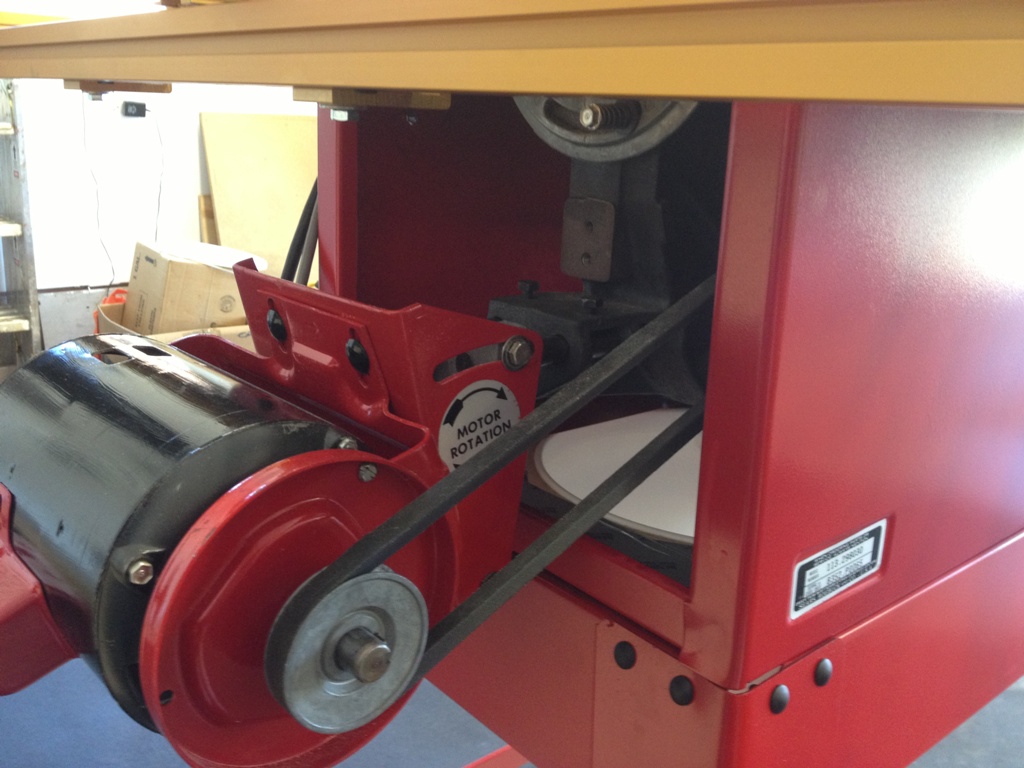
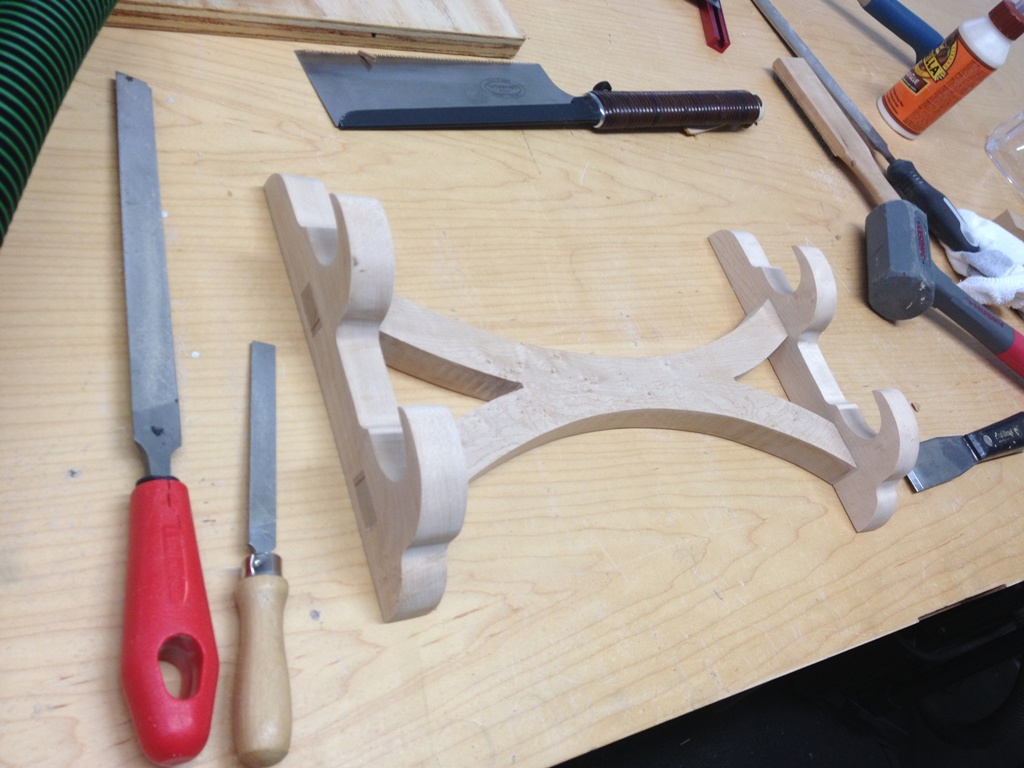
It takes a village of tools to do even a small project like this, especially the smoothing, shaping and sanding.  I cut out a lot of that with a jigsaw (don’t own a scroll saw, and I’m not sure how a scroll saw likes an inch of rock maple anyway) and it was very rough after cutting.  I smoothed it out with rasps and files and a nice straight router bit where I could get it to fit.

wedges
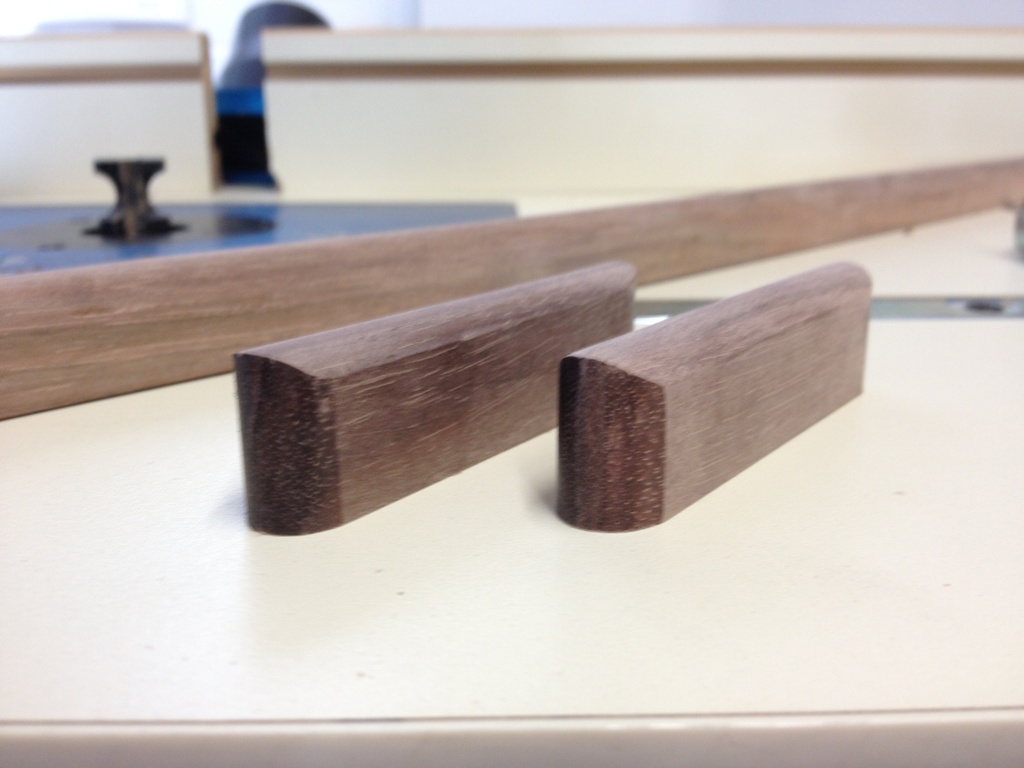
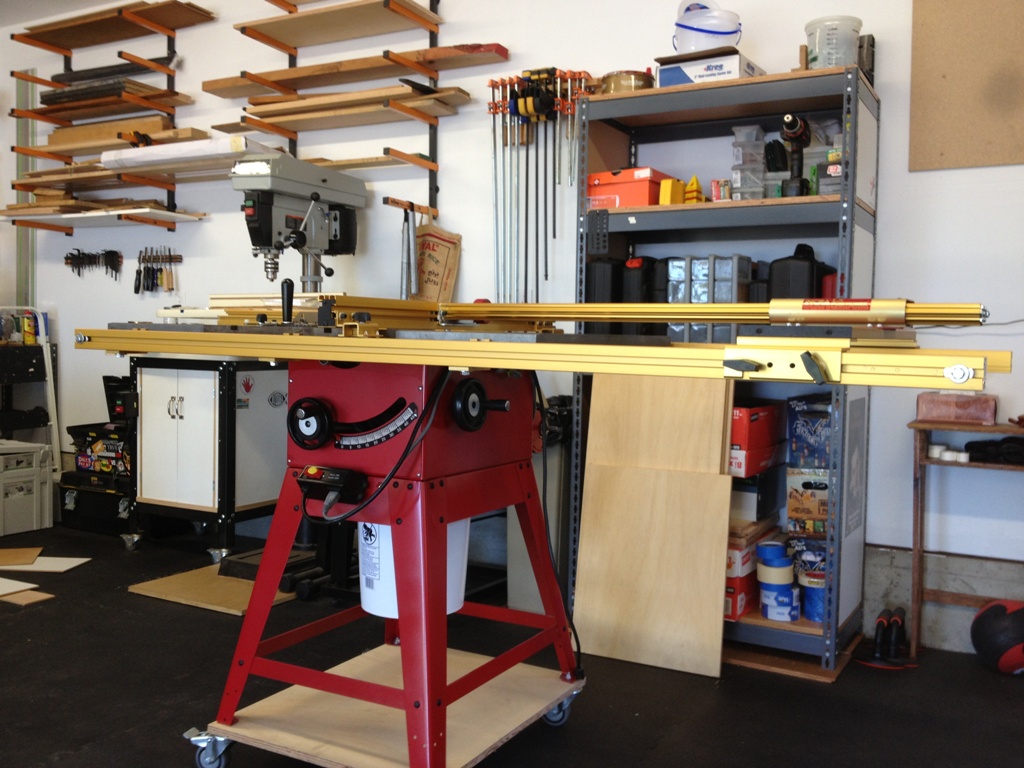
When I have exposed tenons like that, I like to put a wedge in there for some added stability.  I don’t need them for structure, it’s only got to hold about 5 pounds of swords.  Could have made this out of cardboard and still had enough structure.  But wedged tenons not only look great but really make a strong joint that should never fail for the life of the piece.  Last time I made wedges, I needed about 84 of them for my desk, and I cut them all by hand.  Thankfully, the zero tolerance insert on my table saw lets me cut them on the saw.  The wedge goes flying once it’s cut out, but it’s small enough that it doesn’t hurt anybody.

keyhole
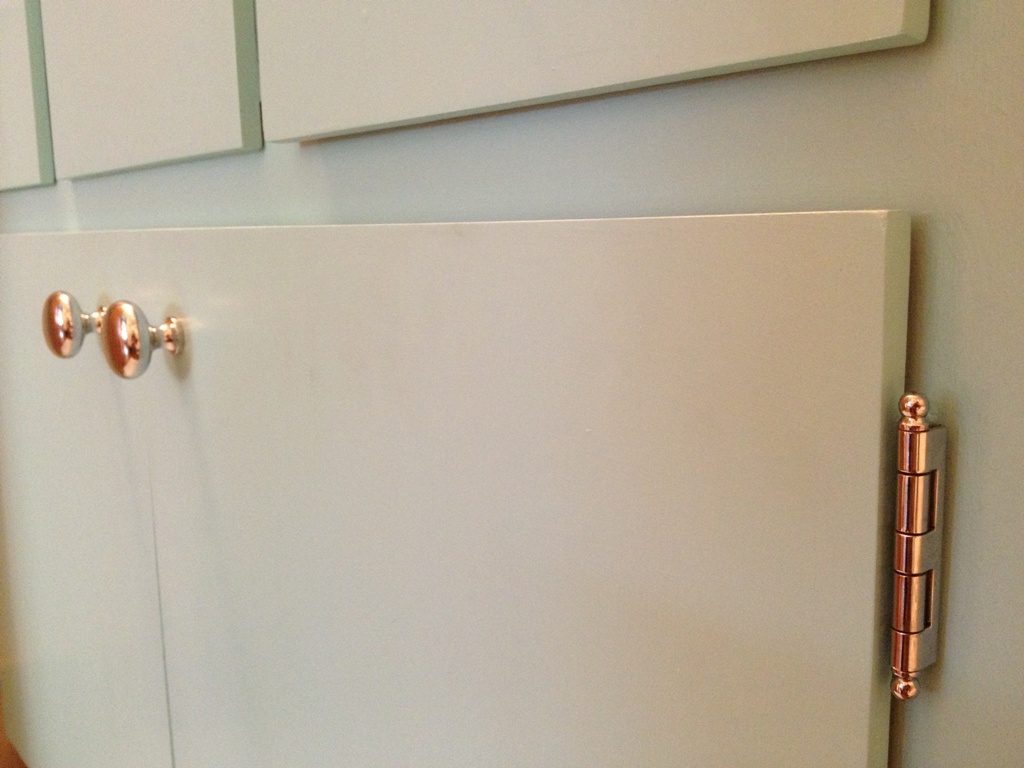
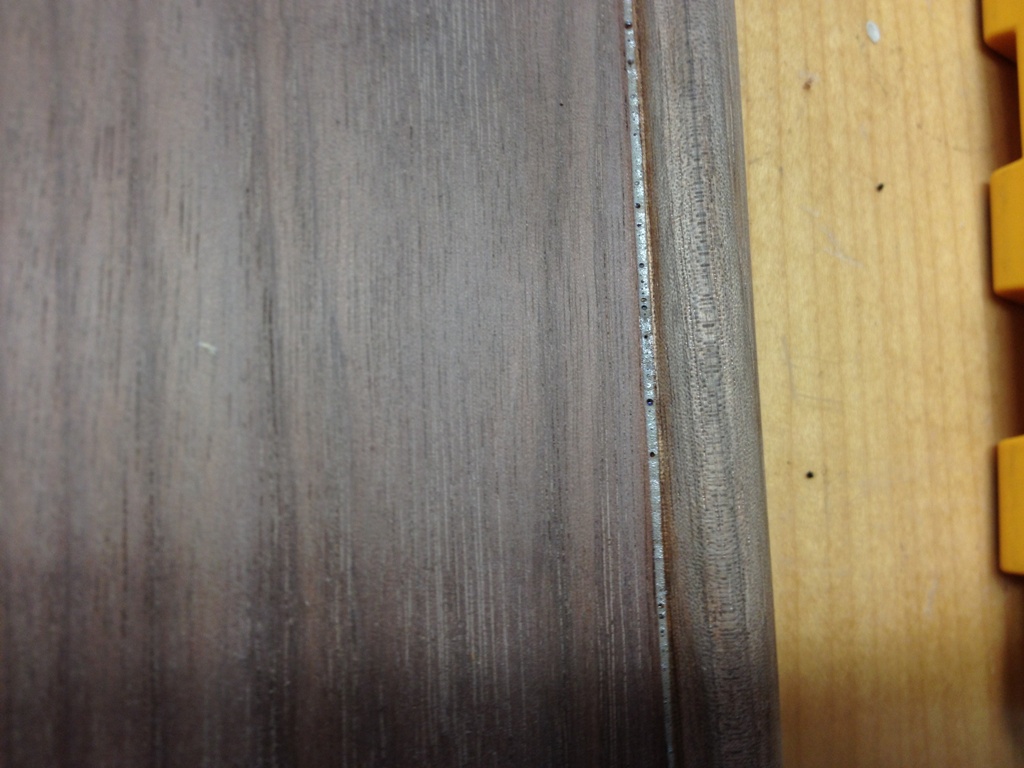
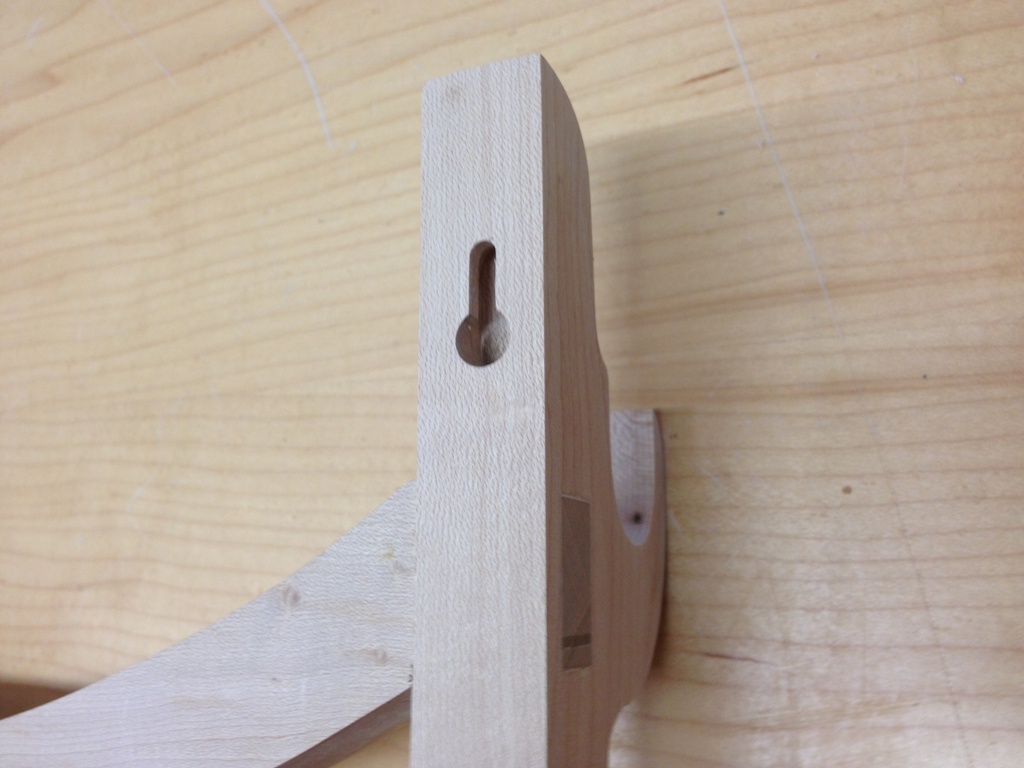
I’ve never cut a keyhole like this before but it seemed like the best way to mount it to the wall (and saved me a trip to town looking for hanging brackets that would fit). It’s not a difficult cut to make on a router table.  The holes came out perfect and are actually stronger than I thought they would be.


finished
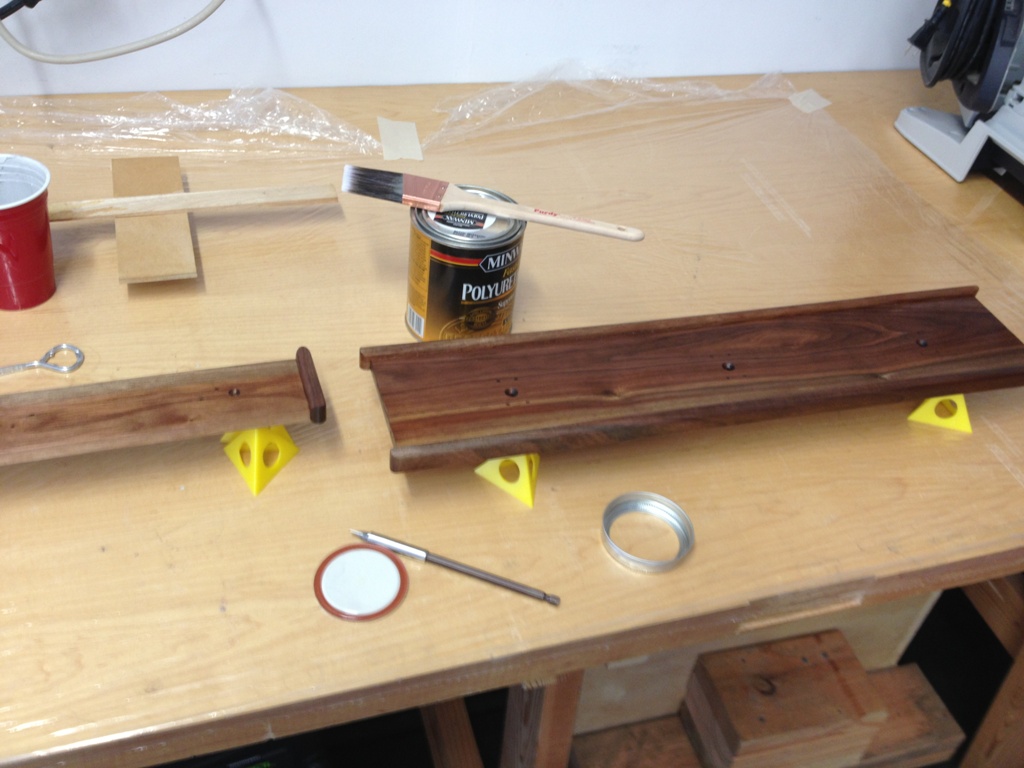
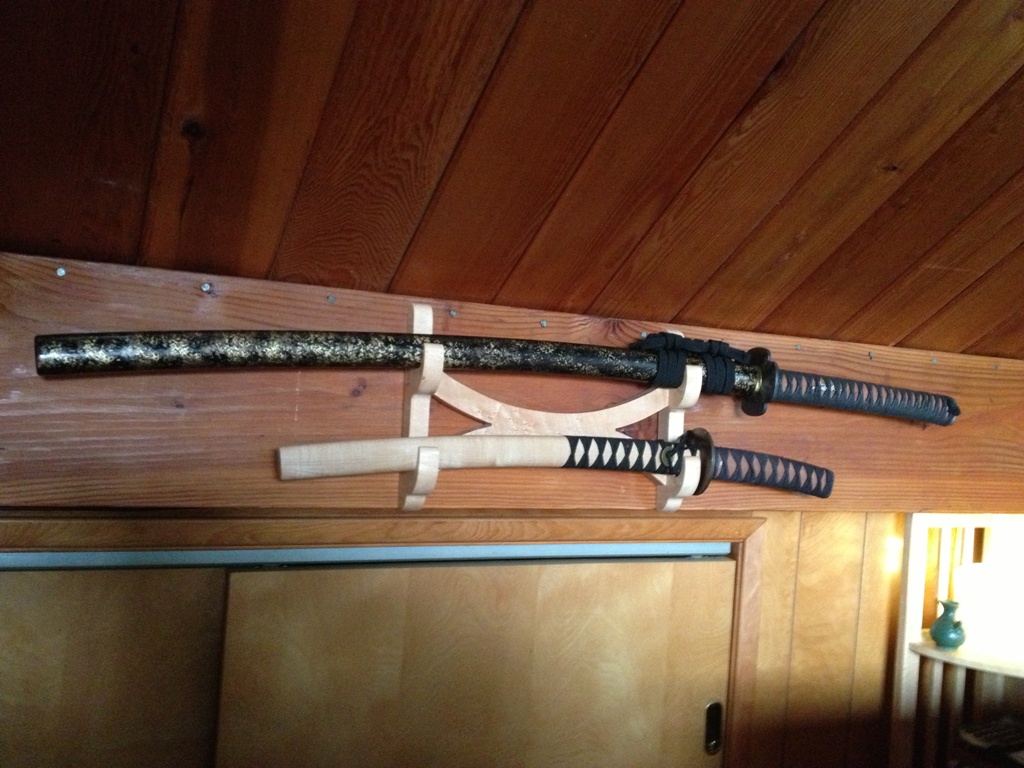
Anyway, all finished.  Two less swords to trip on now.  The top one is a crappy replica but it’s okay to train with.  The bottom one is a very real wakizashi, folded steel, and extremely sharp.  I’m going to re-do the handles on both of them and probably do some more work to that wakisashi at some point.  Another project for another day.


What’s been happening lately?

Lots going on but not a lot of finished projects yet.  Some hints below:

That spider is big enough to pull a cart.  I’m going to have to start charging him rent.

I’ve never made a door before

door 1

I’ve made a lot of things out of wood, but never a full sized door.  I’ve made cabinet doors of all shapes and sizes but nothing like this.  Boy, they are a pain in the butt!  Everything has to be dead flat, every cut has to be exactly 90º00’00” , every piece has to be perfectly jointed and fitted with very little margin of error.  It not only has to be straight and flat, but it has to remain straight and flat for a million years, or as long as you plan on using it.

This door ain’t none of that.  It’s construction lumber.  Soft, spongy, warped and twisted.  Despite all that, it actually turned out pretty good, nice and strong with well fitted tongue and groove joinery.  It’s a shed door, and it’ll do its job.

I’ve always seen those homemade doors in old houses and, to me, they are so cool.  Nothing is perfect about them, they don’t open right, they don’t close right, but they just look neat.  This one should last a while, I hope.

door 2

The whole goal was to make something that wasn’t embarrassing to look at.  We get a direct view of this crappy shed right out our back door.  It’s visible from every room in the house except the kitchen and laundry room.  Just wanted it to look nice.

It’s an improvement from the before picture, to be sure.

Please note that we got rid of that disgusting smoke stack.  That right there was worth the price of admission.

Measure fifteen times, cut once

Measure and MarkI’m making a jigsaw puzzle out of tongue and groove boards.  But first I have to cut the boards and make the tongues and grooves.  Some pieces have both tongue and groove on both sides, others have just tongues, others have just grooves.  If I mis-cut one piece, I won’t have enough left over to complete the project correctly.


The Snowball Effect


The bathroom needs to be fully gutted down to the studs and completely redone.  Everything.  But we can do small things in the meantime to make it a little nicer.Knobs and PullsLet’s replace the cabinet knobs.  And the drawer pulls.  That’s cheap, right?  Takes ten minutes.  Just order some nice ones online and install them.  It’ll make a big difference.

HingesOkay, the new knobs and drawer pulls make the hinges look ridiculous.  Let’s get some new hinges.  Find some nice ones on the internet and swap them out.

Lets PaintOkay, if I put new hinges on then I’m going to have to putty the holes left by the old hinges.  You know, may as well paint it.  That’s cheap, right?  Doesn’t take very long.  And that way the holes are completely sealed up.

Oh, if we’re going to paint may as well put some trim pieces along the floor too.  And paint those.  And that’s going to make the walls look awful, going to need to paint them.  And if we paint the walls, may as well get new towel rods.  They’re not cheap, not in the least, but this is our forever house.  Going to want nice towel rods.

Shiny new hardware


Nice, what a difference. But you know, now that countertop and sink look so awful up there.  That stupid two-tone swirled plastic, with fungus growing in the cracks.  I can’t live with that a minute longer than I have to.  There’s got to be something out there we can replace that with.  That’s cheap, right?  Doesn’t take long, just a weekend.

So now we need a new sink and new towel rods and I may as well get started replacing the vanity with some new cabinetry.  And new trim around the windows.  Could use a new fan, too, that thing is awful.  Oh, and the shower doors are disgusting.  And don’t get me started on the toilet (we did get a new toilet seat lid).

Better I guessThis story doesn’t have an end.


Coat Hooks

Coming togetherI’m finally getting to the point where I can work on actual woodworking projects in my shop as opposed to just working on my shop.  Oh my shop still needs work, that hasn’t magically come to an end.  Still a lot to do and not enough time to do it and things are just hard to come by when you live on an island.  But it’s close enough that I could make some boards to hold up some coat hooks I bought.  I had a scrap of walnut left over from something I made probably ten years ago (and yes I moved it from Denver to here) and I really love making projects out of scrap wood.  Resourceful, doesn’t let anything to go waste, and it’s free!

End PiecesAs you can kinda see, it’s just going to be a plank of wood framed on top and bottom by some half crescent trim.  I used a router to make the crescent along the front but I hate to use the router against the grain on hardwood.  I have a good router and good router bits but that’s a tough cut to make no matter what you do.  I’d rather just do it by hand.  Clamp the end pieces down and use a nice smooth bastard file.

Done by handThat’s the edge just with the file alone.  No sanding required.  In fact, sanding will make it dull.  If you use a really fine file, it has an effect similar to a cabinet scraper.  On hardwoods, the effect is a nice, glassy smoothness. They weren’t quite perfect, but this is just a thing to hang keys off of.  I’m not making another statue of David here.

ClampsGlue up time is when you wish you had more wood clamps.  Or different wood clamps.  This is one aspect of woodworking I am really not that good at.  Invariably I get something clamped out of place or I squeeze too much glue out or something just goes wrong.  I’ve learned to live with it and just go with it.  Every piece I make, no matter how simple or how complex, has anywhere from 2 to 55 flaws in it, and the only person who loses sleep over them is me.  No one else ever sees them.

In this case, the flaw is that one of the crescent trim pieces bowed during the glue up, so it was not flush with the back.  If you stand on a ladder and look at the finished coat hanger from the top you can totally see it.  Otherwise, it doesn’t exist.

GlueEvery bottle of glue warns me not to let the glue seep out when you clamp it.  But it’s futile.  A little bit seeps out and bubbles around the joints.  I use gorilla glue for a lot of applications.  Sometimes I use yellow glue, or aliphatic resin, but I usually save that for tongue in groove or mortise and tenon joinery.  When it’s just flat grain to grain, I prefer the foamy, expansive gorilla glue.  It’s not very user friendly but it is more merciful if you have some gaps in your work piece.

I’ve trained myself to just be good at scraping that excess glue out with a razor blade, or a small plane chisel.

PolyurethaneThere are a lot of ways to treat wood to protect it from the elements, but my favorite for indoor projects is polyurethane.  The secret is to give it 3-6 thin coats.  Do not glop it on like makeup on a televangelist.  The first coat of poly should just be enough to soak into the wood.  Just get it wet.  Let it dry a couple hours and smooth it out with a green scrubby pad and put more coats on every two hours.  The more coats you get on it the happier you will be with the results.  I use a brush for small stuff but a nice foam applicator is best for large flat surfaces.

Coat Hooks

Key HooksThe final product looks great.  Naturally they make the paneling look even worse.  And the rest of the house for that matter.  But hey, it’s a step forward.

The board attaches to the wall by means of screws hidden behind the metal hooks. So you attach the board to the wall then attach the hooks to the board.  Simultaneously clever and a pain in the butt to install.  I was hoping to find a stud to secure the coat hooks to but no, they’re just anchored to that lovely 1/4″ paneling for now.  Maybe someday.


Every light fixture that came with this house sucks.

Ugh


Where did they find this crap?  This is shortly before we painted, and shortly after I sliced my finger on the glass bowl that shattered instead of coming out.

The odd thing about this light fixture was it had a switch but it still plugged into the wall.  However, when we got the house there was no outdoor light fixture.  So it was just sitting there, the only illumination on the back deck, with nothing to plug into.  I did put an outdoor outlet to plug it into but it still offended me that I had to plug the light in.

We are very close to having replaced all of the light fixtures in the house.  Just two more to go.

Blue tape. Scaffold. Rollers and brushes.

blue tape

Yeah, when you see all that blue tape and plastic sheeting, it can only mean one thing.  Over the course of three weekends we painted the house.  That colorless layer of latex, peeling and flaking off in places, permanently dirt covered in others, was just getting on our nerves.  Pretty sure that was the only layer of paint the house had ever seen before we came along.

scaffold

Graffiti would have been an improvement, if we had any gangs or crews of taggers on our island.  Which we don’t.

LightWe used an airless paint sprayer, which means we spent about 9 hours taping everything off and then 20 minutes painting, per section.  A sprayer is really good at painting odd shaped objects, such as bat and board siding, but it does go through a lot of paint in a very short amount of time.

wet paintThis is a small house, but for some reason it’s still a bitch to paint.  Go figure.  And yes, I painted the rusty flagpole too.  How do you paint a flagpole?  Get some rustoleum and put it on a 4″ paint roller and put the roller on a telescoping pole.  The roller can reach about 10′ off the ground, or 20′ if you stand on top of a ladder.  My advice is to paint the top part of the flagpole first, so you can hold onto an unpainted section of the flagpole for balance.  Otherwise you just get wet paint all over your hand.

Unsafe scaffold

There’s the scaffold setup for the other side of the house.  Note that part of the scaffold had to rest on the deck.  The other part?  Well, I had to make those footers out of 2×6’s.  Fortunately I have about 900 board feet of 2×6’s leftover from the garage construction.  It was wobbly as hell but the wobbliness came from the two legs seated on the deck.  The footers I made were sturdy enough to support a Mack truck.

Scaffolding is fun.  Remember the jungle gyms we used to have on playgrounds?  (younger readers may not have these; they were probably replaced with something much safer)  Well, those things were training for your future on a scaffold painting your house someday.  When you’re trying to keep your balance on them, you use muscles you didn’t even know you had.  I’m not exactly afraid of heights but I’m not too fond of them either.

all finished


The trim around the windows we left white.  We weren’t terribly happy with it at the time but it’s grown on us.  The five logs adorning the front of our house were painted that same disgusting beige as the rest of the house so I painted them with varying shades of brown to make them look more like real logs.  At first they looked cartoonish, but after some dry brushing they acquired a bit of texture and now they either look really cheesy or they look like real logs.  Or both.  No one’s really had the honesty to tell us yet.

even side looks nice


This is the ugly side of the house.  The side with the electrical connections and disfigured deck and crap.  The side people first see when they approach the house.  Anyway, it looks much better.  And I have plans for it.  Slowly, over time, it will improve to the point that people might actually look at it and say “ooh, nice house.”  We’re about a million miles away from that point (not to mention dollars) but someday it will come.

new lights too

We got some new light fixtures for the side and the rear, and they look much better than the Ace Hardware clearance flood lights that used to be there.  Previously on the side, there were two flood lights set on a motion sensor.  Not a bad idea in theory, if you didn’t mind being blinded every time you walked up to the side door.  Pretty sure they caused brain damage in the short time I tolerated them.  They are now trash.  We don’t miss them.

nice place to relax

The front deck has now become a nice place to relax.  To sit and just stare at the sea.  Do I ever sit in those chairs?  Ha ha ha!  I own a house on Orcas Island.  I have things to do.  Sit in a chair, ha, that’s a good one.

chairPainting the house was a real milestone.  Now that it’s done, we’re a lot less embarrassed when people have to come over or walk up from the road or simply see us out in front of the house working on some chore or another.  It used be like “yeah, we’re just contractors.  Migrant farmers.  Just passing through.  Live here?  Oh, ha.  Who would live in such a dump?  Of course we don’t live here.  Silly tourist.”  But now, finally, the place is starting to look like a nice little house, and we don’t hide our faces when the cars drive by.  Maybe someday I’ll actually sit in one of those chairs and just, well, sit there.

looks nice now

Yeah, it looks much better.  I really do enjoy painting, it’s fun and kind of soothing and there’s a huge sense of accomplishment at the end of it.  But as far as I’m concerned the next person who paints my house can be the executor of my estate.

Table Saw Restoration (part 3)

It is finishedAt long last, this beast is done.  Well, as done as it’s going to be for now.  There’s a few modifications I’ll eventually make to it – I’d like to button up the dust collection a little tighter and install a splitter or riving knife and get some kind of kickback preventer thing attached but for right now it works and it works great.

scratch and dentYeah, that’s the legendary Incra LS32-TS high precision fence attached to it.  Yes, I’m well aware that’s like putting a BMW steering wheel in a Plymouth Duster.  I can explain.  You see, my old table saw, also a Craftsman, came with this crappy, wobbly, tilted table saw fence.  Craftsman makes great tools, but their table saw fences are awful.  The thing never got the same distance twice.  It was never parallel to the blade.  It was not at a 90 degree angle to the table top.  It was a piece of crap and I hated it and lived with it for years.  With its help, I made dozens of lopsided pieces.  Every cabinet, every fireplace surround, every desk and table has at least ten flaws thanks to that effing thing.  I told myself this time I was going to treat myself to a nice fence, and my dart landed on that one.

I haven’t used the LS32-TS enough to write an informed opinion on it, but I am very pleased with it, even though I think they over-engineered the thing quite a bit.  And it is very difficult to calibrate.  Nonetheless, I look forward to many years of swearing at it enjoying its use.

miter gaugeAnd here’s a pic of the Incra miter gauge I had from my last table saw.  It sat disused in a corner until the thing rusted out on me, and I had to sand it down and paint it and restore it to usefulness once again.  That took me about two days but it’s better than spending the cash for a new one.  When you live on an island, you really go to great lengths to not waste anything.

nice bucketYou can laugh at my dust collection system all you want, but that 5 gallon bucket will catch a lot of sawdust that would normally just collect inside the thing.  I’ve tried putting a hose and a vacuum on my saw before but it was about as effective as a one legged man in a butt kicking contest.  The bucket is tightly sealed (by means of four bent nails; really high tech stuff!) to a cut piece of 1/4″ laminate on the bottom so there’s no gaps for the dust to get through.  The inside of the saw housing is sealed with enough duck tape to make Red Green proud.  Sawdust can still come out the back end and until I make a housing for it that will continue to happen.  But that bucket catches a surprising amount of debris, and it’s a handy container too.

motor rotation

Yeah, here in this pic you can see the bucket and maybe even some duck tape if you look closely enough.  I had a lot of fun painting and restoring the parts.  Even if the final product looks like a frankenstein saw (yes, it does, I won’t be offended if you say it) it was cool making everything fresh and new.

I put Kreg dual locking casters on the bottom so it can roll around.  Attached directly to the stand, the weight of this beast bent the metal legs (yes, I was very sad and frustrated when I saw it) and made it a little crooked, so I put a sheet of plywood down on the base and damn is that thing sturdy now.  Doesn’t budge at all when I lock all four casters and make cuts.  That thing rolls so smoothly that I just push it around the shop and ride on top of it shouting “Whee!” the whole way.

In the end, this was not unlike restoring an old car.  In fact, my knuckles are about as badly beat up from this project as they ever were from a ’72 beetle.  But unlike an old car, it’s not for show.  This workhorse is going to make a lot of sawdust over the next few years.  I have cabinets to make, and tables, and shelves, and wardrobes, and boxes and drawers and doors and even tools.  It’s been over a year since I’ve had access to a table saw in my wood shop, and I am anxious to crank out some projects.

cadillac of table saws