A path!

A Path


Really hope this little path helps with tracking mud and pine needles inside this winter.  There’s a LOT of landscaping left to do, but this is a pretty big step.  We’re going to plant some ground cover in between the cracks of these pavers and I’m fairly confident they will do well.  Heck, if we just wait a year we’ll have moss growing in there naturally.

So you think you want a hot tub?

When we bought this house, it came with a hot tub.

The Hot Tub from HellIt was pretty gross.  So bad, in fact, that we said we would not buy the property if the hot tub was on it.  Seriously, it was a condition of closing in the purchase and sale agreement.  Anyway, with the hot tub gone, we could get on with our lives and live knowing we would never have to see it again.

But as you can see, the hot tub left a semicircular hole in the deck.  And truth be told, I would love to have a hot tub.  A non-disgusting one.

Just Add Hot Tub

Well, we kept our ear to the ground and soon enough our opportunistic selves discovered someone that was getting rid of a perfectly good hot tub.  It’s rectangular, so I’m having to build up a similarly shaped foundation for it, and had to do some surgery to the deck to fit it.  It’s got a long way to go but soon I’ll be soaking nicely while I gaze out to sea from the comfort of my deck.

Blocks

Simultaneously and on the opposite side of the house, I got some pavers to make a path between the house and the garage.  This adds synergy to my projects because the gravel I dig up to lay the pavers can be set into the rectangle where the hot tub is going to go.  Efficient, huh?

Dig Site

I have a theory.  I think that shovel sales on this island are significantly lower than any other place that sells shovels.  The reason is our ground is so rocky that only a complete idiot would try do dig this dirt with a shovel.  You have to break it up with a pickaxe one square inch at a time before the shovel can even touch it.

Fountain

I also cleaned up the water fountain a bit.  The birds love it.

Path

Not even close to done.  Still need to dig a trench between the garage and the house.  Those pavers are 4″ thick so I really need to dig.  They weigh about 60 pounds each.  I know, what kind of idiot buys these things?  They are such a pain to install in this kind of ground, especially with hand tools.

Not DoneEventually the path will go around in front of the garage and go to the house as well.  I’m hoping it helps with the mud in the winter.  We’re kind of sick of tracking it in the house like neanderthals.

The Crow

A juvenile bald eagle, wondering why it takes us humans so long to build our nests.


How “Island Time” Affects Home Improvement Projects

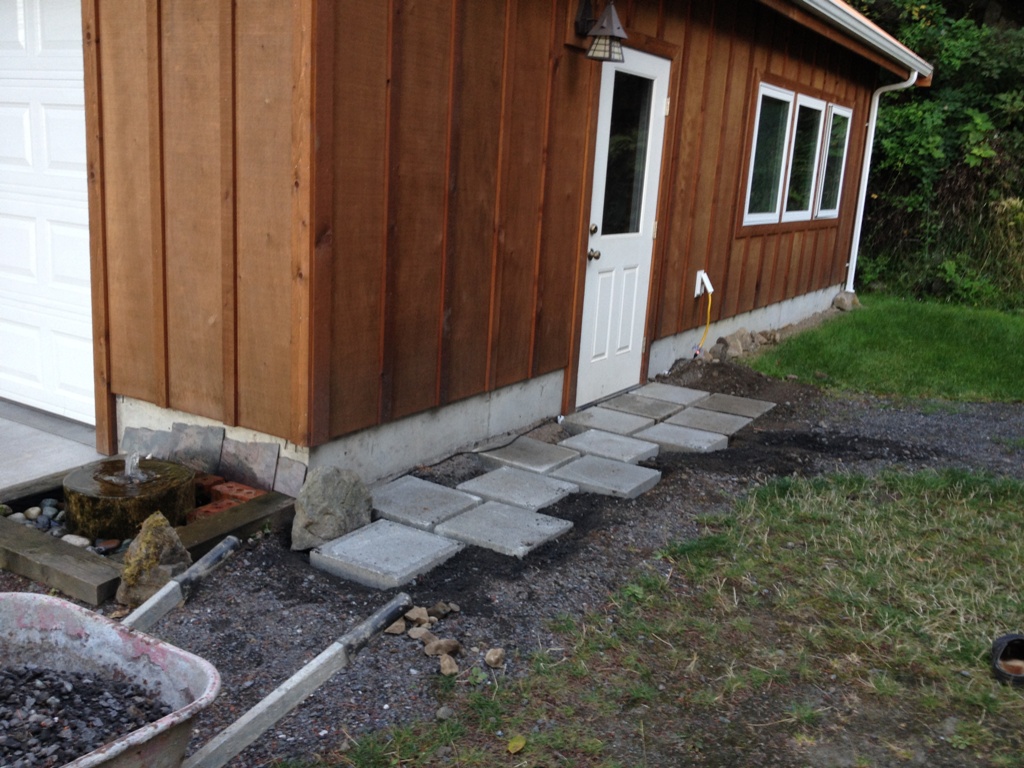
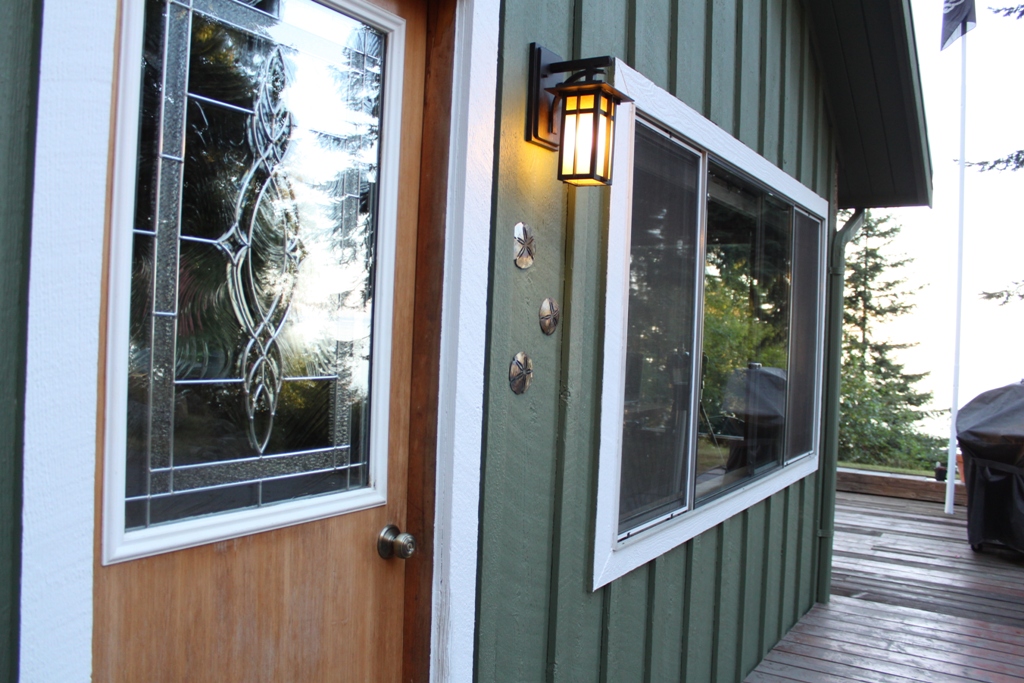
Project:  Install two vinyl replacement windows, replacing 20 year old aluminum sliders.  As always, we’ll start with the Before Picture.  The window to be replaced is at the corner of the house.  There is another just like it on the opposite side.

The Before Picture

August 3rd.  Decide to place order with vendor for two vinyl replacement windows.  Need the exact measurements for the rough opening.

August 15th.  Measure the opening.  Realize that there’s no way to really tell the exact measurement until the existing windows are out.

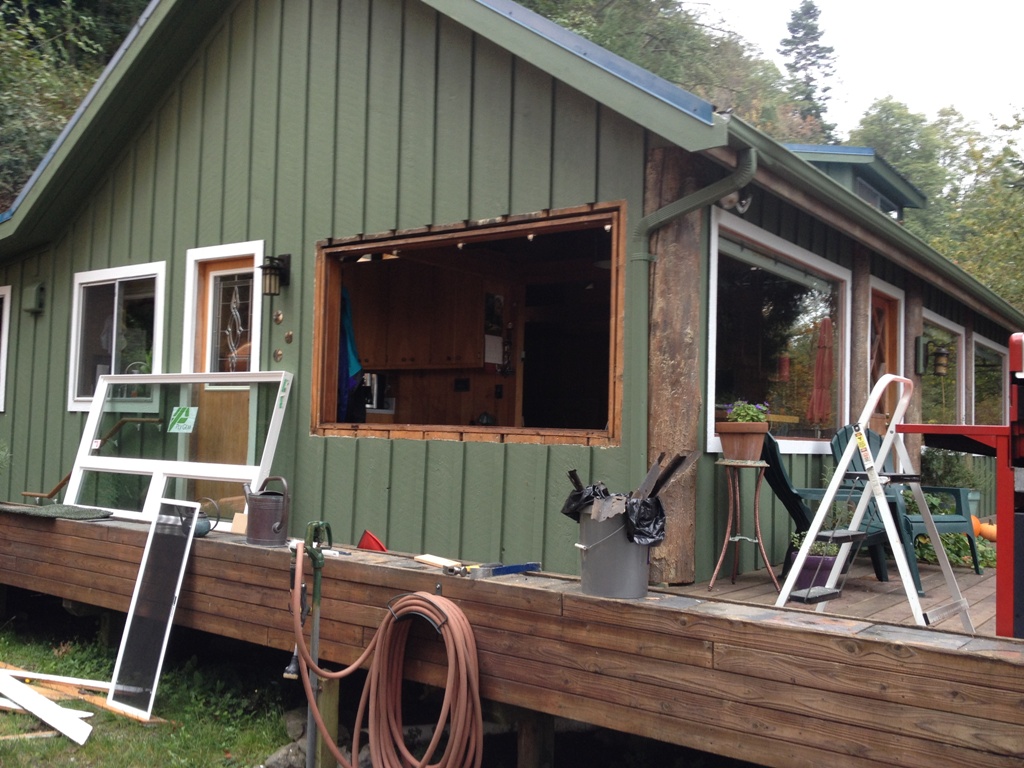
7:20 p.m.  Do a little surgery.  Peel back the paneling and trim pieces to see where the studs are.  Measure again.  Realize how poorly the existing windows are installed.

August 20th.  Place order for windows.  Once the windows are ready, they will be on the truck the next time it comes over to the island, which could be weeks.

September 3rd.  Windows arrive.  Decide what corner of the garage I want them in.  Instruct deliverymen to set them there.

12:22 p.m.  Change mind about where I want the windows.  Move them myself to the opposite corner.

October 4th.  Stare at the windows in my garage and realize they’ve been sitting there for several weeks and I haven’t installed them yet.

October 12th.  Begin collecting materials and hardware I will need for the window install.  Make a shopping list.

October 13th.  Buy half the stuff on the shopping list.  The hardware store didn’t have the other half of the stuff.

Letting the Outdoors In

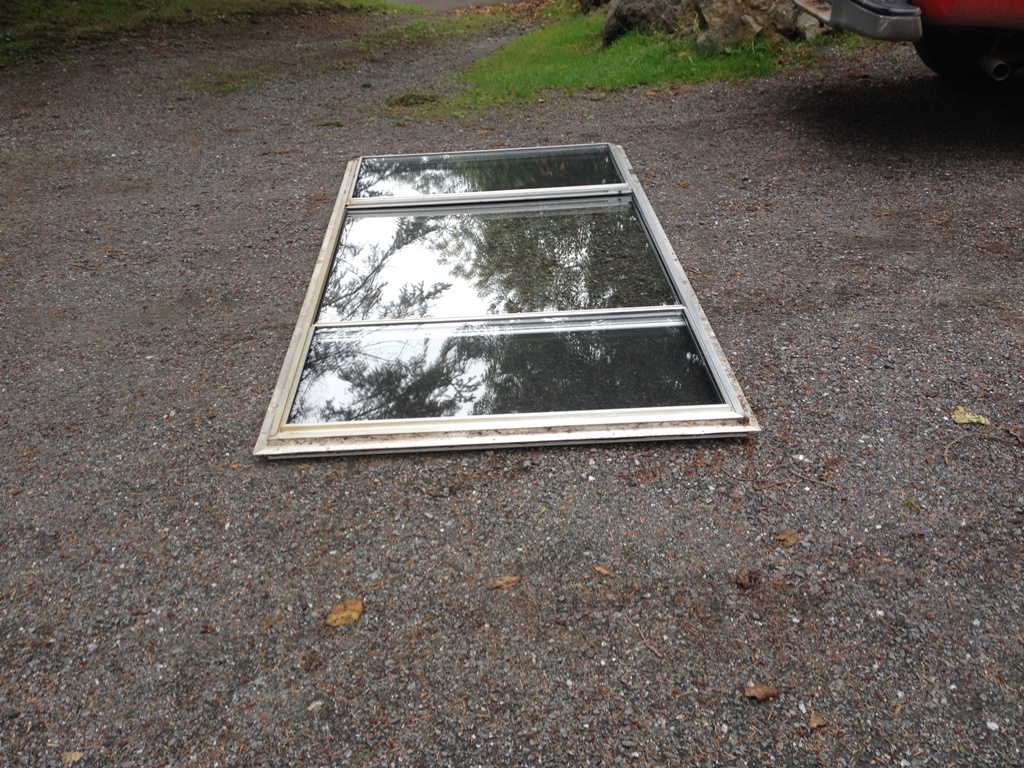
October 19th.  Take out dining area window and begin the install.  Take old window to the dump and pay $18 to dispose of it.  Buy more supplies at hardware store.

Dead Window

2:25 p.m.  Since we let the new windows sit in the garage for so long, all the adhesive labels and packaging have pretty much cured themselves to the surface, and now require a straight razor to scrape them off.

7:17 p.m.  Realize I’m not going to finish the window install today.  The window is in but there are ¼” to ½” gaps around it that let cold air in.  Put masking tape over the gaps, which seems to be better insulation than the old windows.

October 20th.  Finish dining room install.  Very tired.  Decide to tackle the bedroom window next weekend.

October 26th.  It’s next weekend.  Tired from a long week at work.  Decide to install the bedroom window tomorrow as I can probably knock it out in a day.

October 27th.  Decide that I don’t want to start the install on a Sunday in case I need the next day to finish it.  It’s the bedroom so I can’t leave it unfinished for long.

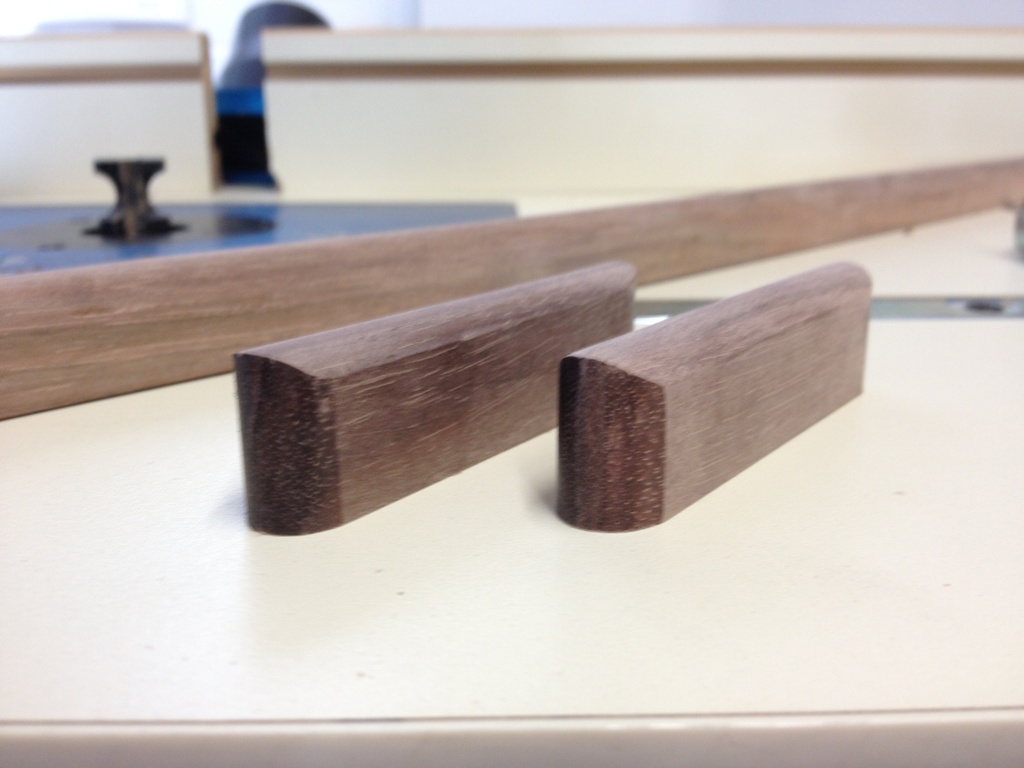
October 30th.  Buy more rough cedar trim pieces and decide to treat them with Sikkens before I nail them in place.  Open the lid to the can of Sikkens and discover it’s turned into a gelid cylinder of toxic waste.  Realize that the local hardware stores here don’t sell Sikkens.  Ask Jamie to get some next time she’s off island.

6:02 p.m.  Wonder how to legally dispose of the old can of Sikkens.

November 2nd.  It’s the following weekend.  Poured rain all day, so could not install bedroom window.

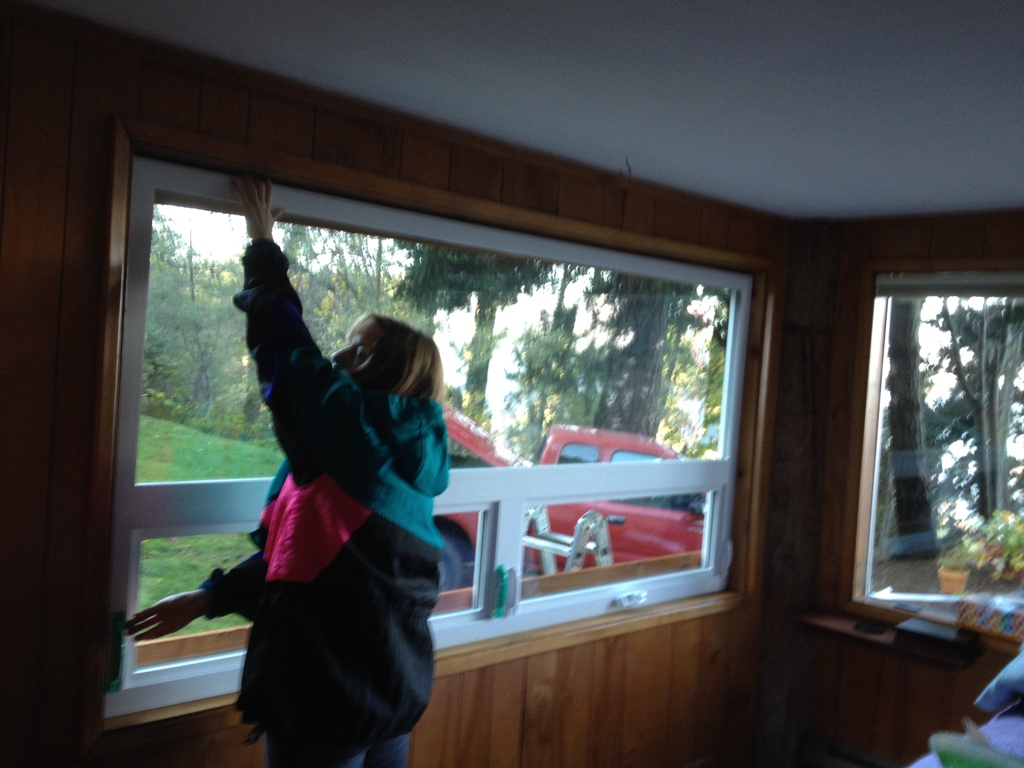
November 3rd.  Got an early start and took out old bedroom window.  Got the new window in place and sealed up.

Window Holding Duty

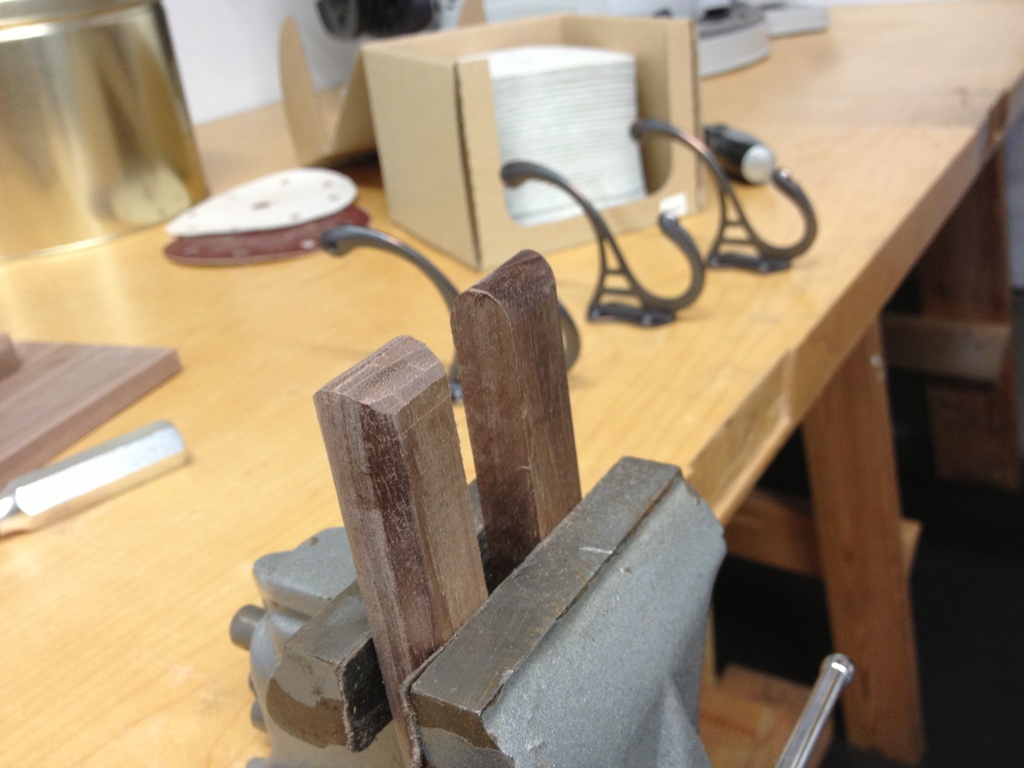
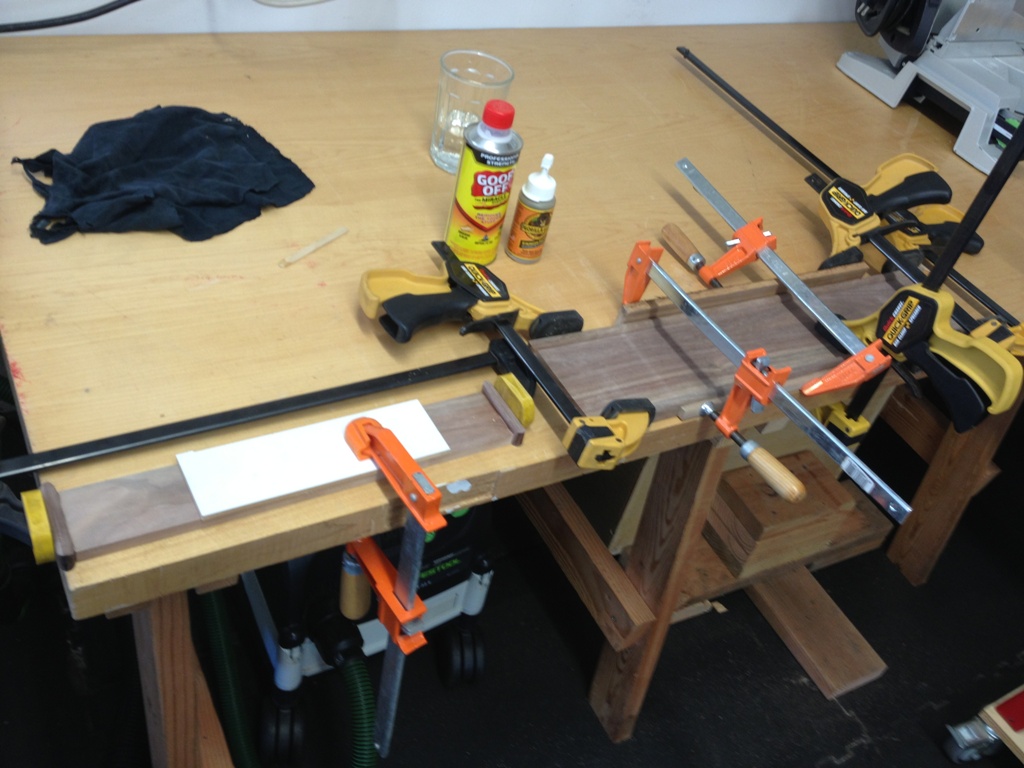
3:00 p.m.  Started installing the trim pieces, which turned out to be more laborious as the bedroom window is located further away from my table saw than the living room window was.  So there was a lot of running back and forth to get things cut to the correct length.

4:00 p.m.  It’s getting dark, and I still need to install the flashing and the top trim piece.  It’s tricky, because it has to fit like a puzzle, except the puzzle pieces are nine feet long and one of them is a sharp piece of metal, and you’re assembling the puzzle while standing on a ladder on uneven ground in the dark.

4:15 p.m.  Not enough light to see.  I have my truck’s headlights pointed at the window but it’s still not enough light.  Hold flashlight between my teeth to see.

4:20 p.m.  Realize I haven’t eaten all day.  And the flashing is stuck on something I can’t see.

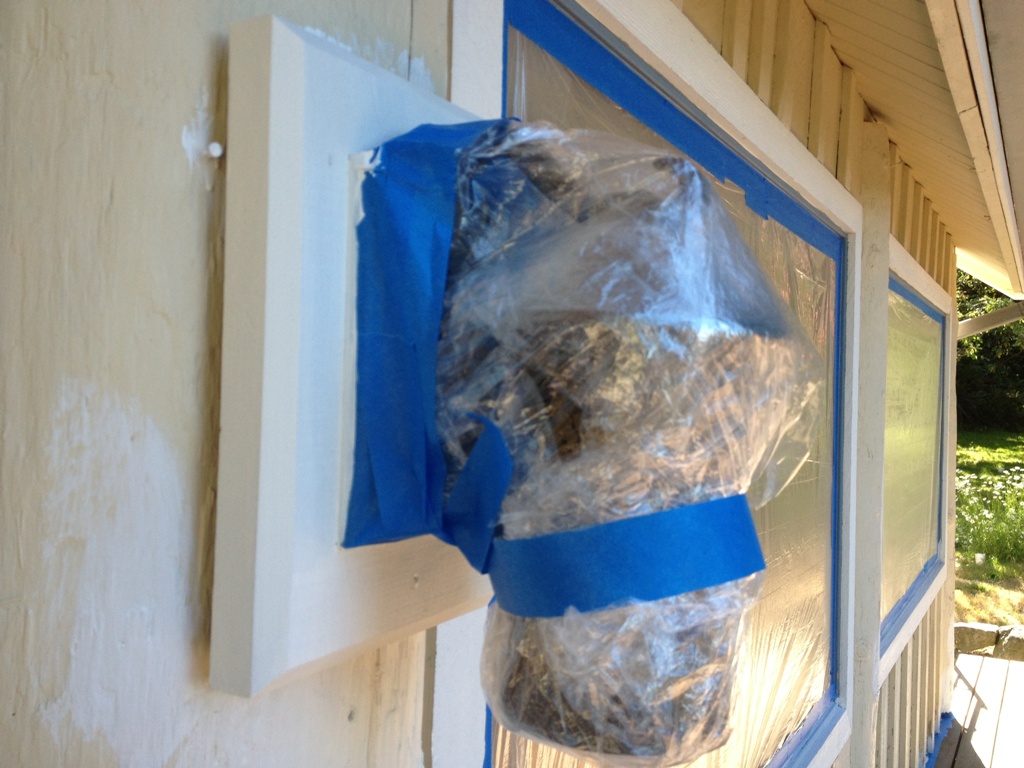
4:30 p.m.  Have to call it quits without the flashing installed and without the top trim piece caulked.  Left it in there with a couple nails.  It’s not waterproof, and the forecast calls for rain for the next ten days straight.

November 4th.  Staple a piece of plastic over the top of the window to keep the rain out.

November 9th.  It’s a three day weekend so I should have plenty of time to get the flashing in and that last trim piece weatherproofed.

November 10th.  Had to go to the mainland.  Got home late, grumpy and tired.

November 11th.  Go to a wedding.  Entire weekend went by and I never worked on the window.

November 16th.  Decide today is the day to finish the install.  Removed the stupid piece of plastic and got it ready for the flashing and the last trim piece.

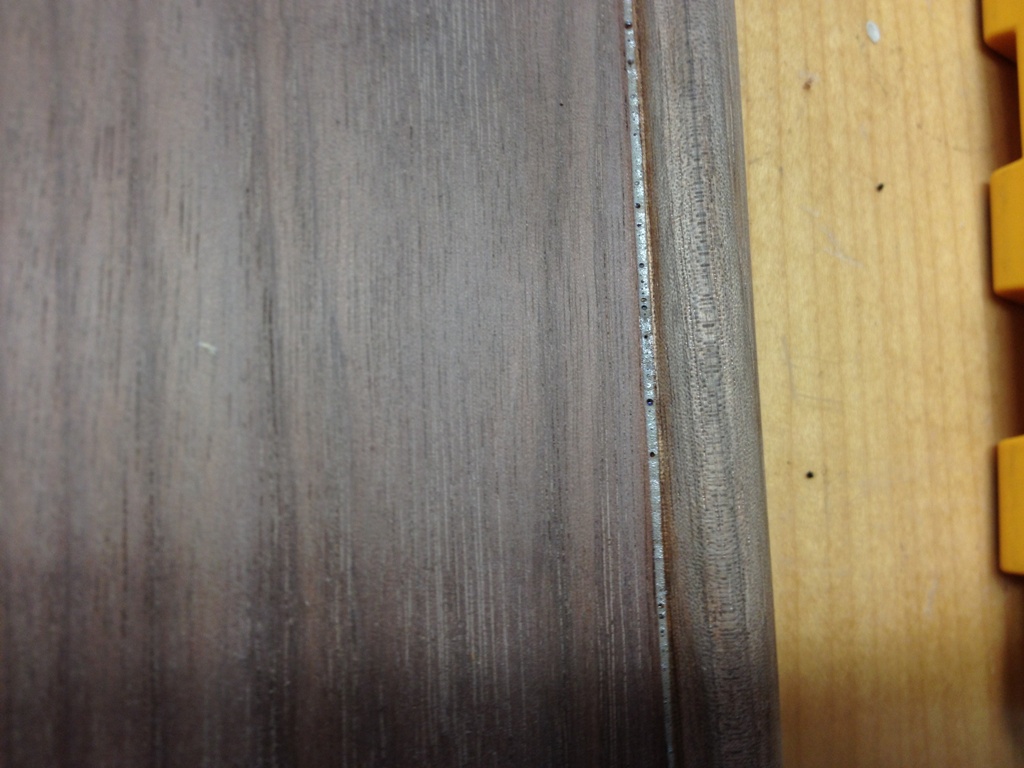
10:30 a.m.  The flashing is galvanized steel, and it looks tacky.  Decide to paint it copper.

10:45 a.m.  Finish prep work for paint.  Read label to determine drying times before I can handle the painted flashing.

11:26 a.m.  Multiply dry times by six to get the Orcas Island dry time.

1:40 p.m.  Use a blow dryer to dry the paint the rest of the way.  Don’t care if it works or not.

2:31 p.m.  Realize the final trim piece is too wide and must be resawn.  Spend 30 minutes picking dried caulk off it so it can go over the table saw without making a mess.

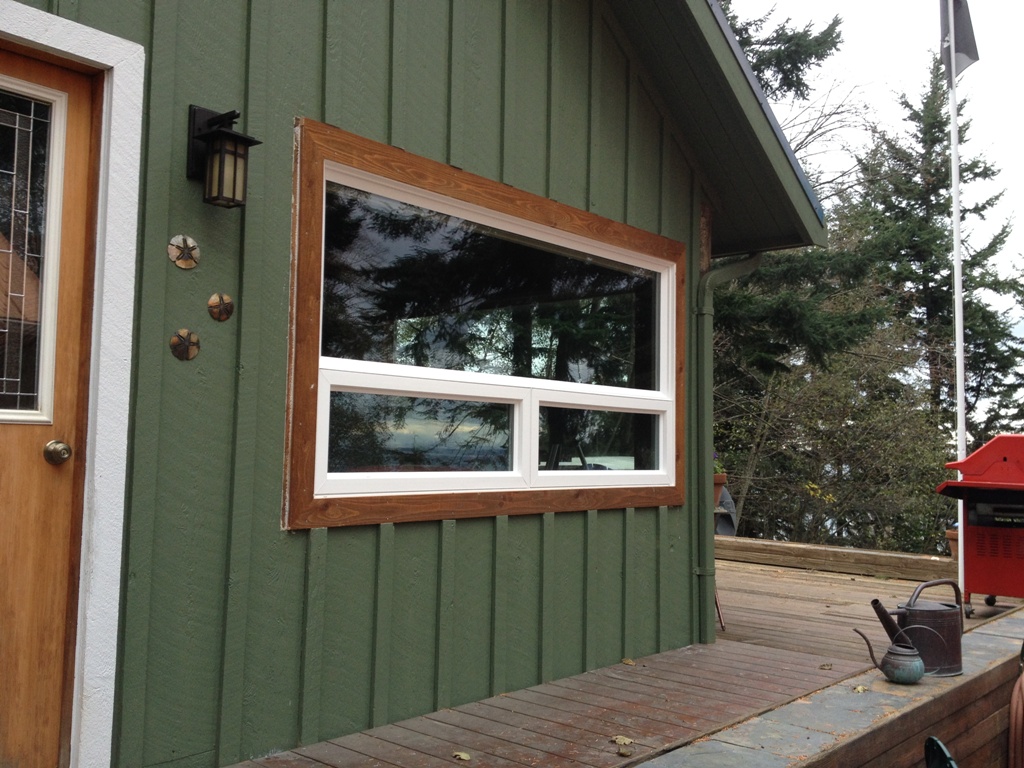
4:04 p.m.  Final assembly and weatherproofing of bedroom window is complete.  Still need to do touch up paint but we need to wait for warm weather, so that won’t happen until next spring.  And we still need to do inside trim but we need to wait until I drywall so that won’t happen until 2015.  But the windows are in and are warmer and quieter by far than the old aluminum crap windows we had.

Dining Side

Bedroom Side


Total install time:  3 months.

4:09 p.m.  The new windows change the view outside.  Which has made me realize I need to do some landscaping out there to make the view look nicer.


Murder Cat

my perchHigh atop my perch I lay
And think of murder every day


I think of murder day and night
And when I see the cat who’s white


eats my foodThe humans deign to let him in
And cater to his every whim


They think he’s nice and icky sweet
I want to kick him with my feet


want to claw himHe comes inside and eats my food
Which I believe is very rude


When I see that mouse he’s caught,
REDRUM fills my every thought


sits in my spotMy warning hiss he does ignore
And enjoys my catnip on the floor


He bites and plays with all my toys
His stupid bell jingles with noise


my catnipHe sits and sleeps while in my spot
It think it is some kind of plot


I want to bite and claw his face
And send him into outer space


murder catI wish he would just go away
And leave me here alone to play


I would like to tell him that
He shouldn’t mess with Murder Cat

I’ve never made a door before

door 1

I’ve made a lot of things out of wood, but never a full sized door.  I’ve made cabinet doors of all shapes and sizes but nothing like this.  Boy, they are a pain in the butt!  Everything has to be dead flat, every cut has to be exactly 90º00’00” , every piece has to be perfectly jointed and fitted with very little margin of error.  It not only has to be straight and flat, but it has to remain straight and flat for a million years, or as long as you plan on using it.

This door ain’t none of that.  It’s construction lumber.  Soft, spongy, warped and twisted.  Despite all that, it actually turned out pretty good, nice and strong with well fitted tongue and groove joinery.  It’s a shed door, and it’ll do its job.

I’ve always seen those homemade doors in old houses and, to me, they are so cool.  Nothing is perfect about them, they don’t open right, they don’t close right, but they just look neat.  This one should last a while, I hope.

door 2

The whole goal was to make something that wasn’t embarrassing to look at.  We get a direct view of this crappy shed right out our back door.  It’s visible from every room in the house except the kitchen and laundry room.  Just wanted it to look nice.

It’s an improvement from the before picture, to be sure.

Please note that we got rid of that disgusting smoke stack.  That right there was worth the price of admission.

Coat Hooks

Coming togetherI’m finally getting to the point where I can work on actual woodworking projects in my shop as opposed to just working on my shop.  Oh my shop still needs work, that hasn’t magically come to an end.  Still a lot to do and not enough time to do it and things are just hard to come by when you live on an island.  But it’s close enough that I could make some boards to hold up some coat hooks I bought.  I had a scrap of walnut left over from something I made probably ten years ago (and yes I moved it from Denver to here) and I really love making projects out of scrap wood.  Resourceful, doesn’t let anything to go waste, and it’s free!

End PiecesAs you can kinda see, it’s just going to be a plank of wood framed on top and bottom by some half crescent trim.  I used a router to make the crescent along the front but I hate to use the router against the grain on hardwood.  I have a good router and good router bits but that’s a tough cut to make no matter what you do.  I’d rather just do it by hand.  Clamp the end pieces down and use a nice smooth bastard file.

Done by handThat’s the edge just with the file alone.  No sanding required.  In fact, sanding will make it dull.  If you use a really fine file, it has an effect similar to a cabinet scraper.  On hardwoods, the effect is a nice, glassy smoothness. They weren’t quite perfect, but this is just a thing to hang keys off of.  I’m not making another statue of David here.

ClampsGlue up time is when you wish you had more wood clamps.  Or different wood clamps.  This is one aspect of woodworking I am really not that good at.  Invariably I get something clamped out of place or I squeeze too much glue out or something just goes wrong.  I’ve learned to live with it and just go with it.  Every piece I make, no matter how simple or how complex, has anywhere from 2 to 55 flaws in it, and the only person who loses sleep over them is me.  No one else ever sees them.

In this case, the flaw is that one of the crescent trim pieces bowed during the glue up, so it was not flush with the back.  If you stand on a ladder and look at the finished coat hanger from the top you can totally see it.  Otherwise, it doesn’t exist.

GlueEvery bottle of glue warns me not to let the glue seep out when you clamp it.  But it’s futile.  A little bit seeps out and bubbles around the joints.  I use gorilla glue for a lot of applications.  Sometimes I use yellow glue, or aliphatic resin, but I usually save that for tongue in groove or mortise and tenon joinery.  When it’s just flat grain to grain, I prefer the foamy, expansive gorilla glue.  It’s not very user friendly but it is more merciful if you have some gaps in your work piece.

I’ve trained myself to just be good at scraping that excess glue out with a razor blade, or a small plane chisel.

PolyurethaneThere are a lot of ways to treat wood to protect it from the elements, but my favorite for indoor projects is polyurethane.  The secret is to give it 3-6 thin coats.  Do not glop it on like makeup on a televangelist.  The first coat of poly should just be enough to soak into the wood.  Just get it wet.  Let it dry a couple hours and smooth it out with a green scrubby pad and put more coats on every two hours.  The more coats you get on it the happier you will be with the results.  I use a brush for small stuff but a nice foam applicator is best for large flat surfaces.

Coat Hooks

Key HooksThe final product looks great.  Naturally they make the paneling look even worse.  And the rest of the house for that matter.  But hey, it’s a step forward.

The board attaches to the wall by means of screws hidden behind the metal hooks. So you attach the board to the wall then attach the hooks to the board.  Simultaneously clever and a pain in the butt to install.  I was hoping to find a stud to secure the coat hooks to but no, they’re just anchored to that lovely 1/4″ paneling for now.  Maybe someday.


Blue tape. Scaffold. Rollers and brushes.

blue tape

Yeah, when you see all that blue tape and plastic sheeting, it can only mean one thing.  Over the course of three weekends we painted the house.  That colorless layer of latex, peeling and flaking off in places, permanently dirt covered in others, was just getting on our nerves.  Pretty sure that was the only layer of paint the house had ever seen before we came along.

scaffold

Graffiti would have been an improvement, if we had any gangs or crews of taggers on our island.  Which we don’t.

LightWe used an airless paint sprayer, which means we spent about 9 hours taping everything off and then 20 minutes painting, per section.  A sprayer is really good at painting odd shaped objects, such as bat and board siding, but it does go through a lot of paint in a very short amount of time.

wet paintThis is a small house, but for some reason it’s still a bitch to paint.  Go figure.  And yes, I painted the rusty flagpole too.  How do you paint a flagpole?  Get some rustoleum and put it on a 4″ paint roller and put the roller on a telescoping pole.  The roller can reach about 10′ off the ground, or 20′ if you stand on top of a ladder.  My advice is to paint the top part of the flagpole first, so you can hold onto an unpainted section of the flagpole for balance.  Otherwise you just get wet paint all over your hand.

Unsafe scaffold

There’s the scaffold setup for the other side of the house.  Note that part of the scaffold had to rest on the deck.  The other part?  Well, I had to make those footers out of 2×6’s.  Fortunately I have about 900 board feet of 2×6’s leftover from the garage construction.  It was wobbly as hell but the wobbliness came from the two legs seated on the deck.  The footers I made were sturdy enough to support a Mack truck.

Scaffolding is fun.  Remember the jungle gyms we used to have on playgrounds?  (younger readers may not have these; they were probably replaced with something much safer)  Well, those things were training for your future on a scaffold painting your house someday.  When you’re trying to keep your balance on them, you use muscles you didn’t even know you had.  I’m not exactly afraid of heights but I’m not too fond of them either.

all finished


The trim around the windows we left white.  We weren’t terribly happy with it at the time but it’s grown on us.  The five logs adorning the front of our house were painted that same disgusting beige as the rest of the house so I painted them with varying shades of brown to make them look more like real logs.  At first they looked cartoonish, but after some dry brushing they acquired a bit of texture and now they either look really cheesy or they look like real logs.  Or both.  No one’s really had the honesty to tell us yet.

even side looks nice


This is the ugly side of the house.  The side with the electrical connections and disfigured deck and crap.  The side people first see when they approach the house.  Anyway, it looks much better.  And I have plans for it.  Slowly, over time, it will improve to the point that people might actually look at it and say “ooh, nice house.”  We’re about a million miles away from that point (not to mention dollars) but someday it will come.

new lights too

We got some new light fixtures for the side and the rear, and they look much better than the Ace Hardware clearance flood lights that used to be there.  Previously on the side, there were two flood lights set on a motion sensor.  Not a bad idea in theory, if you didn’t mind being blinded every time you walked up to the side door.  Pretty sure they caused brain damage in the short time I tolerated them.  They are now trash.  We don’t miss them.

nice place to relax

The front deck has now become a nice place to relax.  To sit and just stare at the sea.  Do I ever sit in those chairs?  Ha ha ha!  I own a house on Orcas Island.  I have things to do.  Sit in a chair, ha, that’s a good one.

chairPainting the house was a real milestone.  Now that it’s done, we’re a lot less embarrassed when people have to come over or walk up from the road or simply see us out in front of the house working on some chore or another.  It used be like “yeah, we’re just contractors.  Migrant farmers.  Just passing through.  Live here?  Oh, ha.  Who would live in such a dump?  Of course we don’t live here.  Silly tourist.”  But now, finally, the place is starting to look like a nice little house, and we don’t hide our faces when the cars drive by.  Maybe someday I’ll actually sit in one of those chairs and just, well, sit there.

looks nice now

Yeah, it looks much better.  I really do enjoy painting, it’s fun and kind of soothing and there’s a huge sense of accomplishment at the end of it.  But as far as I’m concerned the next person who paints my house can be the executor of my estate.

Summer Solstice Parade

Solstice Parade


This’ll separate the wheat from the chaff.  If you watch this parade and you still want to live here, you’ll do fine.  If you shake your head and wonder how much pot you have to smoke to do something like this, island life may not be for you.


The people in the amusement park ride were hilarious (third row of pics, left side).  They walked down, two abreast, in a snaking roller-coaster pattern and every so often they’d raise their hands in the air and scream.

Celebrate Sun

Lights and Fans

We’re pretty close to having replaced every light fixture in the house.  Makes a big difference.  It’s a small house but it’s kind of a big space, and the dark wood and paneling make it tricky to illuminate.  Not that the paneling is going to live much longer.  We’re either going to paint it or put up drywall, but the paneling has to go.  In many cases, the new light fixtures just make it look worse.

The laundry room got a pretty dramatic change.  The Jimmy Carter era florescents were removed and replaced with nice halogen track lights.  Seriously, we found a price tag on one of the florescent bulbs and it said $1.95; I think they sell now for about $12 at our hardware store.  The new lights aren’t as bright, but it’s so much nicer in there without that crappy, dingy contraption of cracked plastic and jagged sheet metal.  I thought about keeping the florescent lights for the shed or something but I just couldn’t stand looking at it for a minute longer.  As of today, it’s in a pile at the solid waste landfill.

That ceiling fan… it was a bitch.  It’s about 17 feet off the floor and the only ladder I have for that height is rated at 200 pounds.  Okay, I weigh a solid 220 and the fan weighs 50 so both of us on it made it more than a little wobbly.  Yes, I had to disconnect the existing fan and carry it down the ladder, then carry the new fan up the ladder and connect it.  I gotta say, though, ceiling fan technology has come a long way.  They make those things as convenient as humanly possible.  They even think to include a spare bolt because they know, just know, that when you’re 17 feet off the ground it’s very possible you will drop a bolt and it’ll be nice to have a spare one in your fanny pack.

The new fan looks great.  It’s dead silent, but for some reason Inky is terrified of it.  She knows when we turn it on.  Her ears fold back and she peeps a little meow.  Sometimes she hides under the bed.  I’m not kidding.  It’s like she hears some alien mind control waves that humans can’t detect.  She’s gotten better about it now that it’s been up for a while.

Lizard

We even got a new lizard.  Cool, huh?