
When Goats Charge


Hi. Been a while, and I’ve been busy. The house itself is (mostly)* done (sort of) and so my attention has been turning to outside. Lots of gardening and landscaping, and a fun project or two thrown in for good measure. Let’s take a look.
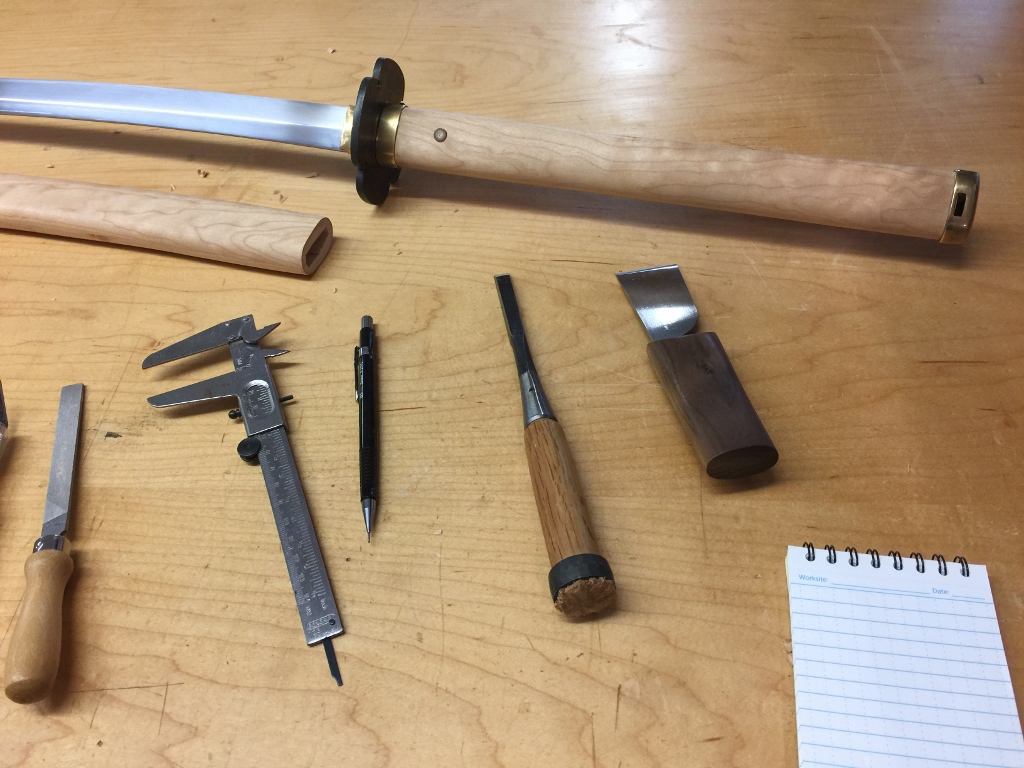
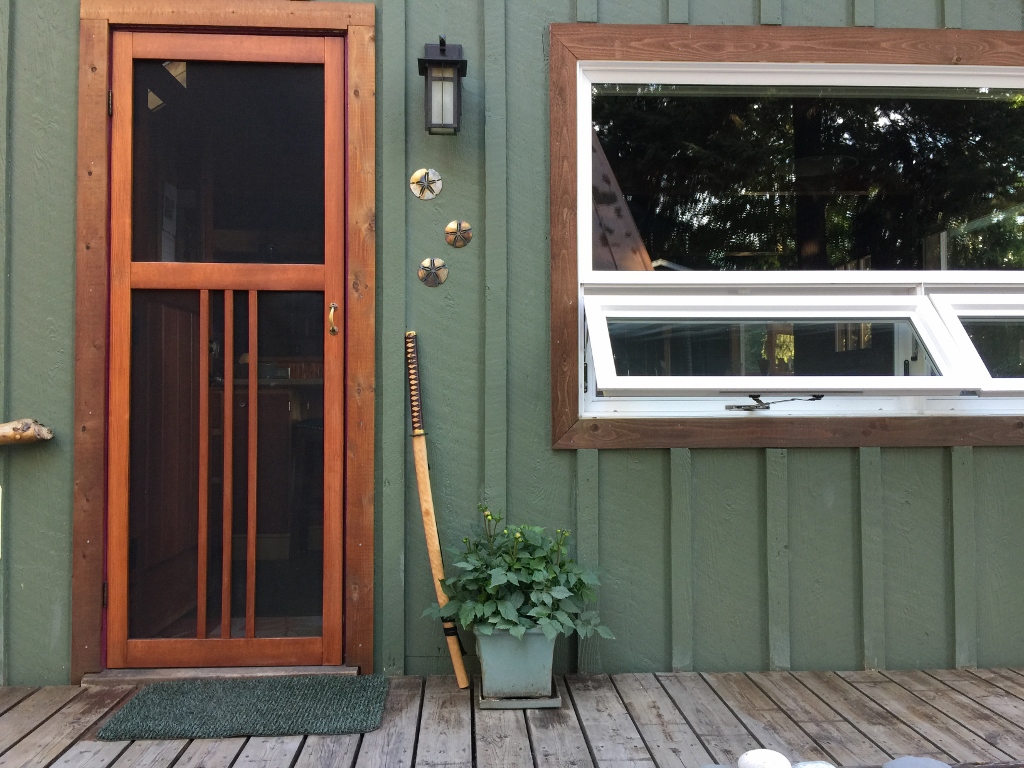
Sword making and restoration is not easy, but it’s fun. I made all new fittings for an old katana. Used curly maple for the handle and saya.
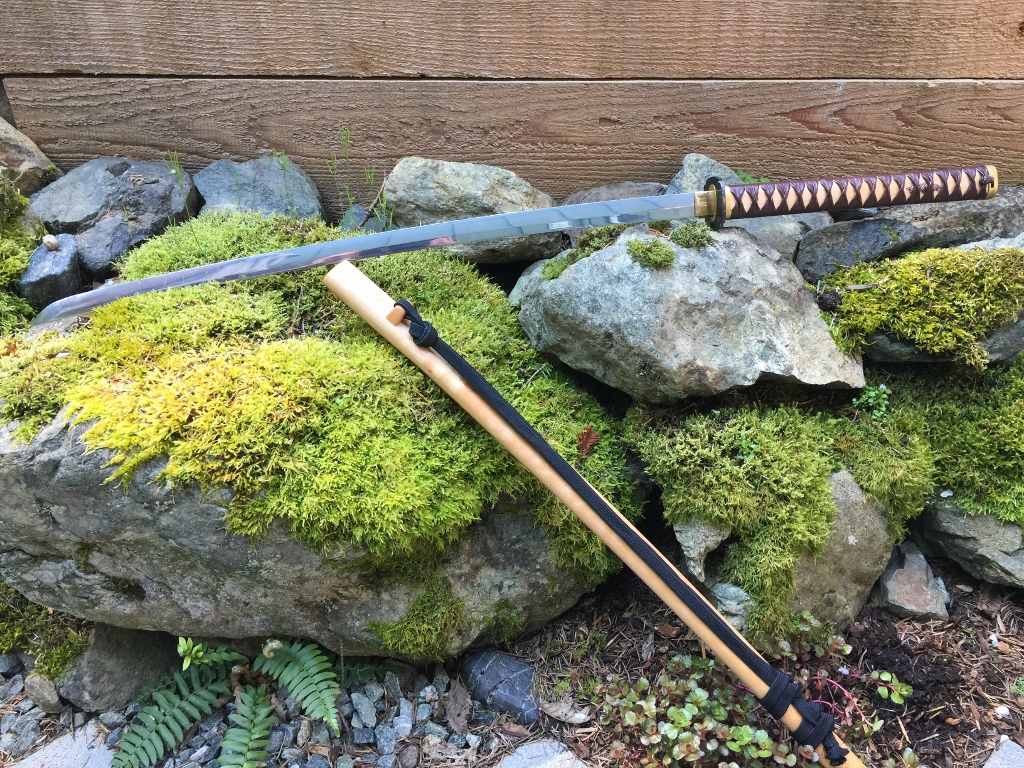
Came out great. The restored sword is light, quick, and very sharp. Good grip. Good balance. Very much ready for the zombie apocalypse.
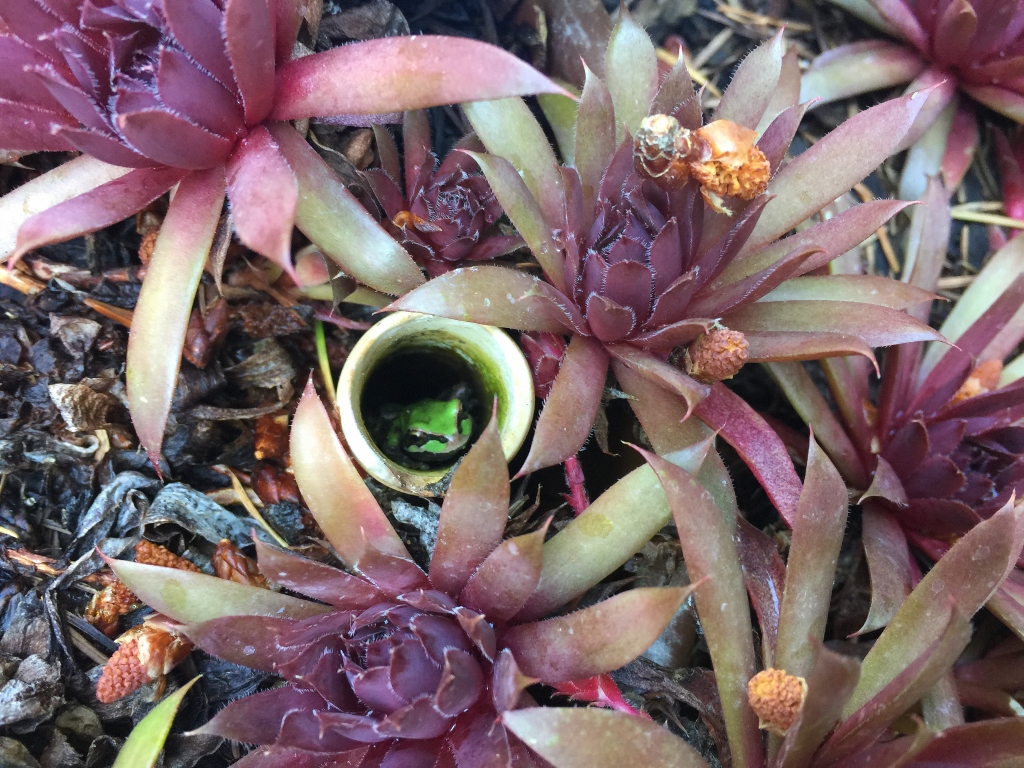
We have frogs in our garden.
And birds.
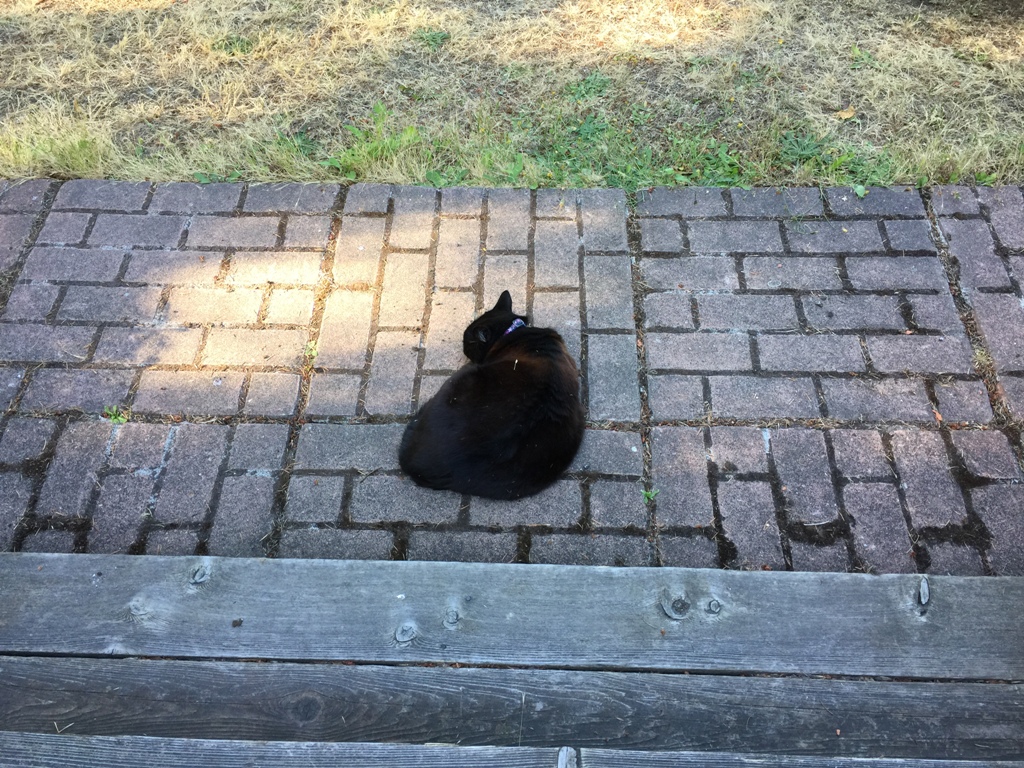
And cats.
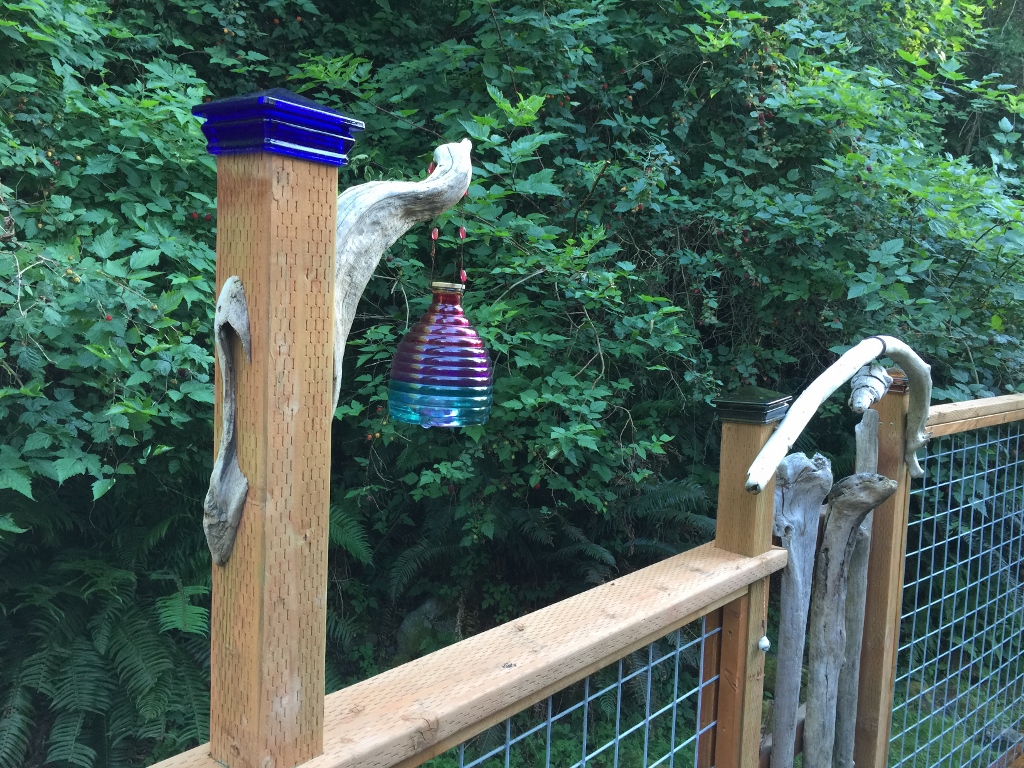
And bees.
And plants.
And more plants.
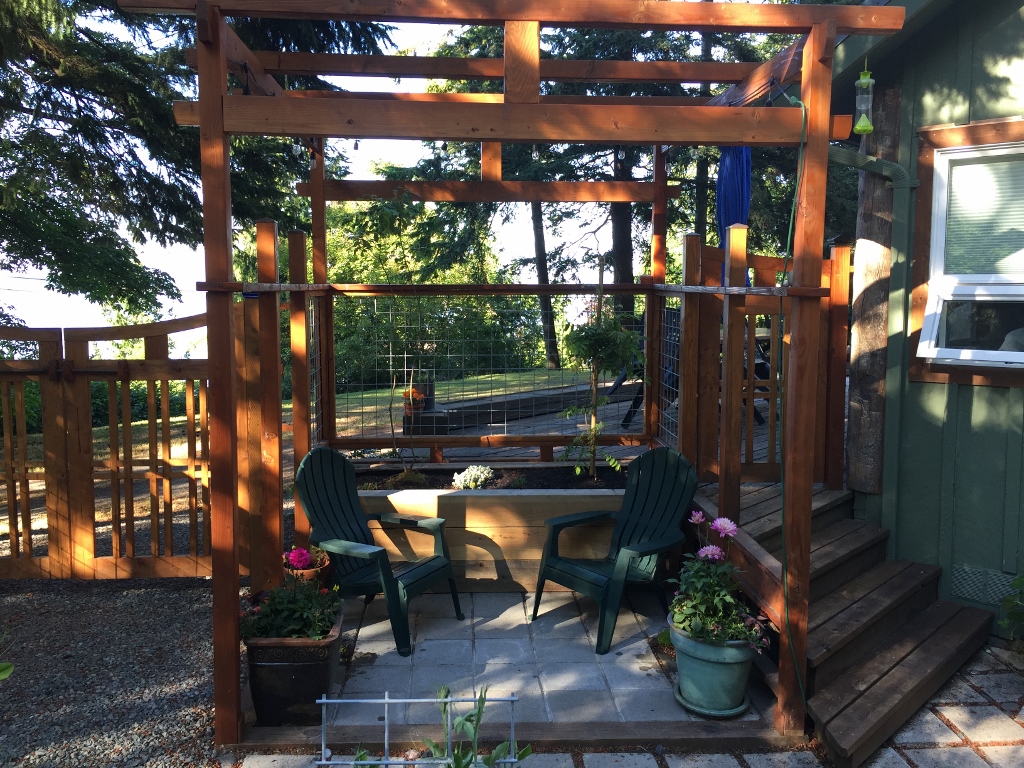
The pergola has kind of turned into a little shrine for relaxation and watching the world go by. I should spend more time there, I know. I put a wisteria in that planter bed behind the chairs, it should grow into the pergola nicely.
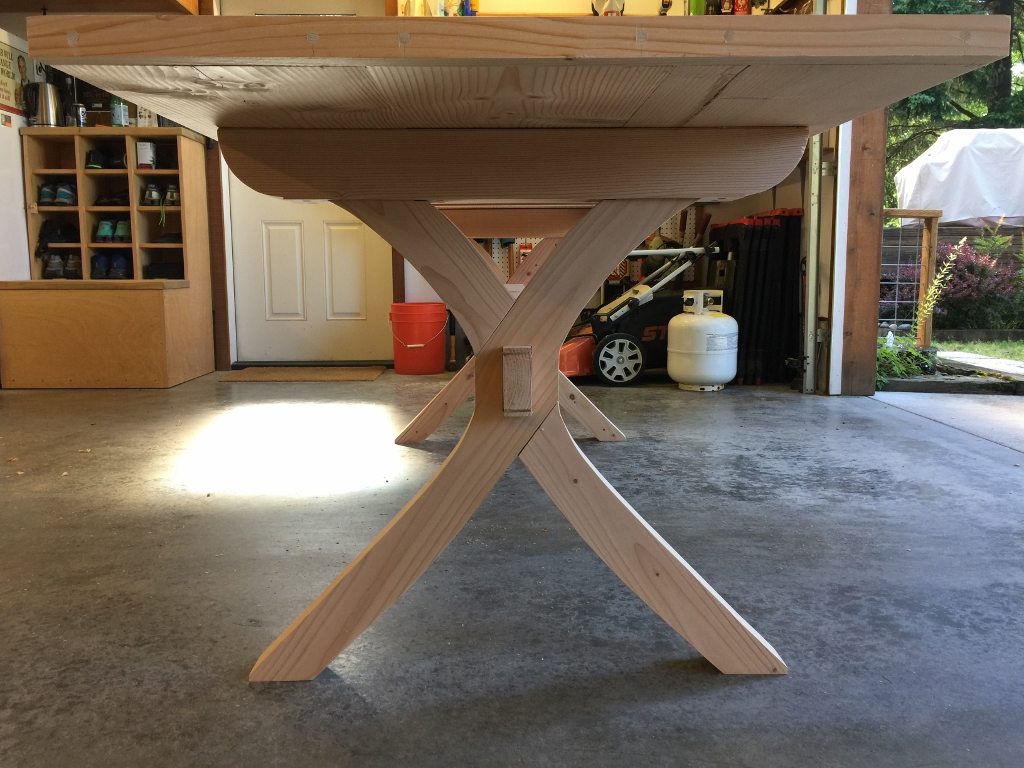
Made an outdoor table.
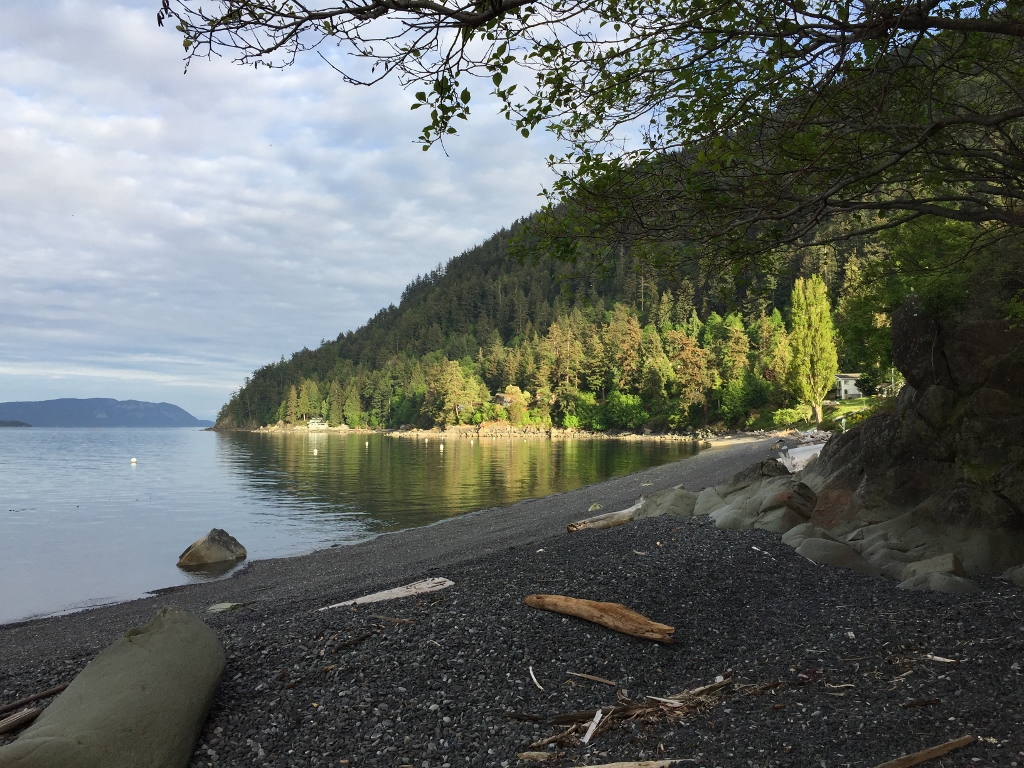
It’s such a nice place to sit and stare at the water.
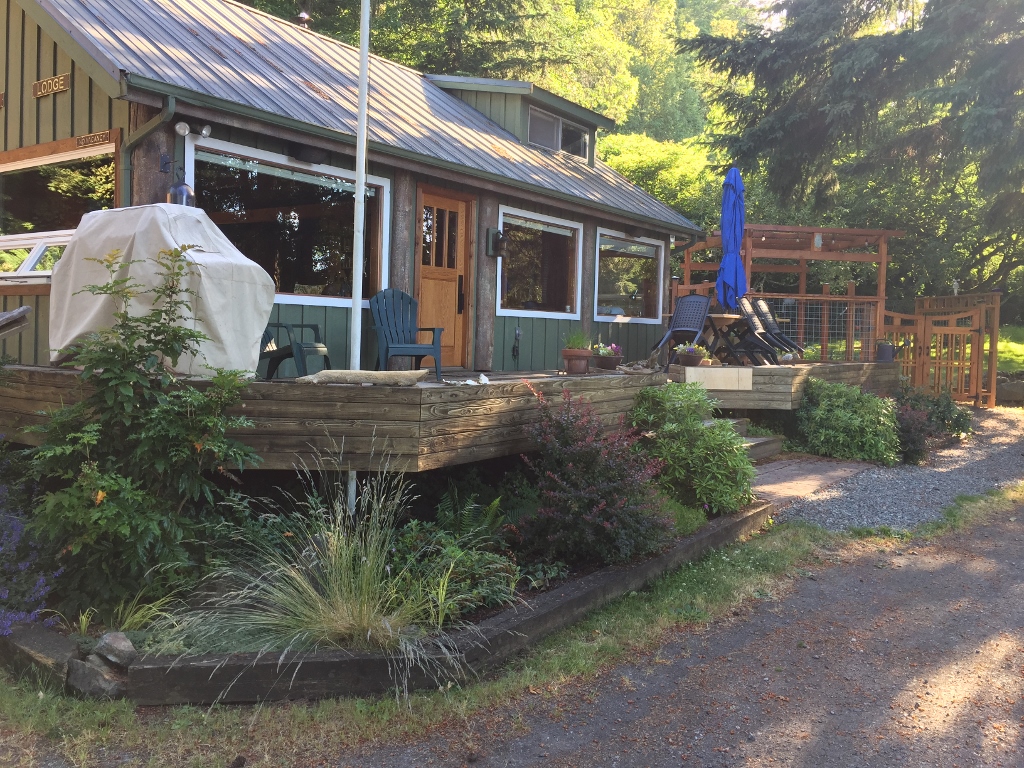
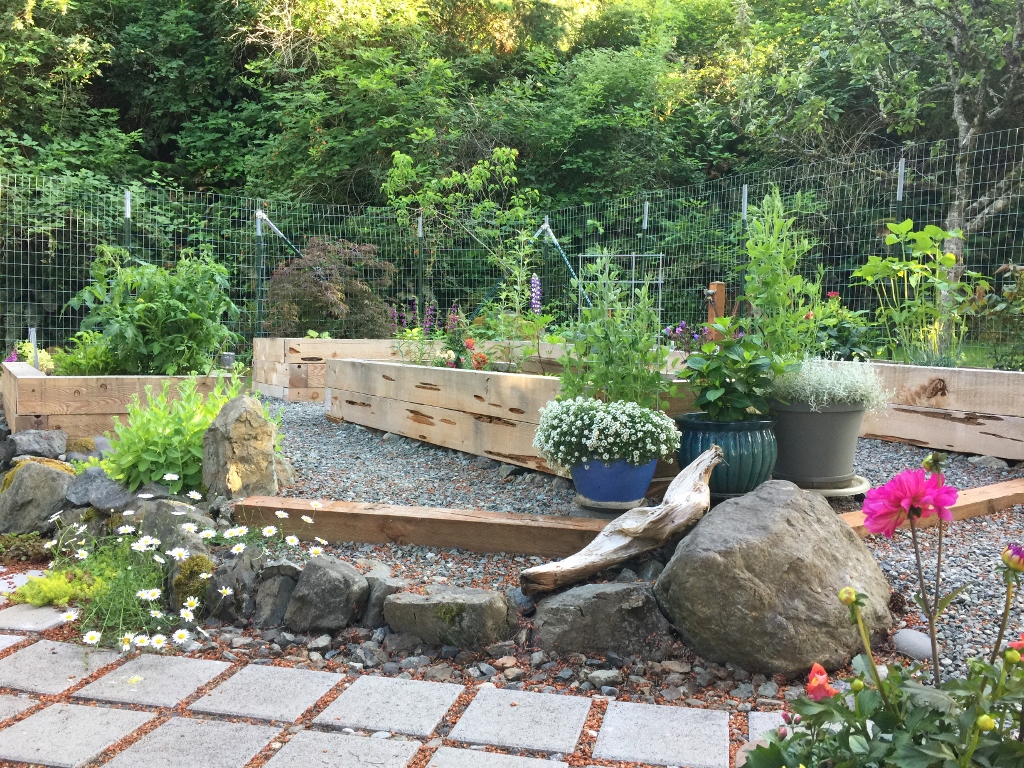
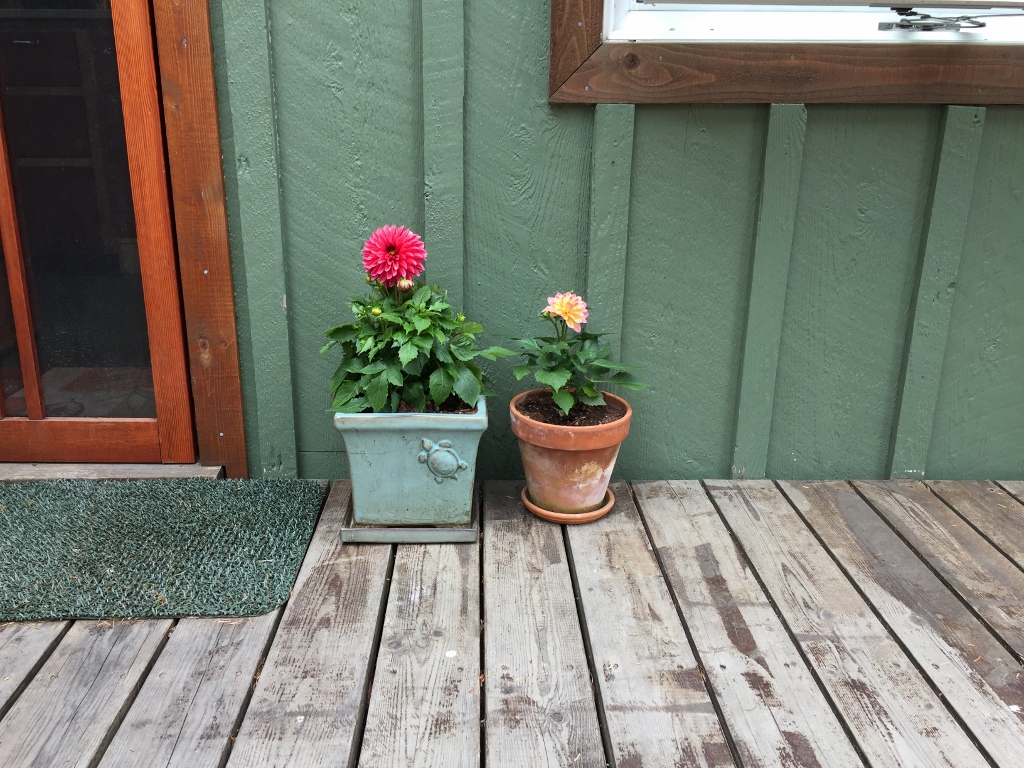
Front planting beds are doing great.
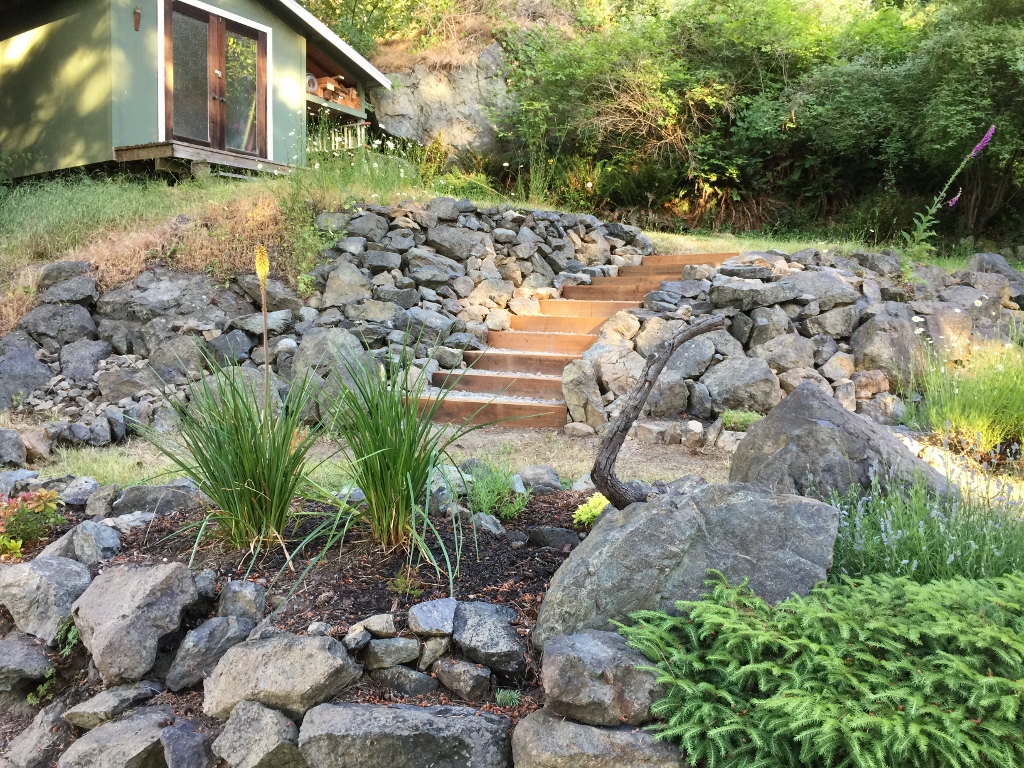
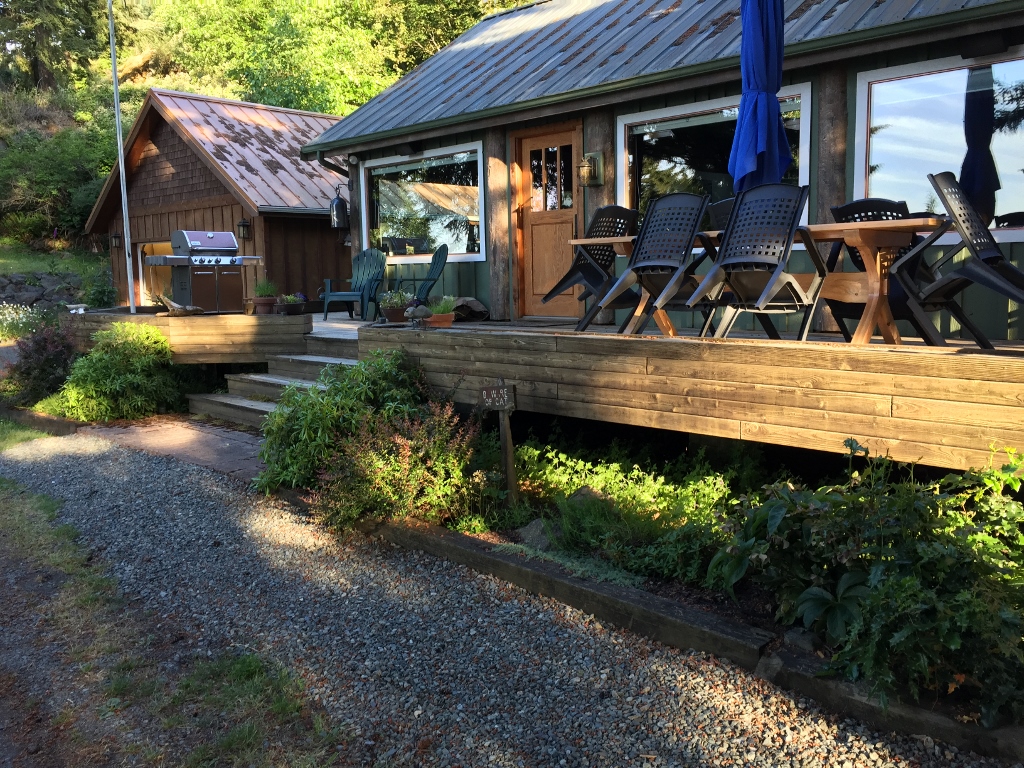
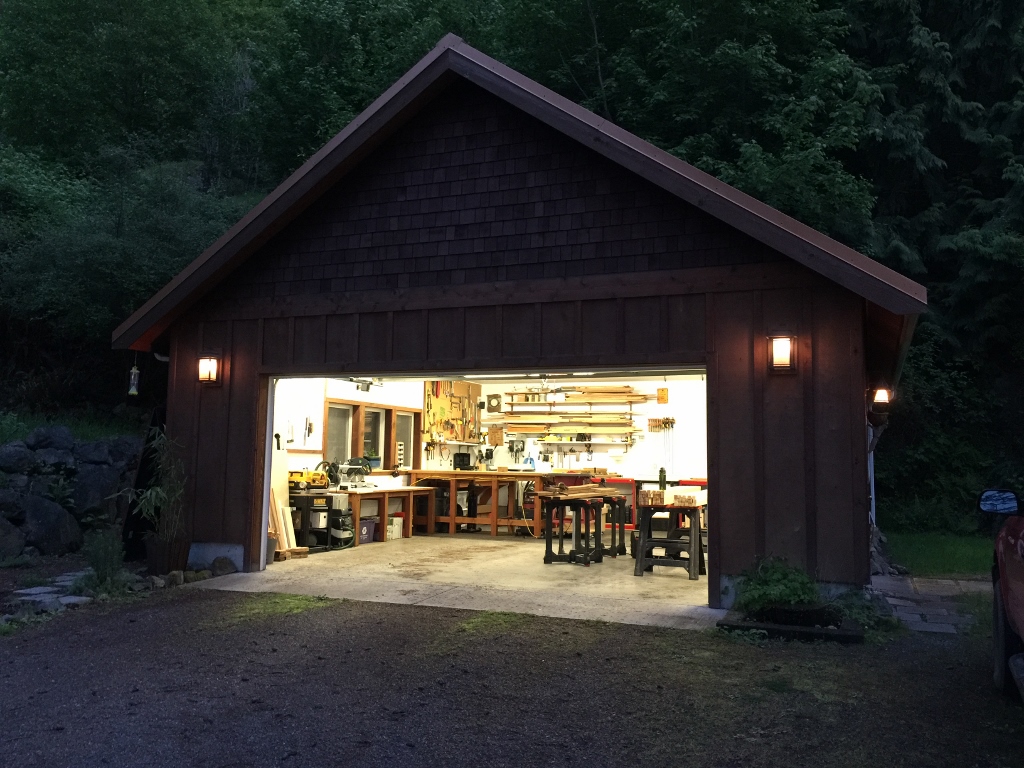
Up the hill is where the shed is, and it’s like the Final Frontier. The last untouched remnant of the old house is up there, because except for the green paint that shed is just about how we found it. I made those stairs going up the rocks, and soon I’ll be putting a new deck up there and making the shed look nice.
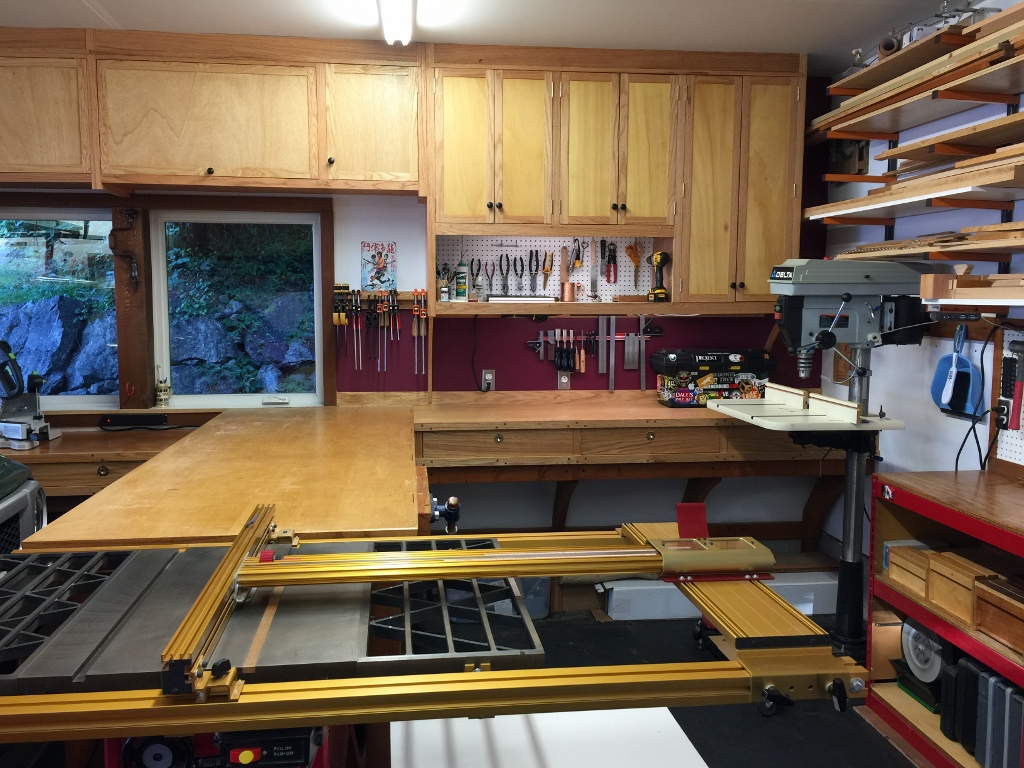
The shop is looking great. Cabinets are all finished. I did the math: it’s 102 cubic feet of cabinet space that I added to the shop.
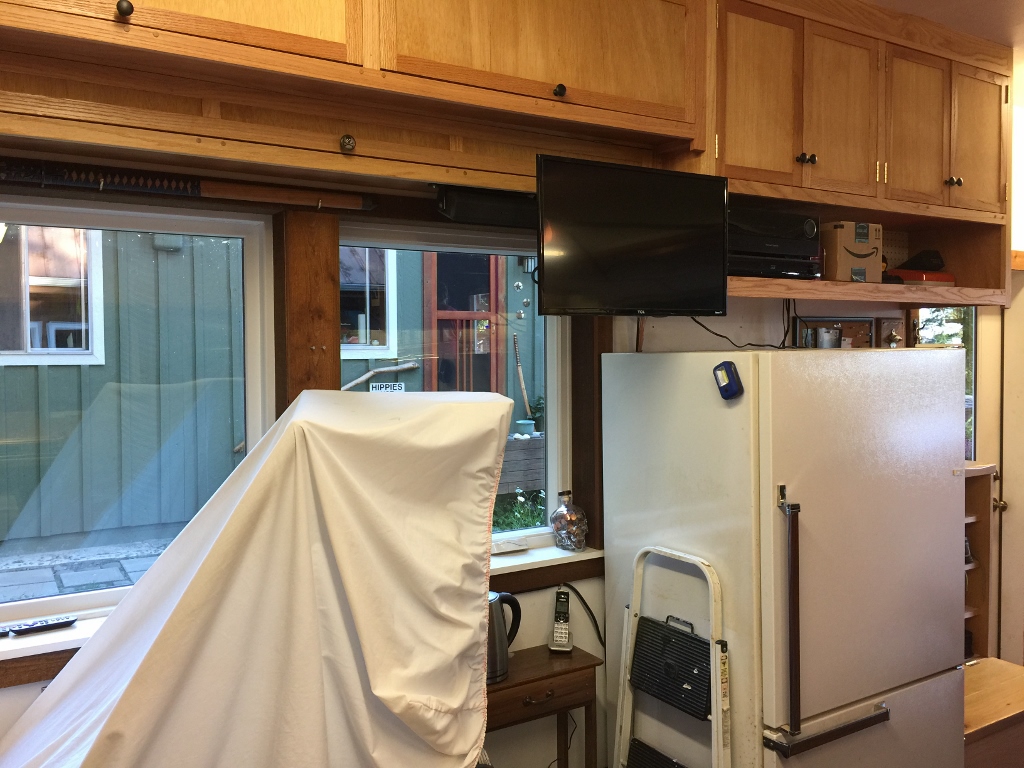
I added a TV to the shop. It’s great during hockey season. It also swings around so you can watch it while on the elliptical.

And I found some cool cabinet knobs.
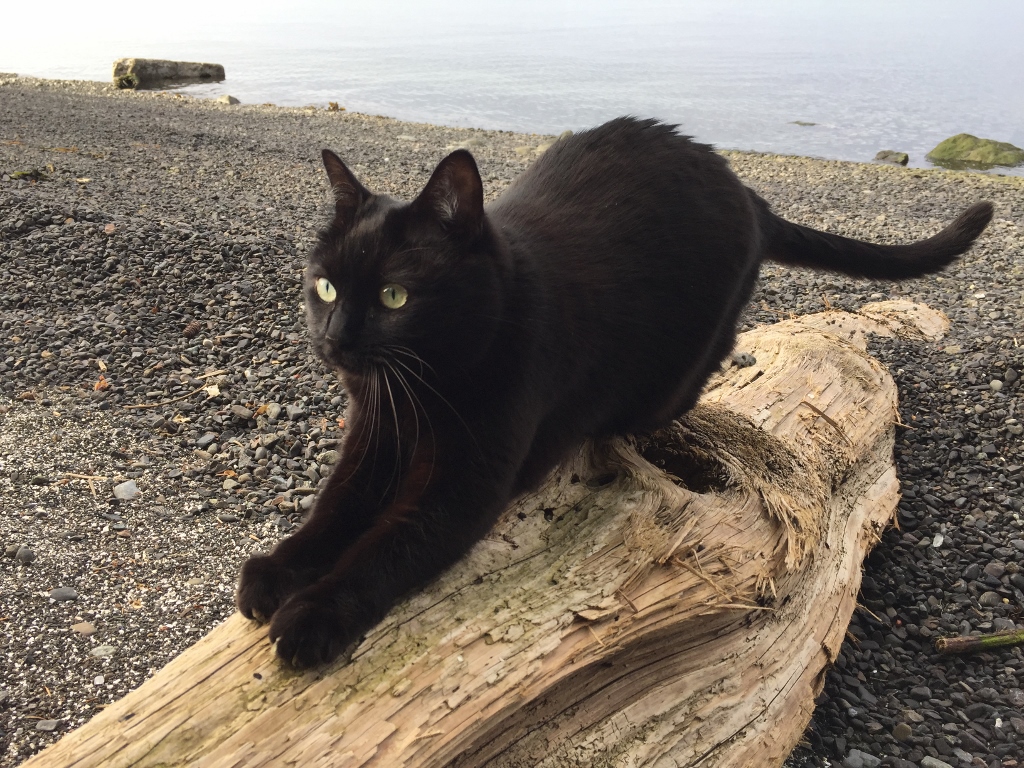
Inky likes the beach. It has the biggest scratching posts.
We like to garden. We like to plant things and watch them grow. Gardens are not only a fantastic creative outlet, but they are a space of relaxation, meditation and tranquility. And bees.
We also like wildlife, something fairly abundant here. Birds, otters, raccoons, wild turkeys, eagles, minks, all sorts of wildlife. And we have deer.
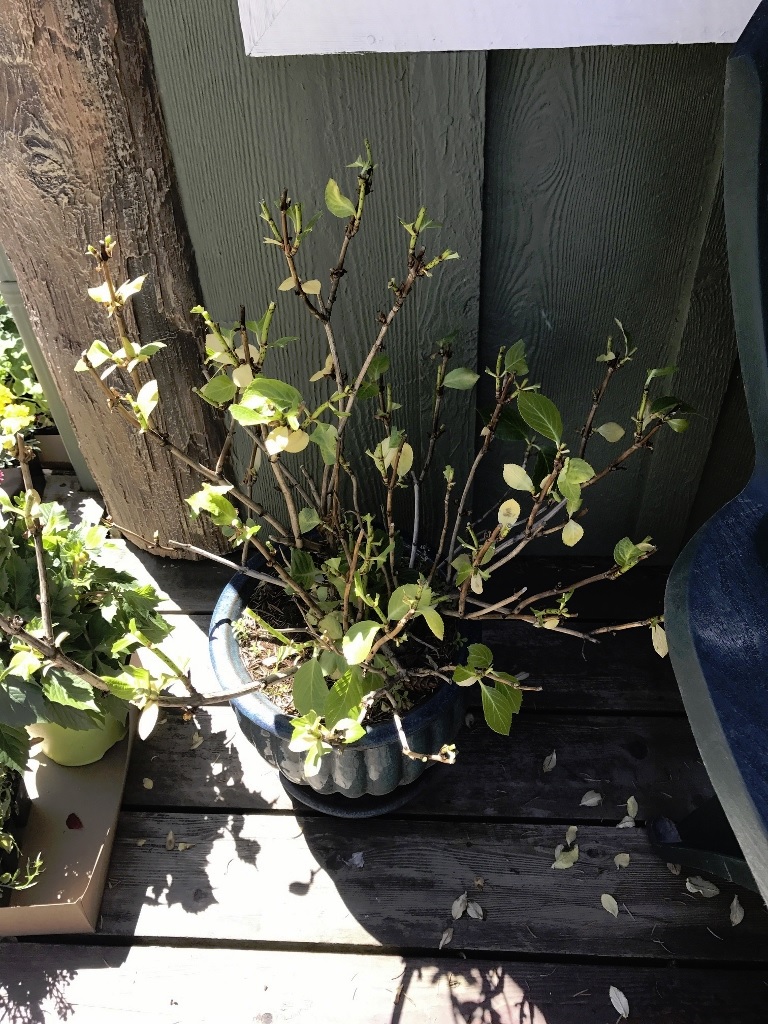
This is what deer do to your plants. They defoliate them. Eat them to the stalks. Jamie, who loves animals, has been talking about getting a gun to take care of our deer problem. Yeah, it’s time. We need to build a deer fence.
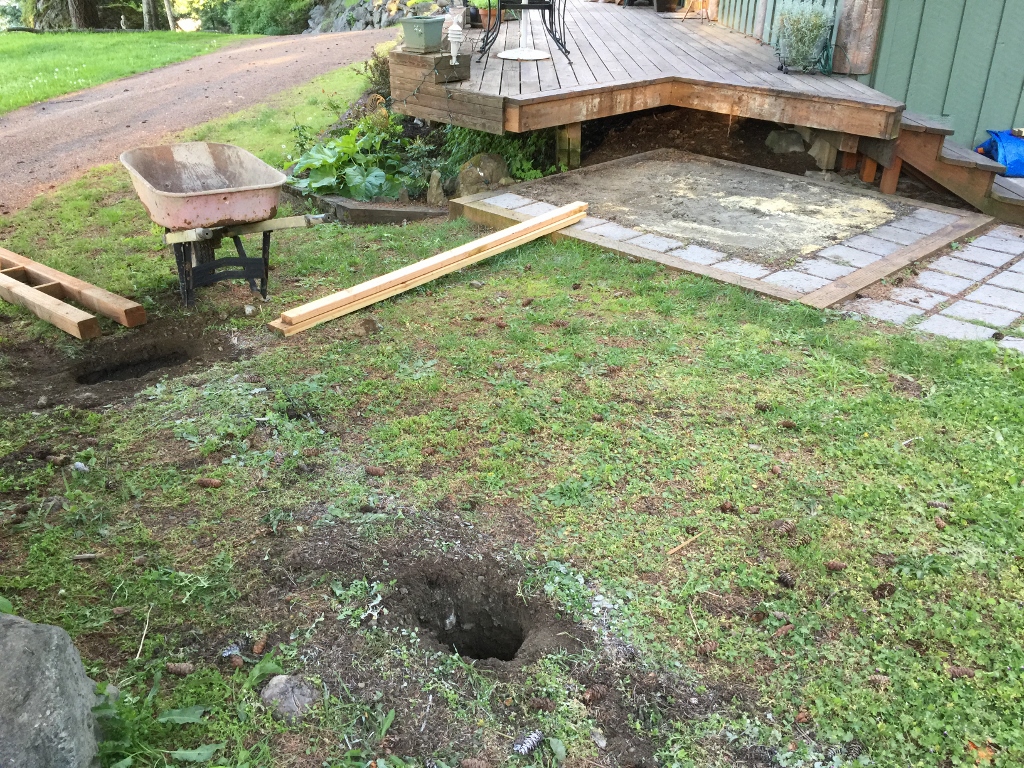 This ground is extremely rocky. You can’t dig 4″ without hitting a rock the size of your head. I had a rock in one hole that took me two days to excavate. At another location, I had to move my post over about 16 inches because there was a boulder down there and I didn’t have a stick of dynamite to break it with. But on the bright side, it’s been raining daily for about a month so the ground was nice and soft. About eight holes was all I had to dig.
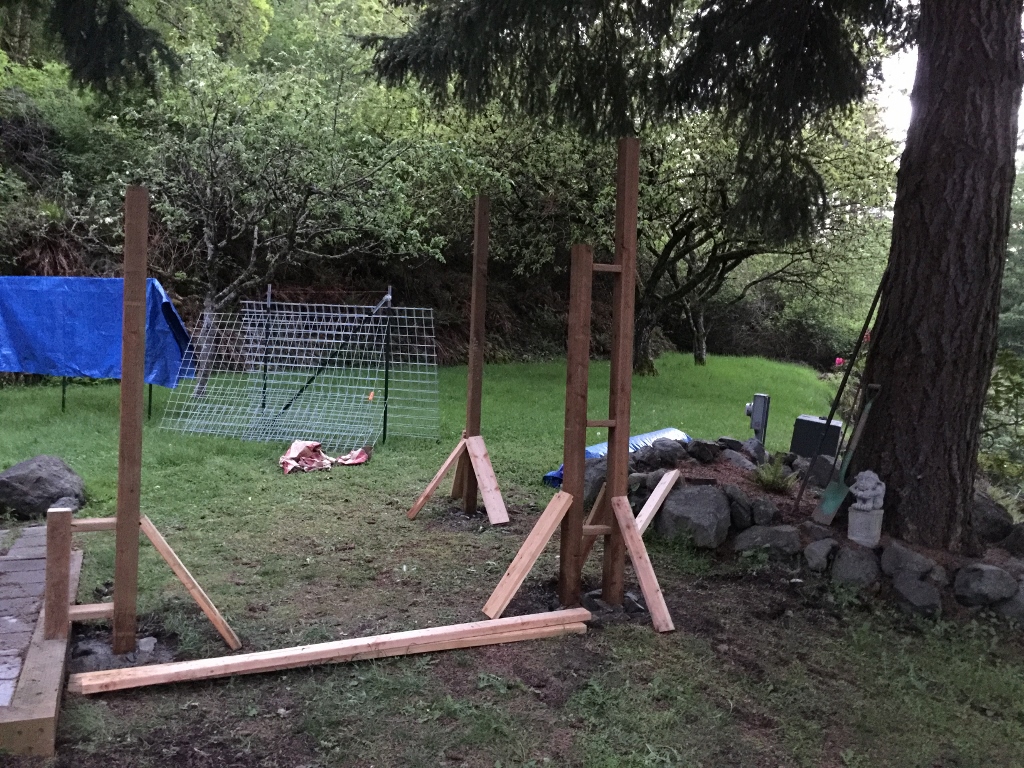
I used pressure treated lumber for posts, which is really awful stuff. It’s toxic, it’s a skin irritant, possibly carcinogenic, but it’ll last out here without rotting. That’s kind of what I was going for, fence posts that don’t rot in the first two years.
The shop was open late into the night just getting this done.

These are the 2×2 sticks to frame in the welded wire panels that will go into the fence. I wanted to saturate them in linseed oil before installation, such that all parts of them are completely protected. If you treat them after they’re installed, there are bare spots that water will eventually pool up inside and cause them to rot.
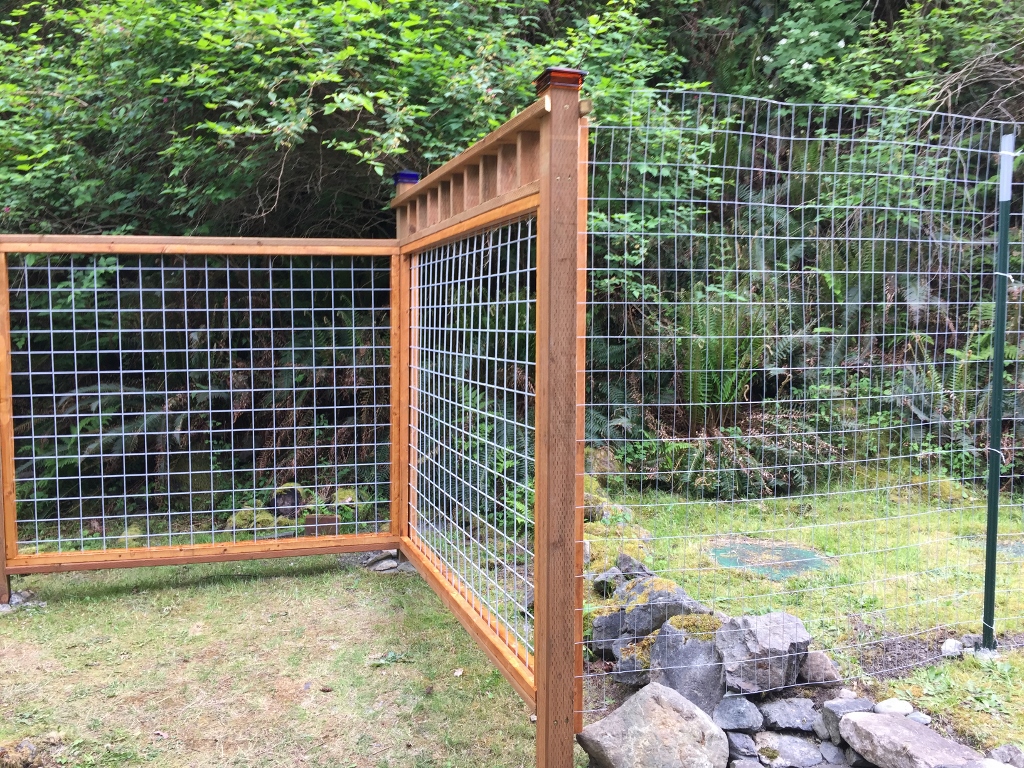
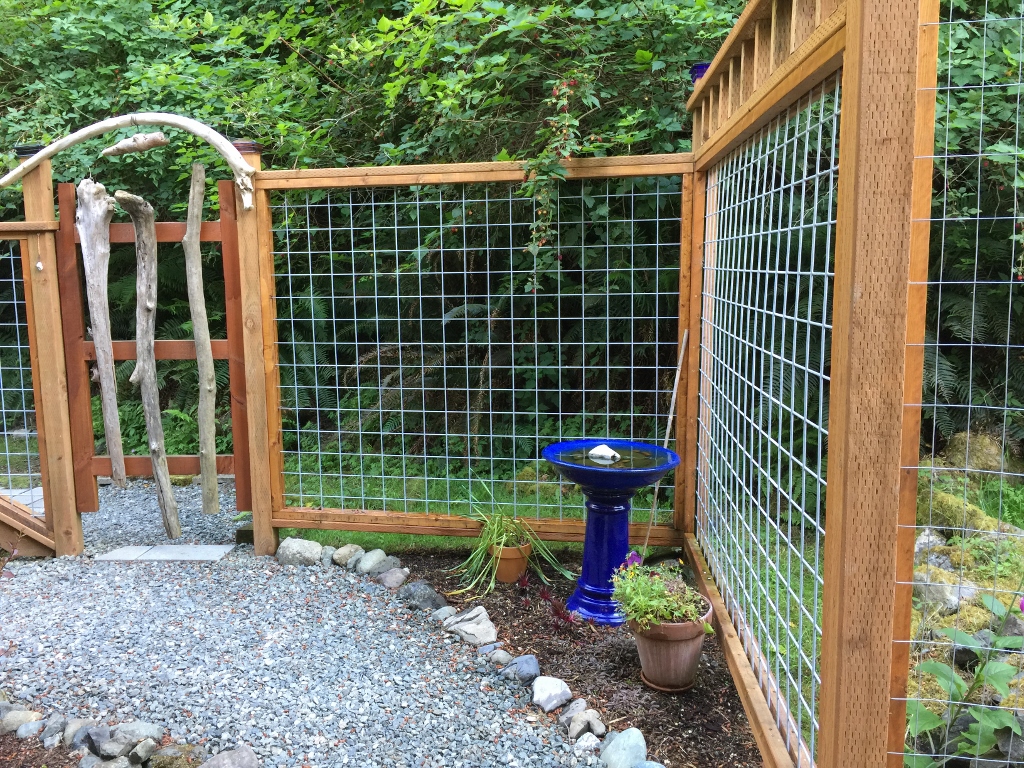
And we’re using two kinds of fencing: traditional wood posts with welded wire (above, left) and deer fence tied to iron T-posts (above, right). We went with the deer fence over the septic field, not only to save a bit of money but also to not disturb the septic field too much.
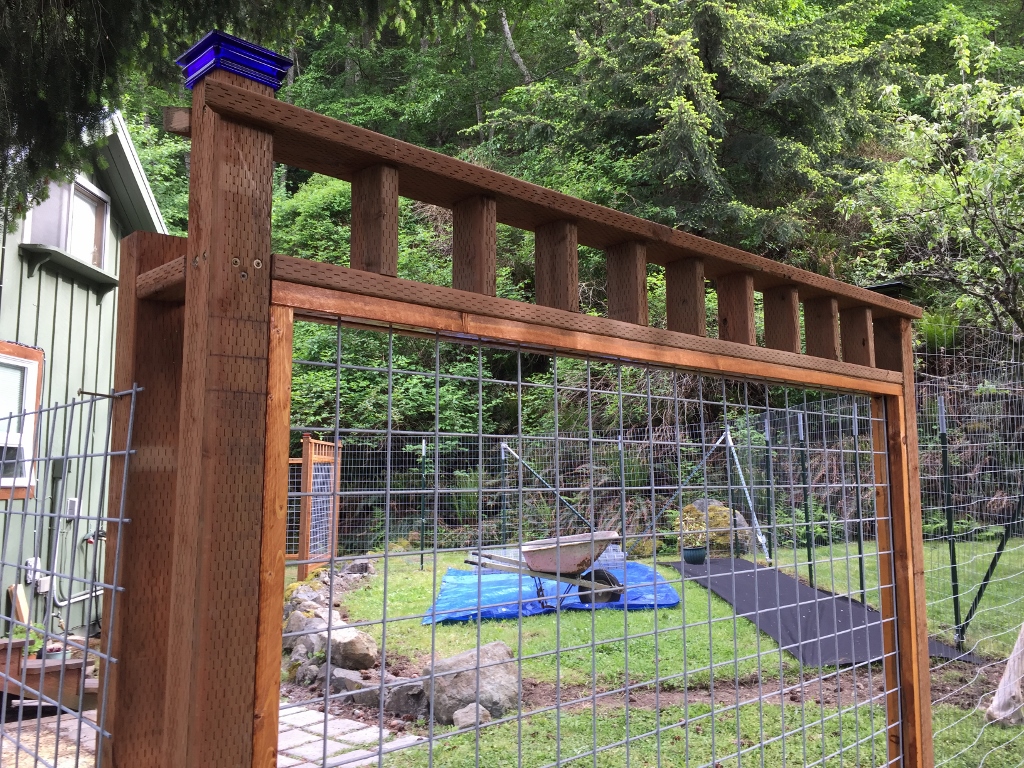
The finished portions look great. We have temporary gates and some temporary fence up right now, just to keep the deer out.
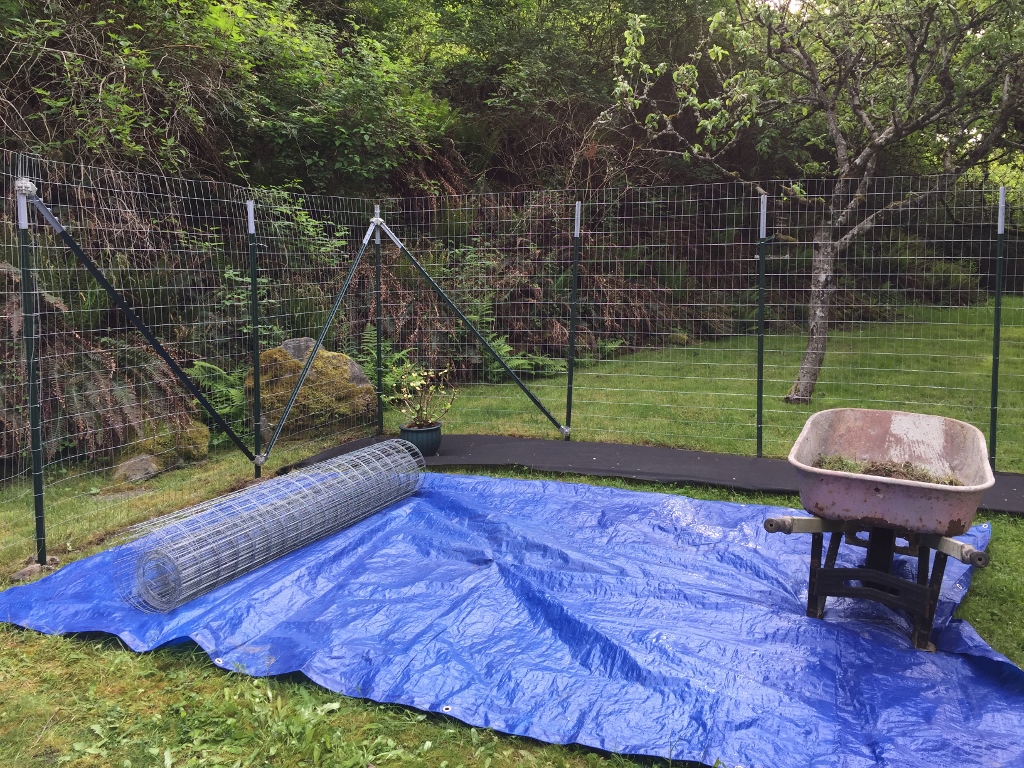
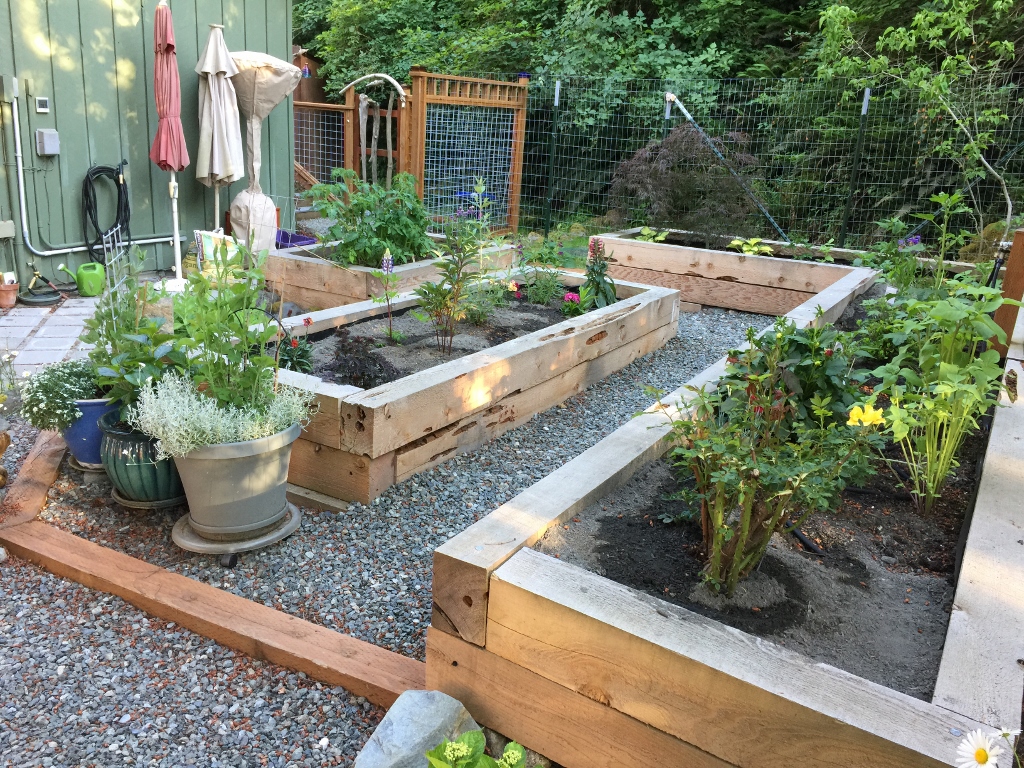
We’re putting raised planter beds in the middle. This ground digs poorly, very rocky, so we thought raised beds would really help. Right now, we just get to kill off the grass and get the ground ready for the beds.
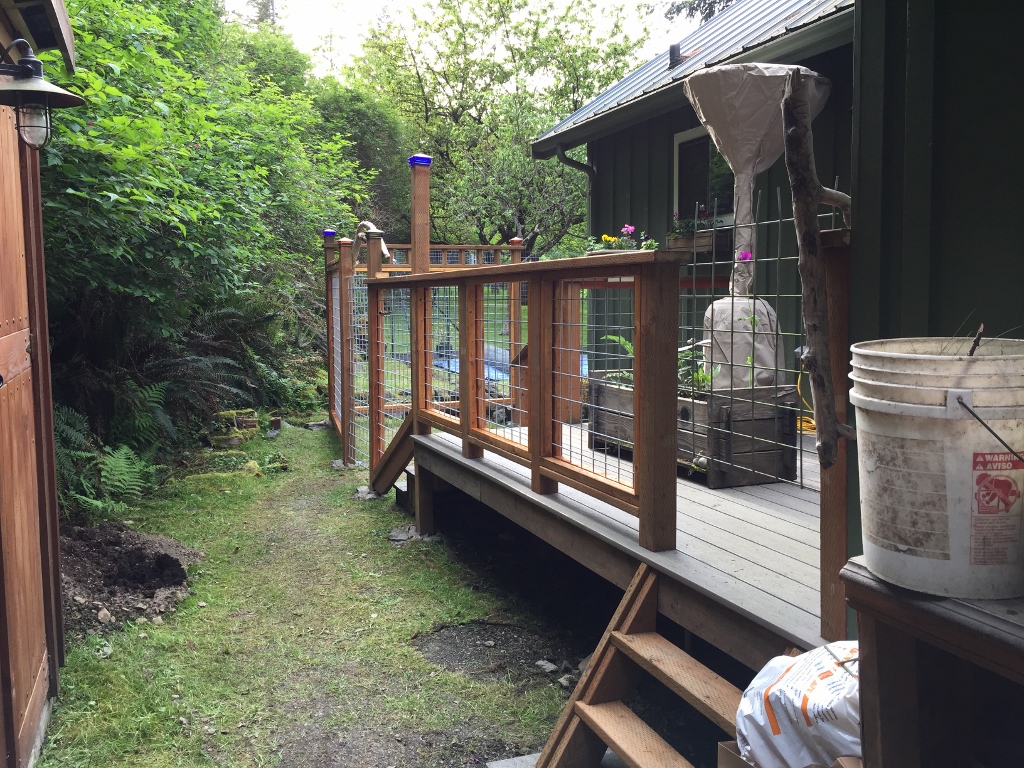
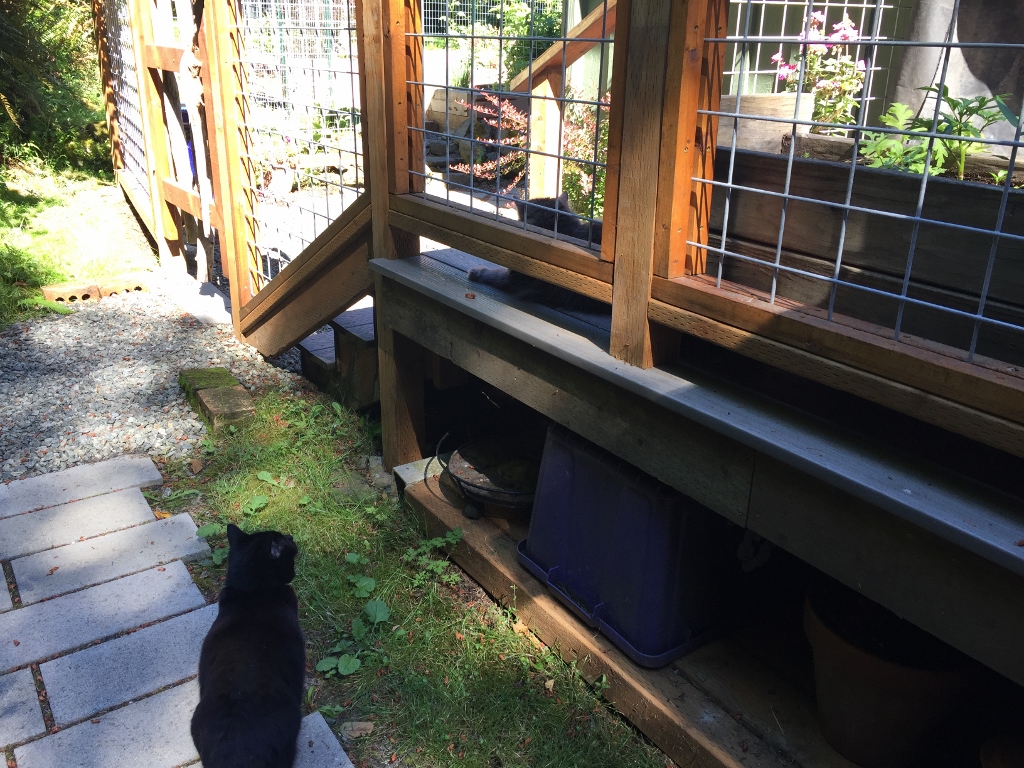
The back deck has the biggest improvement so far. It just looks more finished. It’s not finished, not by a long shot, but it’s closer to what it’s going to look like
Definitely looking forward to being able to plant things without the risk they’re going to be defoliated by marauding deer in the night.
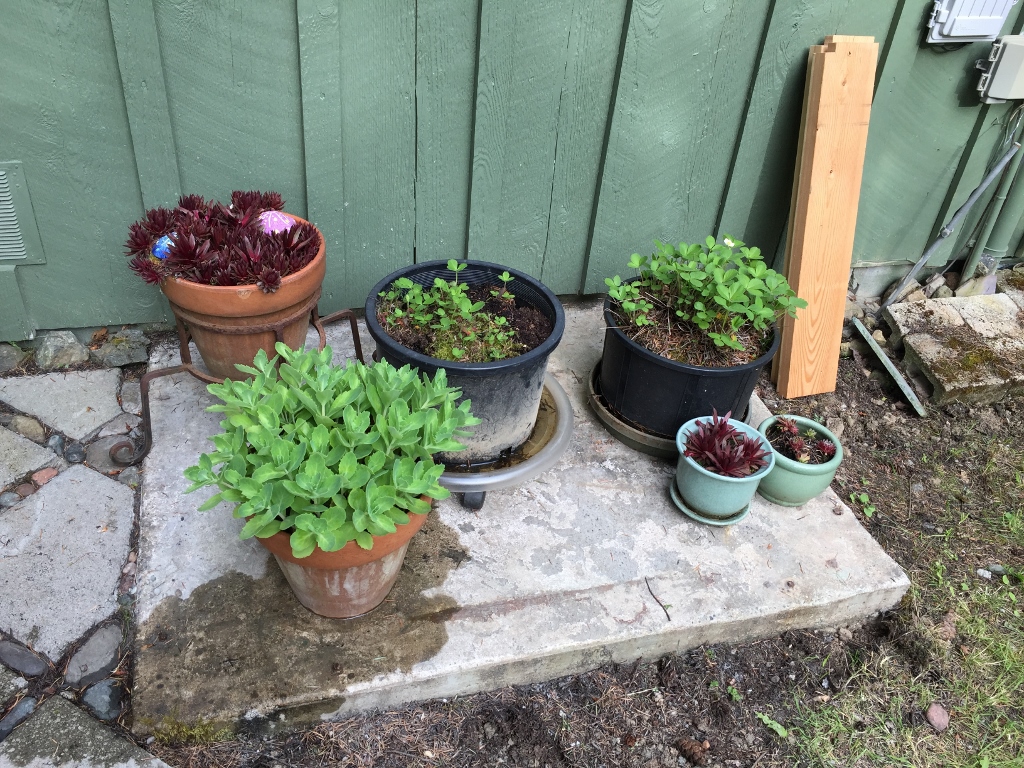
Strawberry, hens and chicks, sedum, … all deer food. And it’s all protected now, inside our little compound fence
I started asking myself what was different about my closet compared to, say, normal peoples’ closets. Why is my closet never pictured on the front of magazines? What is so wrong with it? Why do people threaten me with violence when I offer to put their coat in my closet? Something is just different about mine, and to make it more socially acceptable, I started by removing all the things that I didn’t see in those magazines.

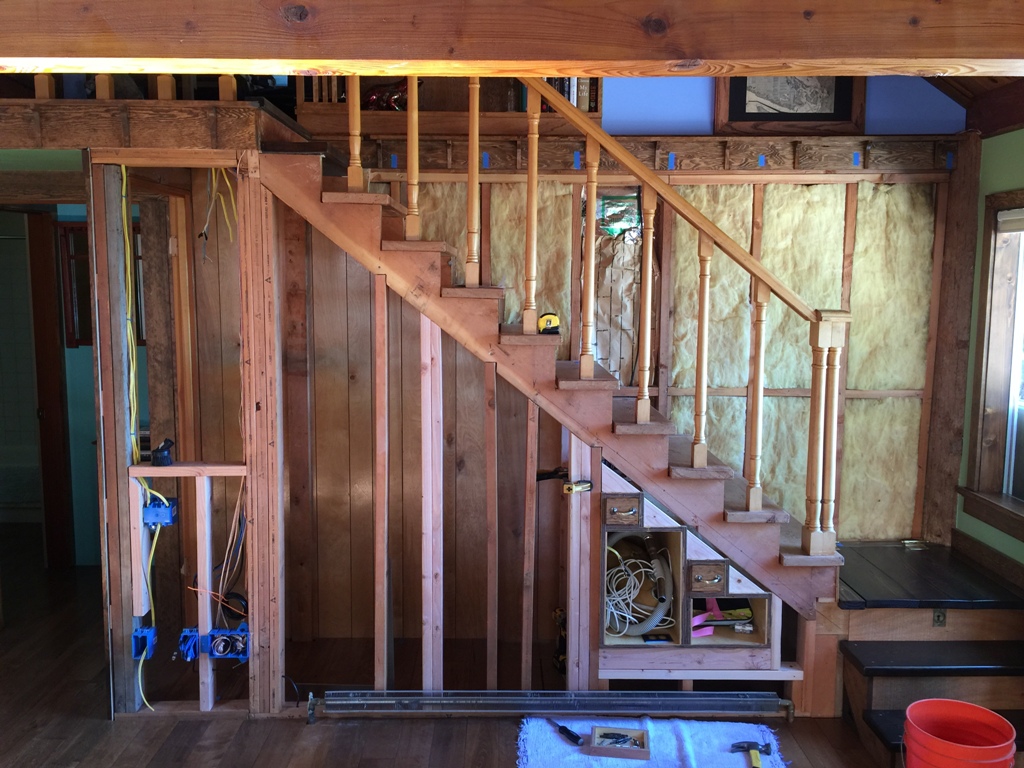
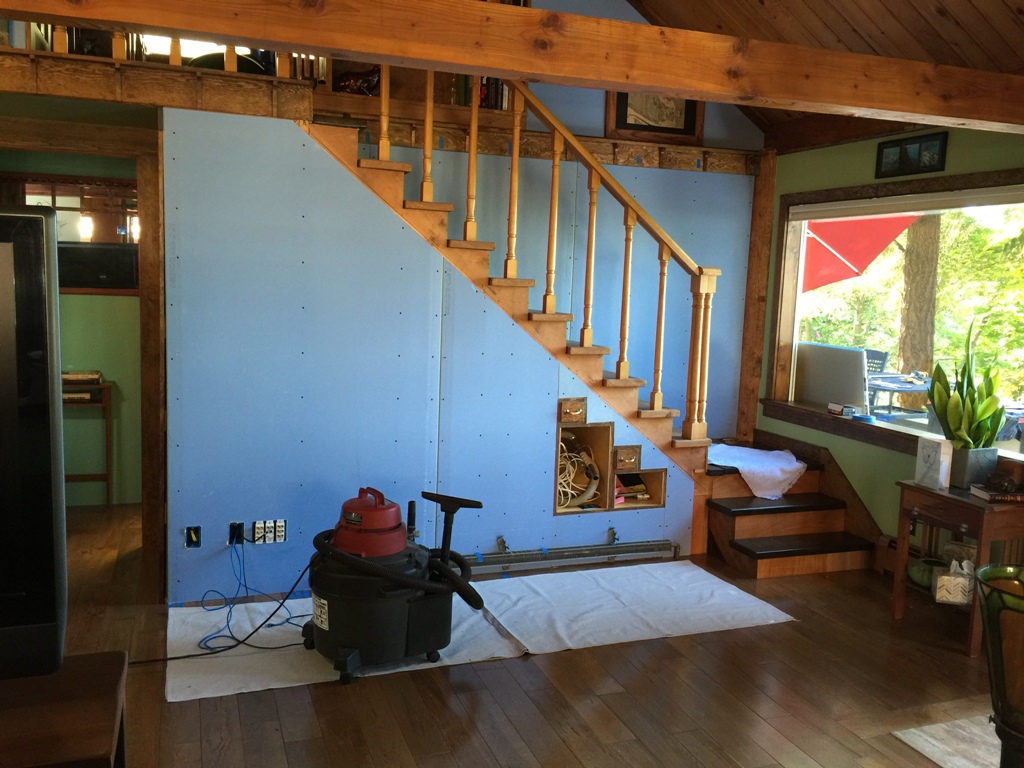
Well, I ended up with this. No paneling, and a bunch of uneven posts that by some miracle hold up the stairs.
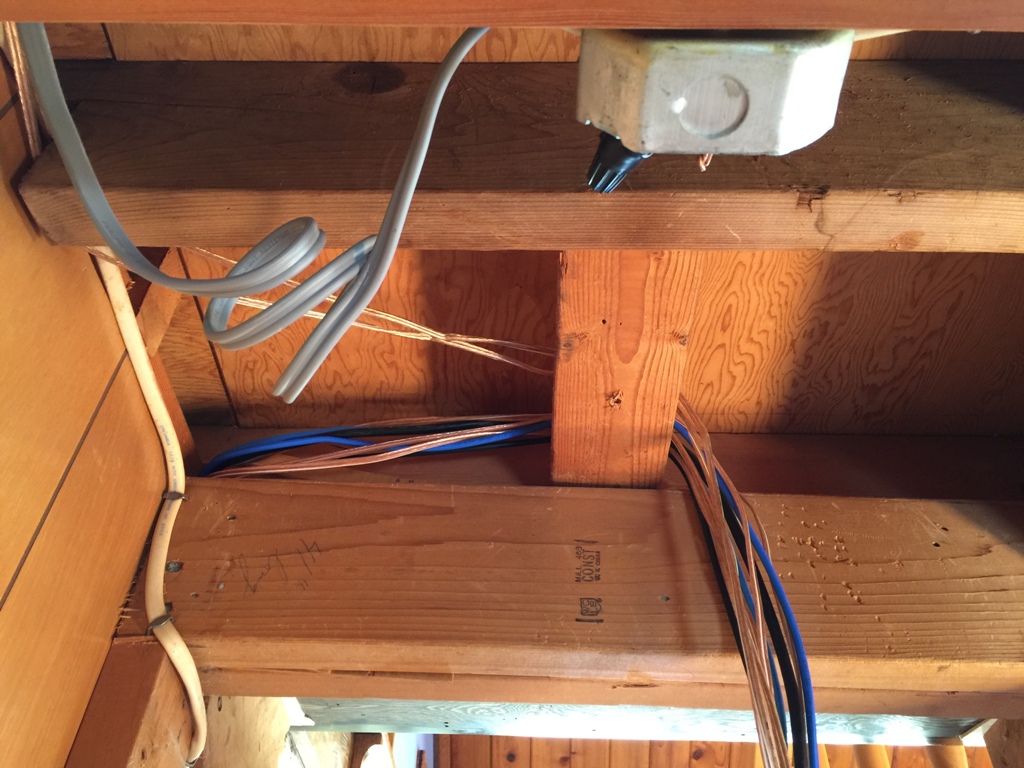
Long gone is the bare light bulb and its frayed pull-string, though these electrical wires will pose a challenge to do correctly. I drew out the circuit, and I have to connect four 12 gauge wires together in this box. Sucks to be me.
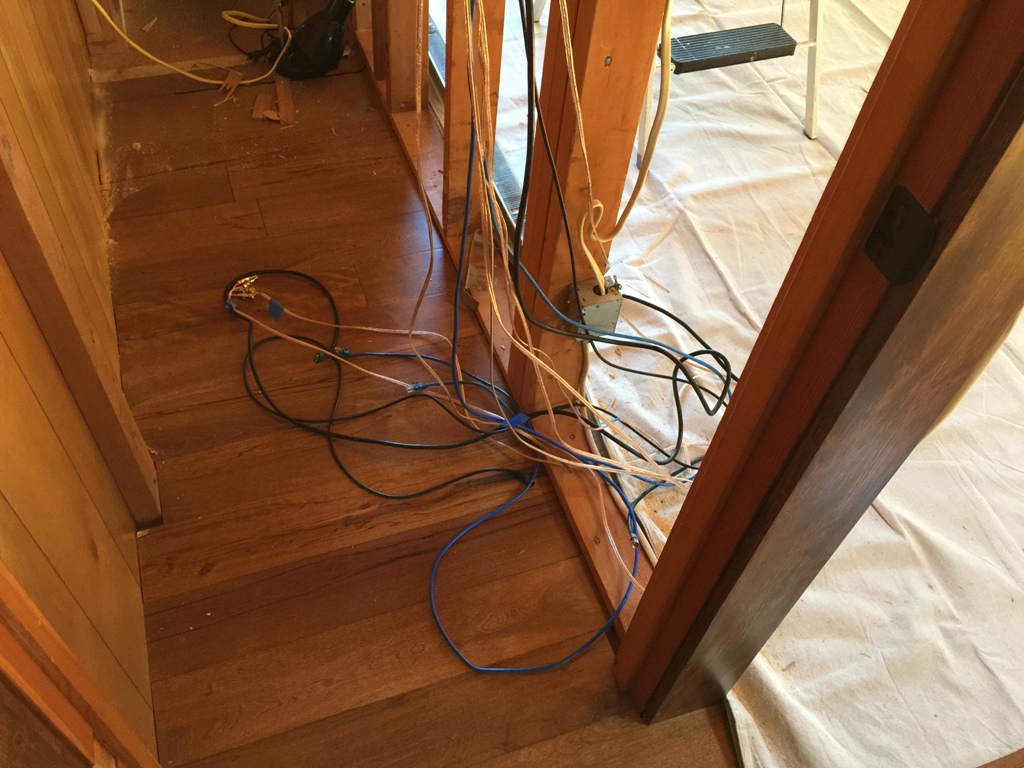
Not to mention the ethernet cables, the HDMI cable, all those speaker wires for all the speakers I planted around the house. This is a lot of copper.
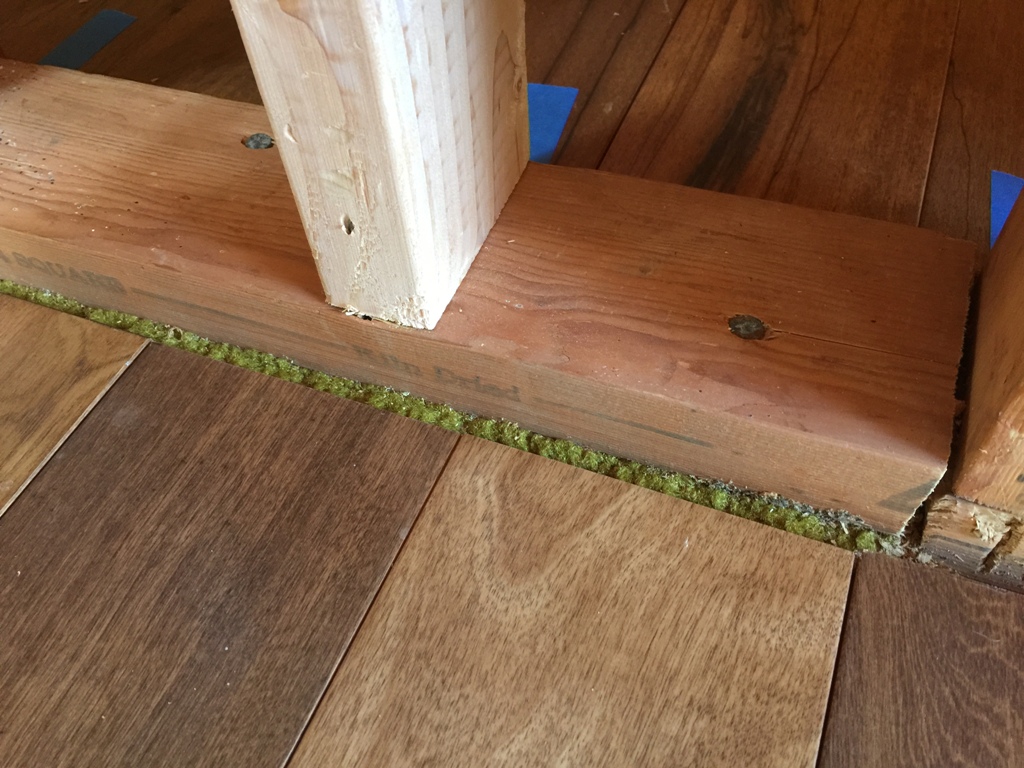
This section of wall has always been a little off, and now I know why. They installed the bottom plate right on top of that green carpet. They couldn’t even be bothered to take up the carpet to extend their wall 24 inches. That is seriously lazy.
It took a while to get all the electrical tucked away neatly (not to mention correctly) and put in a few more studs for the drywall.
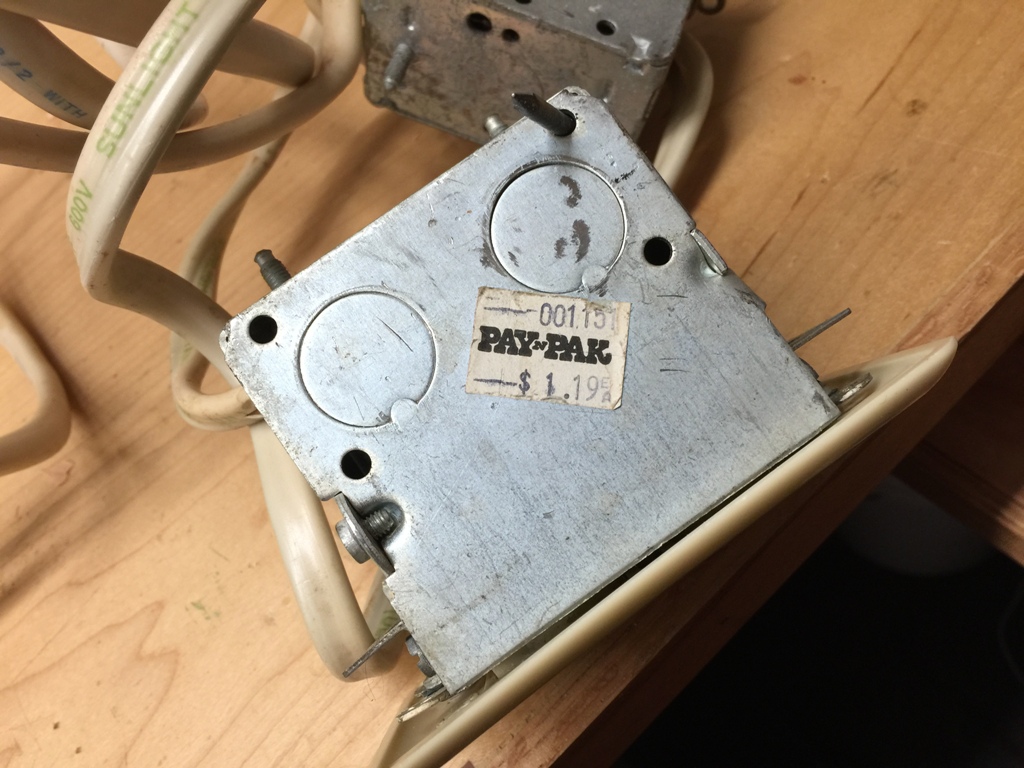
Anyone here still remember Pay n Pak? Yeah, didn’t think so.
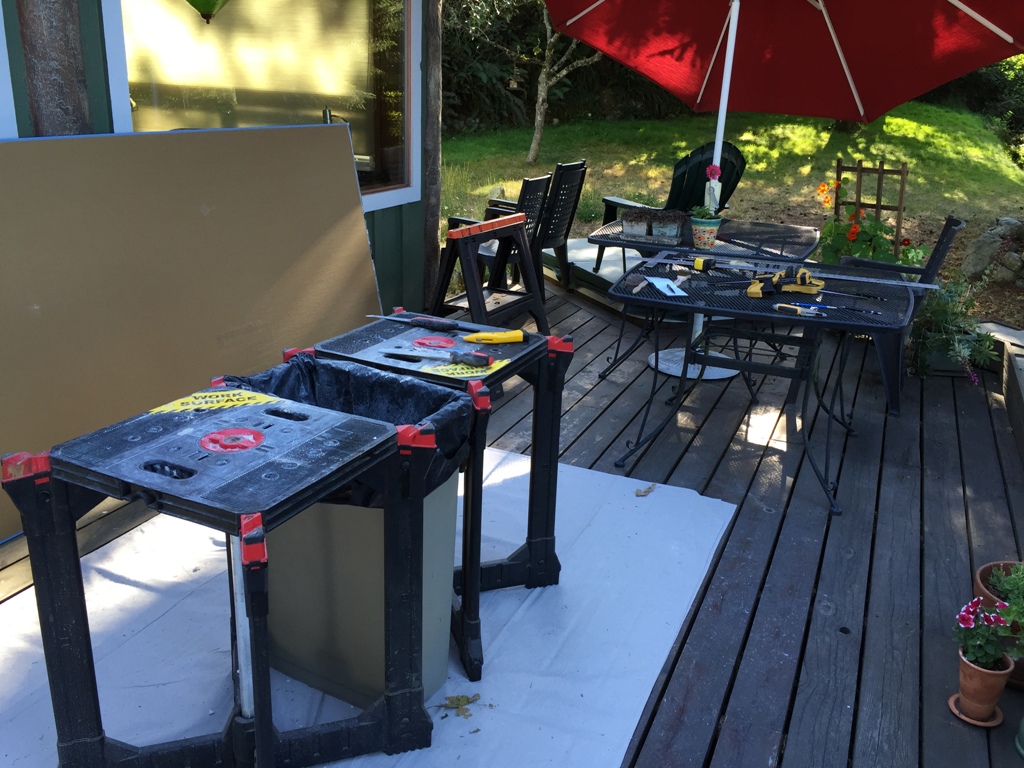
The weather was nice, so the front deck made for a really good area to carve up all that drywall. This is a small closet, but it still swallowed up six sheets. Lots of irregular pieces going in there, not to mention I had to carry them into some confined areas. It was like playing Operation: carry that big heavy sheet of drywall and don’t hit a door frame. Bzzzzzt! Oh, you’ll have to sand out that dent now.
Finally, some nice, shiny, mold-resistant drywall up, inside and out of the closet.
No help. No help at all.
You know that space in the way back of the closet that you can’t ever get to? We have a space like that, and it’s really inconvenient. It’s near the base of the stairs so the only way to get there is to crouch and crawl, and remove the boxes and baskets and whatever else got put in the way. It was to the point that if I knew something was stored way back under there, I’d rather go buy a new one than crawl in there and retrieve it.
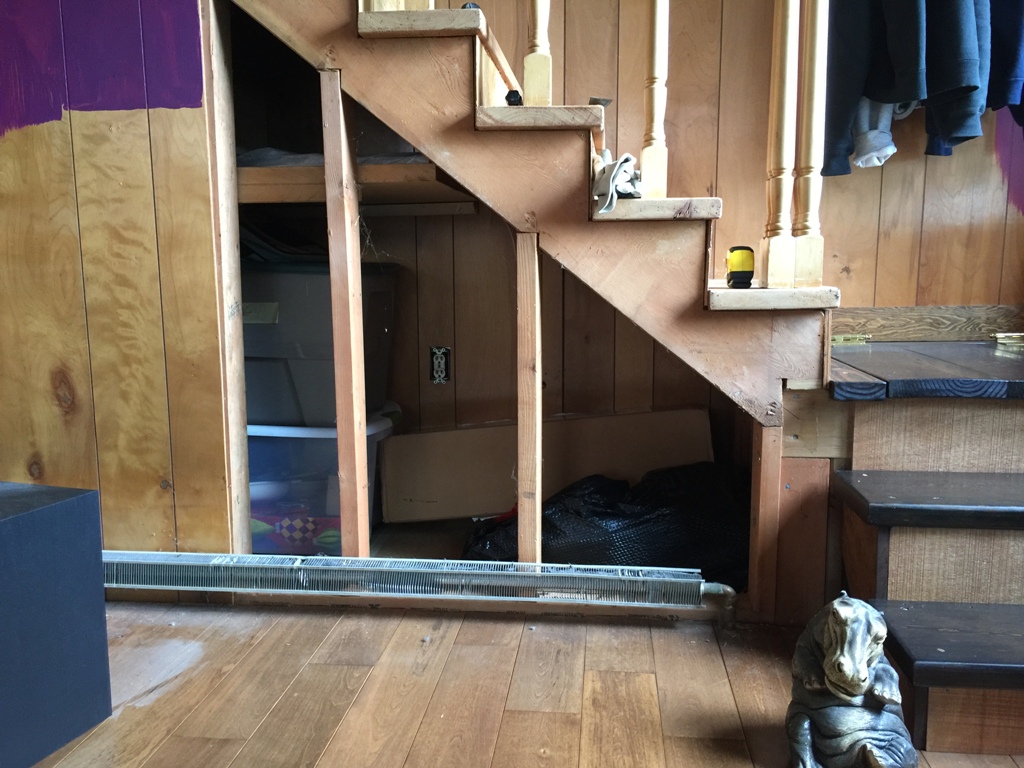
I thought this would be a great place for some built-in cabinetry.
The logistics of this was actually a little tougher than I thought. The little heating thing down there meant I couldn’t make these cabinets all the way to the floor, they’d need about a foot of clearance, so that right there eliminated 12 cubic feet of storage space that I’ll never get back.
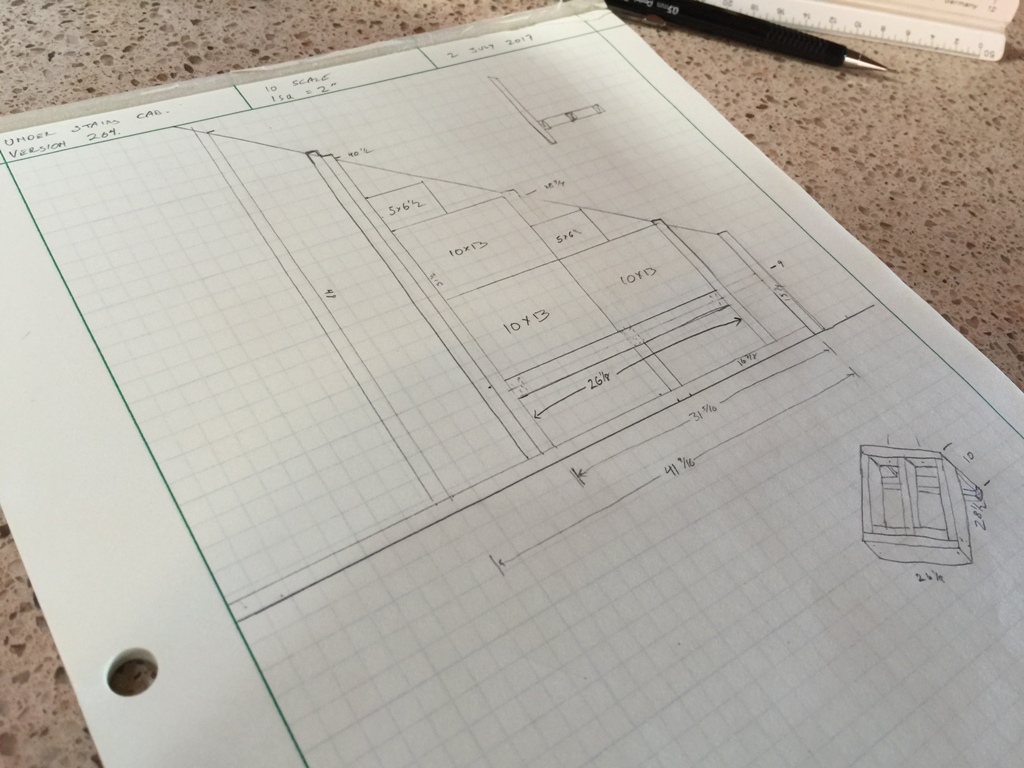
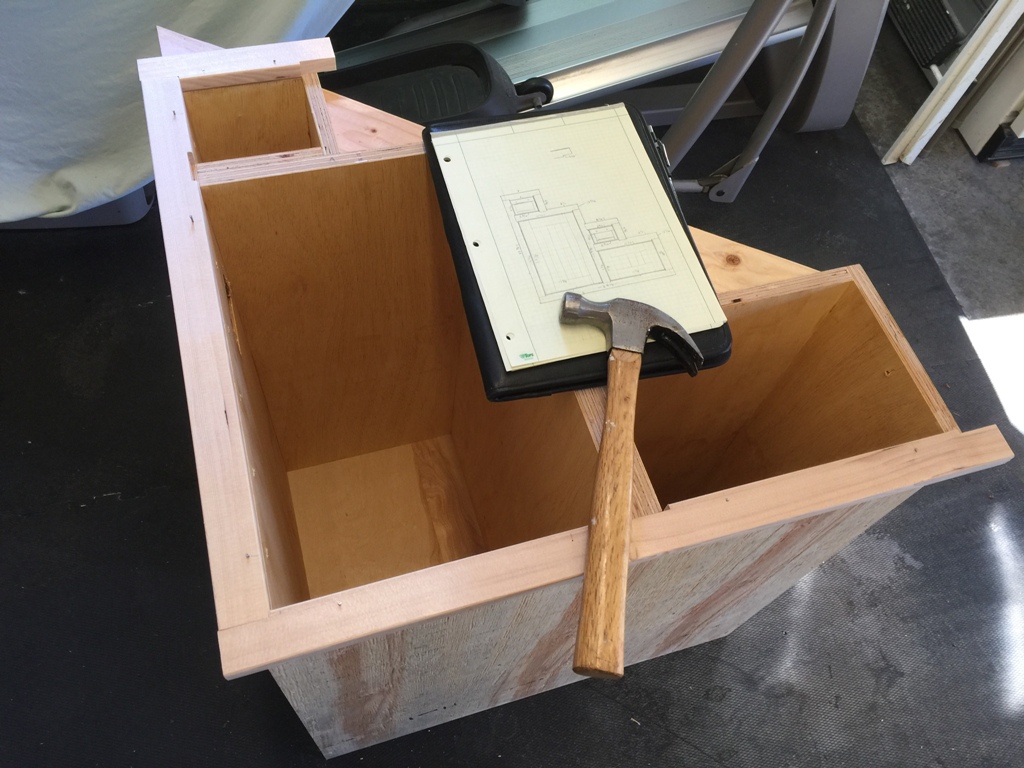
But still I was determined to make this thing work. The final cut list would consume exactly one sheet of plywood, which I took to be a sign that this was meant to be.
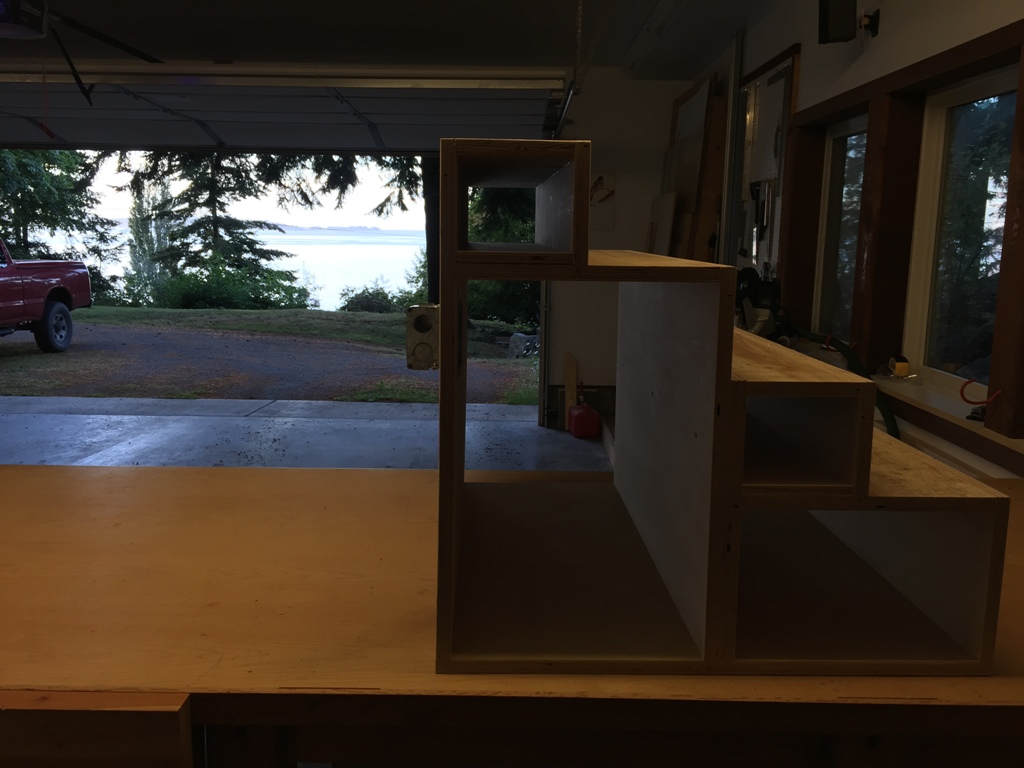
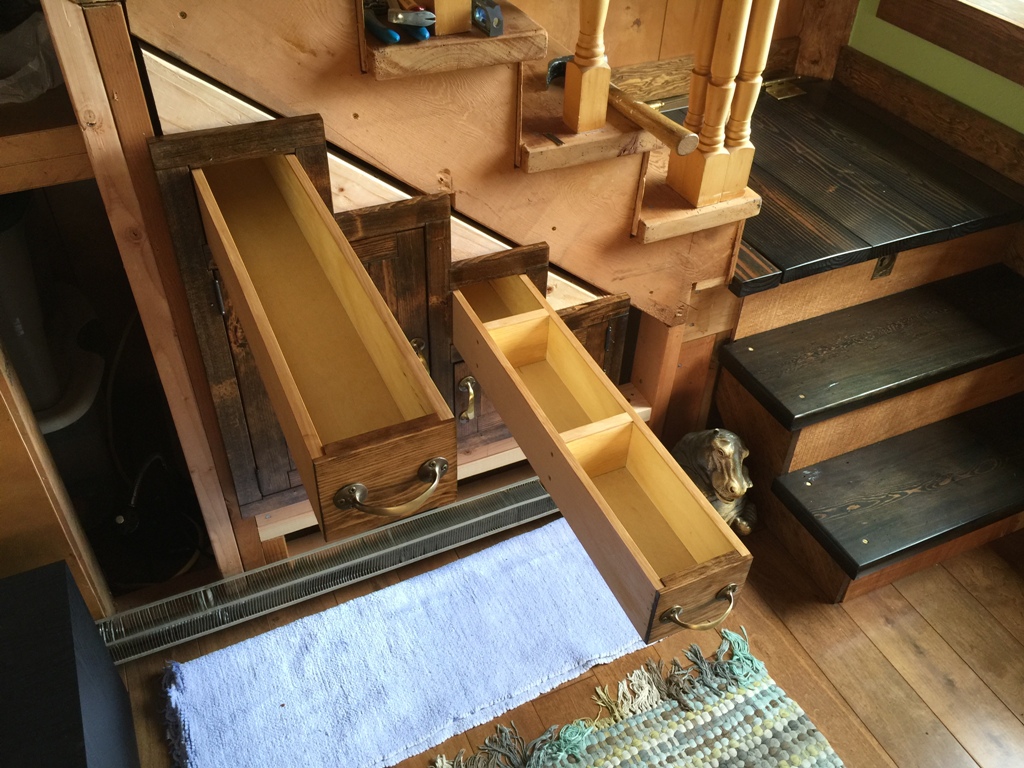
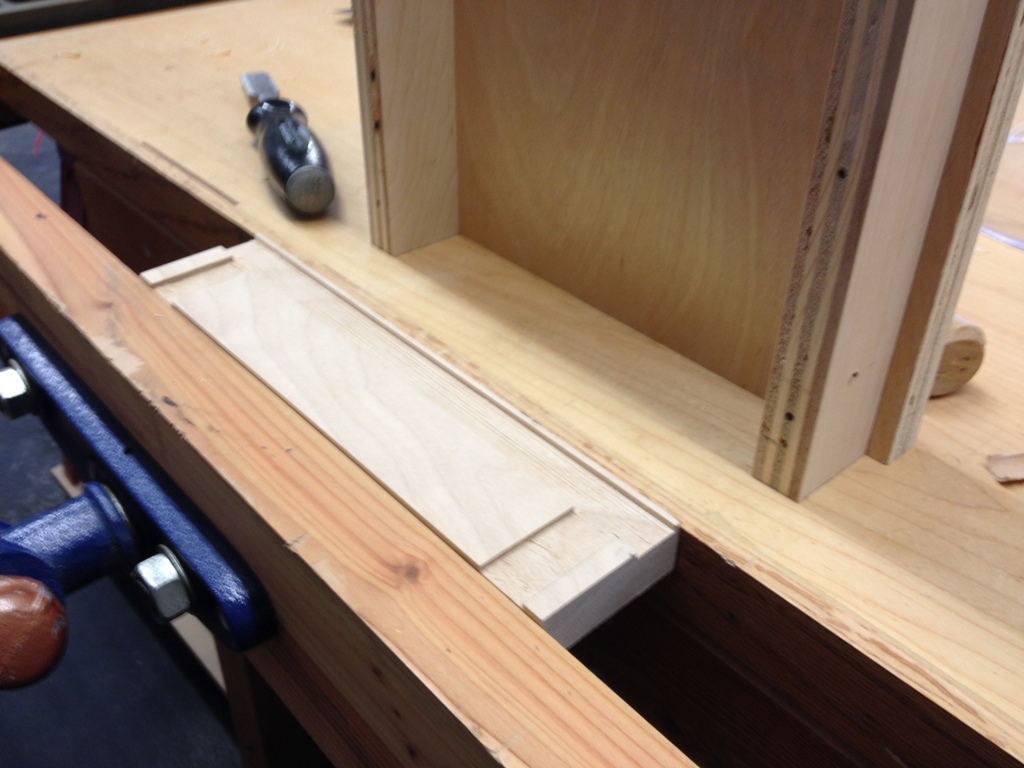
But once it started coming together full scale, it made me realize there were still problems to overcome. Those small boxes seemed a lot bigger in my head, but now it was clear that I had to make these long, narrow drawers, or they’d be useless.
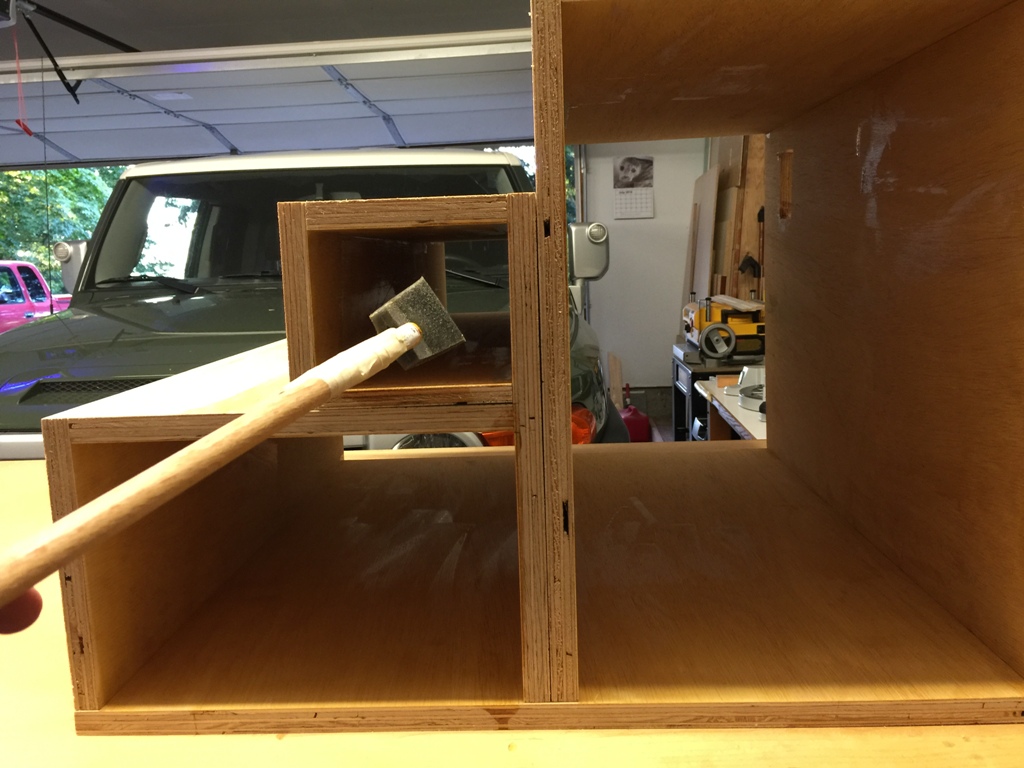
Not to mention the problem of how to get polyurethane in there. I should have finished everything before I assembled it.
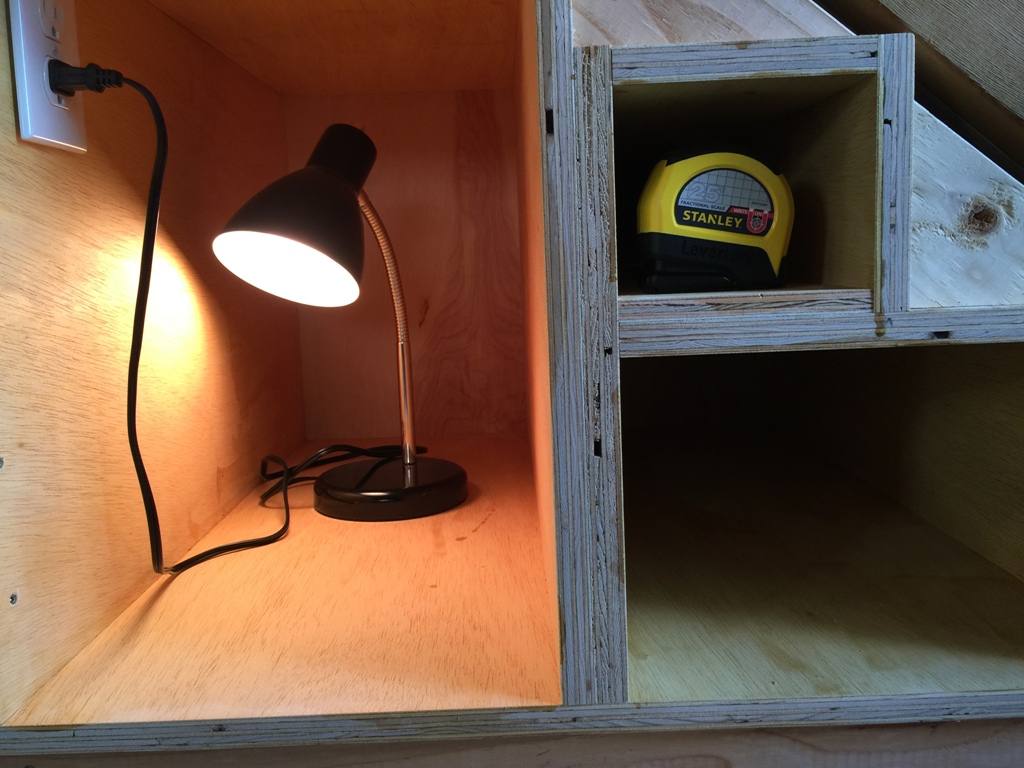
I did find an unused electrical outlet in there, and it works and tested out okay, so I decided to move it to the front of the cabinet. Make it a little more useful. Please consider that it was 100% useless before, so anything would be more useful.
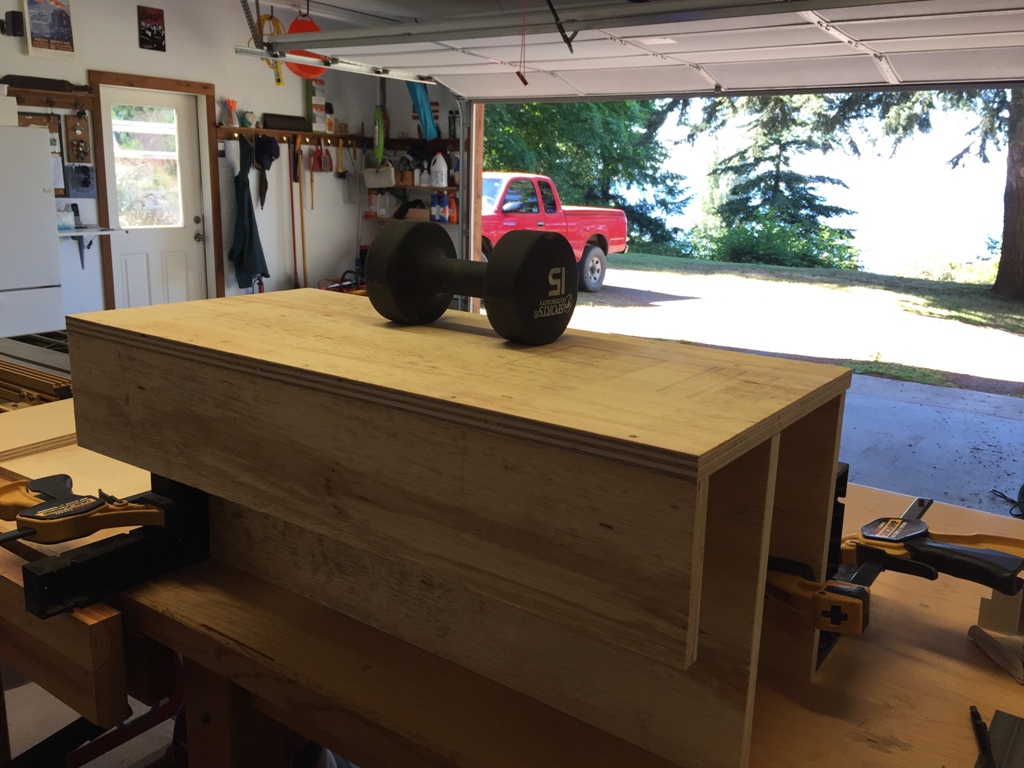
Once the carcass was assembled, it was time to make and fit the frame. Nothing fancy, just a bit of hemlock I had lying around.
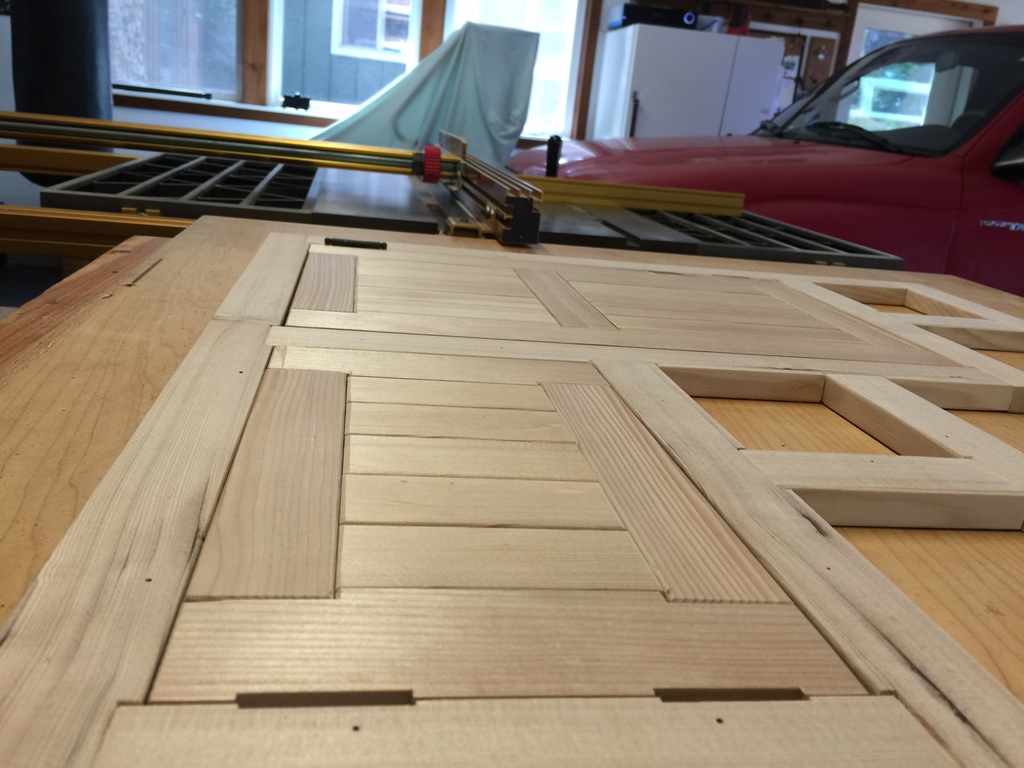
The doors came out looking really good. And they were flat this time too. And square. I’m getting better at making doors, I think.
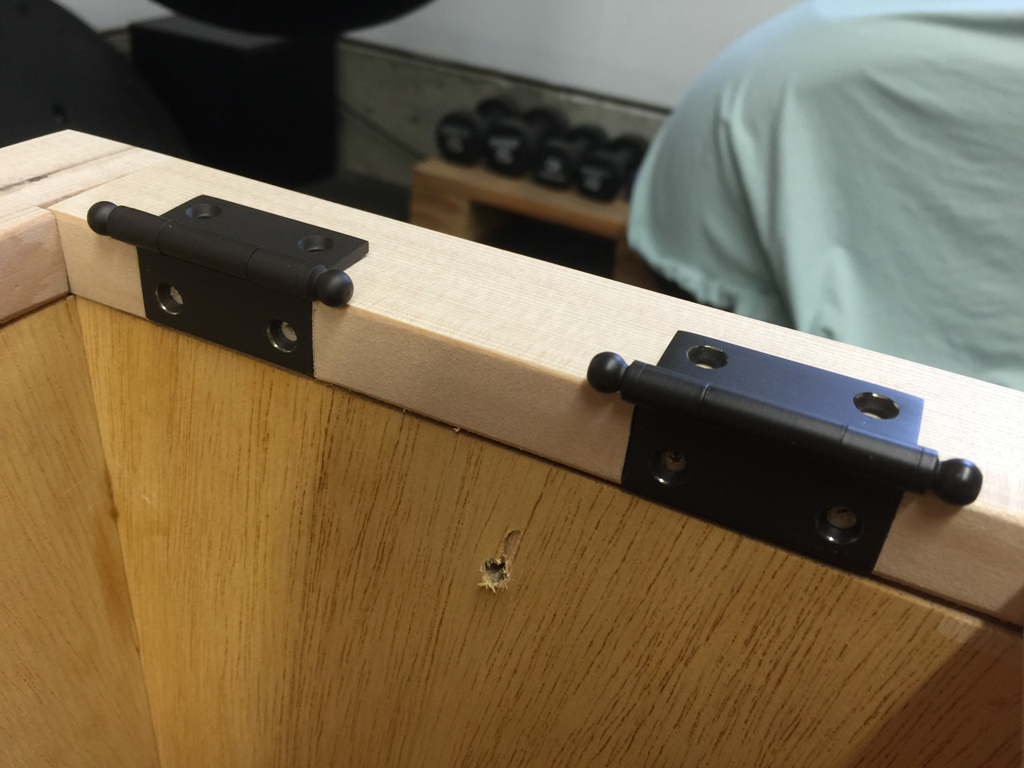
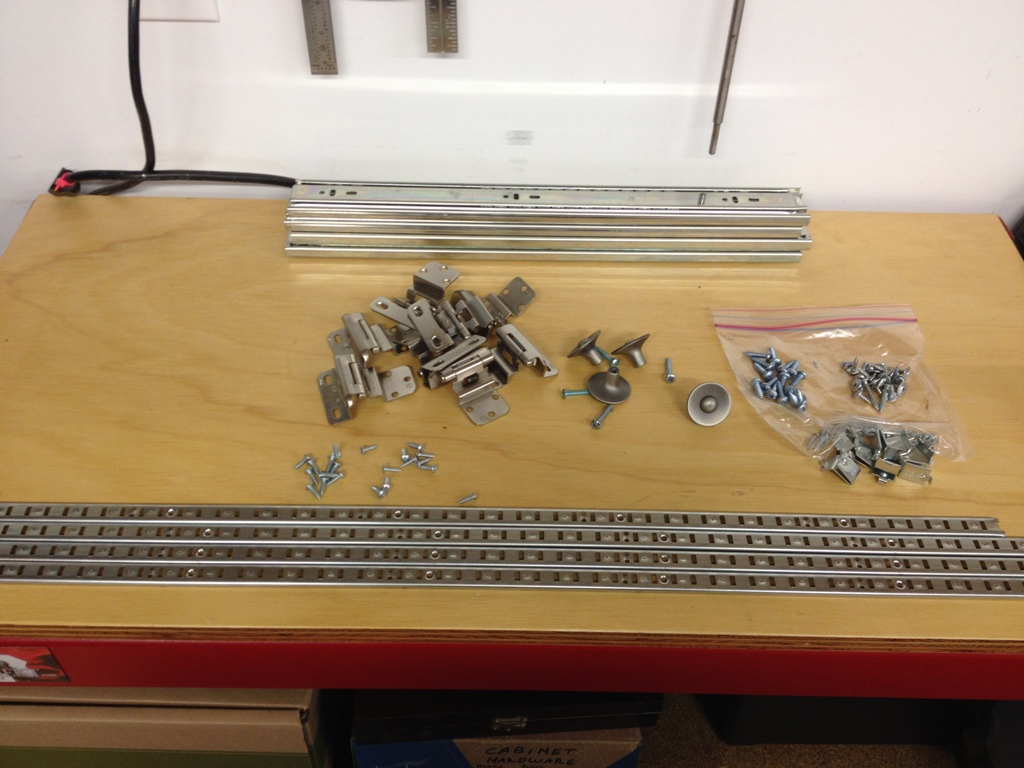
I think the hinges cost about as much as the plywood and the hemlock put together. I like good hinges, though. Makes the install go a lot smoother.
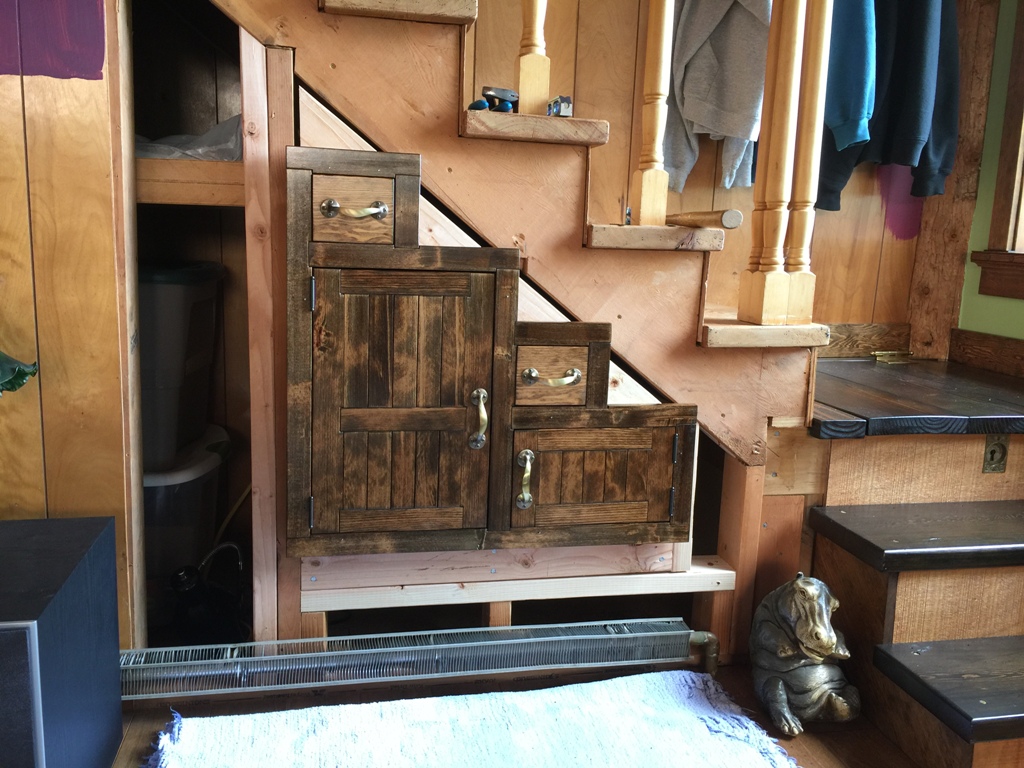
And here it is stained and finished and hardware installed and fitted into its hole. Still some adjustments to make before final install, but I think I’ll wait until I have the rest of that paneling knocked out and I’m ready to drywall. I just pinned it in place so I don’t have to look at the hole in the wall anymore.
Not sure if that storage is anything good except for ninja throwing stars and nunchucks but I could make that work.

Saw this heron out fishing at low tide. If he seems a little annoyed at all the tourists, well, he is, I assure you.
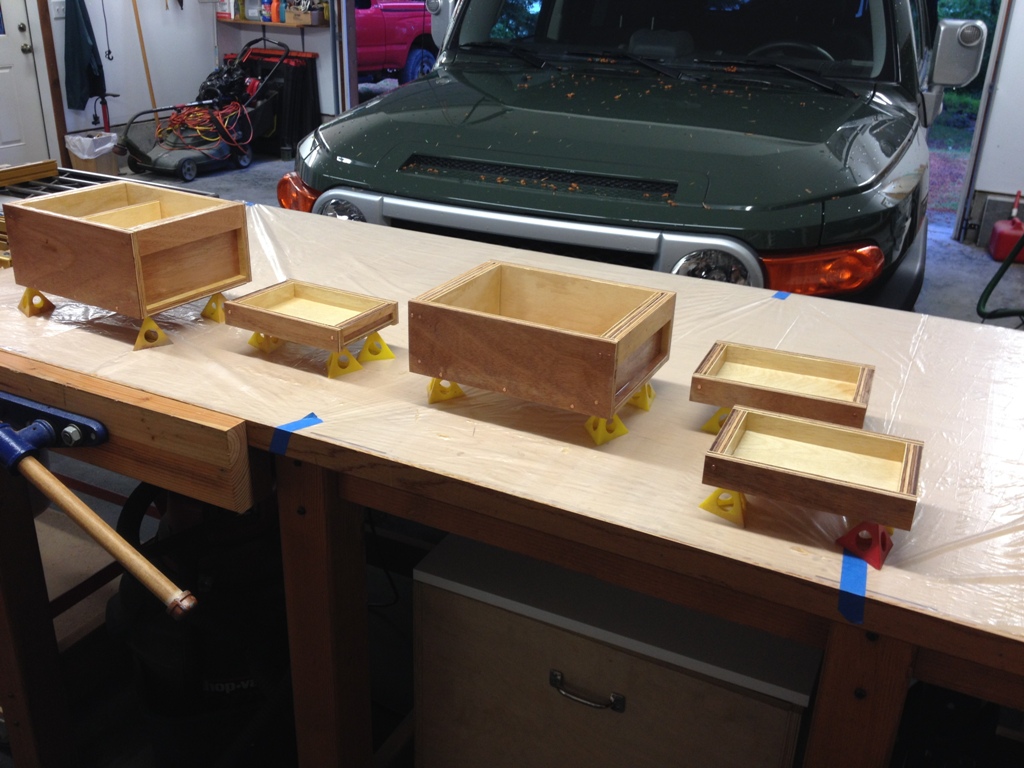
I’m really enjoying making these boxes out of scrap plywood! These are all storage/organizer boxes for places like under the kitchen sink and some small tool boxes for in the shop. I’m feeling a lot less disorganized now. Anyway, I’m enjoying making these so much that this may be what I (eventually) do for a living!
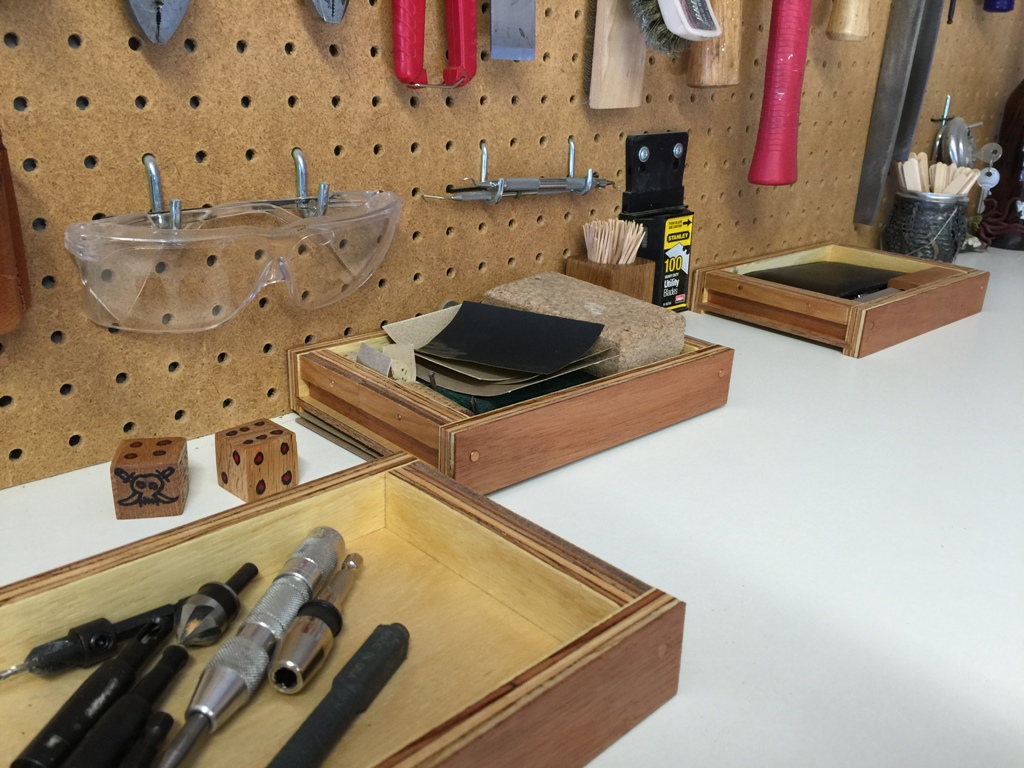
I’ll call it The Pirate Box & Crate Company, and I’ll make boxes for organization, for storage, and custom boxes of whatever size someone would need. We invest so much into plastic boxes and storage containers, and all that plastic either sits in a landfill or floats around in the sea and washes up on a beach somewhere. I think it’s a good idea to get back to some basic wooden boxes like this. They’re easy to make, and would be fairly quick once the process is streamlined.
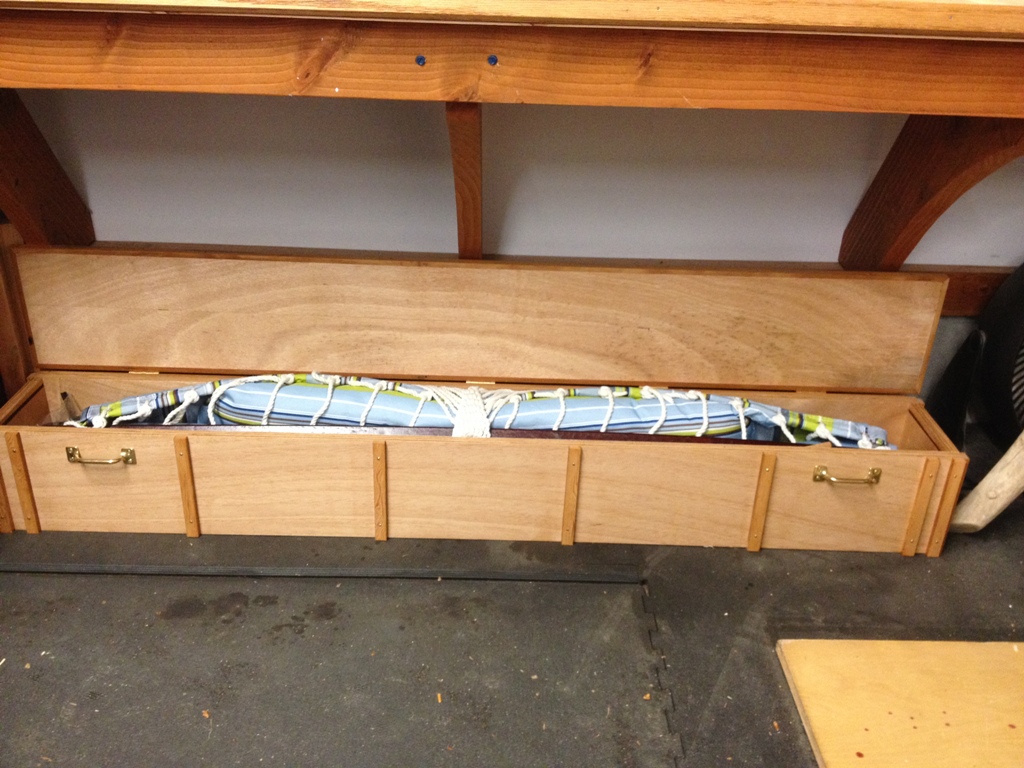
Here’s a chest I made for our hammock, when it’s not in use.
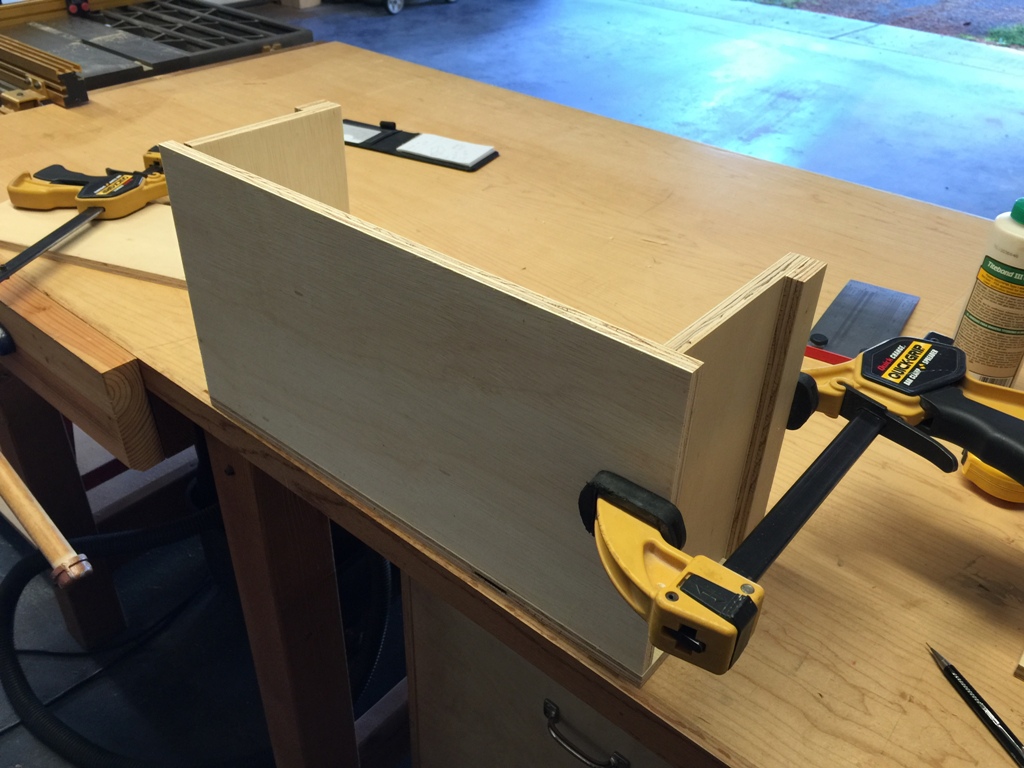
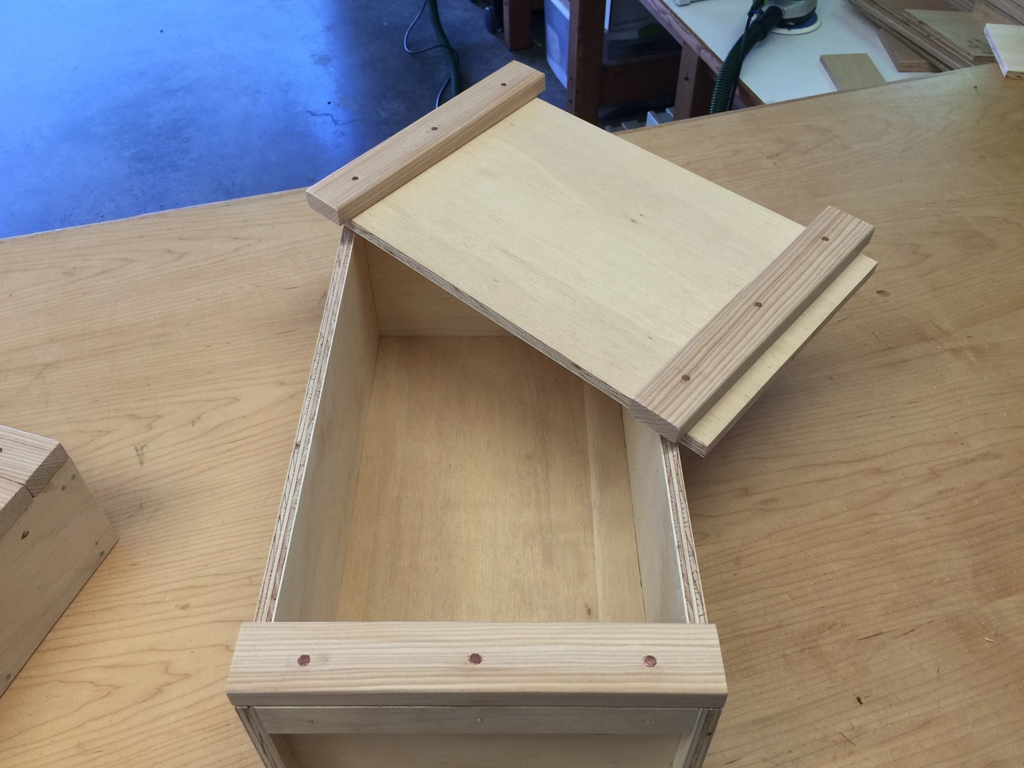
And here I am assembling more boxes. These things are a cinch to make! This box will replace a cardboard shoe box that housed odd and specialty drill bits and replacement blades, and has been falling apart rapidly for years. It barely holds together anymore. This box here will last decades.
And it’s all made out of scrap plywood and some 1x2s that I had laying around.
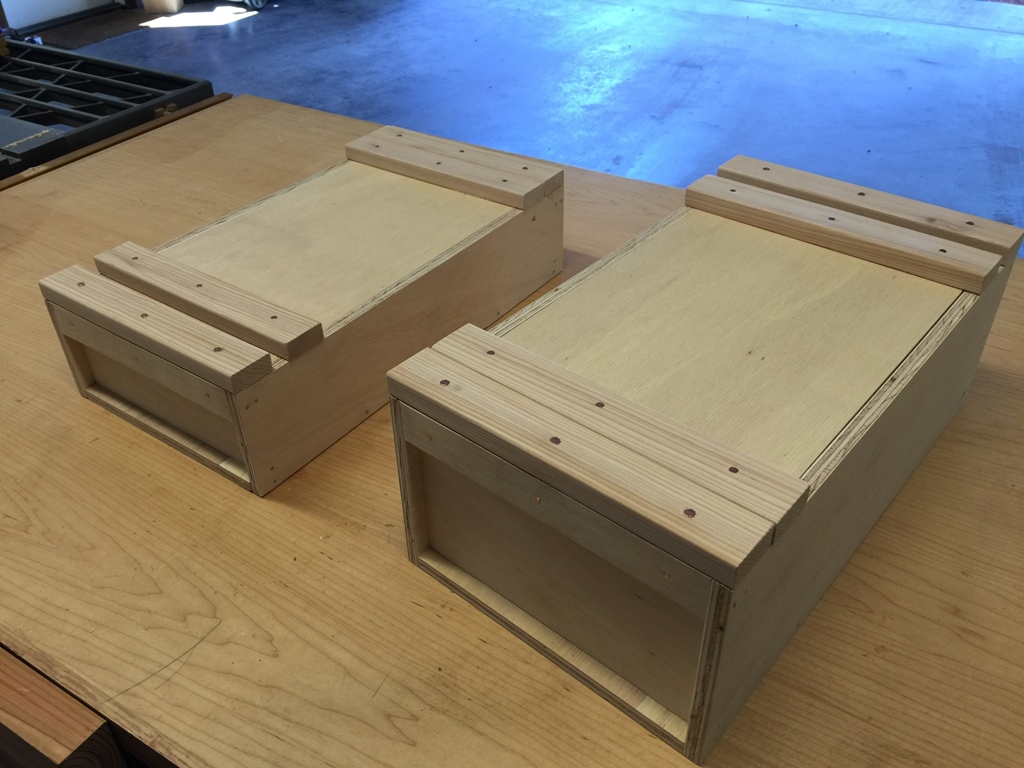
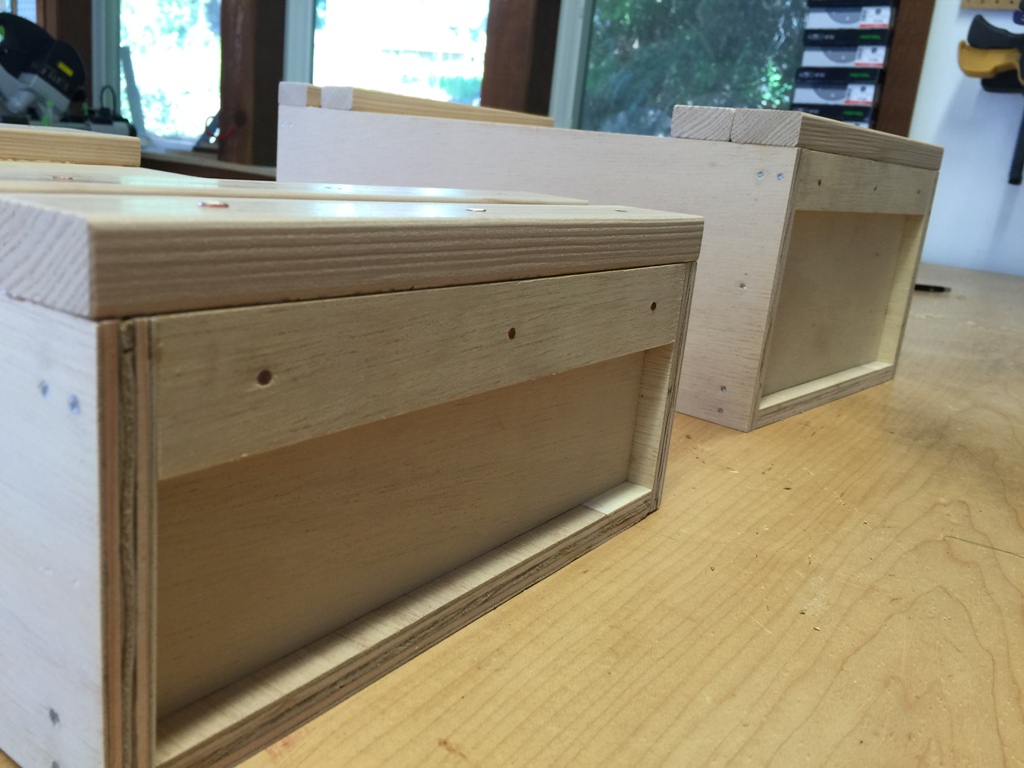
I designed the lids to these guys from the traditional Japanese toolbox, with a lid that slides into place. You can make them so the lid locks into place with a tapered piece of wood, but I didn’t see the need. Both boxes are going to be for things I access regularly, and they won’t really need to travel anywhere, so I can leave the lids loose on top of them.
I’m enjoying this process more than I probably should be. These things are quick and fun to build.
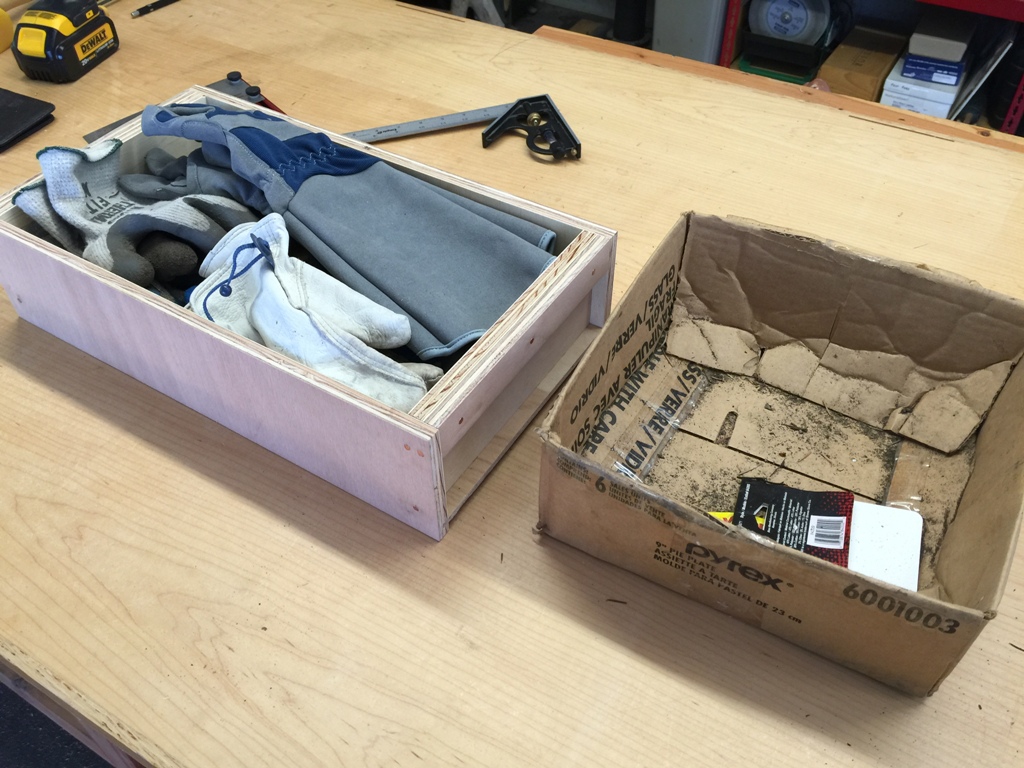
To the right is my old box of gardening gloves. To the left is the new glove box. How awesome is that?
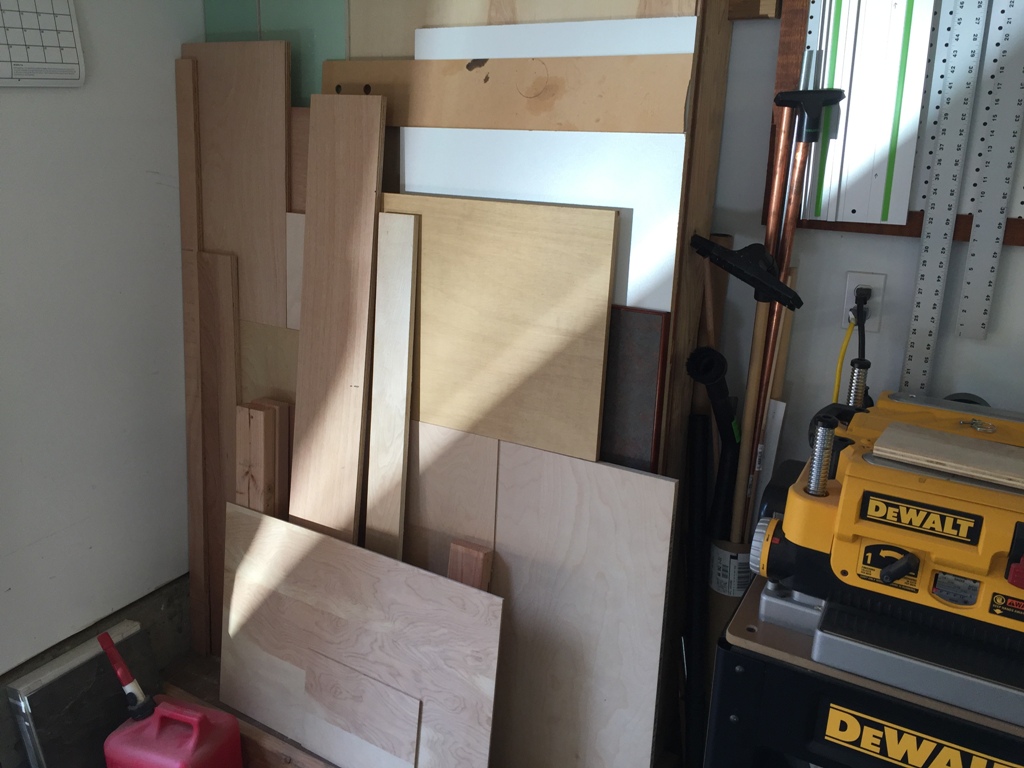
And I have got LOTS of scrap plywood left over to make more boxes. Going to make some bigger ones next. This is so fun! And yes, I totally get that my non-woodworker readers out there completely don’t understand any of this.
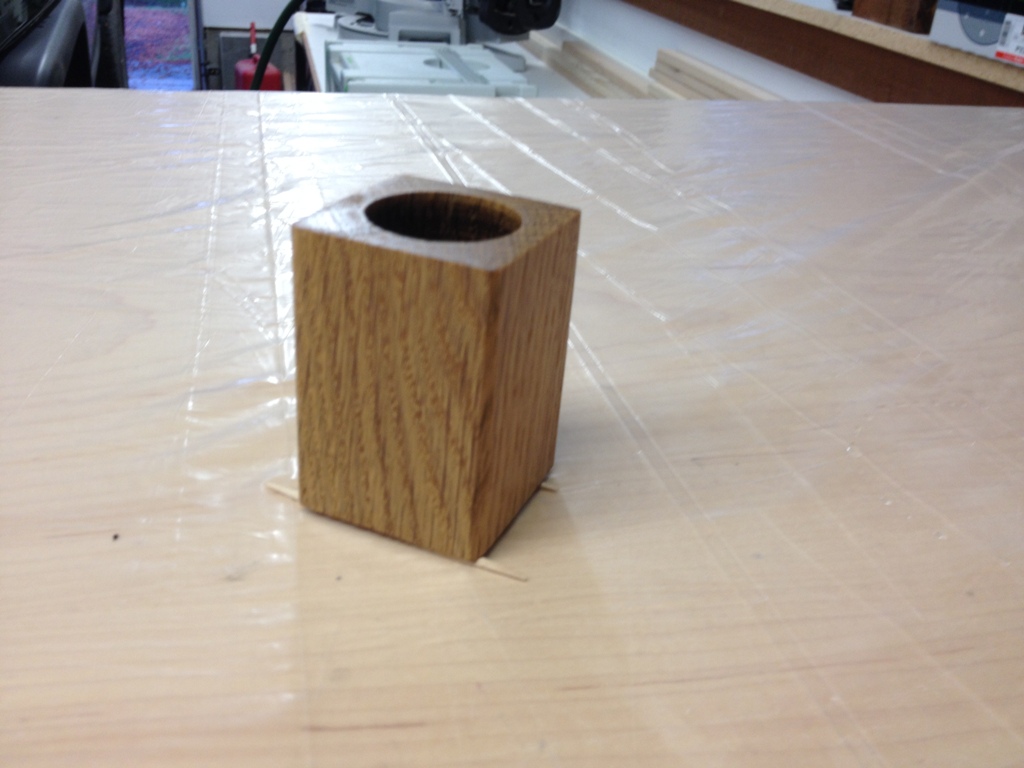
Not a box, but a toothpick holder. Before this, I kept my shop toothpicks in a box made out of duct tape.

The low tide today was 3 feet below sea level. It was surreal just to go down there and walk around on ground that is underwater for the vast majority of the year. All manner of birds and critters were about, enjoying the newly exposed seafood menu.
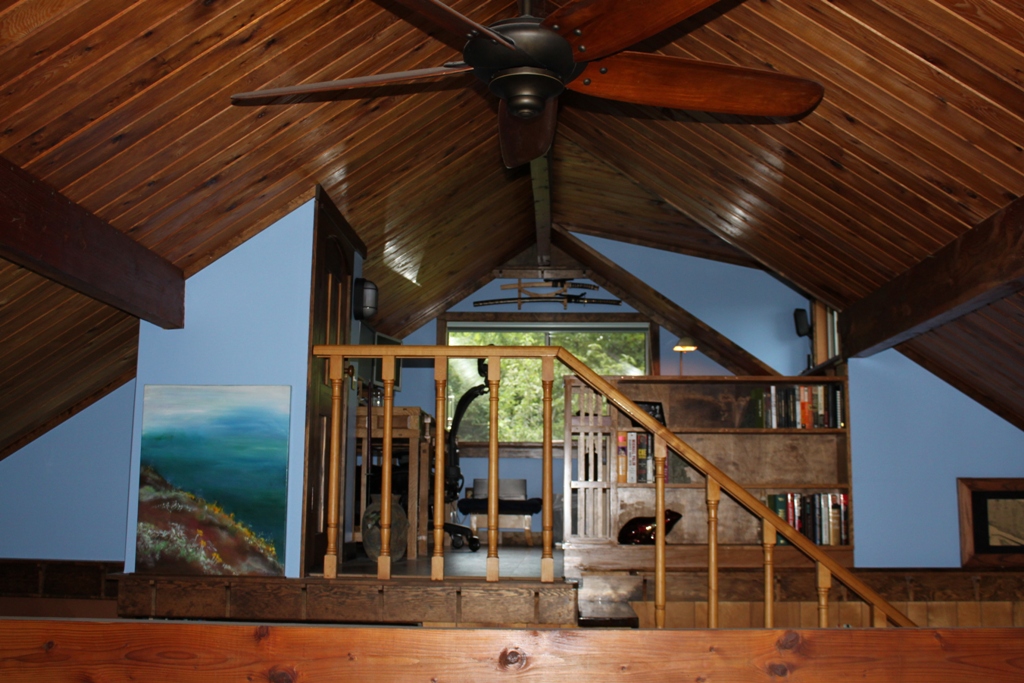
Please ignore that ridiculous handrail and those spindled balusters. They’re going soon. They’re going next. In fact, as soon as I hit ‘publish’ on this blog post I may start tearing them out. In their background is the finished loft, all done now. I just completed the built in bookshelf and all the finish trim that goes around it.
I made the bookshelf out of the leftovers from the kitchen cabinet project. I literally had just enough to do all this. My pile of leftover scrap could fit in a lunch bag. That didn’t leave a lot of room for error, if I screwed something up (which never ever happens) I couldn’t re-make any piece.
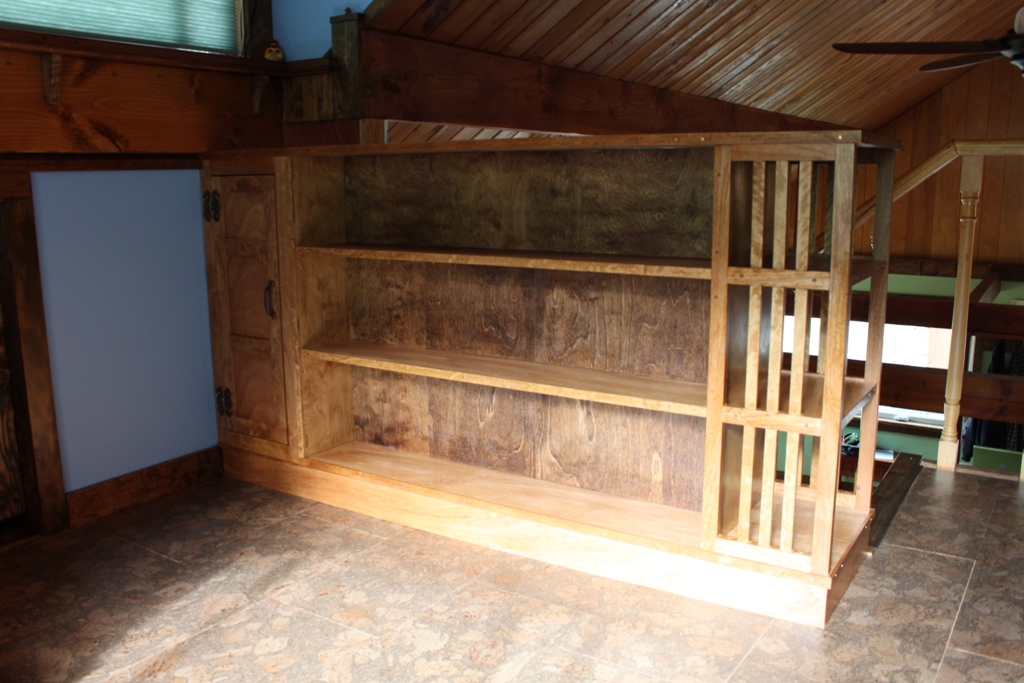
The bookshelf it replaces was half its size, and not only that, this built-in is double sided! It can store about four times as many books as the last one. Maybe after this house is all done, I’ll have time to read books. For now, I’ll just have to collect them.
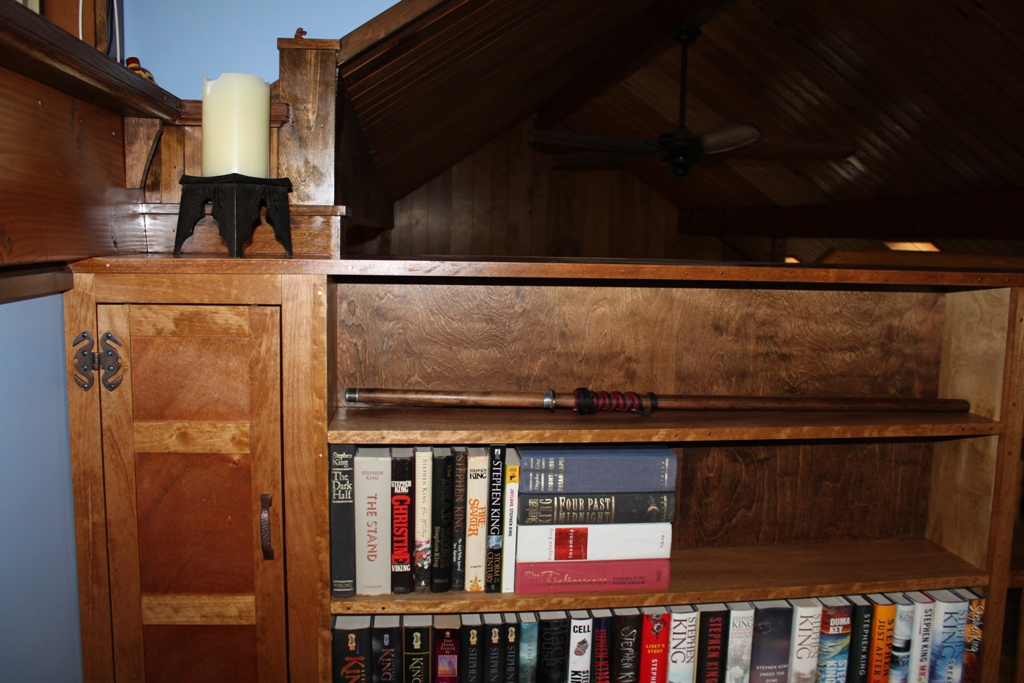
This isn’t really fine woodworking, though I used traditional joinery for the cabinet door and frame, and for the little end cap. One of these days I’ll make a nice piece of furniture, but right now I’m in a hurry to get this stupid house done. Check out those crazy hinges on the cabinet! They’re pretty solid too, I’m quite happy with them.
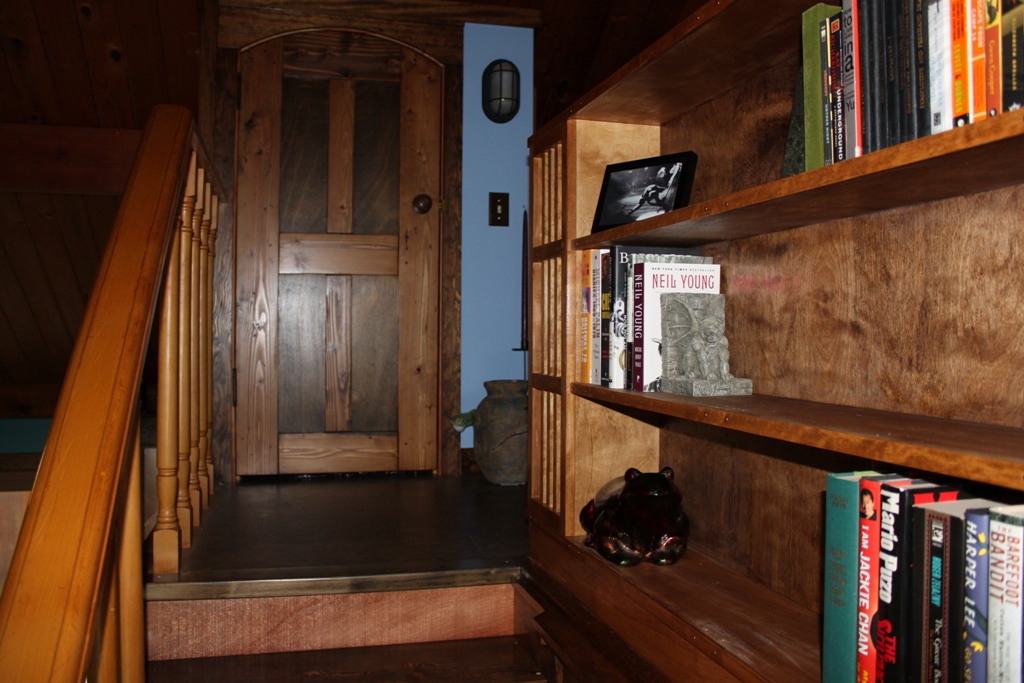
The shelves look a little bare now, but trust me, this house abhors a vacuum. They’ll get filled up soon.

Haven’t posted a critter pic in a while, so here’s a mink at the beach.
Here’s a picture of the kitchen countertop that came with the house.
See that? See that deep impact wound in the top of the kitchen countertops? That’s lovely, isn’t it? My best guess is that was caused by a tomahawk thrown by an angry indian at a prior owner of this house. But I really don’t know. All I know is we’ve been staring at that ax wound in our oh-so-lovely formica countertops (with the gold flecks that look like the bottom of a bottle of Goldschlager) for longer than I care to remember. And we want it gone. Is it possible to hate kitchen countertops? Yes, it is.
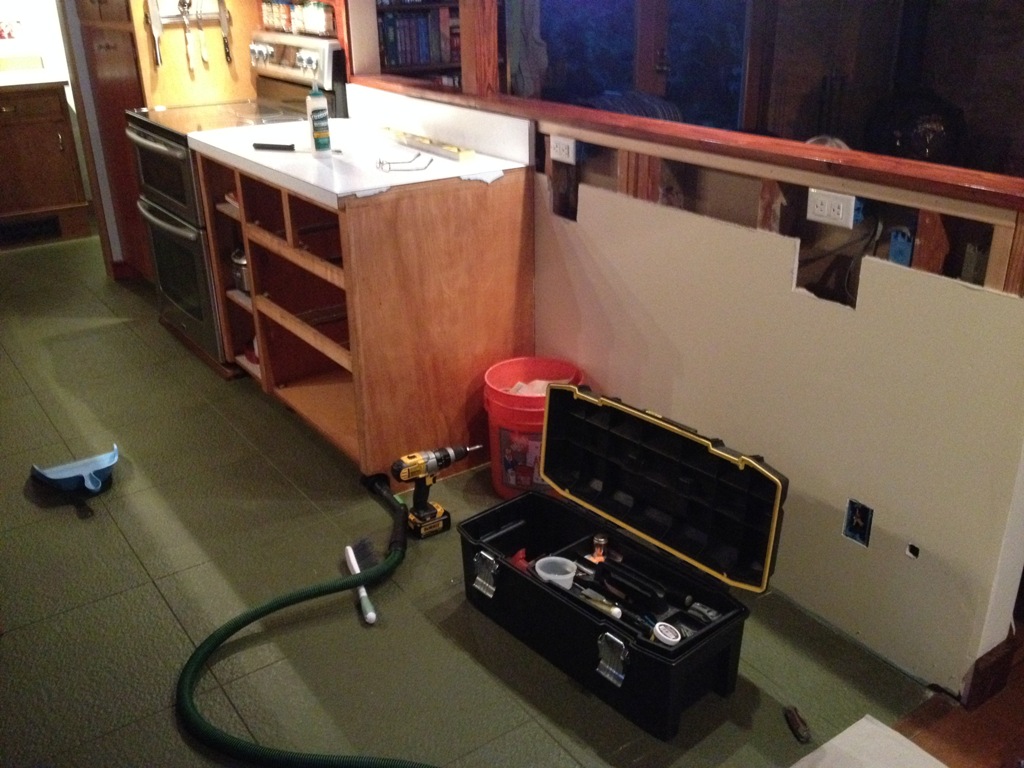
So, that’s the whole point of this exercise. Remove the existing countertops with a sledgehammer and a crowbar and maybe a tomahawk, extend the existing cabinetry, and install new countertops atop them.
Easier done than said, eh?
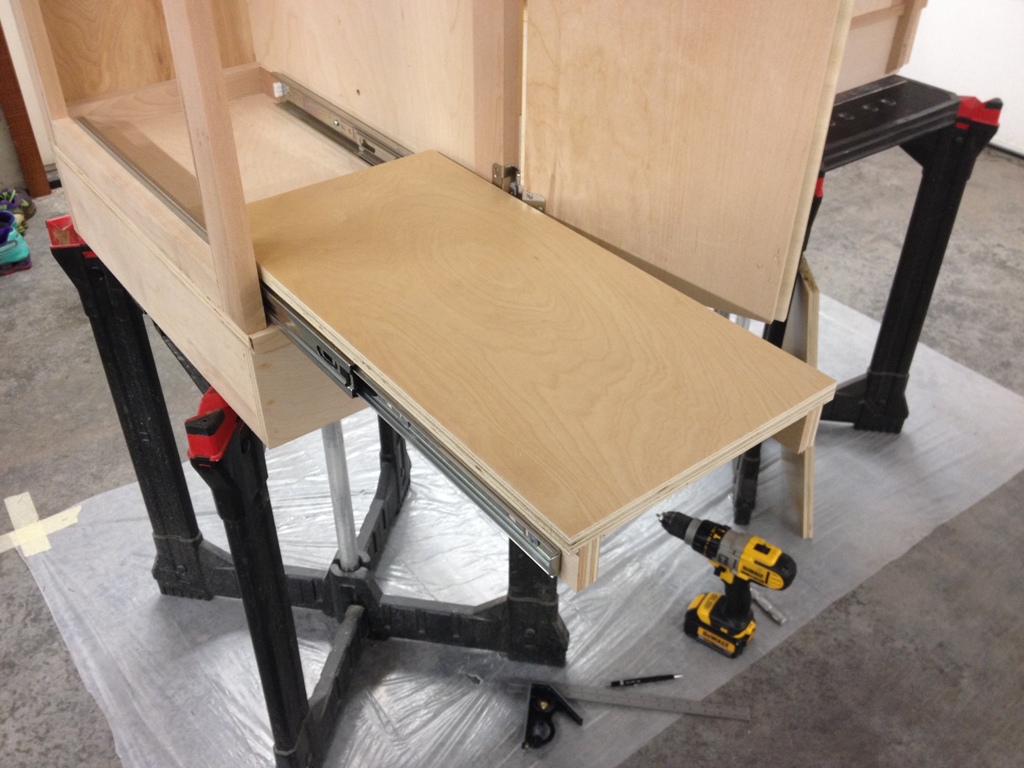
I made these platforms that will hold our trash bins. We can pull the trash bins out on the little (and rather expensive) drawer glides and they’ll be conveniently next to us ready to accept copious amounts of kitchen refuse while we cook. I have to admit, I have my doubts about this idea. It looks good on paper. We’ll see how well it does in practice.
If my cabinet burns down, this will be all that’s left.
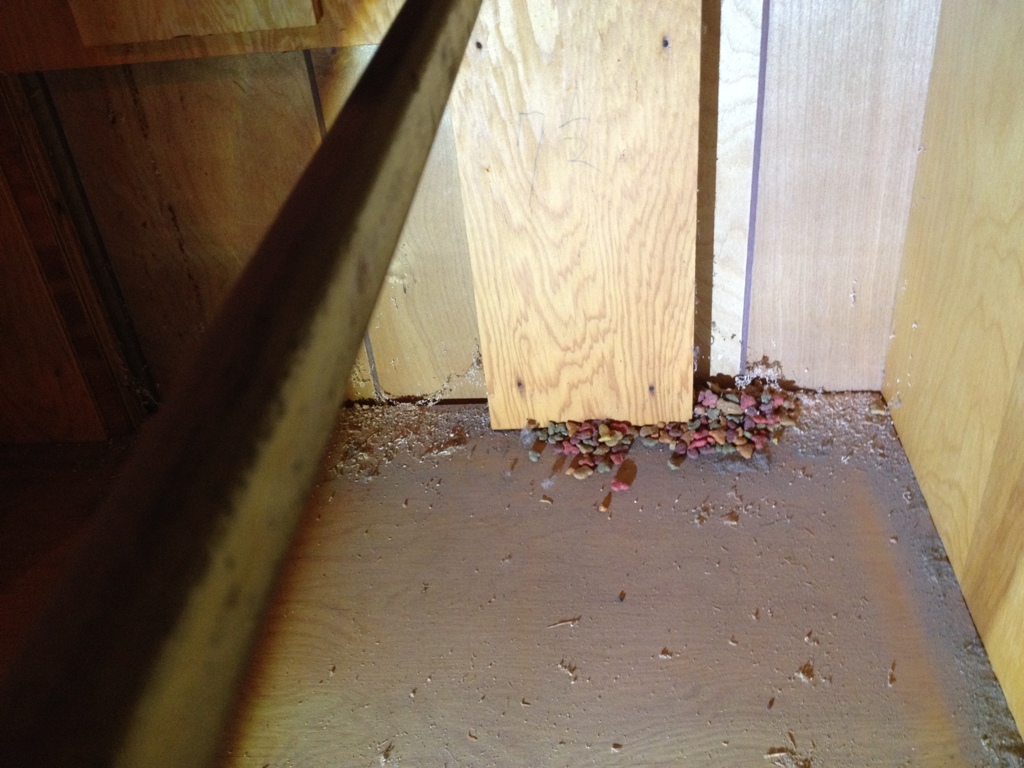
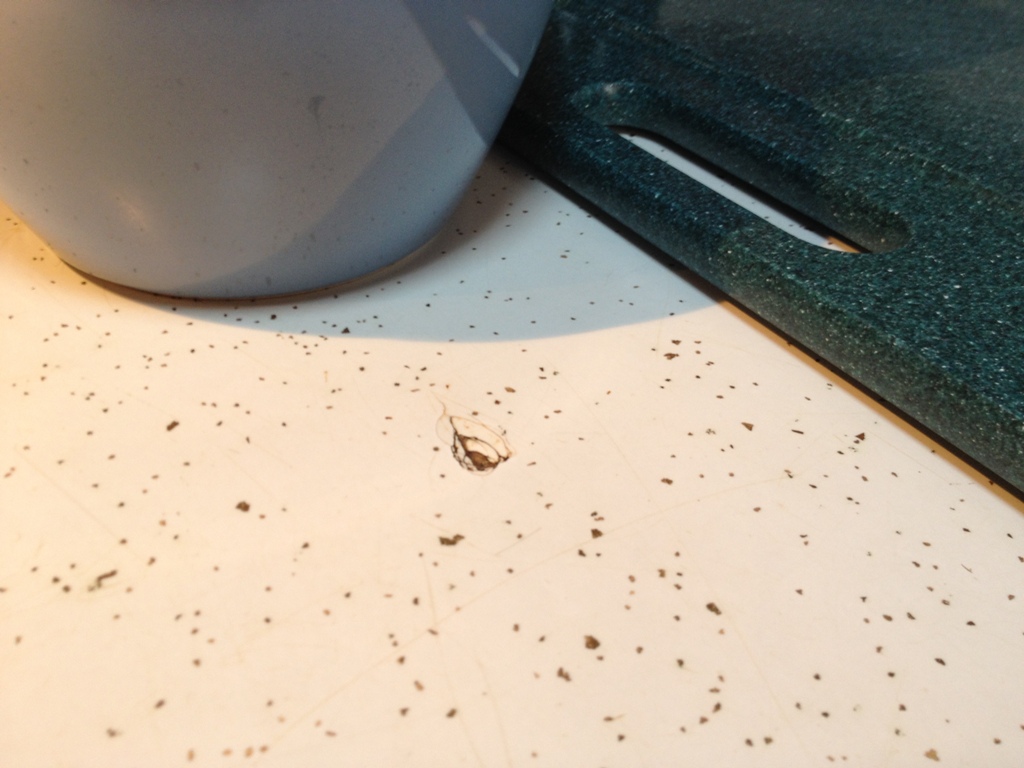
And here is photographic proof that our house is rodent free. Because when I removed the drawers from the existing cabinets, in preparation for the install, I found this pile of spilt cat / dog / gerbil / whatever food, just waiting for the ravenous little fangs of rats and mice and other assorted vermin that can sneak into a house. The fact that this pile has sat undisturbed for at least four years is evidence enough that nothing comes into my house that would want to eat it.
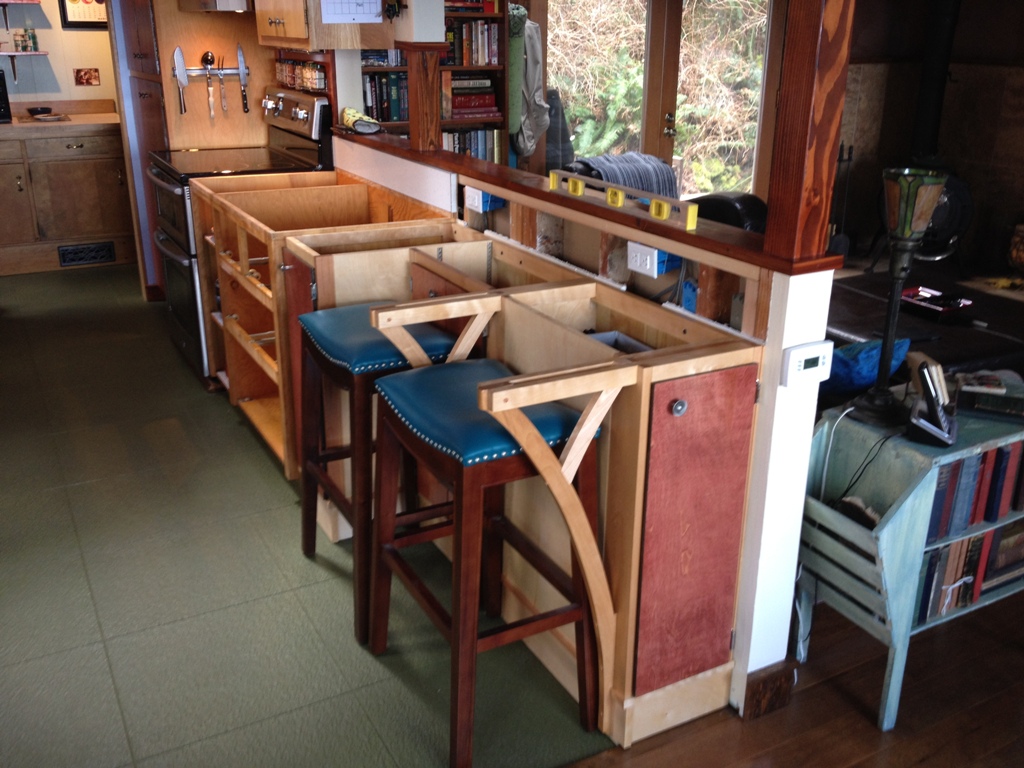
And here they are installed. Yeah, it’s a hodge-podge of colors and textures, the red cabinet doors, the blue stools, the green floor. This house is a patchwork quilt, which is something you get when you live on Orcas.
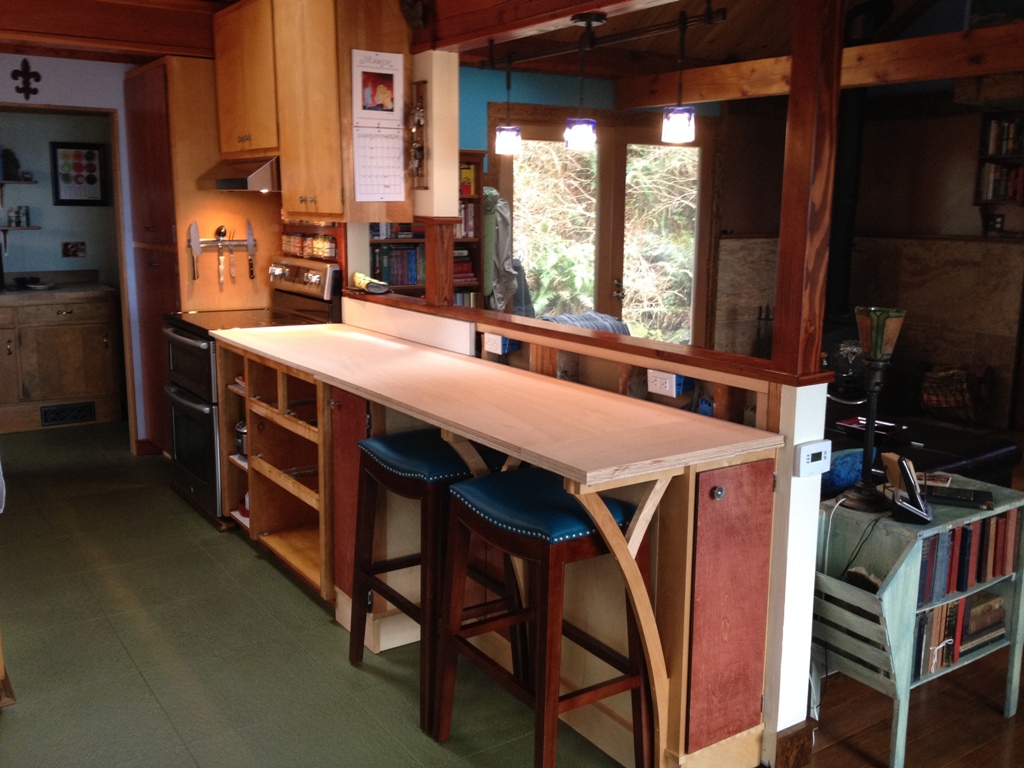
I’ve got some plywood pinned on top temporarily, as it could be months before the new countertops are installed. Island time, you know.
Lots going on here as usual. No finished projects to report on so I’ll just share with you a little slice of Orcas summer.
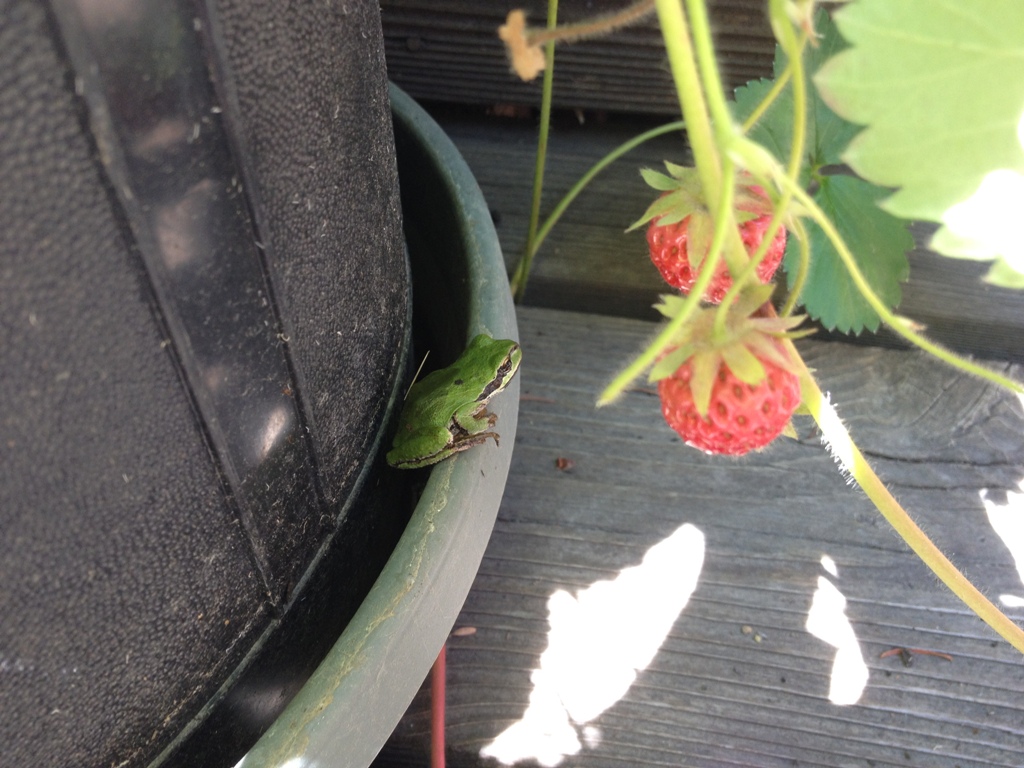
Frog in our strawberry plant. I think he wants to eat a strawberry, but they are bigger than he is so it poses a logistical issue.
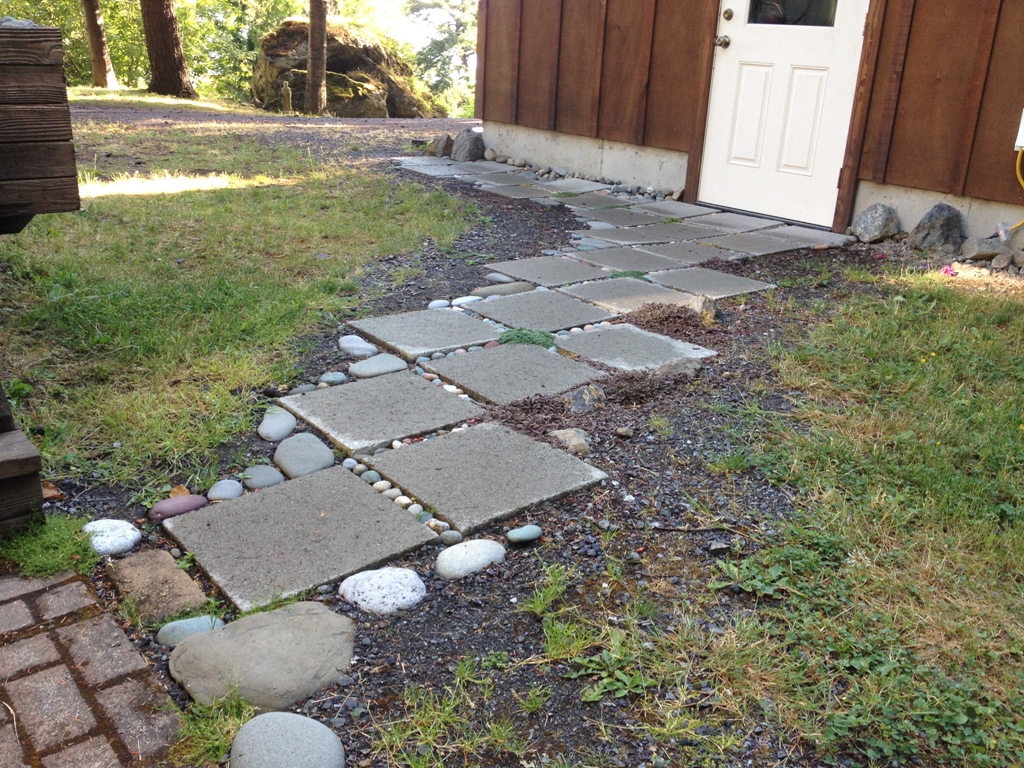
How the path has grown. I just keep adding stuff to it: rocks, moss, plants, whatever.
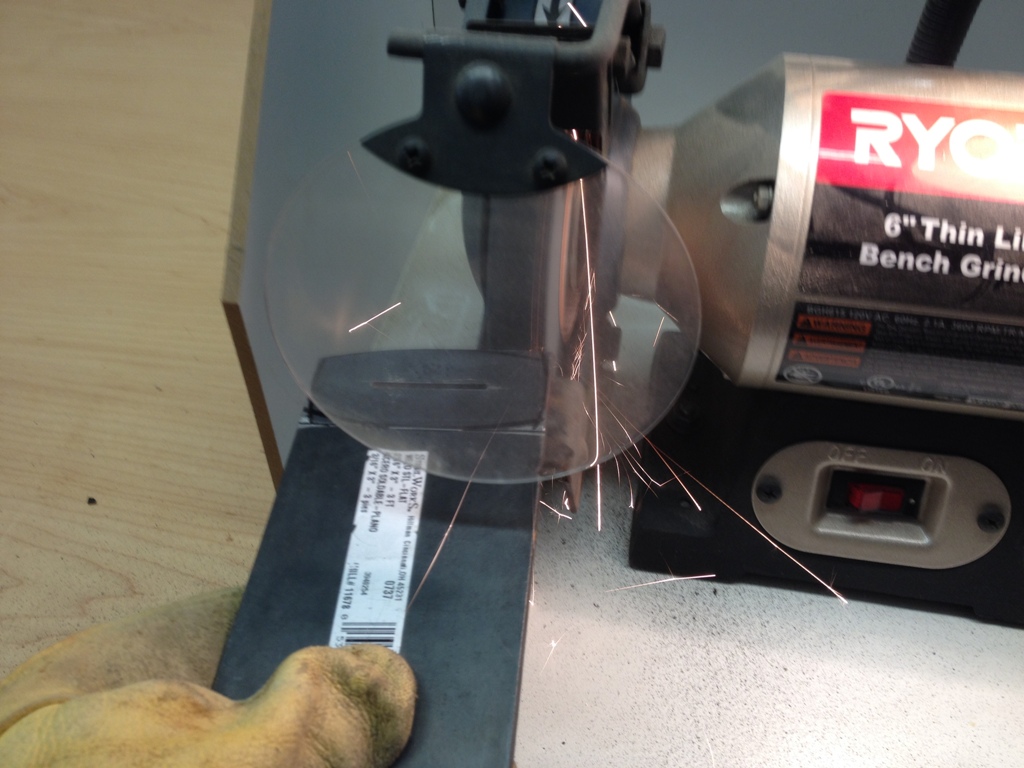
Sparks flying in the shop. I bet you wonder what I’m working on now…

Forest fires in our region have given us dramatic sunscapes. This was from shortly after sunrise.
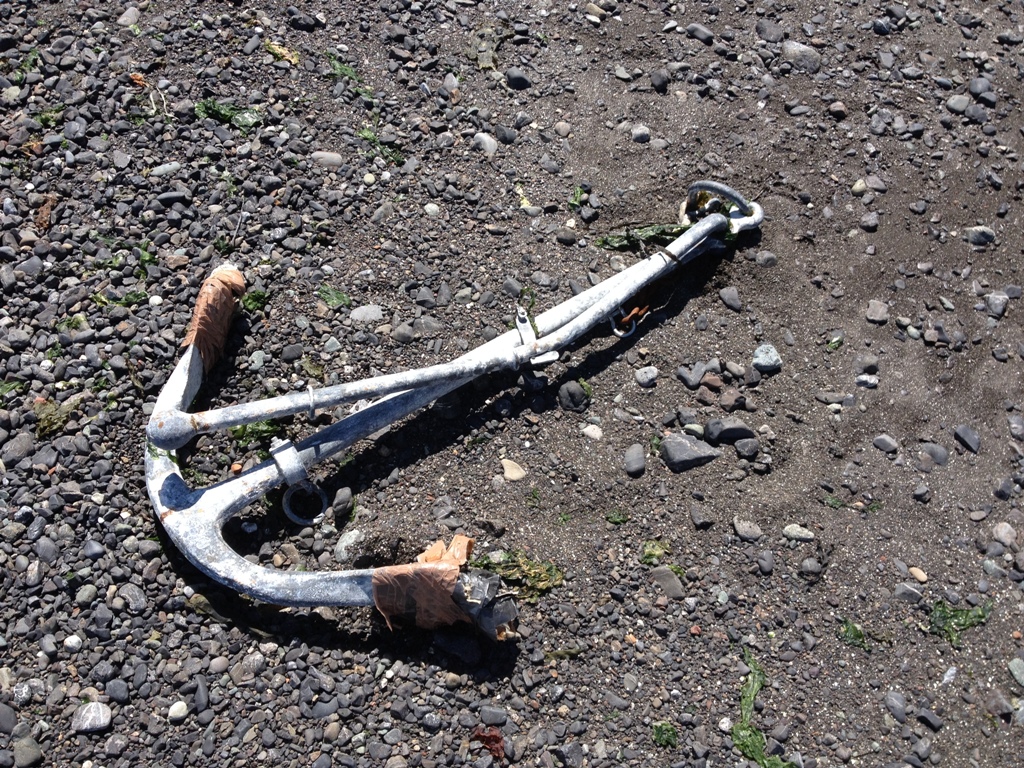
All manner of pirate booty washes up on our shores.

Flying over Eastsound. On the island, we just call it “town”. It’s best avoided from June to September because of the tourist infestation.
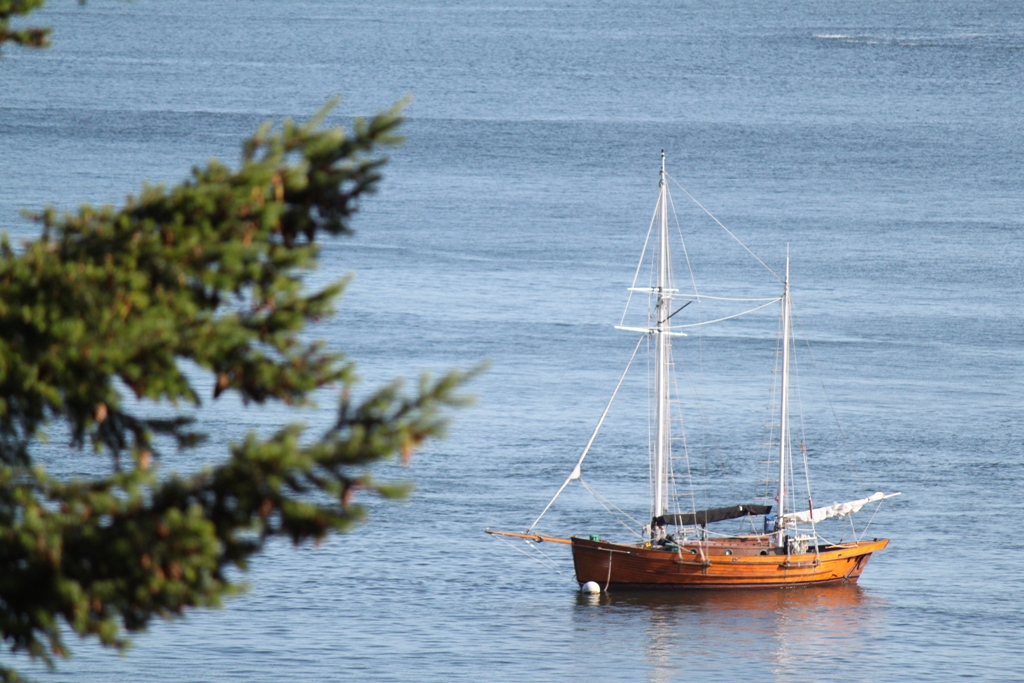
Sailing around from island to island in a wooden boat? These guys have the right idea.
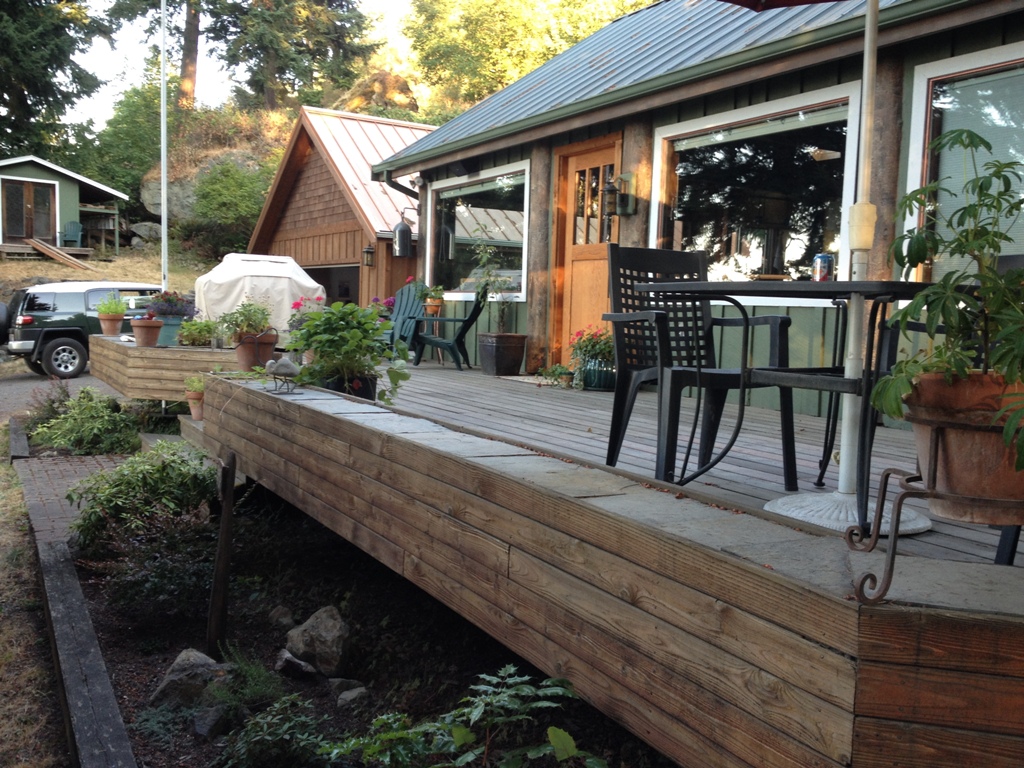
This really would be a nice place to rest, if ever I would rest.
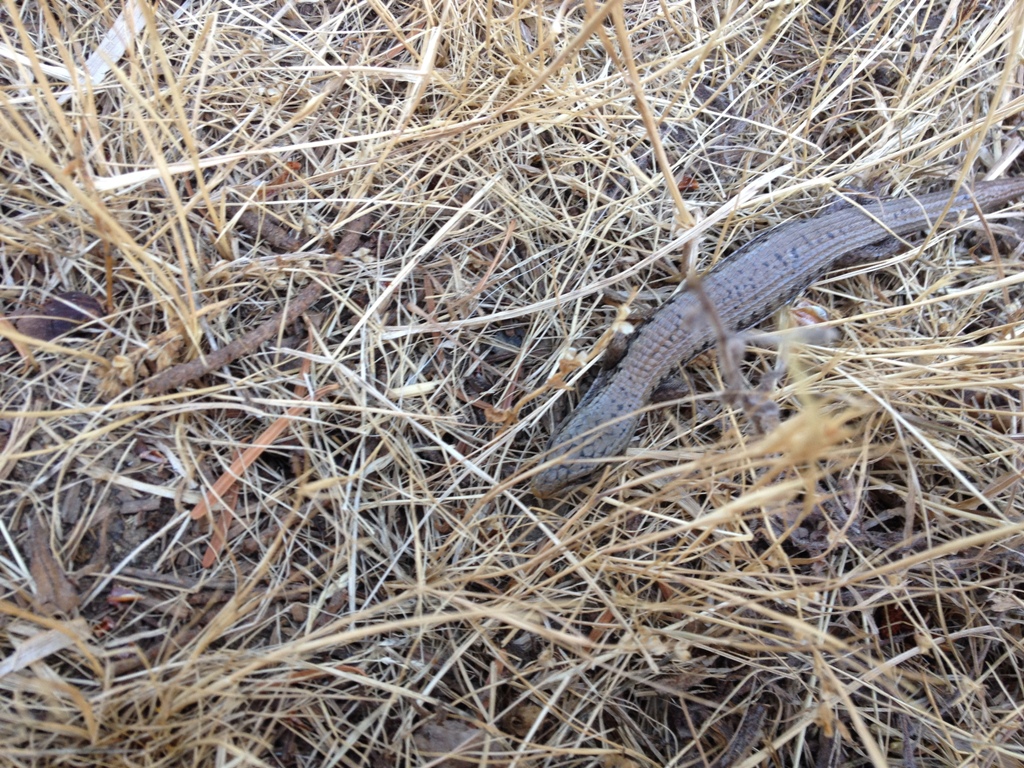
I saved this lizard from Inky’s deadly fangs. She was fairly well convinced that it was a cat toy.
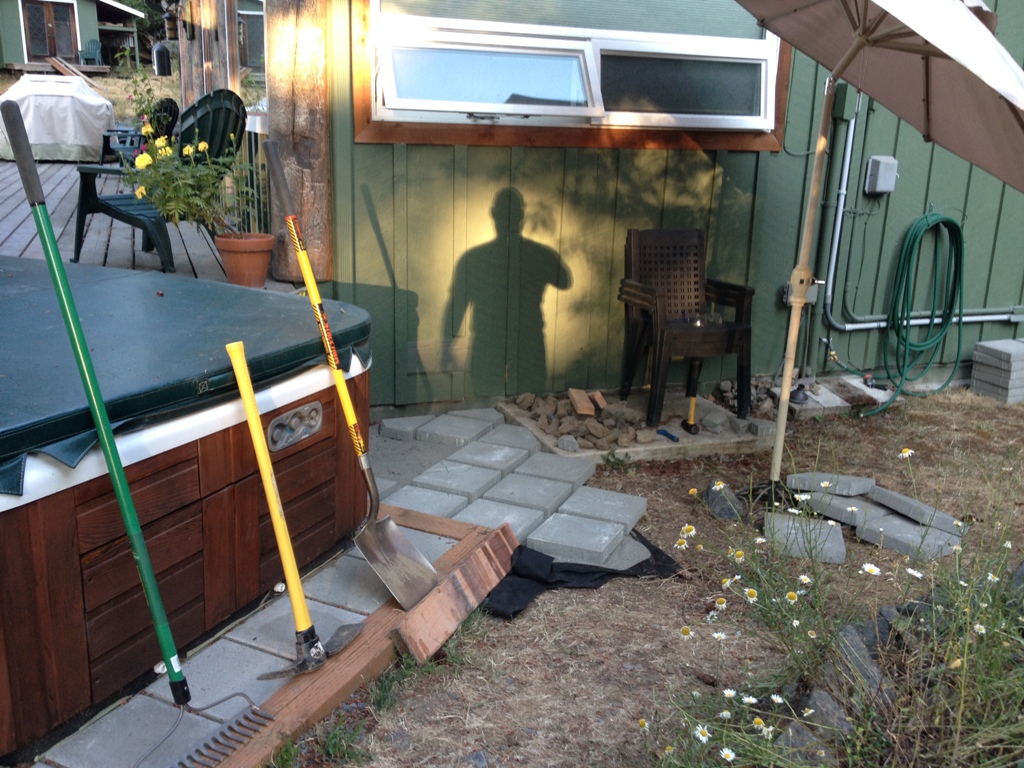 Does it look like a mess? It is. Give me a few weekends, I’ll have it all sorted out.