So, almost two years ago I made the Jeff Foxworthy inspired joke “You might be a redneck if you mount your bookshelf on the wall with 2×4’s.”
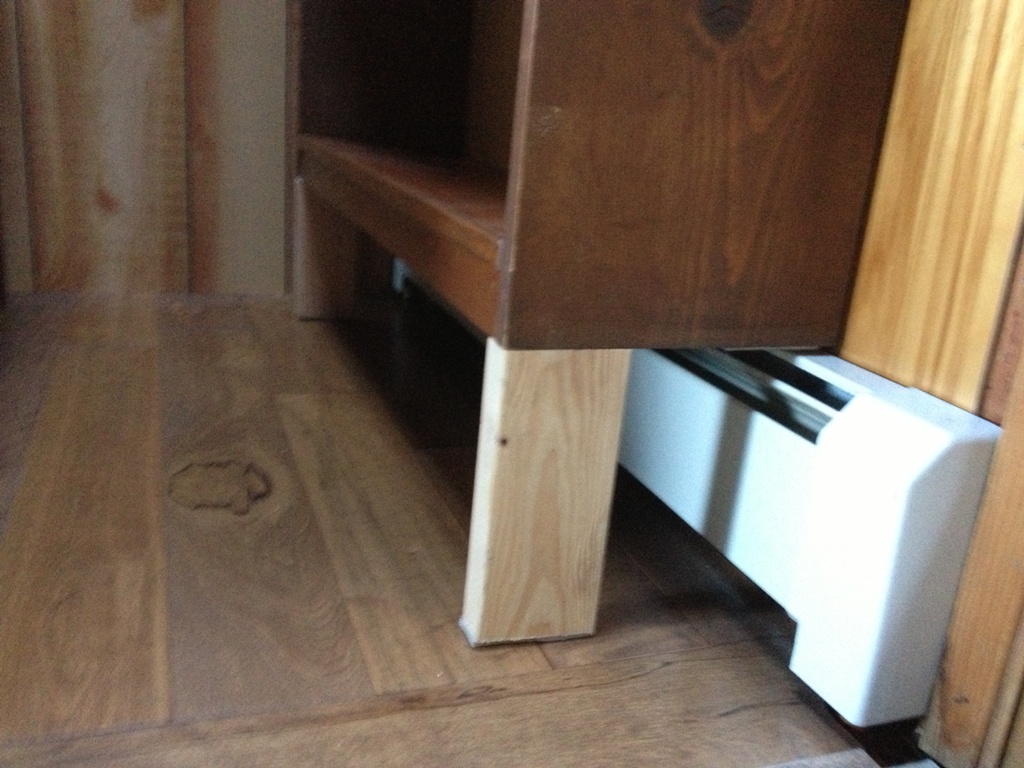
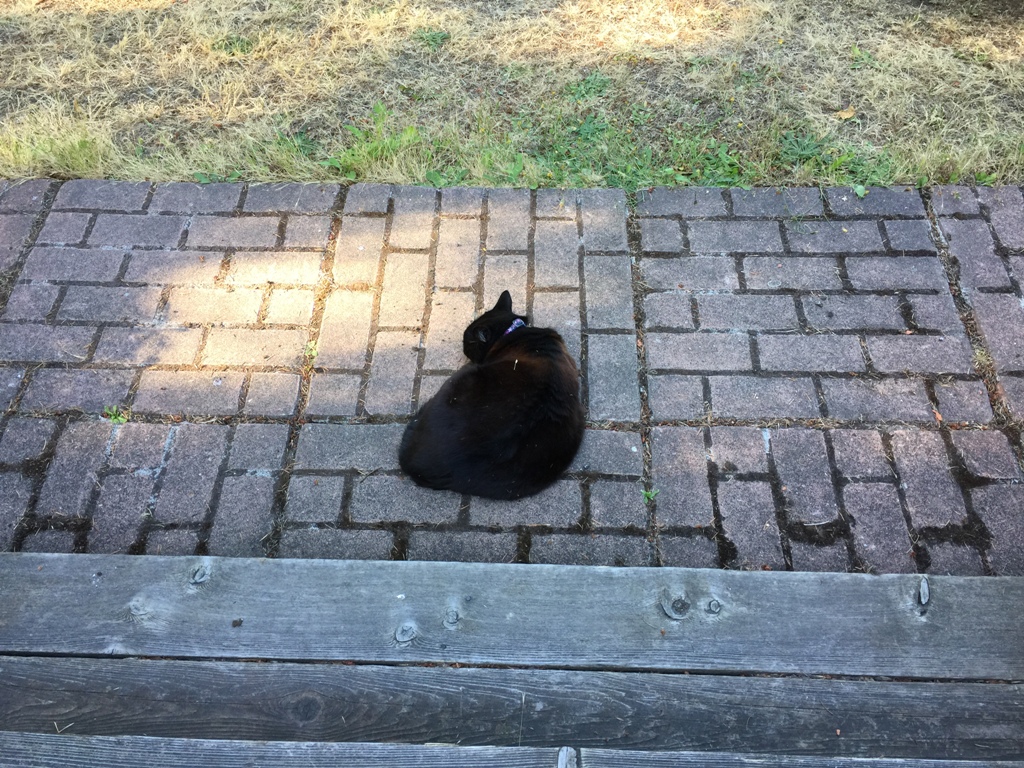
Yeah. You see, we have these little hot water radiators that heat the house. They work ok. I guess. But you can’t really put furniture in front of them or you lose all that heat. Plus, the furniture doesn’t go right up against the wall. Ergo, I mounted my bookshelf up on 2×4’s and installed it into the wall. The resultant space beneath the bookshelf was a favorite cat hangout, due to the nice warmth it gave and the opportunistic view of the birds out the back door.
Well, I always knew that when I got around to destroying the paneling and replacing it with drywall, I’d make something a tad nicer than a 2×4 block to support the front load of this 600 pound bookshelf. But first, a bit of history about the stupid bookshelf.
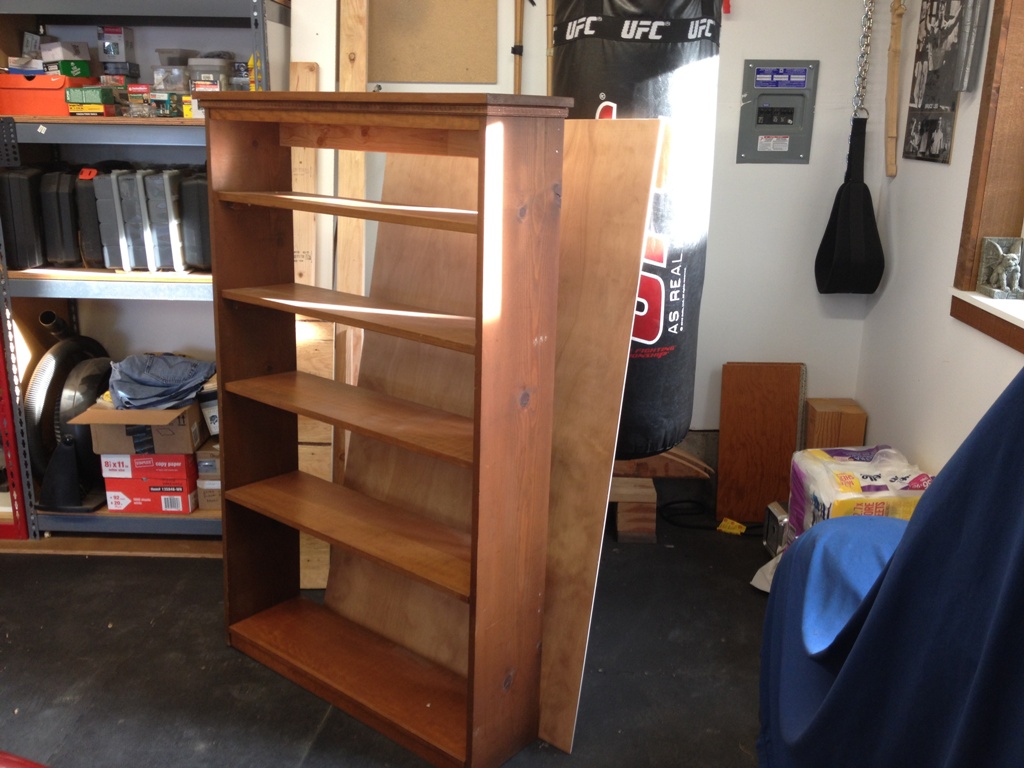
This was one of the first pieces of furniture I ever made. I had some spare boards from my old house in Denver, good aged fir 1x12s with really nice patina and very good strength. These were from old growth trees, and the wood is nice and dried now. It’s a shame they were butchered by my amateur techniques but there you have it.
The poor thing has been through the war and crossed several state lines to be where it is now. It’s never had a proper backing, so I bought some 1/4″ plywood that I’ll stain and affix to the back. Other than that, I’ll give it a few coats of polyurethane that it always deserved and patch it up nice. And when I put it back on the wall, it’s not going to be on crappy paneling but real sheetrock, just like modern homes. And it won’t be on 2×4’s!!
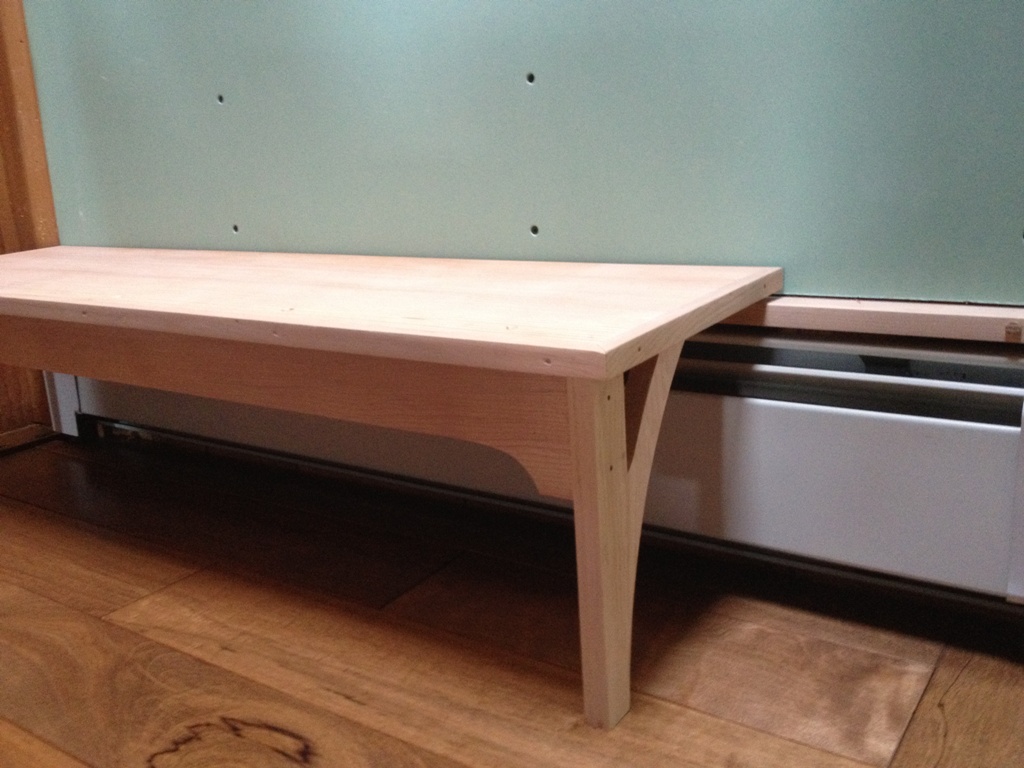
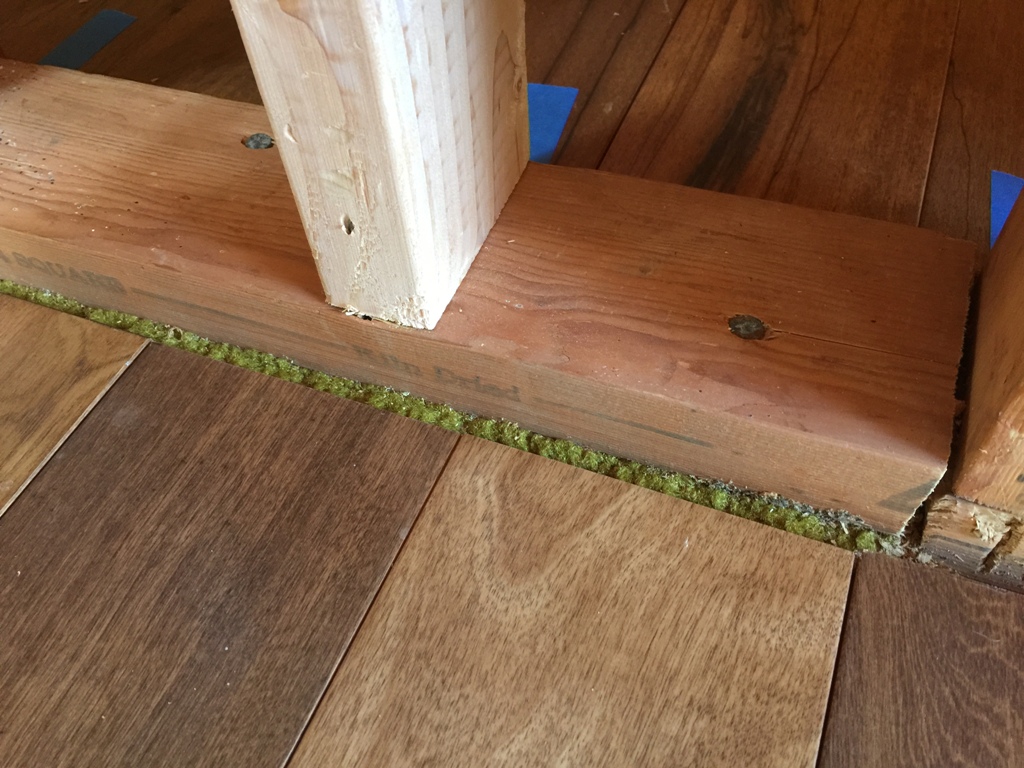
I made this little base to support it, and it rests on a ledge that’s screwn directly into the wall studs. I’ll stain this to resemble (not match, I never have any luck trying to color match) the bookshelf and I think it will go together nicely. In another week or two, this monster bookshelf will be built into the wall and suspended over the heaters and our cat will have a nice warm place to watch birds from.
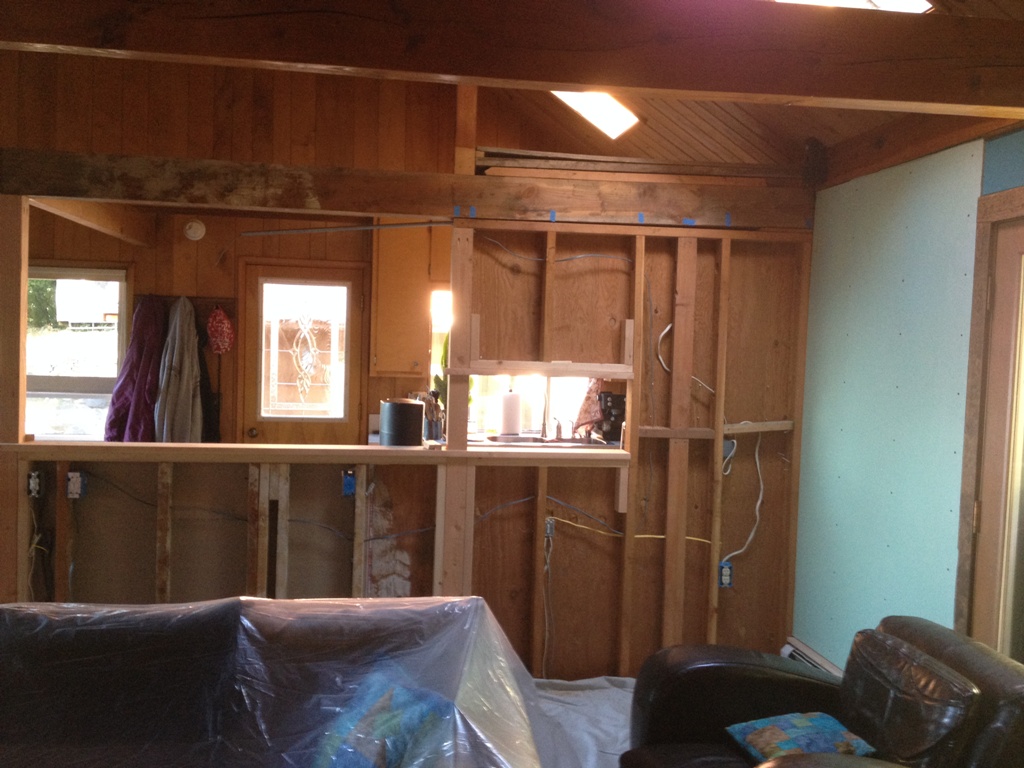
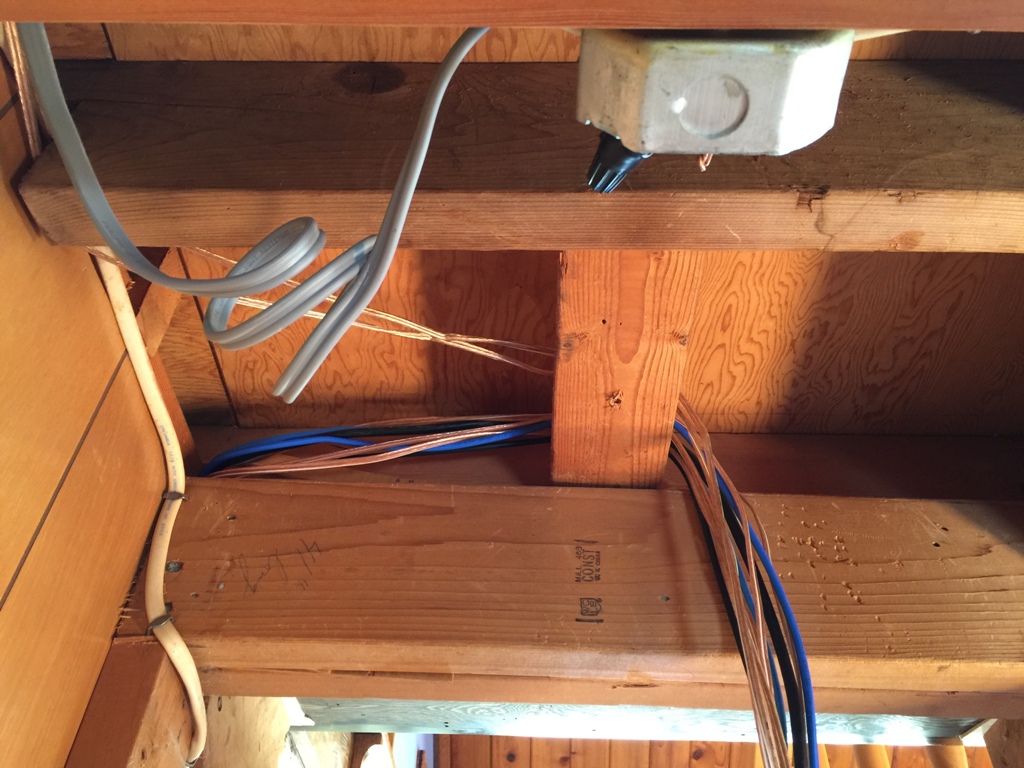
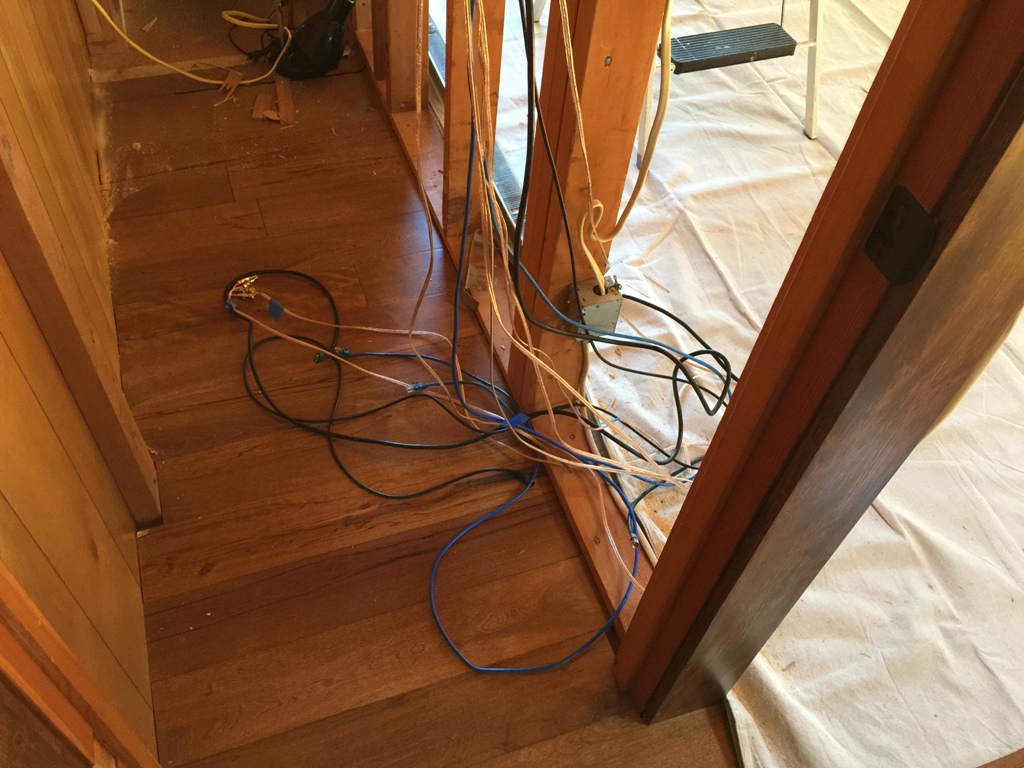
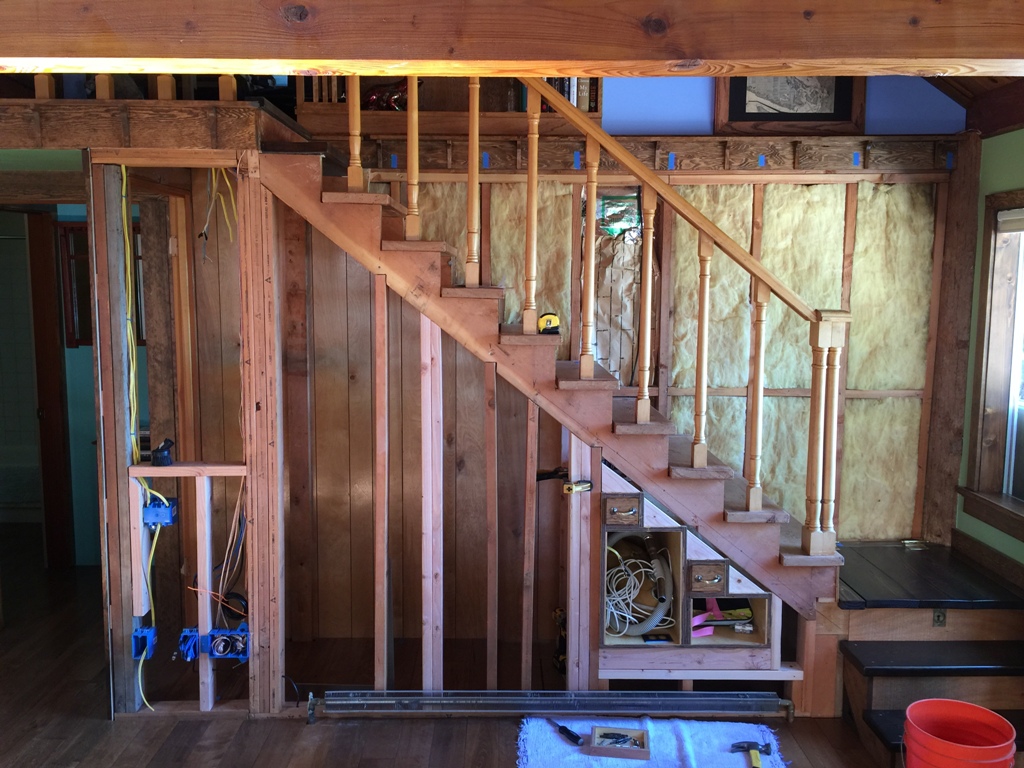
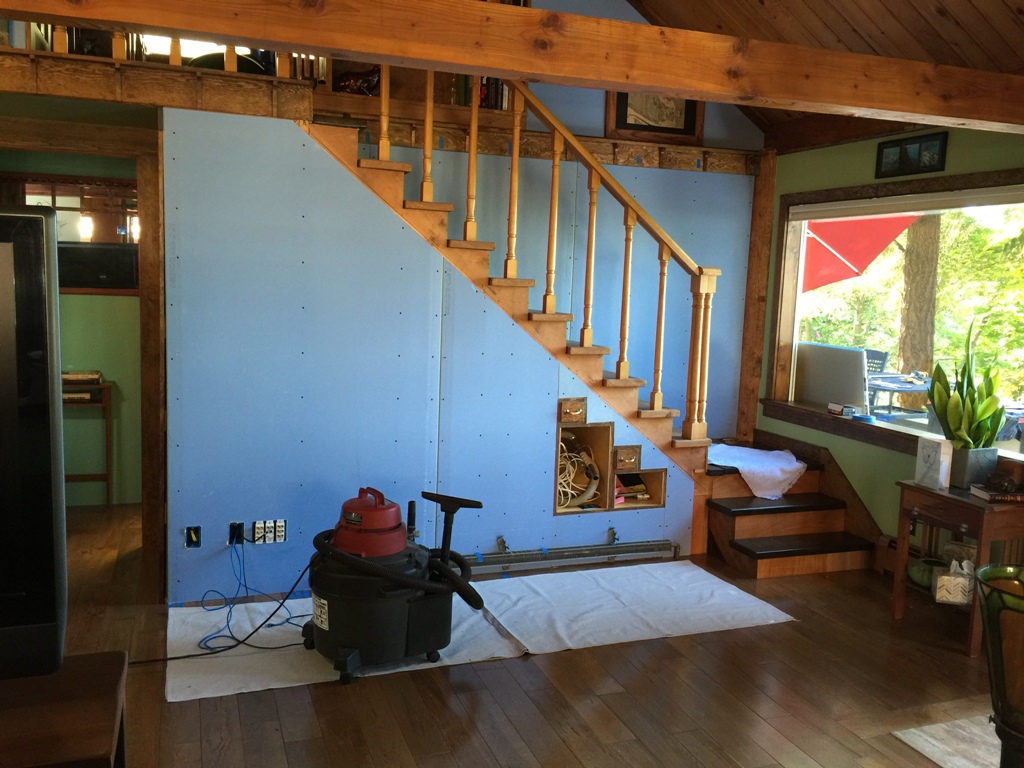
In other news, we’re making progress on the wall demo. I’ve almost finished all the electrical work. It was finished last week but we decided we wanted lights dangling in that little open space so now I have more electrical work to do. I had to run the wire through a 4″ post, a 4″ post with 2×4’s joined to each side (that was fun to drill through) and now I get to decide which of the three circuits I want to draw power from. That wall has wires from (1) the bathroom circuit, (2) the laundry room circuit, and (3) an unknown circuit that has some kitchen outlets on it now. I’ll sleep on it but I’m probably going with (3).
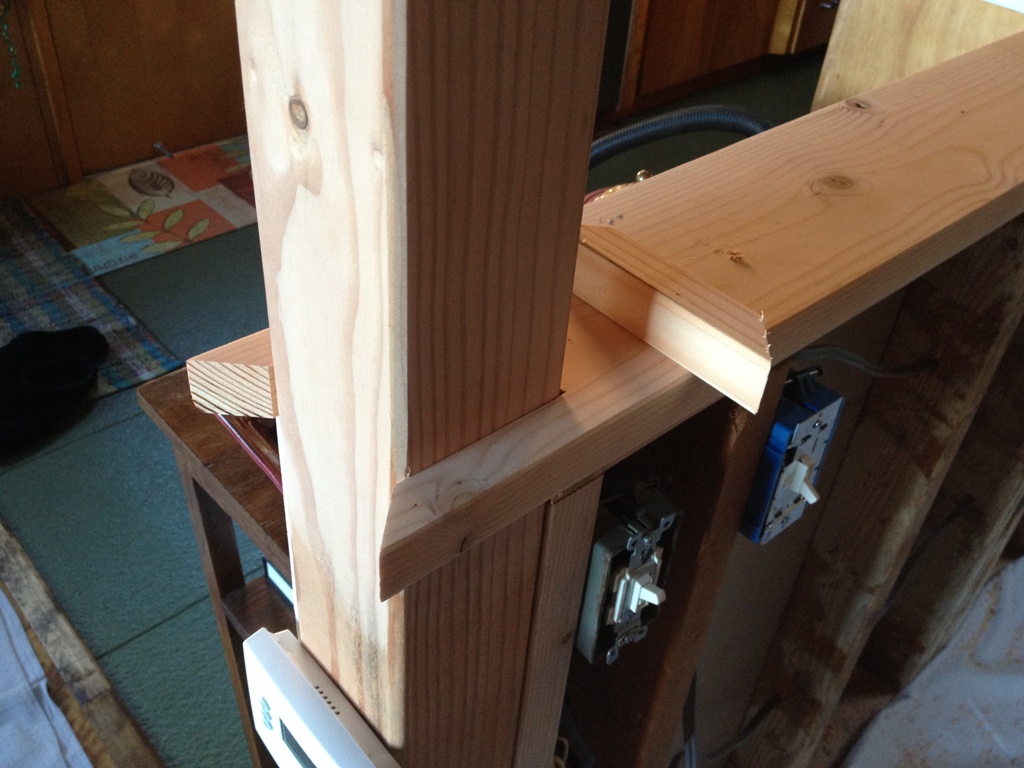
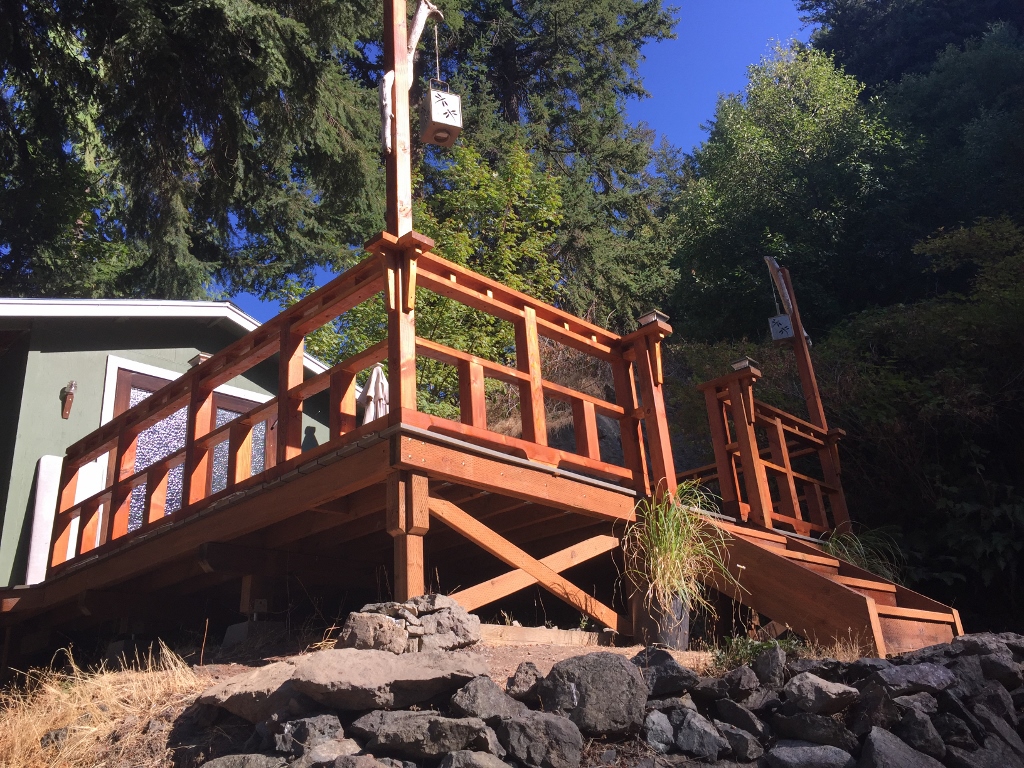
One of the funner bits of woodworking I got to do was make a cap for the half wall. I used one of the remaining 2×6’s I had left over from the garage construction, and planed it down to about 1 1/8″ so it doesn’t look like a 2×6. I had to cut holes for the posts and install them around like that. I was going to do some fancy pants joinery like triangular feather joints at the corners, but I really need to finish this project by 2016. And I have a full time job that eats up more of my time than I spend sleeping. So I’m probably just going to use tenpenny nails.
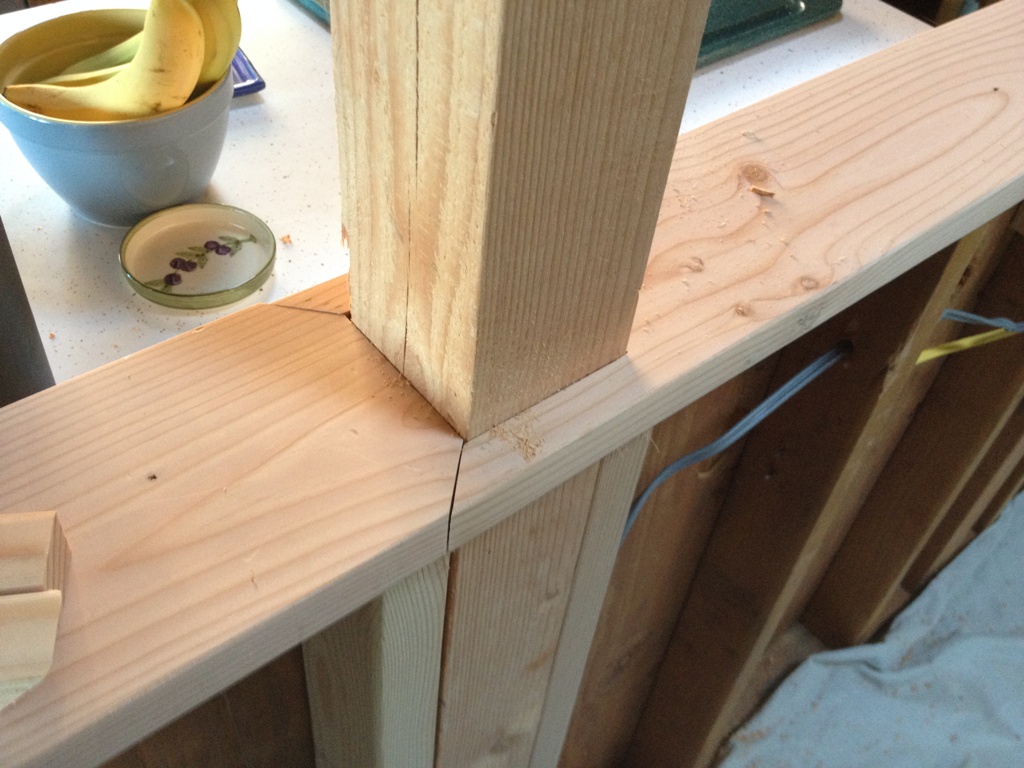
A little glue, some cabinet mounting screws, some time with the Festool sander, and it’ll look great. Okay, it’ll look adequate. And I’m proud of myself: it’s one of the few things in this house that is actually level. It’s kind of weird. Makes the rest of the house look lopsided.
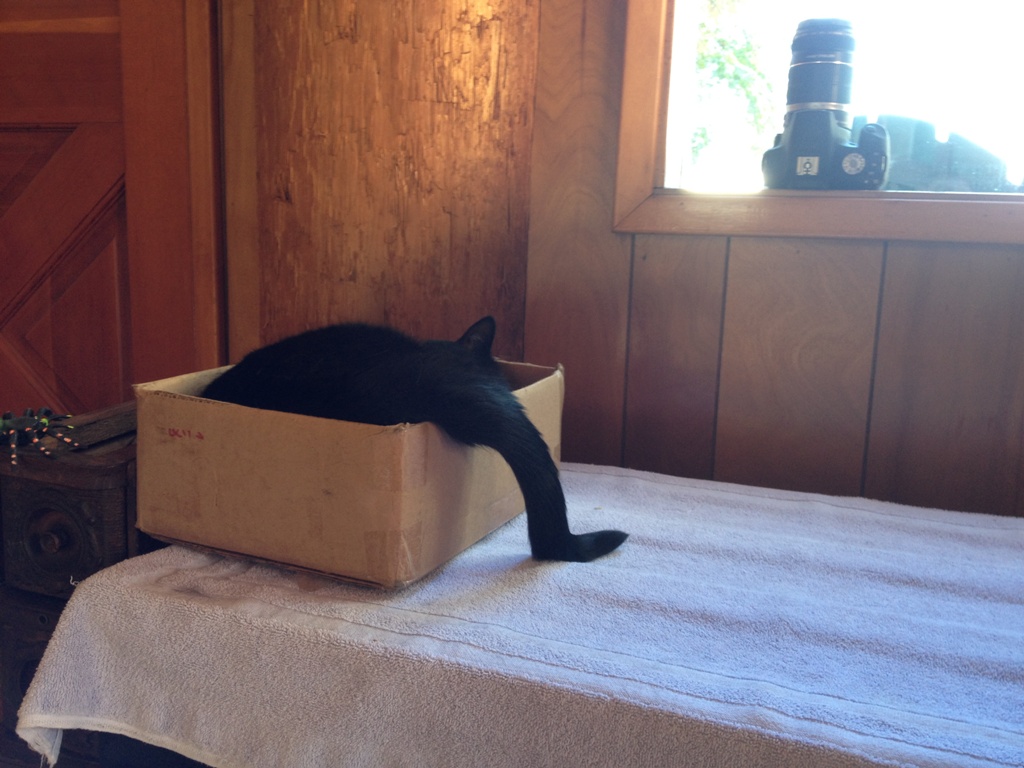
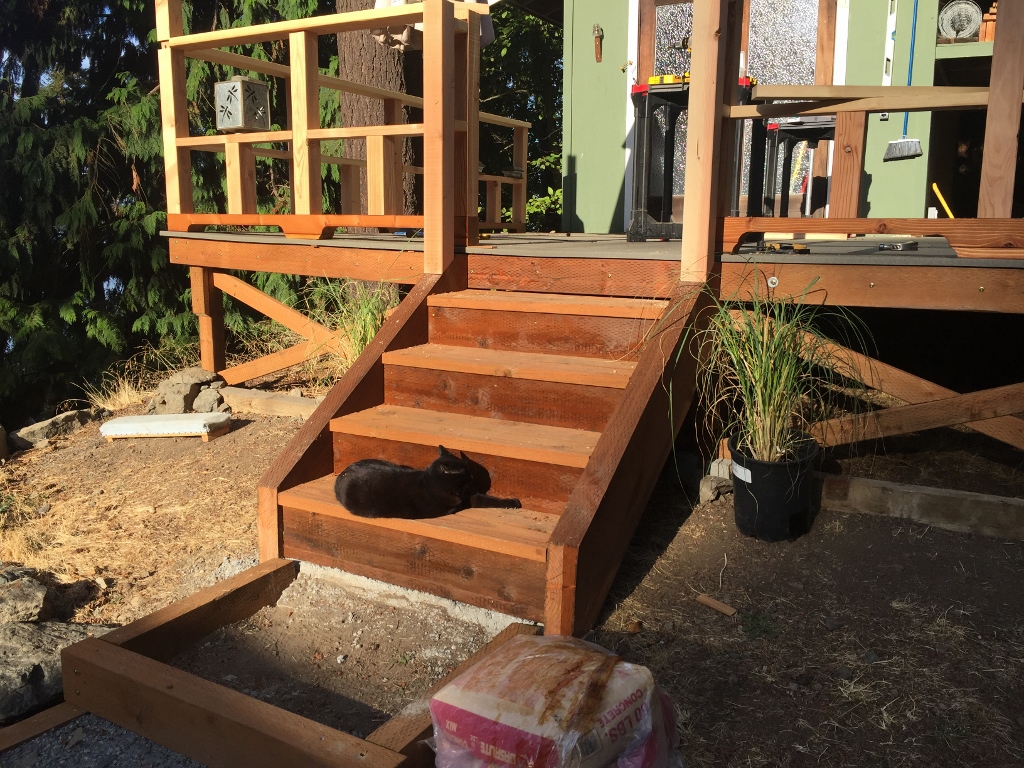
Of course, some of those who live here would be perfectly happy if everything was made out of cardboard.

 It’s the detail work that make it nice.