It’s the detail work

Cap

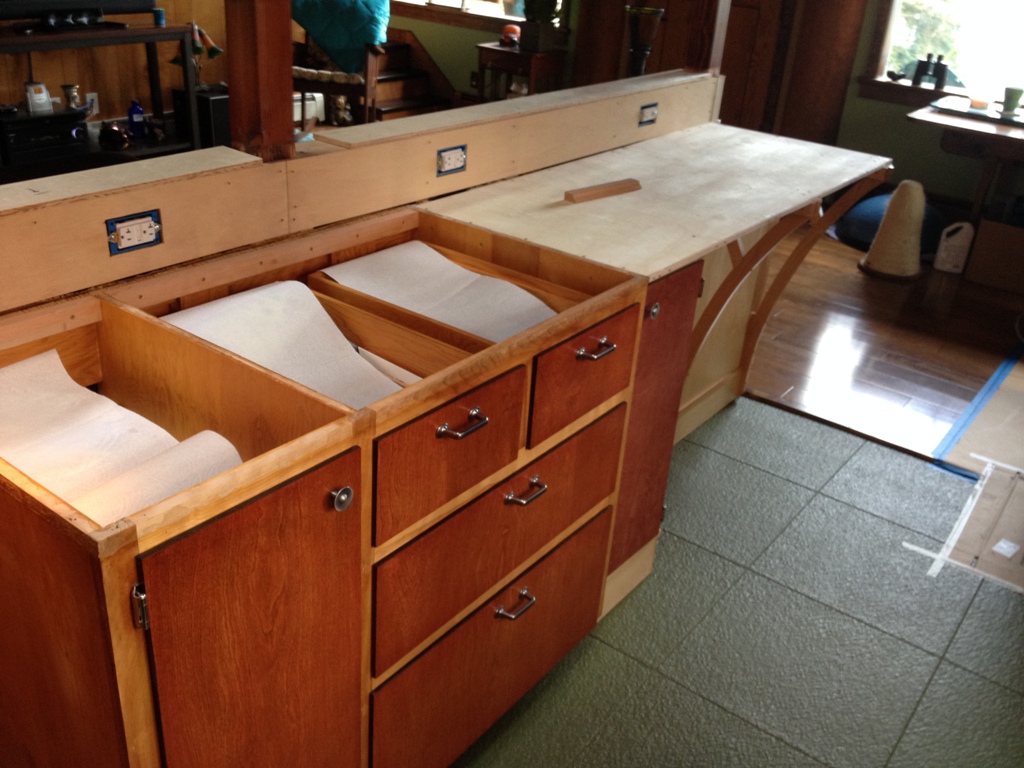
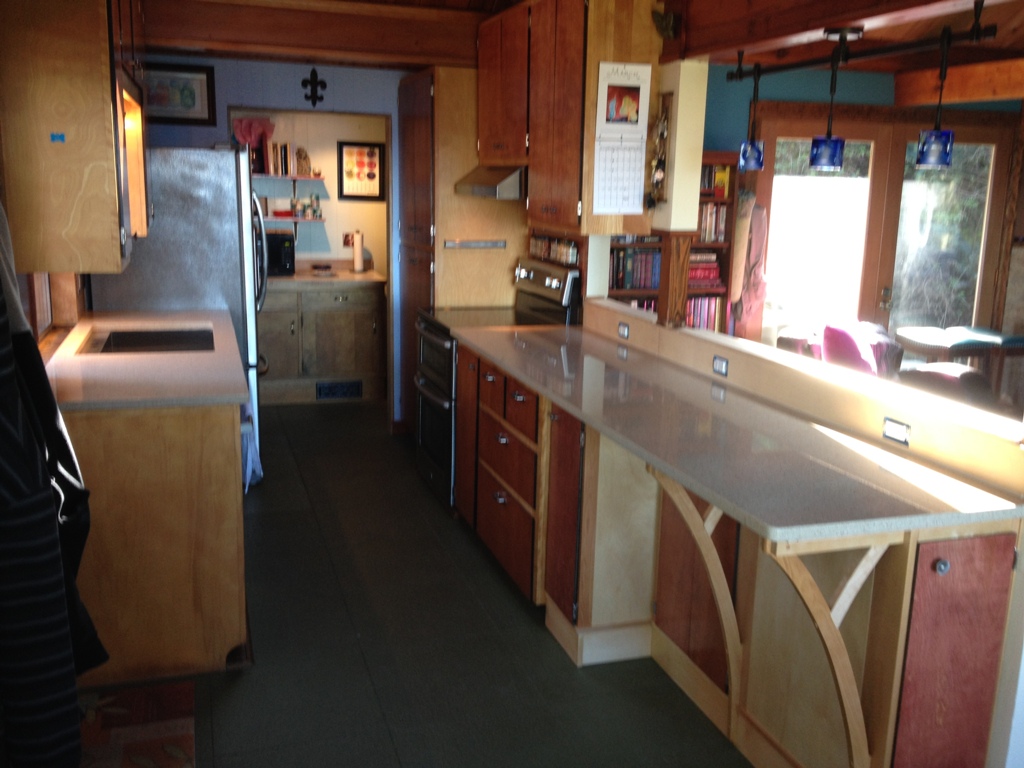
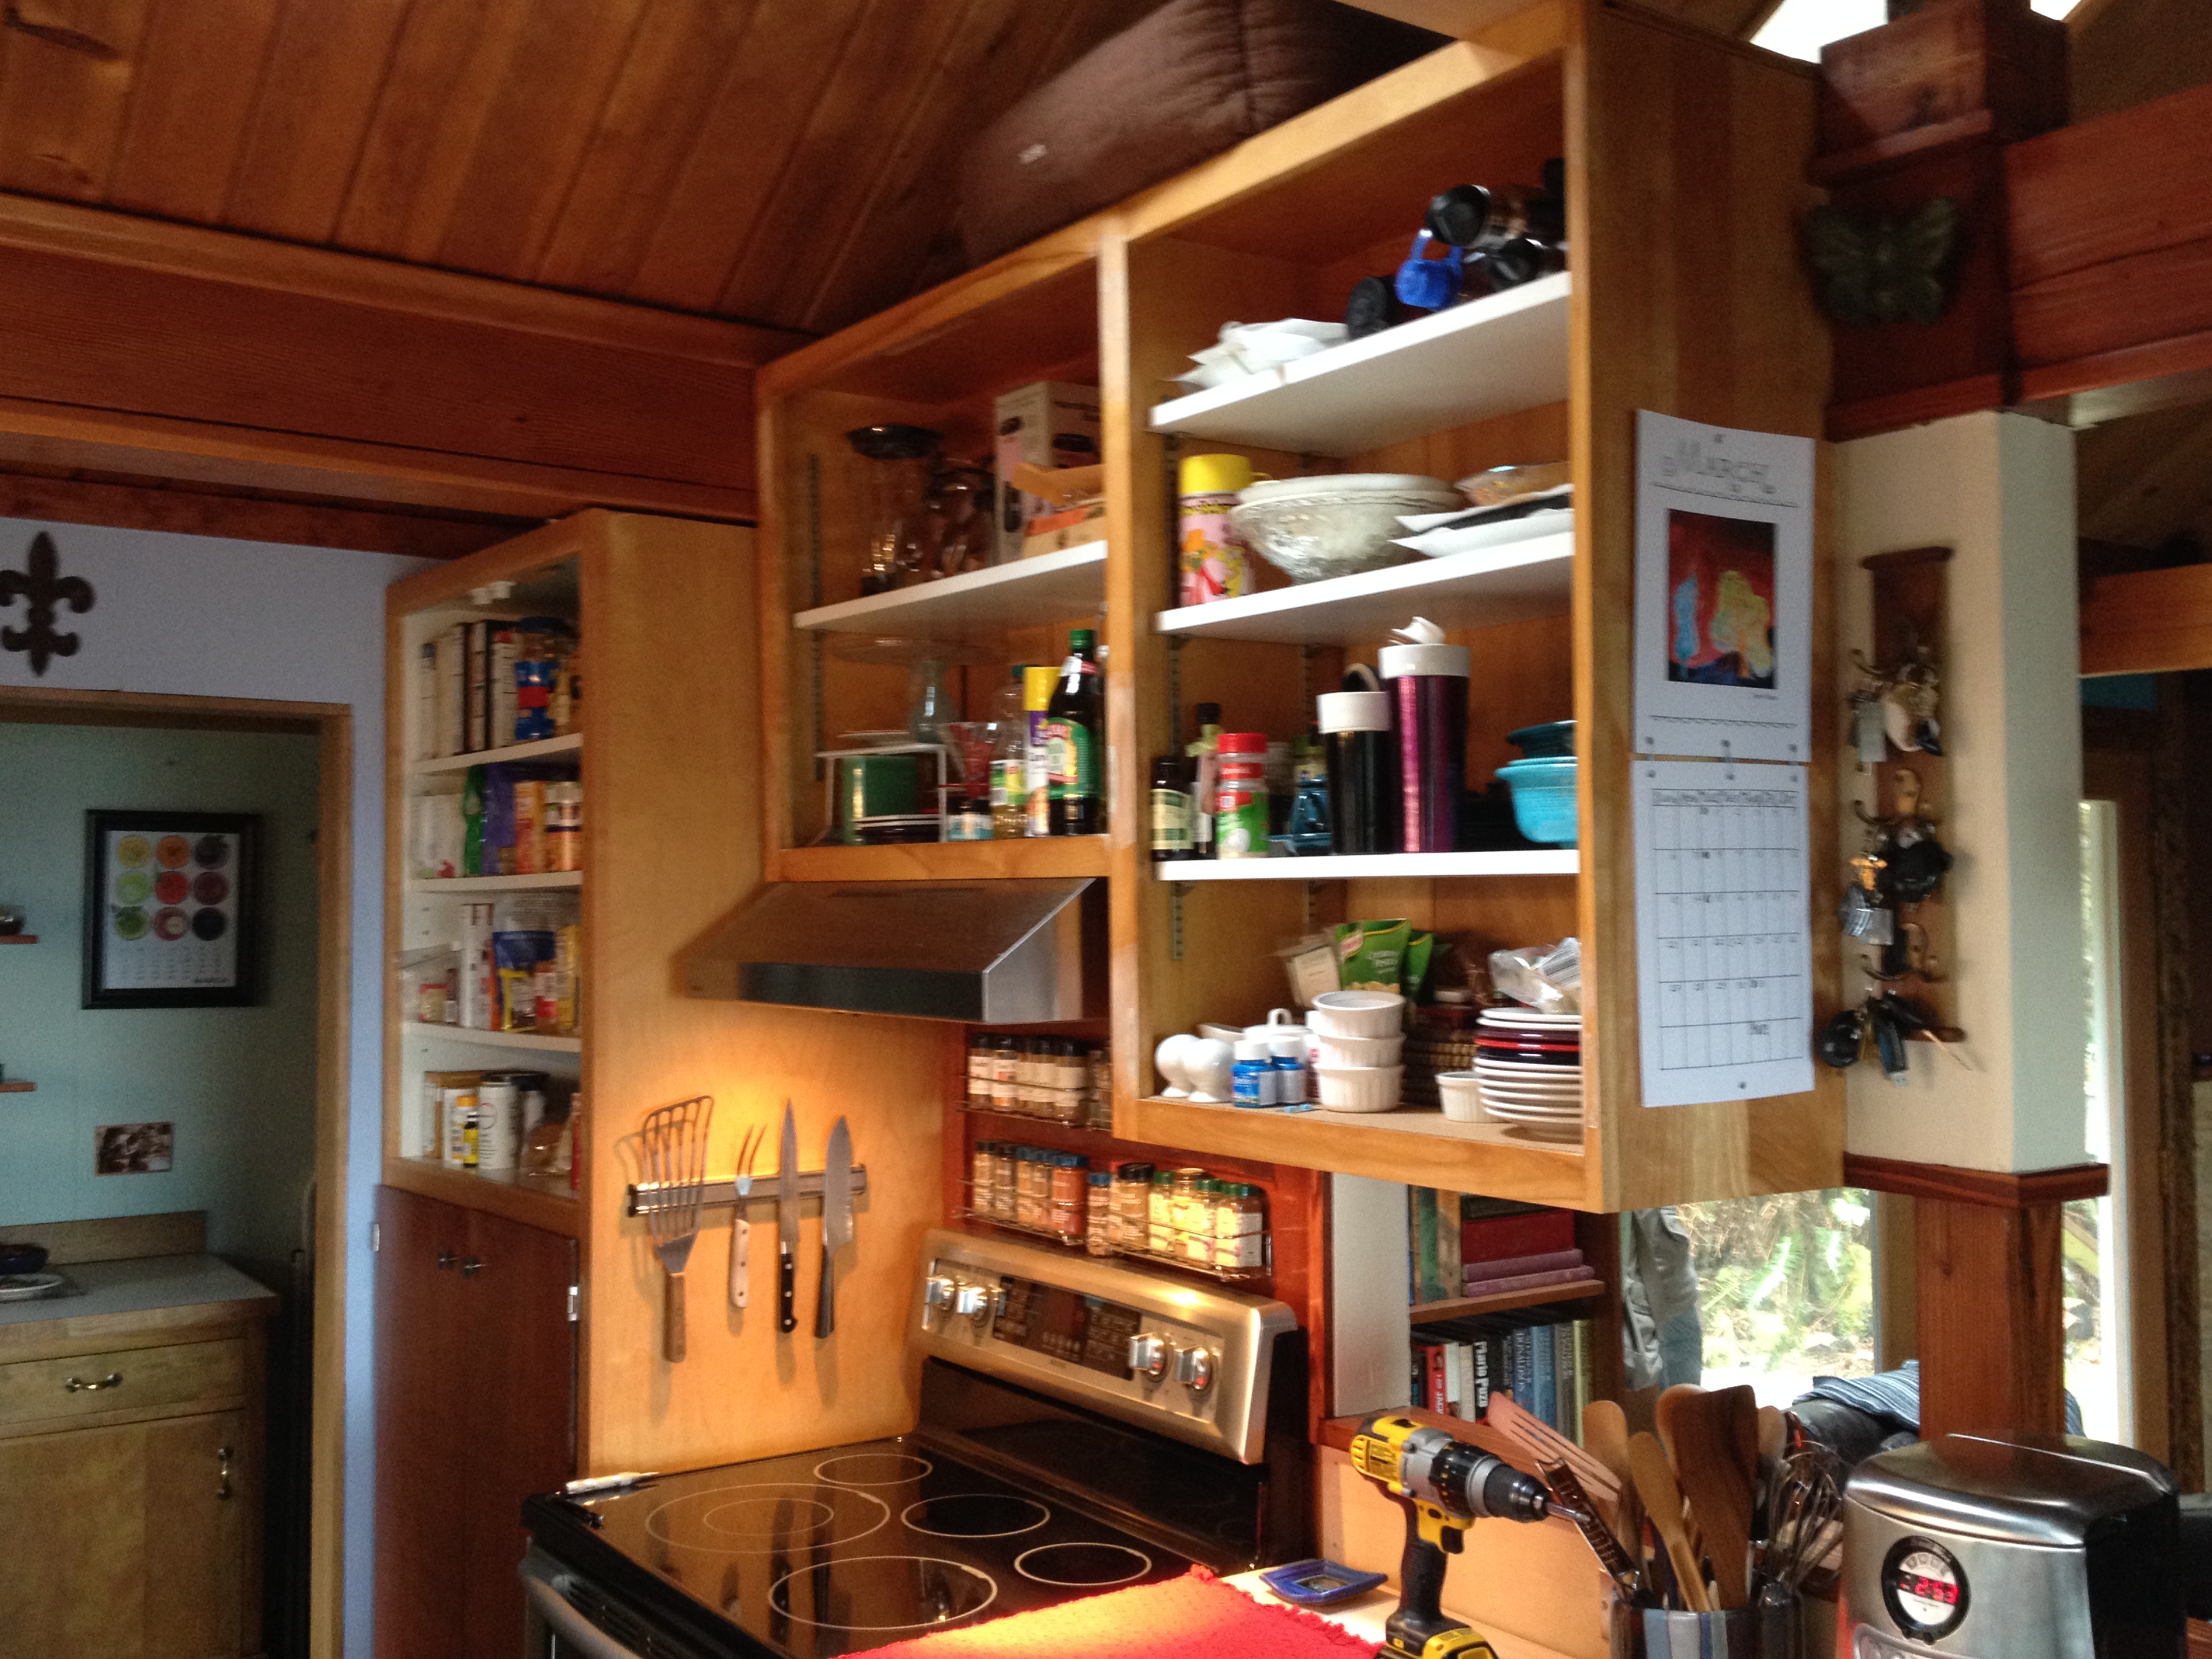
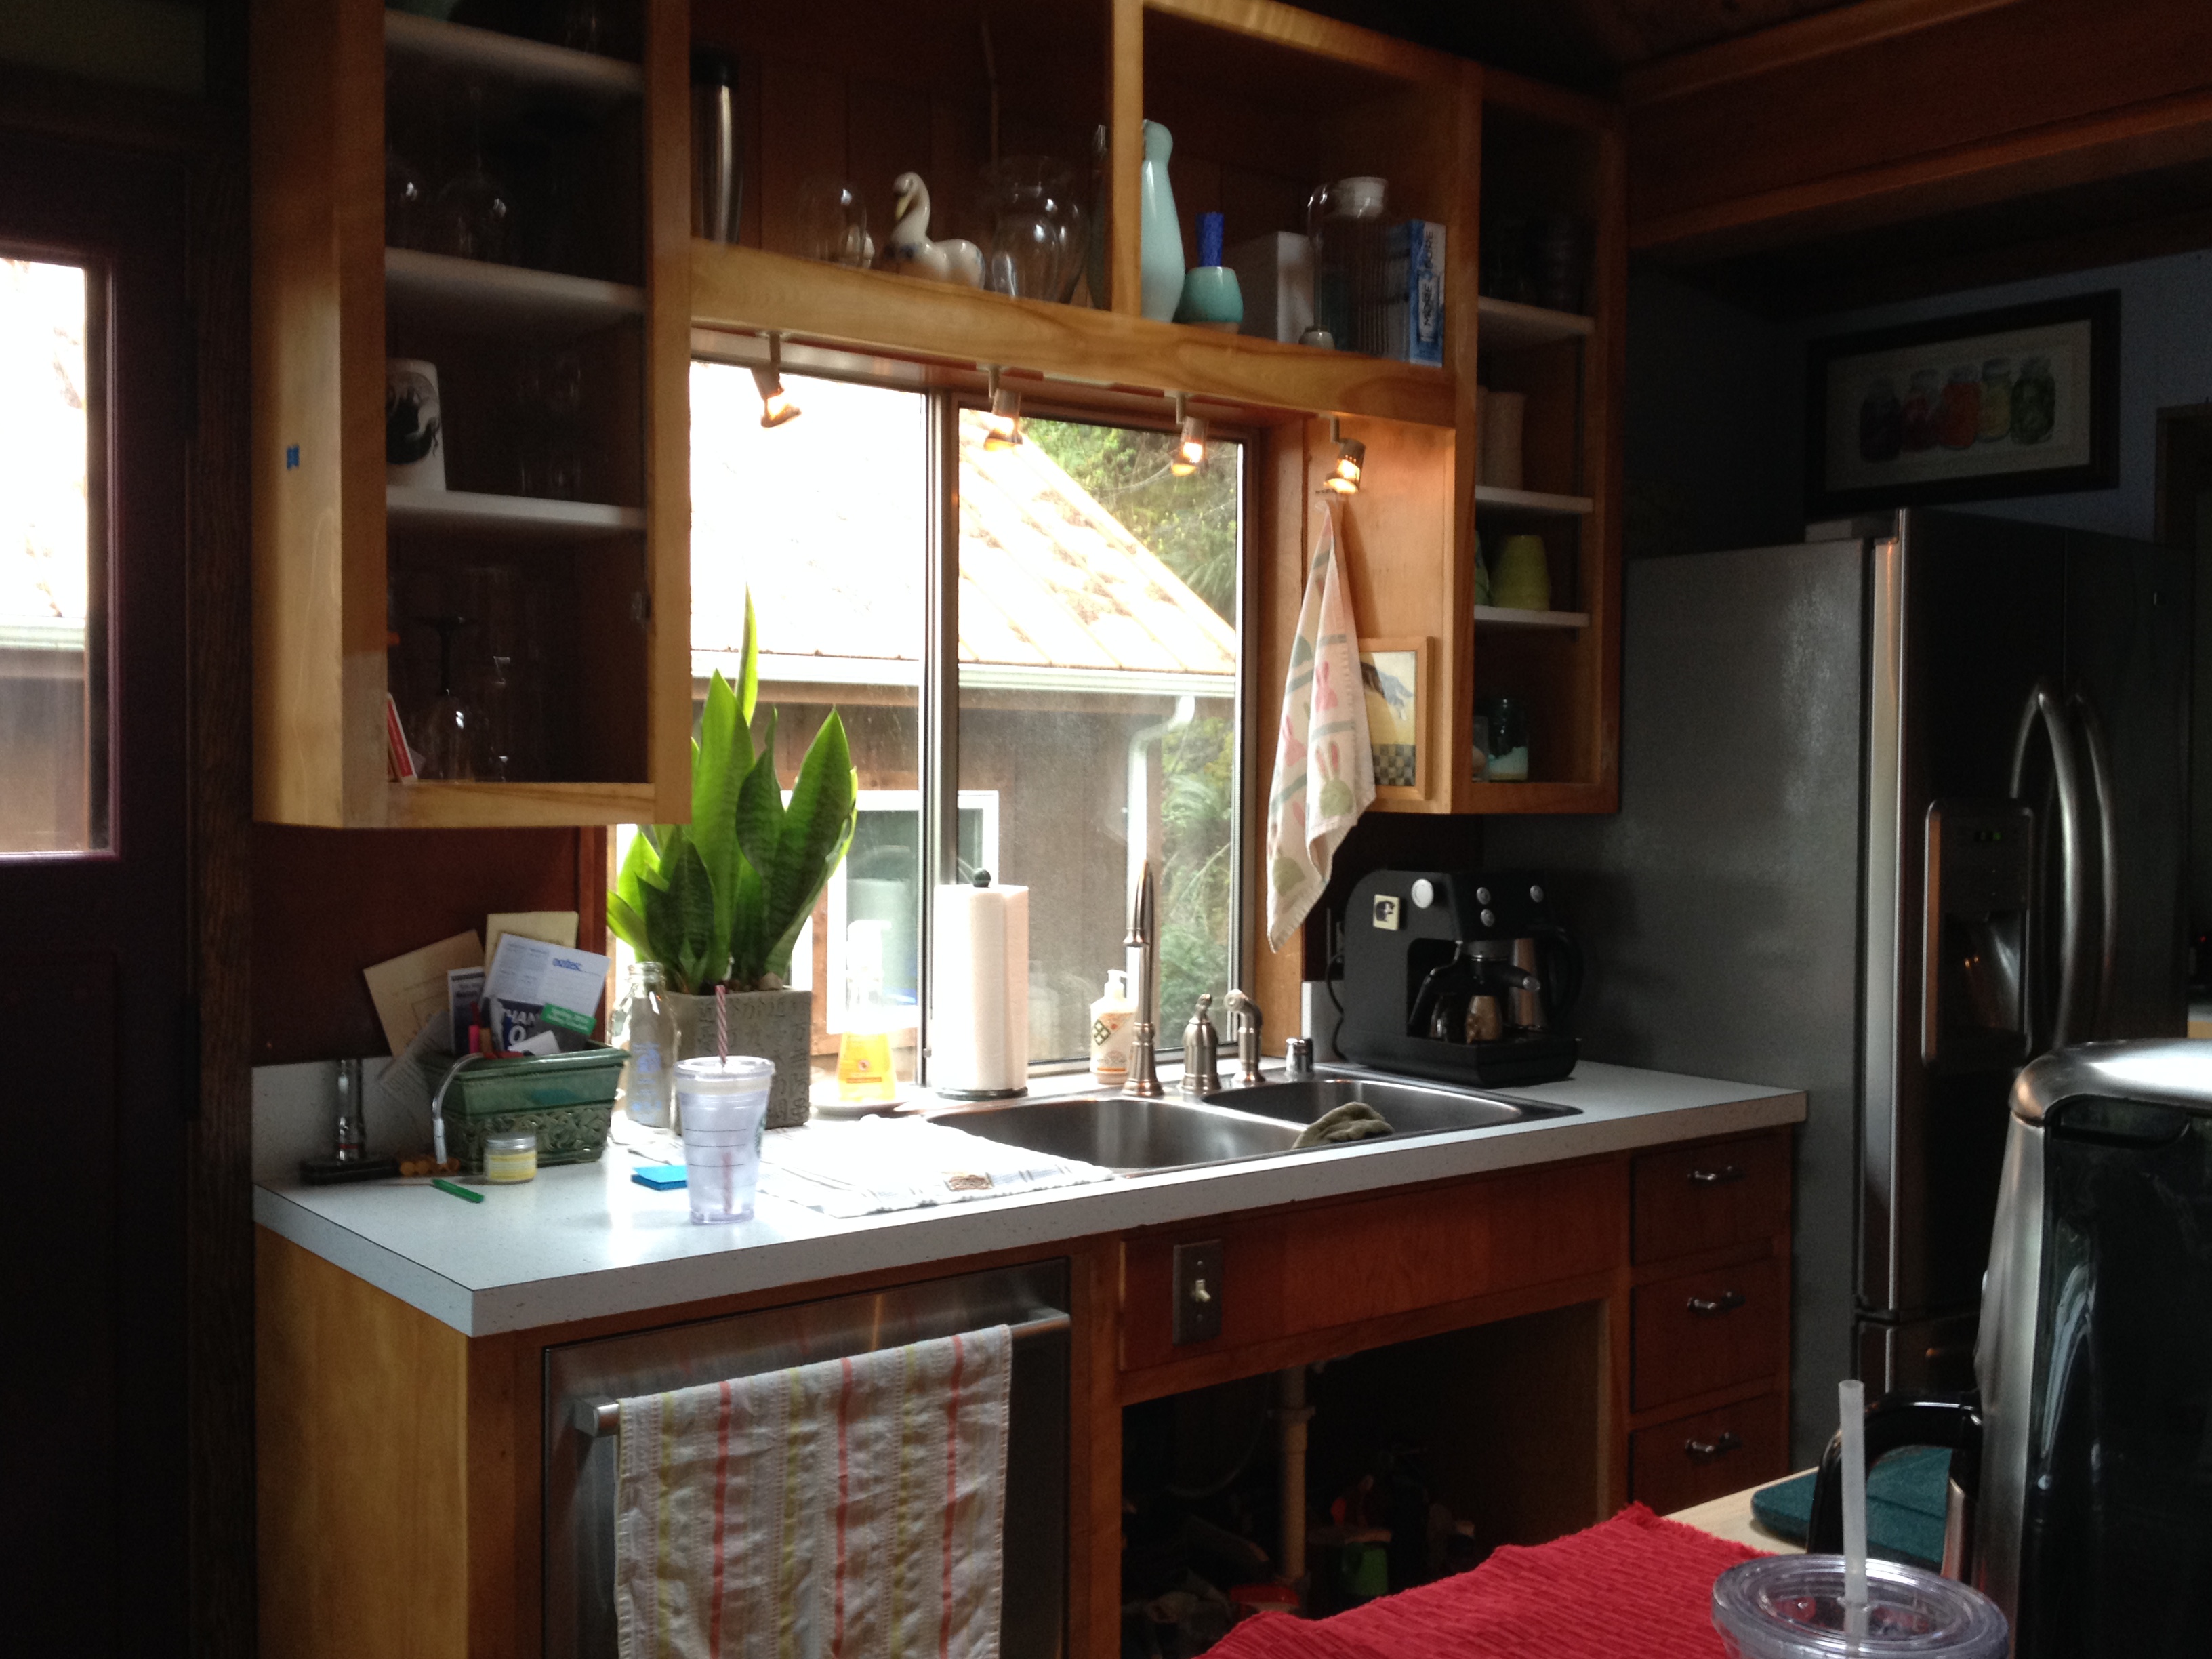
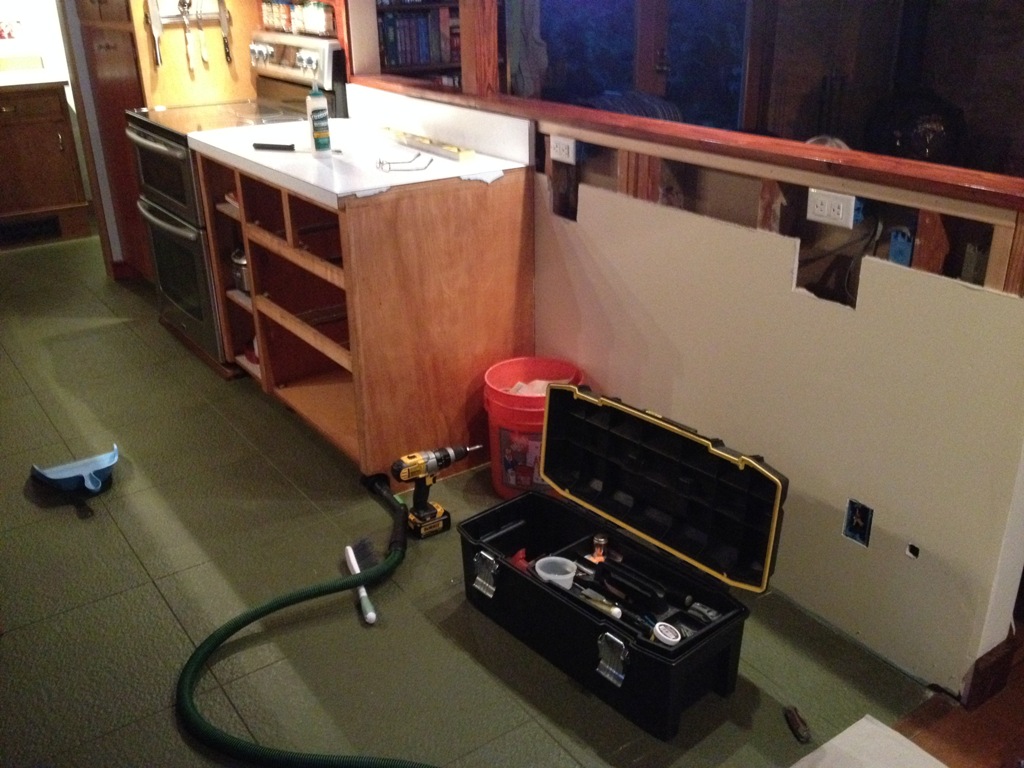
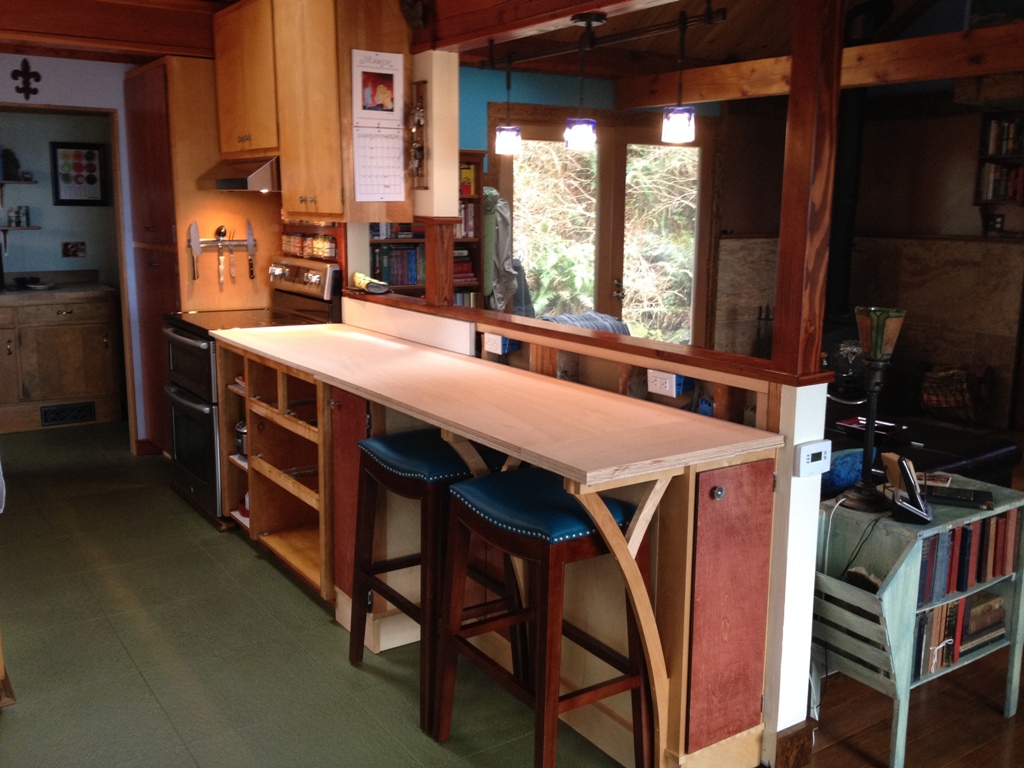
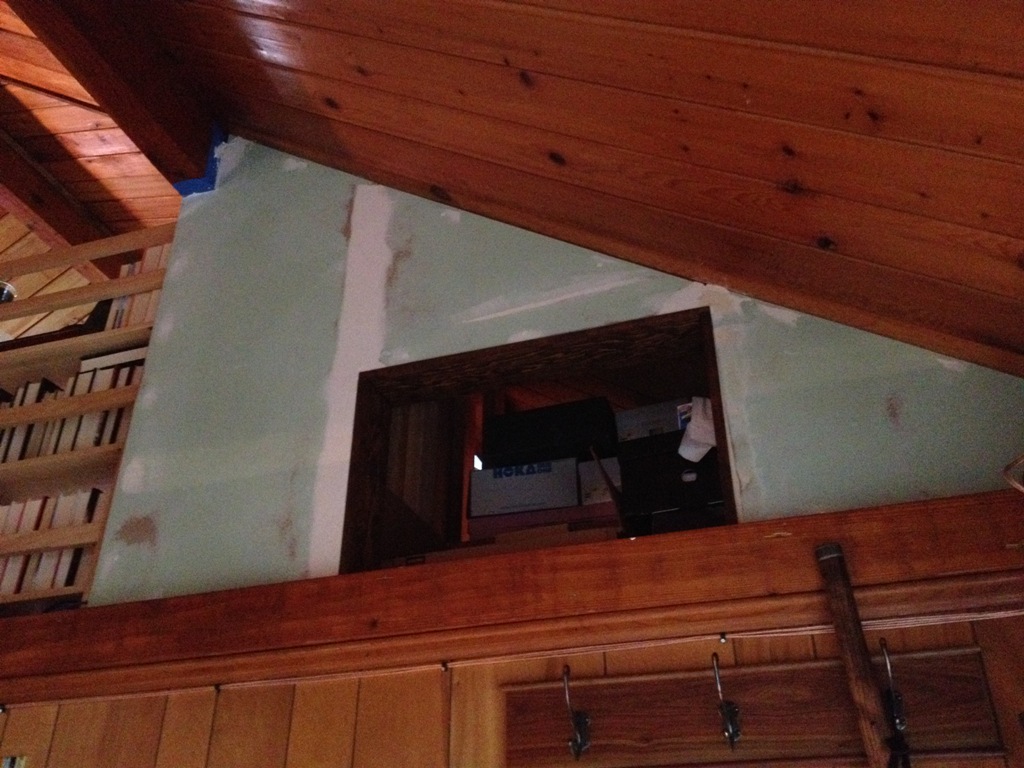
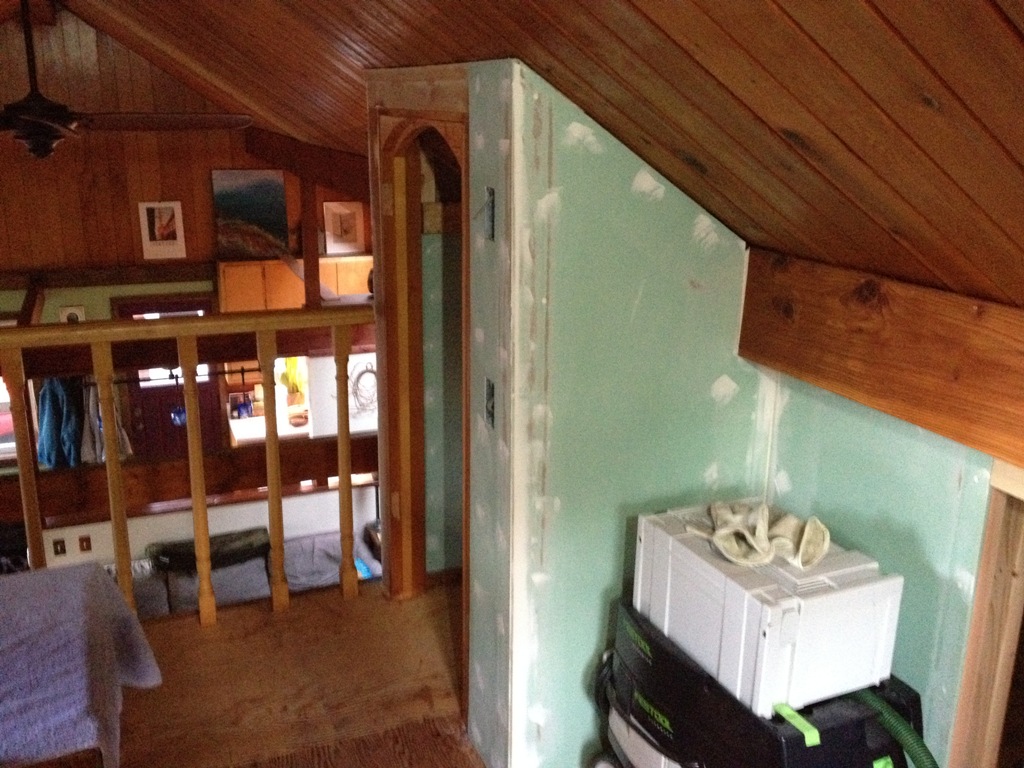
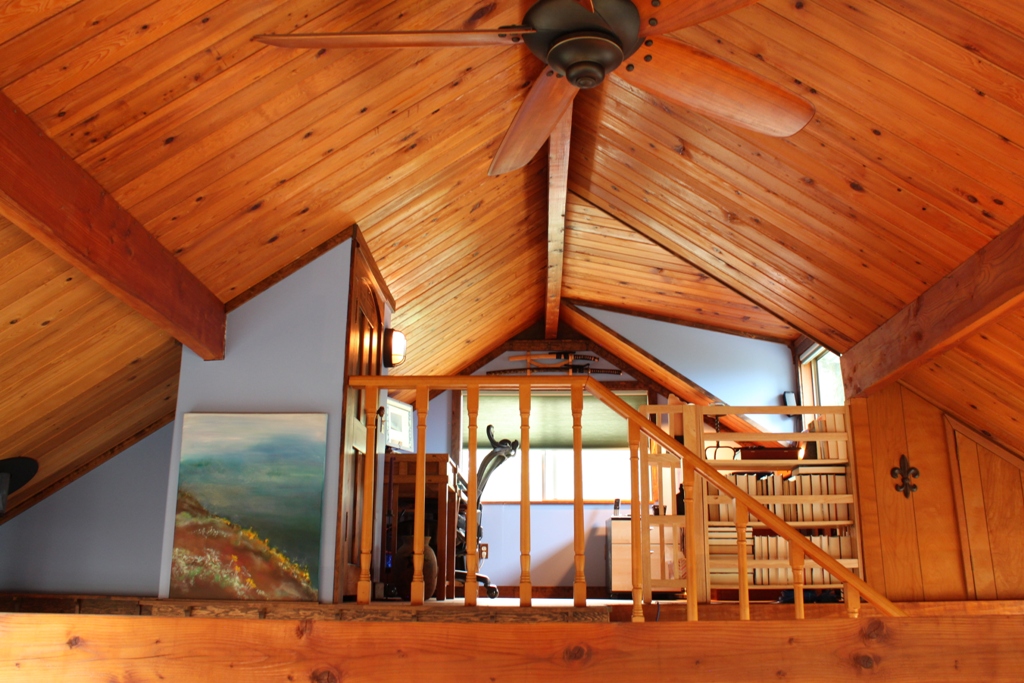
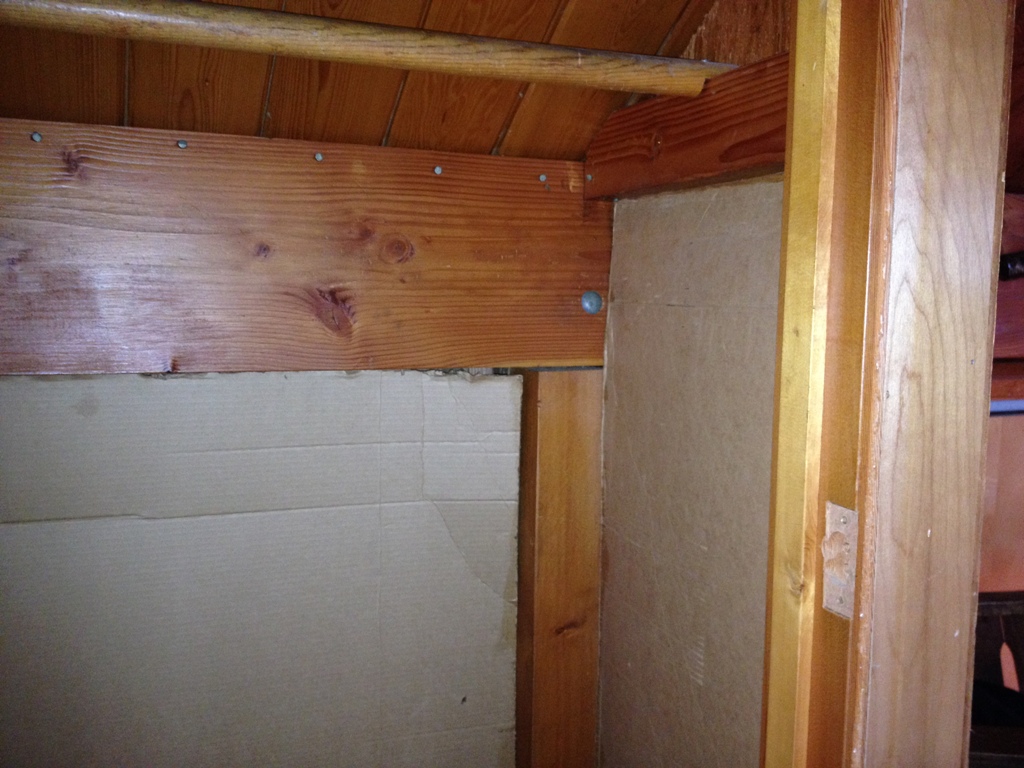
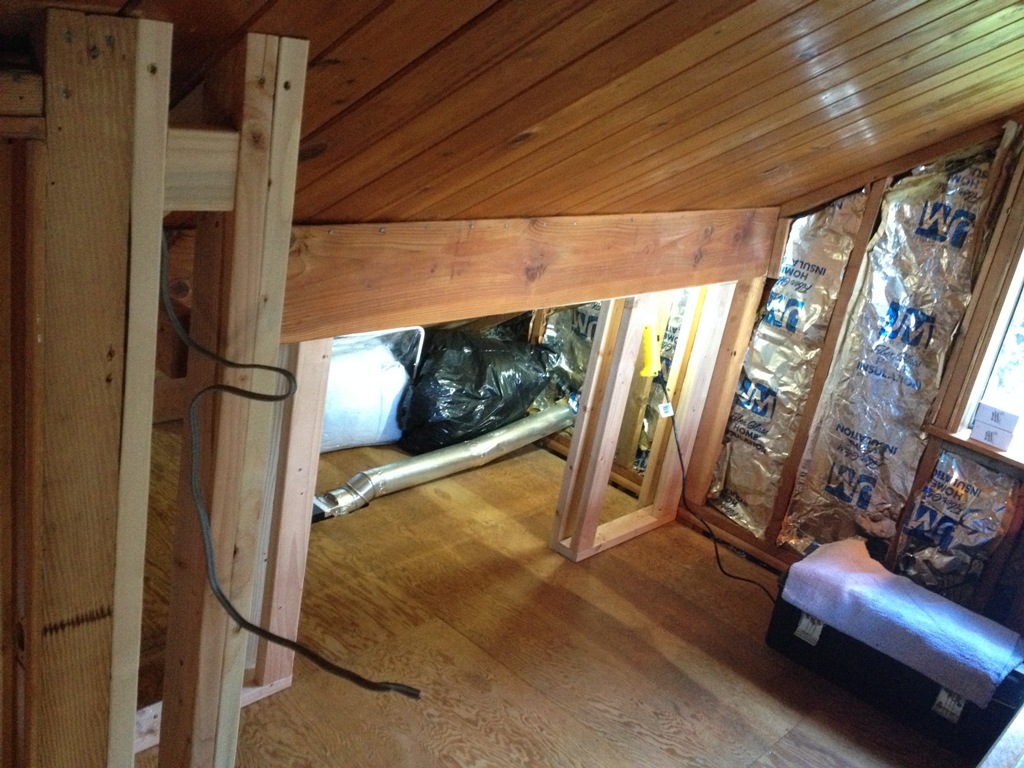
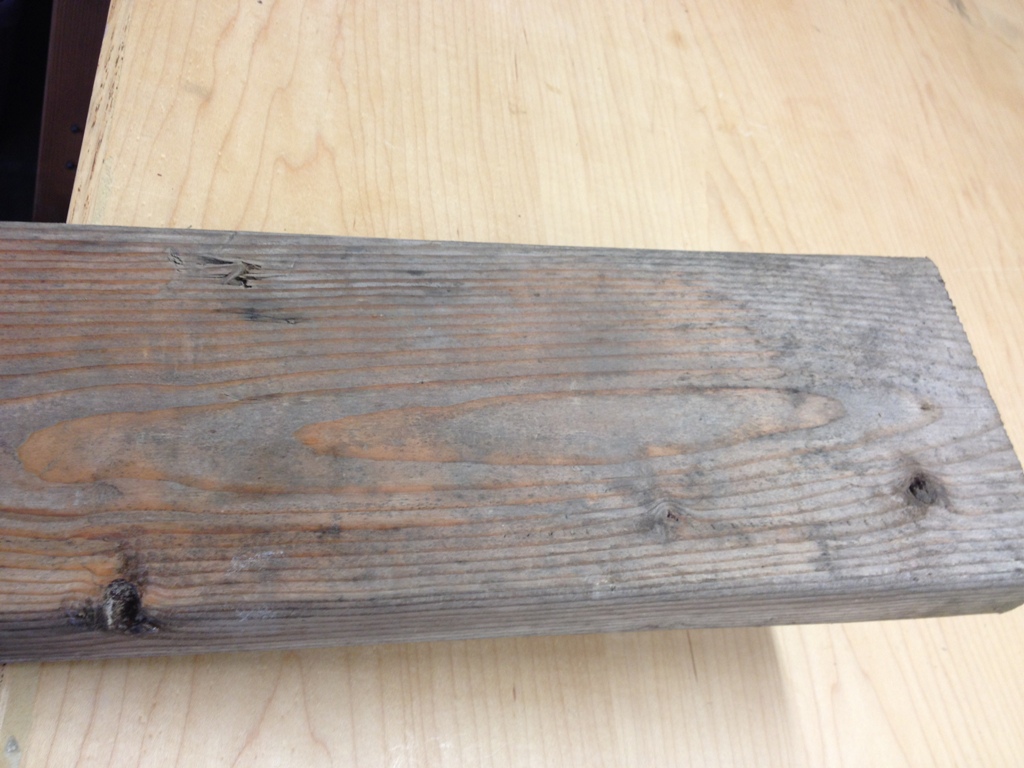
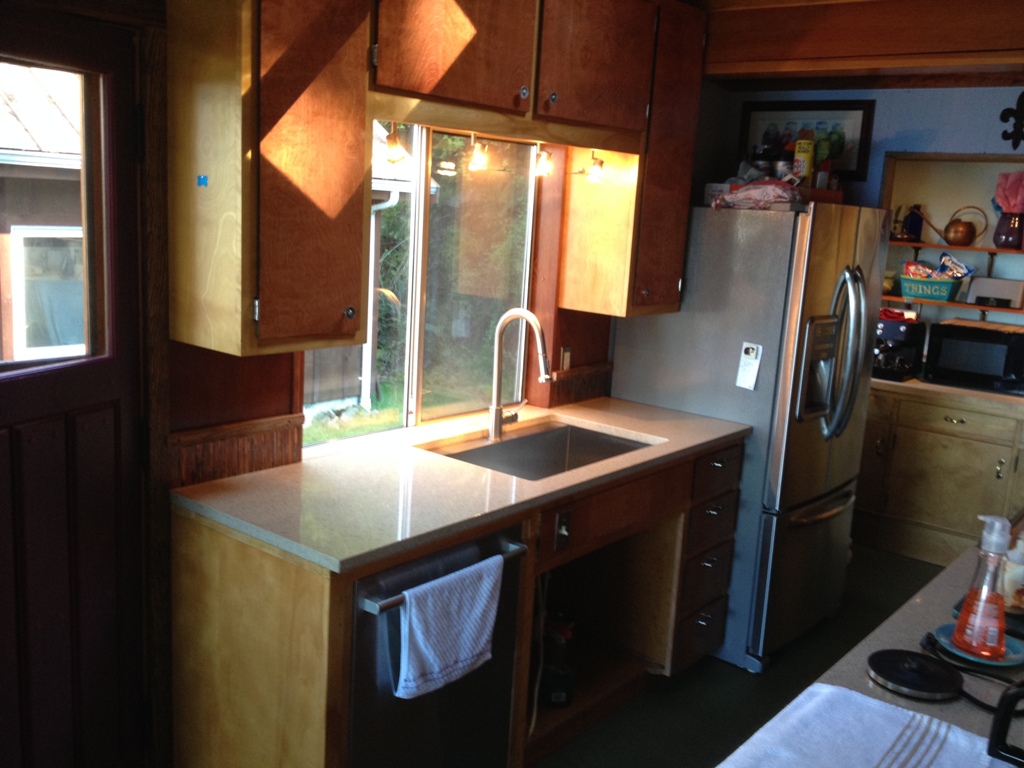
When I opened up the kitchen wall, I made this little half-wall between the kitchen and living room.  I capped the half-wall with this 2×6 that I planed down and smoothed out and stained until it was passable.  Nothing fancy, as you can see, which fits in well with this “nothing fancy” house.  But now that the kitchen is getting a little fancier, I thought this piece might need to go.

New Cap

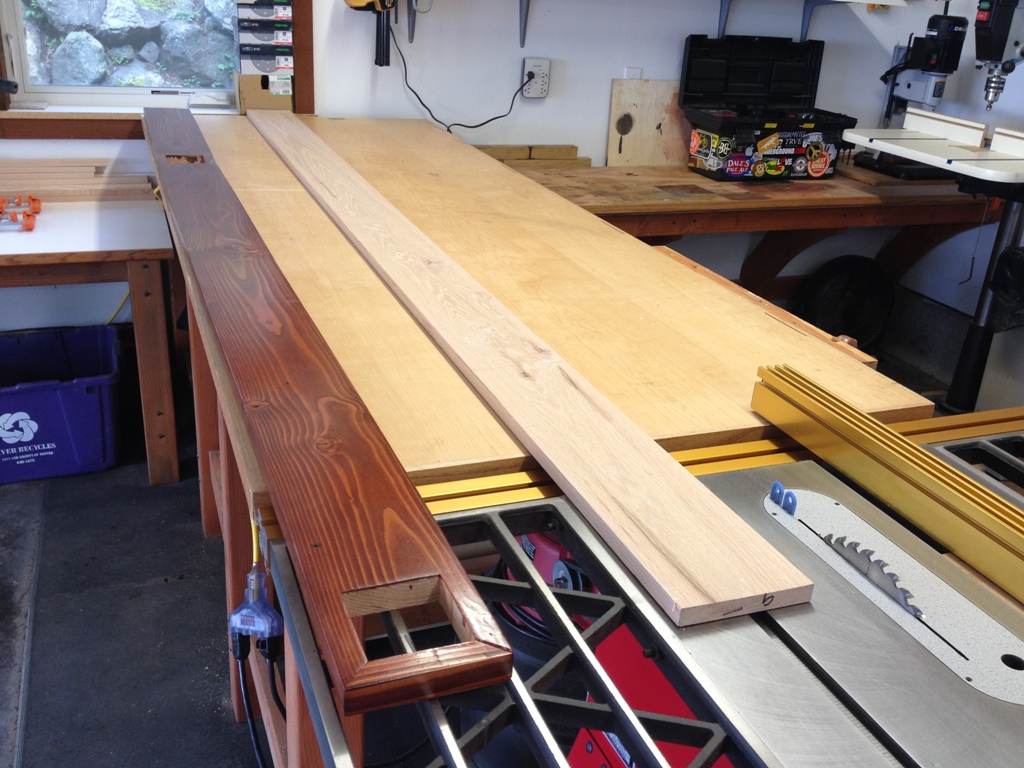
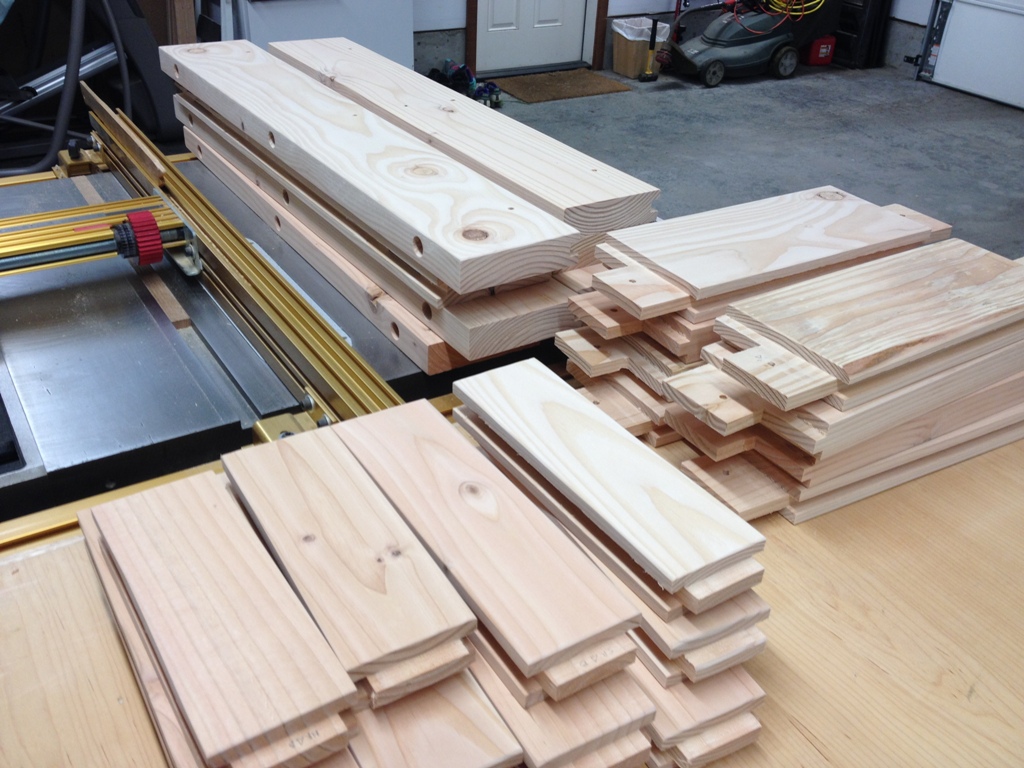
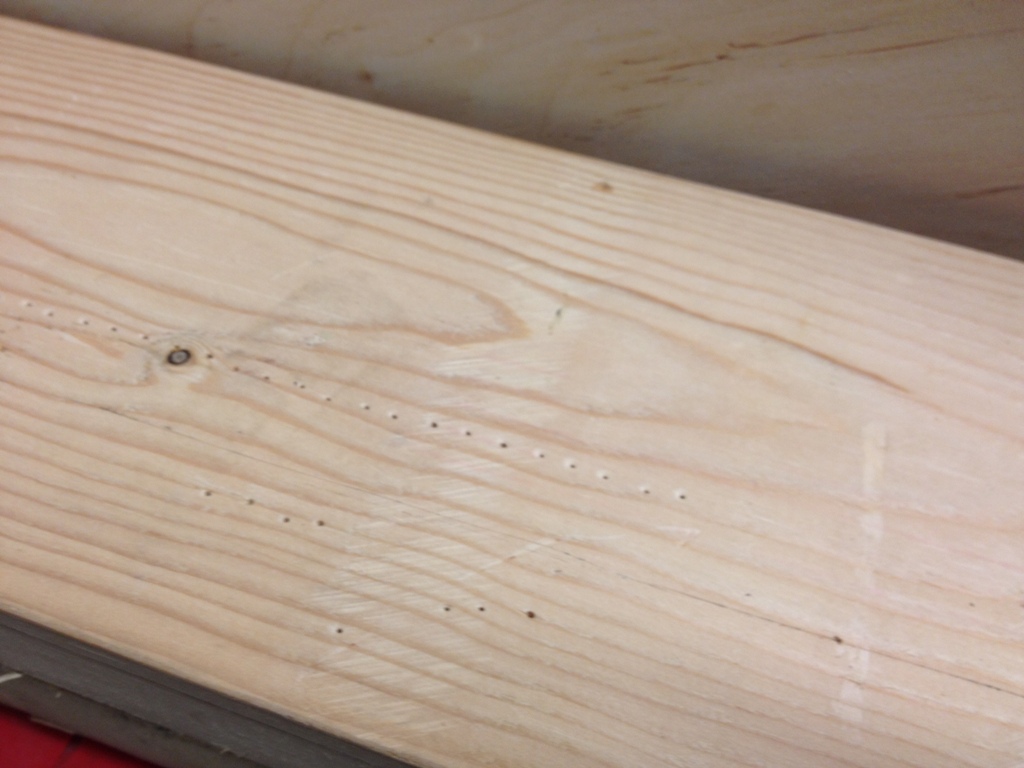
The backsplash over the new countertop will be something pretty cool, so to replace this cap I wanted to use something nice.  Hardwoods can be hard to find on this island, but I did find this piece of milled oak that was just long enough (seriously, within one inch) to do what I needed it to do.

Measure carefully

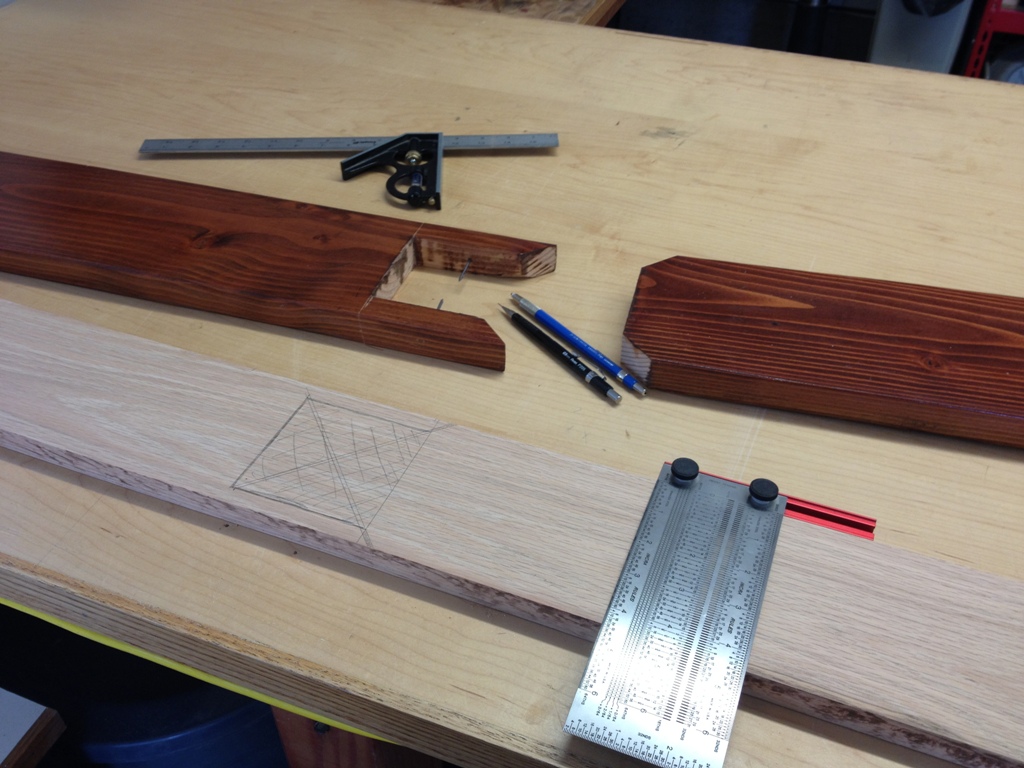
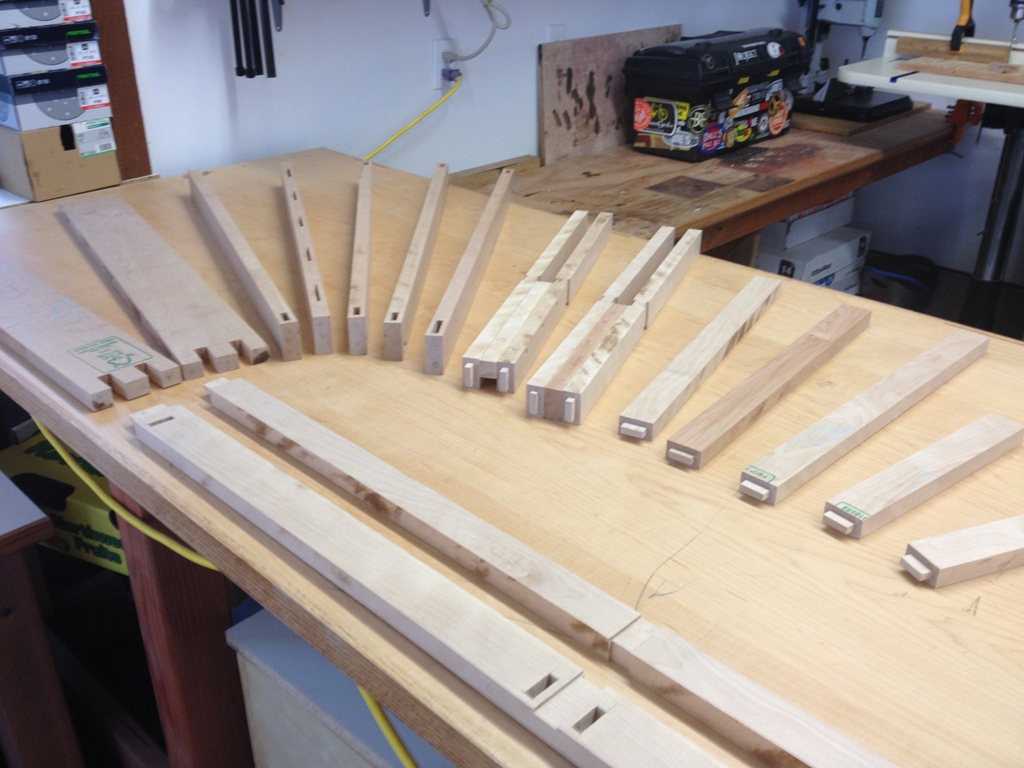
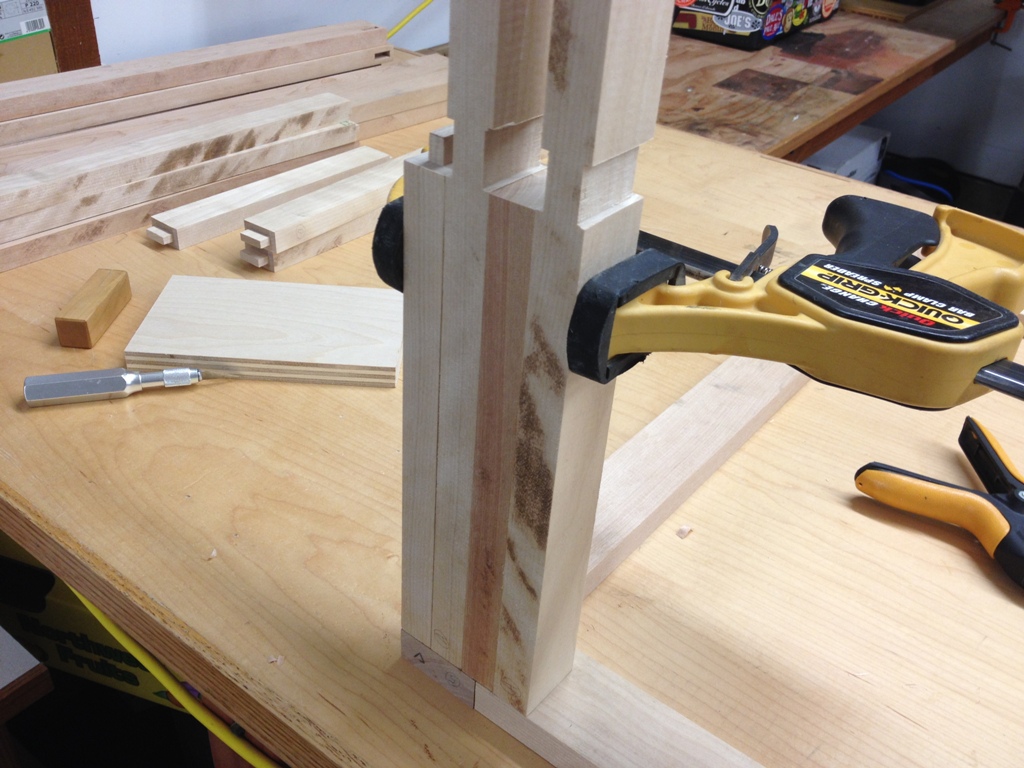
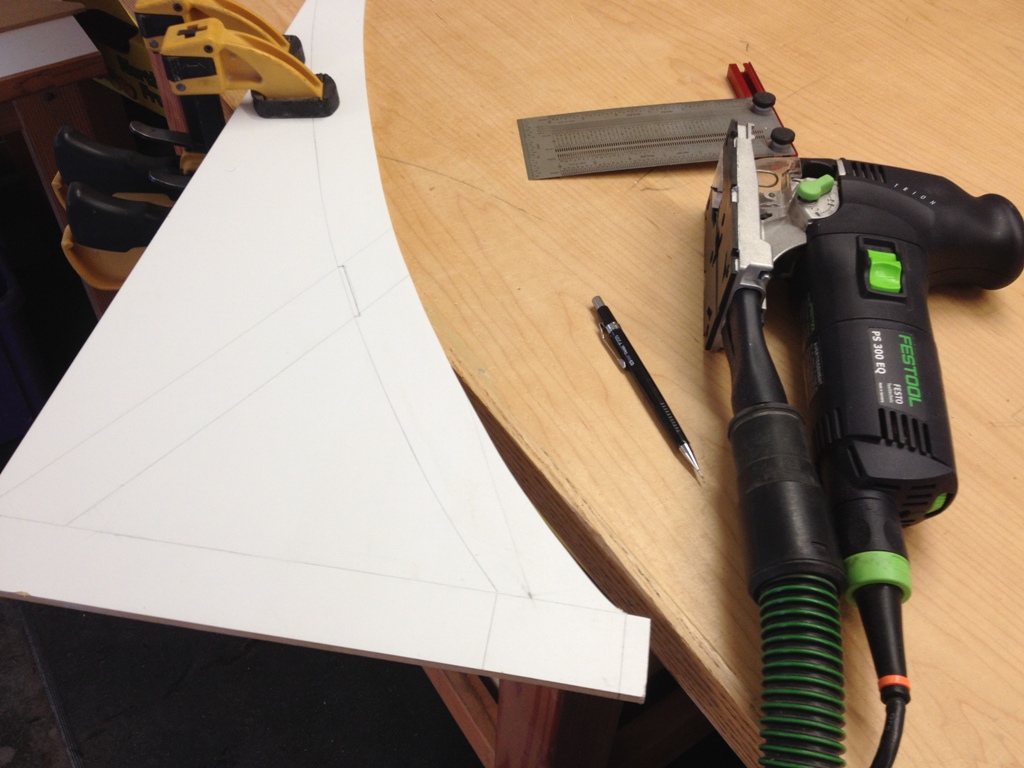
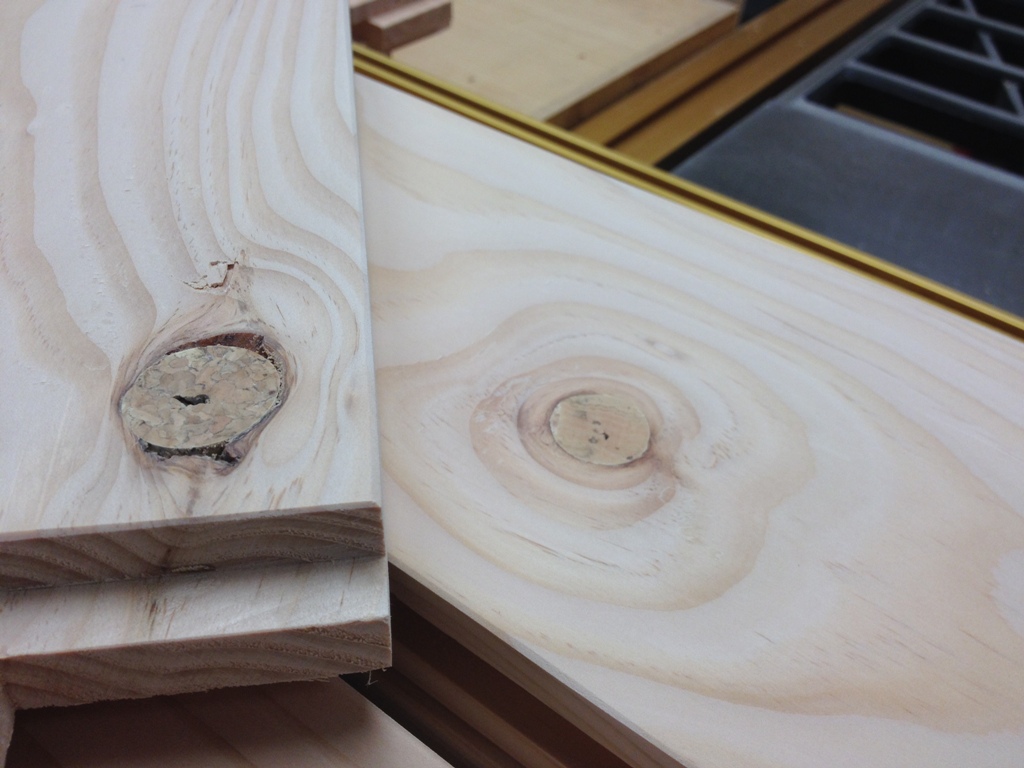
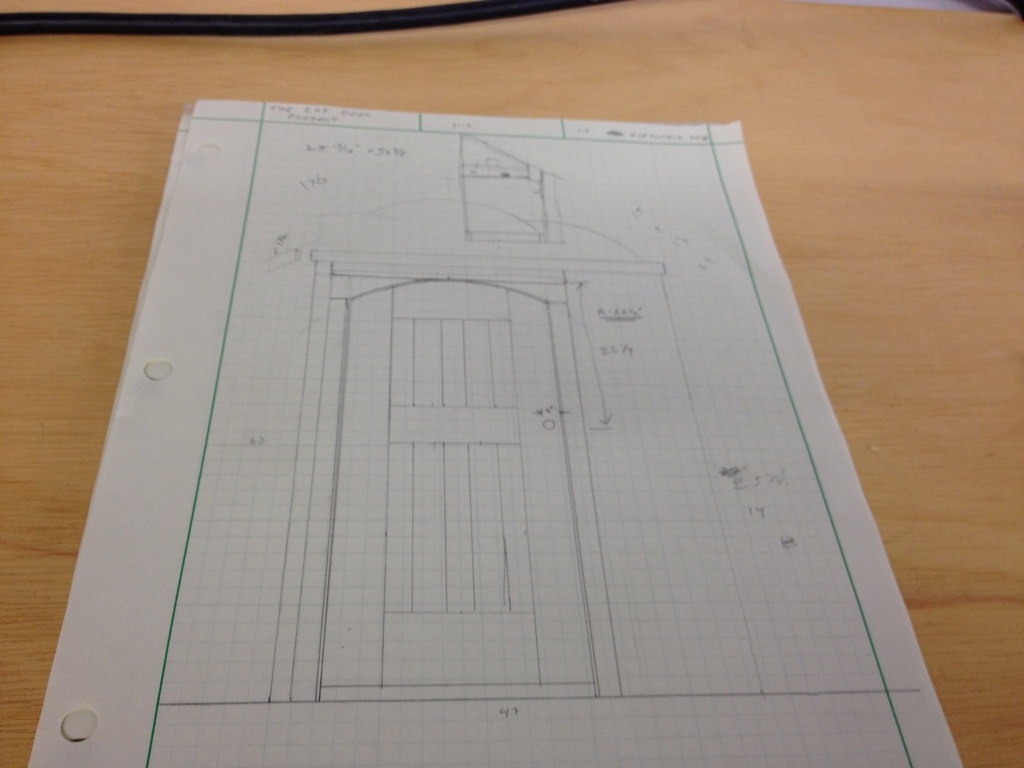
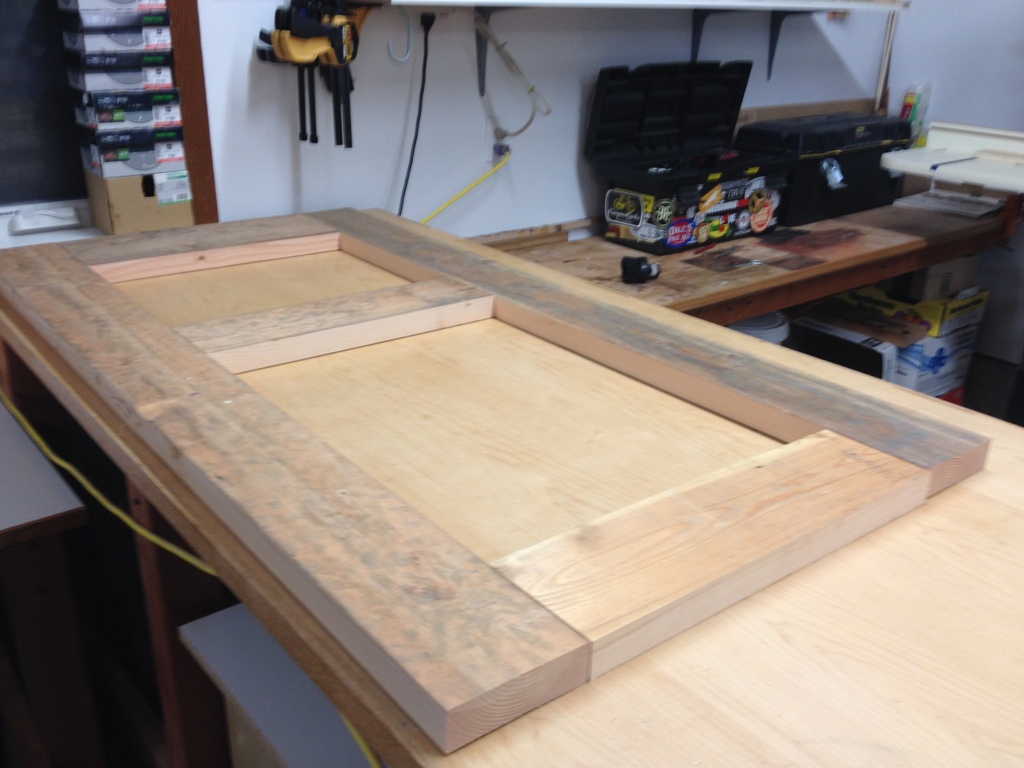
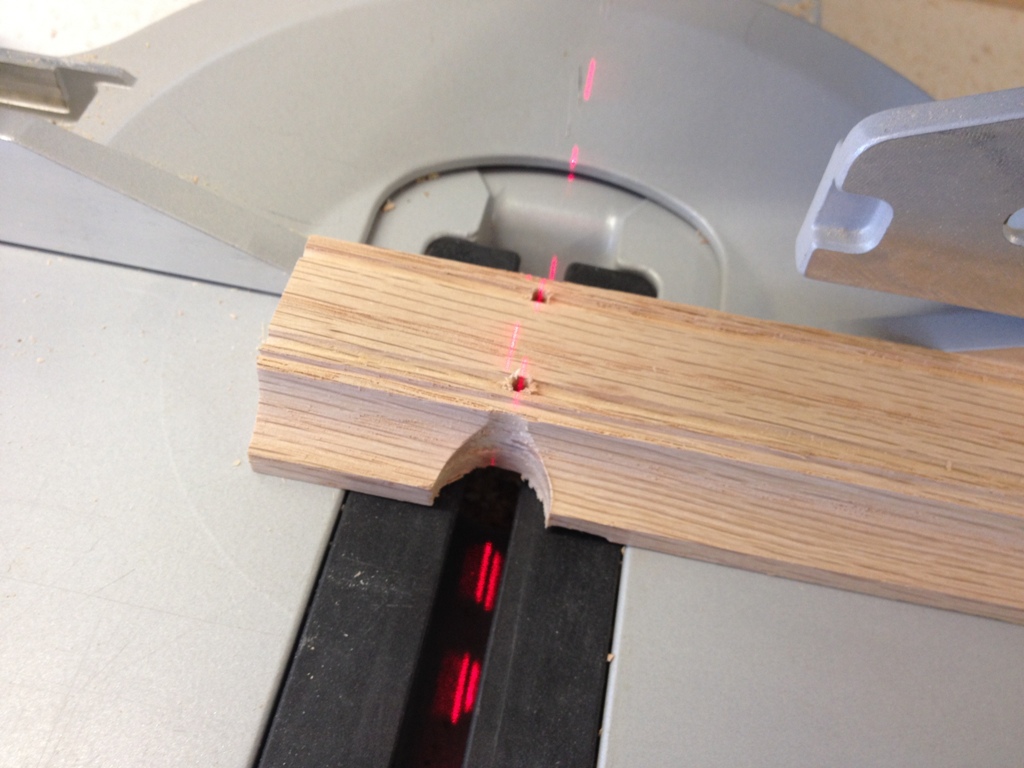
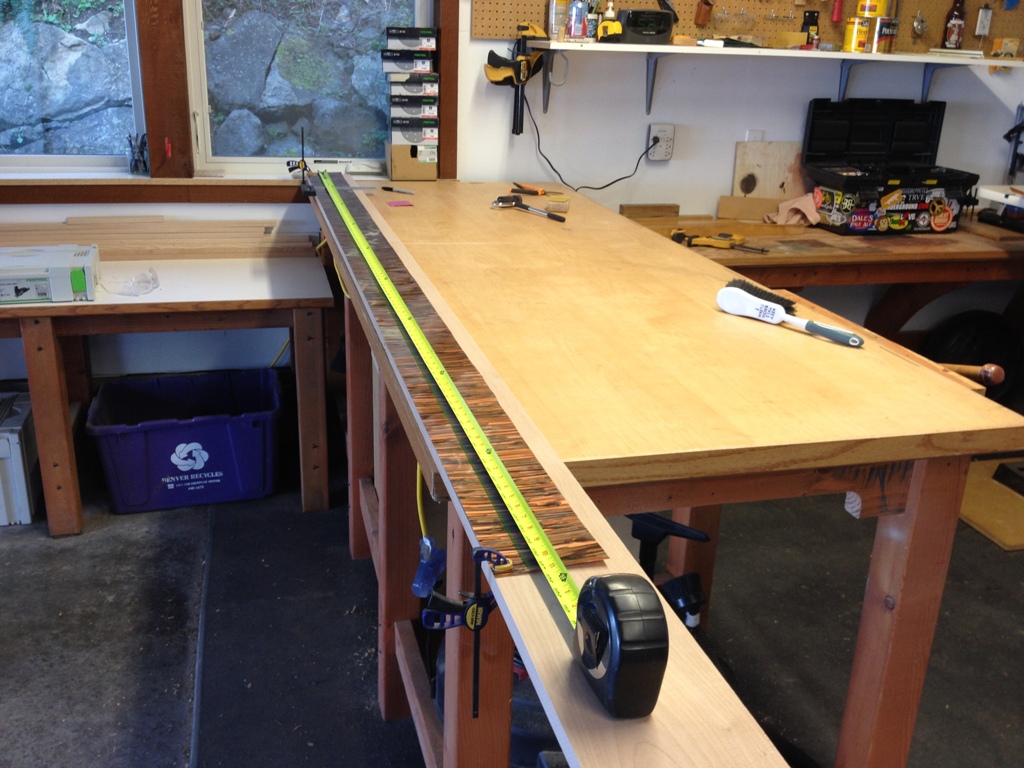
Measurements are very carefully marked out before I start making sawdust out of it.

Router work

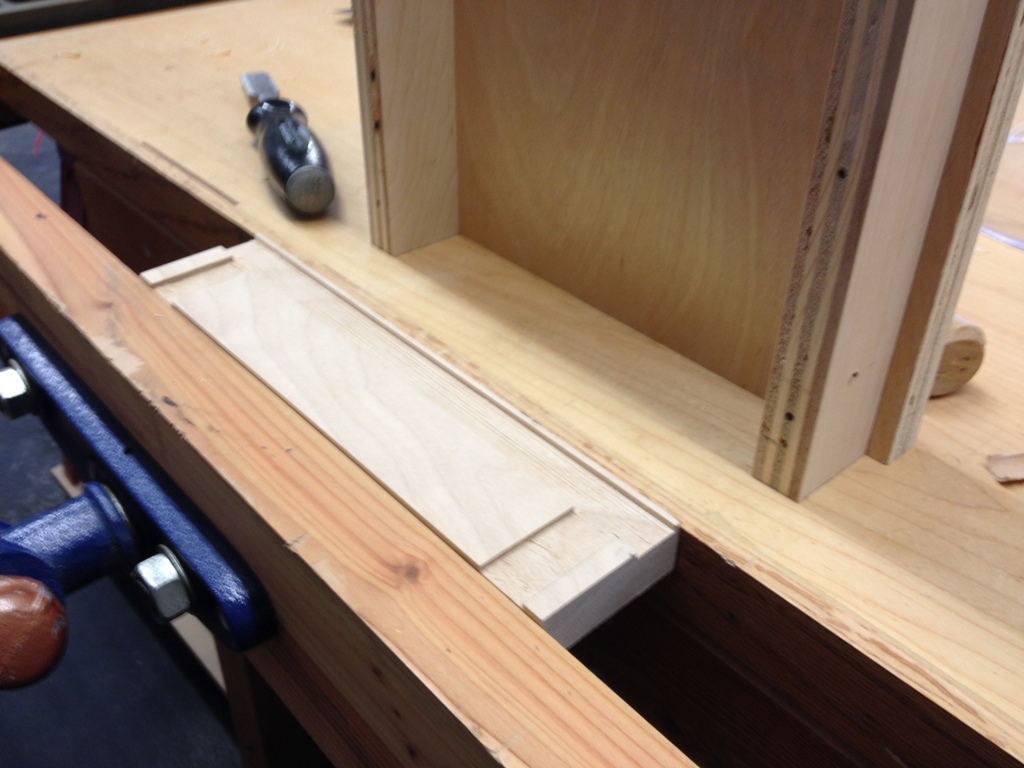
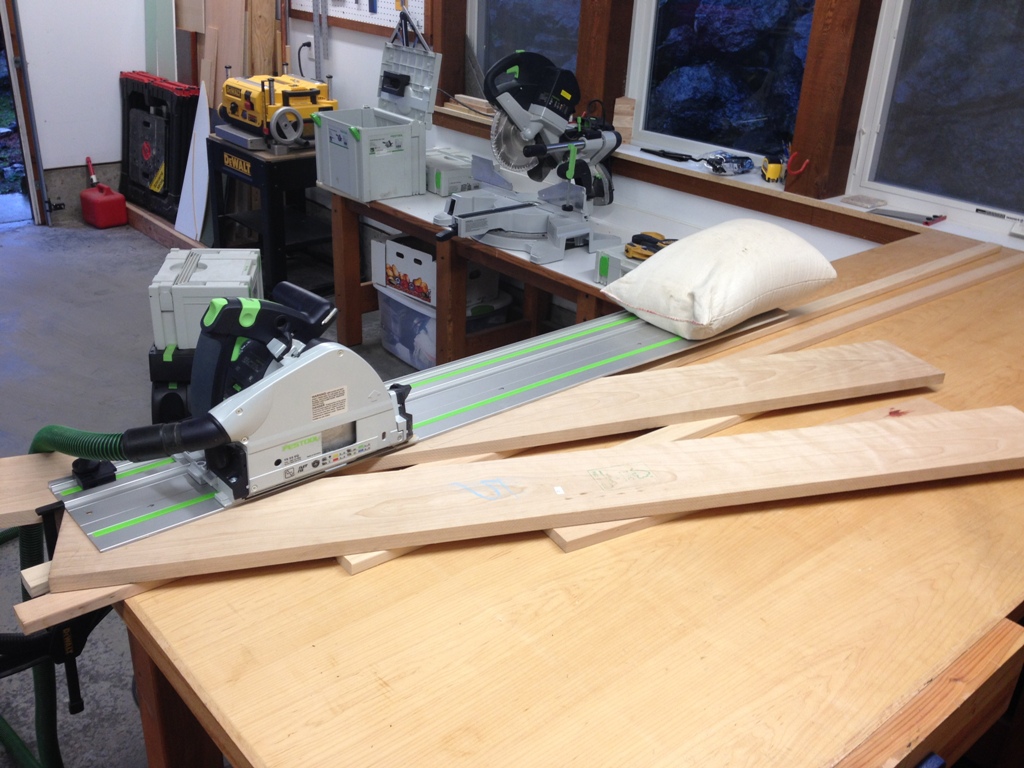
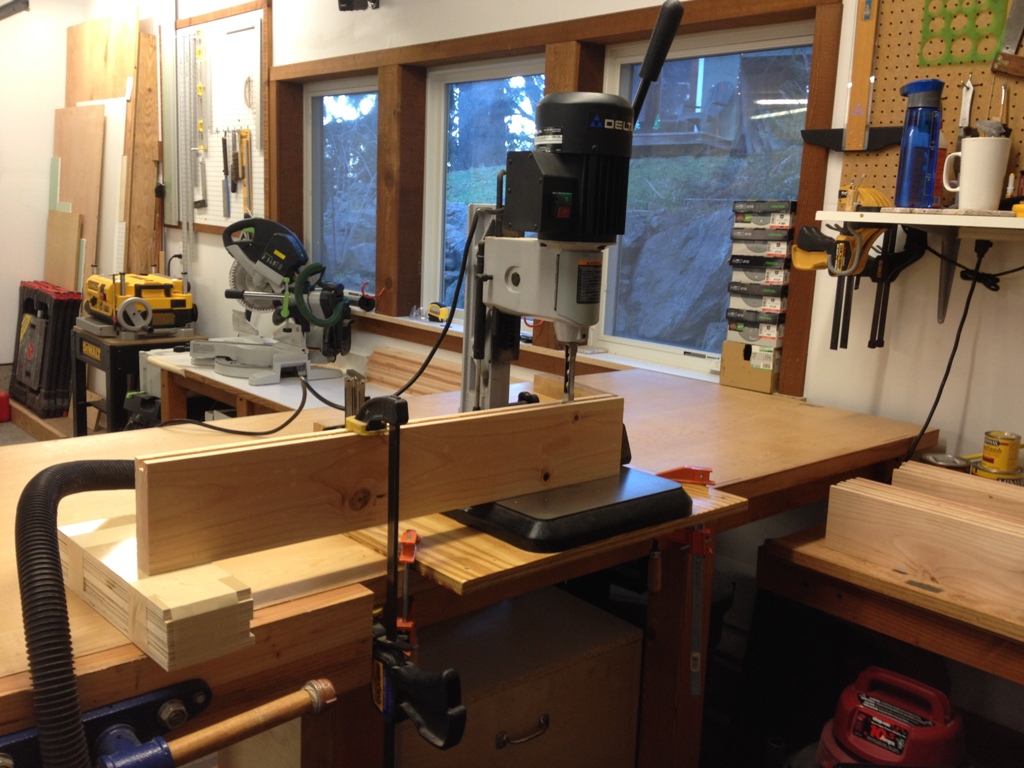
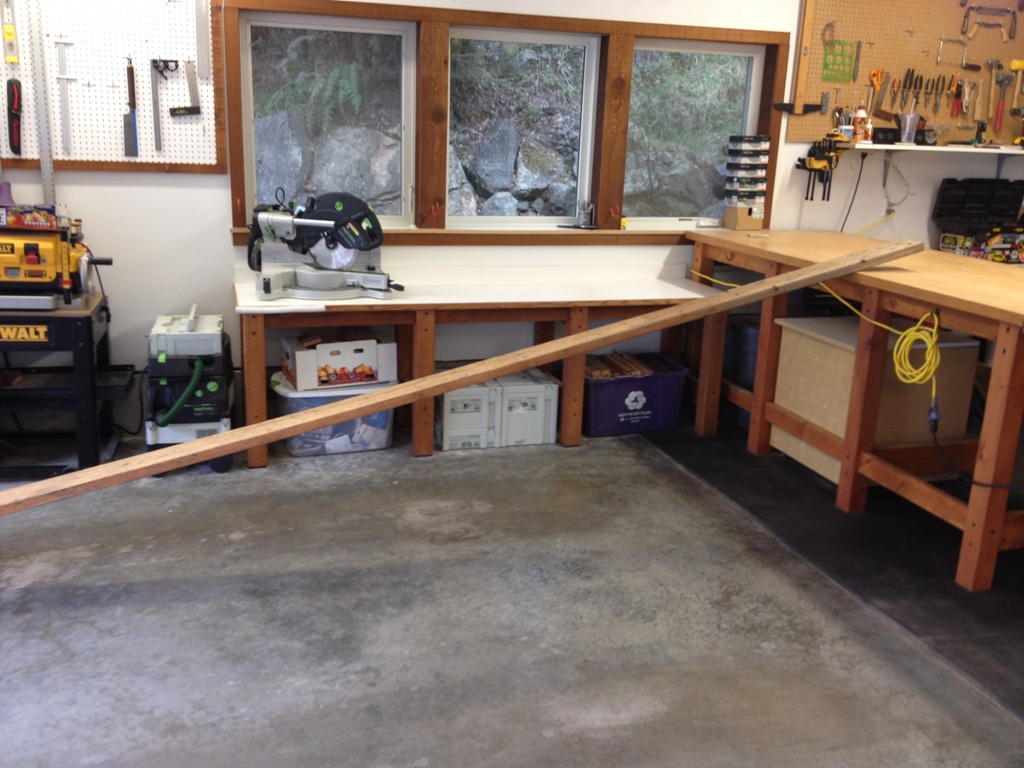
Making the band that goes around the edge is a little tricky, as the kind of banding I use in this house takes at least four passes over the router, and some of those oak 1×2’s were 12 feet long.  My shop isn’t set up to rout lengths of wood that big, so I had to move the router table out into the middle of the garage, and carefully feed each piece through featherboards to clamp it down against the fence and the router bit securely.  That length of wood tends to get a little springy and unwieldy unless it’s adequately supported, and I don’t have the bench length to do that… anyway, enough boring woodworker talk.

Too Long; Didn’t Read:  It was a really tricky cut.

Cut carefully

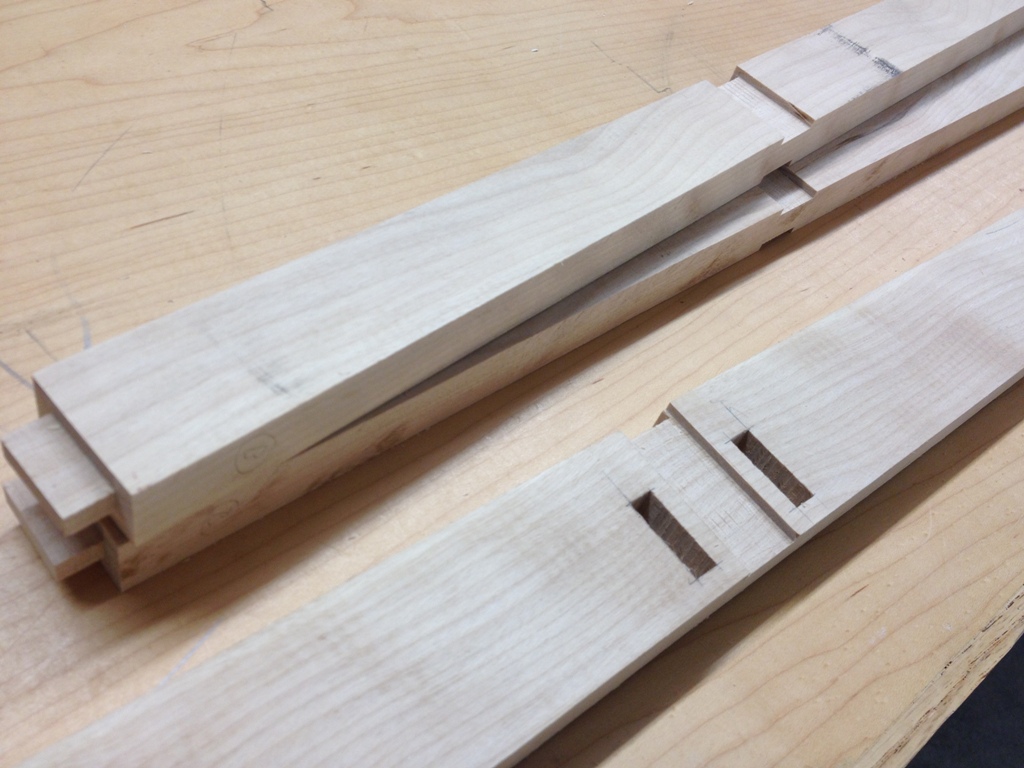
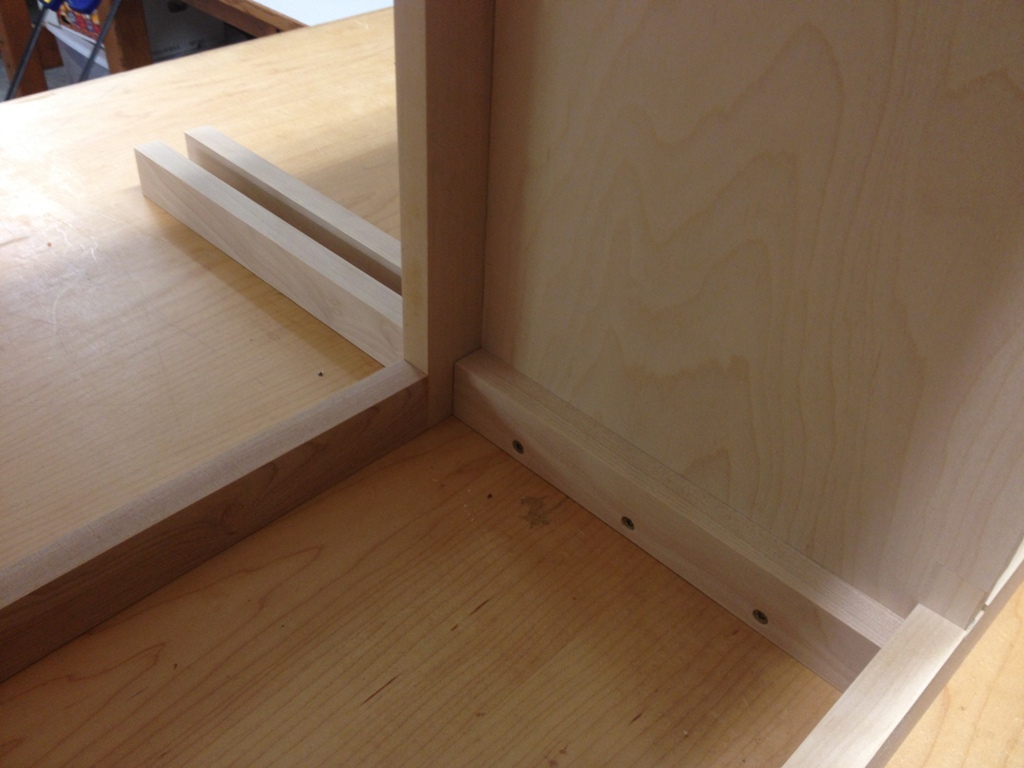
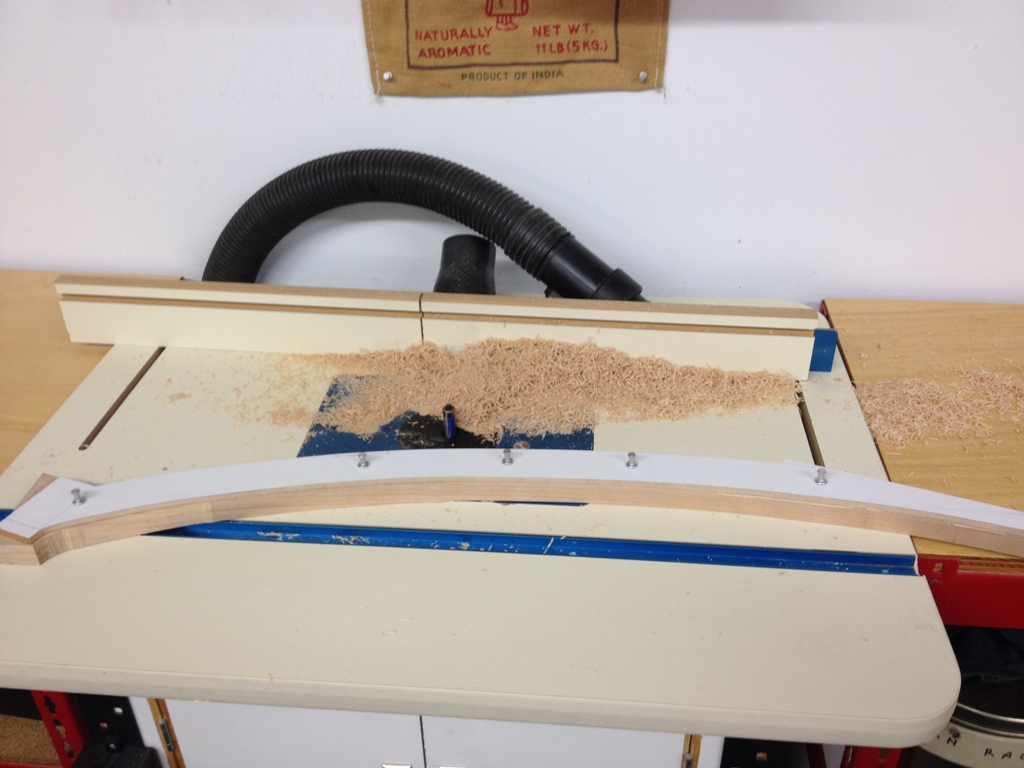
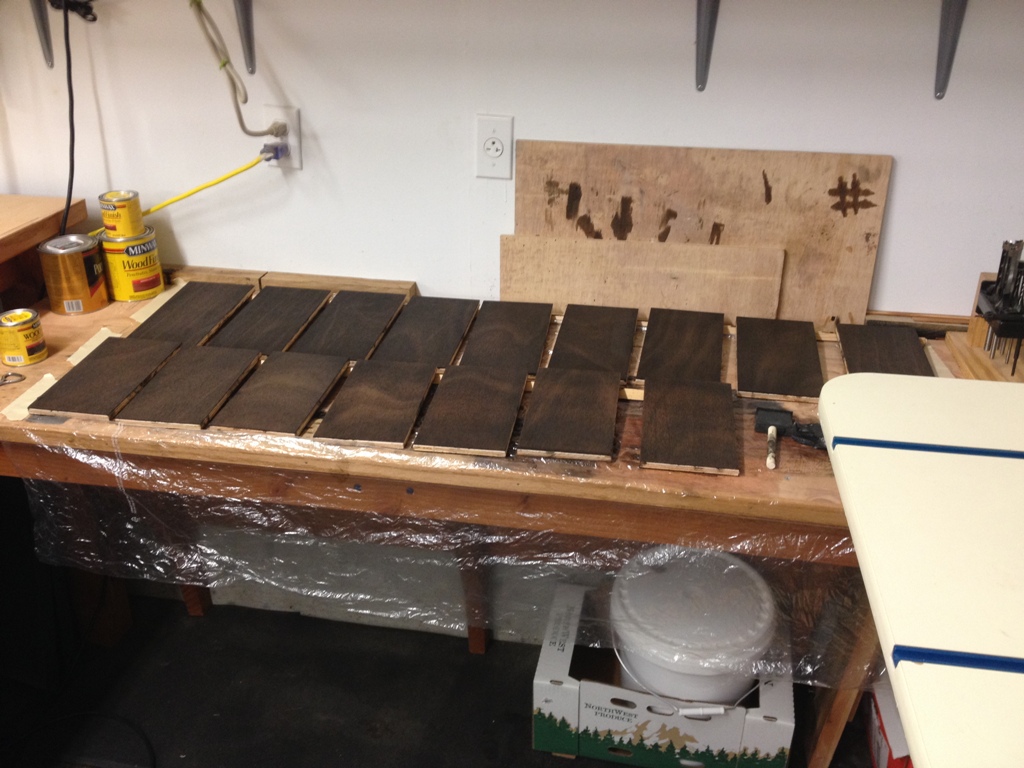
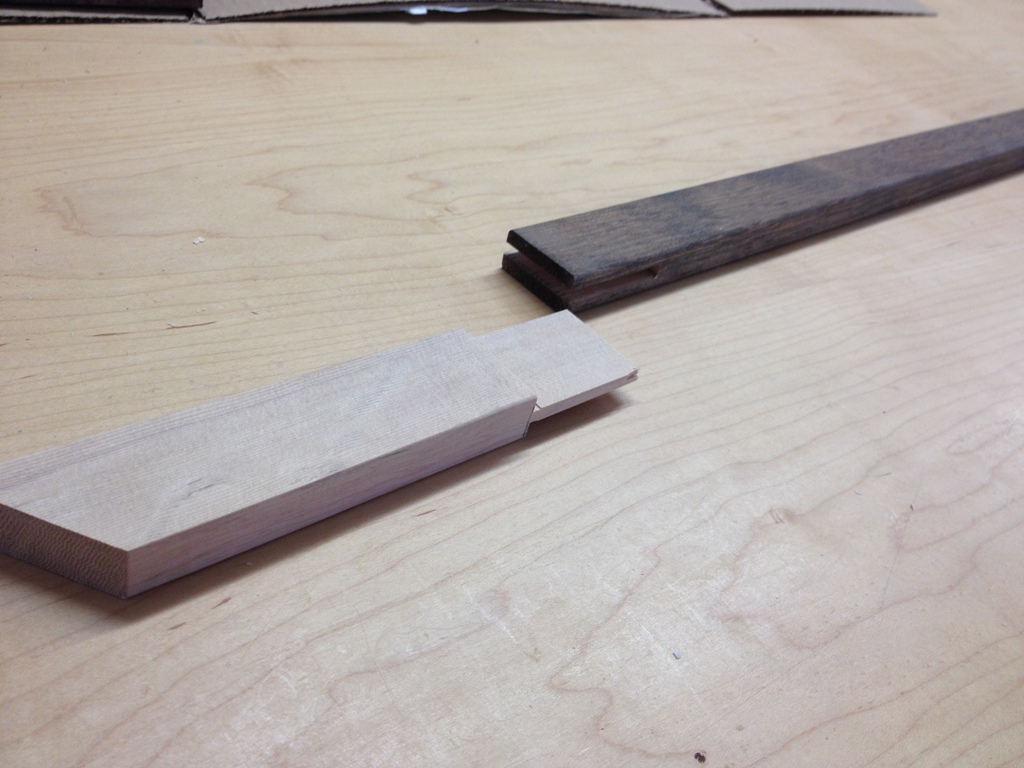
The successfully routed bands fit well against the cut cap.

Tricky

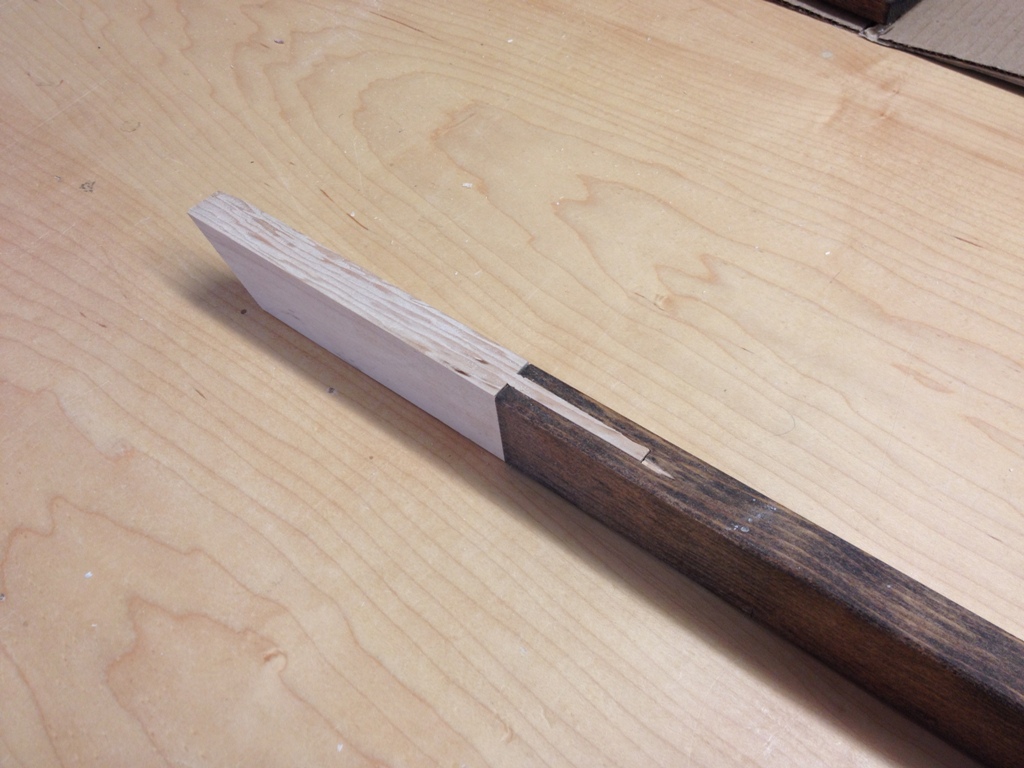
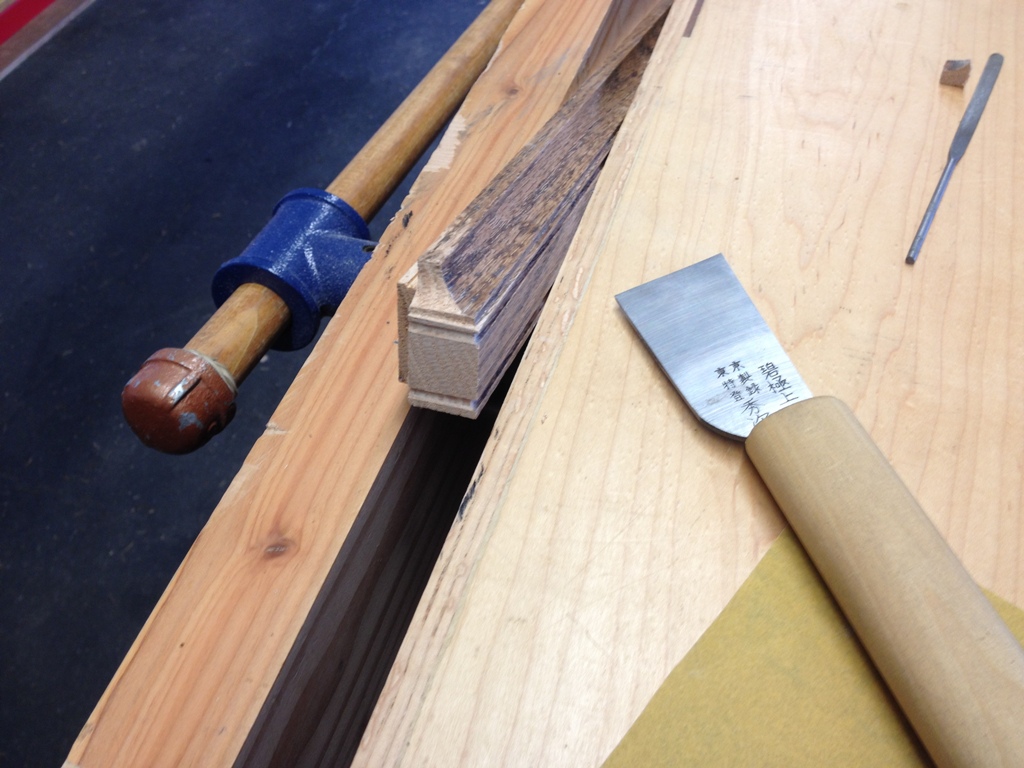
Shaping the edge is a little tricky too.  You can shape the length of it on the router, but against the grain it needs to be sawn by hand.  However, since most of the routs are circular, I could use a drill to make those circular cuts against the grain, and then just cut it on the miter saw.

TL; DR:  Another tricky cut.

Shaping

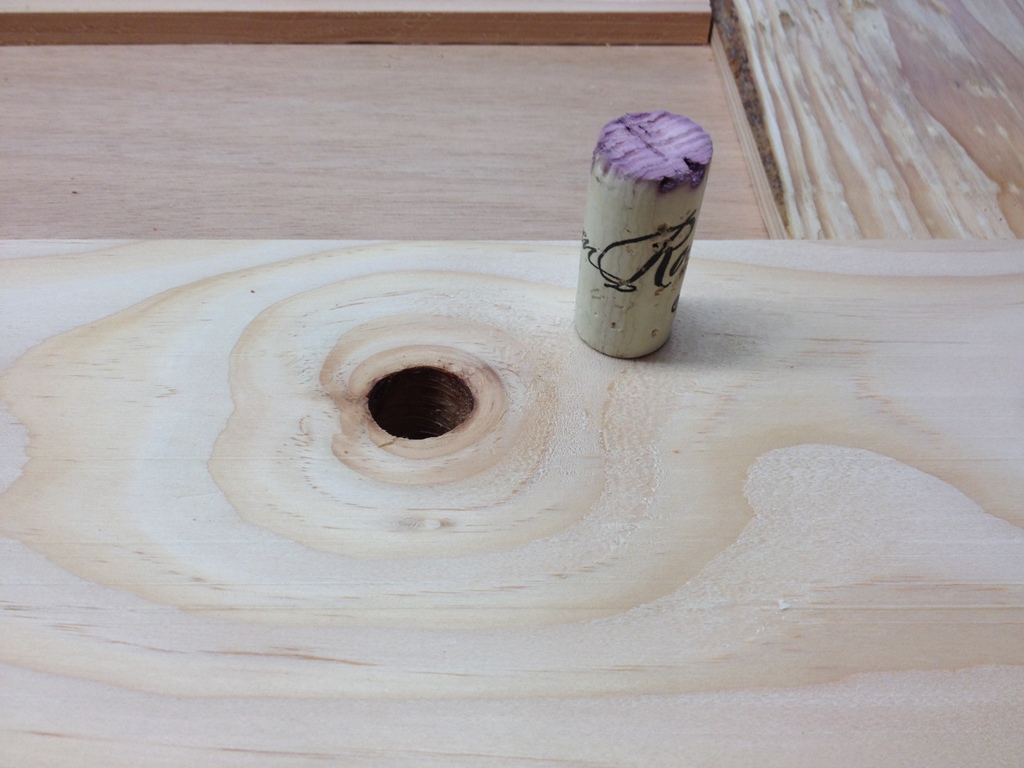
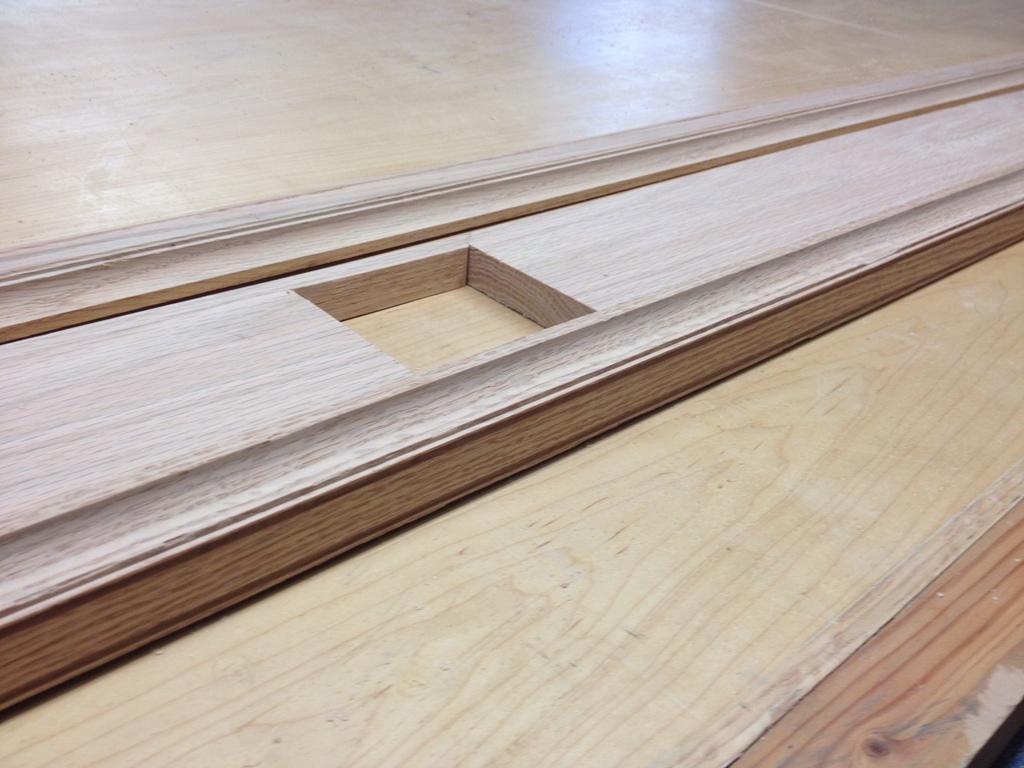
I then clean up the edges by clamping two sides together to ensure symmetry.  I use sharp scrapers, files, x-acto knives and a little bit of sandpaper wrapped around a wine bottle cork.  Got plenty of them laying around the shop.

TL; DR:  Just stop reading and look at the pretty pictures.

Edge

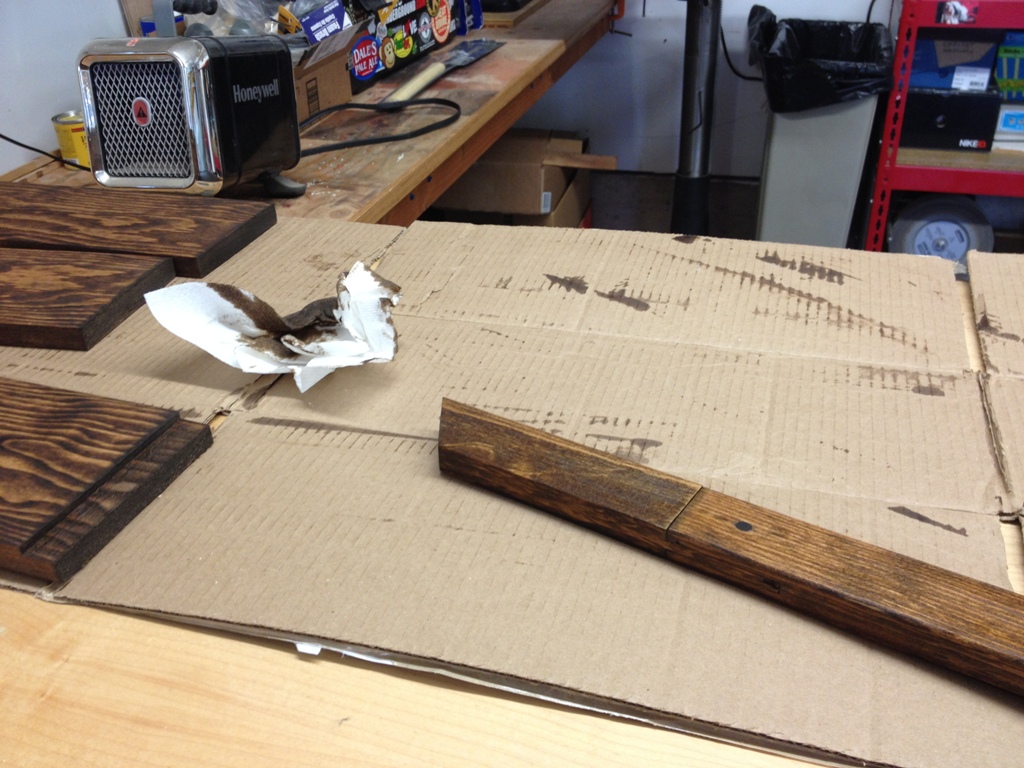
Even after shaping the edge, each piece had to be further cut and fitted very precisely to fit along the wall nice and flush.  The devil was in the details on this one, and she was one really mean devil.

Copper

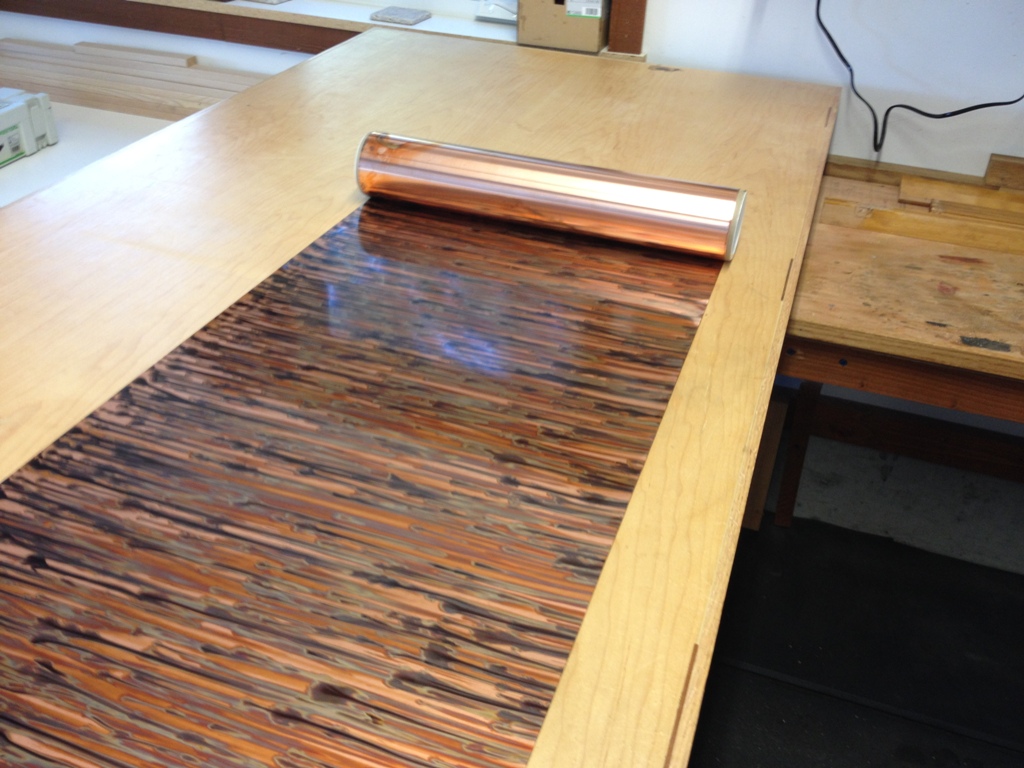
This is a roll of 36 gauge copper.  One side has been specially pigmented with an interesting pattern along its length.  We’re going to use it for the backsplash.  I told you we were doing something cool in here!

Laying out

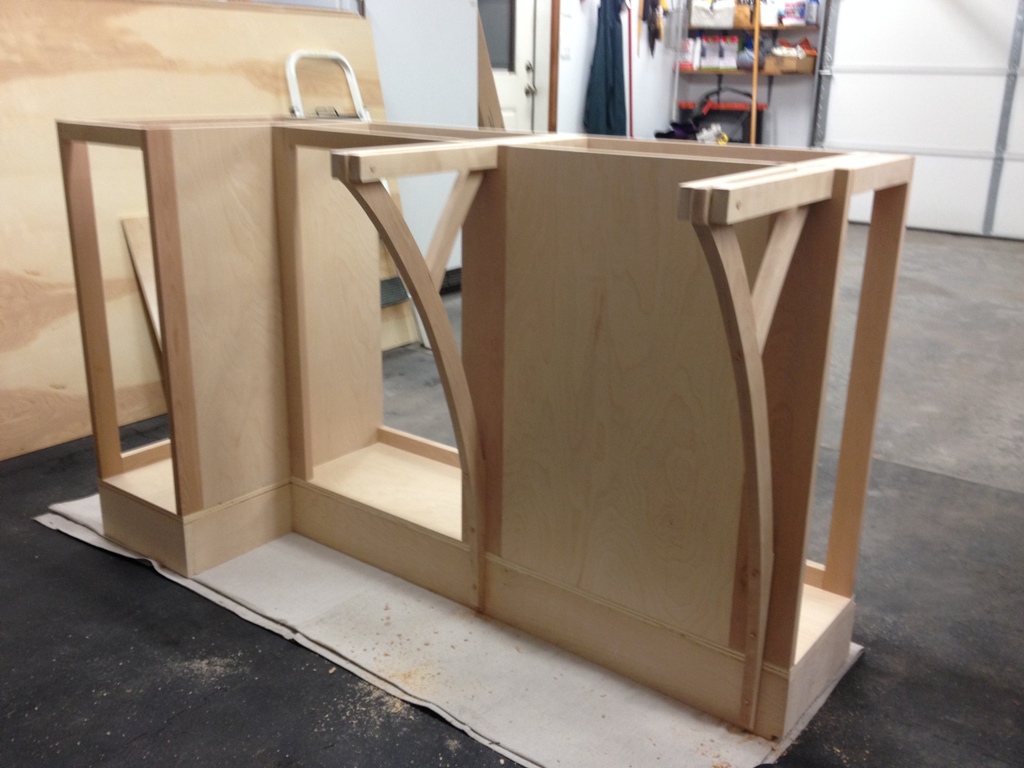
I had to lay this thing out on a nice flat board, some of the leftover birch from the cabinet extension project.

cutting copper

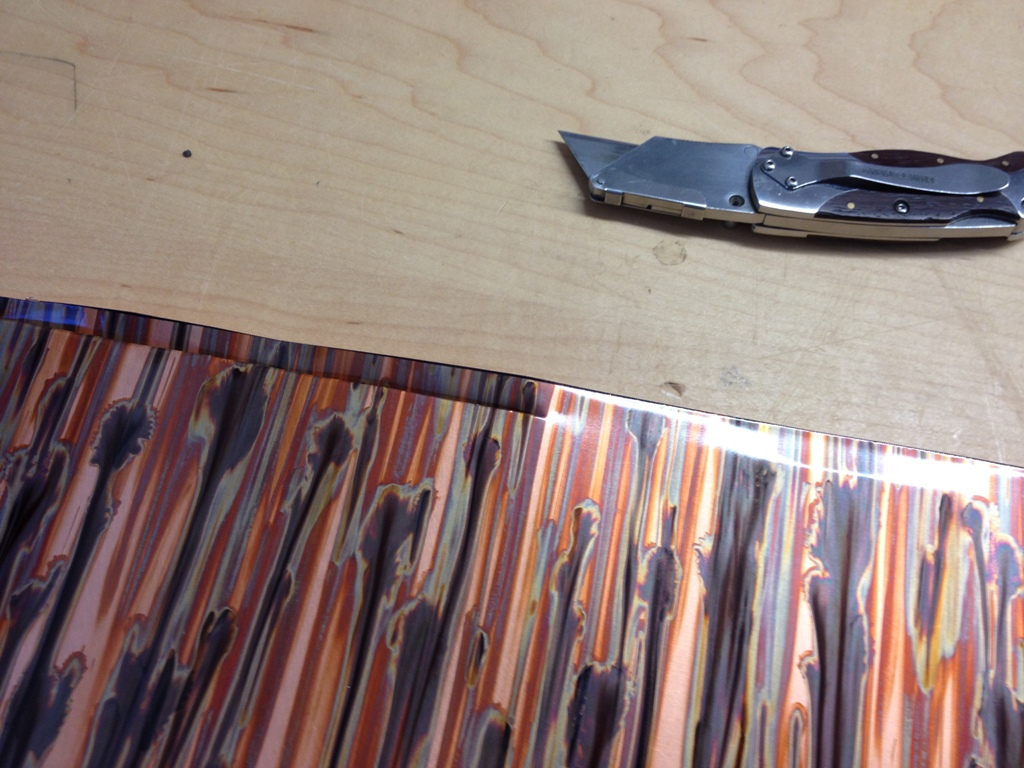
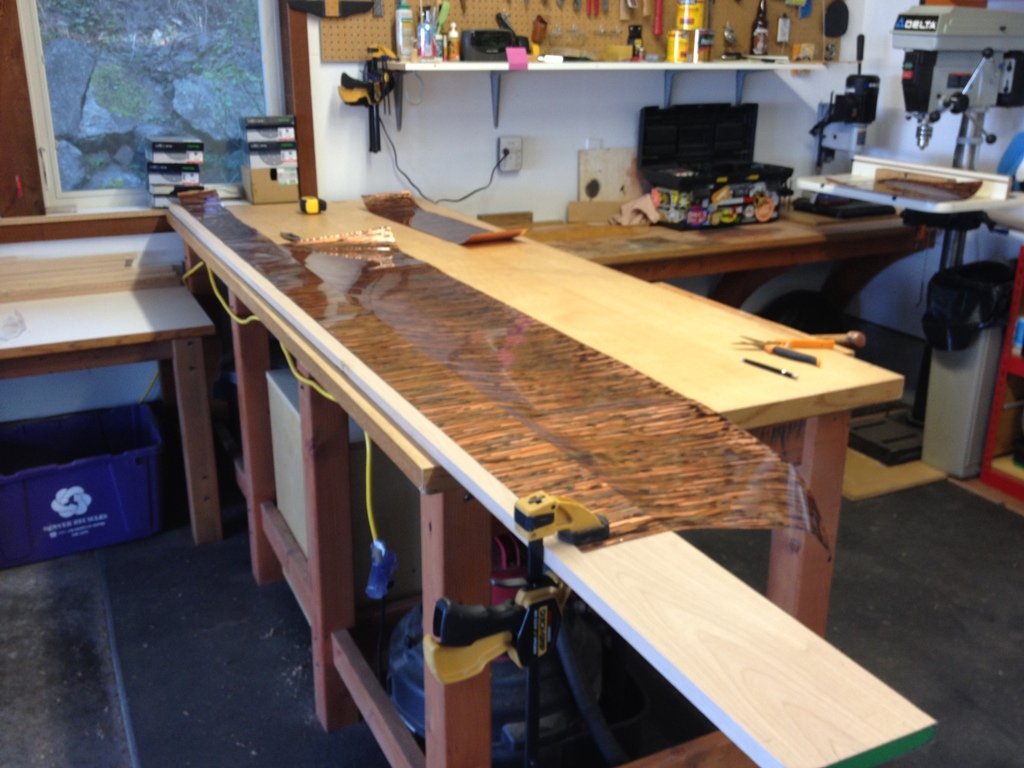
It cuts pretty easily.  Once you get the cut going you can just pull a utility knife across it and slice it in a straight line.

Measuring Copper

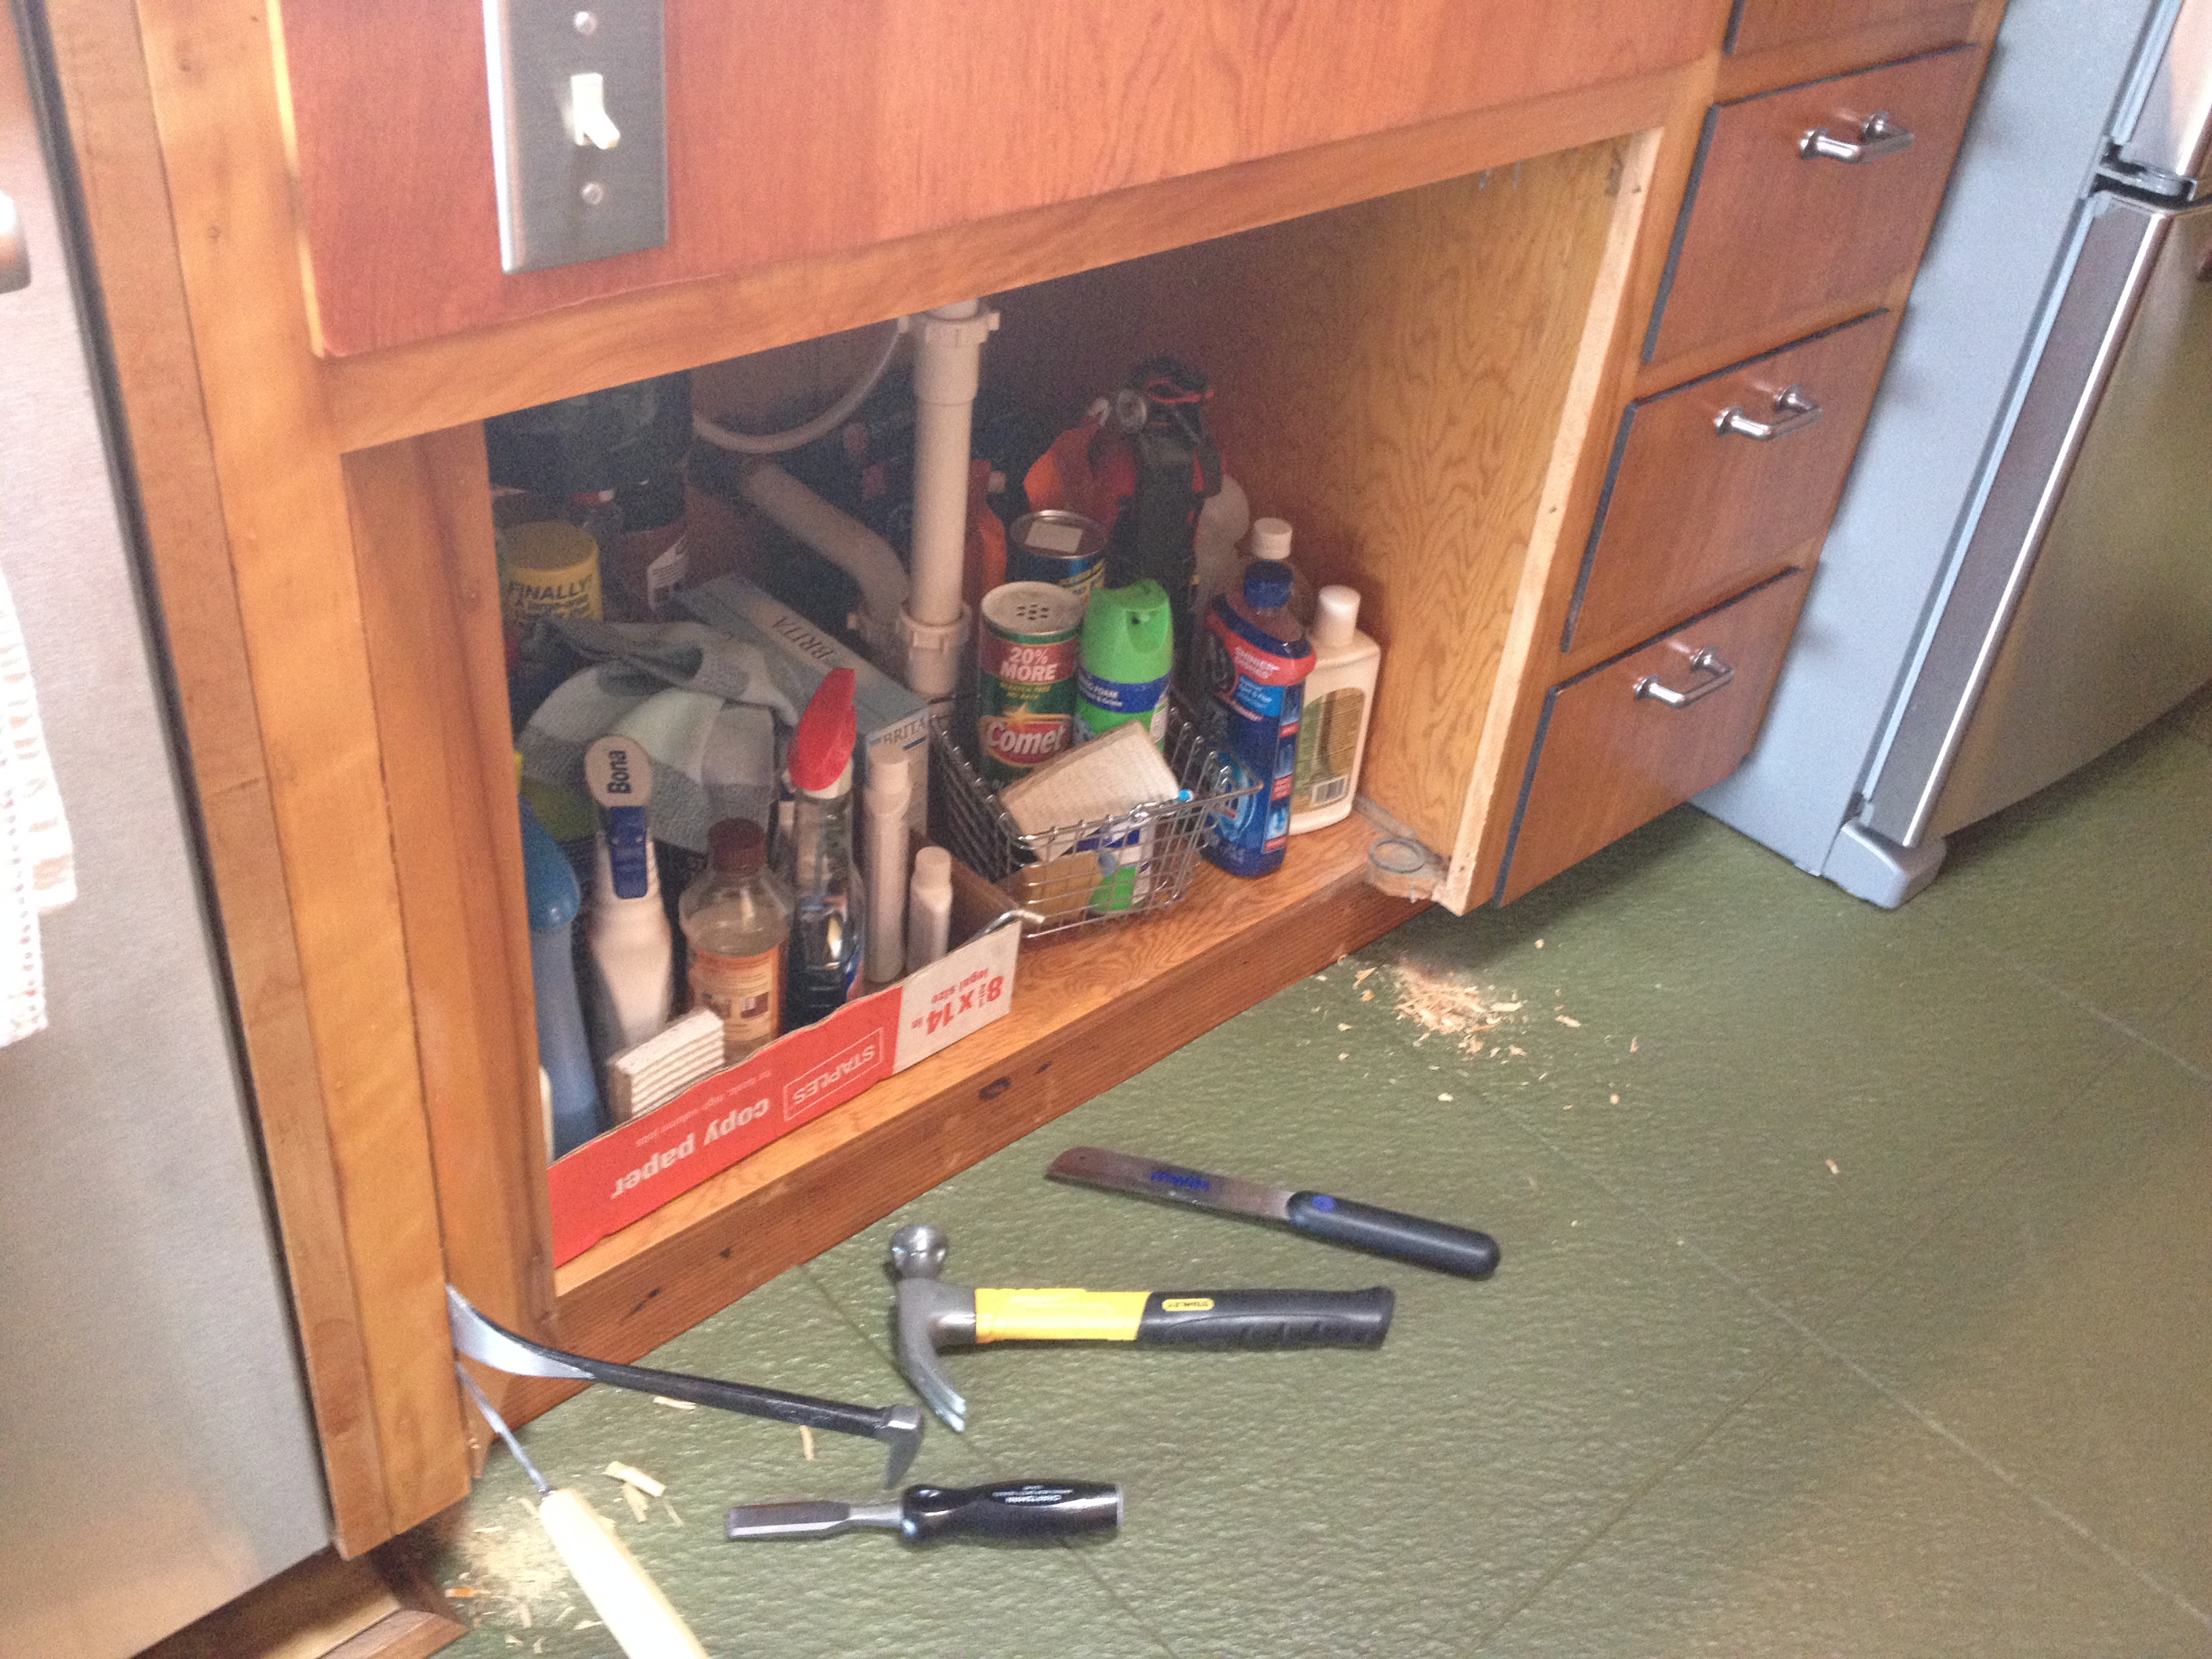
Cutting the holes for the electrical outlets was also tricky.

Backsplash

So, a little contact cement, a lot of work with a roller, and some carefully cut trim pieces, and the copper backsplash is now installed!  The copper is adding some very unique character to our kitchen and everything is coming together very nicely, even if we’re over budget and it’s taking several weeks longer than I wanted it to.  Hey, this is our kitchen.  We cook in here every day.  I want it to be nice.

Installed

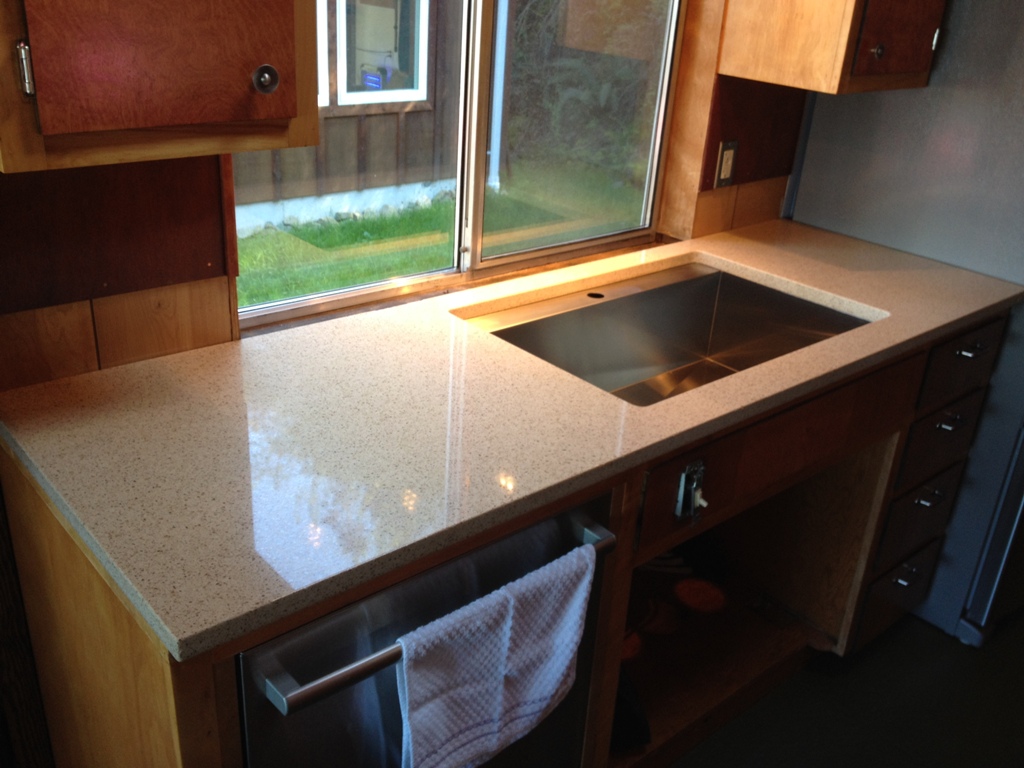
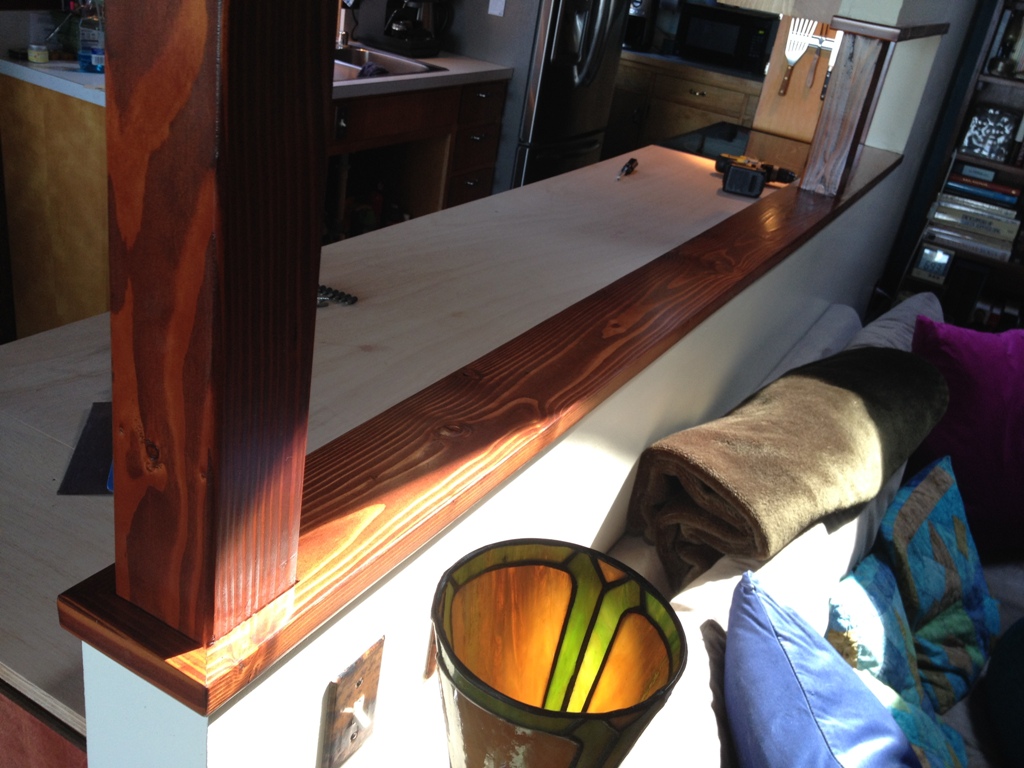
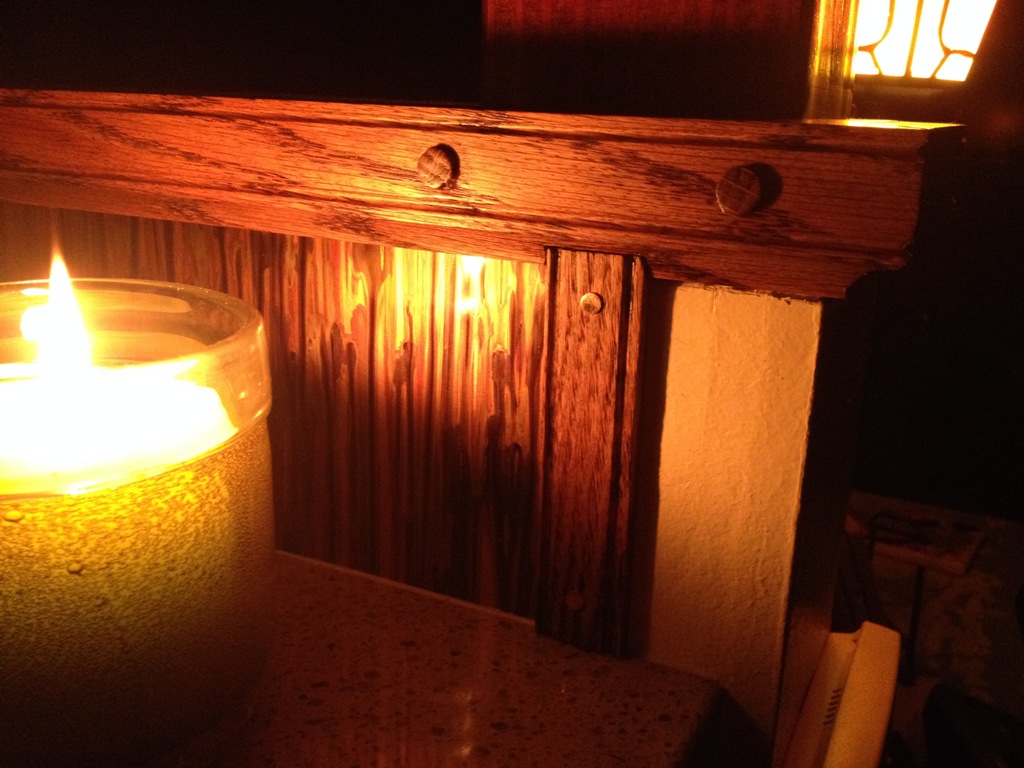
The new cap is installed and looks great.

Sorry

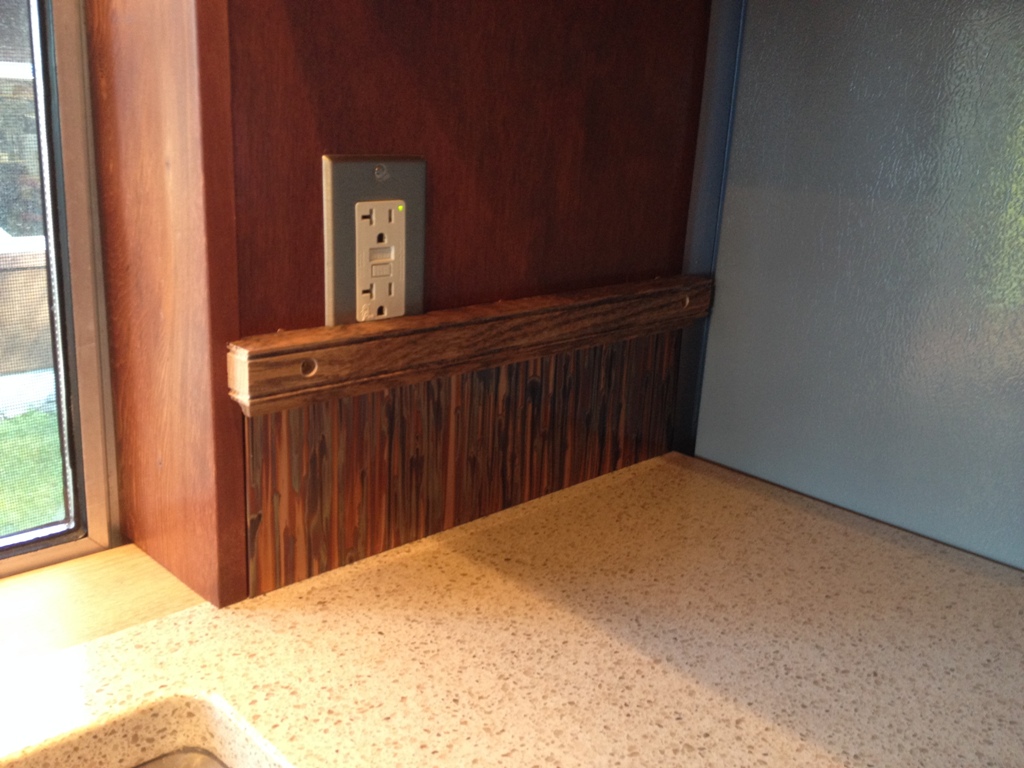
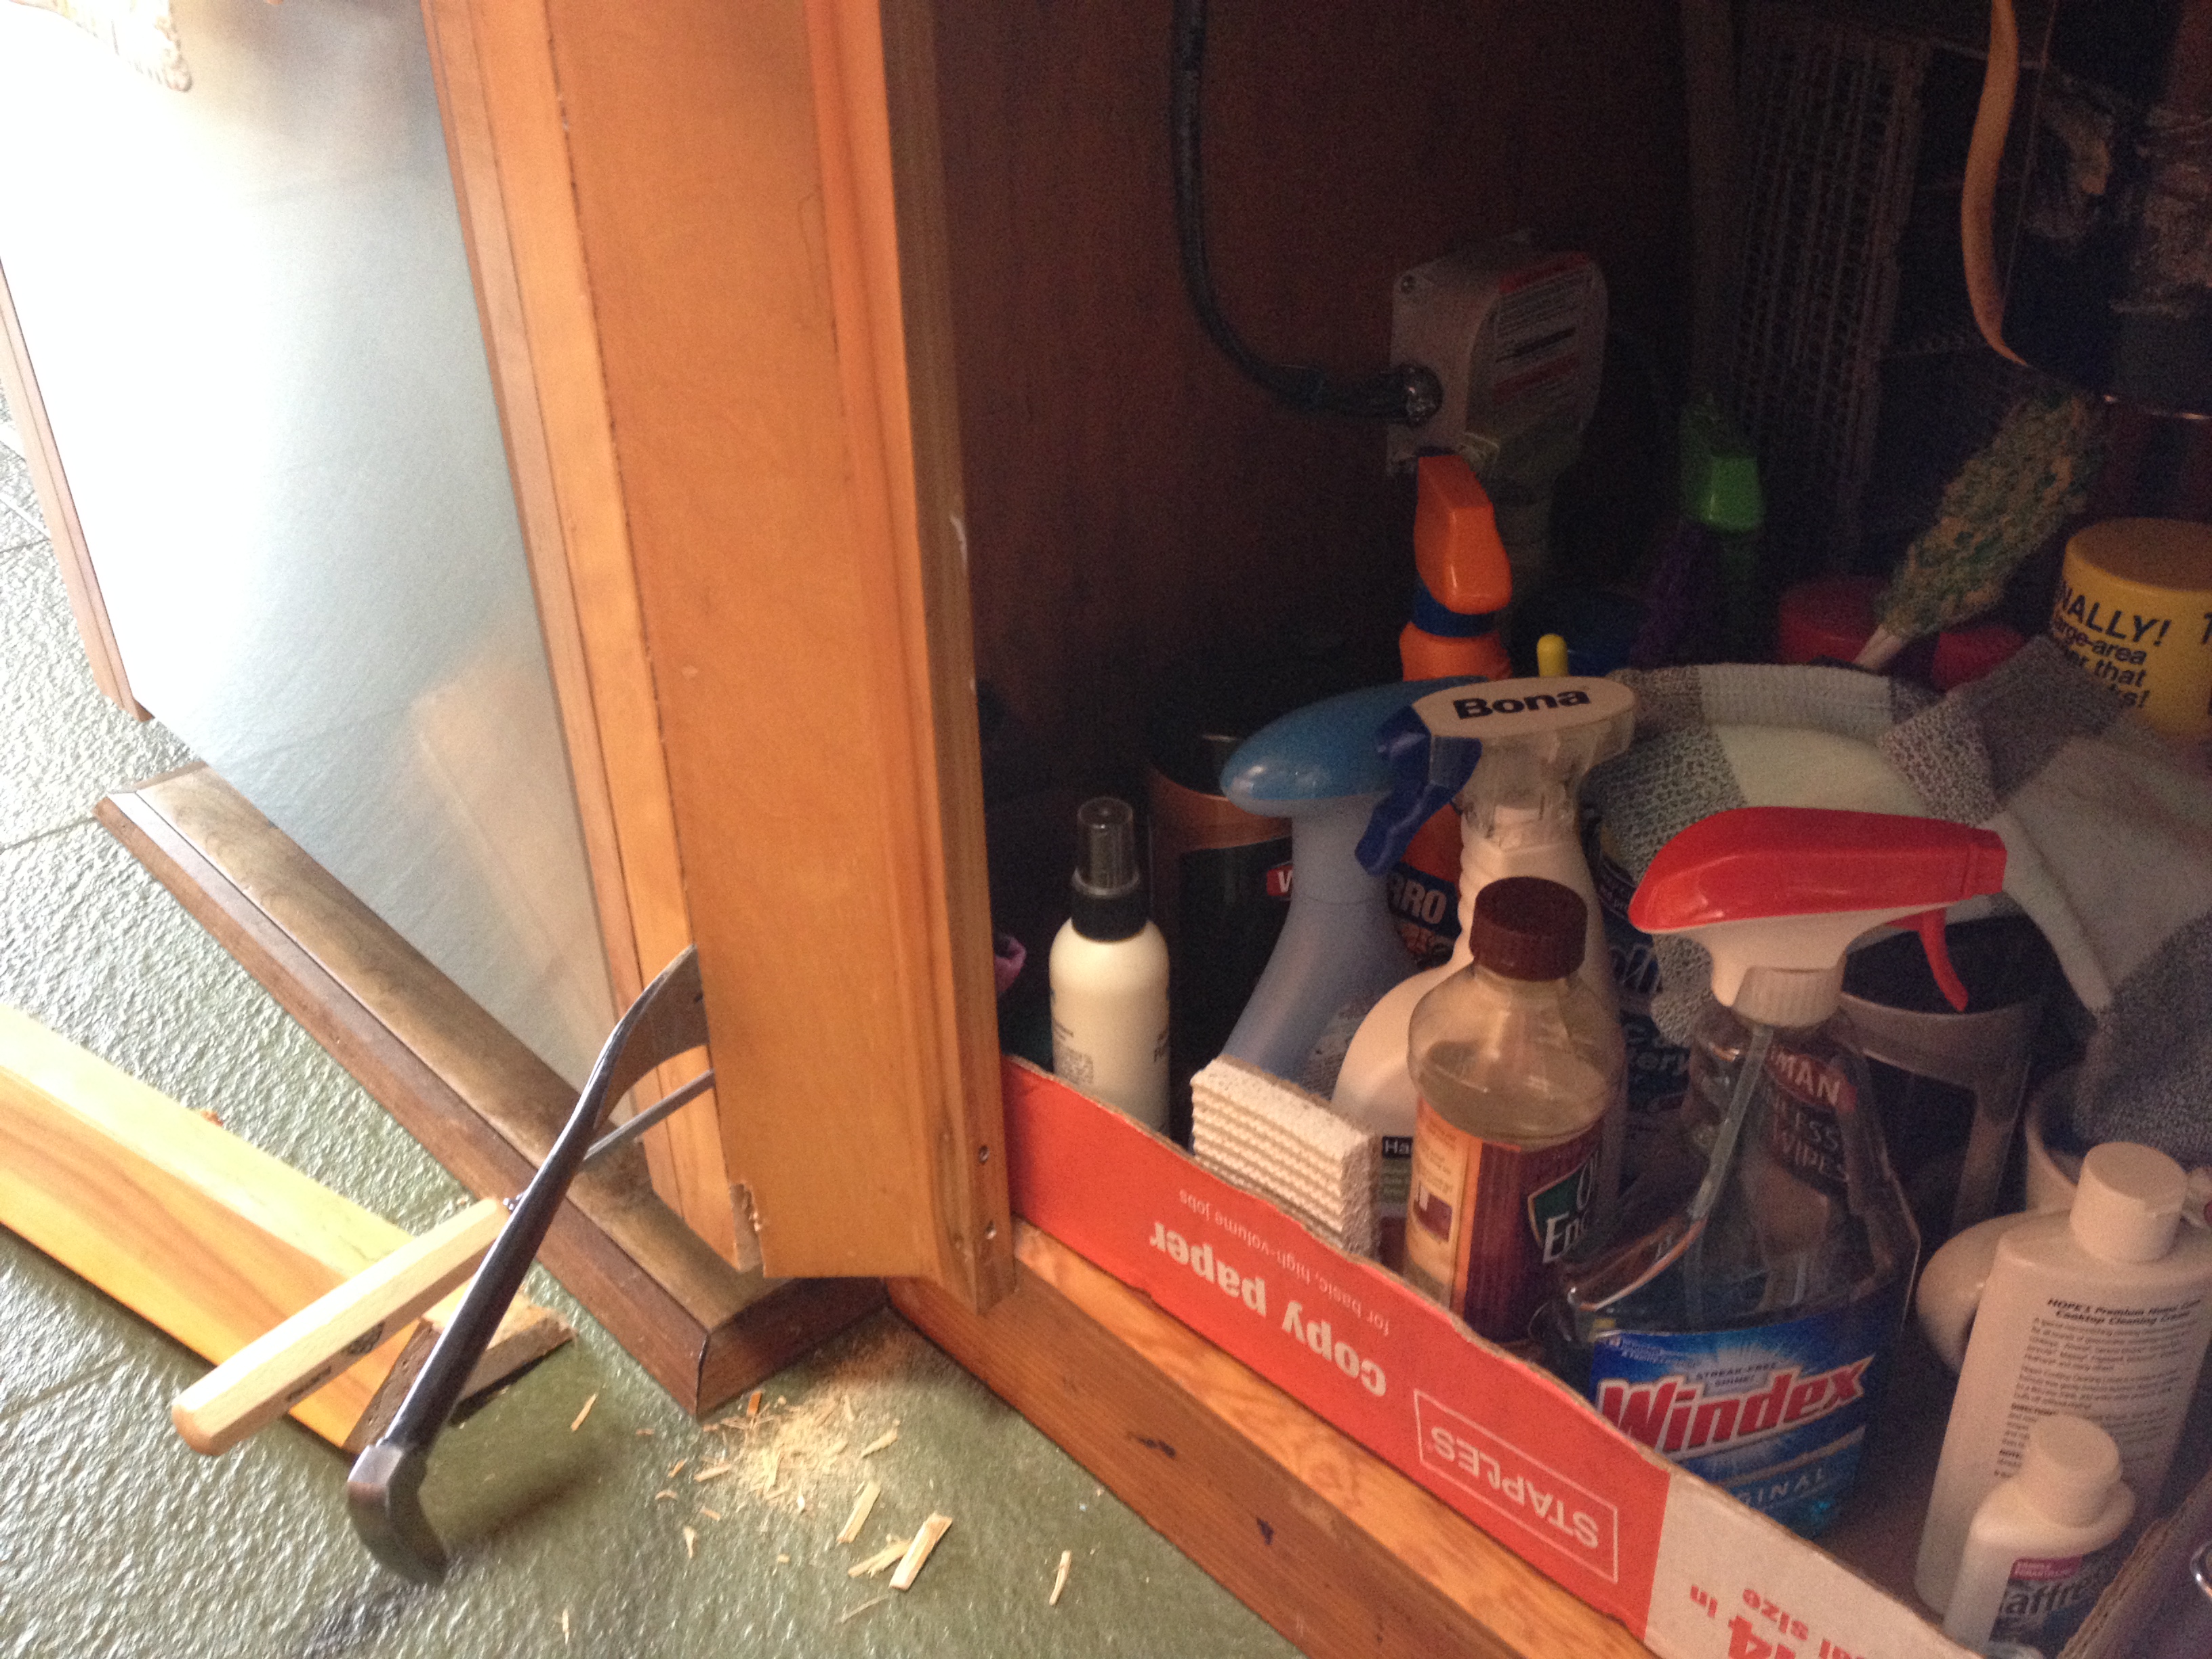
I did take one shortcut in this whole kitchen.  I didn’t move this electrical outlet, and just installed the trim banding over it.  Call it laziness, call it what you will, but I took a quick look at that box in there and it was in such a tight space that I didn’t want to mess with it.  So, I apologize to the future owners of this house, this kind of stuff drives me crazy too.  But I’ve been busting my ass in this kitchen for weeks now and I have attained the point at which I just don’t care anymore.  Be glad you can still plug two things into it, for I’ve seen worse in this house by whoever did the prior work.

Candlelit

And if you don’t think it looks cool, well, you’re in the wrong house.  Go away.

At the beach

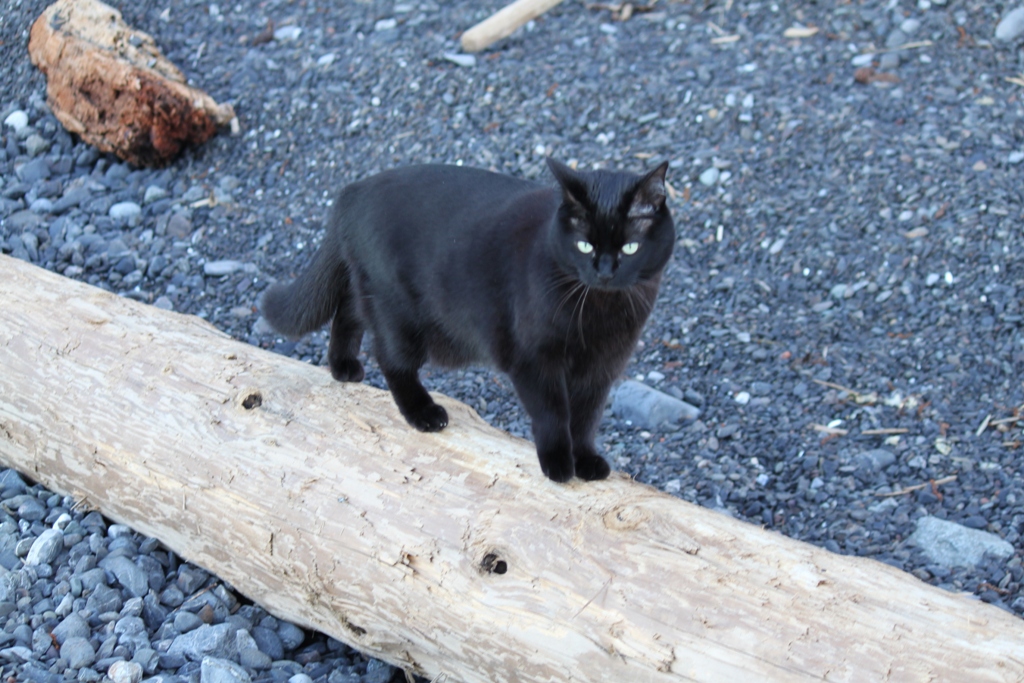
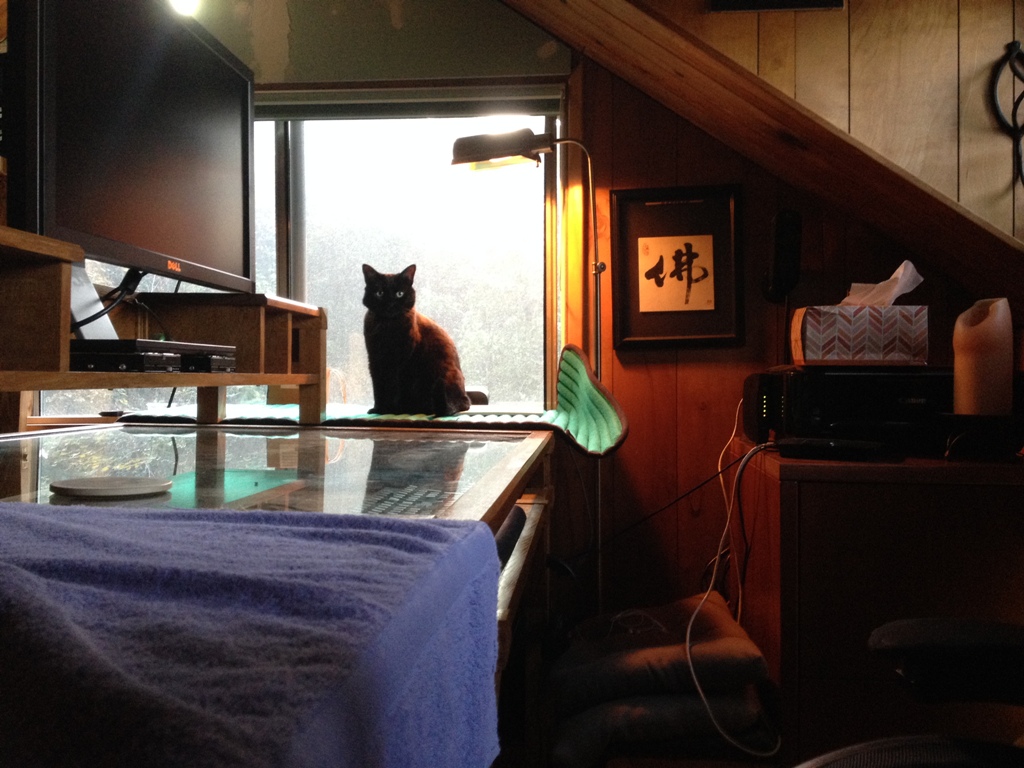
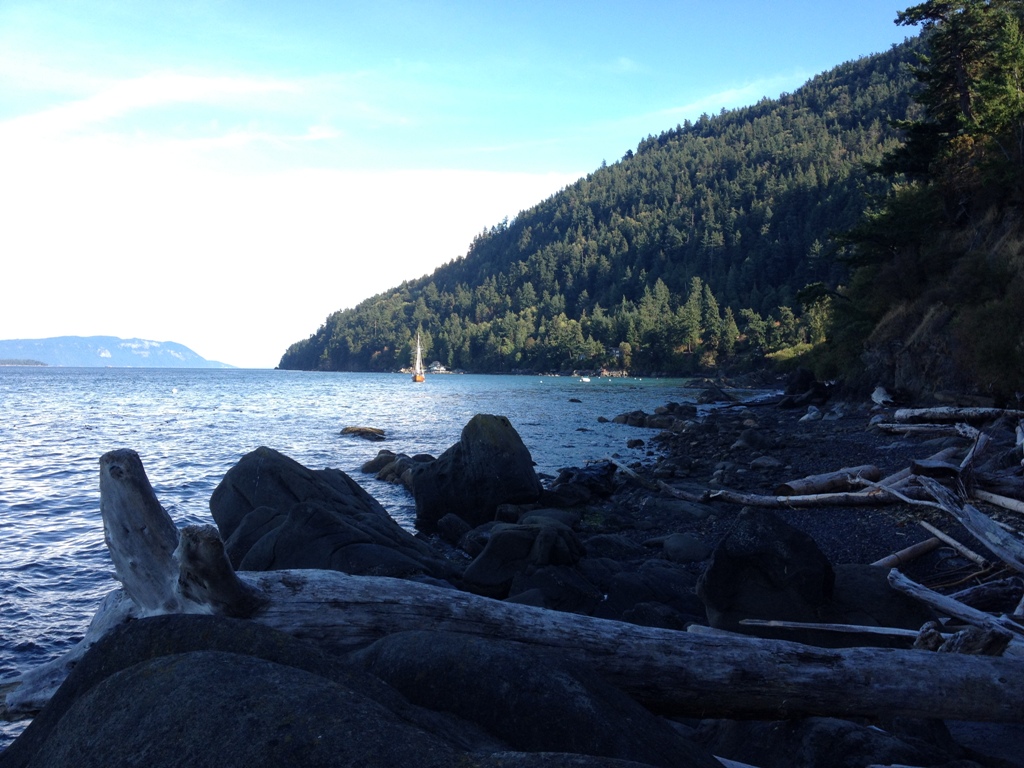
Inky went to the beach, of all places.


The War Zone

Fridge in Dining Room

Okay, when your fridge and oven are in the dining room, it’s safe to say that your house has become a War Zone.

War Zone 2

Yup.  Cardboard taped to the floor, no countertops on the cabinets, nothing is where it’s supposed to be, nothing is in its place.  Looking for the coffee?  I think it’s over by the cat litter box.

Where is the sink

Here’s the old countertops on their last day in the house.  They didn’t put up much of a fight coming out, though the old backsplash had to be cut away with hand saws.

Demolition

Yeah, we had no running water in the kitchen for a couple days while we waited for the new countertops.  Well, the leaky hot water valve down there wouldn’t stop dripping, but that still doesn’t count as ‘running water’.

Here it is

The old sink.  May it rust in Hell.

Ready for Countertops

I can’t say I like these cabinets, but resurfacing the doors and drawer fronts sure helped.  New knobs, new hinges, new polyurethane, I guess I’ll keep them now.

New Countertops

And here’s the new countertops installed.  It’s quartzite, which has a really nice texture and is very, very durable.  You could smear grape jelly and red wine all over it and it would never stain.  Oh, look, and the fridge is back in its correct place, too.

Just Add FaucetThe new sink is HUGE.  You could take a bath in that thing.

Huge Sink

And now we have running water, and a fancy new faucet.  I’m loving this sink.  You can leave dirty dishes in it and it’s so deep that you never really see them.  Out of sight, out of mind.  Seriously, you could wash a goat in that sink.  It’s huge.

Nice Day

I love the colors in this picture.  The sky is bright, the water is reflective, the trees have many shades of green, and the houses and decks add little spots of their own color to the mix.  You may notice our kitchen has a myriad of colors and textures, and not all of them really ‘go together’, and that’s quite deliberate.  Living where we live, it really fits in.

The Cabinet Butcher

Cabinet Butcher

The cabinets directly under the sink have recessed doors, so you can comfortably stand at the sink all day long washing dishes or doing laundry or performing whatever task Island Life has in mind for you, and there’s plenty of room for your knees and shins and feet.  However, the new kitchen sink that we selected is too big to allow for this recess.  There won’t be enough room to install it unless the cabinet doors are made flush with the front surface.

Recessed Cabinets

That’s where I come in.  The Cabinet Butcher.  I can take that recessed frame and reconstruct it so that the doors are flush and there is room for the sink, at the obvious expense of one’s comfort while standing there doing dishes.  Since that’s usually me, well, who cares if I’m inconvenienced.  We have a new sink to install, after all.

Now, the new configuration of the cabinet doors down there makes the opening wider, by a total of six inches.  So, we need a strip of wood 6″ x 24″ to put in there between the doors.  This is a pretty good opportunity to go down to a salvage store and find some odd scrap of carved wood that I can integrate into the cabinetry!

Pick Me

“Pick me!” squealed these two pieces.  No, you’re both the wrong size, and you’re both ugly.

No Pick Me Instead

“Pick me!  Pick me!”  Okay, you’re the correct size but you’re still ugly.  No dice.  I’ll keep looking.

No Doors

Yeah, well, while I ponder my newest conundrum, I must pry the remaining cabinet doors off their hinges so I can replace the hinges (with less-ugly hinges) and resurface them and stain them and make them pretty.

War Zone

I did replace all the cabinet shelves with melamine.  I’m no fan of melamine, but I am a fan of sanitary kitchens, and the melamine shelves were far cleaner than the greasy, sticky, cigarette-smoke infused cabinet shelves that we had.

Mountain Climber

Aprupt change of topics, but Inky is a mountain climber.  Here she is atop a rock that’s about 30′ above the road below.

The Hodge Podge Lodge

Here’s a picture of the kitchen countertop that came with the house.

tomohawk

See that?  See that deep impact wound in the top of the kitchen countertops?  That’s lovely, isn’t it?  My best guess is that was caused by a tomahawk thrown by an angry indian at a prior owner of this house.  But I really don’t know.  All I know is we’ve been staring at that ax wound in our oh-so-lovely formica countertops (with the gold flecks that look like the bottom of a bottle of Goldschlager) for longer than I care to remember.  And we want it gone.  Is it possible to hate kitchen countertops?  Yes, it is.

prep work

So, that’s the whole point of this exercise.  Remove the existing countertops with a sledgehammer and a crowbar and maybe a tomahawk, extend the existing cabinetry, and install new countertops atop them.

sliders

Easier done than said, eh?

kickplate

I made these platforms that will hold our trash bins.  We can pull the trash bins out on the little (and rather expensive) drawer glides and they’ll be conveniently next to us ready to accept copious amounts of kitchen refuse while we cook.  I have to admit, I have my doubts about this idea.  It looks good on paper.  We’ll see how well it does in practice.

metal

If my cabinet burns down, this will be all that’s left.

cat food

And here is photographic proof that our house is rodent free.  Because when I removed the drawers from the existing cabinets, in preparation for the install, I found this pile of spilt cat / dog / gerbil / whatever food, just waiting for the ravenous little fangs of rats and mice and other assorted vermin that can sneak into a house.  The fact that this pile has sat undisturbed for at least four years is evidence enough that nothing comes into my house that would want to eat it.

install

And here they are installed.  Yeah, it’s a hodge-podge of colors and textures, the red cabinet doors, the blue stools, the green floor.  This house is a patchwork quilt, which is something you get when you live on Orcas.

hodge podge

I’ve got some plywood pinned on top temporarily, as it could be months before the new countertops are installed.  Island time, you know.

It’s a Great Day to Make Sawdust

outside

It was a gray weekend outside.  Nothing but rain, and more rain, and when that was done, it rained again.  A nice day to get in the shop and make some sawdust.

puzzle pieces

All the pieces to make the kitchen cabinet extension are cut and ready to be put together.  Here they are posing for a picture.  Like a bunch of little jigsaw puzzle pieces.

joint

These beams are going to hold the weight of a stone countertop, a portion of which will be cantilevered so we can put some stools there and have a new seating area.  I over-engineered them deliberately, wanting them to be very, very strong.

clamp

Oh yeah, that will be a strong joint.

joinery

frame

I assembled the base cabinet upside down, it was a little easier that way since I had these support rails that had to stay nice and flat with the top of the cabinet.  In fact, I even made the joke “oh no, I glued it together upside down!”, acutely aware that no one else on Earth would get the humor but me.

fitting

And here it’s all fitted together.  So far this project is going very well.  I’ve screwed up very few things on it, and nothing I couldn’t fix, so I’m kind of anticipating some major catastrophe.

festool

As much as I love Festool, it can be such a pain in the ass.  I have to find a bunch of scrap pieces of wood to support the piece I’m cutting, as well as other scrap to support the rail, and then I have to clamp down the rail, and sand-bag down the other side since a clamp won’t fit, and I have to cut it in three passes since it’s such an acute angle and the wood is so thick that it would bind and try to explode if I just made one pass.  And don’t even remind me about the stupid hose that keeps getting underfoot and trying to trip me.

templates

But that’s what it takes to make brackets.  A nice bracket is a complicated piece of wood that takes about a dozen precision cuts.  When I have to make multiple brackets all the exact same shape, I make a template out of 1/4″ MDF so I can shape it and smooth it out on the router table.

router

I promised sawdust.  And sawdust there shall be.

all put together

Several hours later I finally have nice brackets made and installed, slender enough to not be an eyesore and sturdy enough to hold a crap-ton of weight.

brackets

Really happy with the way this project is coming along so far.  Well, I’m not happy with the pace, as this is taking forever and I still need to install hardware / make doors / make shelves / cut the back board / put on some trim pieces to conceal the plywood edges / find a way to carry this inside / hope it fits / install it / etc.  But the overall quality of the cabinet, I am very happy with.

Pocket Doors, Part 2

There are few things on this dirty, gray planet Earth that I love more than a finished project.  The pocket doors are now done and installed and they will remain there until the End of Days.

closed

They shut.

open

And they open too.  Yay.  All done.  Okay, so I still have to do some little things like polyurethane and setting stops and making some adjustments so they close squarely and levelly, but hey, for all practical purposes they’re done and I can move on to the next thing.

under the desk

The other pair of doors, depicted above, is on the opposite side of the room and can only be accessed by crawling under the desk.  It may seem like a pain in the ass, and it is, and so was the install for that matter, but these eave storage areas are a pain in the ass no matter where the desk is.  It’s just a good thing my desk is huge enough that you could park a volkswagen under it.

set up

This project was pretty fun but it still takes a lot of time, and there were a lot of cuts to make and grooves to rout and holes to drill.  Working with imperfect wood has its ups and downs.  On the plus side, you get a raw and rustic look, which can fit in well in a little house on a small, remote island.  And you can cheat a little, things don’t need to be dead flat and dead square and perfectly level.  On the downside, it takes a bit more of an effort just to make sure it’s square enough and flat enough to work.

hole

I was at first going to leave these holes open.  They’re just storage area doors, I figured the ventilation would be beneficent.  And then I had the horrific thought that someone could get their finger stuck in that hole, and if someone were to slam the door shut the result would be catastrophic (though on the bright side, the detached finger would fill the hole).  Anyway, I decided to use wine bottle corks, just for safety reasons.

cork

Cork can fill irregular holes really well because they’ll conform to its shape.  All it takes is a mallet and some wood glue and maybe a little swearing.  The ends can be sawn flush and sanded and they blend in very well.  Not to mention that cork is very resilient and stronger than most people realize.

stain

The panels I stained separately.  The grain texture of the plywood panels is very different than the frame, so I deliberately made them a bit darker to give them some contrast.  So it’s an ebony stain on the panels, and a different stain on the frame pieces.

sanded

It took hours to sand all those.  I felt like I had sanded a tree.

The Art of Being A Cheap Bastard

So, I had this trim piece that was about 6″ too short.  It’s in a semi-visible area so I didn’t want to do a butt-end joint or even a mitered joint.  Well, I can always just go and buy a new trim piece.  Let’s see, 6 feet at $0.83 per foot…

too_lazy_to_name_photo

No way.  Why spend *that* kind of money when I can do a little tongue and groove instead?  That would make the trim piece exactly the length I want, and it would be perfectly straight along the edge I’m nailing it into.

too_lazy_to_name_photo_2

Gosh, just a few quick cuts and a little bit of fitting and it pops right into place.

too_lazy_to_name_photo_3

Put a little pin in there with some wood glue and it’s never coming apart now.

too_lazy_to_name_photo_4

I just saved myself $4.98!  Woo hoo!

Loft Renovation – No More Wood Paneling

War Zone

When we left off last time, the loft had become a bit of a war zone.  Paneling had been torn off, framing had been nailed into place, drywall had been screwn on and joint compound was drying in the seams.  In my head, these things take like an hour, but in reality it takes weeks.

Corner of Horror

I called this the Corner of Horror.

Yuck

Yuck.  When you’ve lived with this paneling for a few years, there’s a part of you that doesn’t even see it anymore.  It’s like a disease without any symptoms, slowly killing you inside and you don’t even know why.

Frass

That white stuff is frass.  It’s what carpenter ants leave behind when they tunnel through wood.  It’s ant poop.

Tricky Trinagle

These triangles were tricky cuts.  Trickier still carrying the cut pieces up the stairs without damaging anything. And there really weren’t any good beams to screw it into behind it, I had to get a little creative sticking these to the framing.

Drywall Seams

I really only had one drywall seam on this install.  Most pieces were small enough I could just cut them out of a single sheet.  That bottom piece on the left hand side had four cut outs for boxes:  one electrical outlet, one phone jack, one cable and internet box, and a box for the rear speaker hookups.  I must have measured everything out six times before I cut that piece.  If I screwed it up, I wouldn’t have enough drywall to finish.

Paint at Last

Finally got some paint on the walls.  I had the trim all cut and finished before I even started painting, so the trim install went very quickly.

Closet

I even finished the inside of the closet.  It looks like there’s a light inside but that’s just my work lamp.  It’s an eight square foot room with a low ceiling.  I’ve seen refrigerators bigger than that.  It doesn’t get its own light.

A Frame

A lot of the big tasks are now finished, but there are still some major projects ahead.  I need to make windowsills for both windows, I have a special way that I’ve done to other windowsills in the house so it’s not as simple as nailing a board down and pouring half a bottle of shellac over it.  Which is how the current windowsills were done.

Desk Nook

And then there’s flooring.  The floor sags pretty badly in the middle and it’s a little spongy, so I have some structural work to do before I even put down a finished floor.  Currently, I’m walking on plywood panels that have been here since Nixon was president.  The good news is if it hasn’t caved in by now it probably won’t, but I’d like to at least try to shore it up a bit.

Desk

I finally have the desk fit into a little nook so that it doesn’t block any windows.  I not only have a nice view, but I get some natural light.  The green sleeping pad over there is for Inky, she loves it and sleeps there daily.

Desk Nook 2

With the desk in a nook, it’s really opened up some space in the loft.  It’s not a big room at all and the A frame limits moving around very much.  In small houses it’s really important to make the best use of your space.  Or, be very small.  In fact, I bet this house is considered fairly large by cats, squirrels and mice.

Hobbit Door

The Hobbit Door is at last in place.  I love it.  The whole thing cost about $60 and almost half of that was the hinges.

Bookshelf

There’s a bit of an unfinished corner up there.  And speaking of doors, I need to make some pocket doors for those storage area.  And see where that cheap bookshelf is?  I’m going to put a nice built-in bookshelf in its place, a bit bigger and with some better storage spaces.

Monkey Hooks

And see that gap between the beam and the ceiling timbers?  The ceiling isn’t straight.  My guess is when they made the dormer up here they didn’t support the roof correctly.  They had to cut a load bearing beam to make this dormer so maybe that was their problem.  Anyway, it’s now my problem and I need to find a way to either fix that gap or cover it up.  There’s really nowhere to put the load of that roof anymore, so I’ll probably just cover it up.

Loft

Looks great from downstairs too.  Well, it looks better than it did.  And now the handrail and balusters look really awful so I guess they’ll have to go soon.  Very soon.

The Loft that Time Forgot

Loft Way Before

High above the shores of Orcas Island, sits a squat little chamber of small windows, low ceilings, and wooden paneling that has been left to rot in the salty air.  Its timbers are splintered by the wounds of a hundred nails, and wormed with holes from whatever insect was allowed to teem unchecked over the years.  Its floor is cheap plywood, worn down and prying its squeaky nails loose with every footfall.  Shrouds of cobwebs gather dust and dirt in aphotic little corners, unseen by the eyes of any warm blooded creature for many, many years.

Loft Before

A mysterious access door sits out of reach above the wood burning stove like the sally port of some old medieval castle.  It is a useless feature, it serves no purpose.

Swords Before

My daishō rest on the wall near me in easy reach, in case I would like to test their steel against the splintery wood paneling that surrounds me.  A rocking chair sits like a ghost in the corner.  There is no good place to set the desk.  There is no adequate light.  When people come up here, they touch as little as possible, and leave as soon as they get what they came for.

Cardboard

There is a closet up in the loft.  This was the inside.  They used corrugated cardboard for walls.  Cardboard.  They didn’t even have enough leftover scrap paneling to do the inside of the closet.

Loft Exposed

Let’s tear it all apart!

Silky Bigboy

That saw is the Silky Bigboy, a Japanese folding saw used for camping, cutting fallen limbs off of trees and as a weapon against monsters.  It cut through that beam in ten seconds.

Corner FramingI removed almost every piece of old framing and put up new framing for drywall.  There is a significant difference between the way you frame for drywall and for paneling.  For drywall, you need a solid, flat frame with good right angles and everything perfectly level and straight.  For paneling, judging by the work I tore out, you can hire blind men, get them very drunk, and give them hammers and a bag of nails.

Framing

It doesn’t help that the house doesn’t have any right angles in it.  And the load bearing beams are all twisted and out of plumb.  And the floor sags a little bit in the middle so not even it is level.

Laser Beam

These were challenges I was driven to overcome.  I was sick of the old paneling.  Sick of looking at it, sick of smelling it, sick of snagging my clothes on it.

Loft Framed

Instead of sawn-off hollow core doors dangling from a rusty rail, I’m going to make solid wood pocket doors to access the storage areas in the eaves.

I Love Drywall

I love drywall.  I can’t wait for that new paint smell.

Hobbit Doorway

Could that be a light socket and switch?  Could the loft finally have electrical illumination?

Office

And there you can see the 2 x 4 door, resting in the corner.  We’ve dubbed it “The Hobbit Door” for reasons including but not limited to its short height.  It just really looks like a door made for a hobbit.

Inky

For a week, my desk was pushed against the opposite wall to make room for all this work.  To access my desk, I had to crawl underneath it and sit on its opposite side.  That was fun.  (And look on the right hand side, some paneling I haven’t yet gotten to.)

Easier

Should’ve just bought a boat.  Would have been easier.

The 2 x 4 Door Project, Part 1

More Plans

I have this small closet door up in the loft that I completely hate and I would like to replace.  Well, I’d like to throw bladed weapons at it, then burn it down, then replace it.  It’s one of those ugly hollow core doors but this one has been cut down to fit an unusually small door frame, some 25″ x 58″.  I was hoping to find a salvage door that I could saw down and fit but no luck there.  If I want to replace this thing I’m going to have to make it myself.  (I’m acutely aware that non-woodworkers don’t think this way) (and maybe even other woodworkers don’t think this way) (it’s possible that it’s just me).

2 x 6 x 16

I don’t want this to cost a lot of money.  In fact, $0.00 would be a great price, but I’m prepared to spend as much as fifty bucks including hardware.  Well, it just so happens I do have a few spare 2×4 and 2×6 leftover from other projects.  Hey, this one here is like 16 feet long.  If I leave it outside any longer it’s just going to grow mushrooms so I may as well make something out of it.

Weathered

And so, the 2×4 Door Project has now commenced!  The lumber I have has been left outside with the spiders and the salty sea air for longer than it should have been, but it is still solid and durable, and I think all its dings and dents and gouges and wormholes just make it look that much cooler.

Distressed

I’ll sand it down and stain it and stuff, but I’ll make no effort to fill or conceal or do anything at all about the nail holes, the saw marks, the boot prints.  This is going to be a traditional door with mortise and tenon joinery and solid wood.

Cut and Jointed

The challenges will be many.  Construction lumber is not usually flat enough to cut into a nice flat door (and doors have to be perfectly 100% flat or they won’t open or close right).  I don’t want to do too much planing or jointing because that takes away from the distressed look that I’m hoping to preserve.  But I think this door is going to be completely awesome when it’s all said and done.

That Hooman Is Crazy

I can’t say that everyone is convinced.