Let’s Make A Screen Door


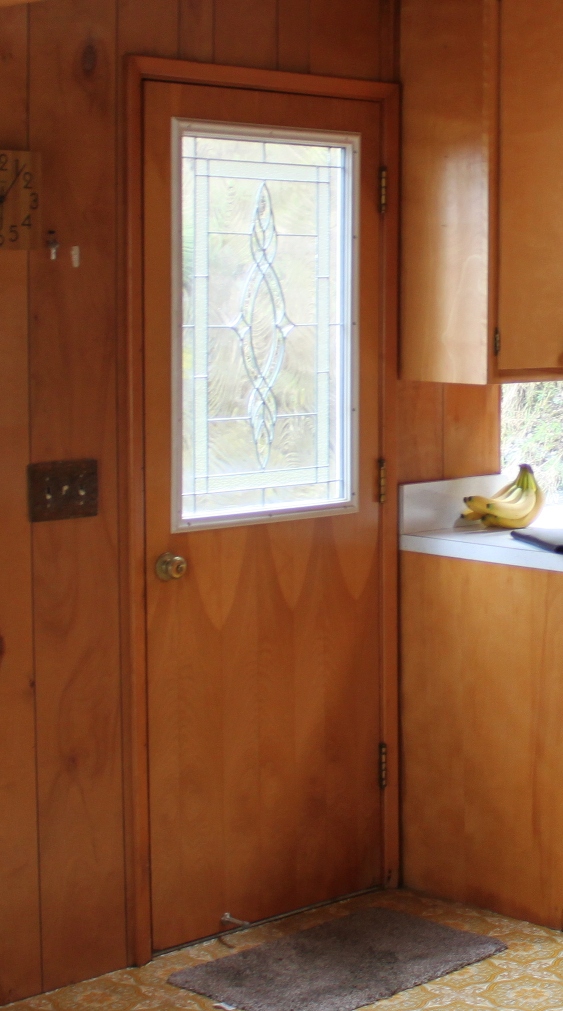
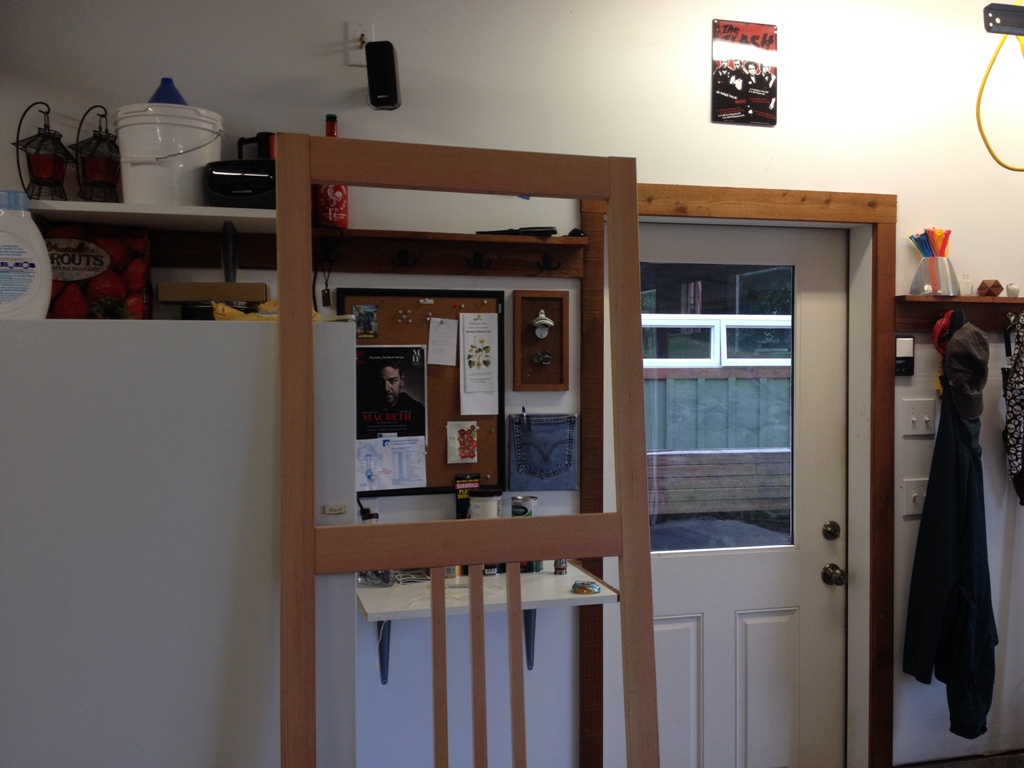
No point buying an air conditioner up here for the one month you might need it, but it is really nice to be able to leave the door open in the summer without every yellowjacket, bumblebee and winged carpenter ant flying inside looking for something to sting and bite.  Trust me, we are on Critter Island, and we are outnumbered.

Some Assembly Required


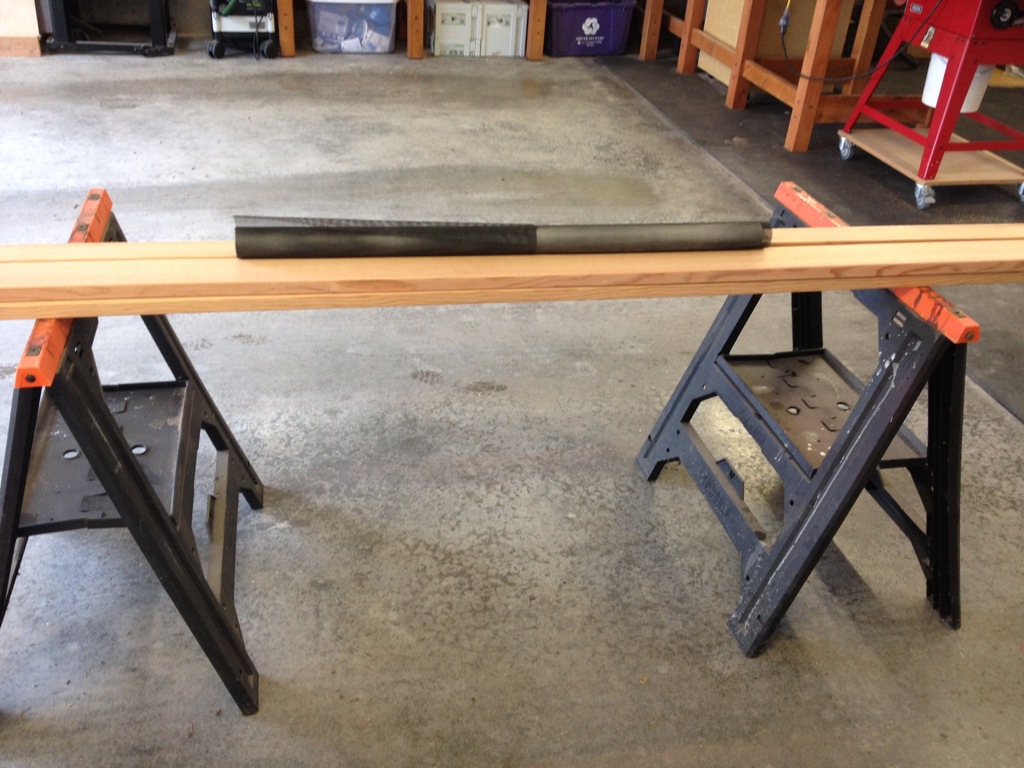
So, let’s make a screen door to let the outdoor air in and keep the critters out!  Yeah, you can buy a screen door.  But I’m a cheap bastard, and I like my things built correctly and made to last.  So I picked up some douglas fir and started making sawdust.

Cutting Tenons

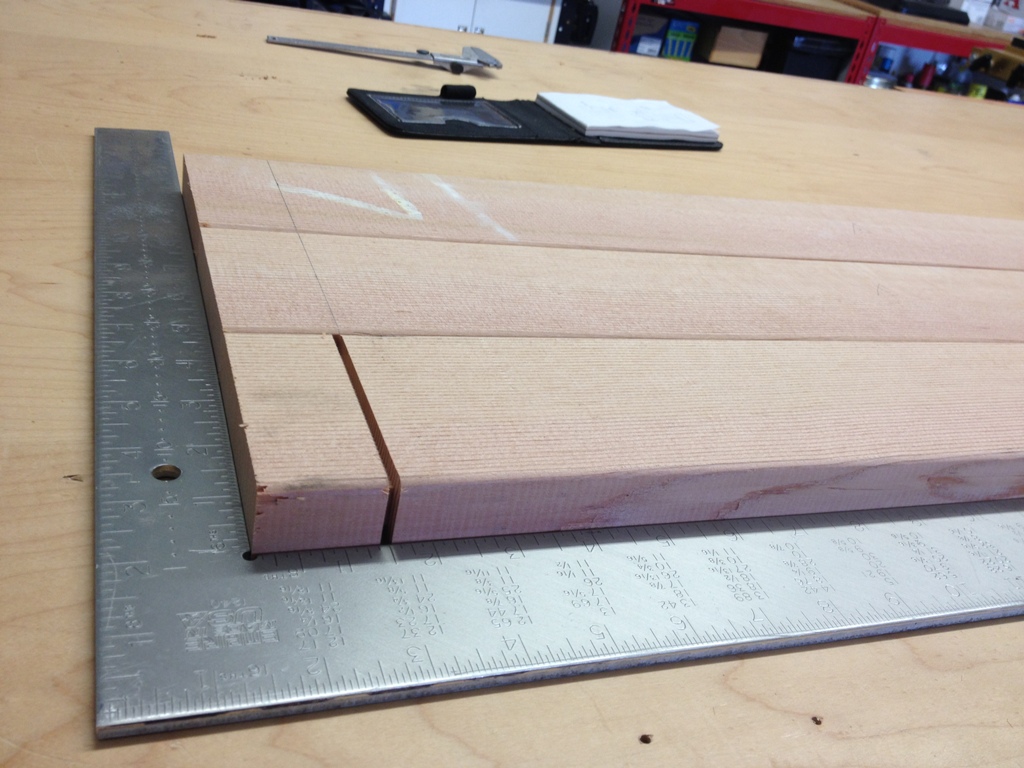
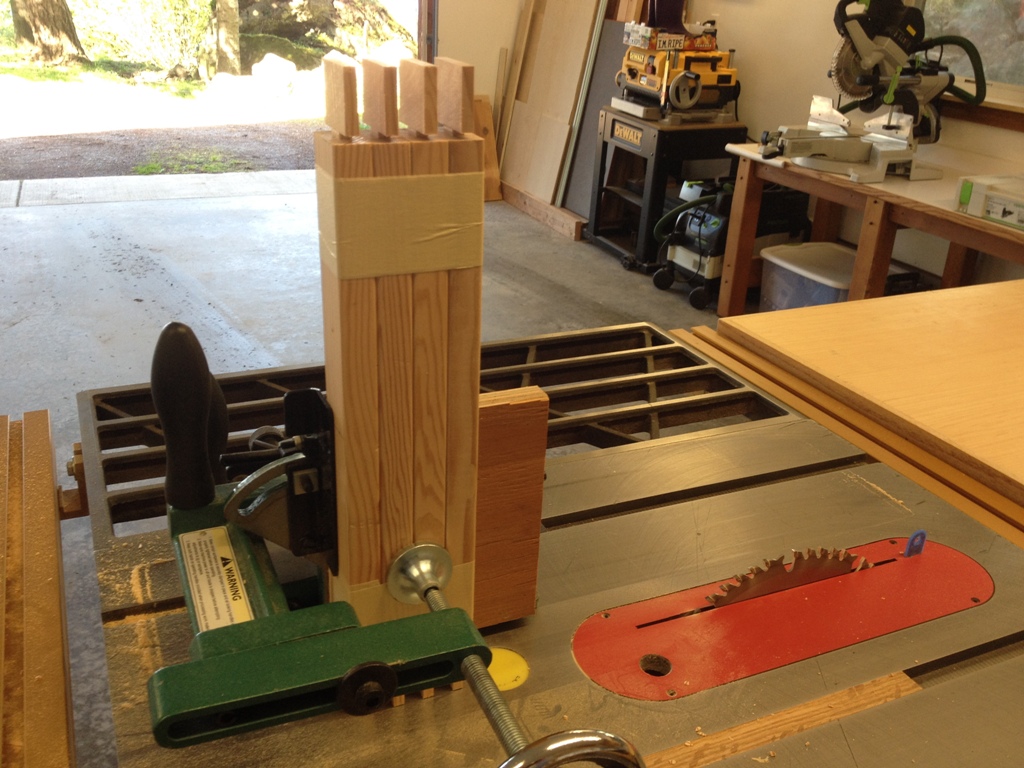
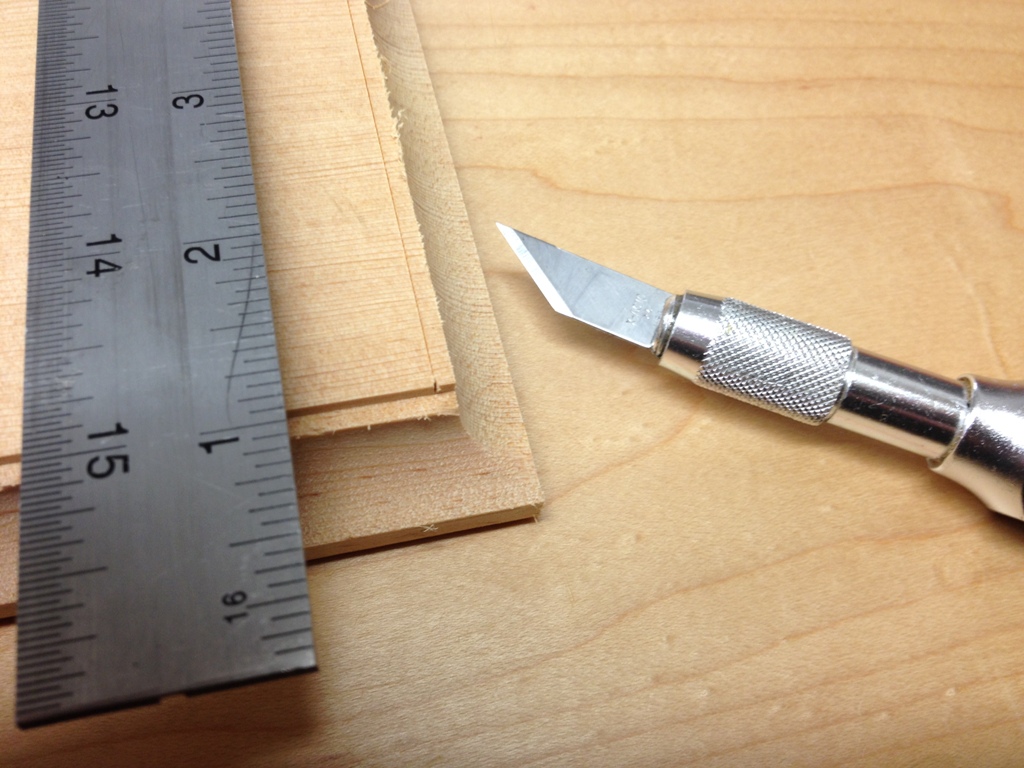
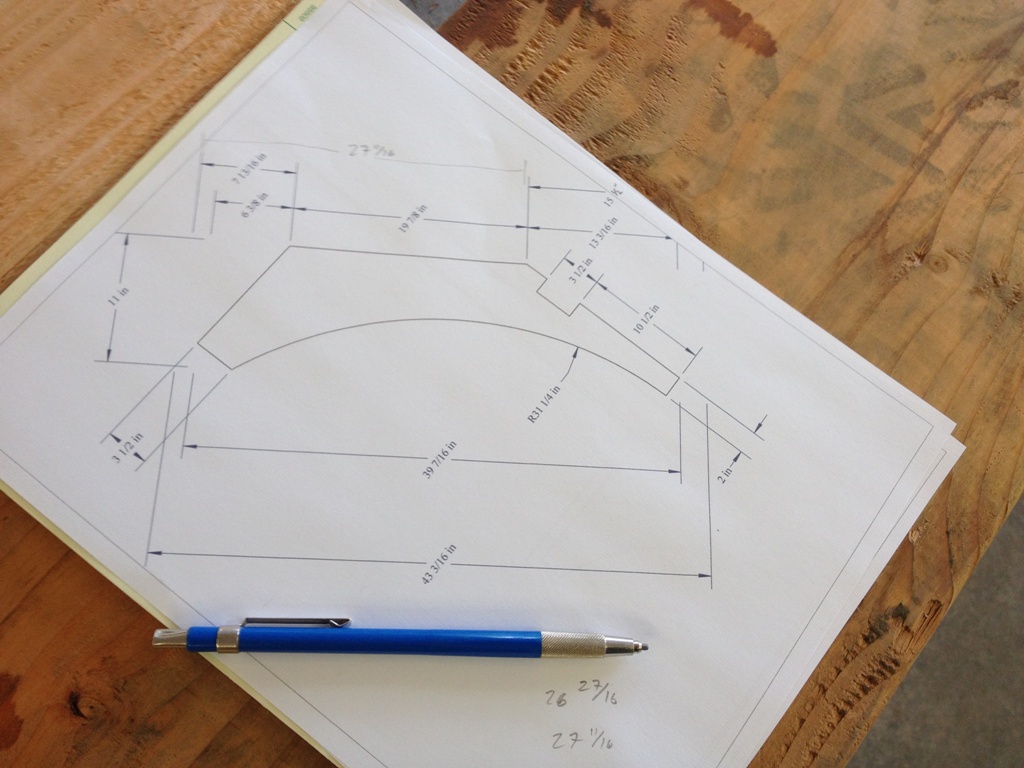
This will all be mortise and tenon joinery.  This door will have three rails (the horizontal pieces of wood that go on the top, middle and bottom of the door) so it’s pretty much going to be as simple as it gets.  First I start cutting tenons for the rails.

Almost Clean

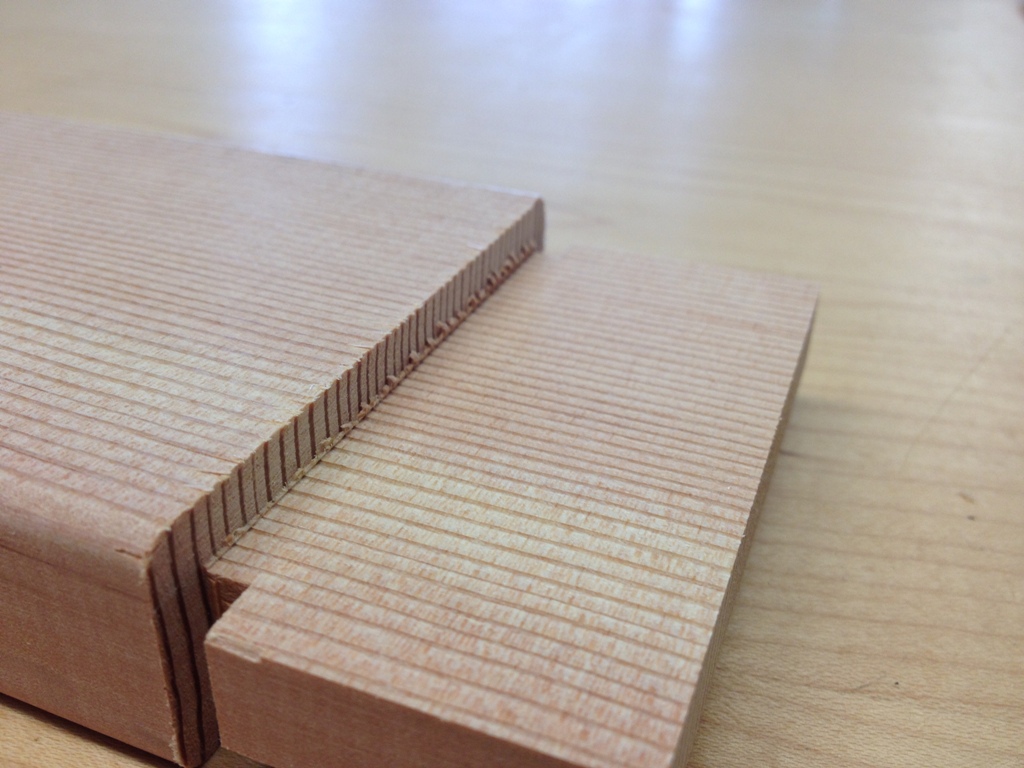
The tenons cut very clean.  My jig left just a tiny bit of work to do in the corner.

Nice Tool

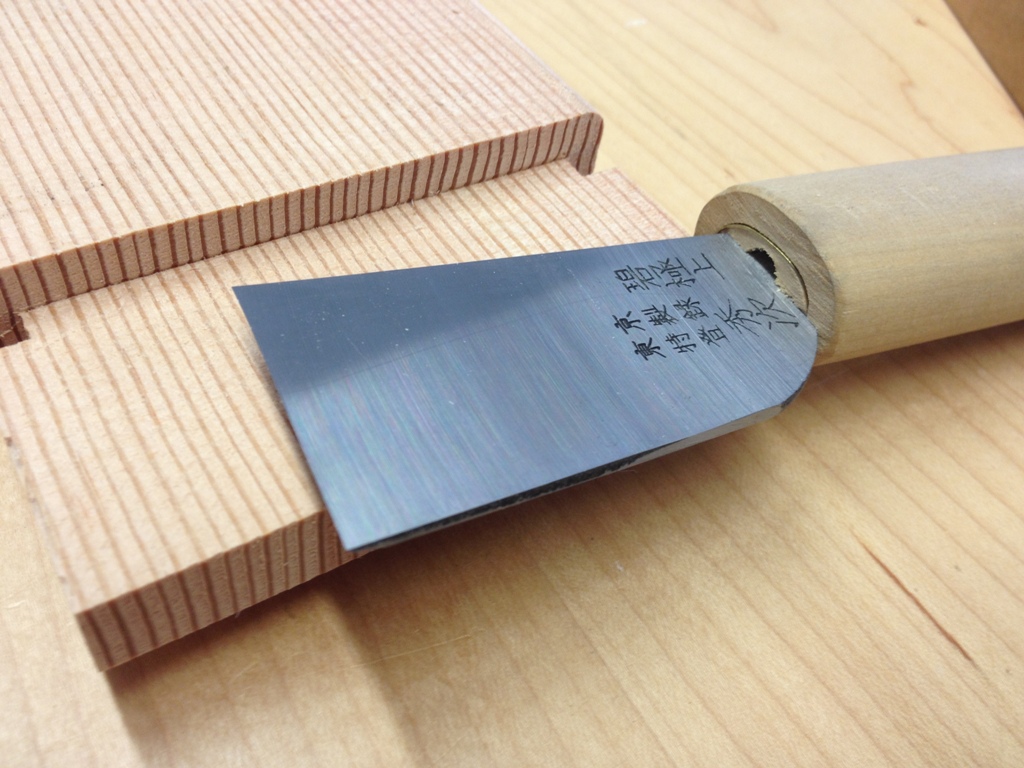
My “Magic Chisel” makes short work of it.

Clamp

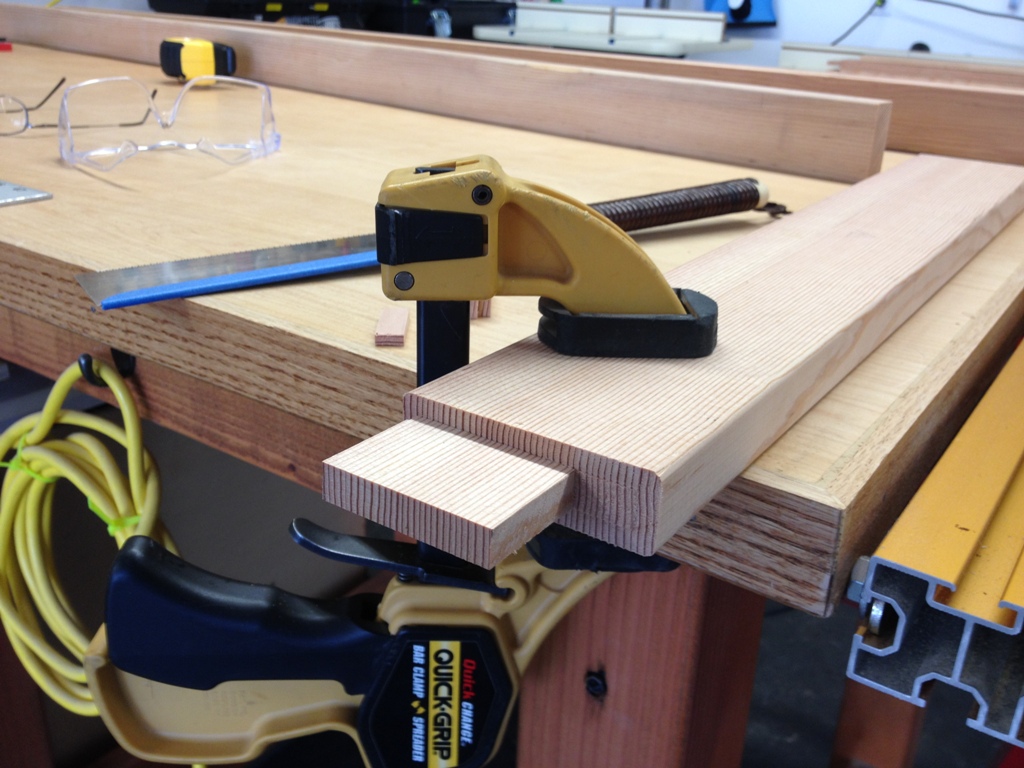
I finish up the tenons with a hand saw, and again clean up the surface with a sharp chisel.

Dust Collection

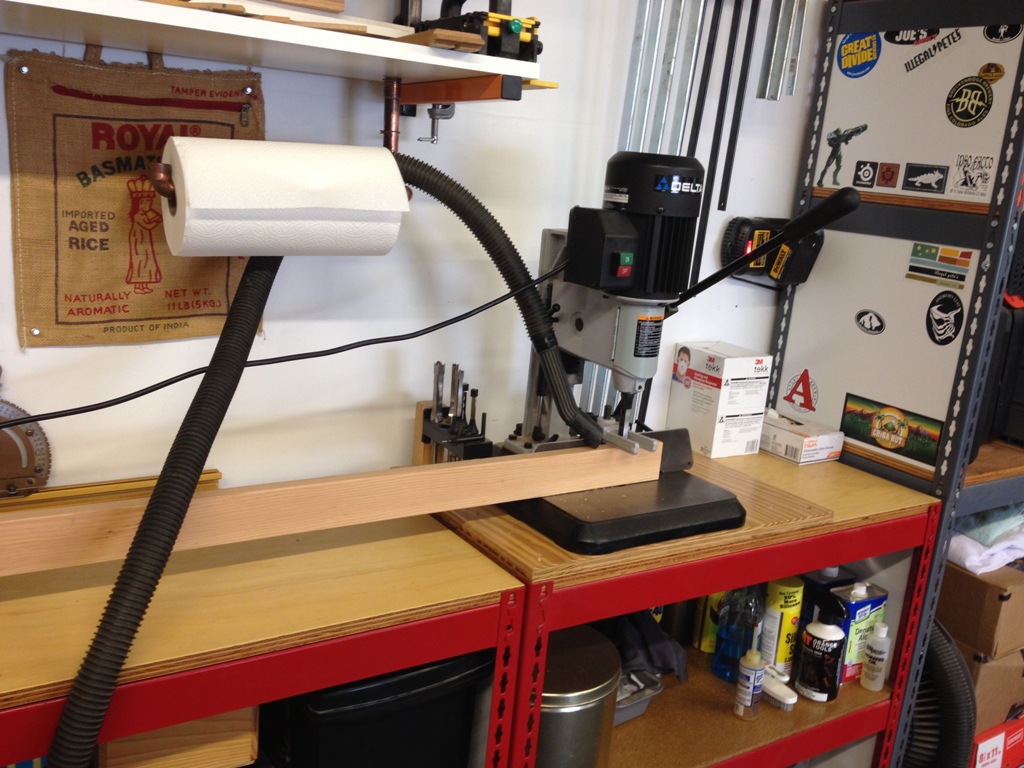
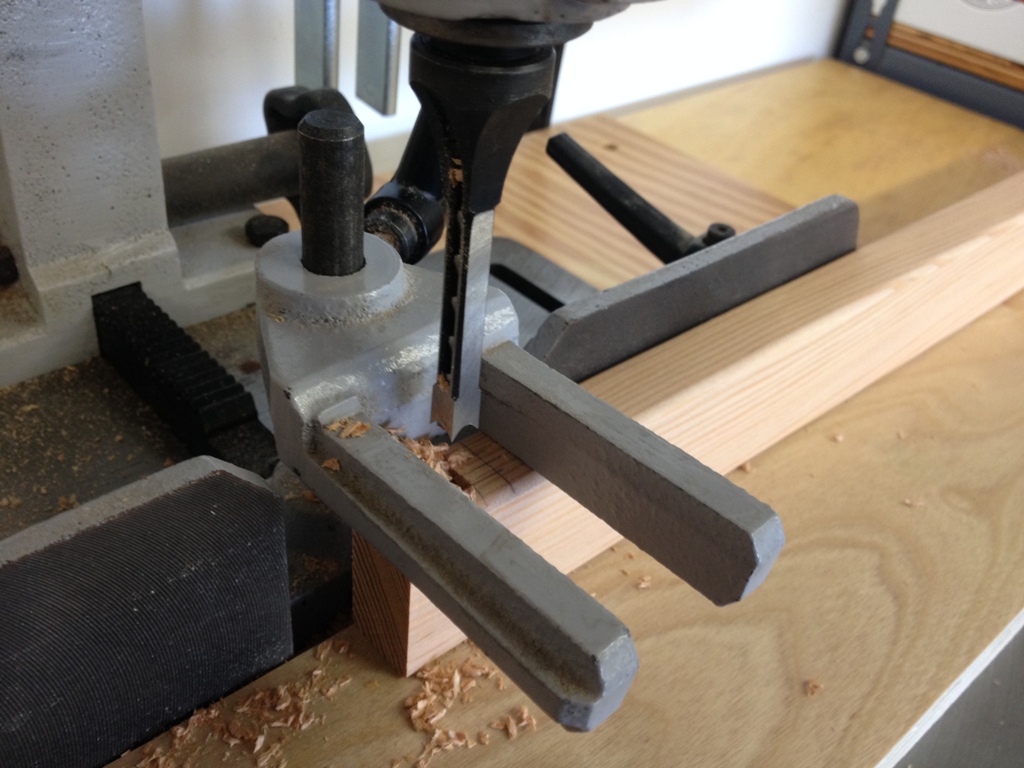
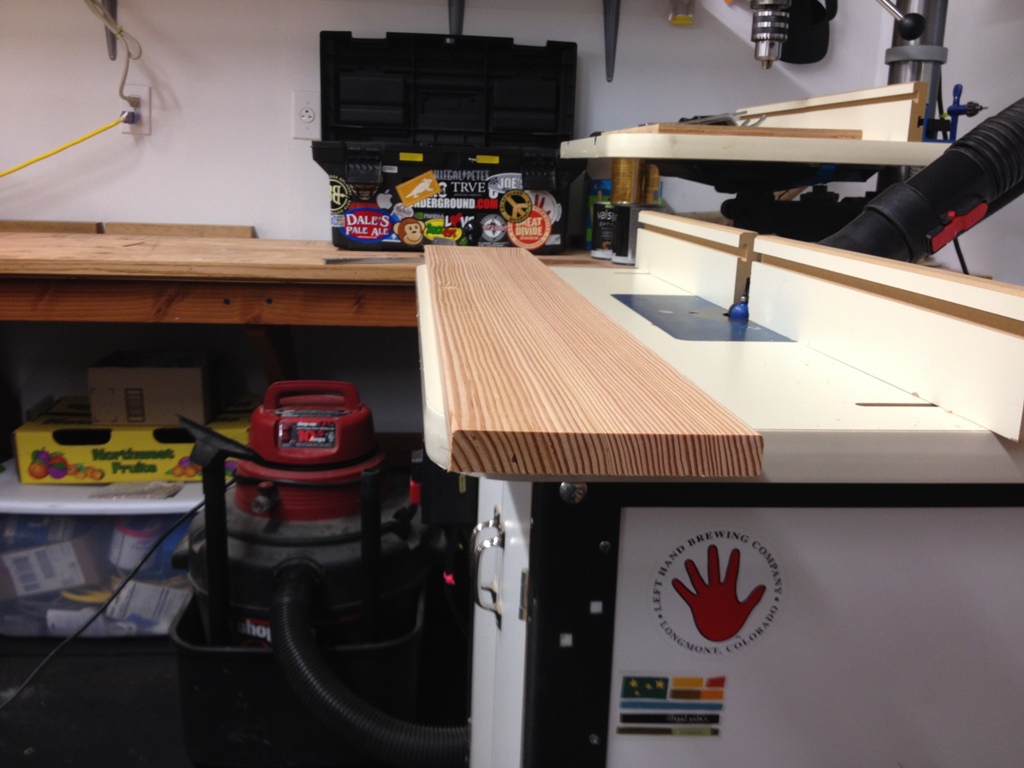
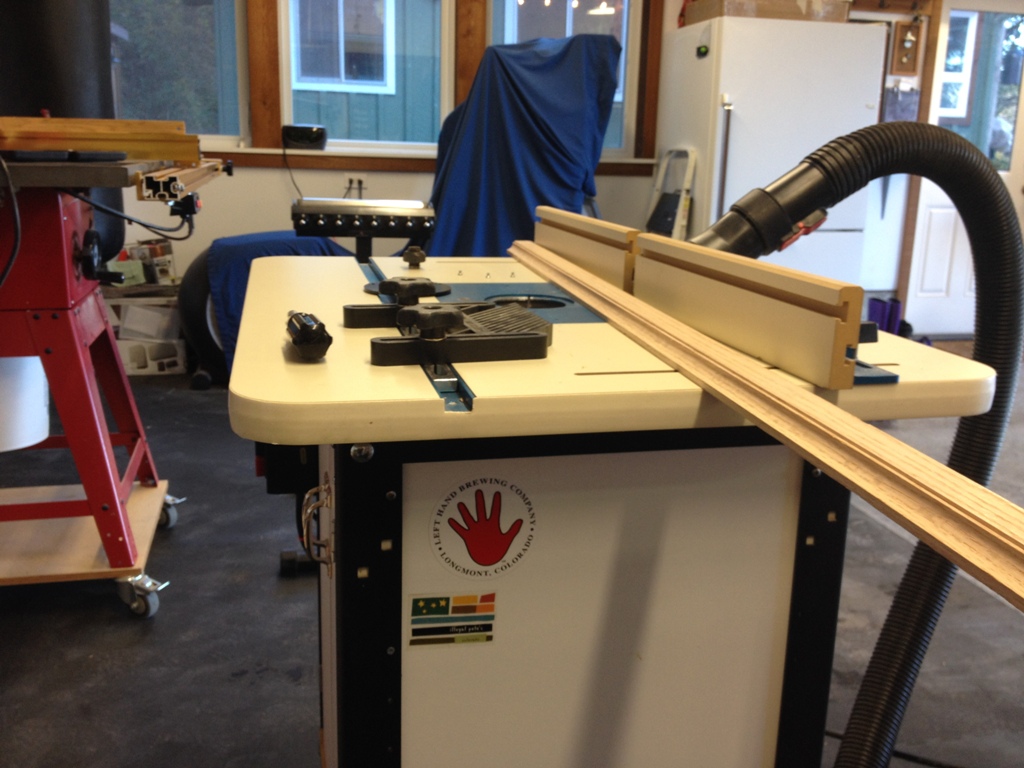
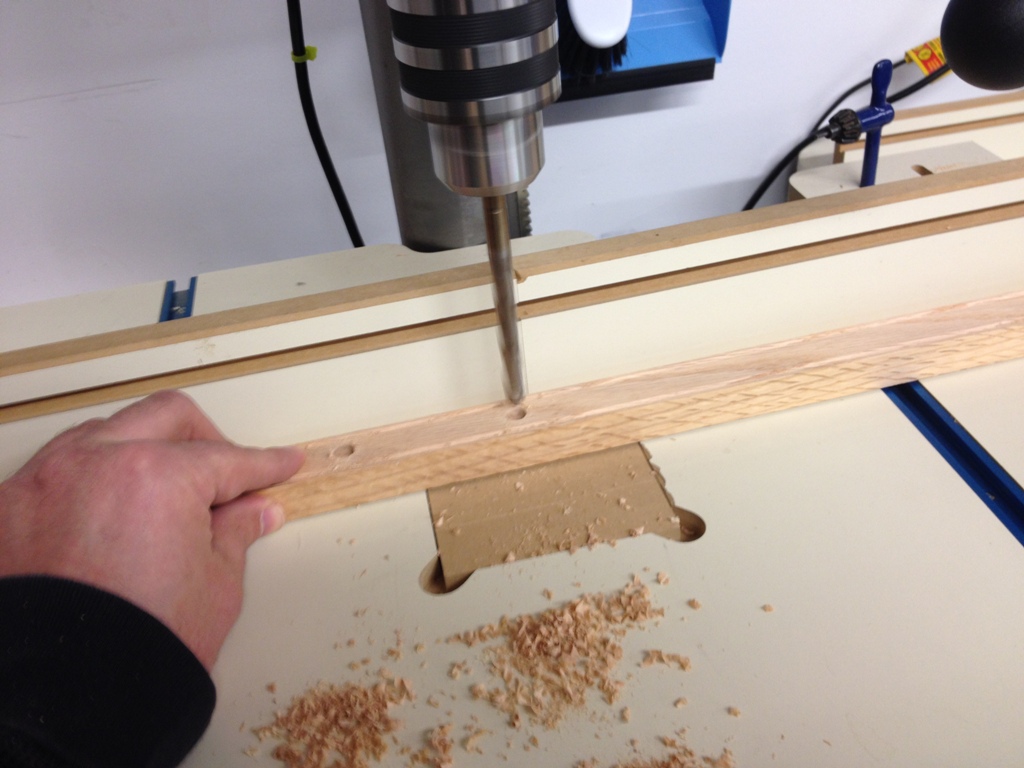
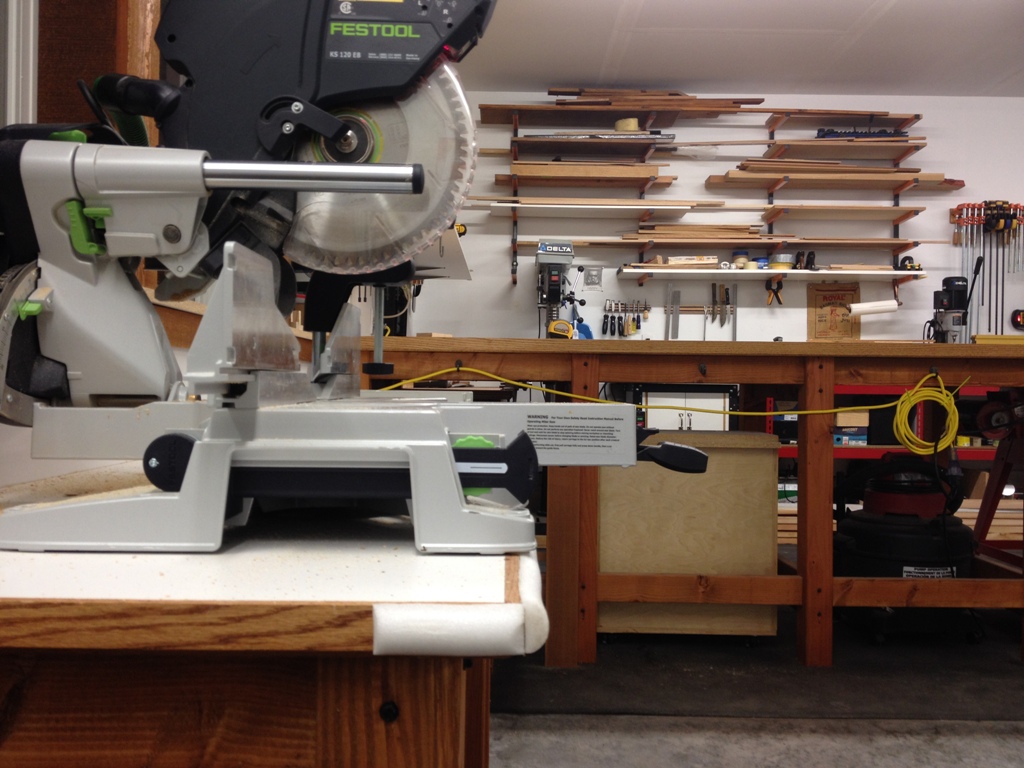
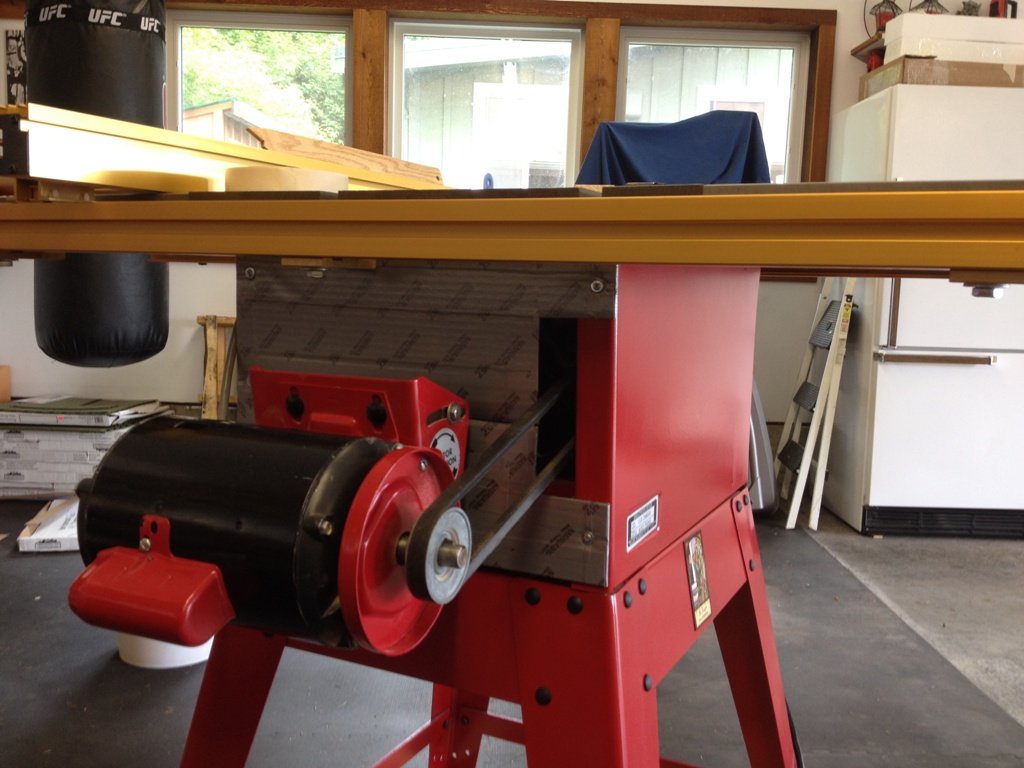
I cut the mortises with a mortising machine, which takes a tedious job and does it adequately.  Once this thing is done, I’ll have some nice rectangular holes to fit the tenons into.  Note my fancy dust collection (the shop vac hose dangled over the paper towel holder).

Fitting

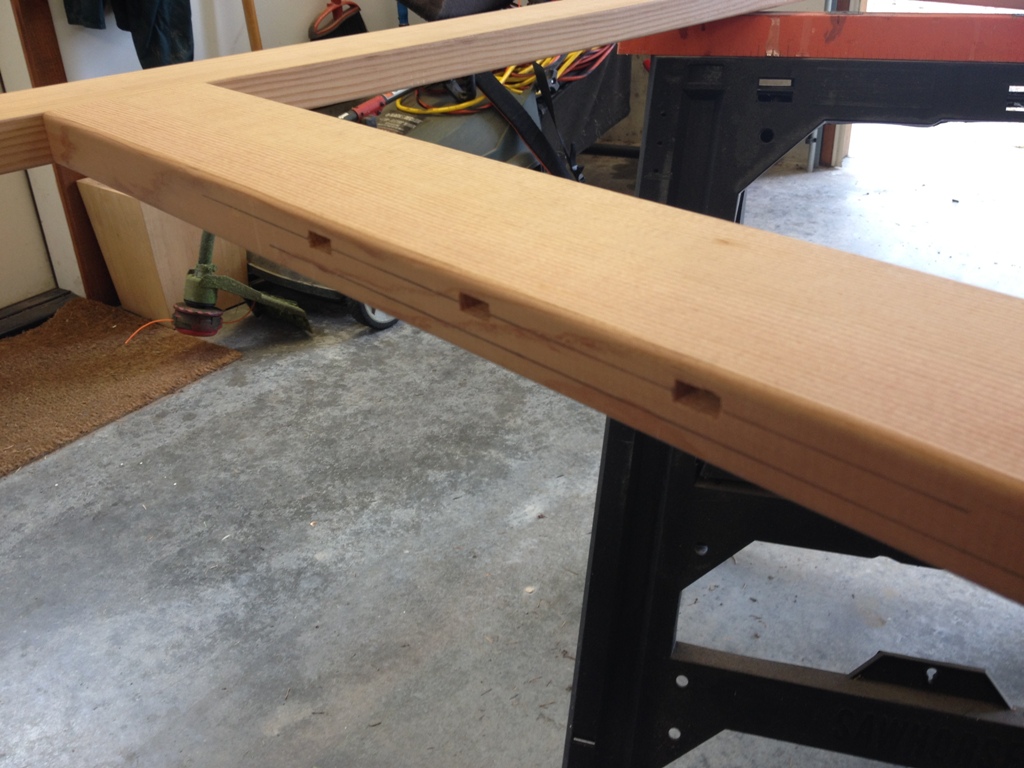
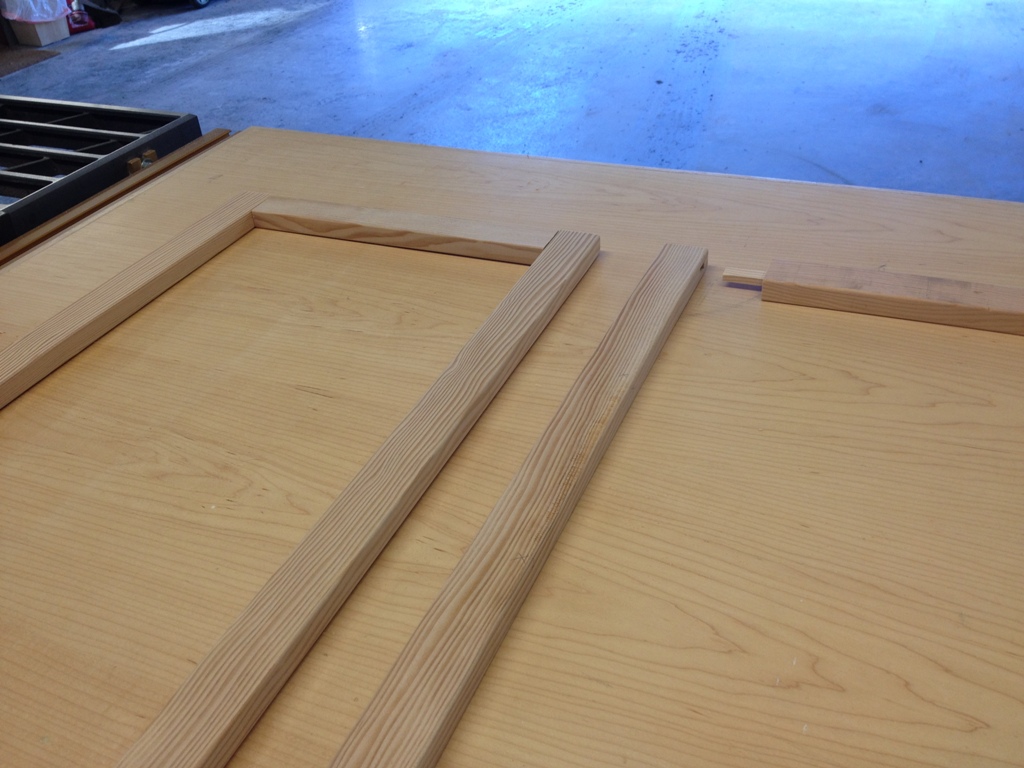
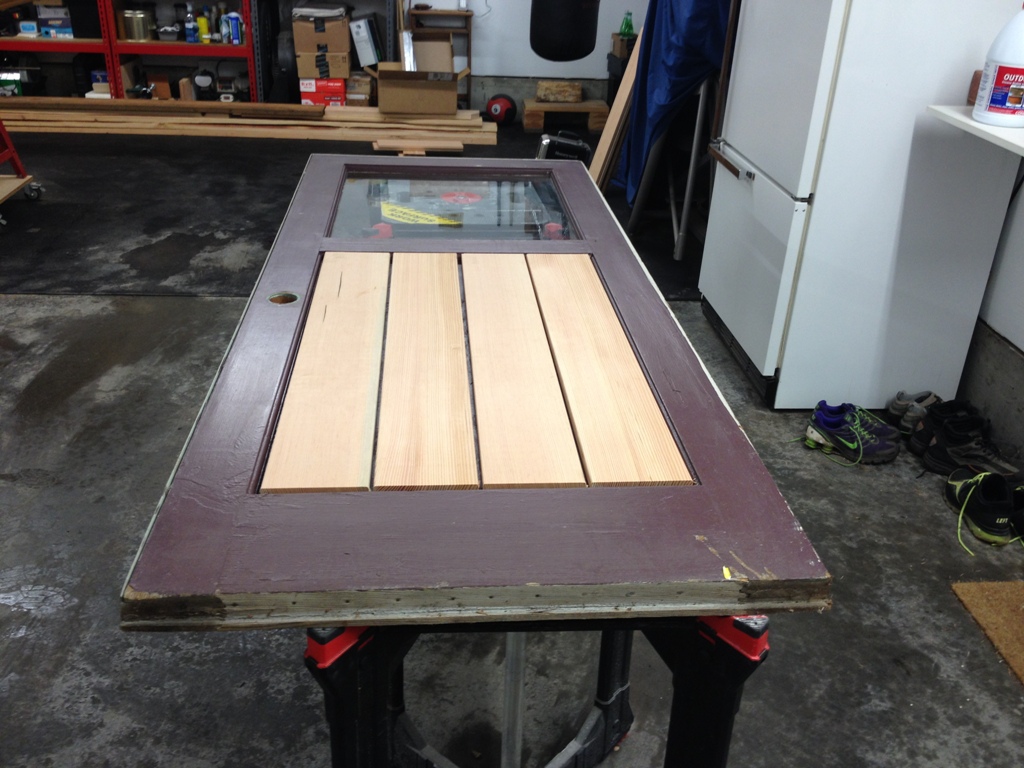
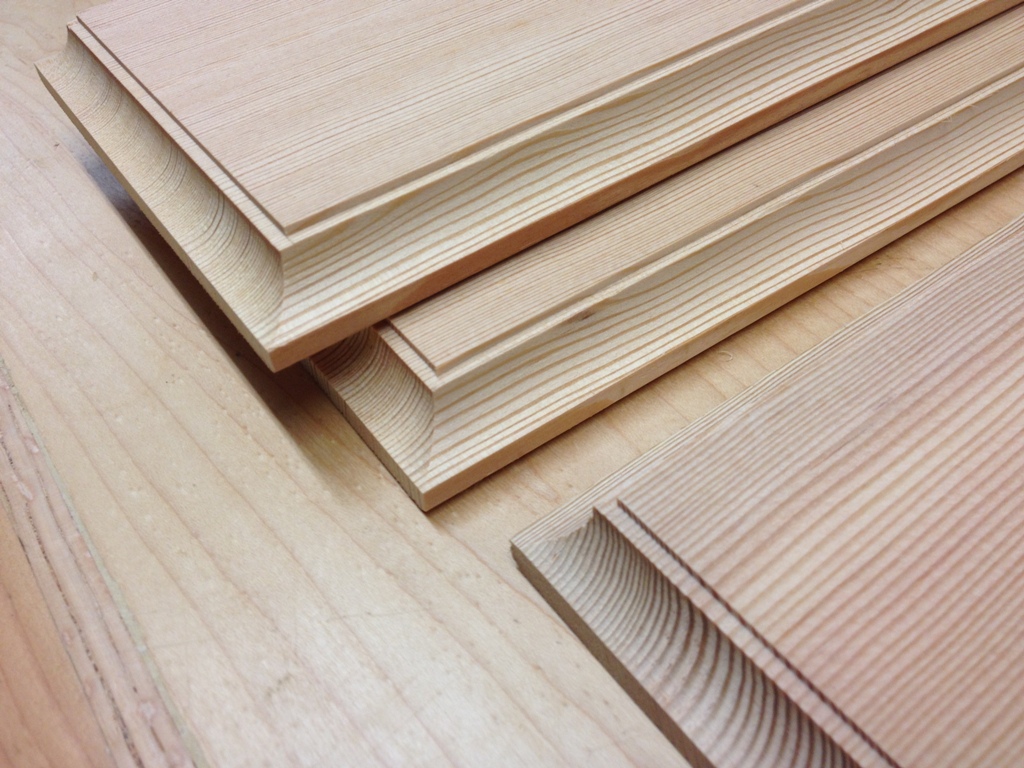
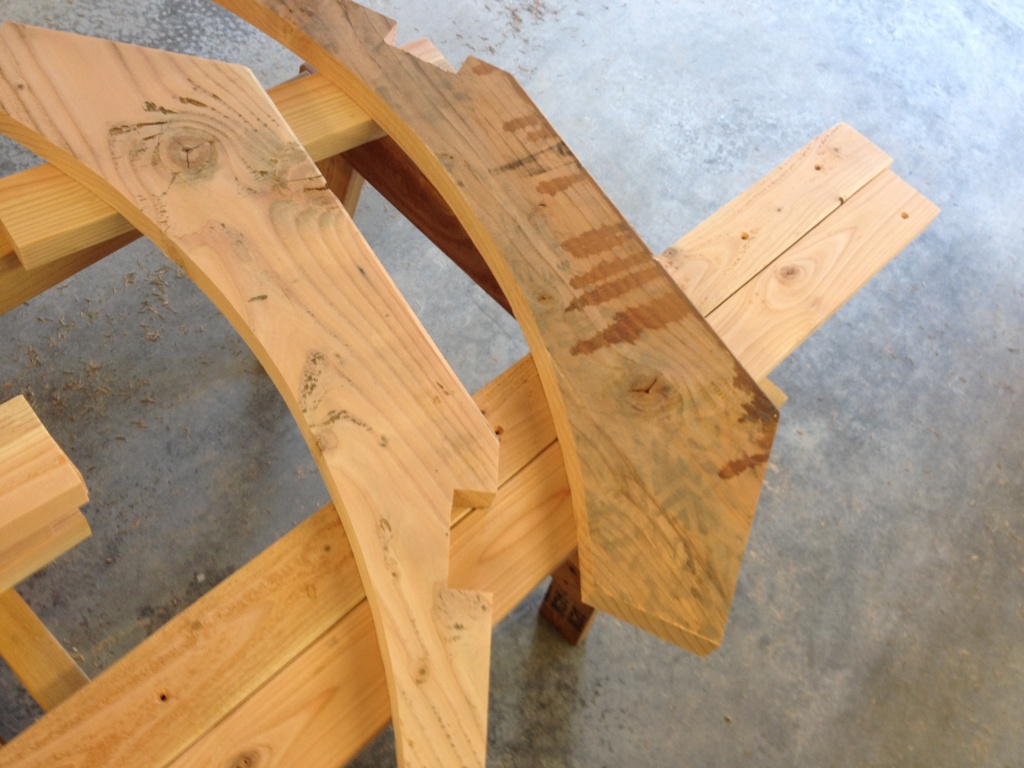
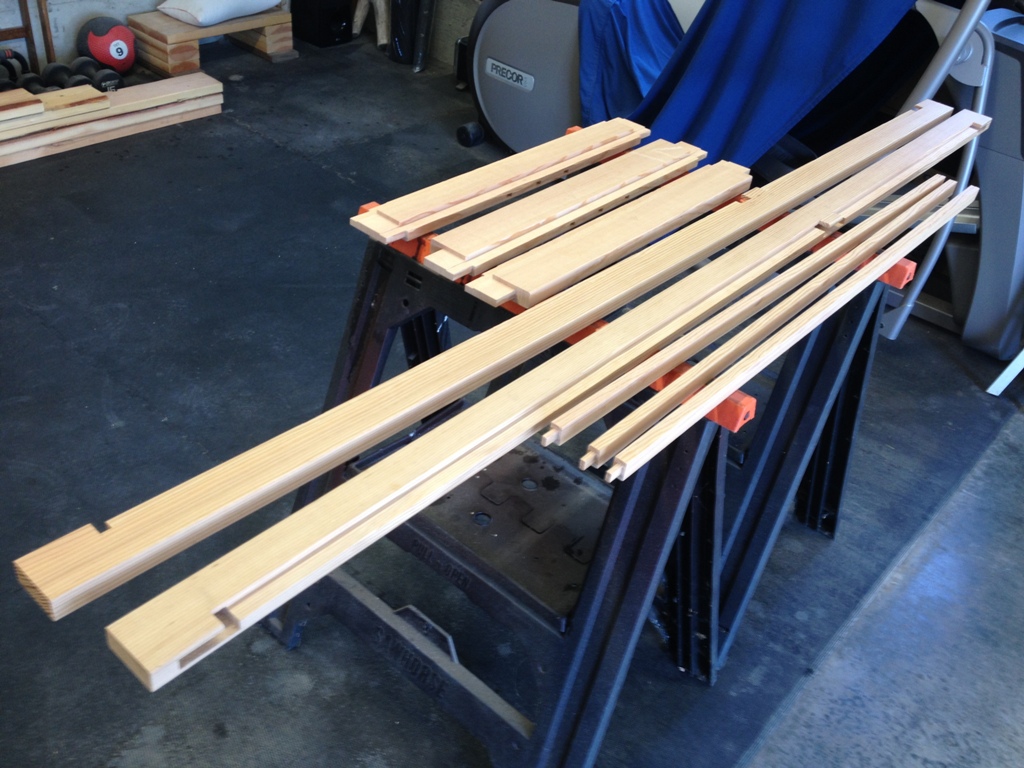
The mortises are now cut and it’s time to dry fit everything.  I’m putting in some vertical slats to give it a bit of interest.  I’d say they help keep the raccoons out too but they won’t.

More Fitting

Here’s the slats fitted into the bottom and middle rails.

Even More Fitting

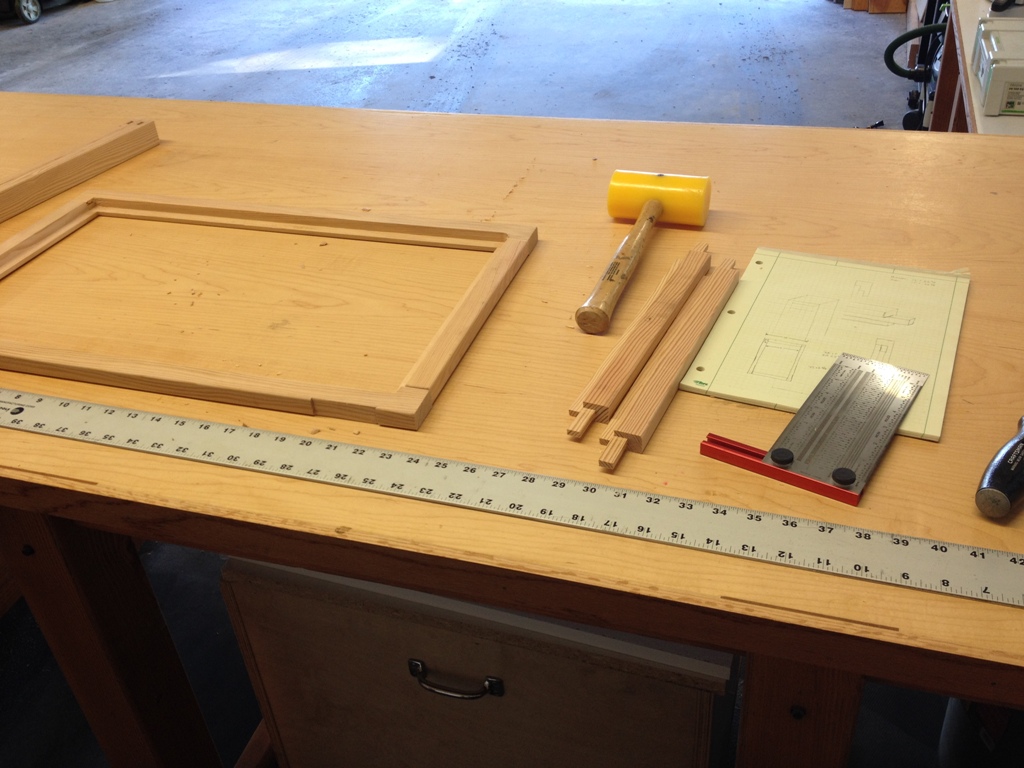
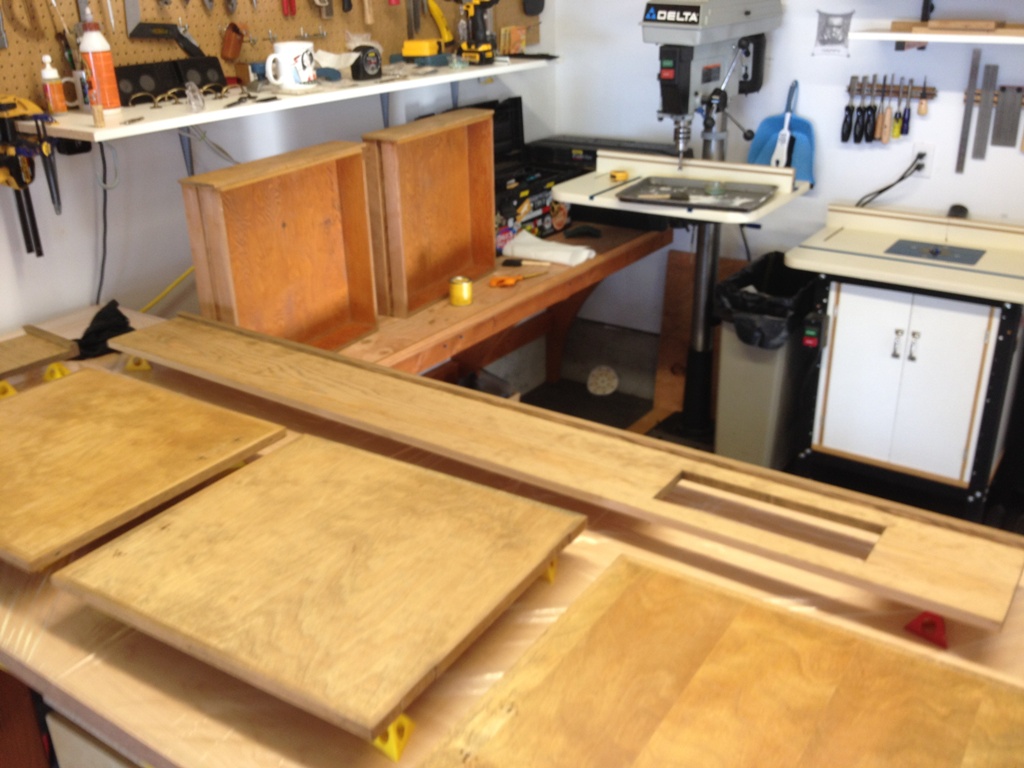
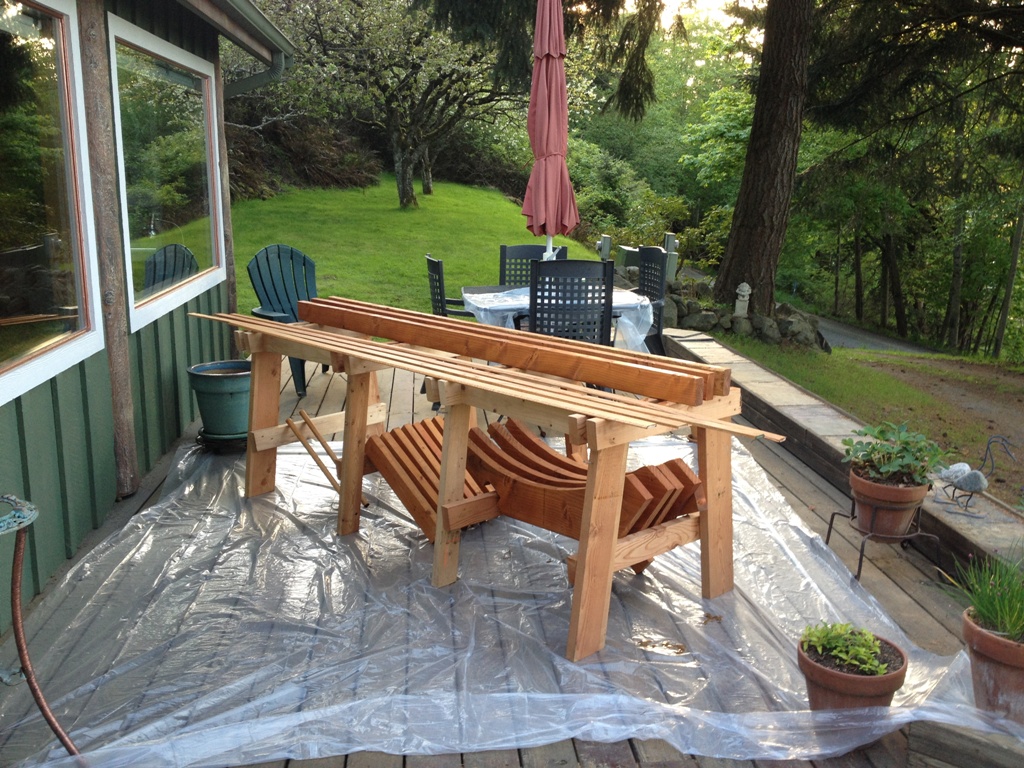
And here’s the dry fit.

Marked with Sharpie

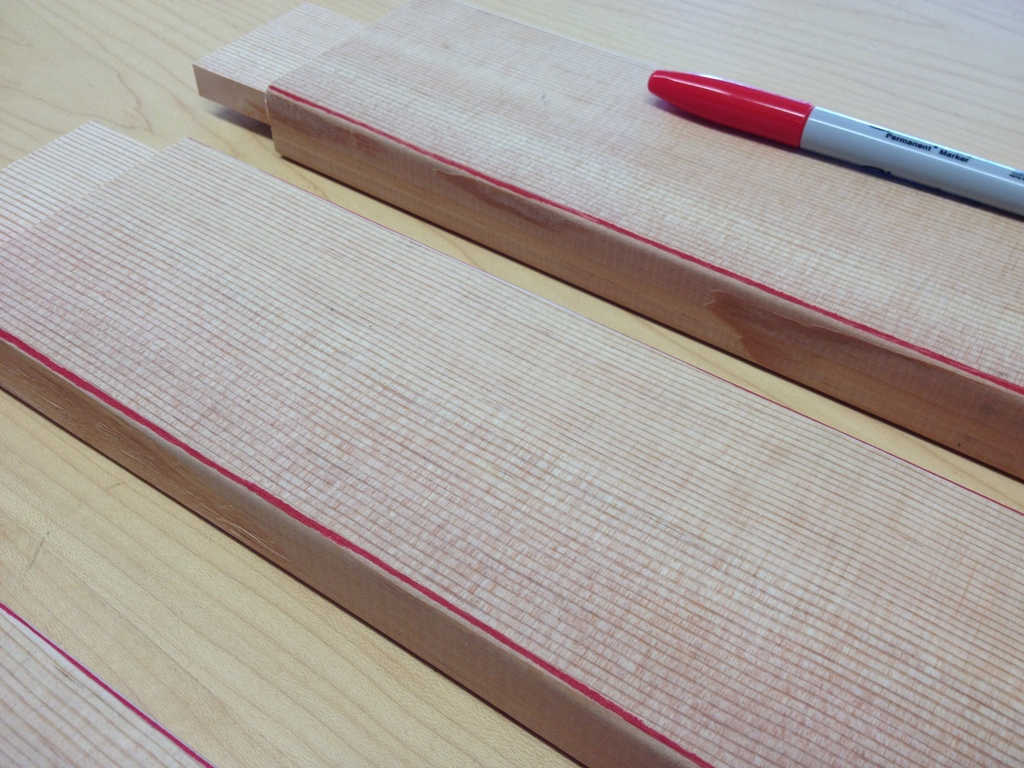
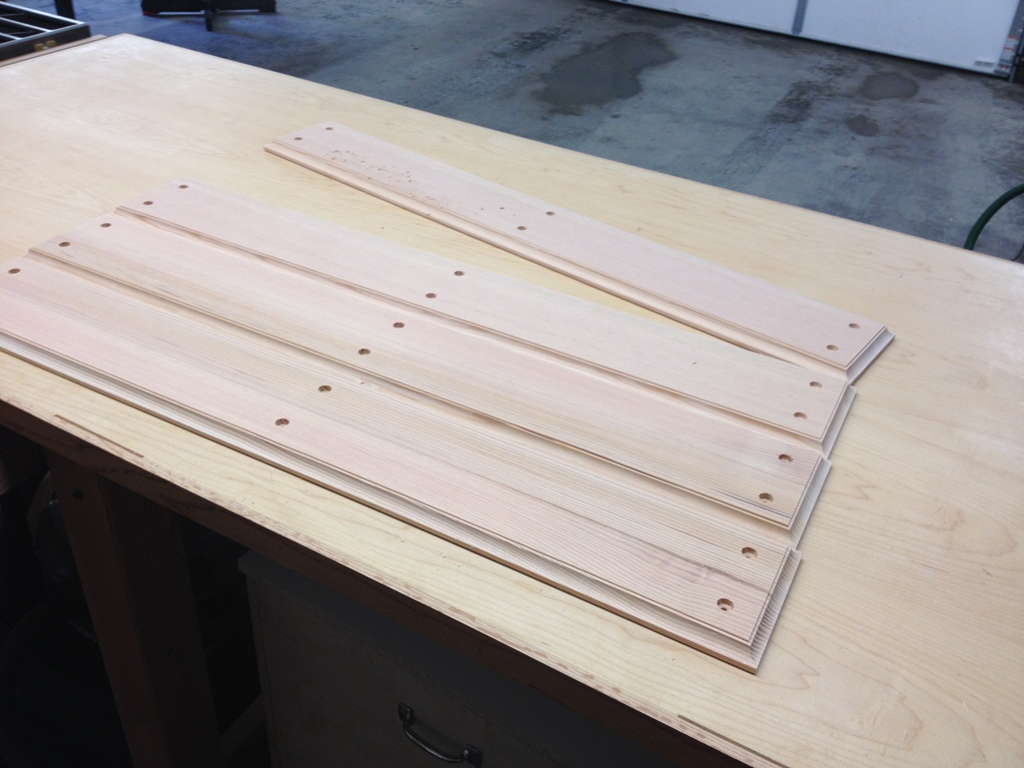
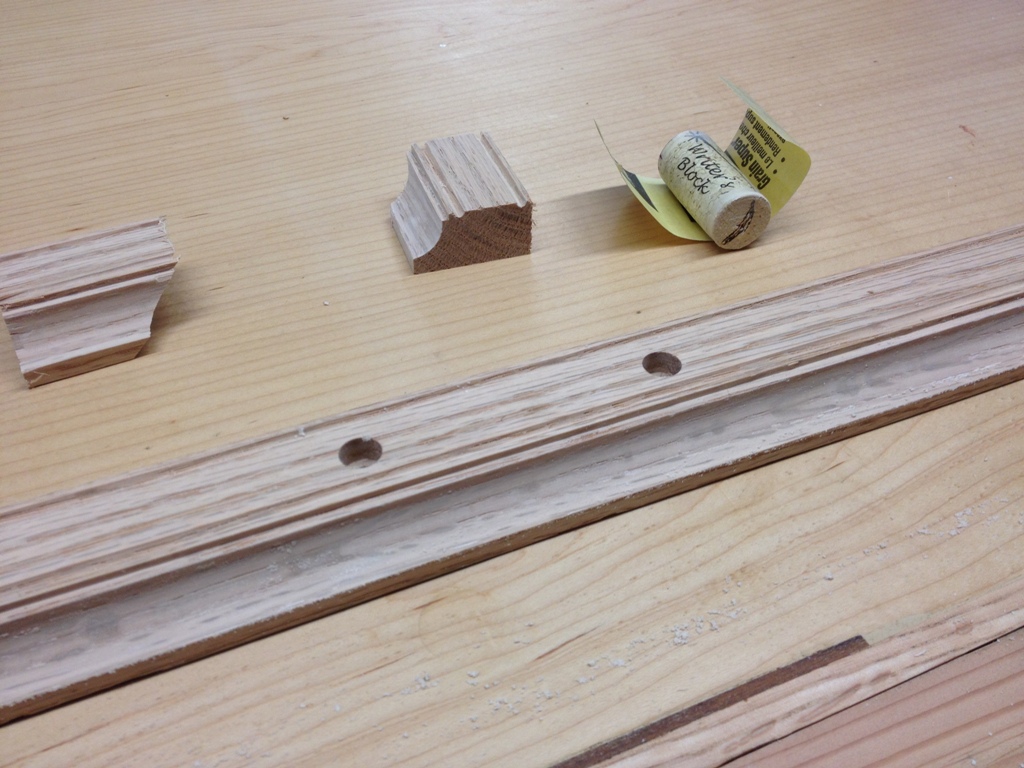
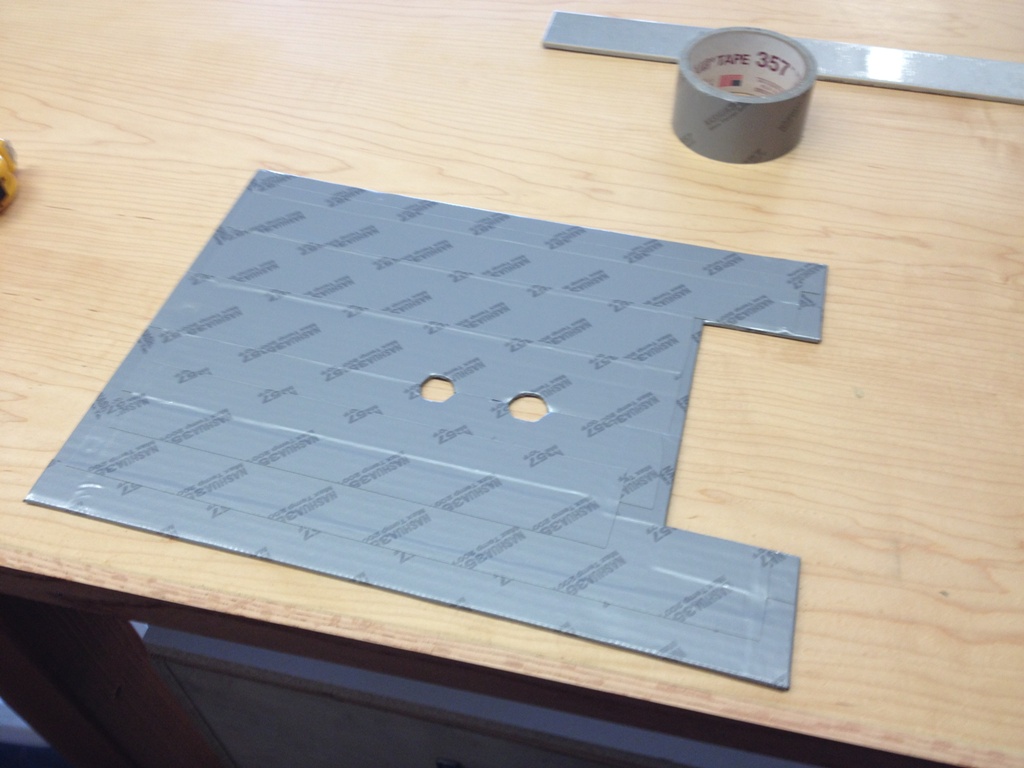
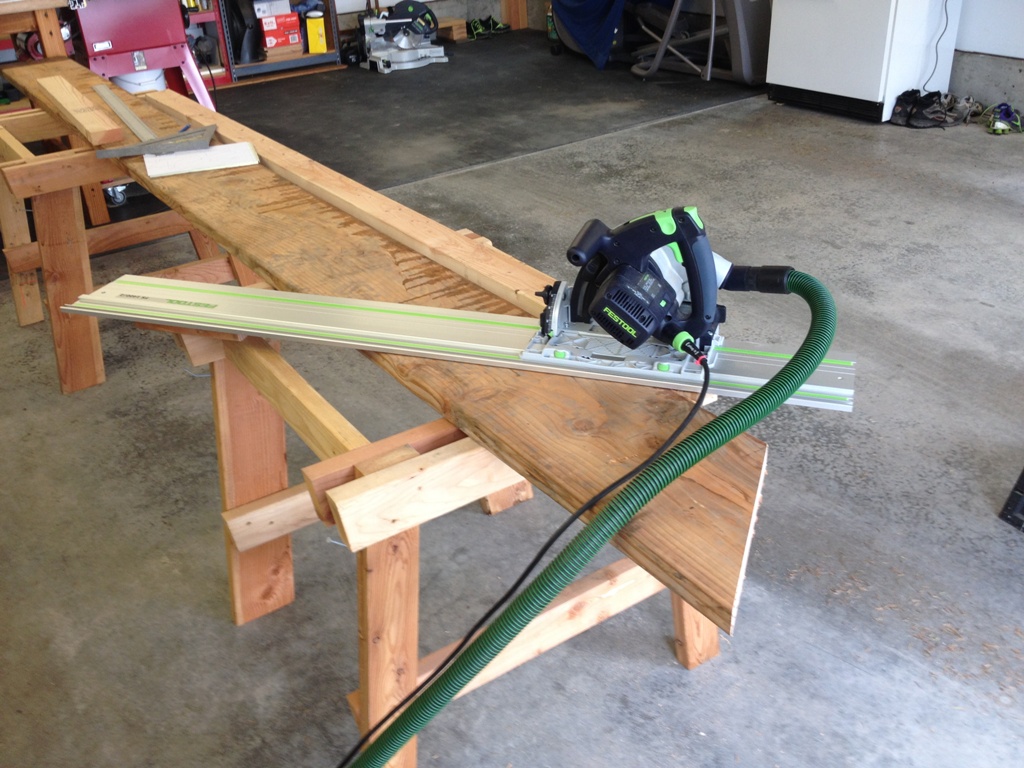
When I’m working with pieces that need to be routed, I like to mark plainly the edge I need to rout away.  This prevents me from screwing up a piece by feeding it over the router bit the wrong way.  Oh, gosh, I’ve “never” done that before.

Ready to Assemble

After about 3 hours on the router working with dull, worn out bits, I finally carved out the area where the screen will fit.  Now it’s like a big jigsaw puzzle that just needs to be sanded and glued together.

Jenga

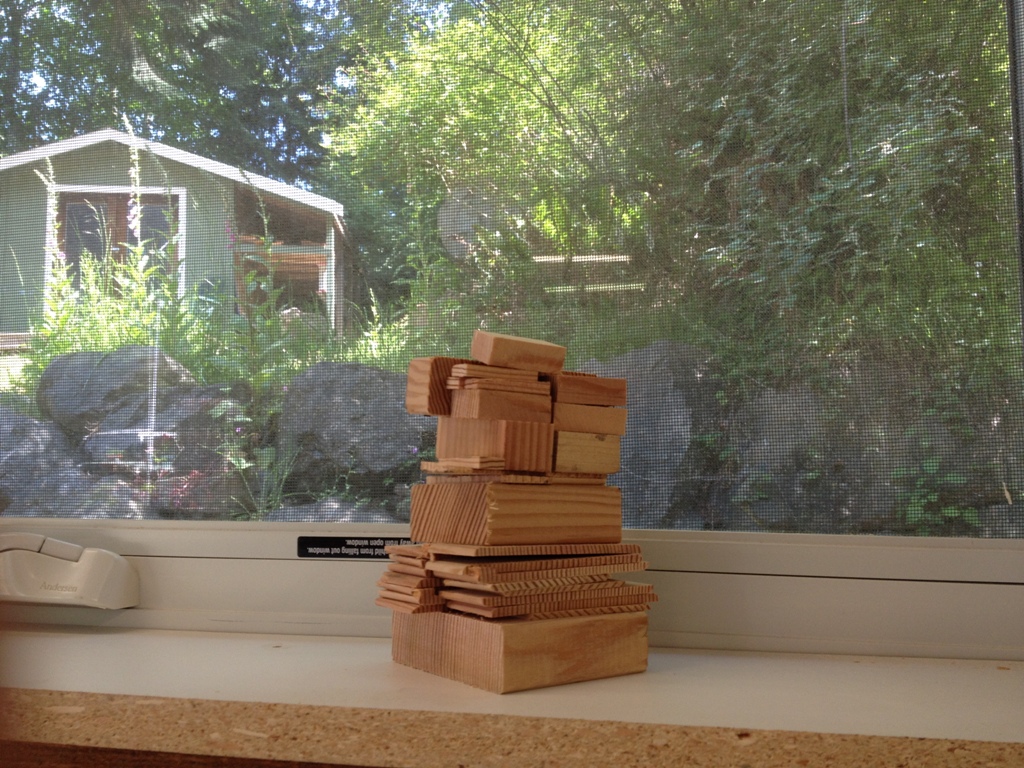
This is literally all of the scrap wood left over from this project, stacked here Jenga style.  See if you can spot the two deer outside.

Glueing

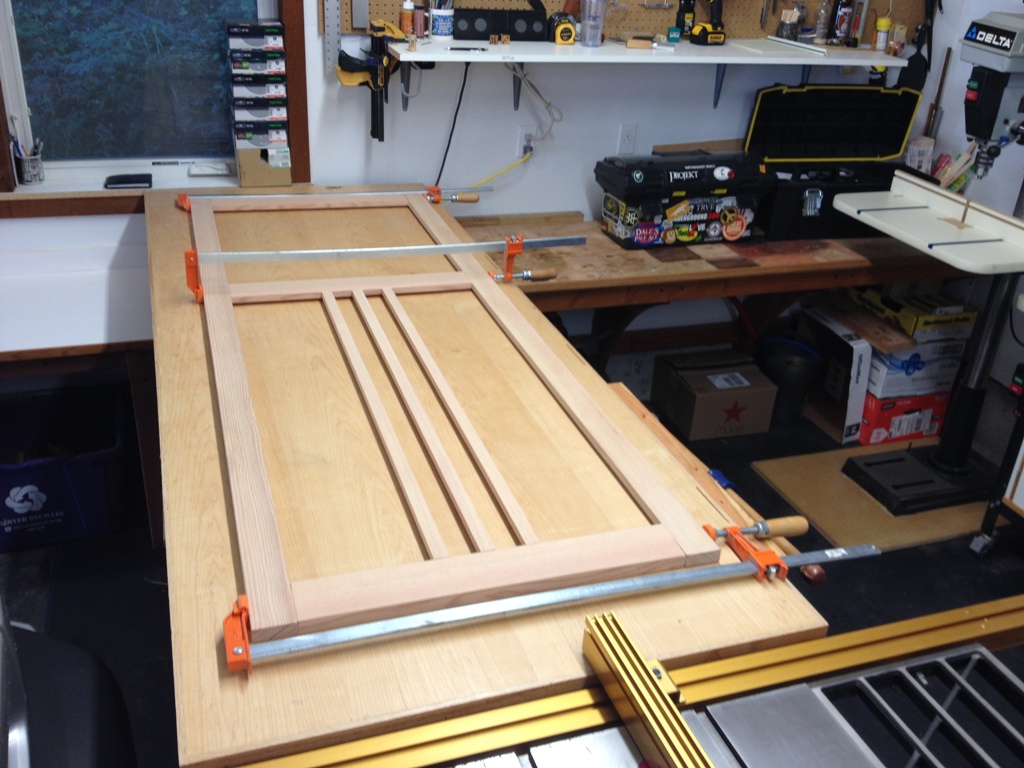
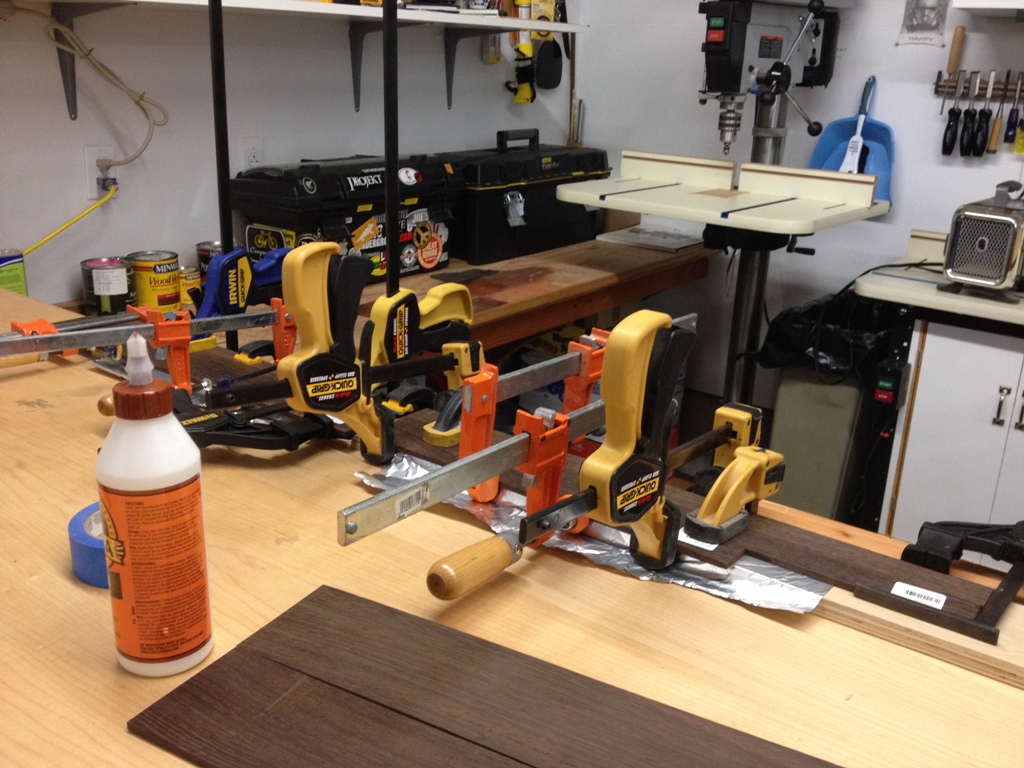
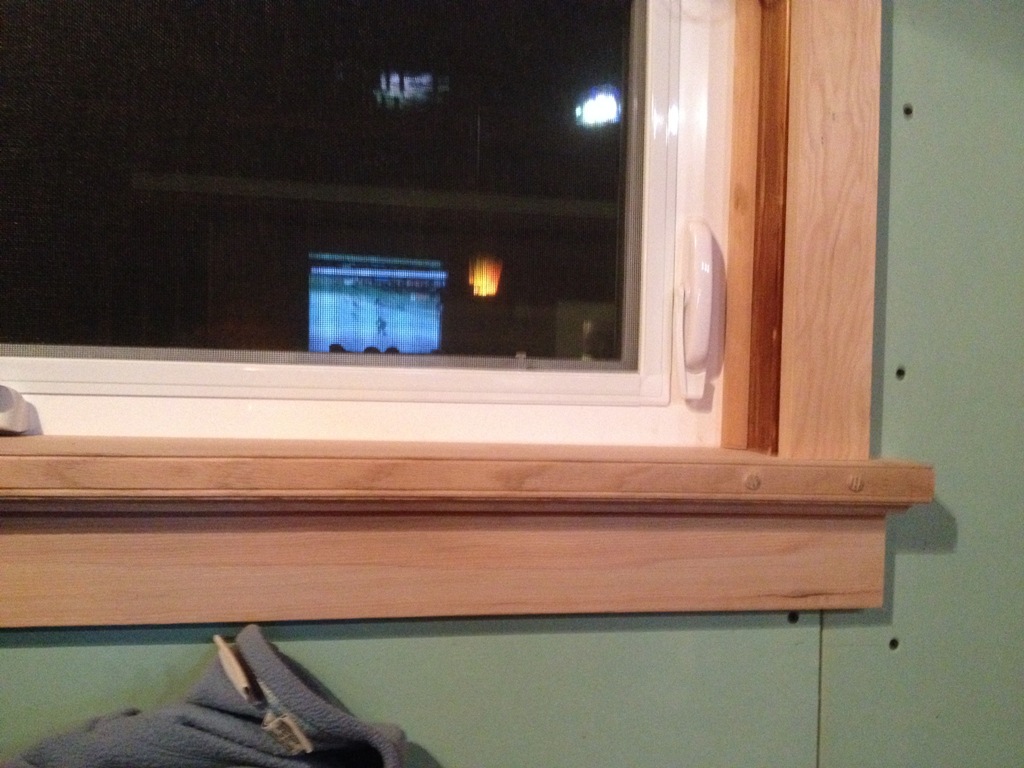
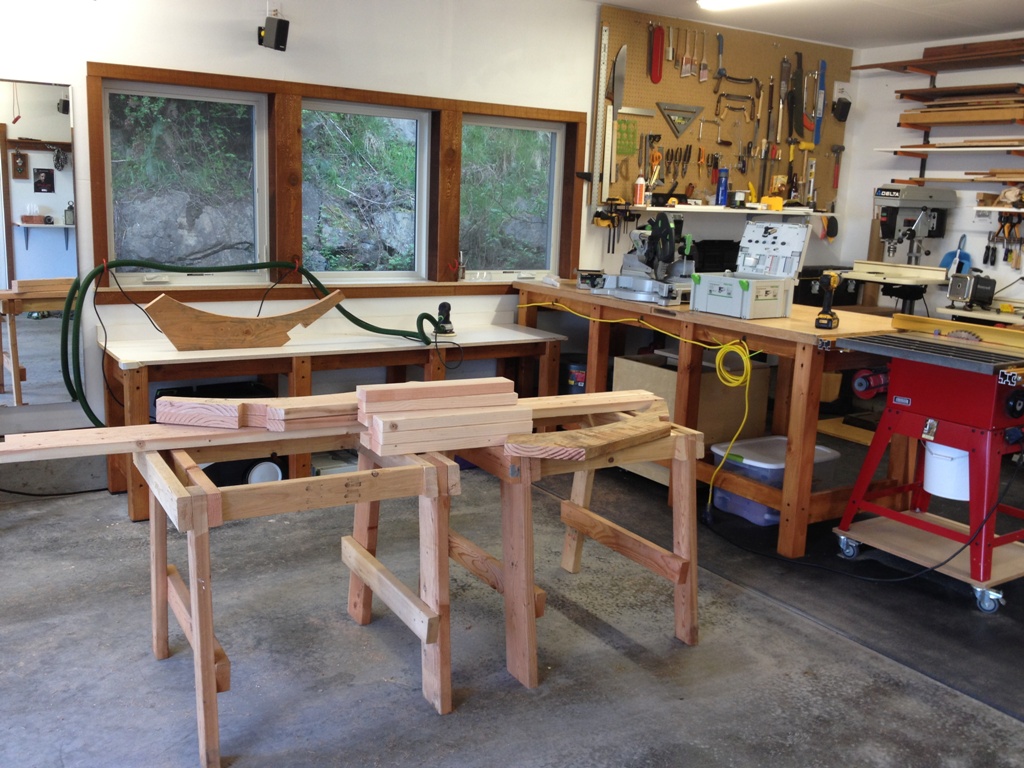
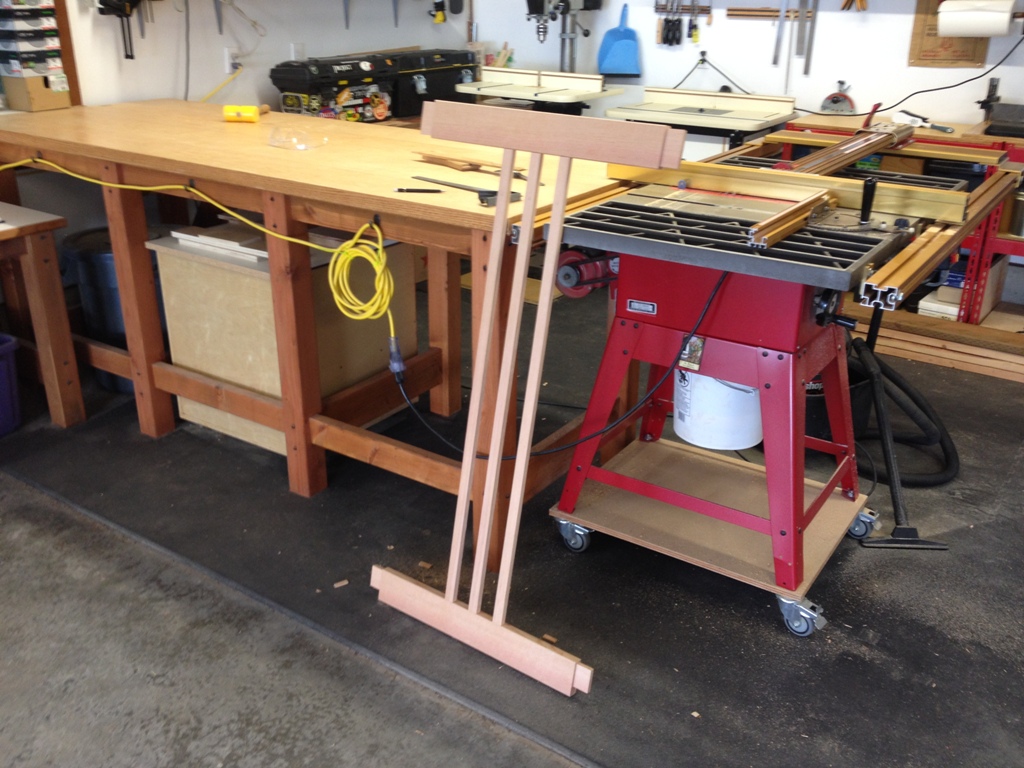
Now it’s all sanded, glued and sitting in my shop drying up.  I only needed three clamps to put this together, yay!  Most of my glue-ups take about twenty clamps so that was gratifying, at least.


Bathroom Cabinets Completed

There’s nothing like a finished project.

Finished

Finally have the bathroom cabinets all finished and the bathroom trim is painted to match.  I’m not terribly happy with the paint job on the cabinets, no matter how much I sanded it and tried to get it smooth it just came out a little lumpy.  It’s fine.  I’ll live with it.  It’s much improved from what was there.

Need More Clamps

I had some nice, dark brown wenge leftover from a previous project and I just needed to order a little more to make shelves for the entire cabinet.  But even after I ordered more, I still didn’t have all that I needed.  I had to join some narrow strips together to get the 4 1/2″ width I needed to complete the shelves.  I’ve never joined an exotic wood like that; I’ve heard this wood can be a little oily and that sometimes interferes with the glue bond.  That, and these are going to live in a damp environment and if they start to warp or deform at all they’re going to split right apart.

Shelves

They seemed to glue together just fine and I think it’ll work.  I would have preferred solid slabs but the wood is so dark and evenly grained that you can’t really tell that some of the shelves are joined.  Here they are in place.  Great fit, very sturdy.

The Truth about Painted Cabinets

PrimerPainted woodwork conceals some flaws, and reveals others.  Notably, it will reveal poor painting skills.  I’m not a big fan of painted cabinets, I suppose not many woodworkers are, but in this case they fit in with the existing design.

With painted cabinets, you can use lower grades of wood, but you still can’t go too cheap because you need a smooth surface and you need sharp corners where you make your cuts.  Even painted, any tear-out or splintered edges will be obvious flaws.  And if your holes and gaps aren’t adequately filled, they will forever be a glaring defect that everyone will see.  So you still have to take care even if you’re going to paint what you’re building.

Mortisse

The door frames are pretty narrow (1 1/2″ wide), and as such I felt the need to join them by mortisse and tenon.  They need all the strength they can get.

DangerSo, above is a pic of me cutting four tenons at once.  I taped all four pieces of wood together so they all fit in the jig, and in one pass I made the exact same cut on all four pieces of wood.  This may seem foolishly dangerous, but these pieces are so small that they would not fit into the jig one at a time.  Normally when they’re this small I’d just hand cut them, but this seemed to get the job done.

Frame

Here’s the frame being assembled.  Note the absence of blood; I haven’t lost any fingers yet.

Shaped

I had to cut out a groove for the mirror.  The mirrors are 1/4″ thick glass.  I think they’re stronger than the frame I’m putting them in.

Fits

It fits well.  I hope the paint will conceal that tear-out in the wood.  (It won’t.)

Selfie

I’ve had these mirrors over a year.  They’re finally going to have a home.

Mirror

The fit is great.  About 1/16″ between the glass and the wood.  I’m going to put a bead of silicone gel around the inside of the wood frame and just rest the glass onto it.  I have some plywood backings that will go onto the back of the glass.  This should be a really solid door for a medicine cabinet.

Painted

Now I’m just waiting for the paint to dry.


How much do I hate this door?

the door

It doesn’t close right.  The veneer is peeling off.  The plastic strip holding that awful stained glass window is permanently filthy.  The hinges are rusted.  Carpenter ants refuse to eat it.  It gives me bad dreams.  If we had neighbors, they would all make fun of us.

It was atrocious before, but now that I’ve refinished the area around it, it looks even worse.

new project

I hate that door so much that I bought a salvage door that does not fit and promised myself I would do whatever it takes to make it work.  The salvage door is too short, too wide, and in poor shape.  But I figure maybe I can trim it down to size, add a little wood to the bottom to make it longer, and give it a little architectural detail and maybe it’ll be an improvement over the existing door.

Okay, let’s face it.  a plastic curtain hanging from a rusty chain would be an improvement over the existing door.

fitting

First thing I wanted to do is fill that inset area with some planks to give it a little interest.  I’ll put four vertical slats in its length, placing them over the rectangle of low grade plywood and making the door a little beefier and solid.

router

It’s time to attack them with a router bit and give them a nice border.  I chose a cove router bit (quarter circle) since it goes with the existing edge in the inset.  I had to shape the end grain too, generally a recipe for lots of splintered wood, but I’m desperate here.

cutting

One trick I use when routing against the grain is to take a sharp knife and cut along where the router will cut.  It’s an extra step and it takes a bit more time, but it really helps avoid the exit wounds left by the router.

boards

Nice, clean cuts.  And I haven’t even sanded yet.

boards with holes

I considered a number of ways to fasten these boards to the door.  I don’t think I can get enough pressure on them that glue will hold well over time (this is an exterior door, after all).  I’m going to use pan head screws from one side, and put pegs in the holes.  That should make a nice tight fit, invisible from one side, with some architectural detail from the other.

strip


Back to the door. It had a weather strip around the outside that needed to go.  It put up a fight, but when threatened with a knife it finally surrendered.  Next weekend I’ll cut it to size and see if I can get it fitted and mounted.

Shop Time!

Table Saw

Got out of bed this morning and decided to make some sawdust.  It’s been a busy week at work (which is a real, non-sawdust-related job) and I just needed some time away from the office, so to speak.  Plus, I had just torn out a bunch of paneling inside and hung a couple sheets of drywall and needed to cut and fit a bunch of new trim pieces.

Router

For the most part, I’m using finished hemlock for trim pieces.  I don’t do much to them, just take slabs and slather it with some stain and polyurethane and nail it to the wall.  It’s not real woodwork but it’s fairly economical — I have a whole house to trim and I don’t want to break the bank doing it.

Drill Press

However, I am going to sneak in some shaped and fitted pieces as I can.  This time, I got to make a nice windowsill out of one of my favorite hardwoods:  red oak.  It’s kind of an involved process.  I use a 1×6 to nail on top of the rough frame, but I band it with a 1×2 that I do some shaping on over the router.  The result looks like a thick plank of wood with a little cove molding across the bottom.  I attach the two pieces with wood screws hidden behind oak dowels that look like little buttons going around the band.  You can see me drilling out the holes for the dowels above.  I know, I know, I could have joined them with hand cut dovetails or run a spline down its length or tongue and groove or some other fancy pants joinery, but I simply don’t have time.  I need to get this house finished while I’m still young enough to enjoy it.

Wine bottle cork


The routed piece has some clean lines that give it a little interest.  You can see the profile on the end cap above.  That rounded cove at the base can be sanded by wrapping sandpaper around a wine bottle cork.  If you need an excuse to buy a bottle of wine, there you have it.

Window Sill

Here’s the finished windowsill fitted into place with the other trim pieces around it. They’re just pinned in place with a couple finish nails, I’ll remove them to stain and polyurethane them in the garage.  Oak takes a stain very well, accentuating the light and dark color with its alternating waves of smooth and rough grain.

Not sure if you noticed but it seems like every picture I take with the TV in the background, there’s a hockey game on.

Chop Saw

Still a lot of trim to cut and fit, and sand and stain and polyurethane and install.  Not to mention I need to get some mud on that drywall and sand it and topcoat it and primer it and paint it.  Yeah, never a shortage of things to do around here.

The Cabinet From Hell

attractive

It’s time to face facts.  We can do whatever we want to make the kitchen look better, but this hideous cabinet is all you see whenever you’re in there.  All the new appliances and knobs and flooring in the world won’t hide this demonic thing.  I’ve considered covering it with a drop cloth but then Inky wouldn’t know where to eat.  I’ve considered destroying it with a flamethrower but I doubt I could keep the rest of the house from burning down with it.

This cabinet is old, and it rests on scrap 2×4 pieces the way an el camino rests on cinder blocks in someone’s front yard.

precision

Nothing meets at a right angle.  The doors do not stay closed without the aid of a rubber band or a thumbtack.  I’d love to get rid of it but that’s 24 cubic feet of storage I don’t have anywhere else.

craftsmanship

The frame is literally coming off the cabinet.  Look closely – you can see the frame is just held to the cabinet by a nice, smooth, bright finish nail.  I could pull it out with my fingernails if I wanted to.  The one across from this was repaired with glue, so now it’s permanently 2 1/2 degrees off.    Ugh.

style

The worst of it is the top, which is just painted construction grade plywood.  Painted a long time ago.  It does not come clean.  It’s pitted, stained, moldy and warped.  The only really good thing about old paint is that it was made before a lot modern environmental laws, so it’s generally better quality than new paint.  Plus it’s fully cured so it forms a hard shell that’s arguably stronger than the plywood it envelops.  Other than that, it’s disgusting.

Do not ask me why, but I decided to restore this thing rather than smash it to bits with a fireman’s ax.  The drawer pulls are easily replaced, and I even have some good pulls in mind for it.  And replacement hinges are affordable, right?  (answer:  no.  $25 per pair is not affordable, but that’s what well machined hinges cost).  What else would need to be done?  A melamine top is not hard to do.  A band of wood around the bottom wound conceal that weird heating apparatus underneath so we don’t have to see it.  And I can take the doors off, sand them down, stain them and polyurethane them and they would look significantly better.

restoration

And so, it’s come to this.  50 year old cabinet parts are in my shop, sanded smooth, re-squared, fitted, stained, and ready to go.  The cabinet will live again.  It’s still a piece of crap, but at this point, it’s like a personal challenge.  See how long I can keep this box limping along, serviceable, and in working order.  See if I can get the doors to close straight, or close at all.

I love making cabinets, and sometimes restoring the old ones teaches you a thing or two about making new ones.  But that’s really not the case here.  This Cabinet From Hell is a textbook example of all the things not to do when you’re making new cabinets, from the materials and hardware not to use to the way not to join wood together.  Well, let’s see how long I can keep it going. I have to move it out when I drywall the laundry room, then put it right back in.  If it survives that, it can probably last a while longer.

Even More Shop Work

One thing I’ve always wanted to do with my table saw is really seal up the interior so sawdust doesn’t get all over the place.  In my former shop, I used to have it boxed in and connected to a vacuum hose, but that was really ineffective and I kept tripping over the hose.  So now I basically have the housing all sealed up and I put a bucket underneath it.  It actually works really well, except that I never did seal up the backside.  That’s where the motor and the pulley pokes through making it difficult to really seal up.

Well, I finally got around to making a back plate that should cut down on the sawdust considerably and not interfere with the motor and pulley.  I was going to go with sheet metal but I didn’t want anything that could damage any moving parts.  I needed something soft, yet firm.  And cheap and easily accessible.  I ended up going with cardboard.

template

I marked everything really carefully so if I have to remake it (out of a different material if I so desire) it will be easy to do.  Cardboard is soft enough that it won’t damage anything should something go wrong, and firm enough to hold its shape.

Fitting

There you can see it’s a tricky fit.  The holes are for the rods that hold the motor, and that slot on the right is where the pulley goes.  Everything is looking great, but I do wish I had something I could use to make it a little stronger, to help it withstand the rigors of a shop.

what to use

Hmm.  I wonder what I can use?

how about duck tape

Hmm…

Oh, I know!  Duck tape!

panel

Handyman’s secret weapon!!  Oh yeah, now that thing is pretty much waterproof.  I’ll probably never have to replace it.  It might last longer than my table saw.

installed

I am happy to report that I can now rip down a 2×4 and not cover my entire shop floor with a spray of fine yellow powder.  This contraption cut down on the dust piles by at least 75%.  Yeah, I still get some.  That’s okay.  Wouldn’t be a shop without sawdust all over everything.

More Shop Work

Paddle board

Ah, springtime on Orcas Island.  Time to get out the kayaks, the paddle boards, the canoes, the sailboats, that pontoon you made out of empty 2 liter soda bottles.  Whatever floats your boat, literally.  Time to get out in the water and go fishing, go sailing, go floating around the island and seeing all the wildlife.  The weather is beautiful, warm but not hot, sunny and sometimes a little cloudy.  The wildlife is abundant.  Time to go out and just enjoy the world.

UNLESS YOU’RE ME.

If you’re ME, you spend every waking moment in your troll cave, making sawdust with your saws, rasps and sanders.  You avoid bees as you run up to the shed to get more lumber.  You spook a bunch of deer as you head back to the other shed where you store all the paint supplies.  You pay no heed to the tourists driving in their strangely clean cars, completely devoid of mud, rust and dents, staring at you as if you’re a Bigfoot sighting.  If you’re ME, you toil in your shop, listening to playoff hockey or reggae music or whatever your little device will pick up without dropping its signal.

StainMy deck becomes Stain Central, where I can set up sawhorses and drop cloths, and slather linseed oil onto all those little shapes that I made in the shop.  They’re like big puzzle pieces at this stage.  One thing I really enjoy up here is the space, the almost limitless amount of places I can spread out into.  I don’t have to cram this into my shop and stink it up with oily fumes for 48 hours.  I can do this on the outside deck, and gaze out to the sea when I take breaks.

Brackets

This install was really tricky.  I had to hold the bracket in place with one hand and the 2×4 in place with the other hand while driving the screws in with my third hand and making sure everything remained level with my fourth hand.  The worst of it was one of the beams ran along the exact same path as the electrical wires behind that drywall.  I had to screw it into the studs without screwing into a live 220 volt wire.  Call me a chicken, but I actually wore rubber gloves when I drove those screws in.  Well, they’re all in, and those brackets now hold up a little side bench that is about as sturdy as bedrock.  The best part is the top is just a sheet of 4×8 plywood ripped down into two 2×8 sheets and screwn together.  So I can pound on it, drill through it, spill crap on it, and for $32 I can replace it and it will look like new.  To me, that’s a really good quality to have in a bench surface.

Shop


So there’s the side bench.  It’s just a little lower than the big bench, and it’s made to be the exact same height as my Festool radial arm saw surface, so if I have long strips of lumber or trim to cut, I can rest it on this side bench when I’m cutting it.

I also took some time to rearrange a few tools on that pegboard back there.  You know, I have this obsessive-compulsive disorder, and I’ve learned that I shouldn’t resist it.  I just run with it.  When my brain tells me my tools need to be in a certain order, I just make it happen.  No point even trying to prevent it.

The shop is almost done and I’m going to post a bunch of pics and a nice little tour of it soon.  Then it’s back to working on the house, which is nowhere near to being almost done but we’re happy with every improvement we make.  Soon I’ll be making cabinets, and furniture, and doing finish carpentry just the way I like to be doing.

Maybe I’ll buy a boat someday.  Maybe I’ll build a boat someday.  In this shop, all things are possible.


Shop Work

view

This is the view from my shop.  This is what I see when I look up from whatever I’m working on.  Whenever I think this house is falling apart faster than I can fix it, whenever I despair that there’s so much wrong with it that I’ll never get it all done, this is a wonderful reminder of why we moved here and why we live here.  Today is the 2nd anniversary of when we bought the house, and as much of a challenge as it’s been, I have loved every day of it.

shopSo yeah, with a view like that, it’s no mystery that I like to spend a little time working on the shop itself.  It’s my base; it’s where I go to repair old work or create new things, and practice my craft.  Here, all things are possible.  Here, there is nothing I can’t do.

table legs

It makes sense to me that I want my shop as good as it can get.  That bench used to be on some old sawhorses I made two hundred years ago.  They were sturdy enough, but I like a bench that is the exact same height as the table saw.  This way, when I cut lumber on the saw it can just slide onto the table.  That’s called a Return Feed Table.  I’m happy that I have enough space for a big one like that.  Plus, I can now work on things without my lower back complaining from bending over all day.

plans

Two years later, and I still have about 500 board feet of construction lumber up at the shed.  Some of it is exposed to the weather and it’s getting mossy and green, which I actually don’t mind.  I like the weathered look.  Today I decided to take down some 2×12’s and make them into brackets for a side table next to my bench.  Not only will this thing be nice and sturdy, but the brackets keep any table legs out of the way so I can keep things under it, and I can also clean back there a lot easier.

saw

I really need to cut these as accurately as I can.  There’s two angled cuts there, and if they don’t make a precise 90 degree angle the table is not going to be flat.  I want my tables flat.  It’s the least I can ask of them.  Working with construction lumber can be like measuring with a micrometer, marking with chalk and cutting with an axe.  No matter how careful you are, the wood is a little bowed and knotty and not all the same thickness and the sides aren’t even really straight.  Yeah, I could put it all through the planer, but what’s the fun in that?

sanded

Now, here is what I really like about weathered wood.  The piece on the right is as I found it outside, and on the left is sanded.  I don’t sand it perfect, just enough to give it some smoothness and get most of the dirt and mold off it.  It comes out looking random and naturally distressed.  And it’s still a very, very strong beam.

wood

So I got all the pieces cut and I think this week I’ll get a coat of finish on it and let it cure for a couple days before I affix it to the wall.  The shop is really coming up great, the workflow is good and there’s lots of space to spread out and get things done in there.  I’ll be ready to start making some kitchen cabinets real soon.

bruce lee

I’ve also added a lot of trim and shelves and hooks in the garage.  I’m just using rough cedar and leftover T-111 boards for the trim.  For a garage, they work great!  You may have noticed the punching bag that hangs in the corner from previous pictures.  It’s not just for looks.  About once a week, or every other week, I’m using it for a workout.  I spend some of the toughest 48 minutes of my life in front of that bag.  We use our garage for a lot of things.  I think it’s worth it to fix it up nice.


New Bathroom Countertop

Quartzite Countertop


Like most everything that came with this house, the bathroom sink and countertop was ready to be replaced.  It was one of those one piece resin things, and the resin was becoming cracked and moldy and leaking and just all sorts of awful.  We had one like that in Denver and we lived with it for ten years.  We finally replaced when we got ready to sell the house and we wondered why we had lived with the old crappy one as long as we did.

So up there is our new countertop, a nice pretty quartzite that should last about 4,000 years.  All I have to do is drill two holes in it and I can install the faucet.  I thought I had to drill three holes but it came with one pre-drilled so that was a bonus.

Template

To drill the holes, first you make a template.  You need a diamond tipped hole saw to cut through stone like that and it helps to have the correct size hole saw (unlike the one the fricking jerks at Lowe’s sold me) (“Oh yeah, don’t forget to buy a diamond hole saw on your way out, sir.  It needs to be 3/4″ diameter, sir.”  “Okay, Mr. Lowes Salesman, I’ll buy a 1″ diameter diamond hole saw just to make sure it’s big enough.” “That would be swell, sir.”)  (Then I get back on the island and realize I need a 1 1/4″ hole saw and the one I bought was too small and no one on the island sells diamond tipped hole saws.)

But I digress.

Use your correct size hole saw to cut straight through the plywood at the same distance from the edge you want your faucet holes to be.  This way, you just line up the template with the edge of the stone and you use the plywood hole as a guide.  Also, cutting through stone requires some water for lubrication, to help cut through the stone without creating so much heat that you melt your expensive hole saw.

To make sure the water doesn’t seep out of the bottom of the plywood, you take some plumber’s putty and make a snake.

Snake (named Bob)Don’t get too attached, though, because the snake will probably not survive.  So don’t give him a name or anything.  Wrap the snake in a circle around the underside of the plywood.

Snake around hole


Now, when you clamp the plywood to the stone, the snake makes a watertight seal and you can fill the hole with water.

Filled with water


This is a dirty job.  Water and powdered quartzite will splash around in a 20′ radius and cover everything with little white dots that don’t clean up easy.  Do this outside if you can.

Dirty JobThat’s what a hole saw looks like, by the way.  Take your time with this step.  Let the drill do the work, don’t press it.  You’re kind of wobbling it down, rocking it up and down to let the stuff you’re digging up work its way out.  Periodically, take the saw out and cool the tip in cold water, replace the water in the hole, and just rest a bit.  If you try to hurry this step up, you can break your expensive quartzite countertop.

Poor snakeYeah, the snake doesn’t make it.  But that’s okay, you can make more with plumber’s putty and play with them later.

Begone trash


And there’s the old one, out with the trash where it belongs.  It didn’t even give up much of a fight taking it out.  I think it knew its time was up, and it was ready.  The new one is in and it’s great.  Will post some pics of it all later.