The Actual Cost of a Salvage Door

Door

Salvage Door:  $40, plus tax.

Ferry trip to get to the mainland and back with the door:  $58

Gas:  $8

Tools

Tool wear and tear:  $5

Fasteners

Fasteners and miscellaneous hardware:  $2.50

Doorknob and deadbolt:  Free, just use the existing crappy ones so all the keys still match.

Fir

1×6 Douglas Fir planks:  $112.  (For that price, next time I’ll just cut down a tree)

Dentist Pick

Labor:  Free, though in all fairness, in the time it took me to fix up this door I could have watched District 9, Gladiator, Season 6 of The Shield, the extended versions of all of the Lord of the Rings movies, Skyfall and Casino Royale.

Dowel

Dowel:  Free, I got dozens lying around for scrap.

The correct size dowel that you don’t have lying around and have to go buy at the hardware store:  $4.35

Sanding Discs

22 Festool sanding discs:  $16.50

Stain


Stain, primer, paint, and about 24 feet of frog tape:  $54.67 (that frog tape is a little steep)

Cat

Cat in a sink:  Free.  Good luck washing your hands.

Hinges

Solid brass hinges in Oil Rubbed Bronze (TM) that will never ever rust:  $75.

Asymmetry

Amount of sleep I’ll lose because the door is asymmetrical:  0.0 hours.

Priceless

Using the old door for thrown weapons practice:  Okay, that is priceless.


How much do I hate this door?

the door

It doesn’t close right.  The veneer is peeling off.  The plastic strip holding that awful stained glass window is permanently filthy.  The hinges are rusted.  Carpenter ants refuse to eat it.  It gives me bad dreams.  If we had neighbors, they would all make fun of us.

It was atrocious before, but now that I’ve refinished the area around it, it looks even worse.

new project

I hate that door so much that I bought a salvage door that does not fit and promised myself I would do whatever it takes to make it work.  The salvage door is too short, too wide, and in poor shape.  But I figure maybe I can trim it down to size, add a little wood to the bottom to make it longer, and give it a little architectural detail and maybe it’ll be an improvement over the existing door.

Okay, let’s face it.  a plastic curtain hanging from a rusty chain would be an improvement over the existing door.

fitting

First thing I wanted to do is fill that inset area with some planks to give it a little interest.  I’ll put four vertical slats in its length, placing them over the rectangle of low grade plywood and making the door a little beefier and solid.

router

It’s time to attack them with a router bit and give them a nice border.  I chose a cove router bit (quarter circle) since it goes with the existing edge in the inset.  I had to shape the end grain too, generally a recipe for lots of splintered wood, but I’m desperate here.

cutting

One trick I use when routing against the grain is to take a sharp knife and cut along where the router will cut.  It’s an extra step and it takes a bit more time, but it really helps avoid the exit wounds left by the router.

boards

Nice, clean cuts.  And I haven’t even sanded yet.

boards with holes

I considered a number of ways to fasten these boards to the door.  I don’t think I can get enough pressure on them that glue will hold well over time (this is an exterior door, after all).  I’m going to use pan head screws from one side, and put pegs in the holes.  That should make a nice tight fit, invisible from one side, with some architectural detail from the other.

strip


Back to the door. It had a weather strip around the outside that needed to go.  It put up a fight, but when threatened with a knife it finally surrendered.  Next weekend I’ll cut it to size and see if I can get it fitted and mounted.

Dining Area Wall

Dining Area Wall

Another 15 feet of paneling has been successfully replaced.

Coat Hooks

My drywall skills are getting better, I think.  Can’t even see the seams this time.

Window Sill

That side door looks really awful now.  I don’t think it’s going to last much longer before I cut it up into firewood.  The veneer is peeling off, the glass is revolting, and it doesn’t even close correctly.  I’d be better off with a sheet of plywood affixed to the door frame with duct tape.

Impatience is a Virtue

Before

Before, depicted above.

I can’t renovate the entire house at once.  I wish I could, but I can’t.  I have a full time job, a non-infinite supply of cash, and a one-person army to tackle all these projects.  When I take down that paneling, it’s just me and a crowbar.  When I cut sheetrock and screw it into studs, it’s only one guy measuring and marking and fastening.

Death to Paneling

Nonetheless, I am compelled to rip every sheet of paneling off the wall as fast as I can, to tear out every piece of old trim, and to exorcise this house of every remnant of its dated past, and revitalize it with something new and improved.

Plans

That’s not blood up there, it’s wood stain.  (The blood I’ve shed on this project is much more than a few little spatters, but I digress…)

I drew up those plans in October.  I took the paneling down in November.  This was a small section of wall, about 15 feet in length, with one window and one door.  It should have taken two weekends to take down the paneling, put up new sheetrock, paint it and install trim pieces.  No.  It’s been about six weeks, and I’ve been sick of looking at it.

Dry Fit

Unfortunately, I’ve been working too many hours at my real job.  They don’t pay me to renovate my own house, you see.  So for weeks upon weeks, I’ve had to live with a garage full of trim pieces set on plastic sawhorses, waiting for their next coat of stain, or polyurethane.  Waiting to have a purpose in life, one greater than getting in my way when I had to get a wrench or a screwdriver or something.

Groove and Tongue

Like all my trim pieces, they are custom made.  I had to join a couple of 1×4’s, which was a great excuse to use my heretofore unused Grizzly tenoning jig, to make a nice tight tongue ‘n’ groove fitting.  Not many people put that much effort in finish trim, but I’m glad I did.  The final product fits together very well.

Band

Part of the trim is a band of wood that runs just above the drywall, and I decided to crenelate it with little wooden arches, holding up a small shelf.  Gives it a bit of interest.  Makes it look nice.  And it multiplies the amount of time all this takes by seven.

Tools

With this house, I walk a fine line between getting it done as quickly as I can, and still doing the job the way I want it done.  I could slap up some cheap drywall and nail in some pre-finished trim, but that wouldn’t be what I want.  No, I have to do it the way I want, even if it takes longer to get it all done.

red dot

Quantity versus quality.  It’s like my internal struggle of yin and yang, a battle of which cat will get to pounce on that red laser dot.  Do I take the time to do things the way I want, or do I find a way to get it done quickly?

I Love Painting


I finally caught a weekend in which I could work on the house a bit, so I decided to spend every waking moment finishing this stupid wall.  I didn’t take many shortcuts, but I took a few, and I can settle for less-than-perfect so long as the job gets done.  All the trim pieces have been stained and have two coats of polyurethane (yeah, I’d prefer five, but guess what?  this project needs to just get done) so they’re ready to go.

PaintYeah, that’s another hockey game on in the window’s reflection.  Finished pics tomorrow.  This project, weeks in the waiting, is finally just about done.  All there is left to do is recess a few nailheads, fill the holes with putty and put a little polyurethane on them.  I installed the trim tonight while the paint was still wet.  That’s always a little dicey, I could have waited until tomorrow when everything would be dry and I would be nice and rested.  But instead, it’s all done tonight.  Impatience is a virtue.


Shop Time!

Table Saw

Got out of bed this morning and decided to make some sawdust.  It’s been a busy week at work (which is a real, non-sawdust-related job) and I just needed some time away from the office, so to speak.  Plus, I had just torn out a bunch of paneling inside and hung a couple sheets of drywall and needed to cut and fit a bunch of new trim pieces.

Router

For the most part, I’m using finished hemlock for trim pieces.  I don’t do much to them, just take slabs and slather it with some stain and polyurethane and nail it to the wall.  It’s not real woodwork but it’s fairly economical — I have a whole house to trim and I don’t want to break the bank doing it.

Drill Press

However, I am going to sneak in some shaped and fitted pieces as I can.  This time, I got to make a nice windowsill out of one of my favorite hardwoods:  red oak.  It’s kind of an involved process.  I use a 1×6 to nail on top of the rough frame, but I band it with a 1×2 that I do some shaping on over the router.  The result looks like a thick plank of wood with a little cove molding across the bottom.  I attach the two pieces with wood screws hidden behind oak dowels that look like little buttons going around the band.  You can see me drilling out the holes for the dowels above.  I know, I know, I could have joined them with hand cut dovetails or run a spline down its length or tongue and groove or some other fancy pants joinery, but I simply don’t have time.  I need to get this house finished while I’m still young enough to enjoy it.

Wine bottle cork


The routed piece has some clean lines that give it a little interest.  You can see the profile on the end cap above.  That rounded cove at the base can be sanded by wrapping sandpaper around a wine bottle cork.  If you need an excuse to buy a bottle of wine, there you have it.

Window Sill

Here’s the finished windowsill fitted into place with the other trim pieces around it. They’re just pinned in place with a couple finish nails, I’ll remove them to stain and polyurethane them in the garage.  Oak takes a stain very well, accentuating the light and dark color with its alternating waves of smooth and rough grain.

Not sure if you noticed but it seems like every picture I take with the TV in the background, there’s a hockey game on.

Chop Saw

Still a lot of trim to cut and fit, and sand and stain and polyurethane and install.  Not to mention I need to get some mud on that drywall and sand it and topcoat it and primer it and paint it.  Yeah, never a shortage of things to do around here.

Hidden Treasure

As I have said before, when you open up a wall in a house you never know what you will find.  Carpenter ants, beer bottles, stolen Mafia money, you could find anything.

Inside This Wall

This time, within this very wall, I found the architectural plans to my house!  What a great find!  The very blueprints drawn up at a time when the Beatles were invading America, the original detailed plans of this historic sea-view cottage, and hand drawn and annotated the way it was done in the days before ours.

Plans 1

Here you can see, spotted with spider eggs and beer stains, the master plans of the kitchen area, along with jumbled and nonsensical notes of what to put where and whether they maybe needed an electrical outlet.

Plans 2


The bottom half of the plans is the other half of the house, with the toilet and bathtub clearly detailed, as well as the space for the ‘closit’ and a general area to put the bed.

What a remarkable find.

You’re Going To Paint What?

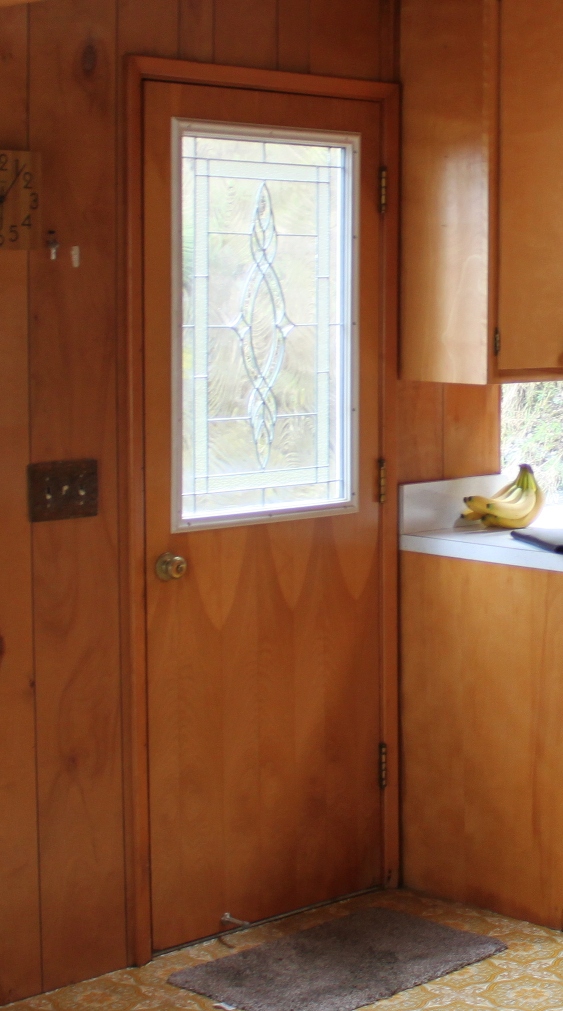
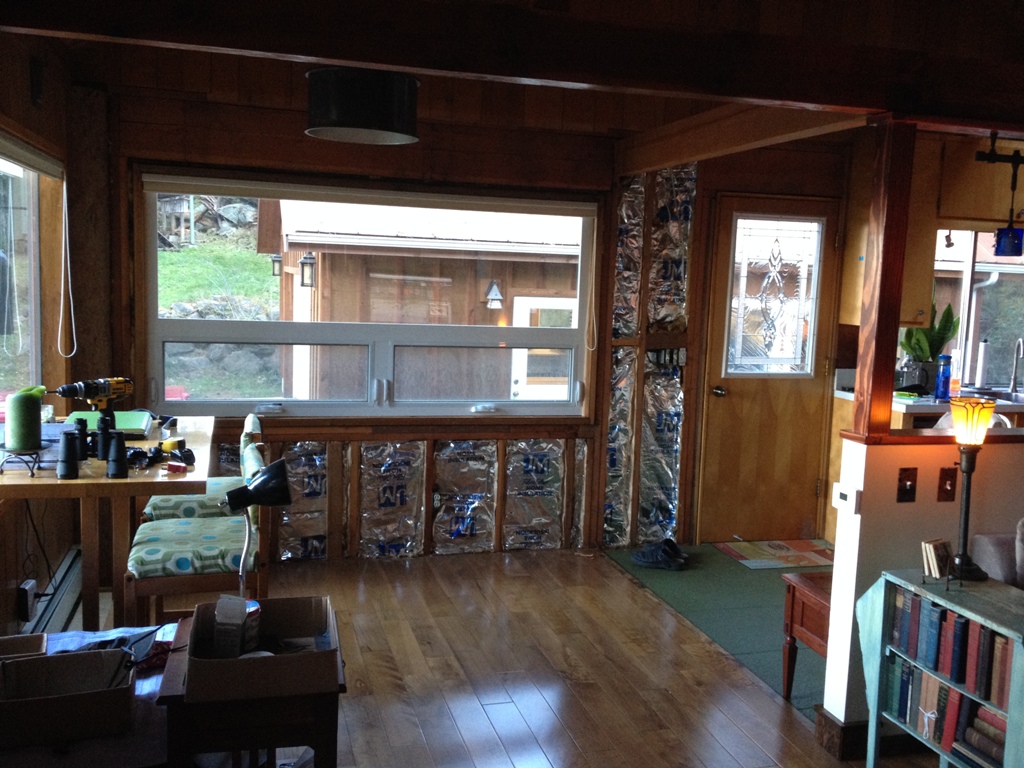
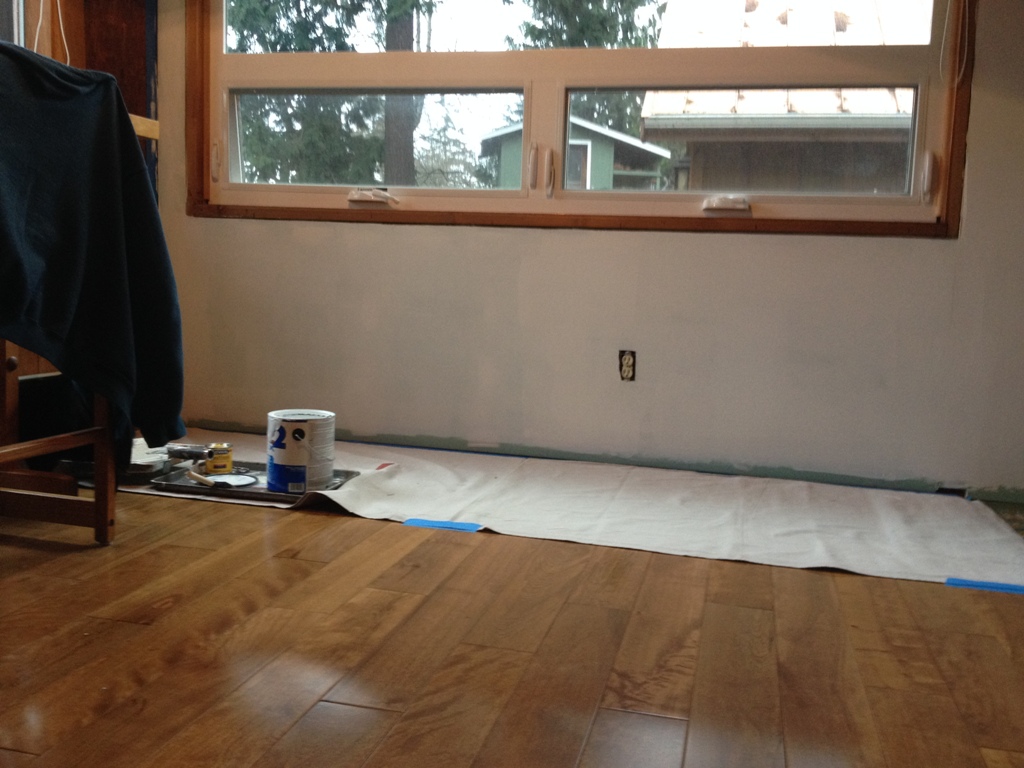
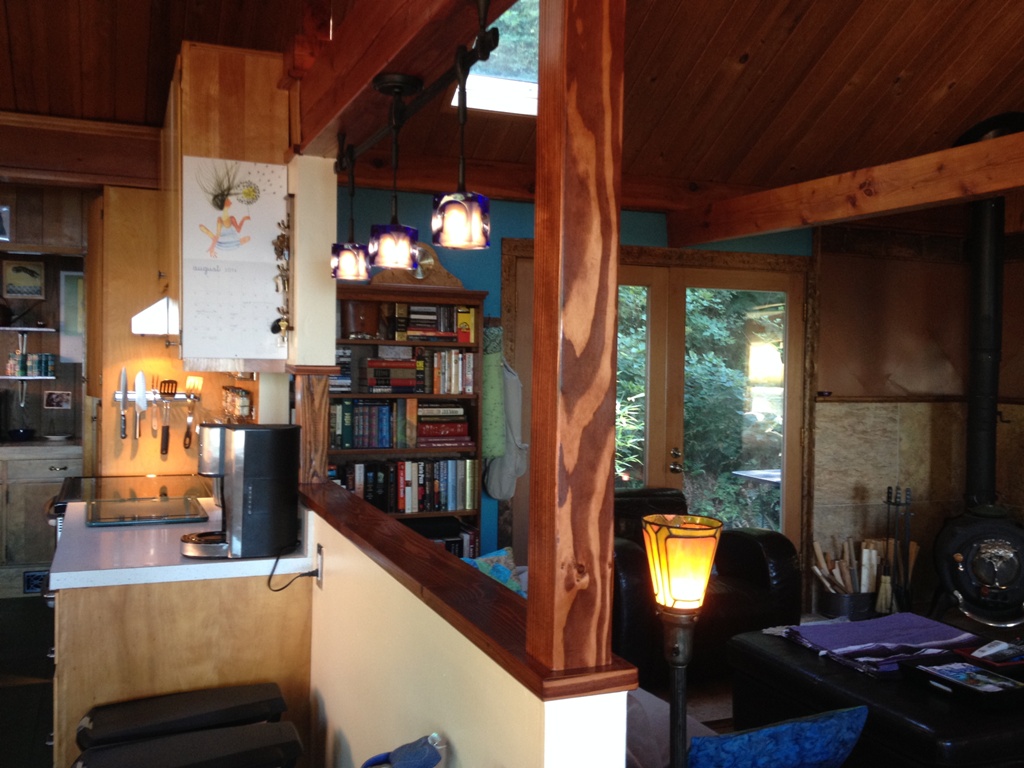
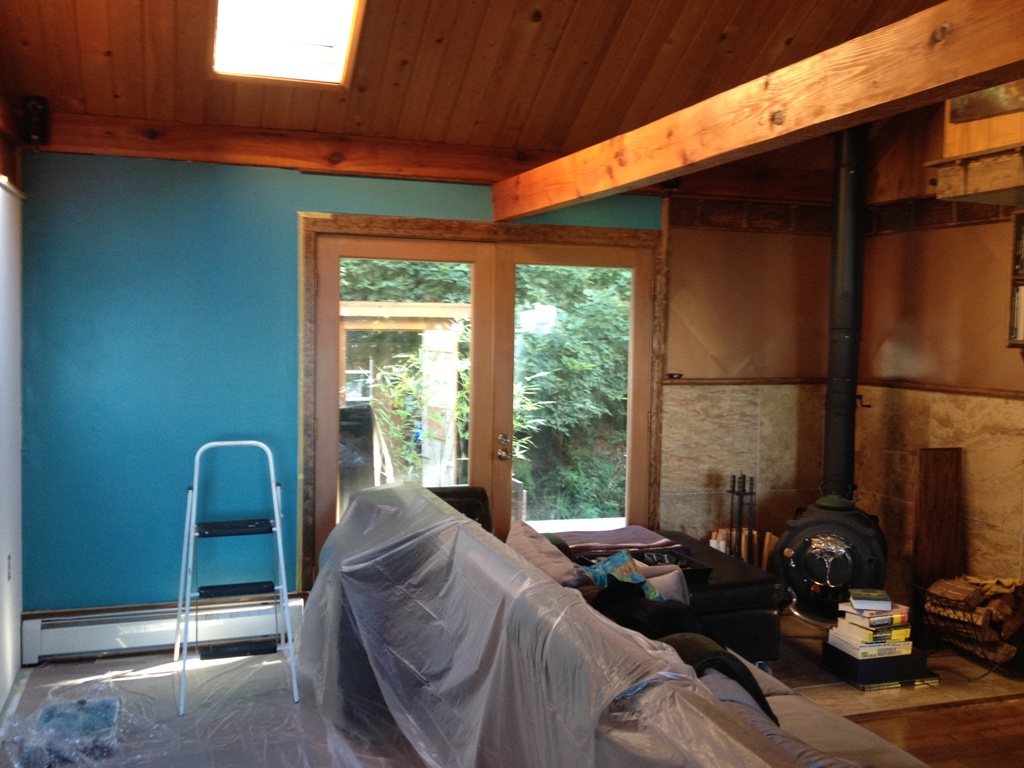
Let’s again start with a ‘before’ picture, shall we?

0 the before picture

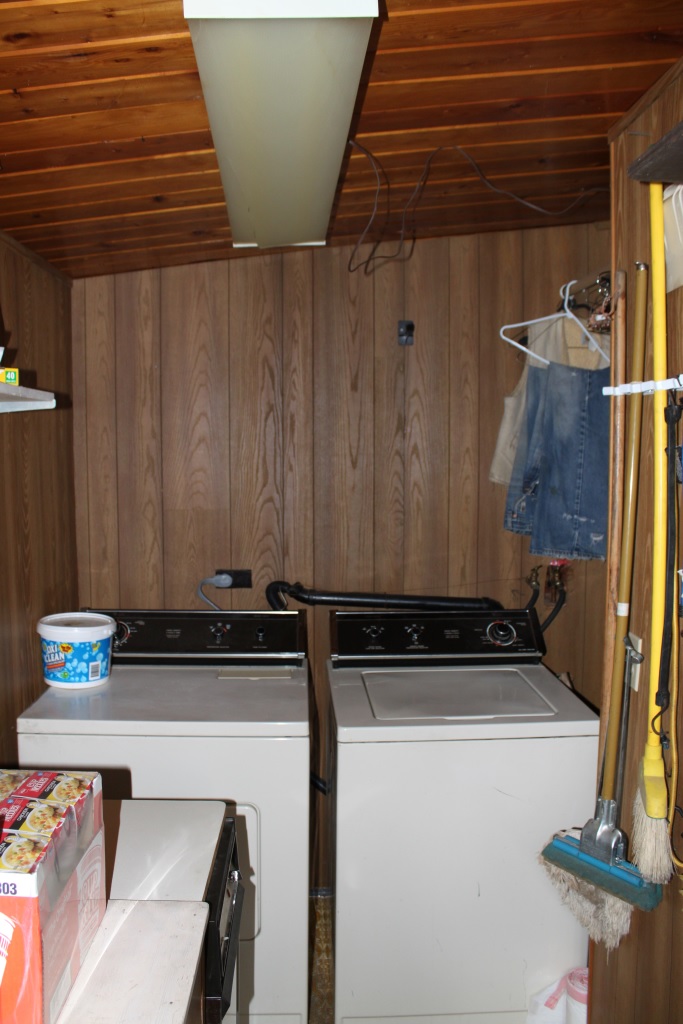
There. That needs few words.

So despite the fact that I’ve already spent some time (and money) in the laundry room, there were still a couple of imperative fixes before I could call it finished. I mean, I need to gut it to the studs and then replace the studs and then pour a new foundation and build new studs and reframe it and sheetrock it and waterproof it and then finish it before it’s truly completed. However, before I do any of that, I can cheaply and quickly do just a couple of things to enhance our lives and make the laundry room a little less terrifying to small children.

1 lets paint

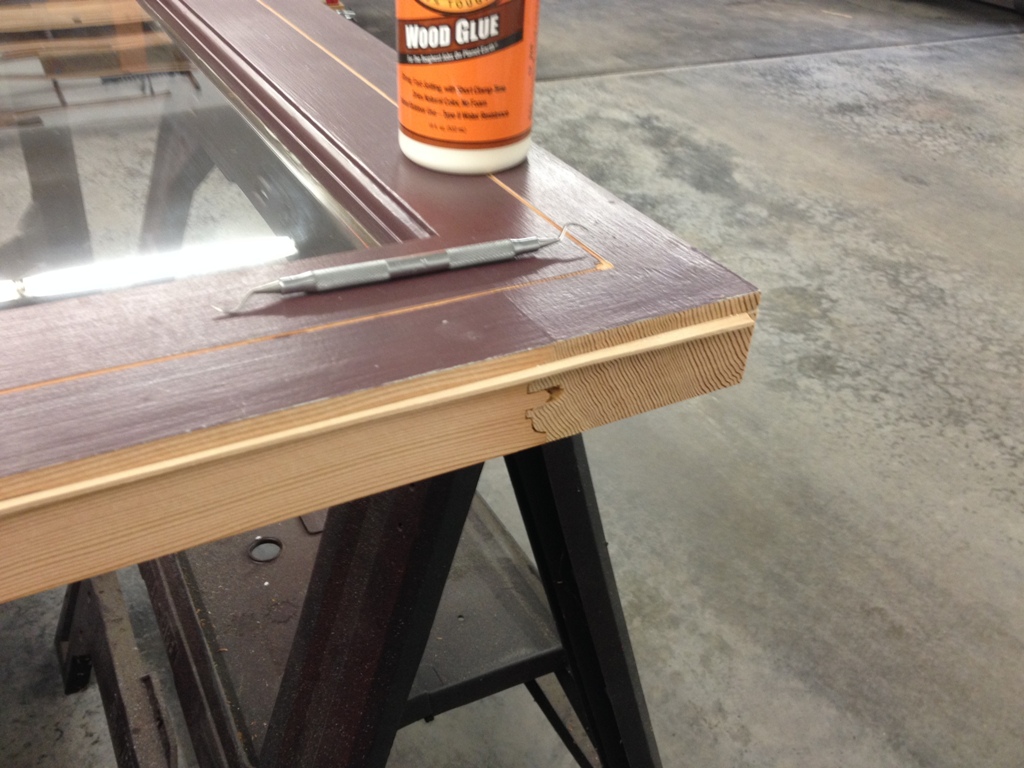
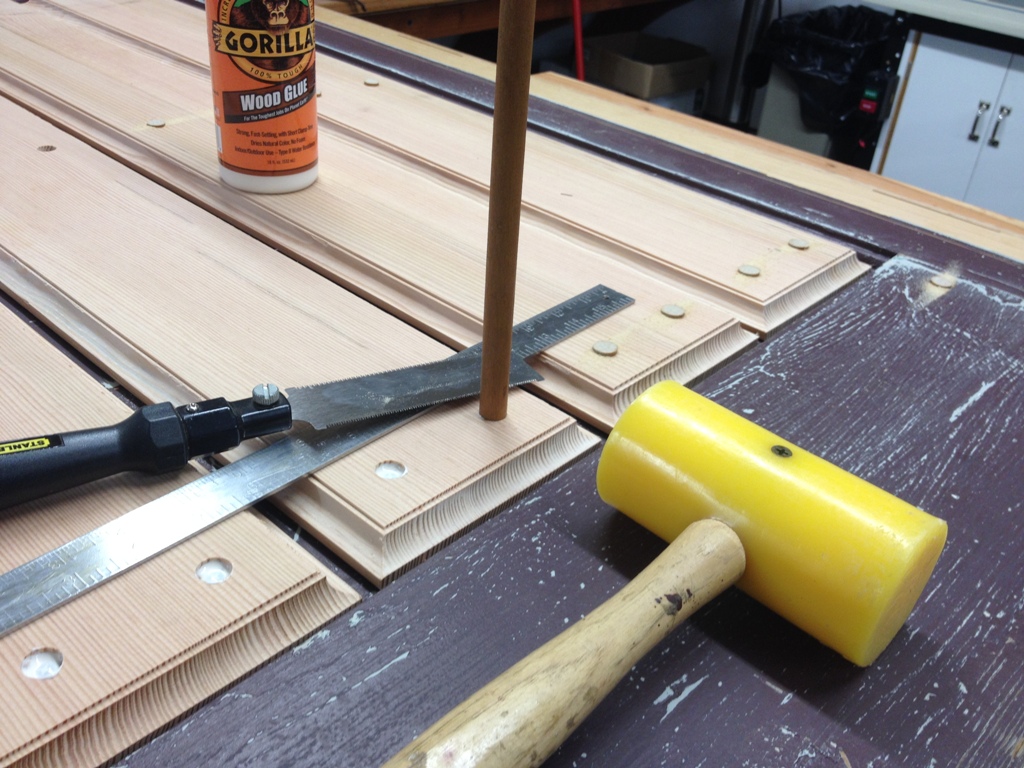
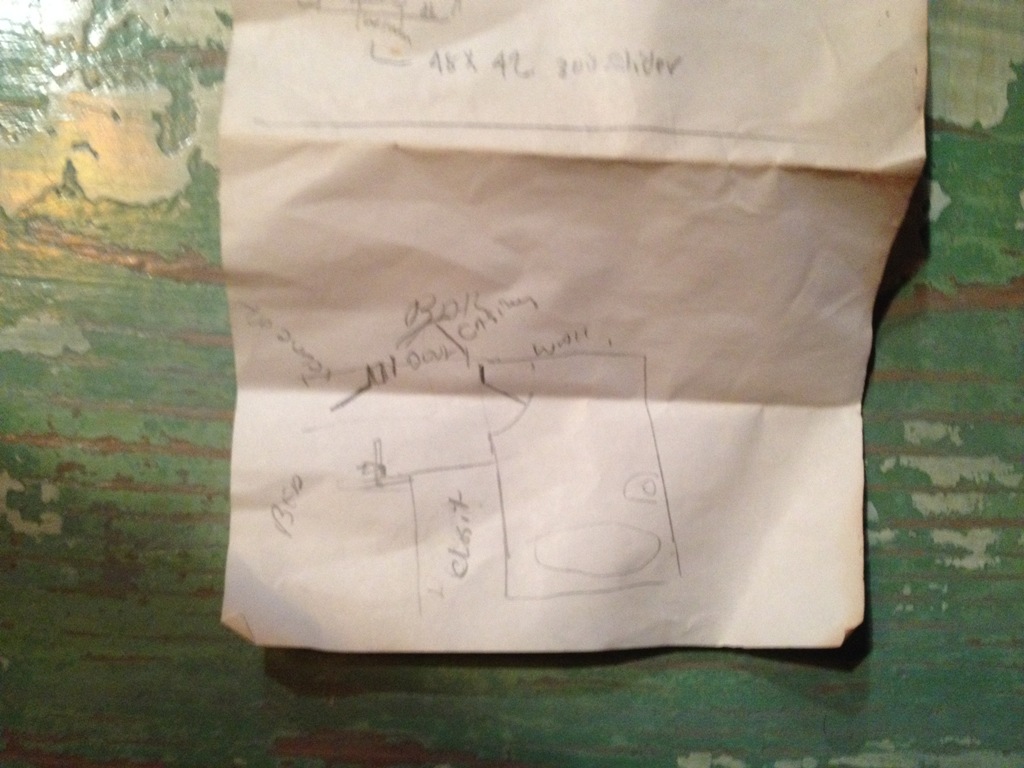
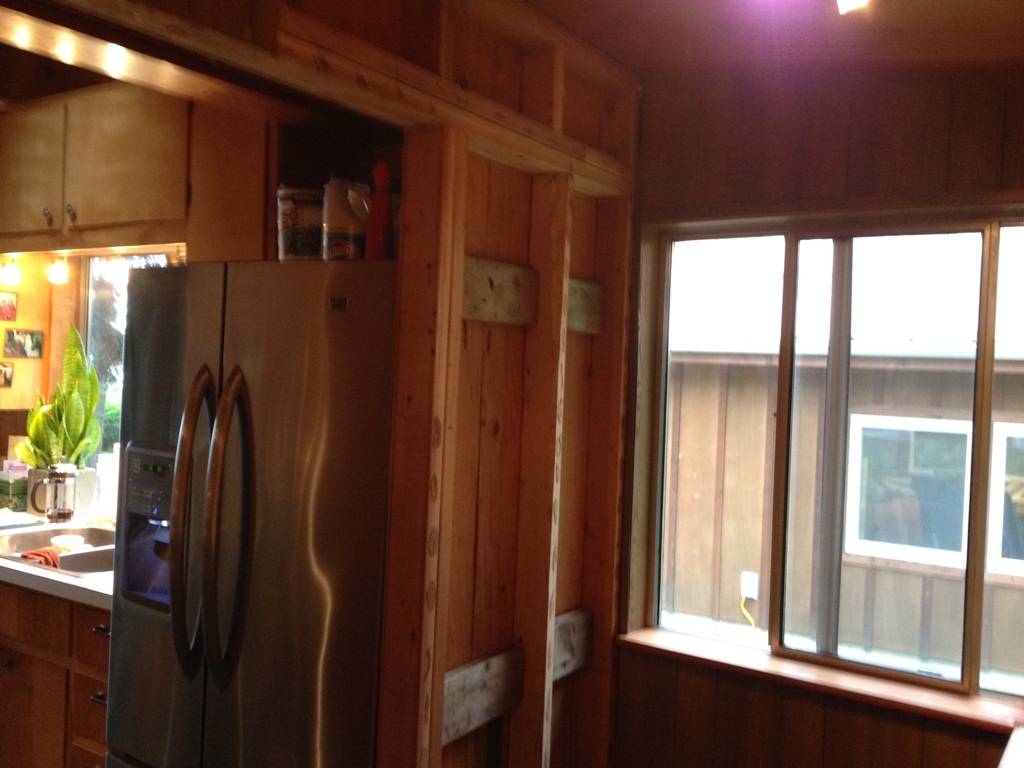
Last weekend, with Jamie out of town, I decided I would (1) paint that ridiculous looking wallboard and (2) put up some solid wood trim pieces if for no other reason than to hold it all together for a few more years. And (3) the doorway to the laundry room was too small and prevented the fridge doors from opening all the way. I had to widen the opening by about six inches so the refrigerator could open all the way. That’s kind of important to us, the ability to open the fridge.

2 open a wall

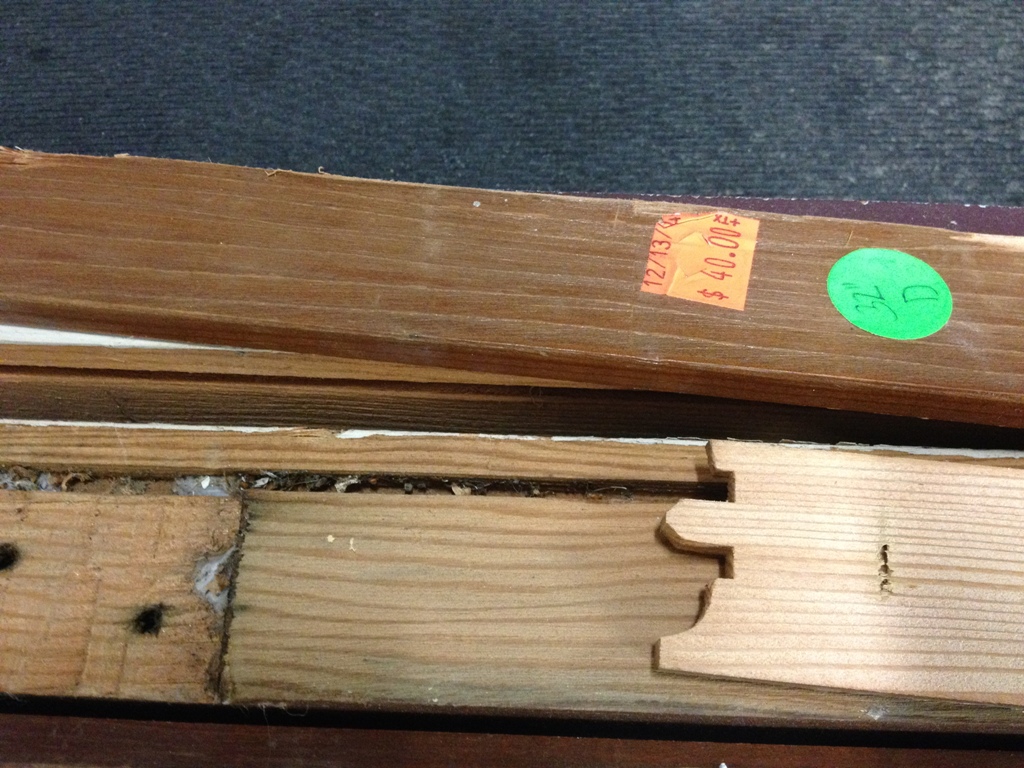
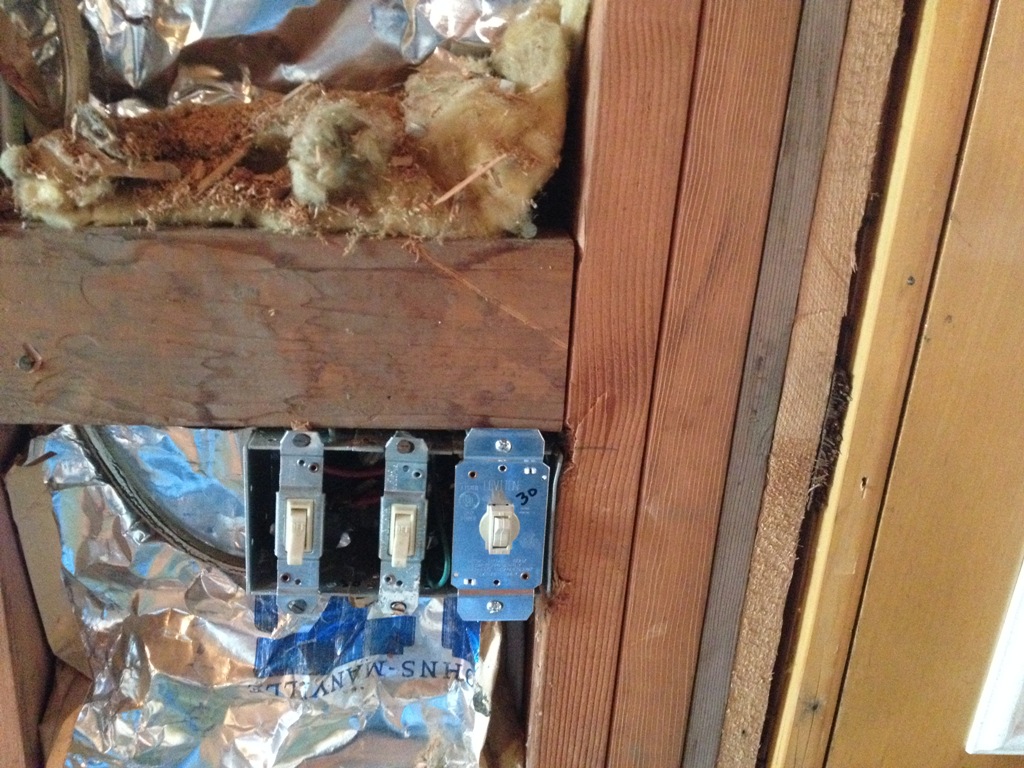
When you open up a wall, you never (and I mean NEVER) know what you’re going to get. It’s like rolling the dice. This time, the dice came up Termite Damage. Yay!  Pounding on the damaged stud not only produced a little hollow sound and revealed wood that had been eaten through from the inside, but also produced a little pile of very fine powder.

3 sawdust

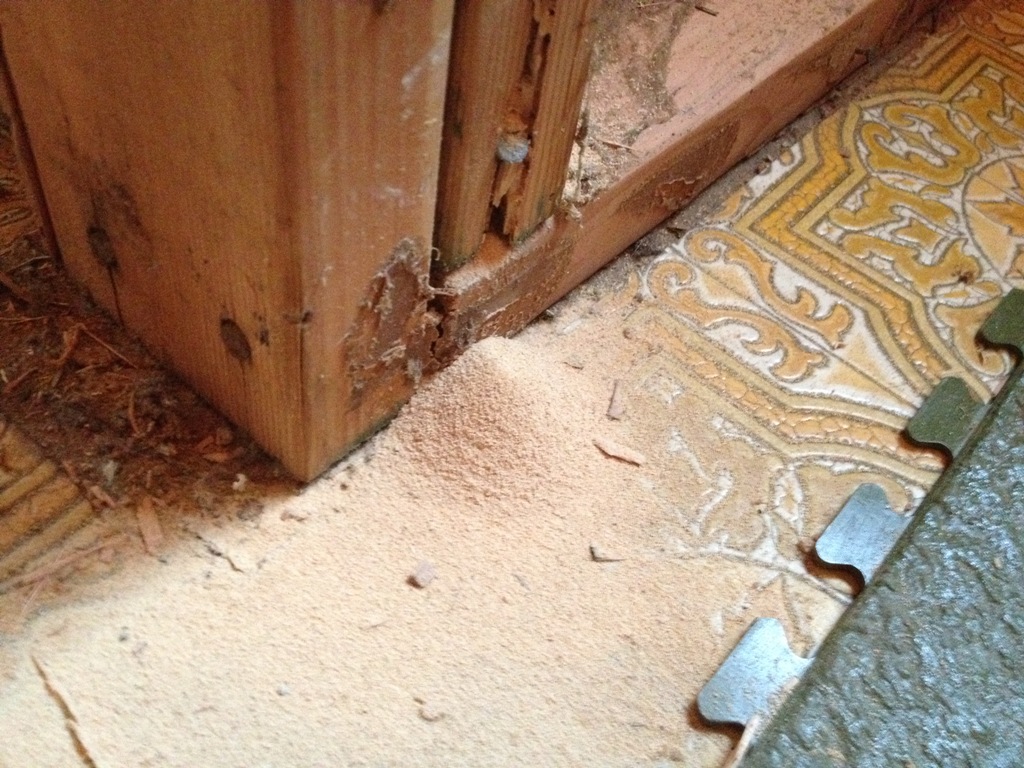
That’s more sawdust than my table saw makes in a cut. Luckily, I observed no living termites and we do have pest control spray for the six leggers every few months so I’ll just mention this to him when he comes around again. I dutifully ripped out every damaged board I saw, replaced them, and moved on.

4 catastrophe

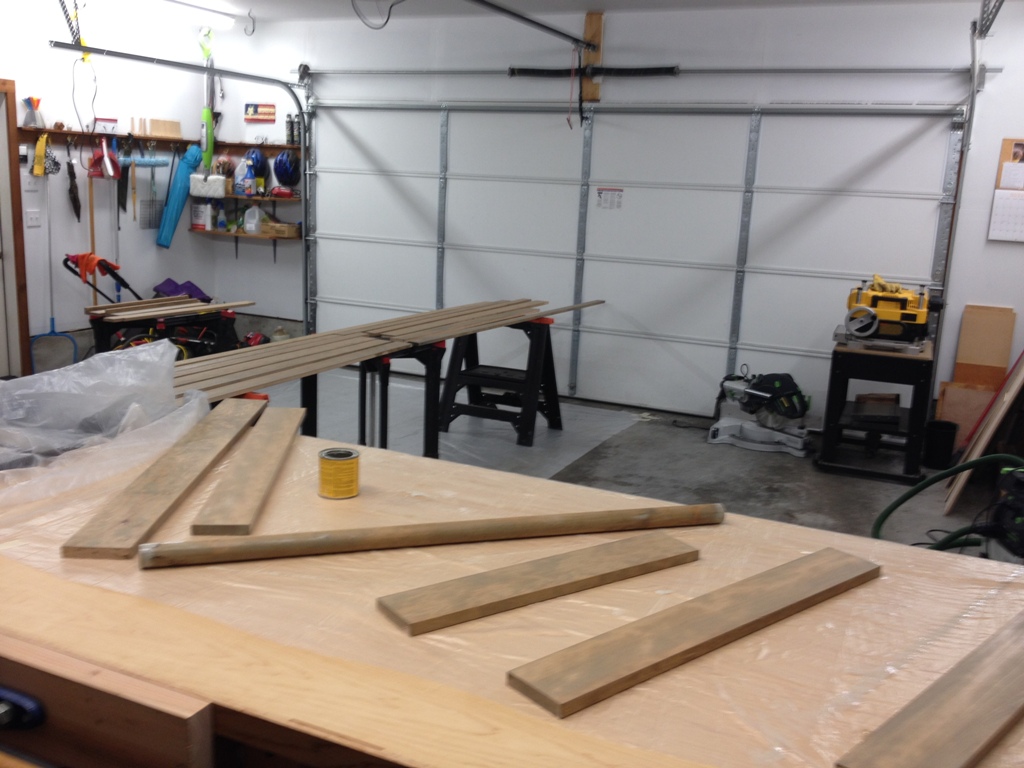
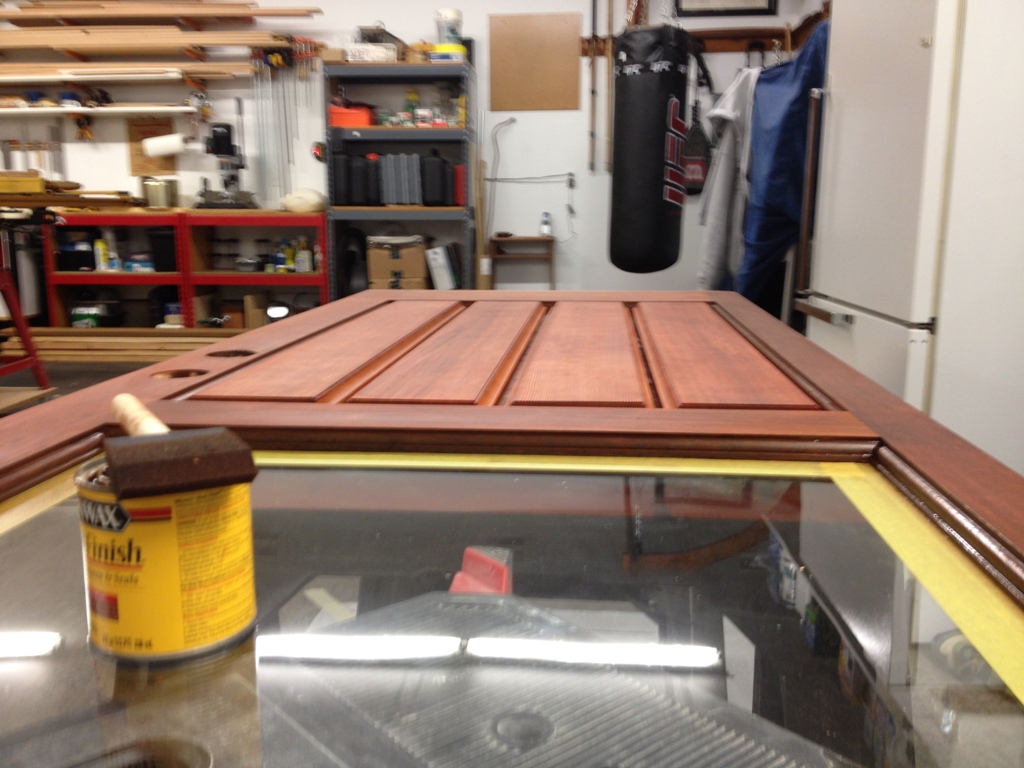
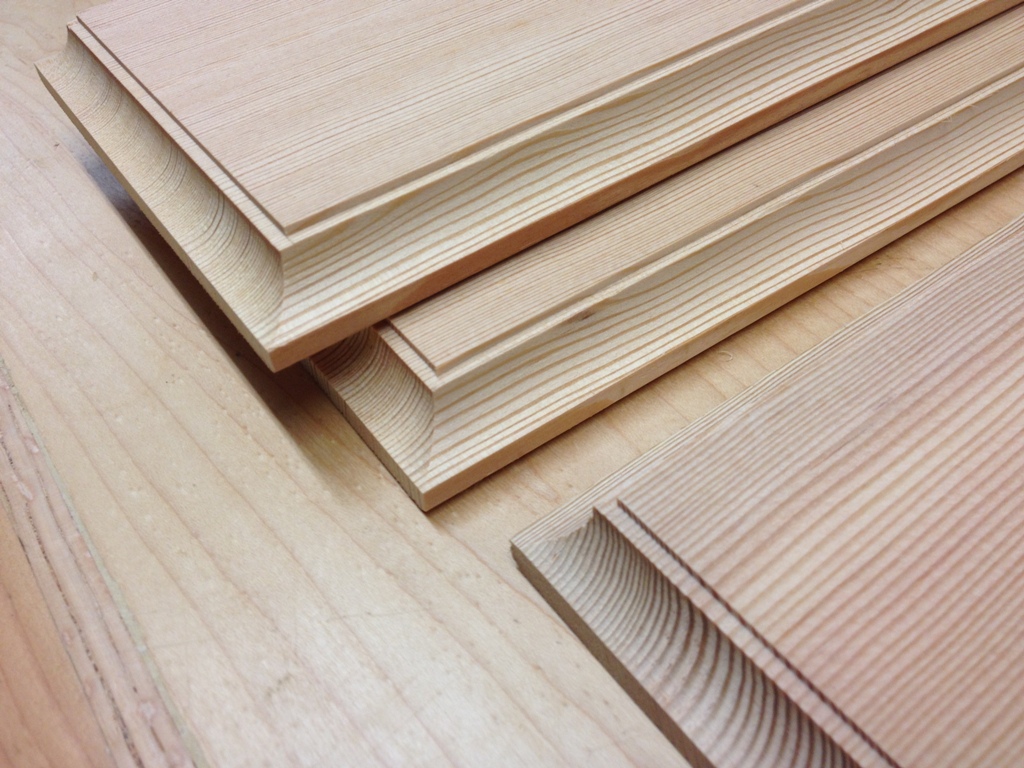
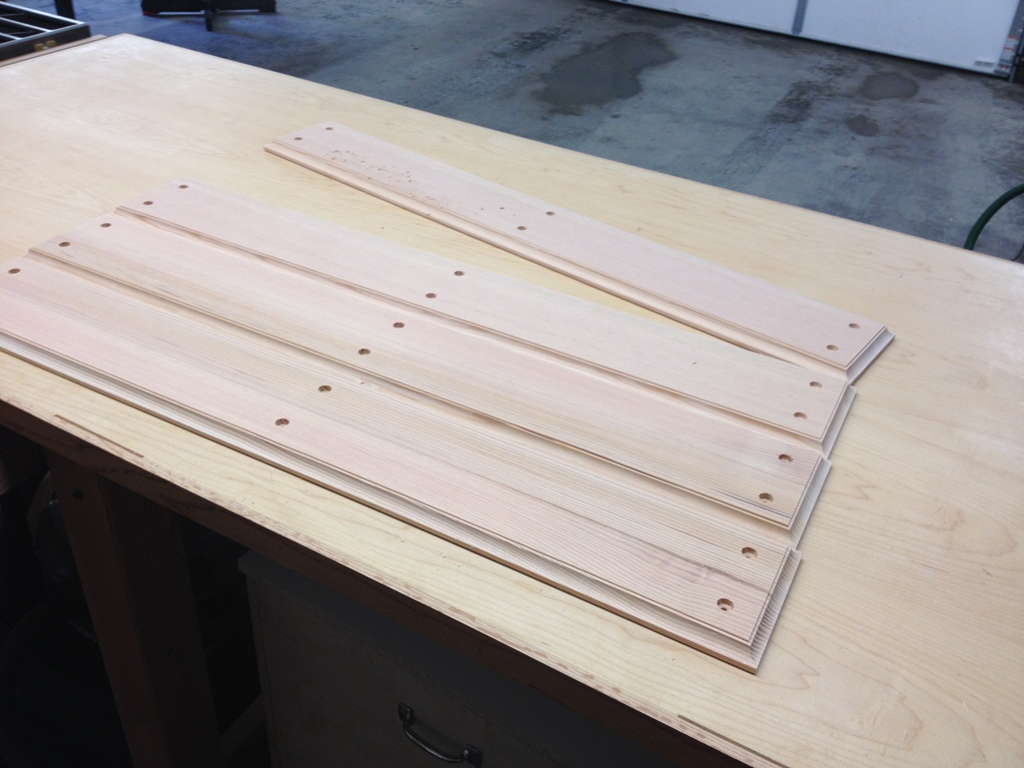
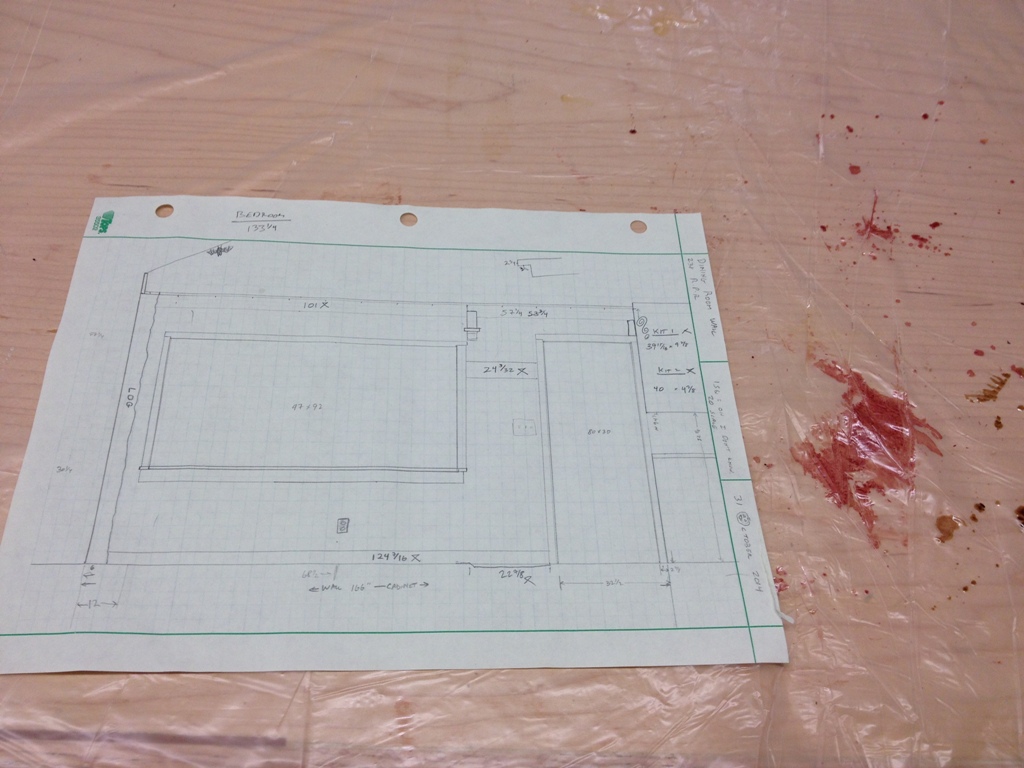
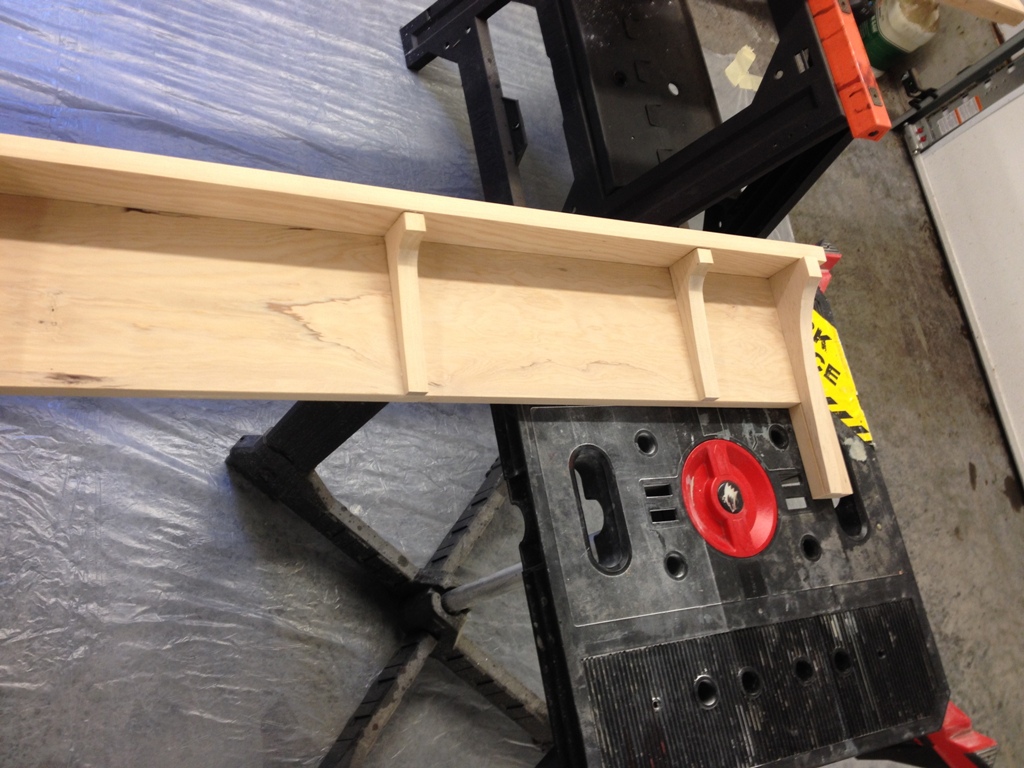
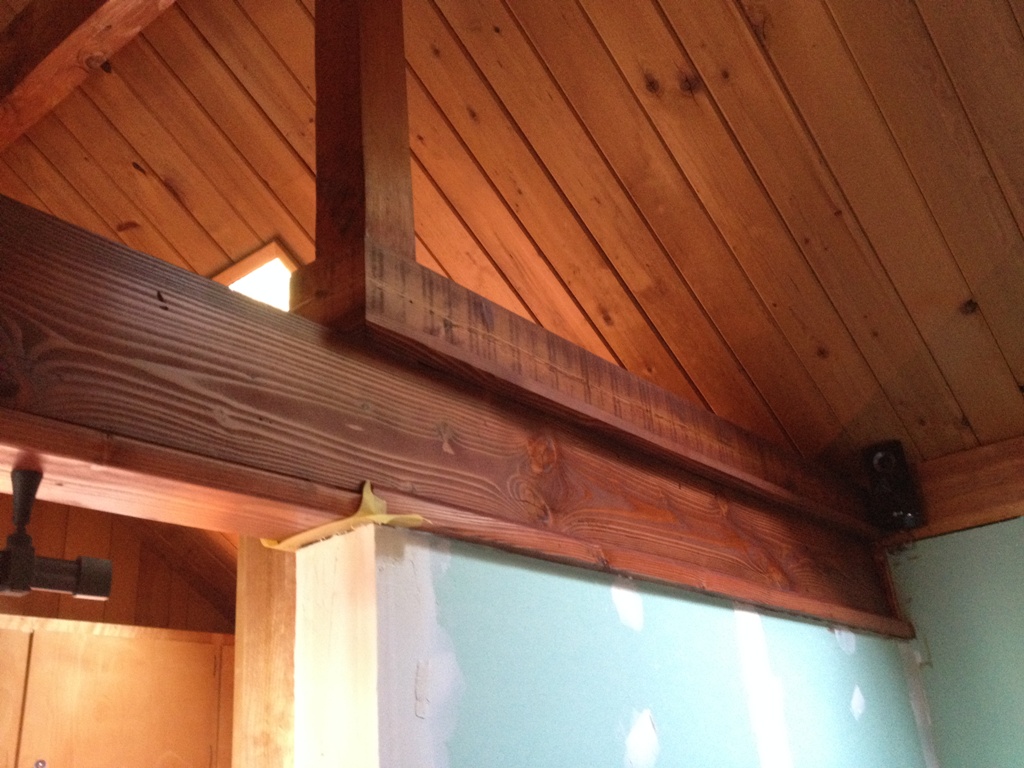
Catastrophe befell when I was staining the trim pieces. I had everything laid out, and was just starting to slop the stain on when I did a little internal math and realized I had barely, just barely, enough wood stain to treat every board. Okay, then, I reminded myself to be a little conservative and spread it as far as I could. That’s when a board slipped from my tired, oily hands and impacted on the can of wood stain, sending its contents flying through the air and all over the concrete floor of the garage. Not only was my entire can of stain wasted, but a large puddle of it splattered over several boards, saturating them in the thick pigment that usually settles at the bottom of the can. These boards were likely ruined, for I could never mop the stain off them fast enough not to leave a dark inkblot.

The hour was later than I’m comfortable admitting on the internet. I was exhausted to the bone and just needed to finish this one final task, to let the stain dry before morning so I could polyurethane them, and all my boards were completely ruined. What did I ever do to deserve this? How had I offended the woodworking gods to deserve their bitter enmity?

5 spilled stain

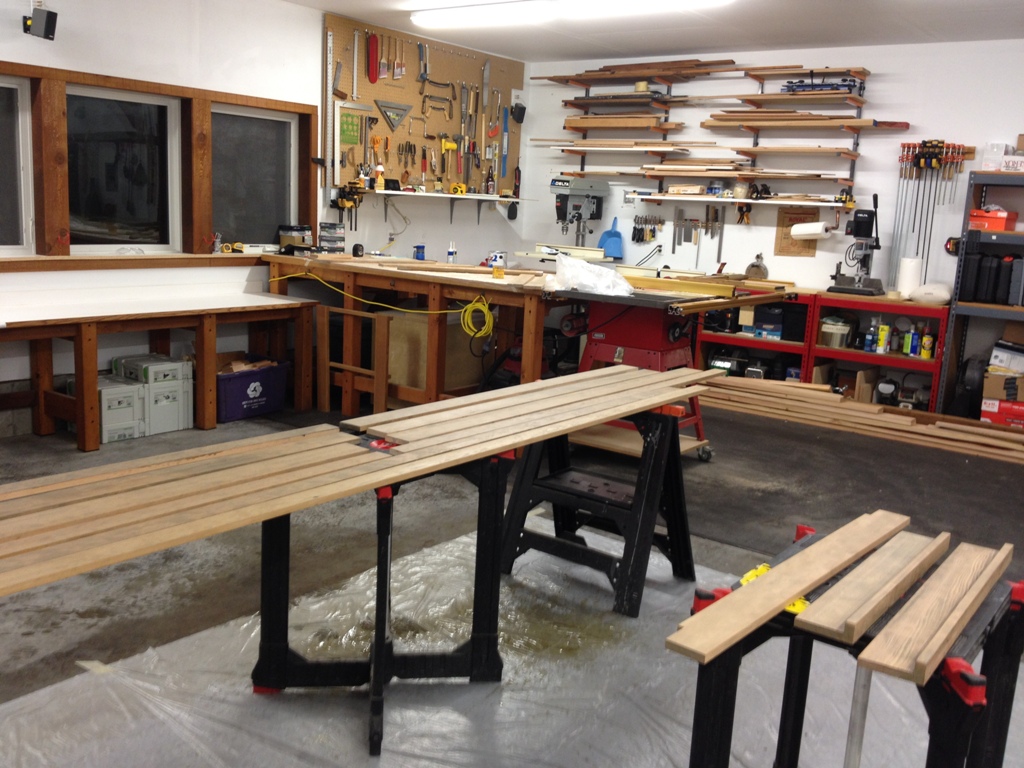
This is Orcas Island. We don’t have a home depot open 24 hours a day. If you’re out of wood stain and it’s the middle of the night, then you’re just out of wood stain. Fatigued as I was, I had to think fast, and I ran to my paltry collection of other wood stains and selected the color closest to what I was trying to accomplish. I mopped the spilt stain off the concrete floor (not my proudest moment) and combined it with a can of what I had, and began recoating all my boards. They looked hideous at first, but with a bit of rubbing and soaking I finally got to a color that I can live with.

You’ll see the results. I’ll let you be the judge.

6 Not The Tea Room

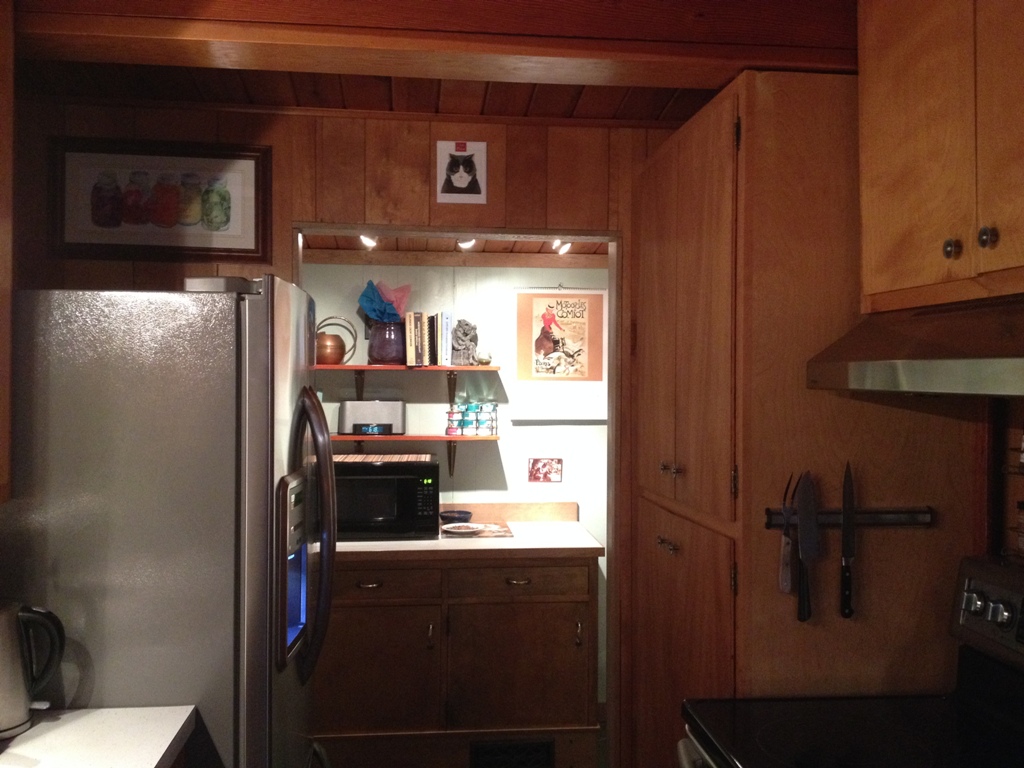
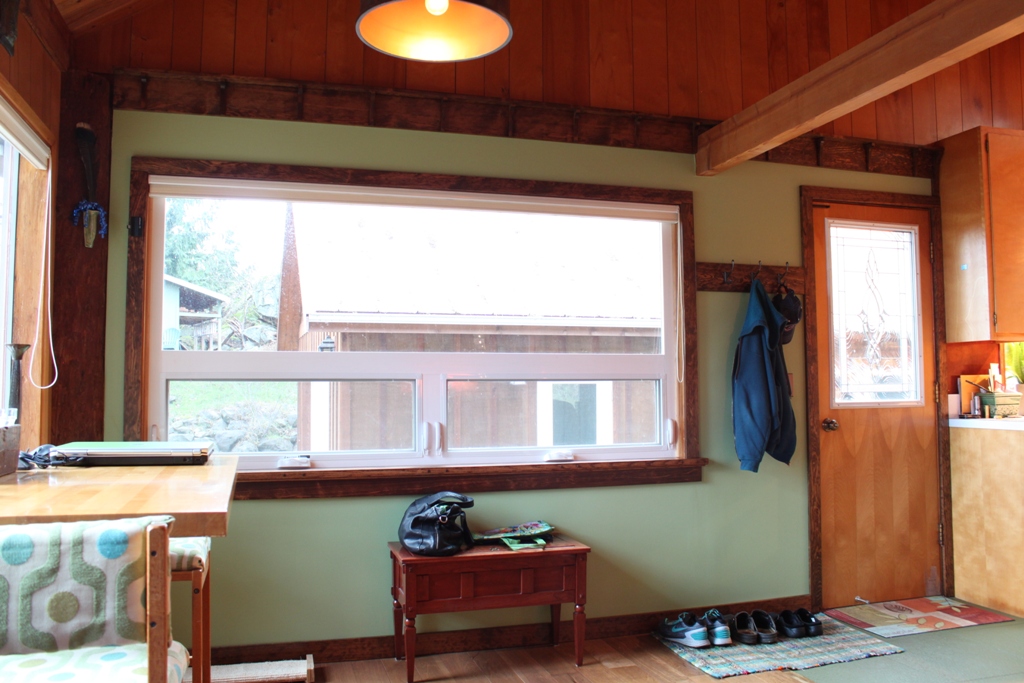
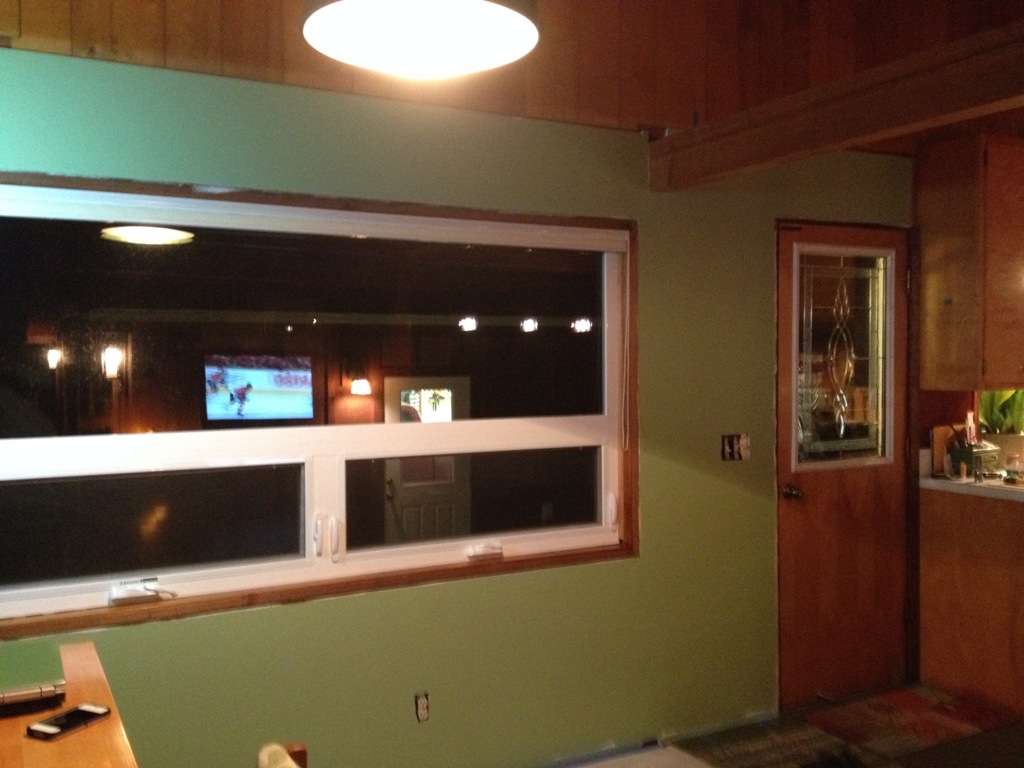
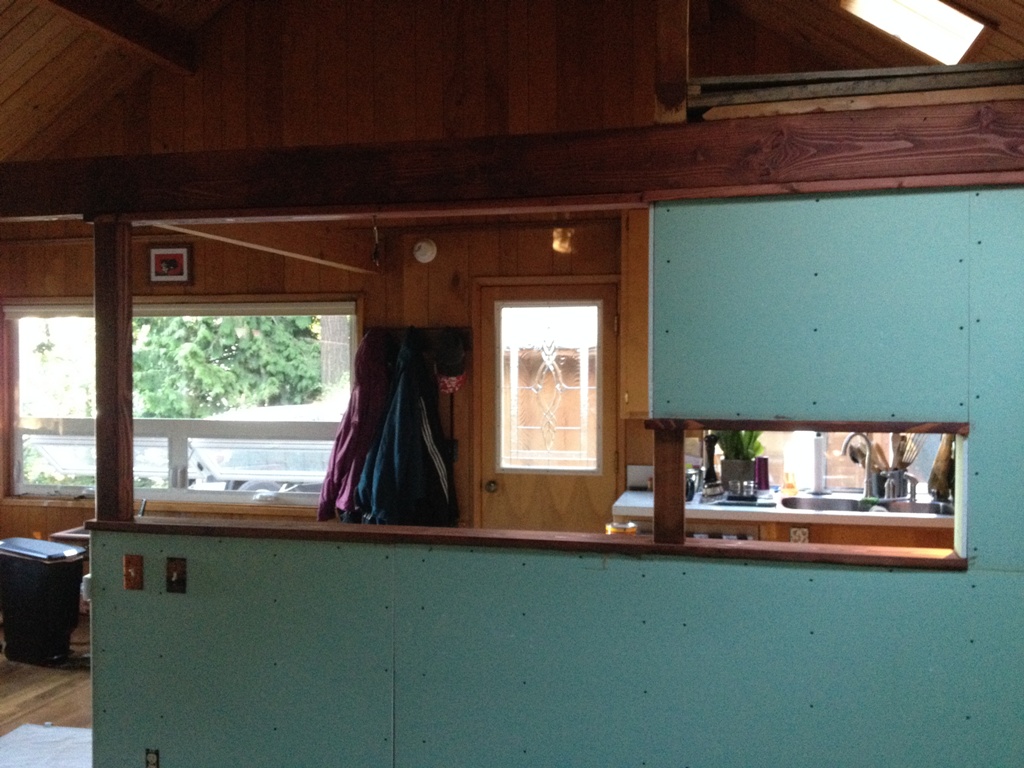
After two coats of Killz (that didn’t stop stains from seeping through) and two coats of the most expensive cans of Valspar paint I could find, I think the color is going to finally stick to the wall! This wallboard was very damaged, and peeling off the studs so badly that nails and screws could not correct it in places. I managed to at least get it coated so it’s no longer the Toxic Waste Sepia color it used to be, and now it’s a nice shade resembling the frothy green sea.

Look, it’s a laundry room, it’s not the Green Tea Reception Chamber at Buckingham Palace. It’s tight and small, it stores a myriad of cleaning supplies and underused implements, and is pretty much a catch-all of orphan possessions that have no other place to live. But that doesn’t mean it has to look like a root cellar with carpenter ants crawling up the timbers.

7 simple

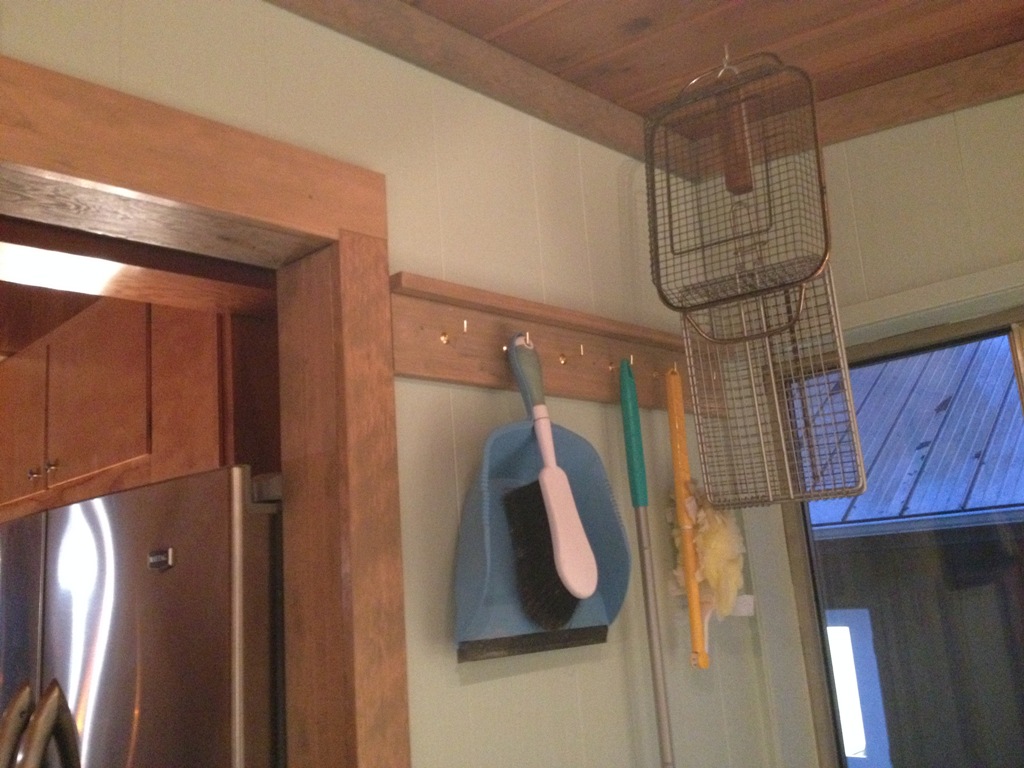
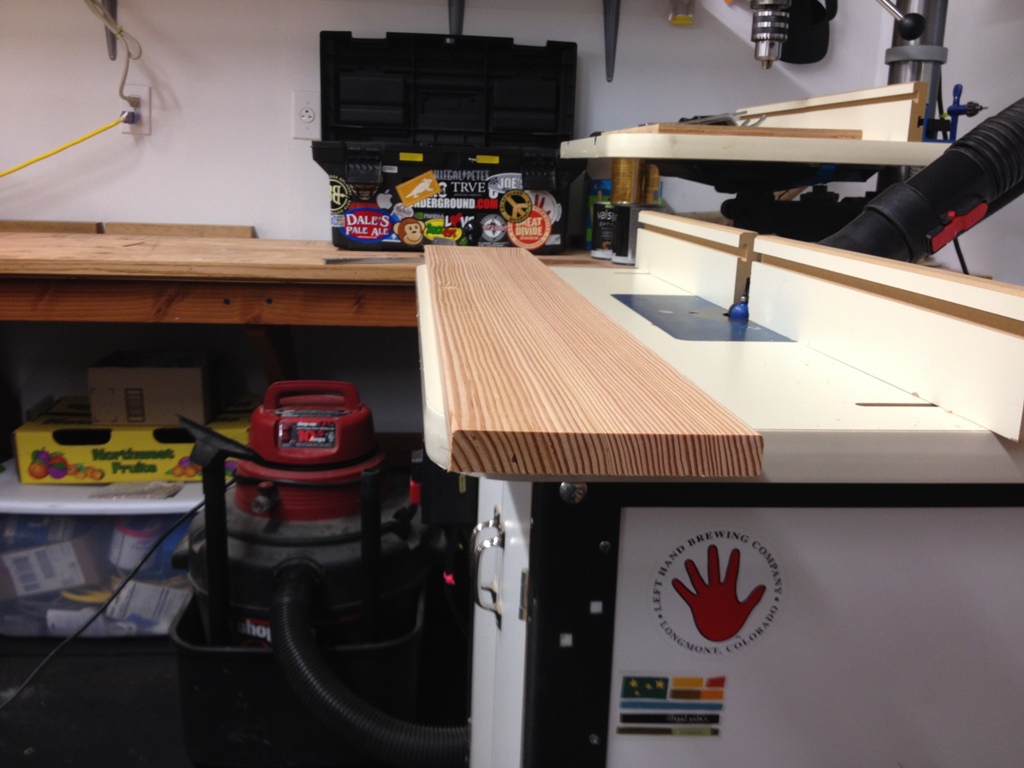
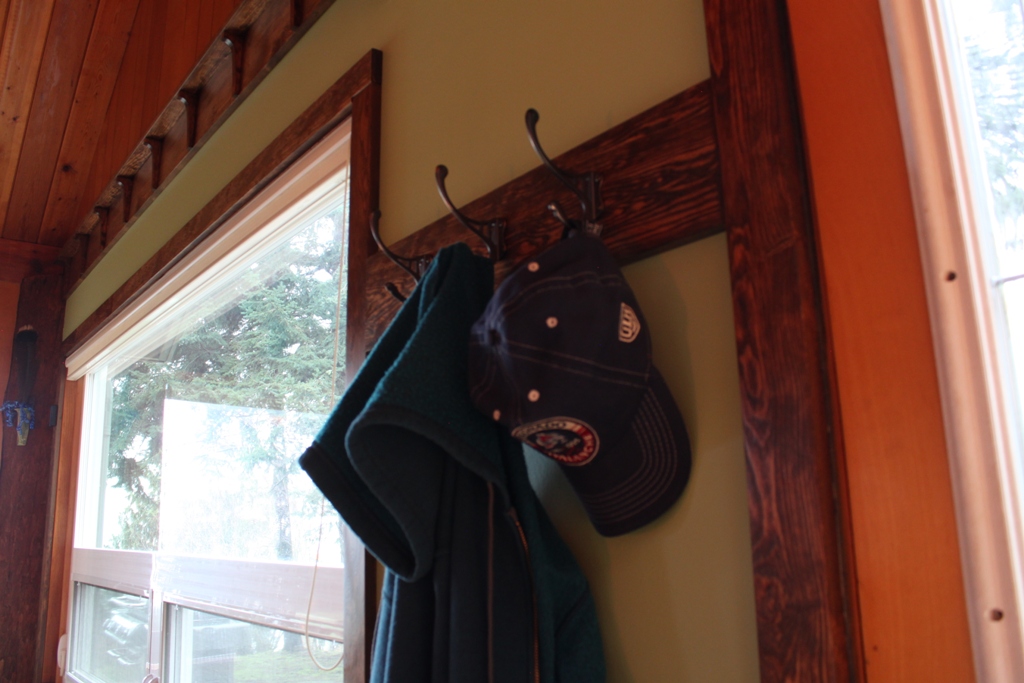
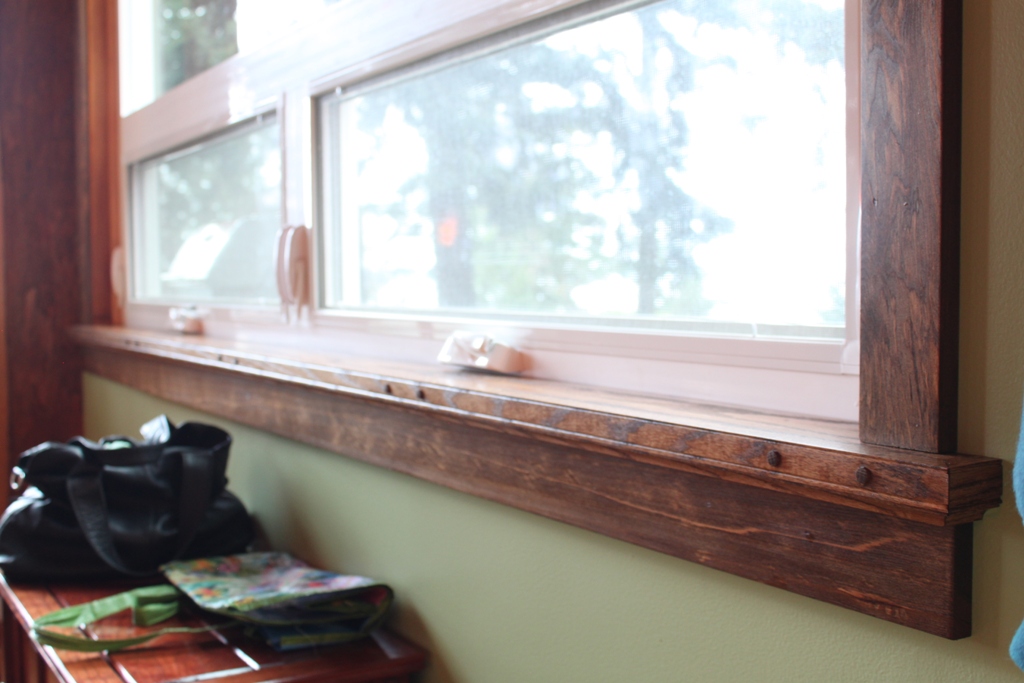
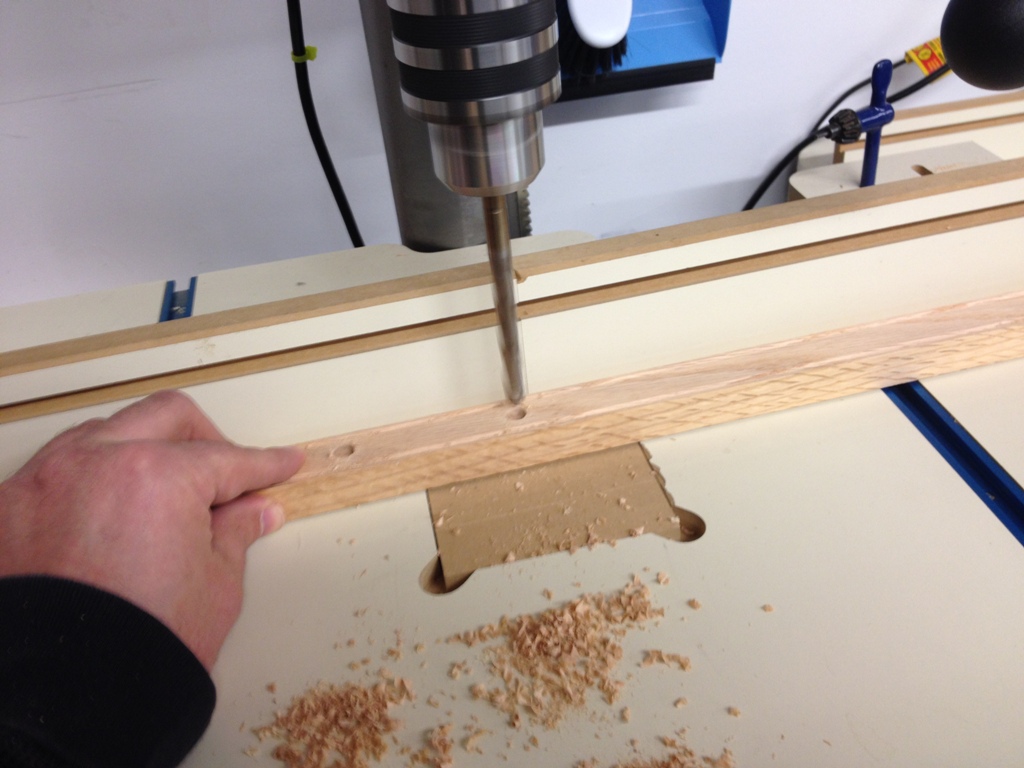
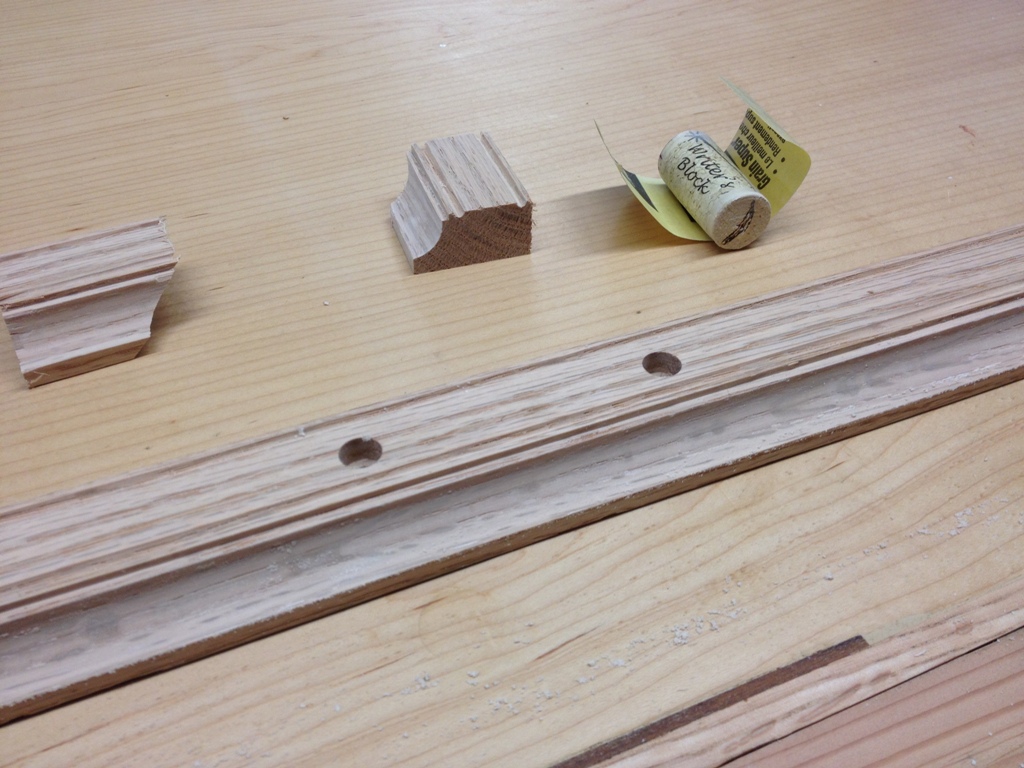
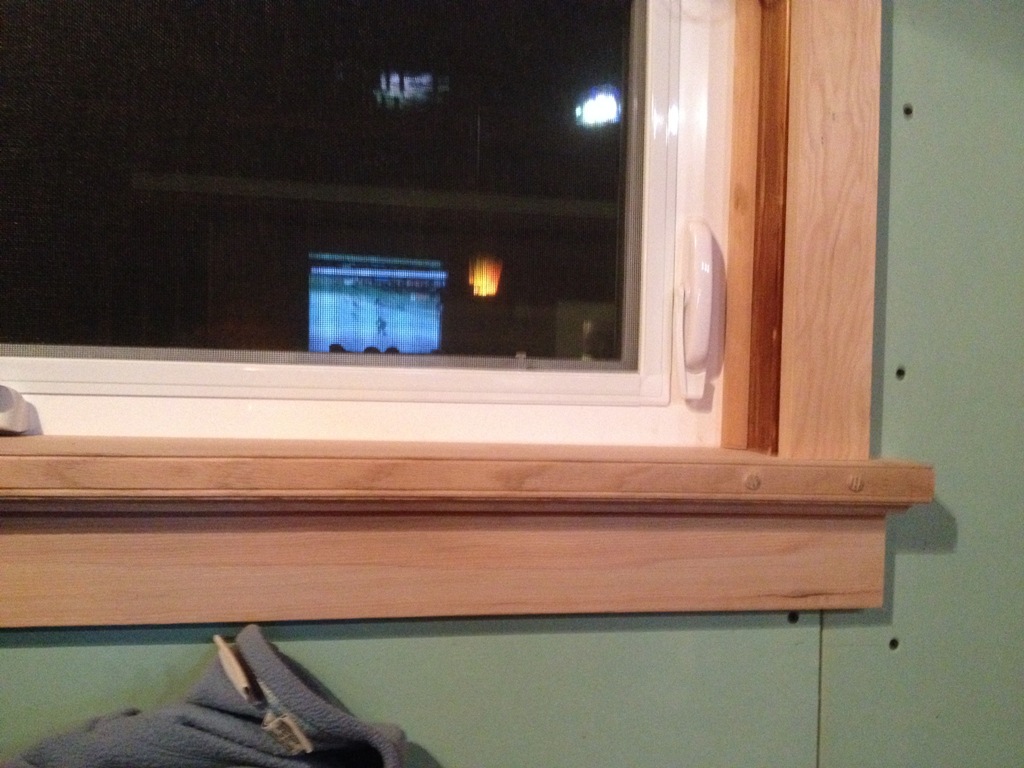
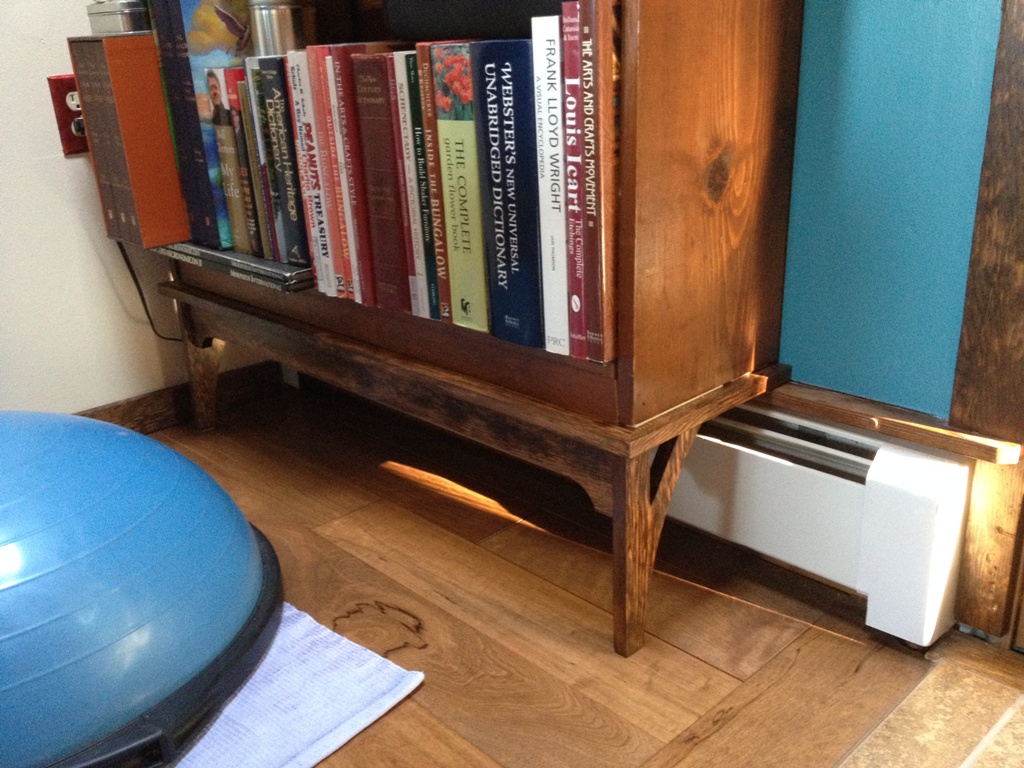
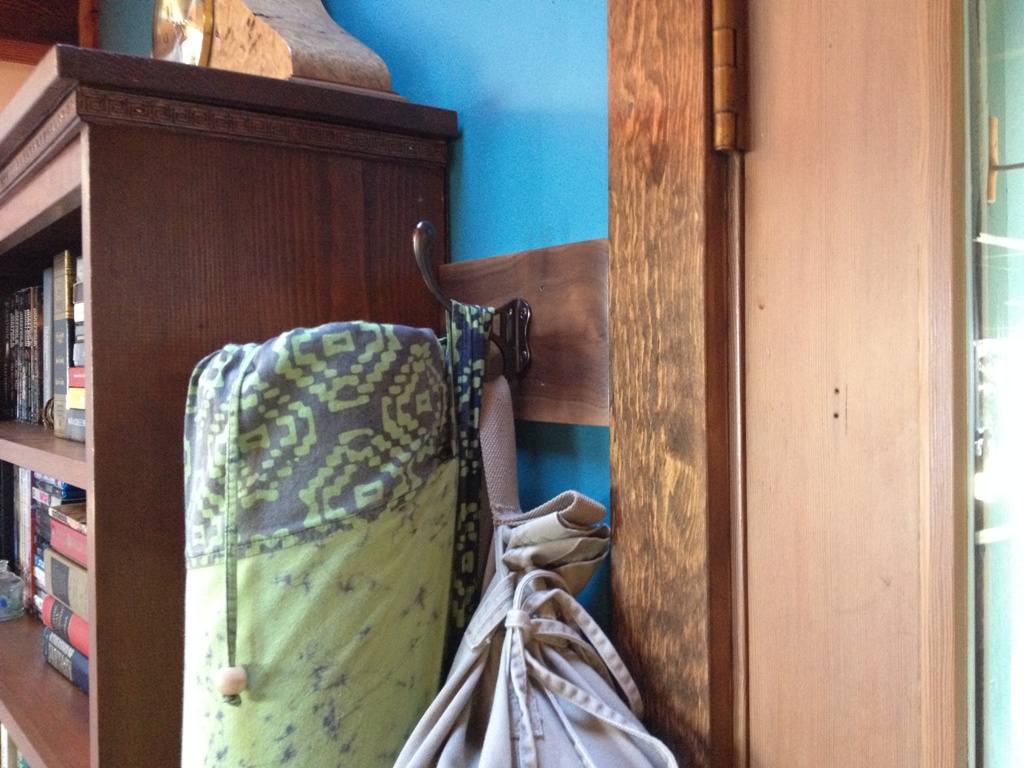
I kept the woodwork really simple, using readily available and relatively cheap pre-milled hemlock to get the job done. Lots of hooks and pegs for the tools of the cleaning trade. I didn’t do much to the window area for a number of reasons, not the least of which we’re planning on replacing that window eventually so why bother doing work when I’m going to tear it all up within a year.

8 this outlet does not work

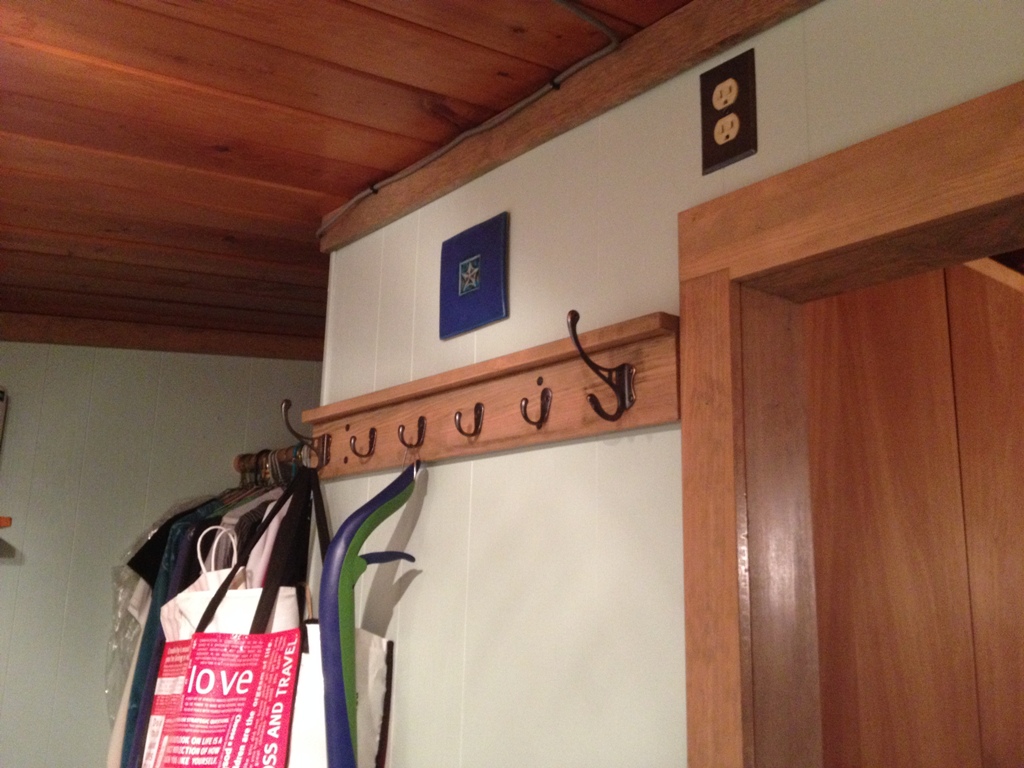
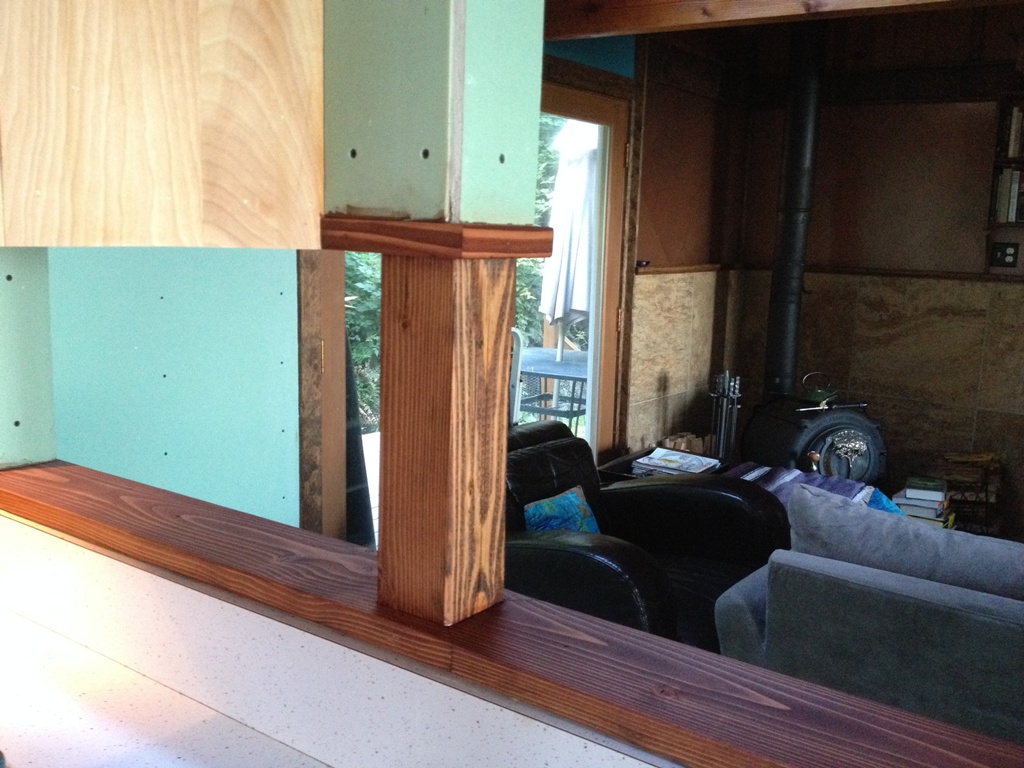
This laundry room has five power outlets, four of which work, and I replaced them all with oil rubbed bronze covers. Bronze and copper seem to be the metal fitting of choice in our sea green laundry room, with trim the color of driftwood. It’s just like being on a boat!!  Except that you’re not out to sea and you still have a mortgage and have to pay property tax.

9 a cat is a cat

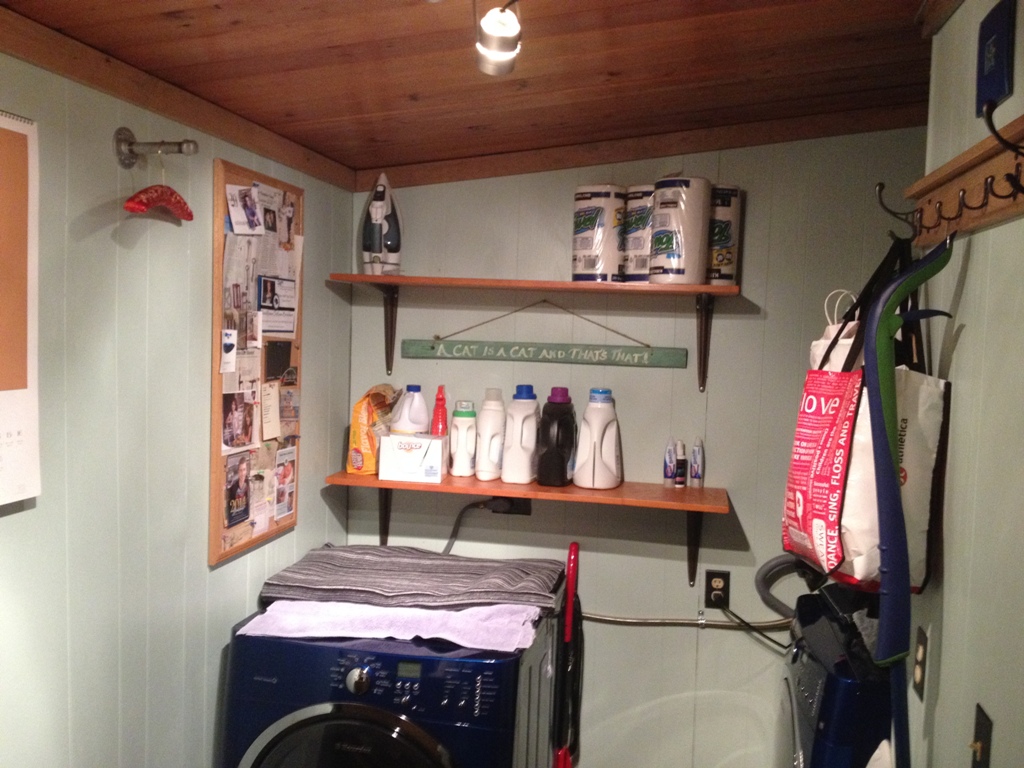
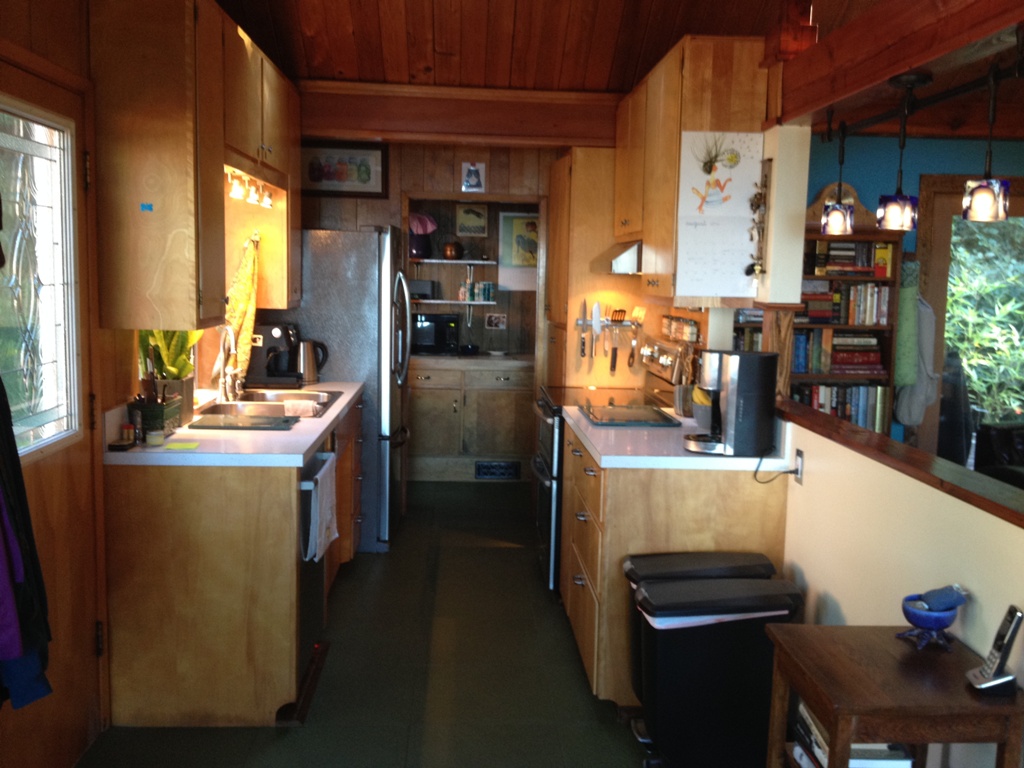
The finished room is dramatically different. I cannot overstate how oppressive that old wallboard was, nor can I exaggerate how excited I am at my newfound ability to open the fridge doors all the way. One minor disadvantage from all this renovation is that now you can see a lot of the flaws and cracks and areas of water damage that were once hidden and concealed. In that respect, it’s not that much different than other old-house laundry rooms. These are hard working rooms! It’s not a bad thing to give them a little love once in a while.

10 hobby

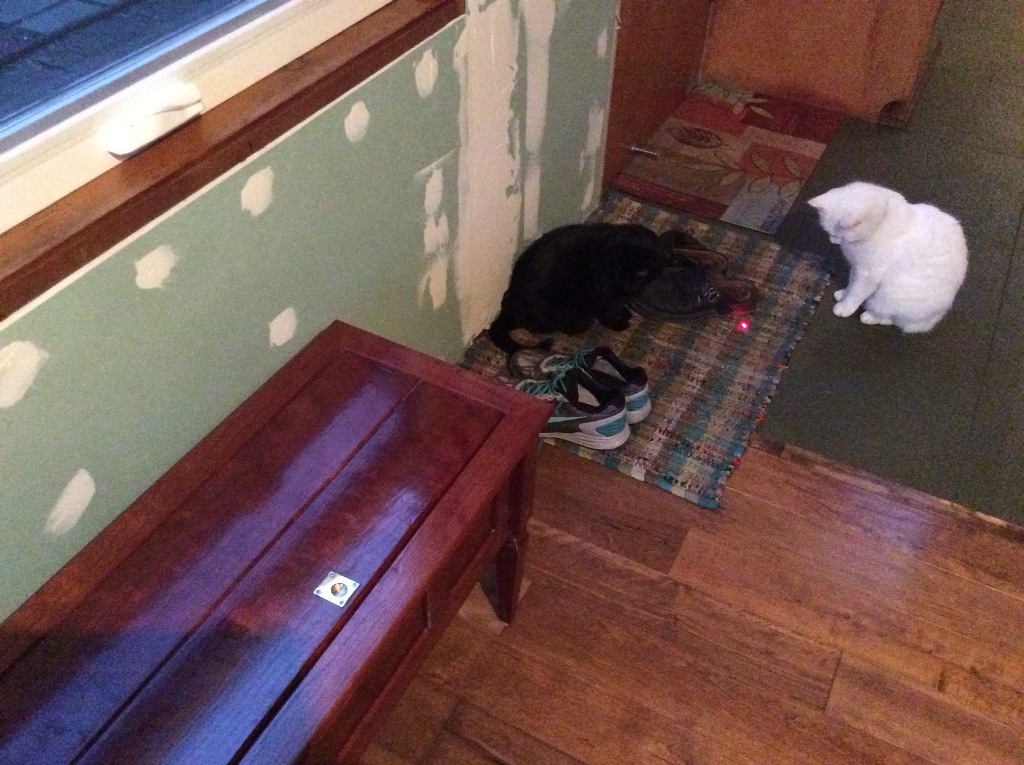
Inky’s hobby:  trying to fit herself into the smallest sized box possible.

Finished pics of wall demo

living room

Five short weekends ago, we started ripping out the wall between the kitchen and living room.  It got pretty involved:  lots of electrical work, structural work, drywall, trim and woodwork, and finishing.  But finally you can walk in the front door and it doesn’t look like The House That Time Forgot.  Oh, sure, we still have a long way to go, but I’d say now that about 1/4th of the house renovation is all done.

half wall

Tacky and cheap have been transformed into open and inviting.  We’ve added lights in the right places, replacing the 4′ florescent tubes from the value bin at Ace Hardware with modern halogens on dimmer switches.  The old lights were so ugly that even moths would avoid them.  We went with paint colors that we had on hand, choosing to avoid purchasing more and more gallons of paint.  One thing I can’t stand is a growing collection of paint cans.  So we use what we have.

beetle

We’re not fans of conventional lighting, either.  We have a lot of low wattage fixtures, colored night lights and art glass pieces, to bring sparkly color to the place.  We’ll appreciate it this winter when we get 18 to 24 hours of darkness per day.

bookshelf


The elevated bookshelf is a real hit with the cat, who likes to hang out underneath it by the heat register.  Someday I’ll do something to cover or conceal it but it’s fine for now.  I got a million things to do before I fix something that isn’t broken.

hook

This nice (and expensive) hook makes a good place for the yoga mats.  Wall space is really rare in this house and we have to take advantage of every bit of it.  I had just enough room here for one hook.

kitchenThere’s still a lot to do in the kitchen.  I’ll do cabinets when I’m ready, and with that will come new countertops and a new sink.  That door to the laundry room needs to be widened too, which will allow us to open the fridge doors all the way.  Believe it or not, the kitchen seems smaller after opening the wall up.  It wasn’t big to begin with, though.

looking out

The view from the kitchen has dramatically improved.  Yeah, there’s more paneling and those stupid logs there too.  Nothing a little bit of gasoline and a match won’t fix.  Ha ha.  I’m half joking, of course.

postAltogether, it went really well and we’re very happy with all the changes.  The sight of it still takes us by surprise when we turn the corner and expect to see a giant rectangle of pressed hardboard paneling, barely affixed to its poorly installed frame of scrap lumber, covered with little piles of carpenter ant frass.  Yeah, a much nicer space to live in.


How I Spent My Summer Vacation

drywall

This summer I knocked out the wall between the living room and the kitchen.  Like every other project I do, this one was a major pain in the butt.  I had to dissect kitchen cabinets, remove lots of crappy paneling, remove the support from a load bearing beam, replace the support under the load bearing beam, hope I did it correctly because I’m too cheap to hire an engineer, and make a little half wall.

plastic

I discovered that I really suck at drywall.  But that’s okay.  It looks good, it’s solid and durable, and it doesn’t smell like cigarette smoke and dog pee (which is what the old paneling smelled like).  The joints and seams are not that visible if you just avoid certain kind of lighting.  It’s all good.

primerSee?  In this light it looks great!

woodwork

In my opinion, it’s the woodwork that makes this house stand out.  And I had to get a little creative and a little unconventional to make it all work.  I’m not sure how well it comes across in the pictures, but that beam twists about 10 degrees along its full 24 foot length.  It makes it a real challenge to make anything square.  In particular, the walls and the kitchen cabinets.

paintThis wall got a nice layer of turquoise paint.  I love color, lots of bold color.  Our house is a cabin on an island, so I expect to decorate it like the island, with the colors of the sea, the forest and the rocky land.  On a really nice day, that turquoise is what you’ll see when you look out past the shore.

deerI need to mention that if you feed a deer your apple cores, they will follow you for about an hour, looking for more of that apple.  I wonder if it’s legal to feed wild deer.  Maybe it’s not.  It’s perfectly legal to shoot them, but you’re probably not supposed to feed them.  Go figure.


The Funny Smell Of Wood Stain

Finishing wood is not what I’m best at.  I do a passable job, probably better than most.  I prefer using an oil based stain and then a few coats of polyurethane on top of that.  Everything else I’ve tried has either resulted in disaster, a poor finish, or a disastrously poor finish.

stain

The wood I’m using isn’t very high grade.  It’s fir construction lumber. You can say I’ve lowered my standards but it actually fits in well with the house (which came with low standards built in).  I planed it, routed it, jointed it and sanded it.  I sanded for hours today.  Burned through about $20 worth of sanding discs.

other post

For the most part, the wood looks nice and smooth and has some minor resemblance to something a professional would do.  In some places (such as the above pic) I left a few rough patches in deliberately, to give it a distressed look here and there.

work to do

There’s still quite a bit of work to do, including more trim and finish work.  This pic shows a particularly challenging area.  Like all the exposed 4×8 beams in this house, this one has a nasty warp to it.  The trick will be to put some wood trim around it and make it look nice and straight even though it connects to something as twisted as a bent corkscrew.  I’ve got some ideas, though.  It should look good in the end.

postI like the way I was able to make a cap around the top of this post and join it into the false bottom that runs the inside length of the beam.  The false bottom is there to make room for the light fixture, and run the electrical to it.  I ran the electrical through a steel conduit so it should be fairly safe.  I considered digging a channel through that beam for the electrical wire but it was too warped to do that safely and it wouldn’t even look good if I managed to do it without screwing it up.  Which probably wouldn’t have happened.  Putting a little slab of wood on the bottom was the way to go.

front

So now the entire house has that volatile oil smell that probably won’t go away for about a week while the stain cures and sets, not to mention the polyurethane I plan on putting down just as soon as I think it’s dry enough.  Two coats on the majority of it, and a few more coats across the top where it will need the protection.

top

There’s the top shelf.  May it live forever because I don’t feel like replacing it anytime soon.  Slowly but surely, this is changing into the house we envisioned, as opposed to the house we purchased.  Things are transforming. At first we had to spend a lot of money on things we needed but didn’t see (like a new boiler, for example) but now we’re working on the things we see every day.  When I wake up and wobble out of the bedroom every morning, this area is the first thing I see, and now it’s going to look a lot nicer.  And soon, the whole house will be updated.

Or maybe it’s just the stain fumes getting into my head.