The Art of Being A Cheap Bastard

So, I had this trim piece that was about 6″ too short.  It’s in a semi-visible area so I didn’t want to do a butt-end joint or even a mitered joint.  Well, I can always just go and buy a new trim piece.  Let’s see, 6 feet at $0.83 per foot…

too_lazy_to_name_photo

No way.  Why spend *that* kind of money when I can do a little tongue and groove instead?  That would make the trim piece exactly the length I want, and it would be perfectly straight along the edge I’m nailing it into.

too_lazy_to_name_photo_2

Gosh, just a few quick cuts and a little bit of fitting and it pops right into place.

too_lazy_to_name_photo_3

Put a little pin in there with some wood glue and it’s never coming apart now.

too_lazy_to_name_photo_4

I just saved myself $4.98!  Woo hoo!

Loft Renovation – No More Wood Paneling

War Zone

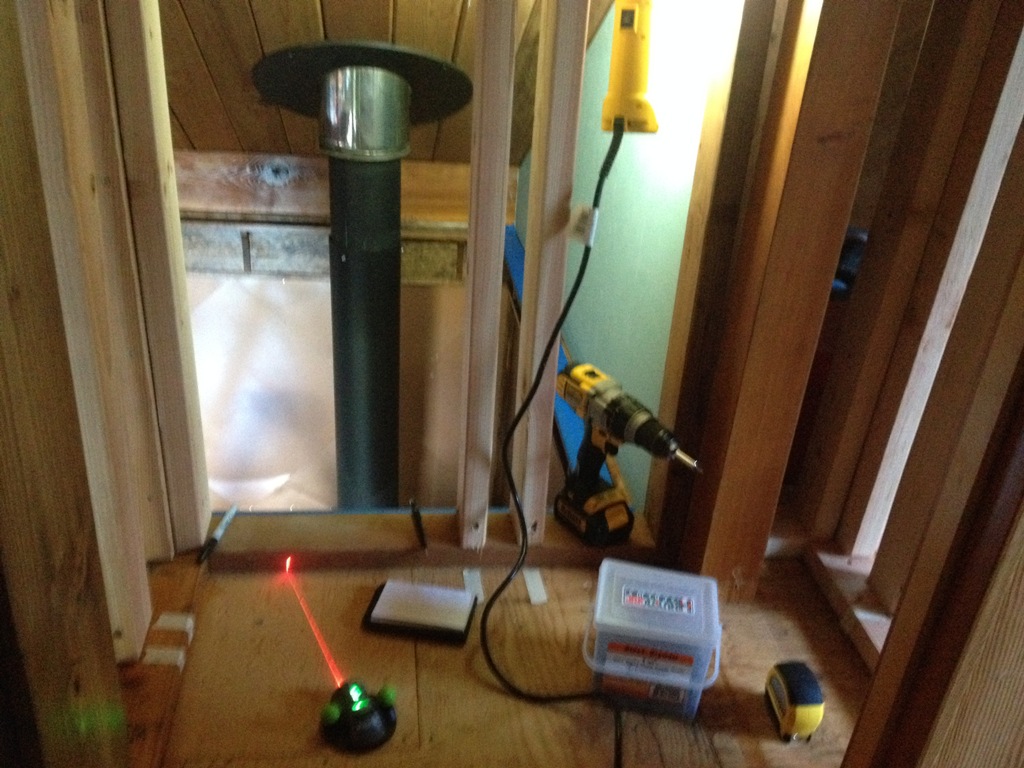
When we left off last time, the loft had become a bit of a war zone.  Paneling had been torn off, framing had been nailed into place, drywall had been screwn on and joint compound was drying in the seams.  In my head, these things take like an hour, but in reality it takes weeks.

Corner of Horror

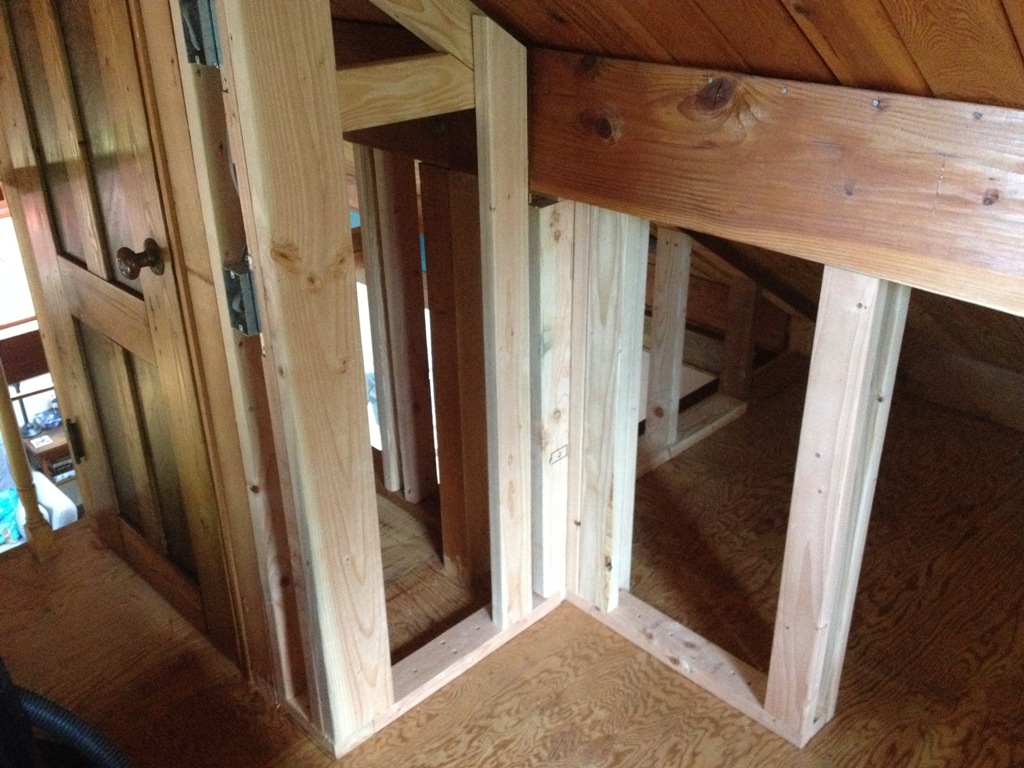
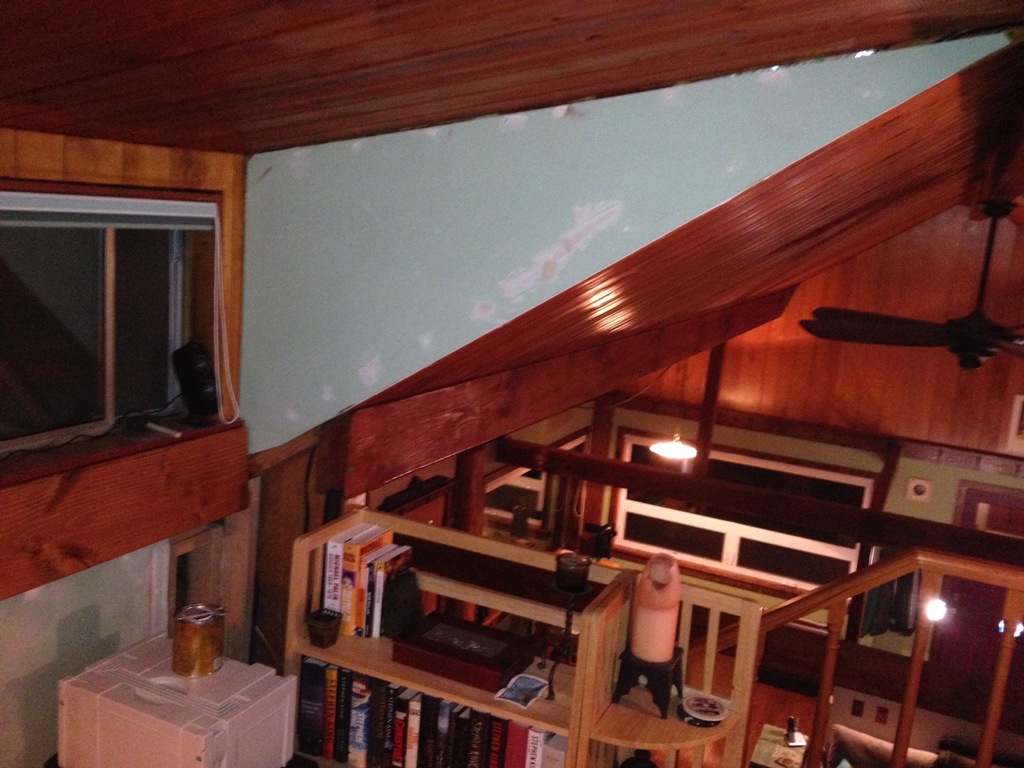
I called this the Corner of Horror.

Yuck

Yuck.  When you’ve lived with this paneling for a few years, there’s a part of you that doesn’t even see it anymore.  It’s like a disease without any symptoms, slowly killing you inside and you don’t even know why.

Frass

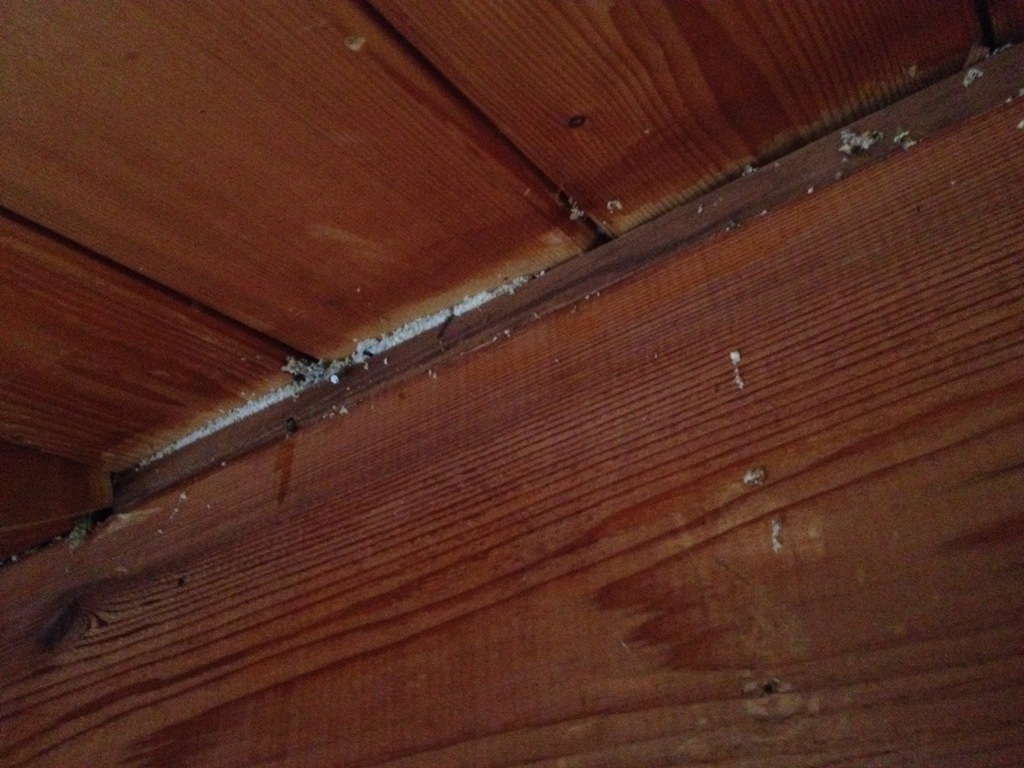
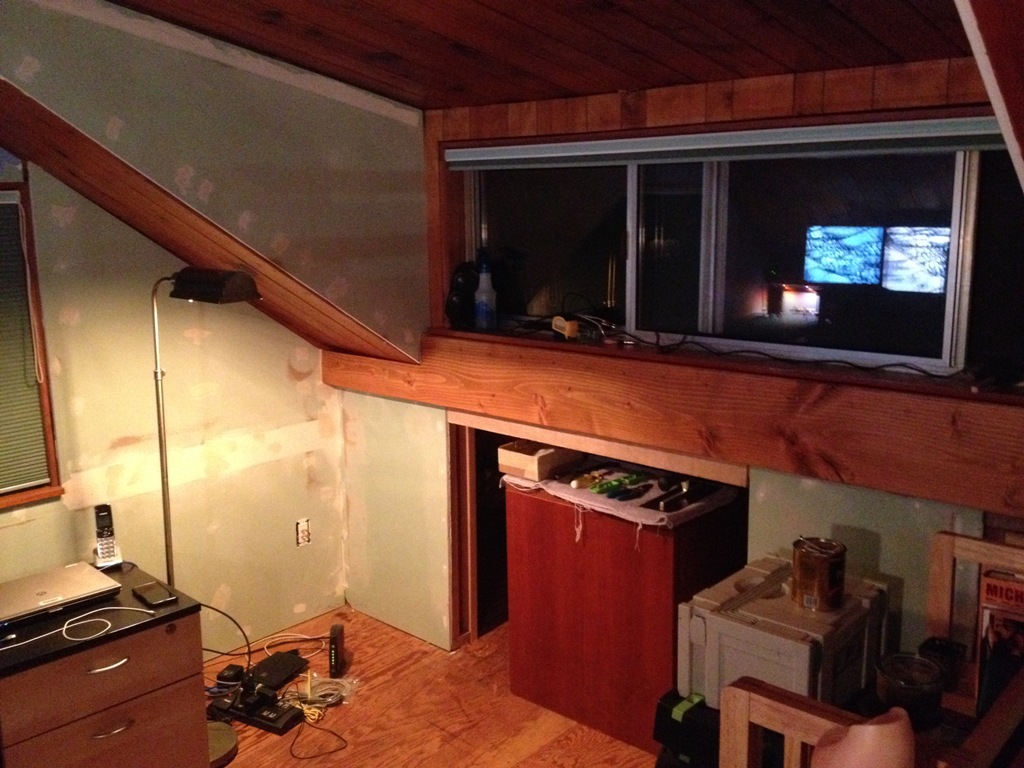
That white stuff is frass.  It’s what carpenter ants leave behind when they tunnel through wood.  It’s ant poop.

Tricky Trinagle

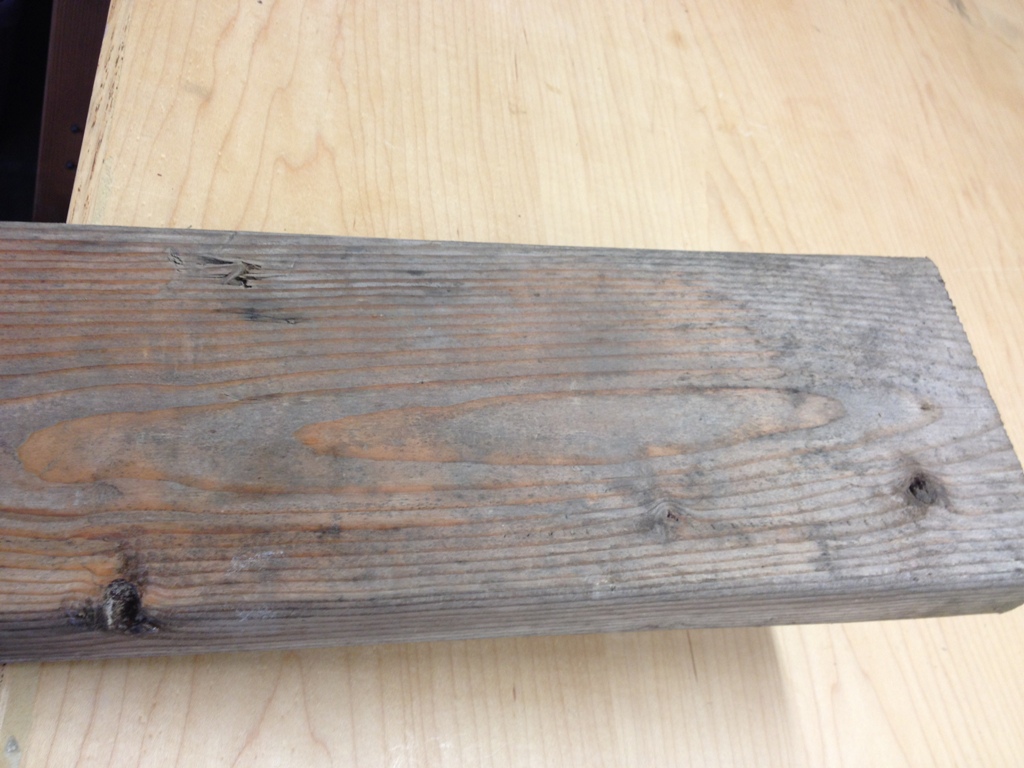
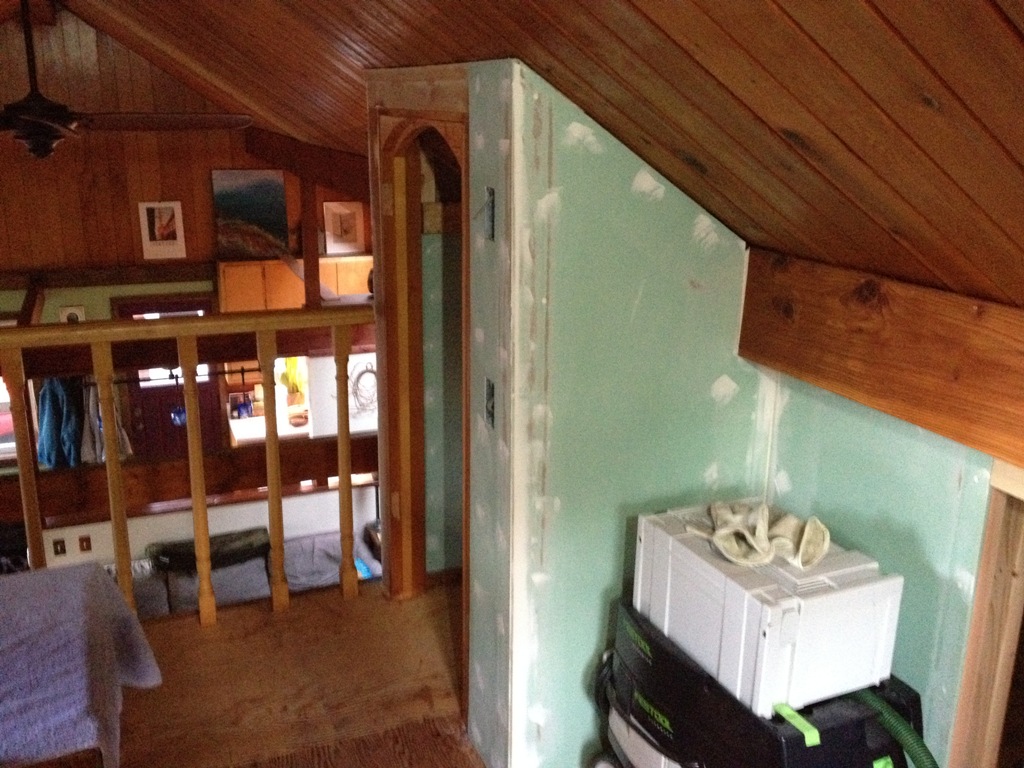
These triangles were tricky cuts.  Trickier still carrying the cut pieces up the stairs without damaging anything. And there really weren’t any good beams to screw it into behind it, I had to get a little creative sticking these to the framing.

Drywall Seams

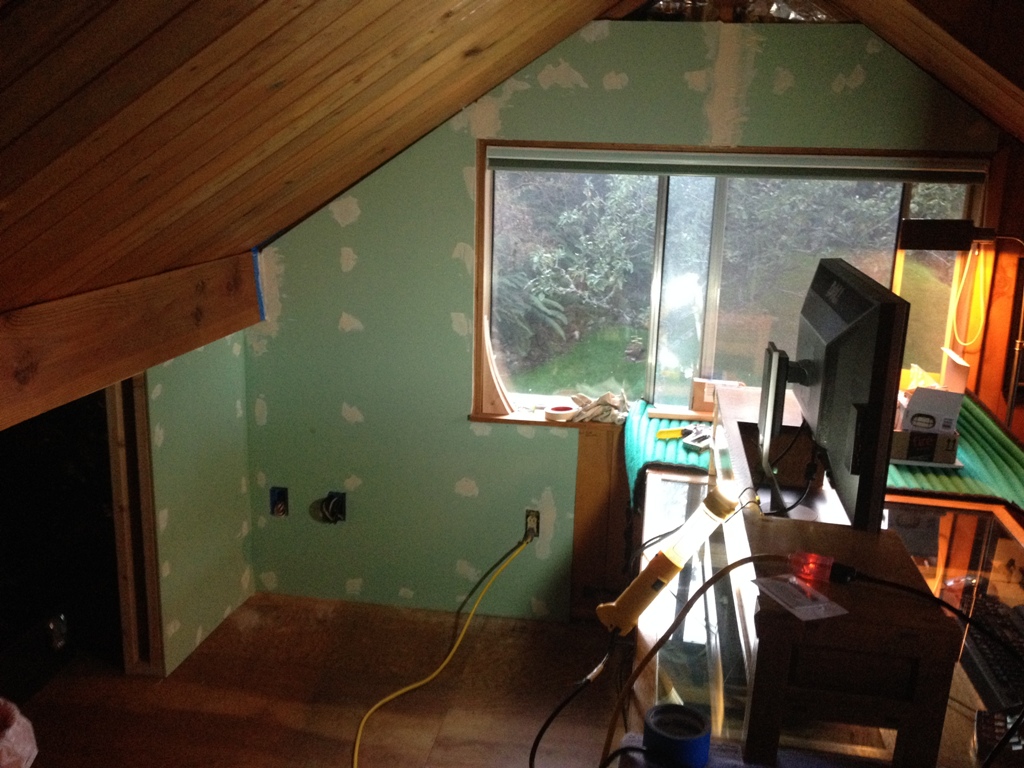
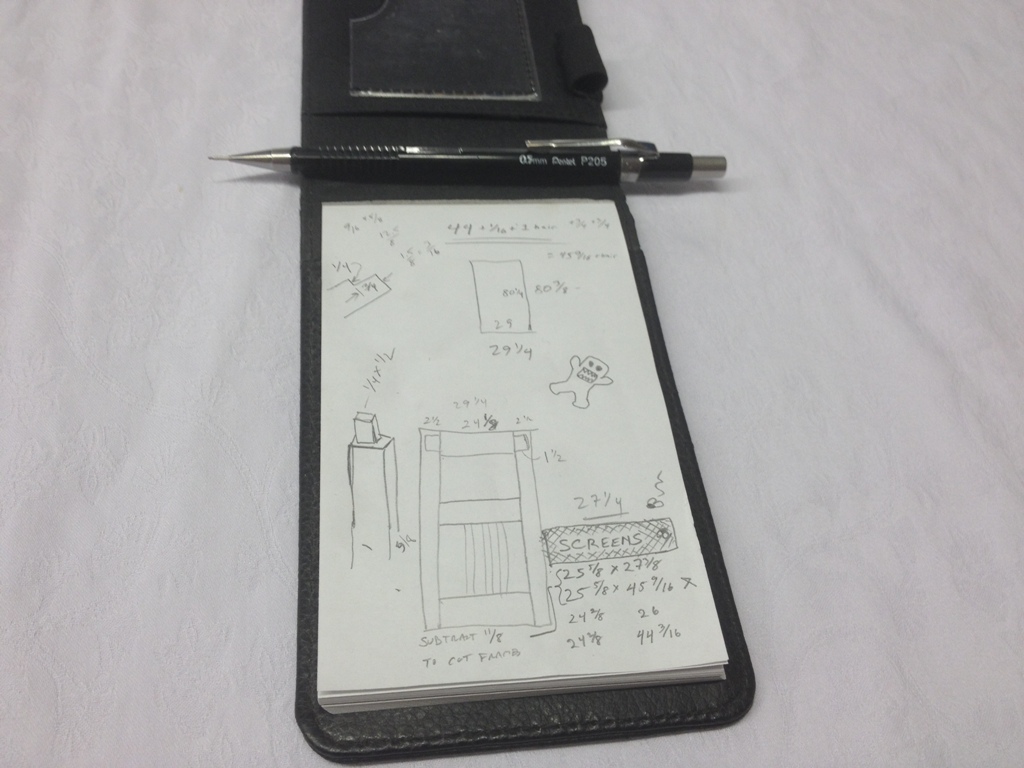
I really only had one drywall seam on this install.  Most pieces were small enough I could just cut them out of a single sheet.  That bottom piece on the left hand side had four cut outs for boxes:  one electrical outlet, one phone jack, one cable and internet box, and a box for the rear speaker hookups.  I must have measured everything out six times before I cut that piece.  If I screwed it up, I wouldn’t have enough drywall to finish.

Paint at Last

Finally got some paint on the walls.  I had the trim all cut and finished before I even started painting, so the trim install went very quickly.

Closet

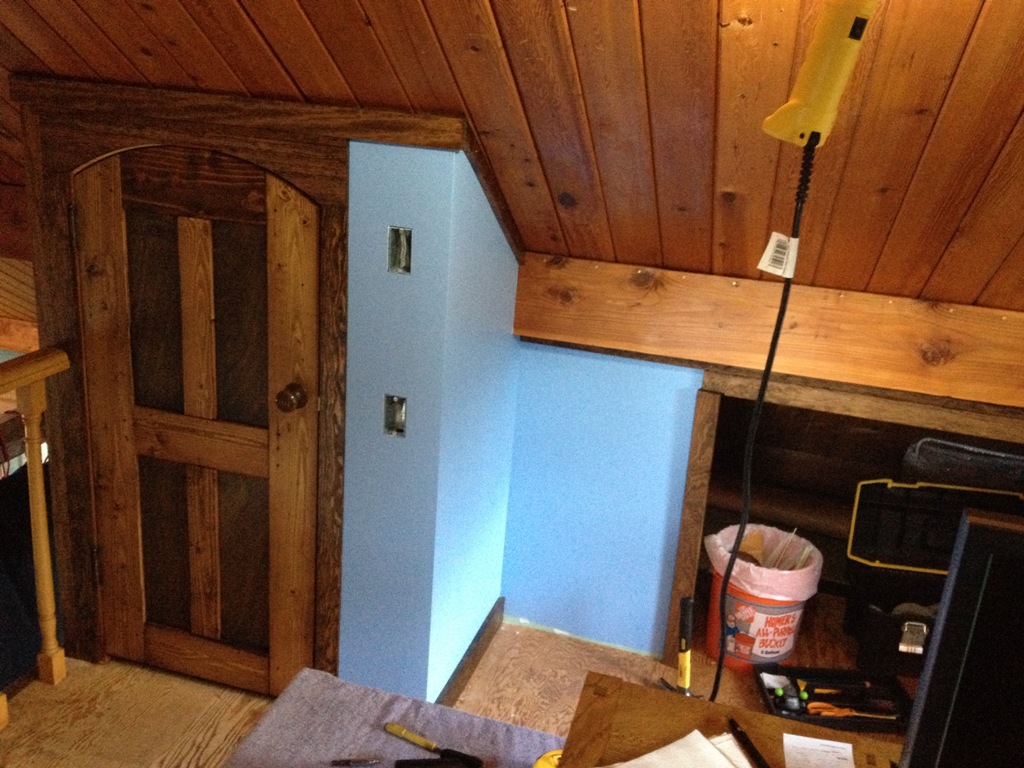
I even finished the inside of the closet.  It looks like there’s a light inside but that’s just my work lamp.  It’s an eight square foot room with a low ceiling.  I’ve seen refrigerators bigger than that.  It doesn’t get its own light.

A Frame

A lot of the big tasks are now finished, but there are still some major projects ahead.  I need to make windowsills for both windows, I have a special way that I’ve done to other windowsills in the house so it’s not as simple as nailing a board down and pouring half a bottle of shellac over it.  Which is how the current windowsills were done.

Desk Nook

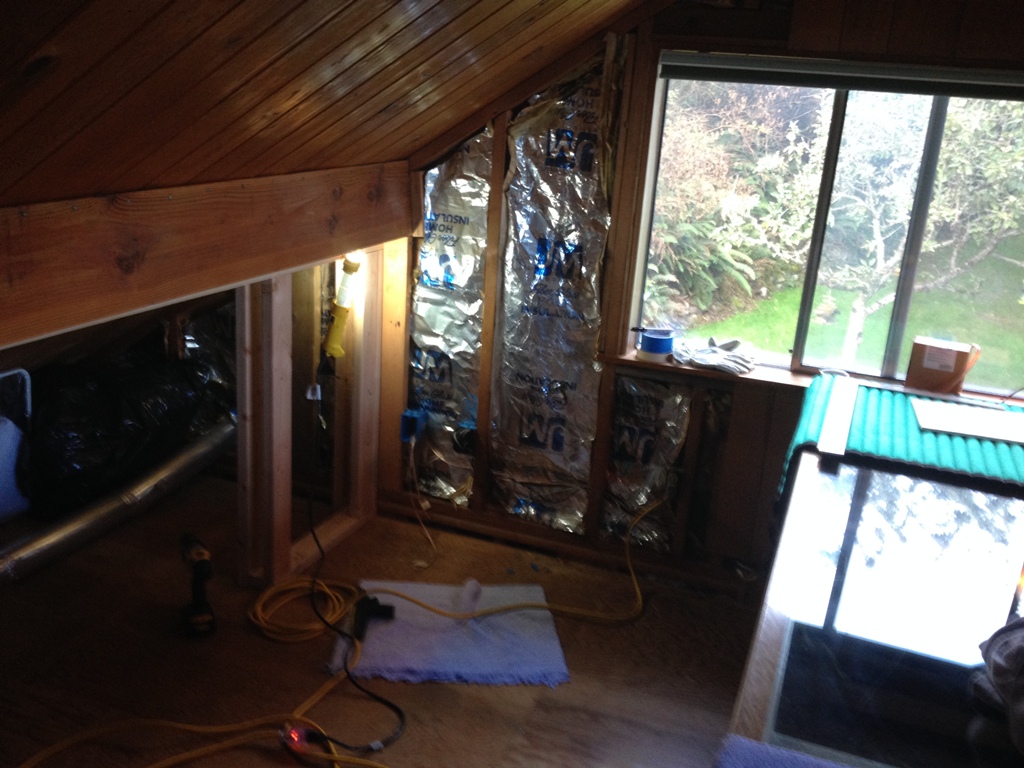
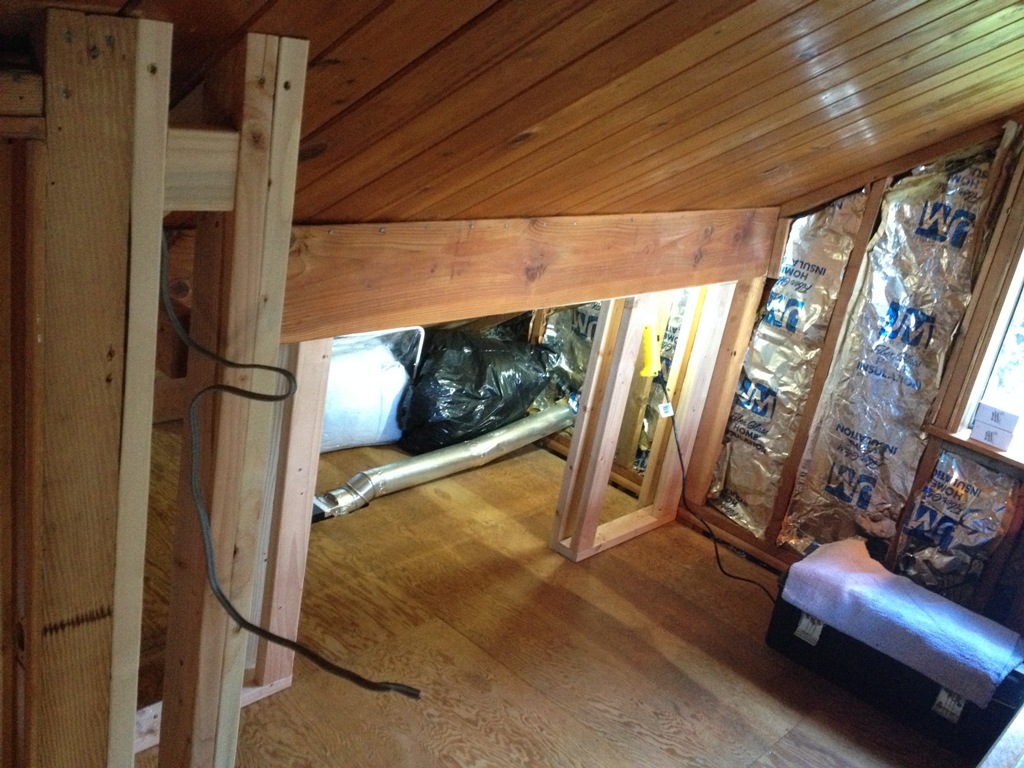
And then there’s flooring.  The floor sags pretty badly in the middle and it’s a little spongy, so I have some structural work to do before I even put down a finished floor.  Currently, I’m walking on plywood panels that have been here since Nixon was president.  The good news is if it hasn’t caved in by now it probably won’t, but I’d like to at least try to shore it up a bit.

Desk

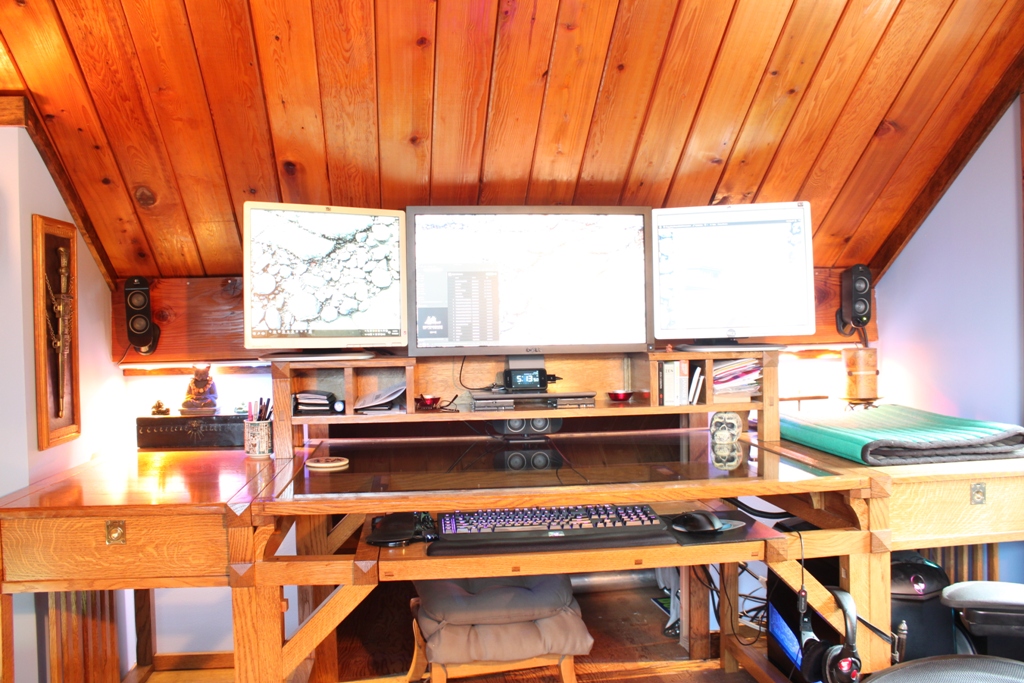
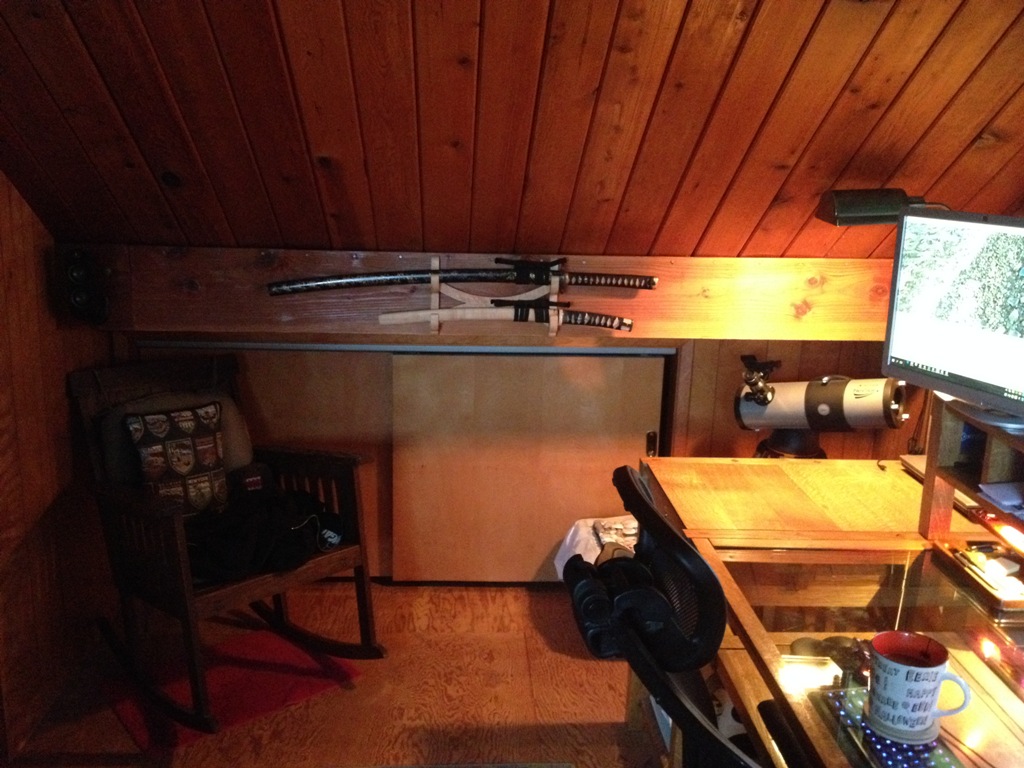
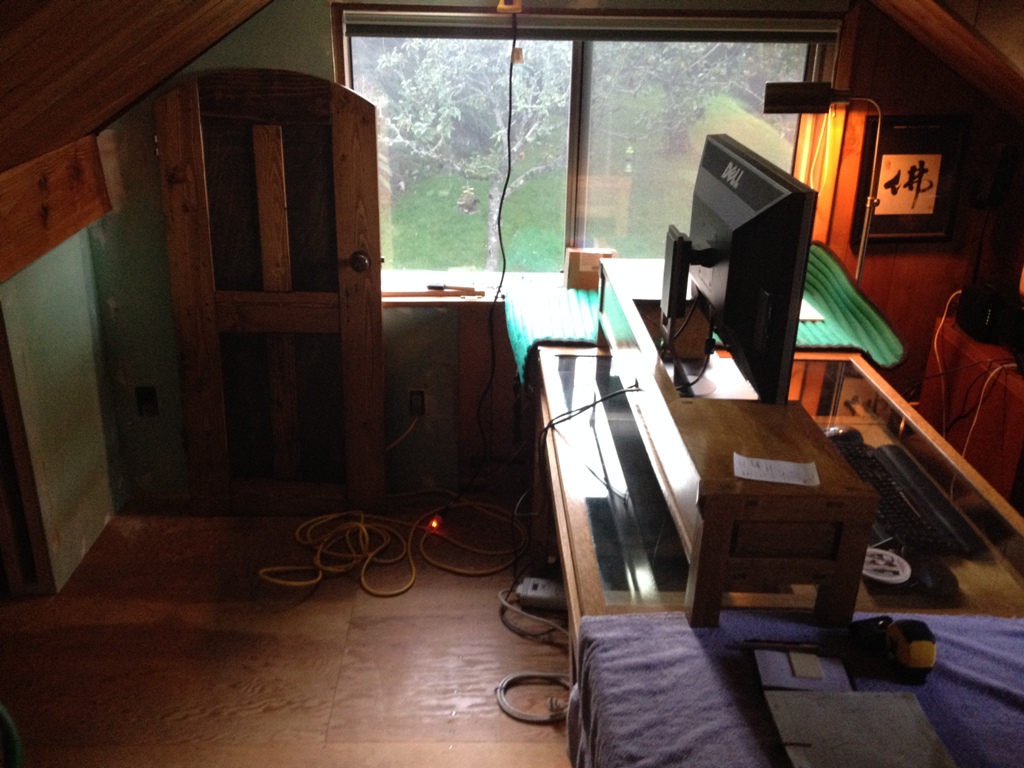
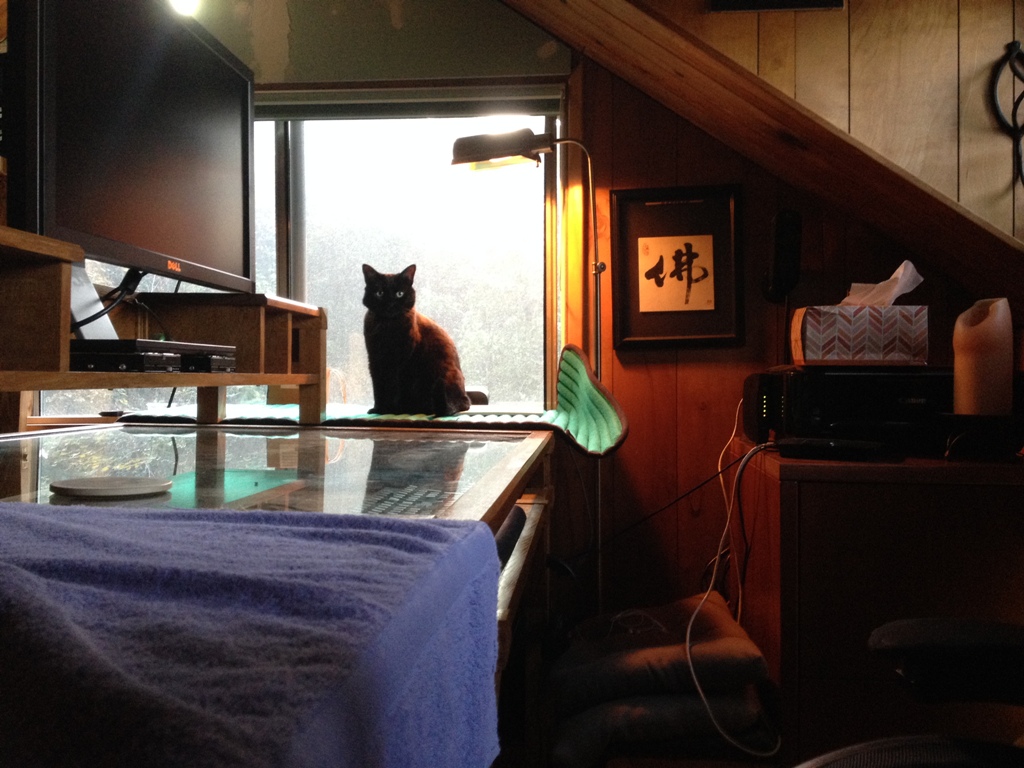
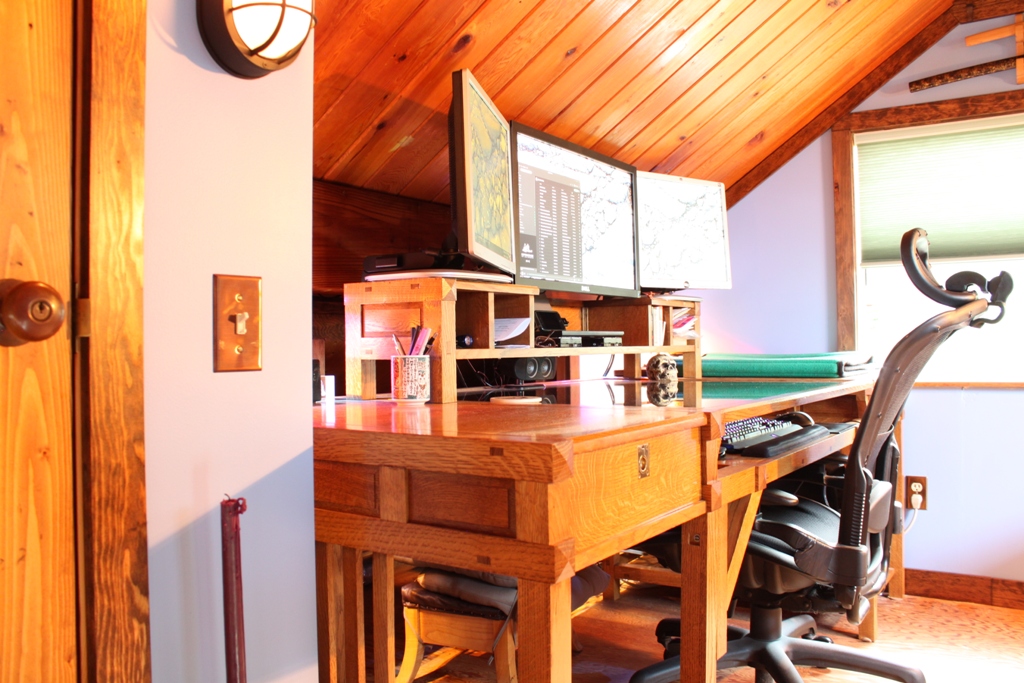
I finally have the desk fit into a little nook so that it doesn’t block any windows.  I not only have a nice view, but I get some natural light.  The green sleeping pad over there is for Inky, she loves it and sleeps there daily.

Desk Nook 2

With the desk in a nook, it’s really opened up some space in the loft.  It’s not a big room at all and the A frame limits moving around very much.  In small houses it’s really important to make the best use of your space.  Or, be very small.  In fact, I bet this house is considered fairly large by cats, squirrels and mice.

Hobbit Door

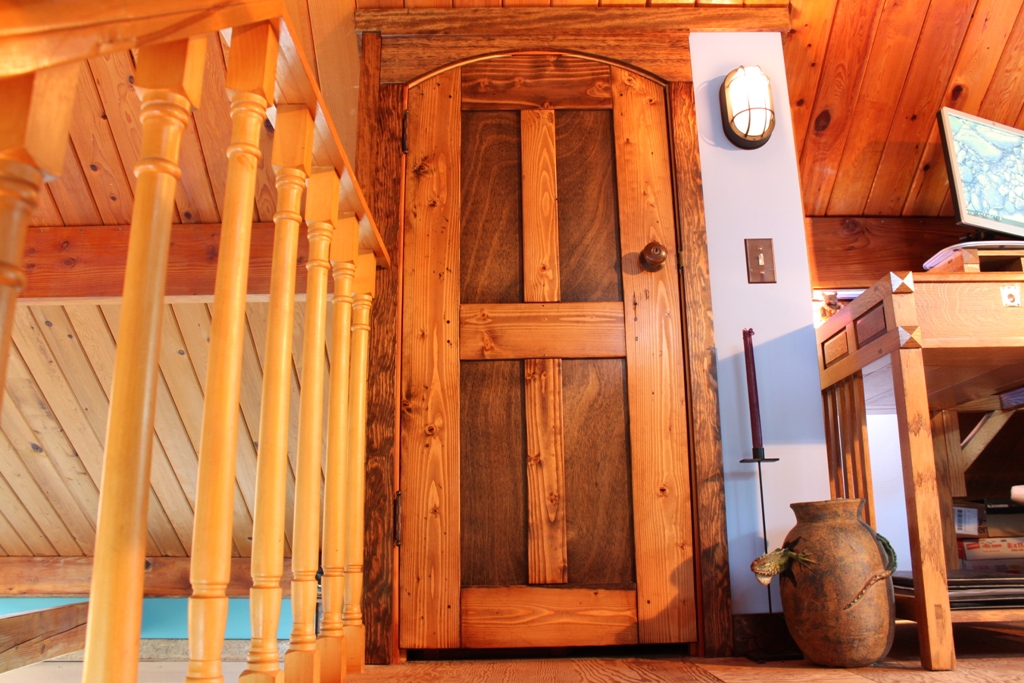
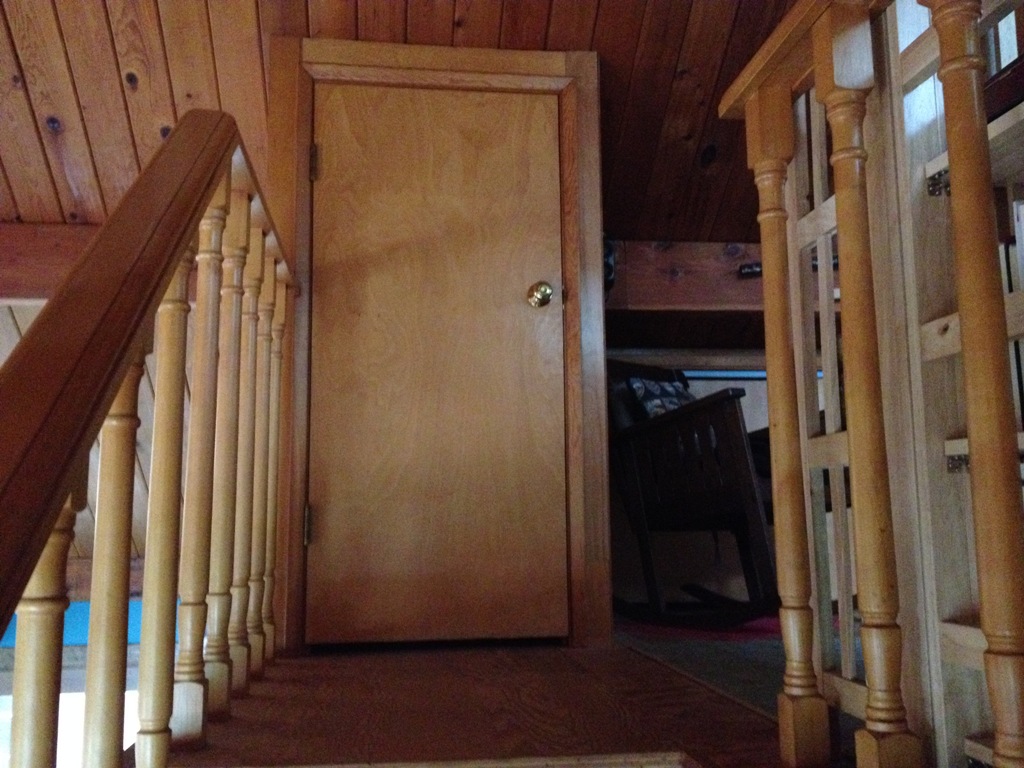
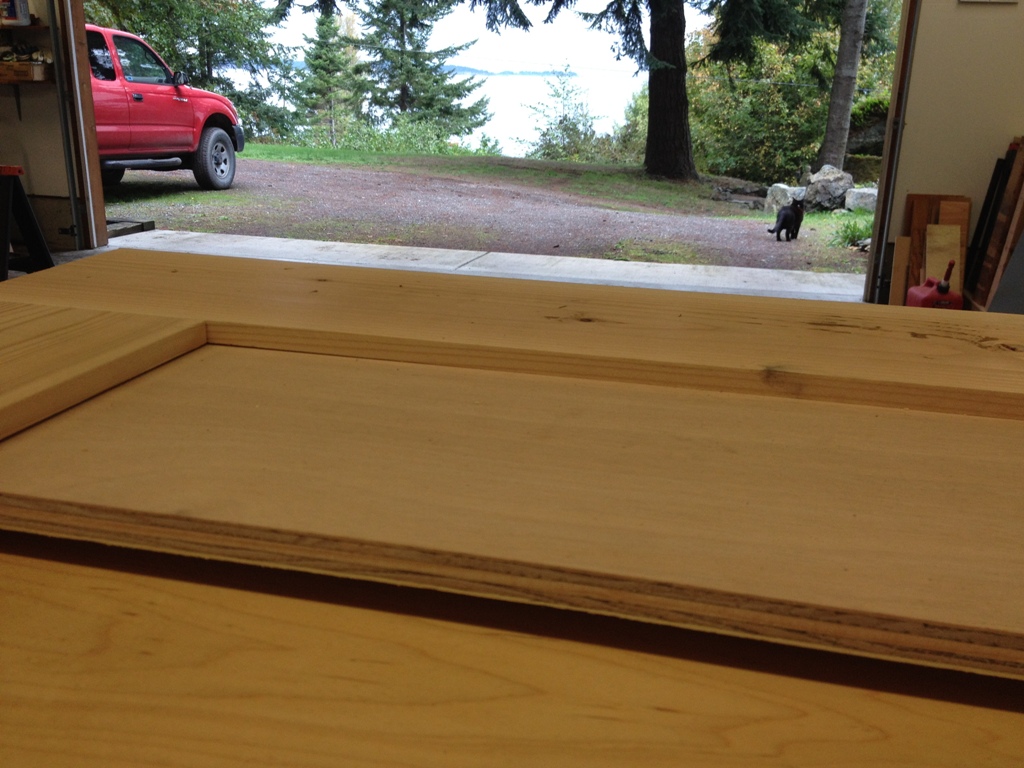
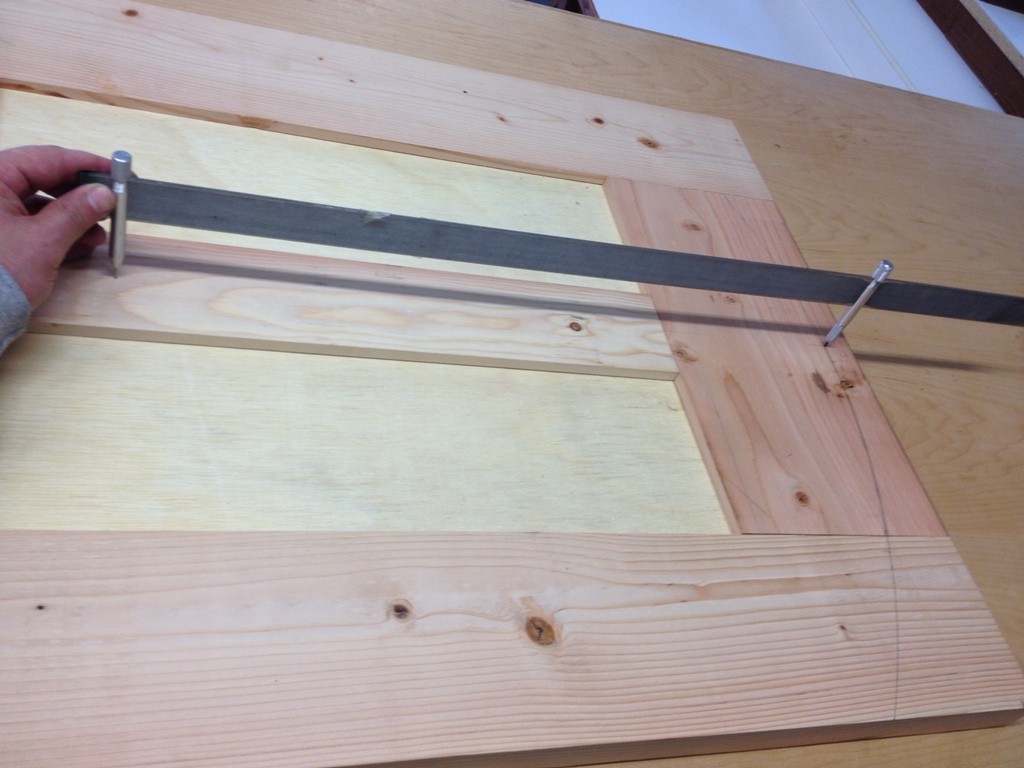
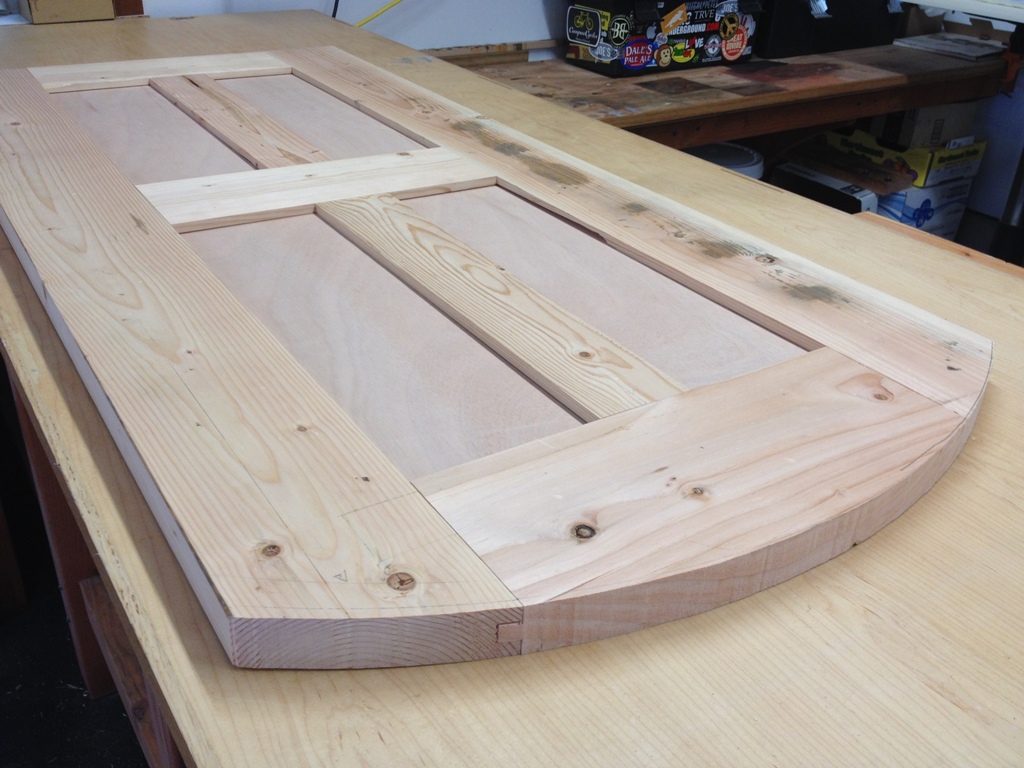
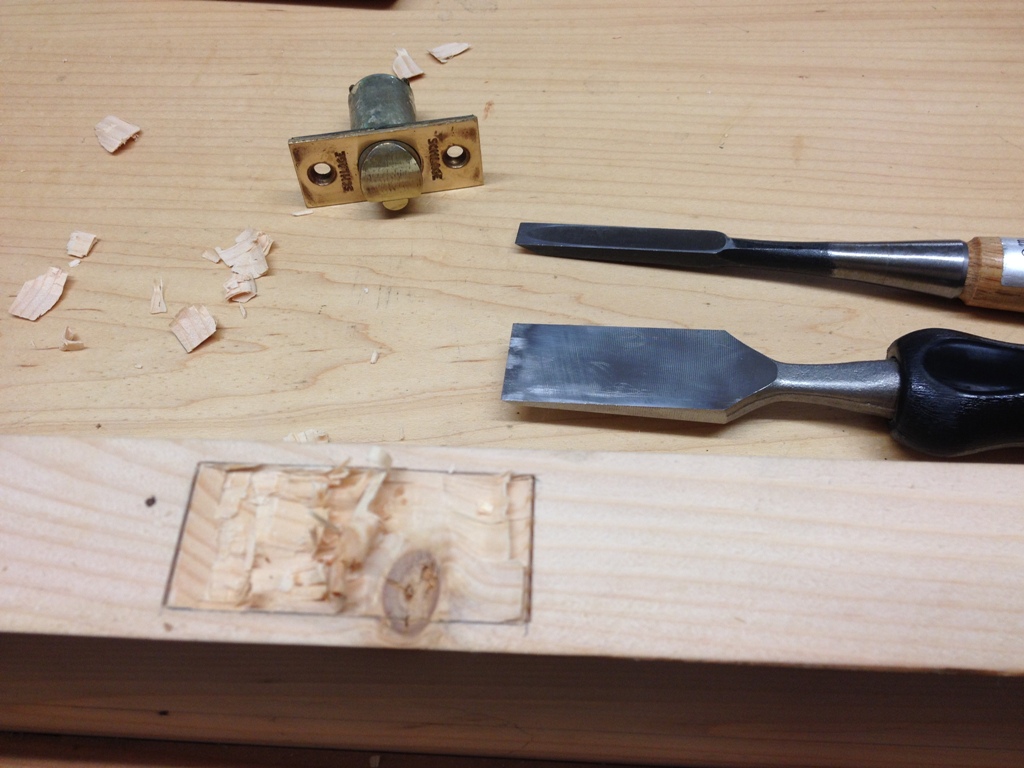
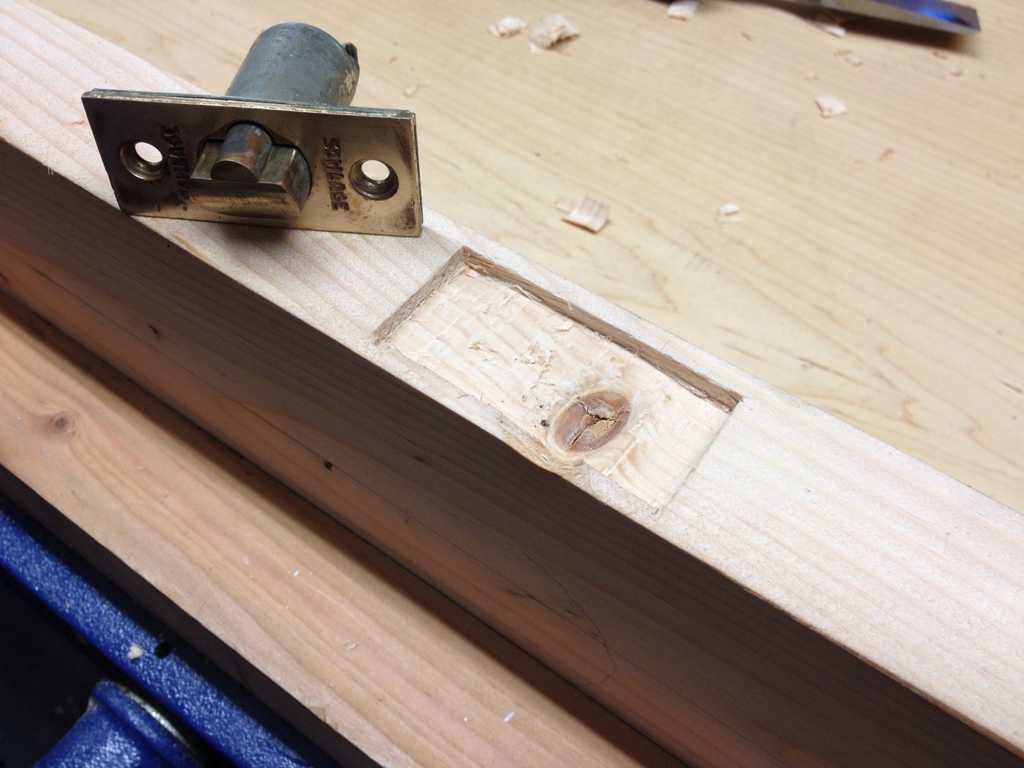
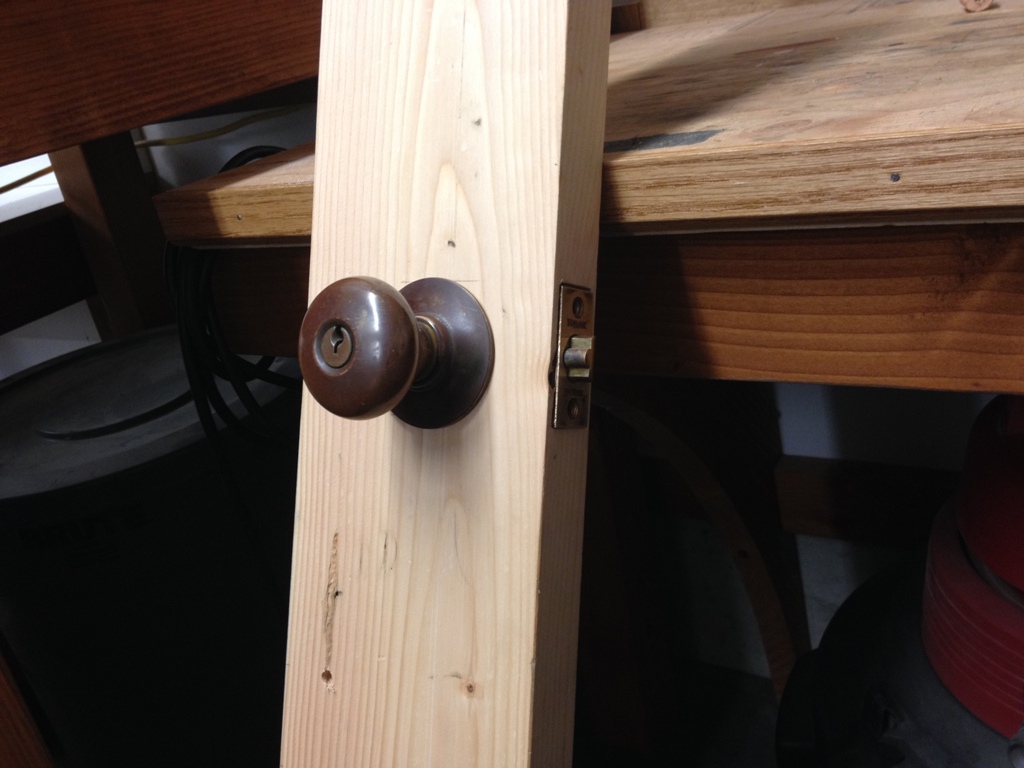
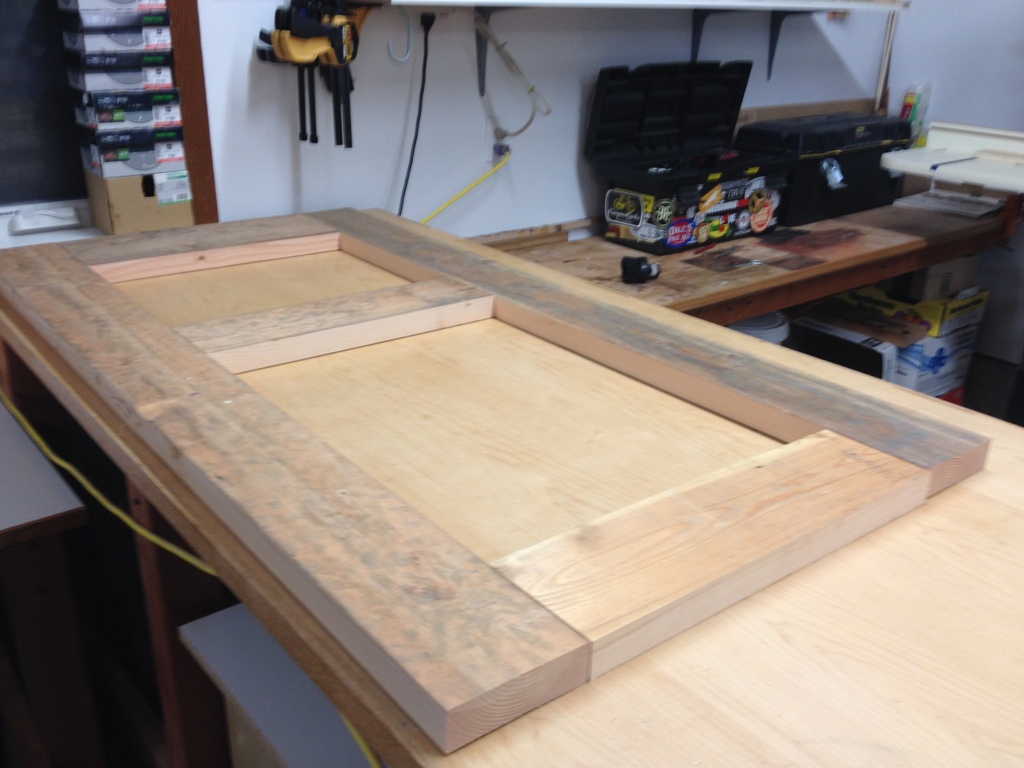
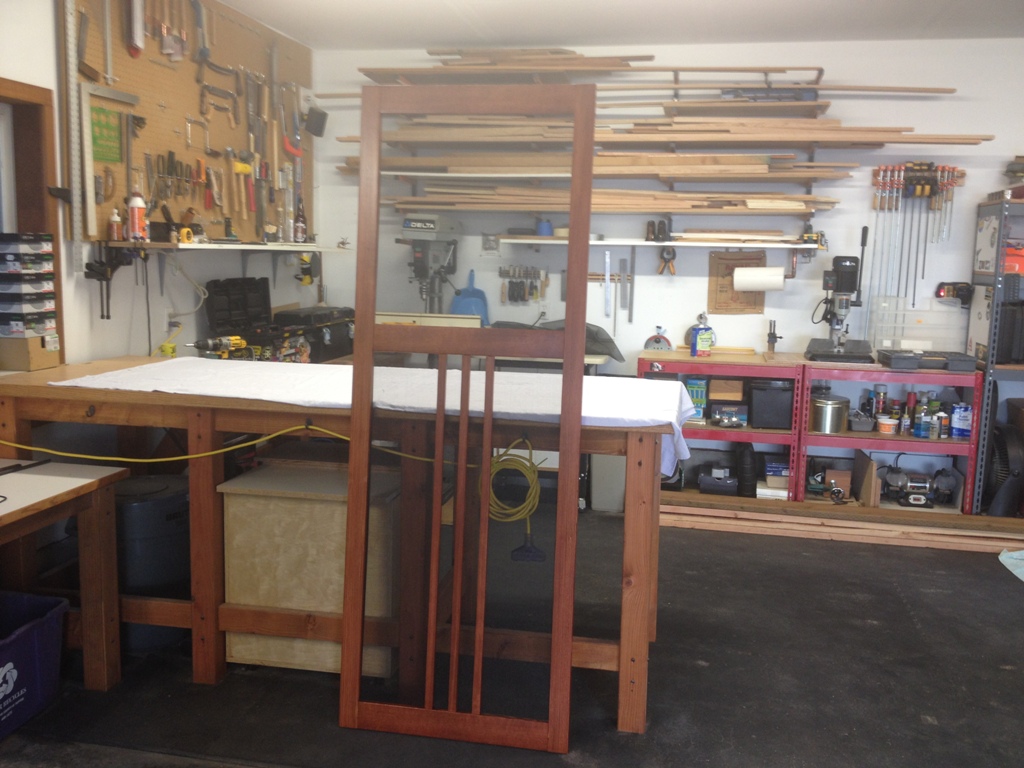
The Hobbit Door is at last in place.  I love it.  The whole thing cost about $60 and almost half of that was the hinges.

Bookshelf

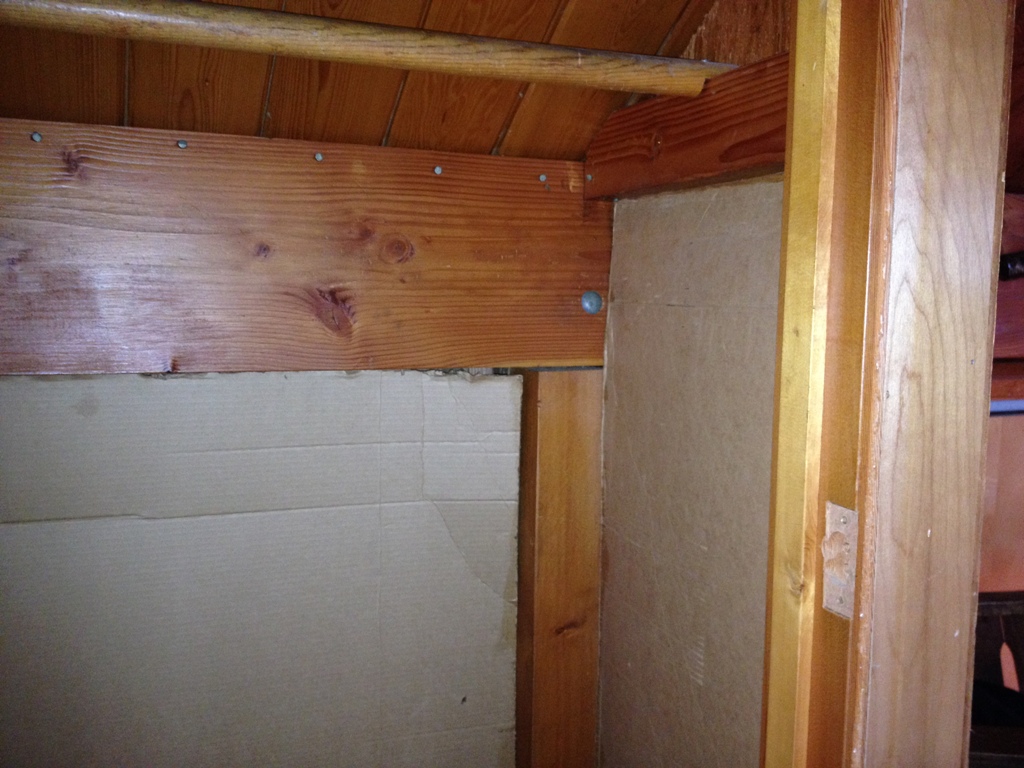
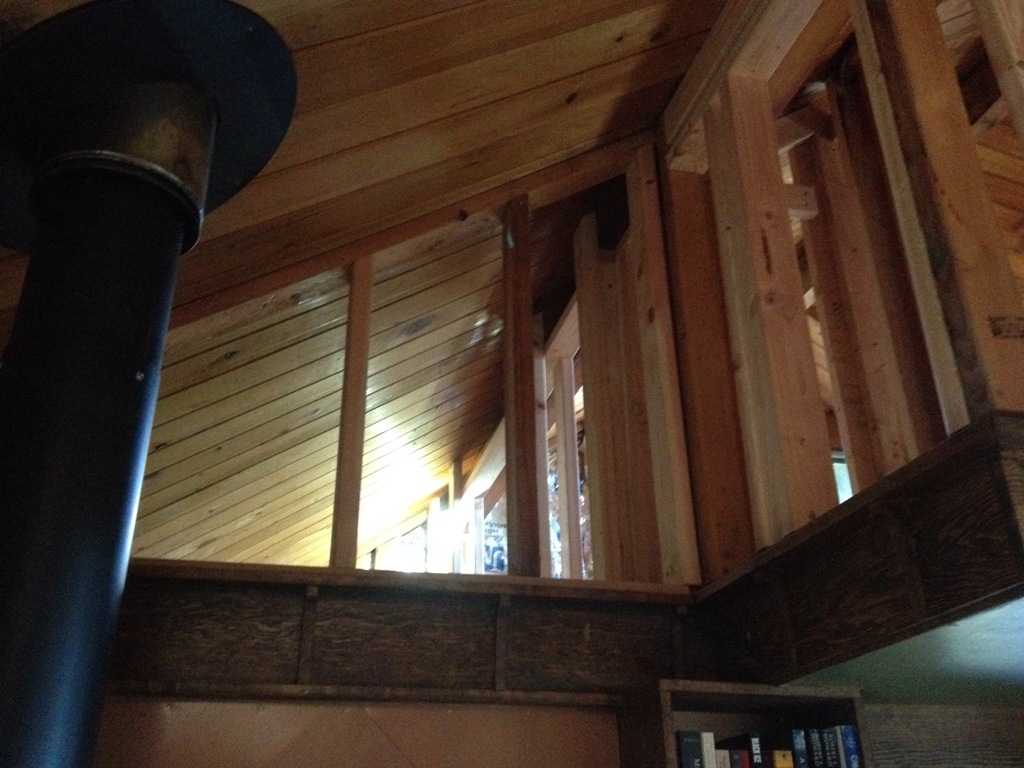
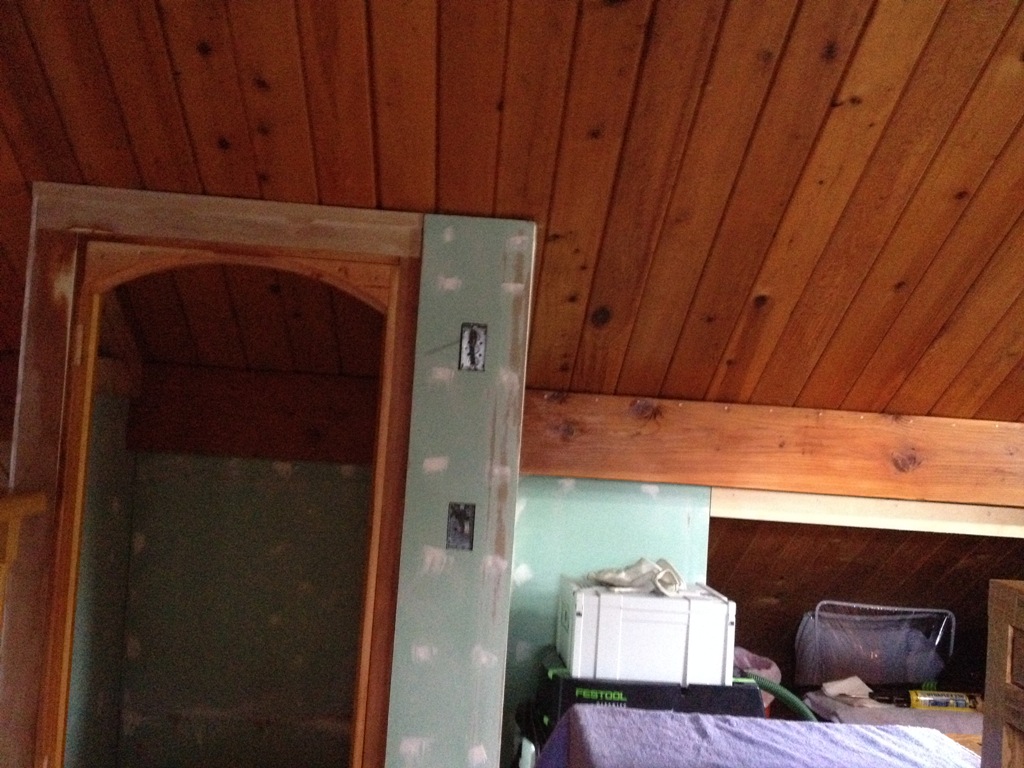
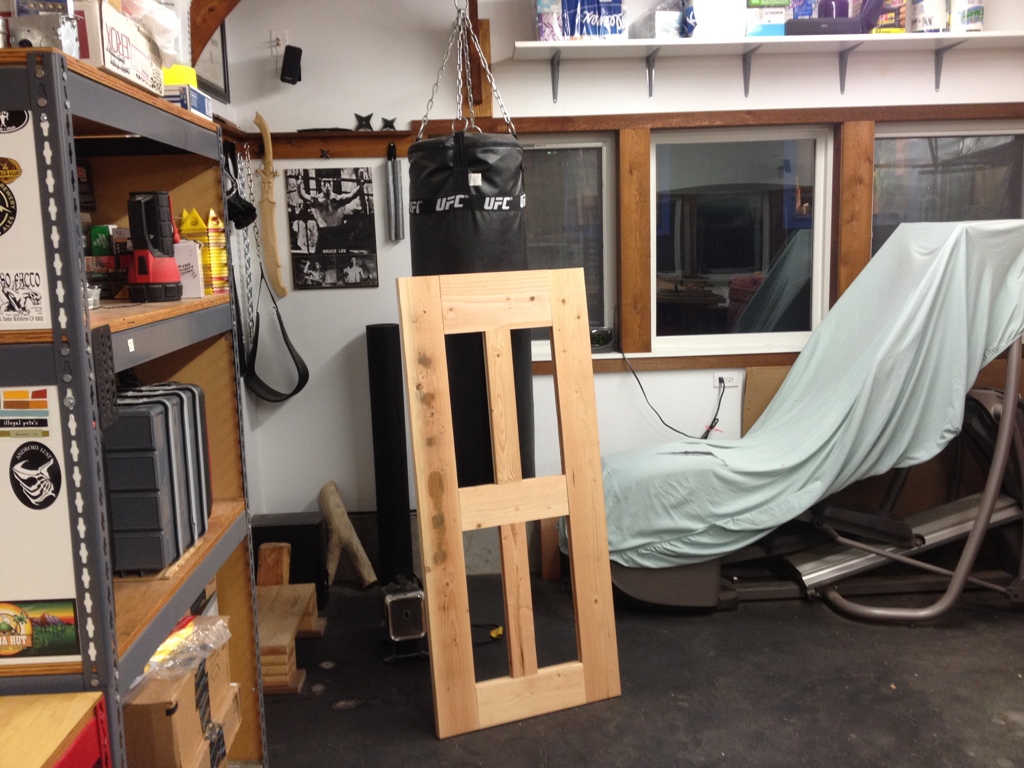
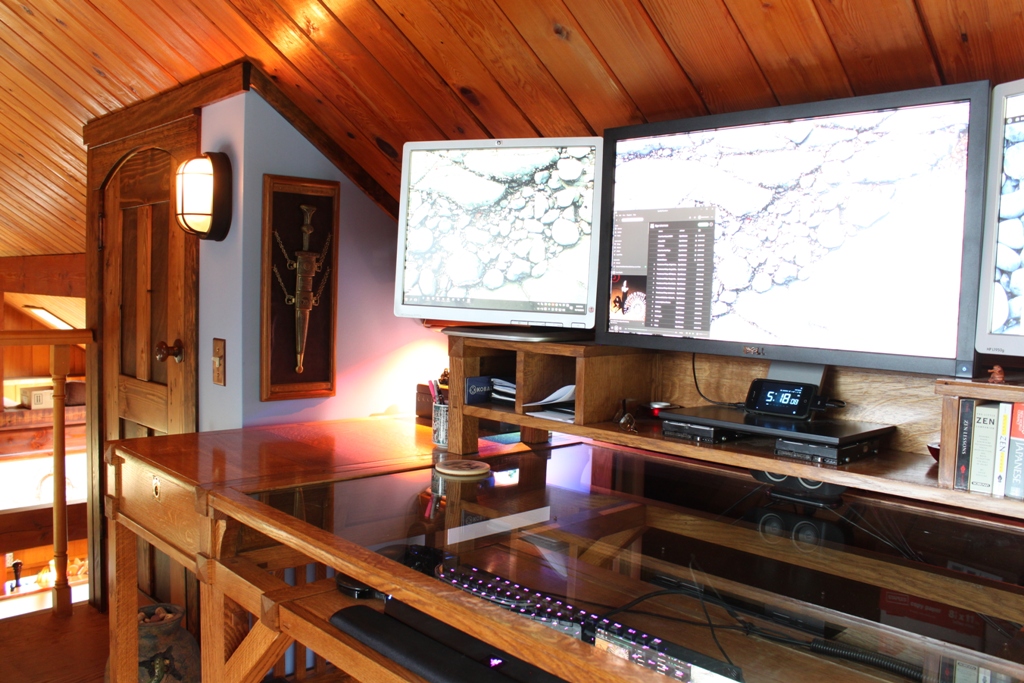
There’s a bit of an unfinished corner up there.  And speaking of doors, I need to make some pocket doors for those storage area.  And see where that cheap bookshelf is?  I’m going to put a nice built-in bookshelf in its place, a bit bigger and with some better storage spaces.

Monkey Hooks

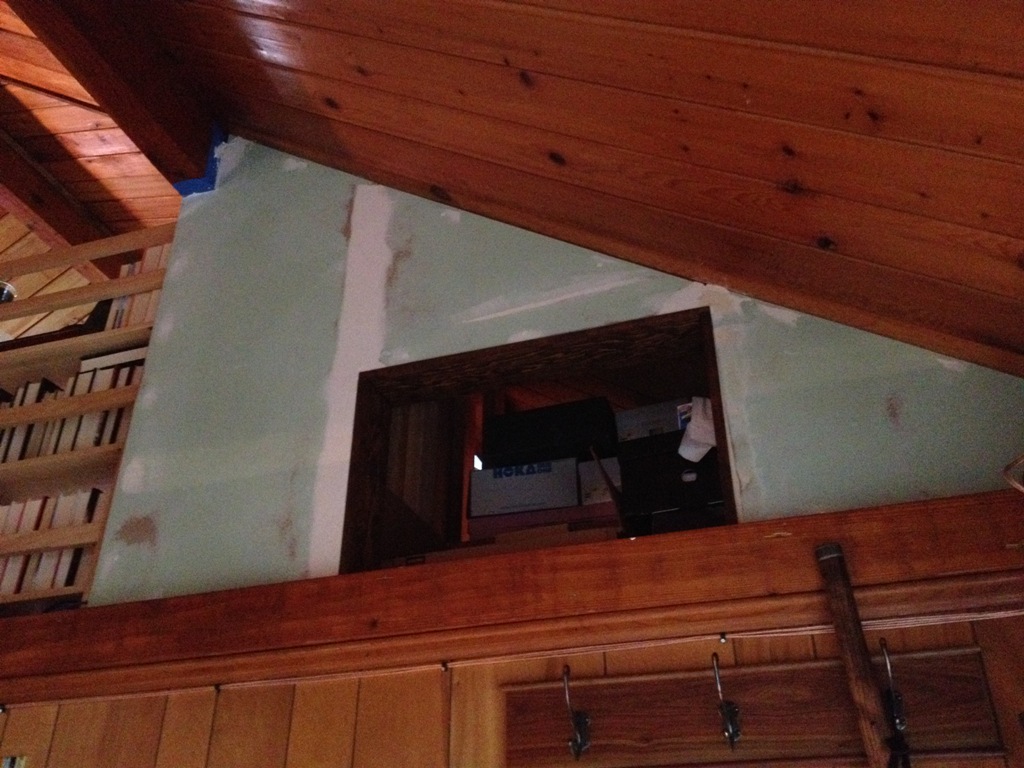
And see that gap between the beam and the ceiling timbers?  The ceiling isn’t straight.  My guess is when they made the dormer up here they didn’t support the roof correctly.  They had to cut a load bearing beam to make this dormer so maybe that was their problem.  Anyway, it’s now my problem and I need to find a way to either fix that gap or cover it up.  There’s really nowhere to put the load of that roof anymore, so I’ll probably just cover it up.

Loft

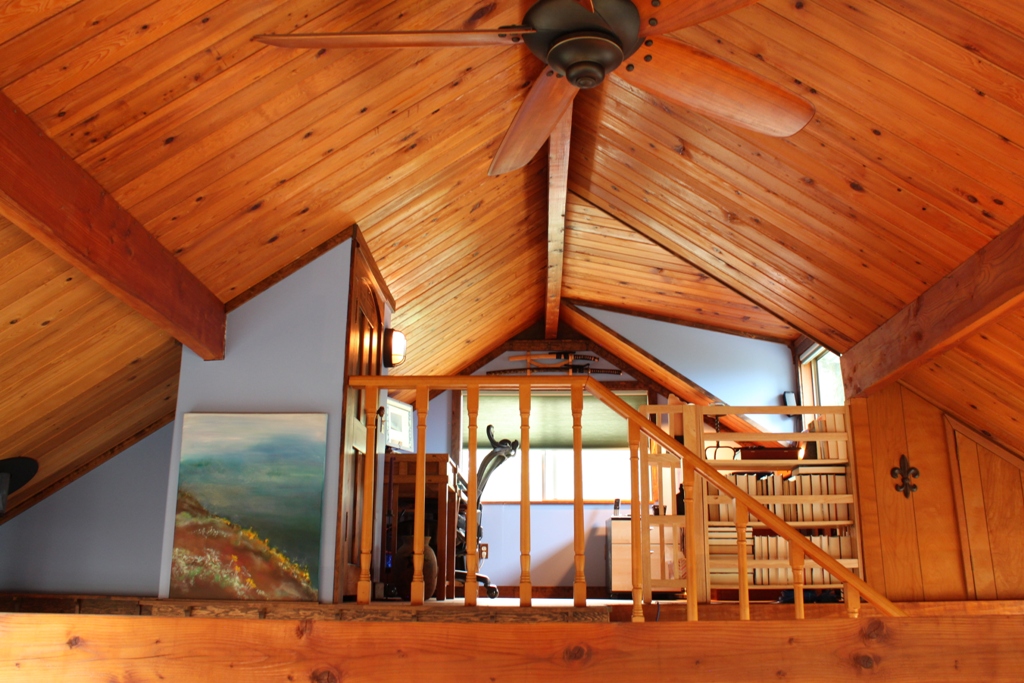
Looks great from downstairs too.  Well, it looks better than it did.  And now the handrail and balusters look really awful so I guess they’ll have to go soon.  Very soon.

The Loft that Time Forgot

Loft Way Before

High above the shores of Orcas Island, sits a squat little chamber of small windows, low ceilings, and wooden paneling that has been left to rot in the salty air.  Its timbers are splintered by the wounds of a hundred nails, and wormed with holes from whatever insect was allowed to teem unchecked over the years.  Its floor is cheap plywood, worn down and prying its squeaky nails loose with every footfall.  Shrouds of cobwebs gather dust and dirt in aphotic little corners, unseen by the eyes of any warm blooded creature for many, many years.

Loft Before

A mysterious access door sits out of reach above the wood burning stove like the sally port of some old medieval castle.  It is a useless feature, it serves no purpose.

Swords Before

My daishō rest on the wall near me in easy reach, in case I would like to test their steel against the splintery wood paneling that surrounds me.  A rocking chair sits like a ghost in the corner.  There is no good place to set the desk.  There is no adequate light.  When people come up here, they touch as little as possible, and leave as soon as they get what they came for.

Cardboard

There is a closet up in the loft.  This was the inside.  They used corrugated cardboard for walls.  Cardboard.  They didn’t even have enough leftover scrap paneling to do the inside of the closet.

Loft Exposed

Let’s tear it all apart!

Silky Bigboy

That saw is the Silky Bigboy, a Japanese folding saw used for camping, cutting fallen limbs off of trees and as a weapon against monsters.  It cut through that beam in ten seconds.

Corner FramingI removed almost every piece of old framing and put up new framing for drywall.  There is a significant difference between the way you frame for drywall and for paneling.  For drywall, you need a solid, flat frame with good right angles and everything perfectly level and straight.  For paneling, judging by the work I tore out, you can hire blind men, get them very drunk, and give them hammers and a bag of nails.

Framing

It doesn’t help that the house doesn’t have any right angles in it.  And the load bearing beams are all twisted and out of plumb.  And the floor sags a little bit in the middle so not even it is level.

Laser Beam

These were challenges I was driven to overcome.  I was sick of the old paneling.  Sick of looking at it, sick of smelling it, sick of snagging my clothes on it.

Loft Framed

Instead of sawn-off hollow core doors dangling from a rusty rail, I’m going to make solid wood pocket doors to access the storage areas in the eaves.

I Love Drywall

I love drywall.  I can’t wait for that new paint smell.

Hobbit Doorway

Could that be a light socket and switch?  Could the loft finally have electrical illumination?

Office

And there you can see the 2 x 4 door, resting in the corner.  We’ve dubbed it “The Hobbit Door” for reasons including but not limited to its short height.  It just really looks like a door made for a hobbit.

Inky

For a week, my desk was pushed against the opposite wall to make room for all this work.  To access my desk, I had to crawl underneath it and sit on its opposite side.  That was fun.  (And look on the right hand side, some paneling I haven’t yet gotten to.)

Easier

Should’ve just bought a boat.  Would have been easier.

The 2 x 4 Door Project, Part 2

The Before Picture

I’ve been remiss.  I forgot to show you a ‘before’ picture.  Above is the door I am replacing.   Simple, hollow, birch plywood, stained to a color somewhere between dog pee yellow and oompa-loompa orange.  It’s was once a standard door but has since been cut to fit this short door frame, and judging by the jagged edge along the bottom they used an ax or a chainsaw or something.

Repurposed

Well, the old door has been re-purposed so as to again be useful.  I use it now for target practice.  Let’s get on with its replacement.

Marked for Removal

I’ve got all the boards cut and squared and (mostly) flattened and planed down to their final thickness.  Now I must cut grooves.  A 1/2 inch groove down the inside of each frame piece should be sufficient to hold the panels and the other frame pieces together.

Groovy

Groovy.  And the mullions are nicely cut.

Tennony

Full tenons where the rails join the frame.

Mortissey

Now to cut some square holes.  I had to modify my mortising machine so it could accommodate a 6″ plank of wood underneath it.

Square Holes

I own one of the world’s cheapest and most neglected mortise machines, but it still makes short work of this soft wood.  This is 2×4 and 2×6 construction lumber, some of which has sat outside for three years.  And it’s still good enough to make a door.

Frame

The frame fit together very well.  Now it just needs some panels.  I thought I might try to carve some more 2x4s down into slightly thinner sheets with tapered edges but in the interests of time and economy (translation:  I’m a cheap bastard and occasionally lazy), I’m just using plywood.

Panels

The panels fit in the frames great.

Arc

I want a curved top to this door so it’s time to scribe a line.  For a compass I use a strip of metal with a pin at one end and pencil lead at the other.

Curved Top

I just used a reciprocating saw to cut this arc.  I considered making some forms and using a router to make a nice perfect, smooth edge but this door really has no intention of being all that perfect.

Knotty

So, I ran into a bit of a snag because the location I had to put the doorknob had a tight little knot right where the latch had to be carved out.  This was not an easy task.  The wood grain really works against any attempt at carving this neatly.

Challenge

I think I did fairly well, despite the knot.

Doorknob

That’s an antique doorknob (a Schlage M45 probably from the 60s) with a beautiful mocha colored patina on a rather coppery brass.  I may play around with the fit a little bit more but it works well .

Door

There it is dry fit.  I’m pleasantly surprised by how well this project has gone so far.  Seems like I haven’t managed to screw up anything yet!  But there’s still time, I still need to sand it and glue it together and make a custom door frame for that curved part, and I haven’t yet tried to fit it into the door frame.  Any number of calamities can happen before this project is finished.

The 2 x 4 Door Project, Part 1

More Plans

I have this small closet door up in the loft that I completely hate and I would like to replace.  Well, I’d like to throw bladed weapons at it, then burn it down, then replace it.  It’s one of those ugly hollow core doors but this one has been cut down to fit an unusually small door frame, some 25″ x 58″.  I was hoping to find a salvage door that I could saw down and fit but no luck there.  If I want to replace this thing I’m going to have to make it myself.  (I’m acutely aware that non-woodworkers don’t think this way) (and maybe even other woodworkers don’t think this way) (it’s possible that it’s just me).

2 x 6 x 16

I don’t want this to cost a lot of money.  In fact, $0.00 would be a great price, but I’m prepared to spend as much as fifty bucks including hardware.  Well, it just so happens I do have a few spare 2×4 and 2×6 leftover from other projects.  Hey, this one here is like 16 feet long.  If I leave it outside any longer it’s just going to grow mushrooms so I may as well make something out of it.

Weathered

And so, the 2×4 Door Project has now commenced!  The lumber I have has been left outside with the spiders and the salty sea air for longer than it should have been, but it is still solid and durable, and I think all its dings and dents and gouges and wormholes just make it look that much cooler.

Distressed

I’ll sand it down and stain it and stuff, but I’ll make no effort to fill or conceal or do anything at all about the nail holes, the saw marks, the boot prints.  This is going to be a traditional door with mortise and tenon joinery and solid wood.

Cut and Jointed

The challenges will be many.  Construction lumber is not usually flat enough to cut into a nice flat door (and doors have to be perfectly 100% flat or they won’t open or close right).  I don’t want to do too much planing or jointing because that takes away from the distressed look that I’m hoping to preserve.  But I think this door is going to be completely awesome when it’s all said and done.

That Hooman Is Crazy

I can’t say that everyone is convinced.

Turn Your Machete Into A Pirate Sword

5 dollar machete

An ordinary $5 machete.  Cheap plastic handle, cheap cloth scabbard.  Poorly ground blade.

Handguard

It all started when I said to myself that the handle was awful, and I bet I could make a better one out of scrap wood and duct tape.

Grinding

Hey, instead of scrap wood, how about a tropical hardwood like cocobolo?  Oh, and it could use a hand guard, you know, like pirate swords have?

Shaped

Yeah, that’ll do the trick.  And grind down the blade a bit.  Not too pretty, but at least give it a sharp edge and sand down the rough spots.

Handle

And make sure it’s heat treated!  Fire that thing up, and temper the edge.

Scabbard

And it needs a scabbard.  Leather.  Sewn up with copper wire.

Treasure

Now that’s a beauty!

Pommel

A steel pommel can bash the skulls of sea monsters, zombies and orcs alike.

Hilt

Handle makes a great grip.

Skull

Please note that I am not addressing why you should make your machete into a pirate sword.  Such a topic would be beyond the scope of this essay.

Gargoyle

Anyway, it’s perfectly obvious that pirate swords are awesome!

Pirate Sword

And of course, it still functions perfectly well as a machete.

Avast Ye Matey

Yarr!

Never A Dull Moment

Lots going on here as usual.  No finished projects to report on so I’ll just share with you a little slice of Orcas summer.

frog

Frog in our strawberry plant.  I think he wants to eat a strawberry, but they are bigger than he is so it poses a logistical issue.

path

How the path has grown.  I just keep adding stuff to it:  rocks, moss, plants, whatever.

grinder

Sparks flying in the shop.  I bet you wonder what I’m working on now…

sun

Forest fires in our region have given us dramatic sunscapes.  This was from shortly after sunrise.

anchor

All manner of pirate booty washes up on our shores.

birds eye view

Flying over Eastsound.  On the island, we just call it “town”.  It’s best avoided from June to September because of the tourist infestation.

boat

Sailing around from island to island in a wooden boat?  These guys have the right idea.

deck

This really would be a nice place to rest, if ever I would rest.

lizard

I saved this lizard from Inky’s deadly fangs.  She was fairly well convinced that it was a cat toy.

landscapingDoes it look like a mess?  It is.  Give me a few weekends, I’ll have it all sorted out.

New Sword Fittings for an Old Sword

When I practice Iaido, this is the sword I use.

The Old Sword

The handle is rock maple.  I never finished it with anything and it never needed it, just kind of took on a glossy sheen in the places I gripped it.  That wood is bulletproof.  But the saya (sword scabbard) is made out of cheap construction lumber and I made it like 15 years ago.  It works okay but it was getting a little worn around the opening from when I sheathe the blade.  I’ve wanted to make a new saya for a long time, but knew that I’d have to do the whole thing and make a new handle as well.  The more things sound like they will be a pain in the butt, the more I procrastinate them.

Old Saya (scabbard)

Here’s a close up.  The copper wire was wrapped around it to help control a split in the wood.  It worked very well, actually, keeping that split closed for years without any problems.

Resawing

I’ve had a thick slab of cherry left over from an old project that I thought would work very well.  It’s a little lighter than the rock maple but it’s a good hardwood and would make a good handle.

Forms

The sword has a very slight curve to it.  I did the math, its radius is around 125 feet.  The old saya and tsuka (handle) were straight but this time I wanted to follow the curvature of the blade.  Traditional Japanese sword handles do not necessarily follow the sword’s curvature, but this is not a traditional sword and I did not use traditional techniques.  Just not the kind of craftsman I am.

Curve

With the two cut halves next to each other, you can see the very gentle curve.

Chisels

This part kind of reminds me of an Egyptian sarcophagus, because you’re hollowing out the two sides such that the sword fits in exactly.  The saya must be a little loose to allow for a quick draw, but should be firm around the habaki (that little gray collar between the blade and the tang) so the sword does not easily slip out.

Tape and Glue

Tape works really well for the dry fit, as well as helping to glue it together.  It keeps the wood from shifting as it’s clamped and does add a little bit more pressure while the glue is drying.

Clamps

Every clamp I could fit.

Shaping

Shaping is the fun part.  I’m not particularly good at it and don’t really own good tools for it but I use what I have – rasps, files, draw knives, and lots and lots of sandpaper – but I really enjoy it.  It’s kind of funny, when I was first making these I always wanted more and more power tools to help make them better.  I thought a good router and good forms would help make better sword fittings.  But now that I own all that stuff, I really go back to doing a lot of work by hand with these.  It may not be factory perfect, but I feel like I have more control of how it turns out.

Seppa (spacers)

I cut new seppa (spacers) out of a copper sheet, and on a whim I thought I’d heat treat them to bring out some color.  They took on a very bright orange hue, almost a rust, and became about as soft as lead.  On the left in that photo is the original piece of copper I used, so you can see the difference.

Finished

All finished.  I may do something different with the wrap around the handle, I’ll have to practice with it a bit to see where I want it (it’s nice to have something to grip when drawing the sword).  Again, not a traditional sword at all and that’s deliberate.  There’s an old adage that says “do not seek to follow in the footsteps of the wise; seek what they sought.”  It’s one reason that I avoid tradition.

Tsuba (hand guard)

Everything polished up nice and fit remarkably well.  There is no play at all in the handle, it is very solid.

Unsheathed

Traditional Japanese swords have wrapped handles and painted, laquered saya.  To me, this is a woodworker’s sword, letting the wood grain remain exposed.  Just some wood stain and tung oil is all I used. I can tell it’s a little lighter which generally means it will be a little faster, and the handle shape is very much what I’m used to practicing with.  This was a great, fun (and free!  I had everything I needed!) project and if anyone out there reading this needs new fittings for their sword, I’d be happy to help you out.

My First Screen Door

It Fits

I love a finished project.  Now the door is stained and has a couple coats of spar urethane on it and I even put a little brass handle on it so we can open and close it.  It’s everything one would want in a screen door.  The only thing it lacks is hinges, I had to order them and they have not yet arrived.  But other than that, it rests in the frame and is held in place by magnetic catches and as far as I’m concerned it’s done.

Screen

Screen technology has come a long way.  It used to be a big pain in the ass when you needed to make a screen, often involving special tools and working with aluminum frames and steel mesh that all had jagged pointy ends to cut yourself on.  Well nowadays, it’s still a big pain in the ass.  But at least the screen fabric isn’t steel anymore, I think it’s nylon.  The old steel sheets were awful to work with.

Fittings

I got the screens in the frames and affixed them to the door with brass washers and screws.  The brass washers came super shiny and bright, but here’s a trick.  Put them on a metal wire and hang them over the flames in your barbecue grill.  Let them cook for a while, get them as hot as you can.  These cooked to about 700 degrees, and at that temperature the brass takes on a nice antiquated patina.  (I actually didn’t want to use washers, they sell special brackets that hold these things in place, usually used for mirrors or glass panes in cabinet doors.  But good luck finding those on an island.)

Shaping Up

Here’s the finished door.  I’m glad to have some room to move around in my shop, makes projects like this a lot easier.

Plans

These are the full extent of the drawings I used to make the door.  On some projects I draw everything from every angle but on this one I just kind of winged it.  Didn’t even need to do much math.